

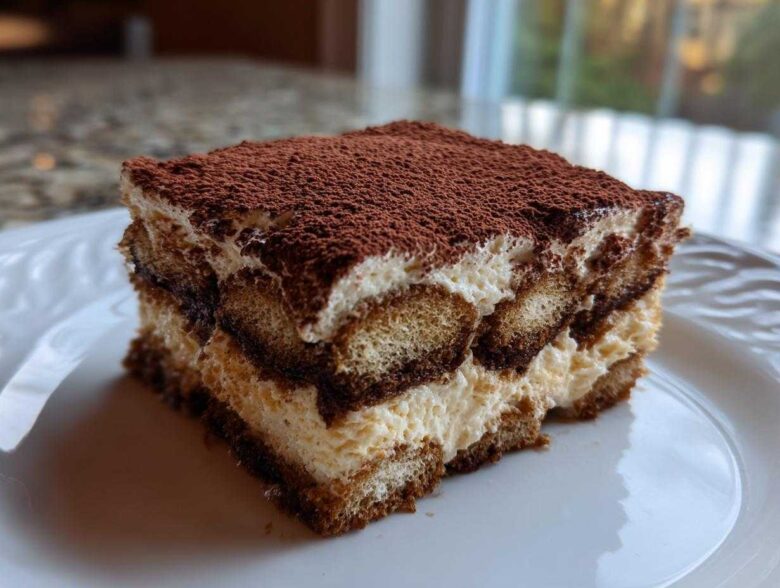
Oh, Italian desserts! They just hit different, don’t they? There’s something so wonderfully dramatic and satisfying about a dessert that tastes like it took all day but sneaks in a secret shortcut. That’s exactly what we’re doing today with what I truly believe is the best tiramisu recipe you’ll ever try. Forget the stress! This isn’t some fussy baked thing; this is a completely no-bake masterpiece.
My biggest goal when sharing my Italian sweets secrets is always authenticity without the headache. So, yes, this is an easy, authentic Italian dessert, and critically—we’re skipping the raw eggs! I use a super simple trick with whipped cream to get that unbelievably light, yet rich, mascarpone flavor. Trust me, once you make this simple tiramisu instructions version, you won’t go back.
Why This Easy Tiramisu Recipe Stands Out (E-E-A-T Focus)
You want that classic Italian coffee dessert flavor, but you don’t want the worry, right? That’s why this tiramisu recipe is my go-to for parties. It’s fast, incredibly decadent, and delivers all the traditional taste you expect from a great homemade tiramisu.
- Addressing the No Raw Eggs Concern: We skip the raw yolks! I either use pasteurized yolks if I have them, or, much easier, I just increase the whipped heavy cream. It still makes for the richest dessert.
- The Secret to a Creamy Mascarpone Dessert: Temperature is everything here. If your mascarpone is too cold, it clumps up. If your heavy cream isn’t ice-cold, it won’t whip right. Get those temperatures perfect, and you get the fluffiest center!
Gathering Ingredients for Your Tiramisu Recipe
Okay, ingredient gathering is almost therapeutic, isn’t it? Before you can make those gorgeous, velvety tiramisu layers, you need to make sure everything is prepped just right. I always lay out my ingredients so I can see them all at once—it keeps me honest! It’s like setting up for baking any other decadent dessert idea, just minus the oven time. Speaking of creamy desserts, if you ever need a smooth, rich alternative, you should check out my New York cheesecake recipe sometime!
- 1 cup strong brewed espresso, cooled completely
- 2 tablespoons coffee liqueur or dark rum (if you’re skipping the booze, totally fine!)
- 2 large egg yolks (remember, we’re only using these if they are pasteurized, or we swap them for cream!)
- 1/2 cup granulated sugar
- 1 teaspoon vanilla extract
- 16 ounces mascarpone cheese, gotta make sure this is nice and soft
- 1 1/2 cups heavy whipping cream, but it HAS to be cold—like, really cold
- 1 package (7 ounces) ladyfingers (Savoiardi is the traditional name, you want those nice hard ones)
- Unsweetened cocoa powder, because no Italian coffee dessert is complete without a heavy dusting!
This list looks long, but honestly, it comes together fast. The quality of your coffee makes the biggest difference in this whole tiramisu recipe.
Ingredient Notes and Substitutions for This Tiramisu Recipe
Let’s talk about the coffee. You need serious flavor here! Don’t use weak drip coffee; brew it extra strong, like espresso strength. If you’re skipping the rum, I’ve found that adding a little almond extract to the espresso gives you that little flavor kick back. And again, just to be crystal clear, if you’re nervous about the eggs, swap those yolks for that extra half cup of cold heavy cream that you whip stiffly and fold in. It keeps everything nice and safe!
Simple Tiramisu Instructions for Perfect Velvety Tiramisu Layers
Now for the fun part—putting it all together into a gorgeous layered dessert! I love watching this come together because it feels like magic; you just stack things up, and boom, stunning result. Remember, the beauty of this whole tiramisu recipe is that it’s basically construction, not cooking. Just follow my timing cues, especially when it comes to the dipping and the folding. That’s where we lock in that rich, yet light, texture.
Preparing the Espresso Soaked Ladyfingers
First, make sure your espresso mixture (coffee and optional liqueur) is cool. Seriously, hot coffee melts everything. When you dip those lovely espresso soaked ladyfingers, you have to be lightning fast! A quick dunk on each side—literally one second per side. If you let them sit for even a second too long, your tiramisu will end up weeping and watery. We want them damp, not soggy, got it?
Assembling the Creamy Filling
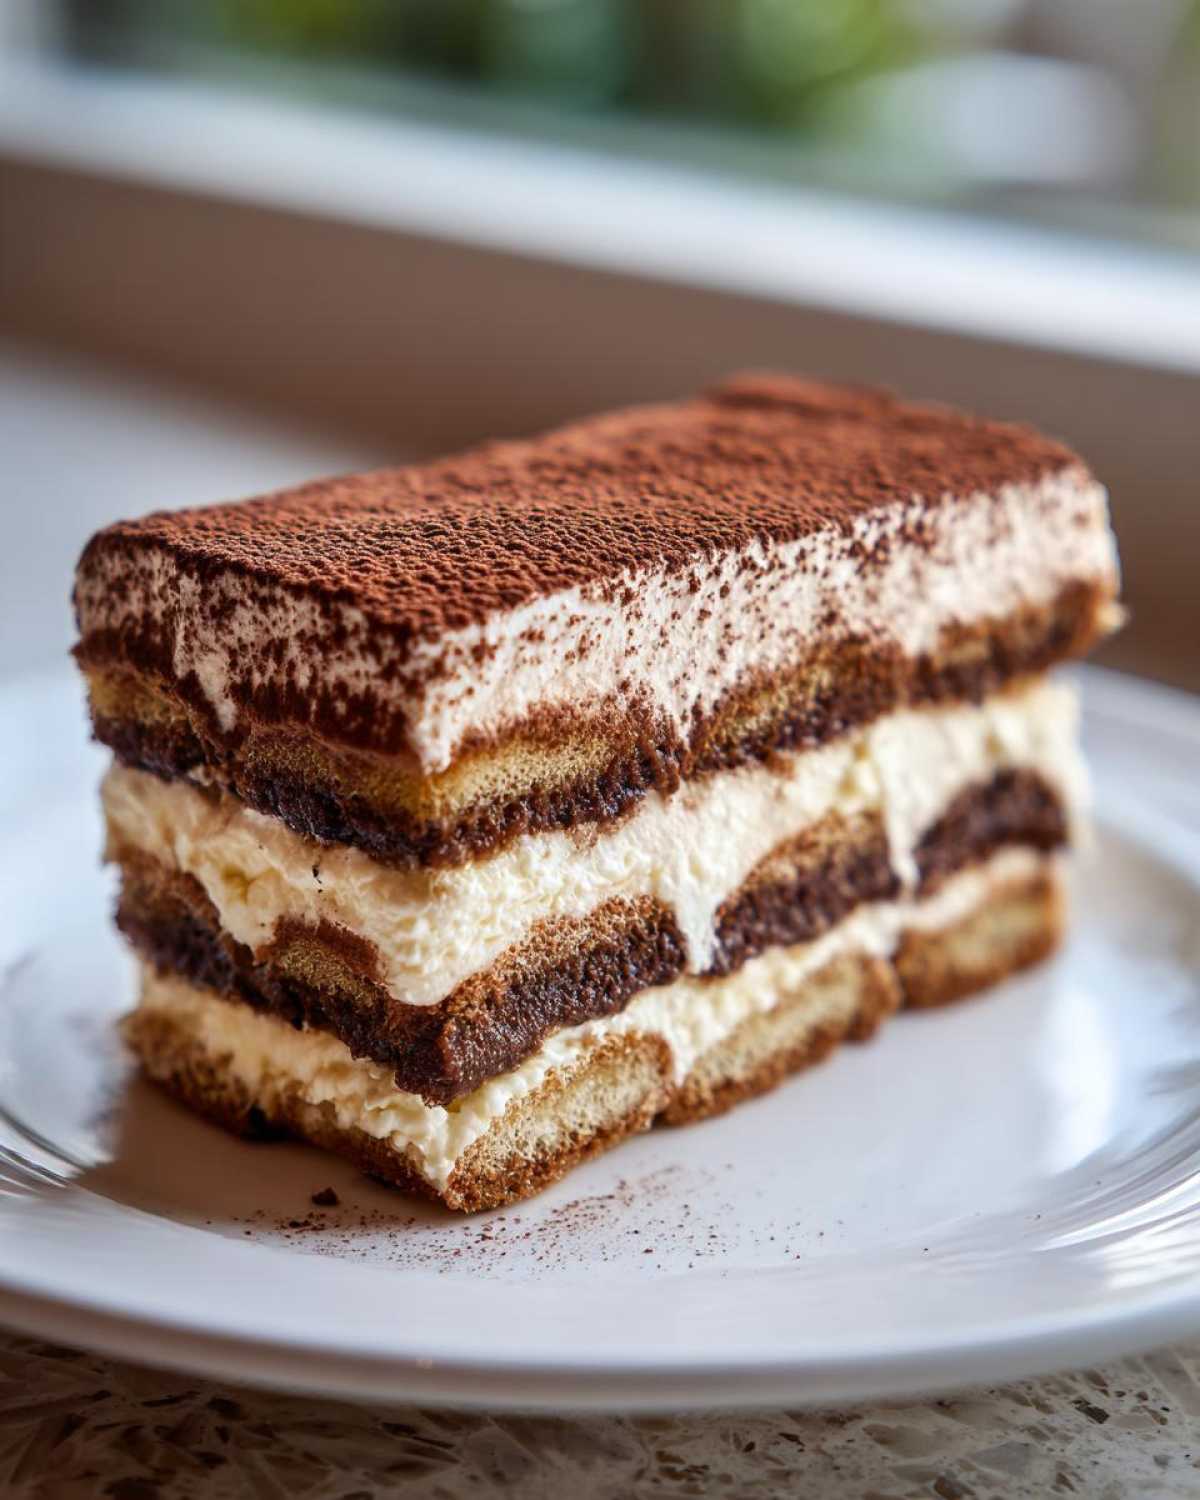
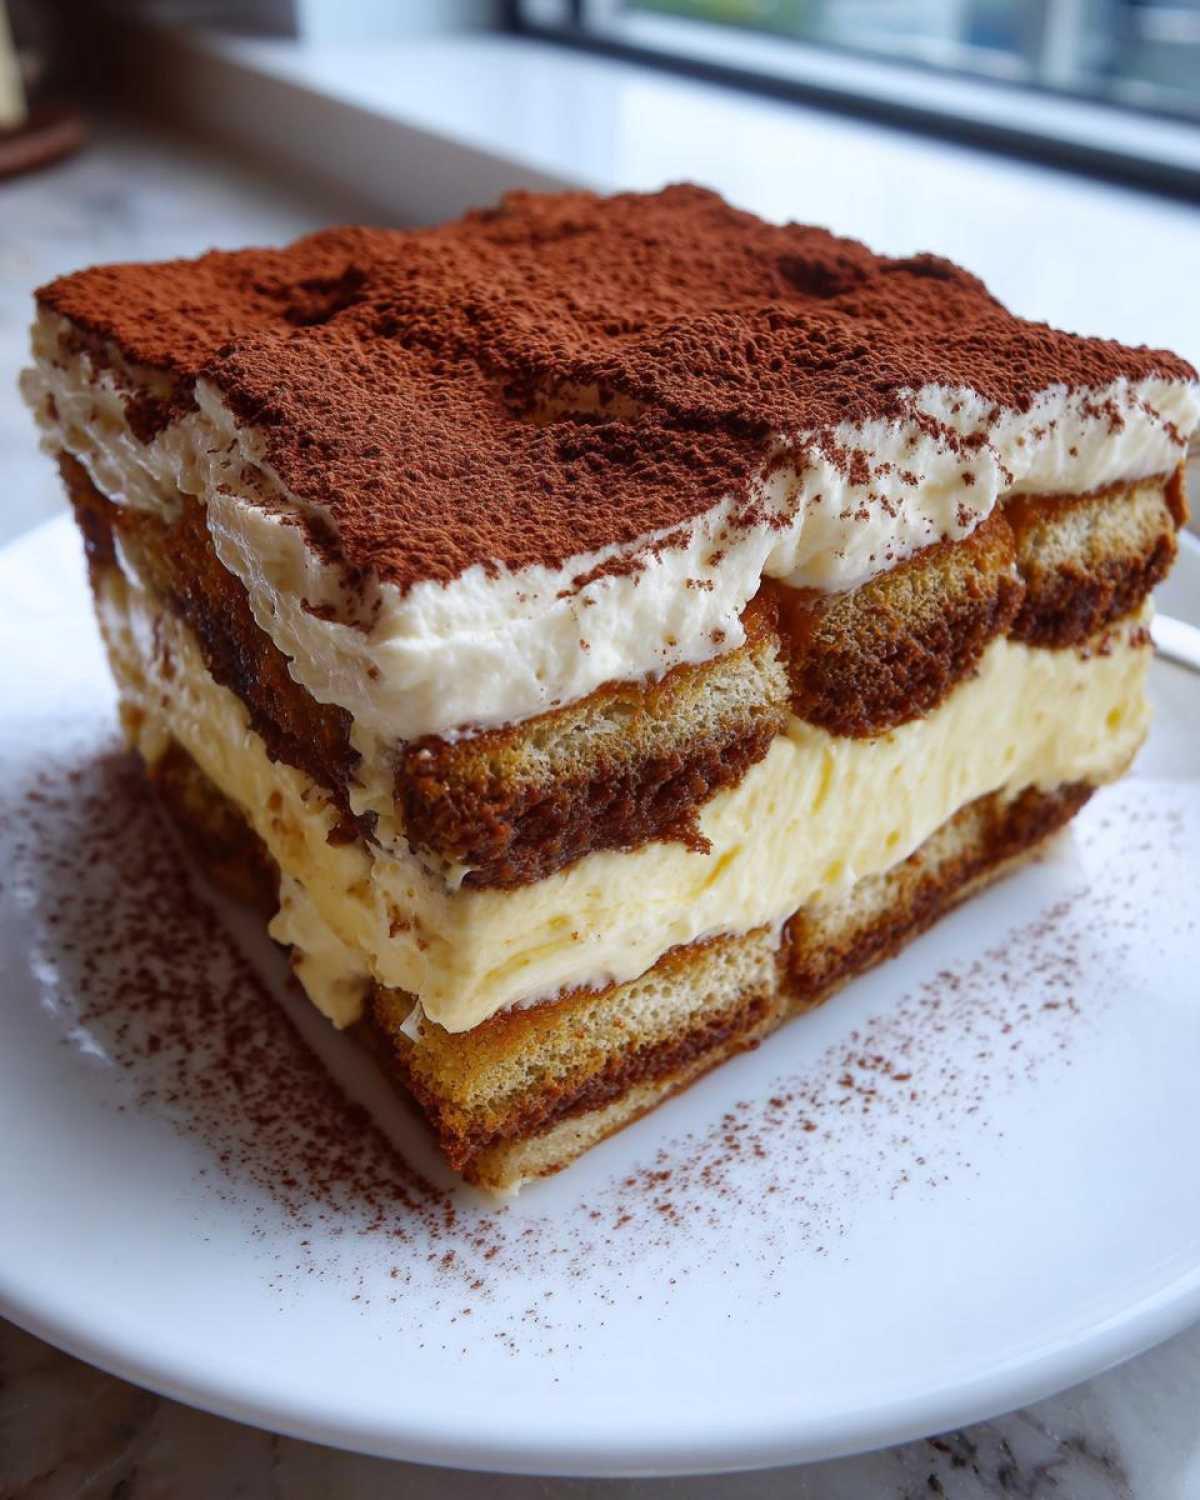
This step determines if you get those amazing, velvety tiramisu layers or a heavy brick. Once your mascarpone base is mixed with the yolks/cream and sugar, you need to be super careful folding in that whipped heavy cream. Use a big spatula and cut down the middle, then scoop up the side—repeat. You must be gentle! You’re folding air into the richness. Stop mixing the very second you see no more white streaks. That airiness is what makes this cream so fantastic.
Making Ahead Dessert: Chilling and Setting Your Tiramisu Recipe
Listen, if you’re looking for a party dessert that lets you relax the day of the event, this is it! This is absolutely a champion make ahead dessert. Why? Because you *have* to chill it. This isn’t optional, trust me. This resting time does two huge things you can’t skip if you want the best results.
First, chilling lets those espresso-soaked ladyfingers fully hydrate the cream around them. The textures start to marry! Second, and this is vital for structural integrity, that mascarpone filling needs time to firm up. If you try to slice it warm from the fridge, you’ll just end up with a messy puddle.
You asked for my timeline? You need a minimum of six hours. That’s enough time to get it somewhat set for a late dinner. But if you want it to taste truly authentic—like it’s been served in Rome—you need to let this tiramisu recipe sit overnight. Seriously, the flavors deepen so much it tastes like a completely different, more complex dessert the next day. Cover it tight so it doesn’t pick up any odd fridge smells, and let patience work its magic!
Serving Suggestions for This Authentic Italian Dessert
Okay, the hard work is done! We’ve chilled it, we’ve waited patiently, and now it’s time to present this gorgeous creation. Getting the final look right turns this simple assembly into something truly show-stopping for any dinner party. Honestly, this authentic Italian dessert is always the star of the show, no matter what else I put out. If you’re looking for other impressive yet hands-off recipes, my quick homemade chicken gravy recipe might surprise you with how easy it is!
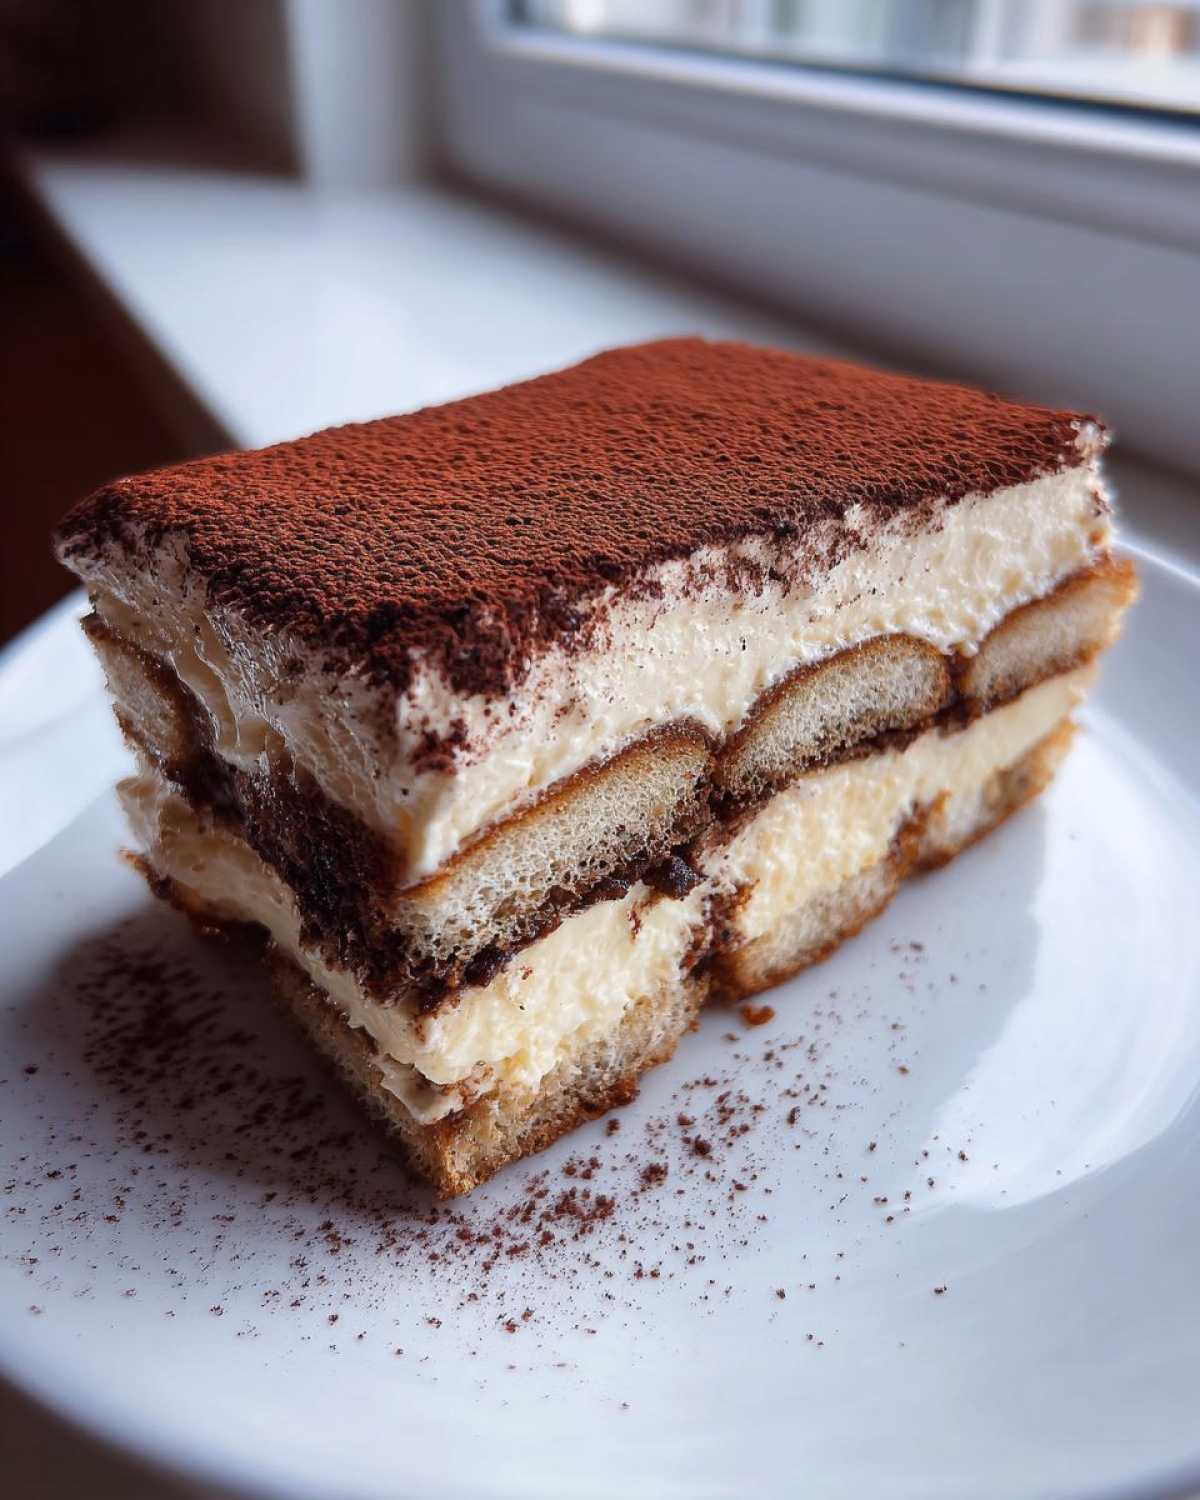
The presentation is all about that final dusting. You absolutely must use unsweetened cocoa powder for this—not chocolate shavings or powdered sugar. Get yourself a really fine-mesh sieve. Hold it high above the dish and tap it gently. We want a blanket of dark, matte cocoa across the top—it’s the classic look and it cuts through the sweetness of the cream perfectly. It really makes it feel like a proper traditional tiramisu.
When serving this chocolate dusting dessert, think about what you’re having afterwards. Tiramisu pairs beautifully with a final sip of strong, black coffee—it enhances the espresso flavor in the layers. Or, if you’re feeling sophisticated, a tiny glass of quality amaretto or a nice dark grappa is the perfect digestive to go alongside this rich, creamy mascarpone dessert. Just cut neat squares—it slices much better when it’s fully chilled—and serve immediately!
Storage and Reheating Instructions for Homemade Tiramisu
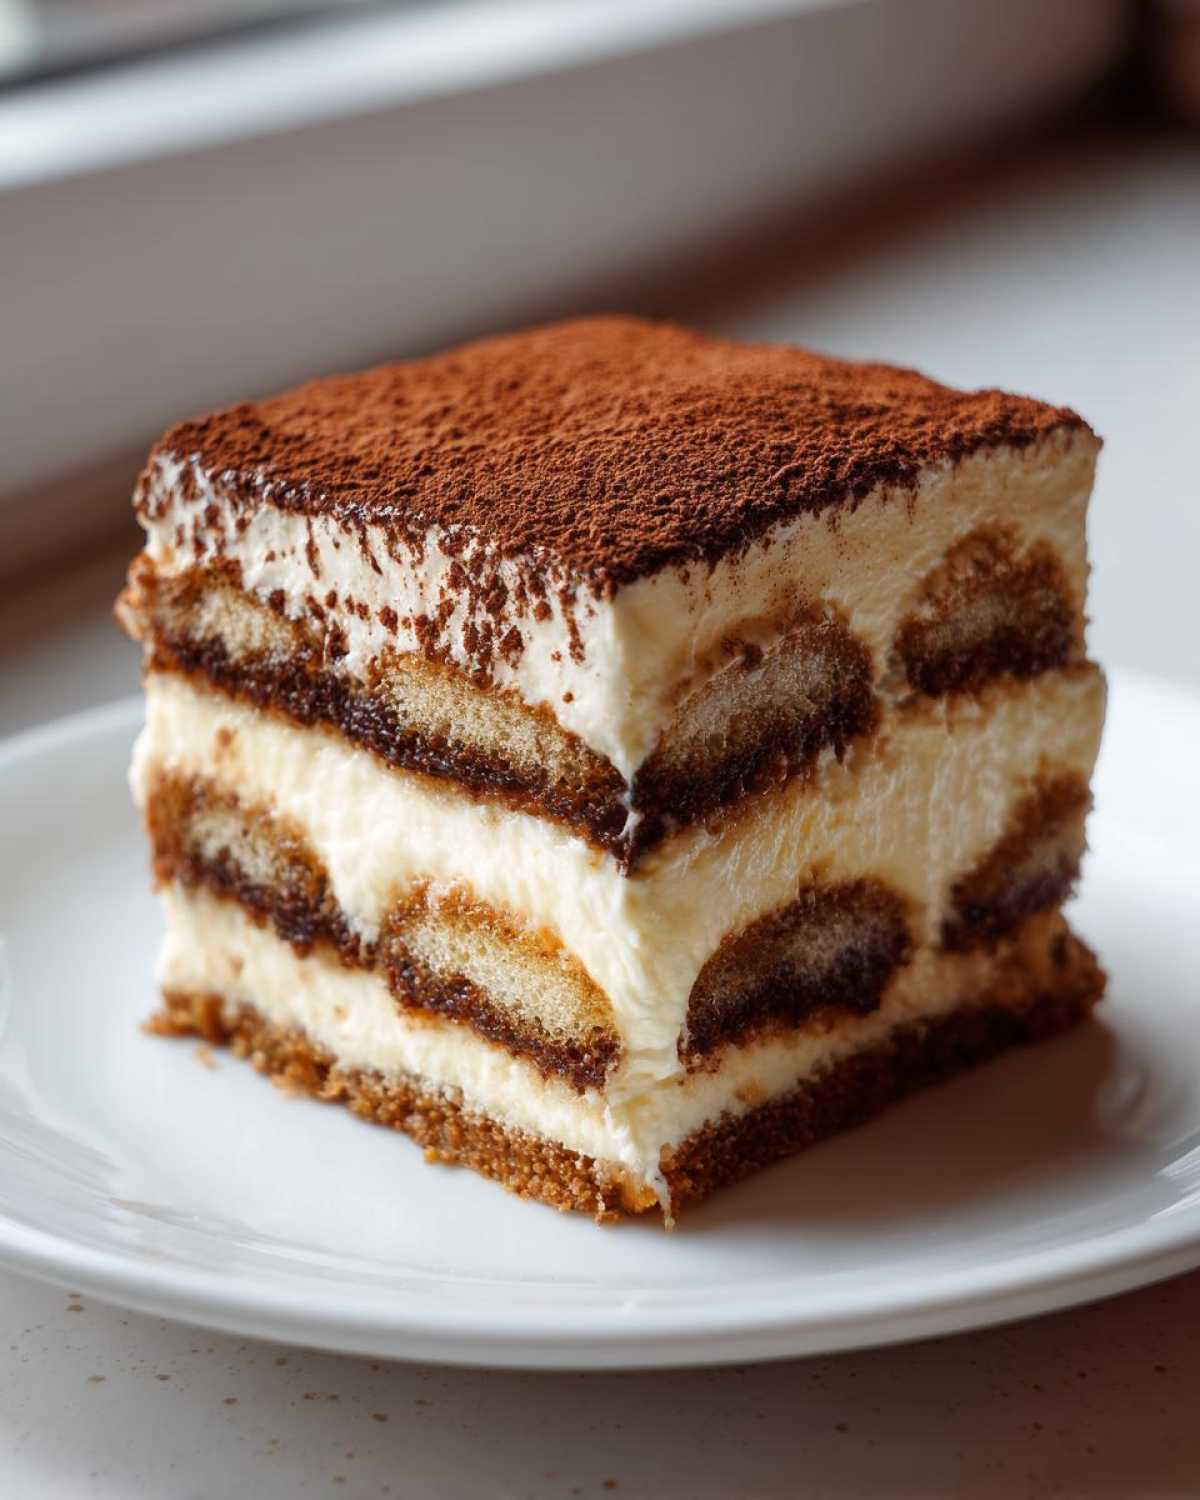
This is another huge win for this homemade tiramisu: cleanup happens fast, and leftovers—if you even *have* any—are fantastic! Since this whole wonderful dessert relies on the mascarpone and cream being cold and firm, you store it exactly how you set it: in the fridge.
Cover your dish tightly with plastic wrap. I mean *tightly*! You don’t want any stray smells from the fridge sneaking into your beautiful Italian creation. I’ve found the lifespan is pretty good too. Because it’s so rich and the alcohol acts as a small preservative, you can usually keep it perfectly delicious for three to four days tucked away in the cold.
Now, a quick word on reheating. Since this is a glorious, no-bake wonder, we never, ever heat it up! Heating it would turn that gorgeous, whipped texture into soup, and nobody wants sad, soupy tiramisu. This dessert is meant to be served chilled—pull it out about 15 minutes before you plan to slice it so it isn’t rock hard, but keep it cool. It’s meant to be refreshing, like a cool bite of heaven after a big meal. If you’re planning a big bake later on, check out these lovely classic buttermilk scones recipes for morning treats!
Troubleshooting Common Issues with Your Tiramisu Recipe
Don’t you just hate it when a recipe you were so excited about goes a little sideways? I’ve been there plenty of times, even with something as simple as this tiramisu recipe. The good news is that most Tiramisu problems come down to two things: too much liquid or not enough cooling time. Don’t sweat it; we can fix almost anything!
If you find your layers looking a little sloppy or runnier than you’d like, I can usually tell you exactly what happened before you even ask. It means the air we worked so hard to fold into that mascarpone cream decided to deflate! This usually happens because we either didn’t whip the heavy cream stiffly enough at the start, or we folded it too vigorously into the mascarpone mix. Remember what I said about stopping when you see no more white streaks? That’s your golden rule there!
Another disaster zone for this Italian coffee dessert is sogginess. If your bottom layer is mushy, you let your ladyfingers hang out in the espresso bath for just one second too long. They soak up coffee fast, like little sponges! The moment they look saturated, they need to come out. It’s better to under-dip than over-dip, always.
If your dessert is just too soft even after chilling, it means your mascarpone wasn’t completely firm when you started assembling, or you rushed that chill time. This dessert relies completely on the cold to firm up those velvety tiramisu layers. Check out my creamy Italian sausage soup recipe if you need something that holds its shape straight out of the pot!
And finally, if your finished dessert tastes overly bitter? That’s usually the cocoa powder. Make sure you are using the unsweetened stuff, and don’t be tempted to skip the sugar in the cream layer. That sweetness is what balances out the intense dark coffee flavor. It takes practice, but trust me, mastering this tiramisu recipe becomes second nature fast!
Frequently Asked Questions About This Tiramisu Recipe
I know you might have a few nagging thoughts before you dive in, so let’s squash those common questions right now. We want you to succeed with your first batch of this easy tiramisu recipe!
Can I use instant coffee instead of brewed espresso?
Yes, you absolutely can, especially if you need quick Italian sweets! Just make sure you’re using a high-quality instant espresso powder, not regular instant coffee. You want that dark, concentrated punch. Dissolve about 2 heaping teaspoons in the required amount of hot water, let it cool completely, and it works wonderfully. It’s a great trick when you’re short on time.
Is this Tiramisu safe if I skip the pasteurized eggs or heavy cream swap?
Because this is the specific tiramisu without raw eggs version, safety is built-in! We aren’t relying on tempering yolks for structure; we rely on the cold heavy cream. If you choose to use the raw egg yolks anyway (maybe you prefer the traditional rich mouthfeel), you must make sure those yolks are pasteurized for safety. Otherwise, stick to the cream method—it’s foolproof for a creamy mascarpone dessert!
Can I freeze leftover homemade Tiramisu?
Technically, yes, you can freeze it, but I rarely recommend it for this specific recipe. Freezing and thawing ruins the beautiful, delicate texture of the whipped cream in the filling. It gets watery and grainy. This recipe is designed to be a make ahead dessert that sits in the fridge, not the freezer. If you have leftovers, just enjoy them cold over the next few days!
Why do my ladyfingers get soggy halfway through the dish?
That’s the classic rookie mistake! We cover this in the instructions, but seriously, treat those espresso soaked ladyfingers like they are made of tissue paper. A quick dip, one second per side! If they absorb too much liquid, they break down when you try to layer them, and the moisture seeps into the cream, making everything weep. Be quick, be brave, and pull them out fast. If you need a comforting break after mastering this, you might enjoy my Italian penicillin soup recipe!
Estimated Nutritional Data for This Quick Italian Sweets Recipe
Okay, now let’s be honest, nobody is making tiramisu because they’re counting calories, right? This is a celebratory, special occasion treat, an amazing quick Italian sweets entry, and it’s rich! But for those of you who like to keep a general idea, I pulled the numbers from my calculations. Keep in mind these figures are just estimates for a slice size based on the recipe yields.
This data is based on the recipe making 8 generous servings, assuming you used the heavy cream substitute instead of egg yolks. If you use the full yolks and liqueur, the counts might shift slightly, especially the cholesterol!
- Serving Size: 1 slice
- Calories: Approximately 450
- Total Fat: About 32g (Be aware that 19g of that is Saturated Fat—hello, mascarpone!)
- Carbohydrates: Around 35g
- Protein: Roughly 8g
- Sugar: This clocks in around 30g, which is expected in a dessert this luxurious.
See? Decadent! But look how much flavor you get for that count. It’s worth every bite. Enjoy this amazing dessert without worrying too much about the numbers!
PrintEasy, Authentic No-Bake Tiramisu Recipe Without Raw Eggs

Make a rich, creamy, and authentic Italian tiramisu without using raw eggs. This no-bake dessert features espresso-soaked ladyfingers layered with a smooth mascarpone cream, perfect for making ahead.
- Prep Time: 30 min
- Cook Time: 0 min
- Total Time: 6 hours 30 min
- Yield: 8 servings
- Category: Dessert
- Method: No-Bake/Chilling
- Cuisine: Italian
- Diet: Vegetarian
Ingredients
- 1 cup strong brewed espresso, cooled
- 2 tablespoons coffee liqueur or dark rum (optional)
- 2 large egg yolks (pasteurized if concerned about raw eggs, or substitute with 1/2 cup heavy cream whipped stiffly)
- 1/2 cup granulated sugar
- 1 teaspoon vanilla extract
- 16 ounces mascarpone cheese, softened
- 1 1/2 cups heavy whipping cream, cold
- 1 package (7 ounces) ladyfingers (Savoiardi)
- Unsweetened cocoa powder, for dusting
Instructions
- Mix the cooled espresso and liqueur (if using) in a shallow dish. Set aside.
- In a medium bowl, whisk the egg yolks and sugar until pale and thick. Whisk in the vanilla extract.
- In a separate large bowl, whip the cold heavy cream until stiff peaks form.
- In another bowl, gently mix the softened mascarpone cheese until smooth. Fold the egg yolk mixture into the mascarpone until just combined.
- Gently fold the whipped cream into the mascarpone mixture until no streaks remain, creating the creamy filling.
- Quickly dip each ladyfinger, one at a time, into the espresso mixture. Do not soak them too long or they will become soggy.
- Arrange a single layer of dipped ladyfingers in the bottom of an 8×8 inch baking dish or similar serving dish.
- Spread half of the mascarpone cream evenly over the ladyfingers.
- Repeat the layers: a second layer of dipped ladyfingers, followed by the remaining mascarpone cream.
- Cover the dish with plastic wrap and refrigerate for at least 6 hours, or preferably overnight, to allow the dessert to set.
- Before serving, use a fine-mesh sieve to generously dust the top layer with cocoa powder.
Notes
- For a richer flavor, use freshly brewed, very strong espresso.
- If you skip the alcohol, add 1 teaspoon of almond extract to the espresso for complexity.
- This dessert tastes best when made one day in advance, allowing the flavors to fully meld.
- Use pasteurized egg yolks or the heavy cream substitute to avoid concerns about raw eggs.
Nutrition
- Serving Size: 1 slice
- Calories: 450
- Sugar: 30
- Sodium: 80
- Fat: 32
- Saturated Fat: 19
- Unsaturated Fat: 13
- Trans Fat: 1
- Carbohydrates: 35
- Fiber: 1
- Protein: 8
- Cholesterol: 150