

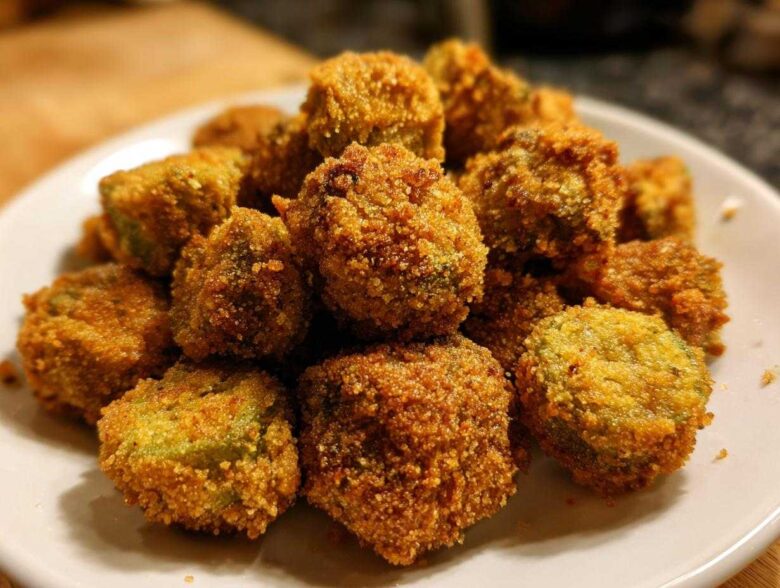
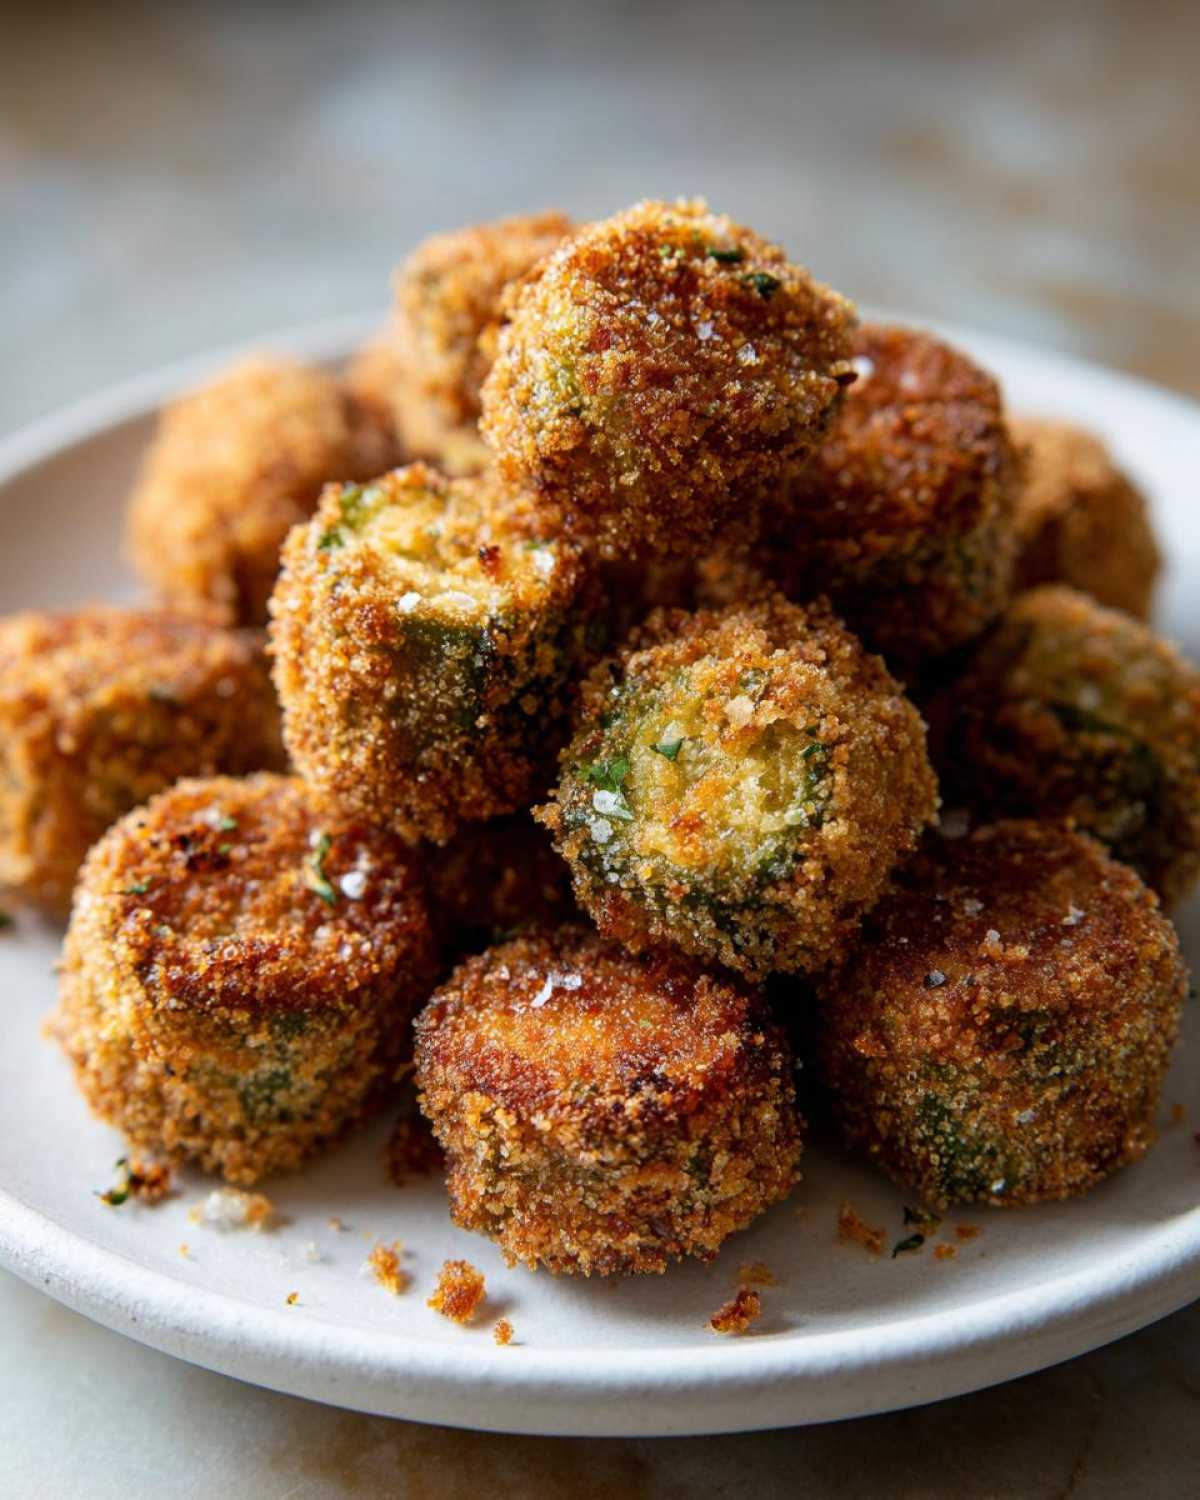
Oh, honey, let’s talk about okra. For too long, folks have been scared away from this little green jewel because of the dreaded slime factor! But I’m here to put those fears to rest forever. Forget gummy, sad okra. We are making the *best* Southern fried okra you have ever tasted—the kind that snaps when you bite into it. Seriously. After years of trying every method under the sun, I landed on this foolproof technique for perfect fried okra that gives you that incredible, pure crunch every single time. If you want true Southern comfort food on a plate, you absolutely need this traditional fried okra recipe in your life. Get ready for golden perfection!
Why This is the Best Southern Fried Okra Recipe
What makes this recipe the absolute best southern fried okra? It completely solves the biggest problem: sliminess! So many recipes just jump straight to seasoning and frying, and of course, you end up with a mushy mess. No thank you! My method is all about preparation. We use a simple buttermilk soak, which is the secret to knowing how to fry okra without slime. That soak, paired with the hearty cornmeal dredge, acts like a shield around each little piece. If you love that fantastic crunch you find in the best Southern cheddar cheese straws, you’ll get that same satisfying snap here!
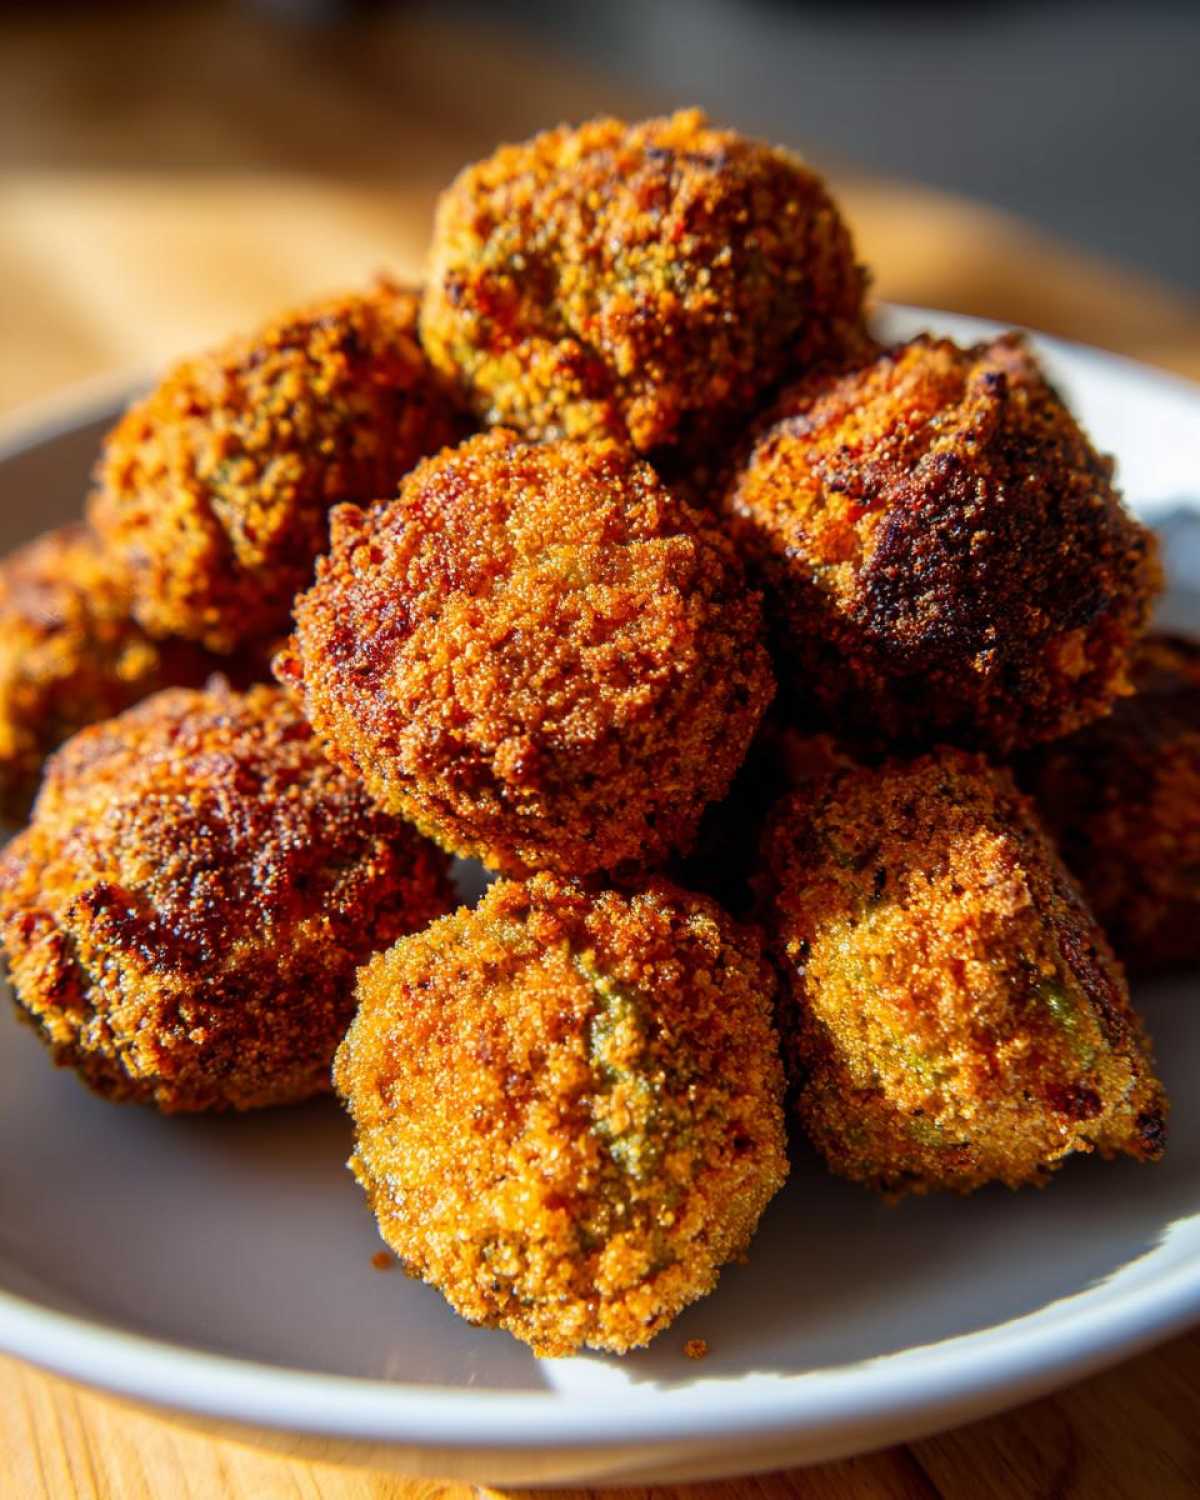
When that coated okra hits the hot fat, the shield hardens instantly. It’s magic! You get that satisfying crunch on the outside and tender, fully cooked okra inside, not that weird, gooey texture we’re trying to avoid. This technique guarantees a deeply flavorful, perfectly structured side dish every time you try it. You’ll be amazed at how easy it is!
The Secret to Crispy Fried Okra Texture
The texture truly comes down to those first two steps: buttermilk first, cornmeal second. The buttermilk tenderizes the vegetable just enough while the acid somehow protects the pod walls from breaking down and releasing that infamous mucilage. After the soak, the okra is ready for its coat. I use a mix that is heavy on yellow cornmeal because that’s what gives you that authentic, thick, and crunchy crust.
When you press that coating on, you’re building insulation. If you really want to go above and beyond for an extra sturdy jacket, try the double-dredge method I left in the notes—it makes for the most shatteringly crisp pieces. This careful layering ensures you get that beautiful golden brown fried okra finish that screams real Southern cooking!
Ingredients for Perfect Crispy Fried Okra
Now that you know the technique, let’s talk about what you need to gather. Don’t try to substitute these! The magic of this recipe relies on having the right ratios of the dry dredge against that wonderful buttermilk bath. You’ll see I’ve got a link to my buttermilk scone recipe if you need a backup batch, but stick to this list for your okra!
- 1 pound fresh okra, sliced into 1/2-inch rounds
- 1 cup buttermilk
- 1 cup yellow cornmeal
- 1/2 cup all-purpose flour
- 1 teaspoon salt
- 1/2 teaspoon black pepper
- Vegetable oil, for frying (you’ll need about an inch depth in your skillet)
Make sure that okra is truly fresh; frozen okra just won’t give you the same superb crunch we are hunting for here. Having everything measured and ready before you start soaking is key to this being an easy skillet fried okra experience!
How to Prepare Easy Homemade Fried Okra
Okay, get your pots and pans ready because we are making this easy homemade fried okra happen! This process moves quickly once the okra is done soaking, so you want everything else ready to go—your dredging station assembled, your oil heating up, and your draining rack waiting patiently. This is the blueprint for getting great, easy skillet fried okra. Just follow these steps, and you’ll be taking crispy bites in no time. Before we get to the fryer, remember to check out my recipe for easy ground beef stovetop chili sometimes when you need a quick main course to go with this side!
Prepping the Okra and Buttermilk Soak
First things first, you have to wash and then thoroughly dry those okra slices. I mean it—dry them well! Moisture is the enemy of crispiness, but paradoxically, we are about to dunk them in liquid. Go ahead and toss those prepared slices into a bowl and cover them completely with the buttermilk. Now, this is crucial: let them chill out for at least 30 minutes. This soak is what performs that kitchen wizardry to stop the slime factor dead in its tracks. Don’t rush it; that time is what makes the coating stick beautifully later!
Achieving the Ultimate Cornmeal Breaded Okra Coating
While the okra is soaking, whisk together your cornmeal, flour, salt, and pepper in a shallow dish. This is your crispy armor! When the 30 minutes are up, pull the okra out of the buttermilk. Don’t rinse them! Just let the excess drip off a bit. Then, working in small batches, drop the wet okra right into that cornmeal mix. You must press the coating onto every piece!
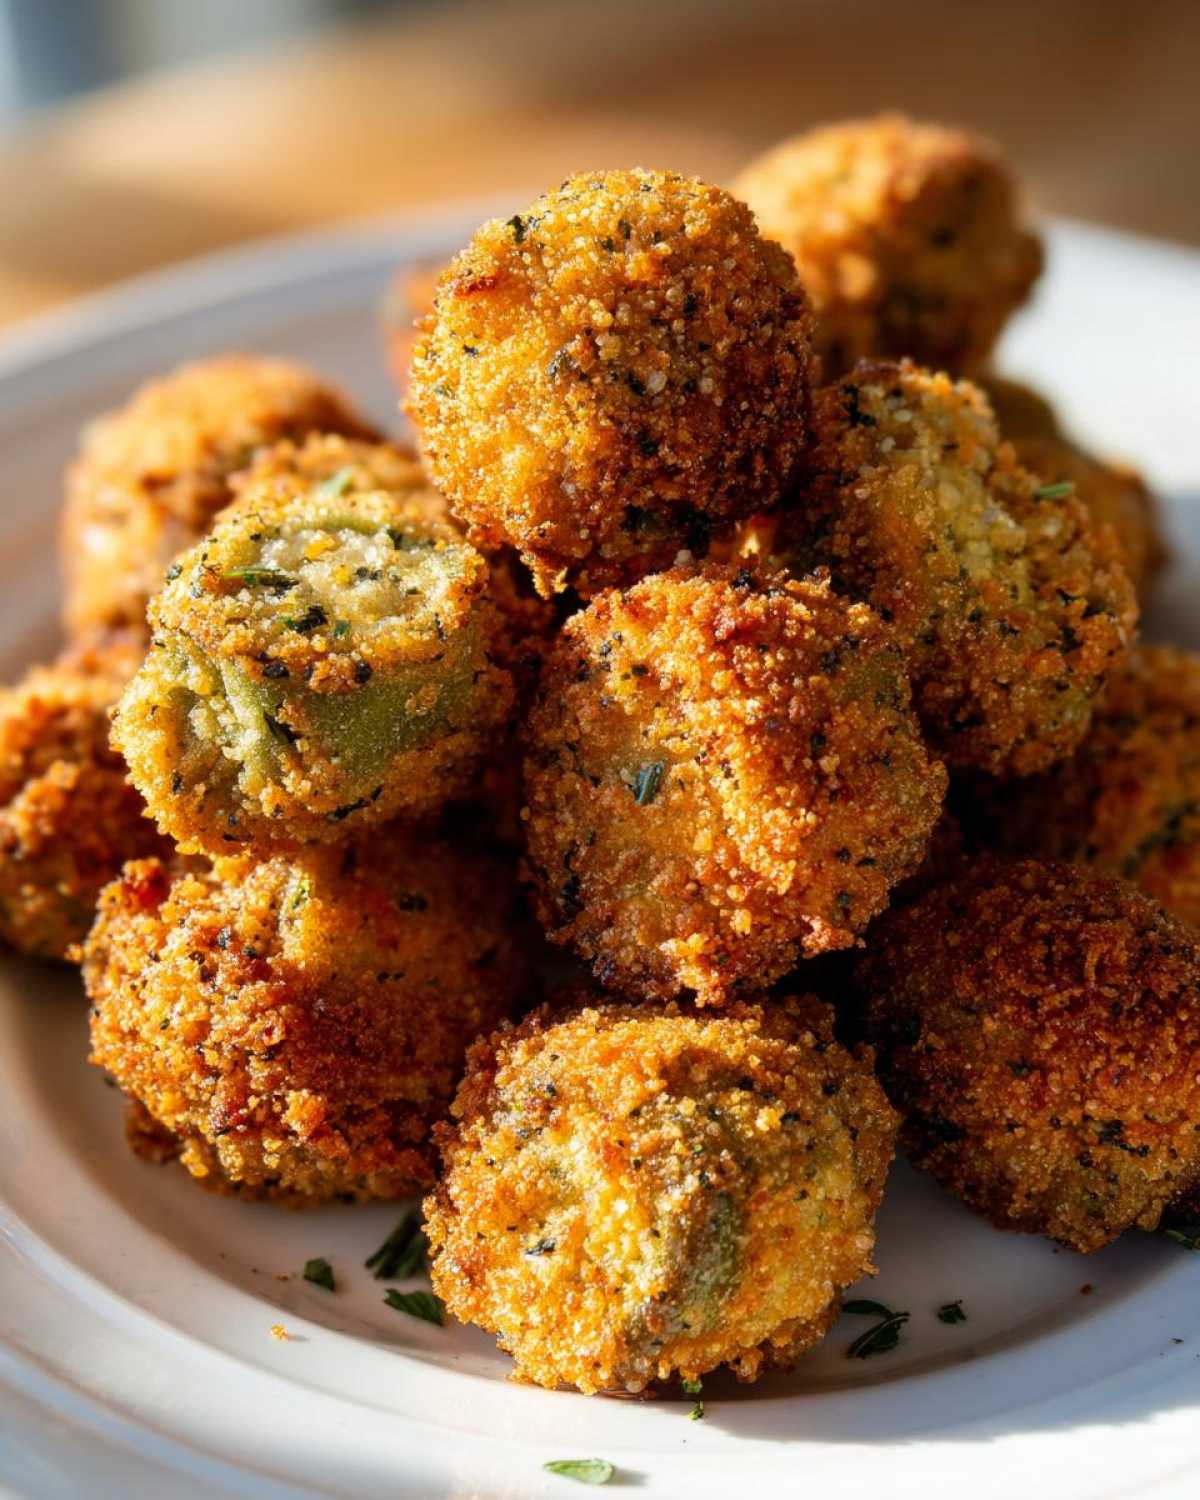
Remember that expert tip I mentioned? If you want that truly shatterproof, crispy crust—the kind that never gets soggy—dip the coated okra back into any remaining buttermilk *briefly*, and then dredge it one last time in the cornmeal mix. That double layer seals the deal on flavor and crunch!
Frying Technique for Golden Brown Fried Okra
Time for the sizzle! You absolutely need your vegetable oil to hit 375 degrees F (190 degrees C). If you don’t have a thermometer, drop a little sprinkle of cornmeal in—if it sizzles hard instantly, you’re good to go! Carefully lower your coated okra into the hot oil, but please, don’t cram the pan full. Work in batches! Overcrowding drops the temperature, and suddenly you’re boiling the okra instead of frying it, which ruins the crunch.
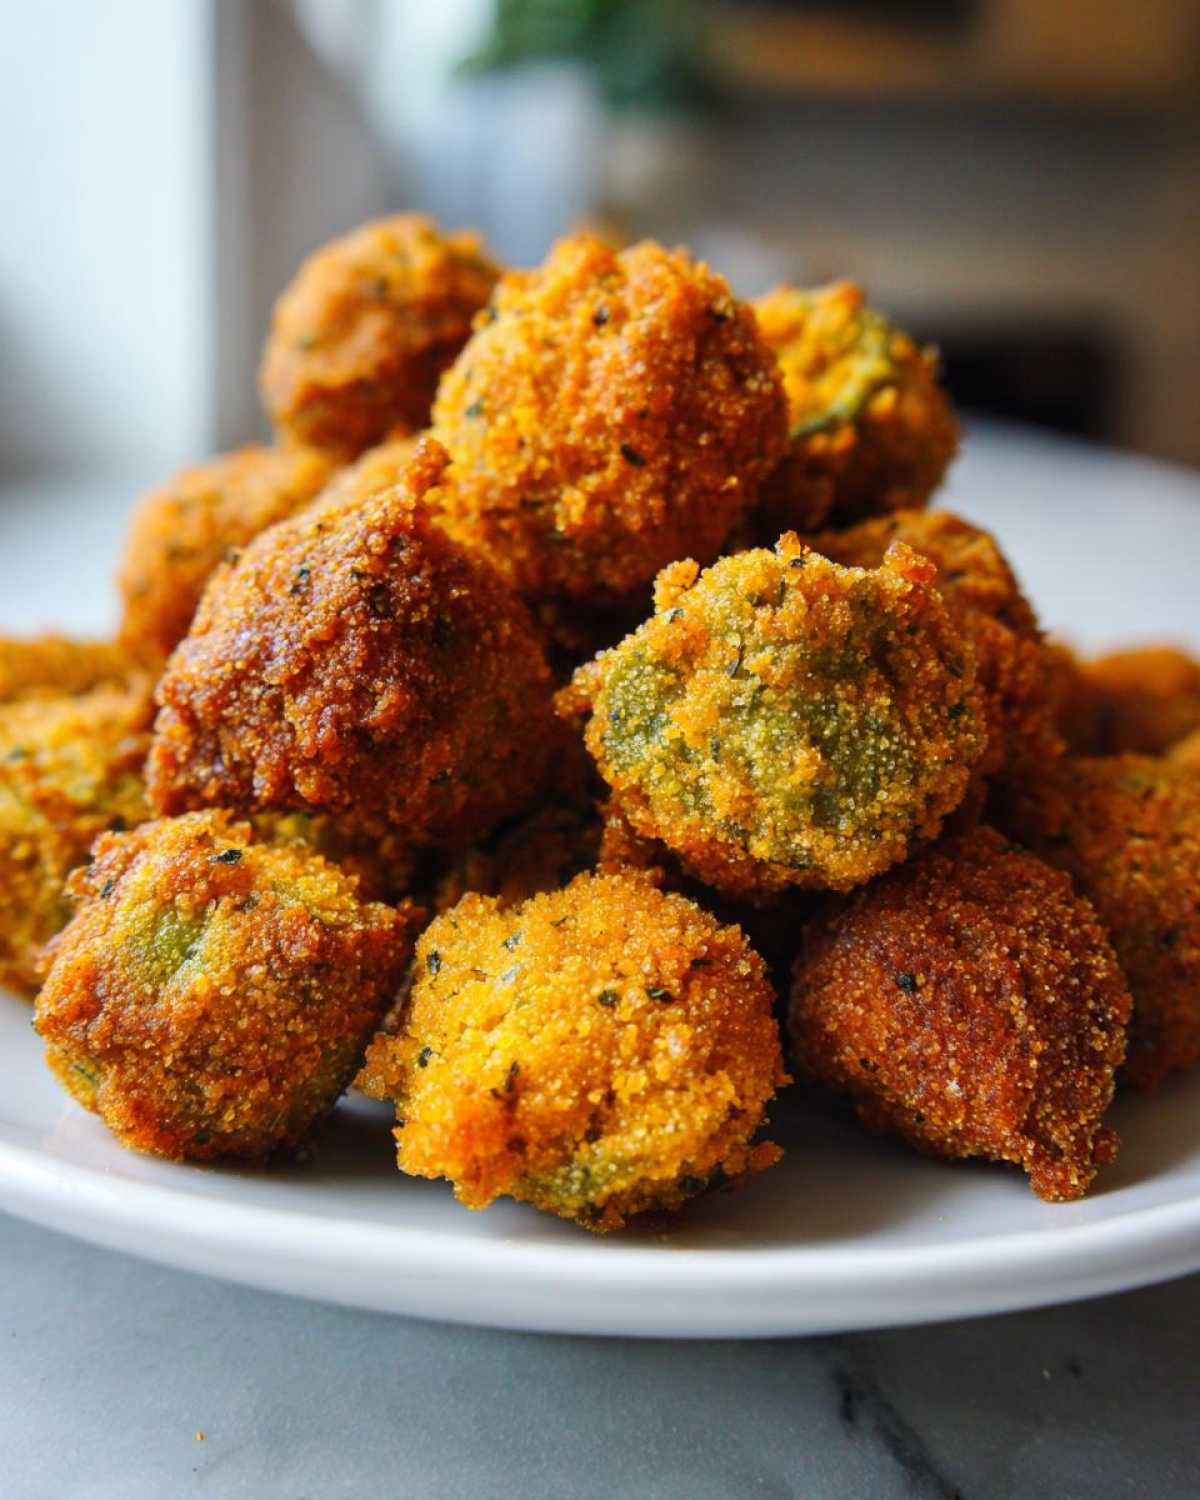
Let them fry for about 3 to 4 minutes total. Just keep them turning until they are perfectly golden brown fried okra goodness all over. Scoop them out with a slotted spoon, and get them straight onto some paper towels or a wire rack so all that extra oil can escape. Serve immediately while they are piping hot and crunchy!
Tips for Success with Traditional Fried Okra Recipe
You followed the steps, but maybe you want that professional edge when making your traditional fried okra recipe? I get it! These little tweaks are what separate the good batches from the legendary ones. Listen, the rule about fresh okra versus frozen is non-negotiable for that perfect snap. Frozen okra just holds too much internal moisture, and no amount of buttermilk can fully conquer that sadness once it hits the oil. Stick to fresh if you can!
If you’re frying like my Grandma used to, meaning no fancy thermometer resting by your skillet, use that cornmeal sizzle test. That immediate, happy sizzling sound tells you the oil is hot enough to crisp that coating instantly. And for the grand finale? If you want a coating that truly stands up to dipping sauces, definitely try that double-dredge I mentioned earlier—you won’t regret the extra second of work for that insurance policy against sogginess. Check out my general blog for more essential kitchen wisdom!
Serving Suggestions for Your Fried Okra Side Dish
Once you have these beautiful, crispy pods ready, figuring out what to serve them with is the fun part! Because this is such an iconic southern comfort food side dish, it pairs perfectly with hearty meals. Think classics—a beautifully pan-seared pork chop, slow-cooked barbecue brisket, or maybe even some rich, creamy grits.
The slight tang from the buttermilk soak and the gorgeous saltiness of the cornmeal crust really cut through the richness of those heavier mains. They work just as well plopped right on top of a shrimp and grits bowl for texture! If you’re looking for another comforting companion dish, you absolutely have to try my recipe for creamy garlic white pizza with ricotta sometime. Honestly, these crunchy guys are addictive enough to be an appetizer all on their own, too!
Storage and Reheating Fried Okra
Look, if you can eat this crunchy goodness right away, please do! Seriously, the moment they cool down, they start losing that magical snap. If you must save some for later, try to let them cool completely on the rack before thinking about storage, because trapped steam equals instant mush.
Don’t even think about putting them in the fridge in a sealed container; that’s a recipe for disappointment. If you have leftovers, the best way to bring back the crunch is to use your oven or, even better, your air fryer for just a few minutes at about 375 degrees. That dry heat revitalizes that cornmeal crust perfectly. For another amazing leftover idea, you might want to check out my easy apple crumble recipe; that reheats beautifully!
Frequently Asked Questions About Crispy Fried Okra Recipe
I know when you’re trying a new recipe, especially one that tackles a tricky vegetable like okra, questions pop up. It’s totally normal! Let’s knock out the common hiccups so you can get straight to making that amazing side dish. If you’re still wondering about the best way to serve this, my quick homemade chicken gravy is just the ticket!
Can I use frozen okra for this recipe?
Oh, I really wish you could, but honestly, no. For true, shatteringly crispy fried okra, you really need fresh okra. Frozen okra holds way too much ice crystal moisture, and when that melts down in the oil, it basically steams the breading instead of frying it. You’re going to end up fighting the slime and sacrificing that crucial, crunchy texture we worked so hard for.
What kind of oil is best for frying okra?
You want a neutral, high smoke-point oil, plain and simple. Vegetable oil works perfectly fine for a traditional fried okra recipe, just like I listed. Canola oil is another excellent, affordable choice. The key thing isn’t the flavor of the oil, but making sure you have enough of it—at least an inch deep—and that it gets screaming hot (375°F!) before the okra touches the surface.
How long do I need to soak the okra in buttermilk?
You need at least thirty minutes; that’s my minimum recommendation for this crispy fried okra recipe. If you have time to prep in the morning, you can let it go for up to four hours in the fridge! The longer that buttermilk has to work its magic, the more guaranteed you are to have that perfectly coated, non-slimy result. Just remember to scrape off the excess before dredging!
Can I make this recipe gluten-free?
That’s a popular question! Yes, you totally can adapt this! You can swap out the all-purpose flour in the dredge for a 1-to-1 gluten-free baking blend, or heck, for the most authentic crunch, you could just use cornmeal and a small amount of rice flour or even skip the flour entirely and just use cornmeal! The buttermilk soak still does the heavy lifting.
Estimated Nutritional Data for Fried Okra
Before you start diving into these crunchy morsels, I always like to give a quick rundown on the numbers. Keep in mind, this information is just an estimate calculated based on the recipe yield in standard servings. Since we are using rich cornmeal and frying in oil, the fat content reflects that delicious, golden crispy coat!
- Calories: 350
- Total Fat: 25g (Includes 4g Saturated Fat)
- Carbohydrates: 30g, with 6g Fiber
- Protein: 5g
- Sodium: 550mg
This data covers one serving, which is 1/4 of the entire batch. Knowing the details helps you plan your meal, but trust me, these are worth every wonderful bite! For more legal details about how these numbers are calculated, feel free to check out our standard disclaimer page.
Share Your Experience Making This Fried Okra
Now that you’ve mastered the crunch, I absolutely need to hear about it! Did you achieve that perfect snap? Did the buttermilk trick finally banish the slime from your kitchen? Let me know in the comments below how your fried okra turned out!
Leave a rating and tell me what you served this incredibly satisfying quick vegetable side with. I love seeing your gorgeous photos! Don’t hesitate to reach out via my contact page if you have any last-minute questions. Happy frying, y’all!
PrintBest Southern Fried Okra Recipe

Make crispy, non-slimy fried okra using a simple buttermilk and cornmeal dredging method for a perfect Southern side dish.
- Prep Time: 15 min
- Cook Time: 15 min
- Total Time: 30 min
- Yield: 4 servings
- Category: Side Dish
- Method: Pan Frying
- Cuisine: Southern American
- Diet: Vegetarian
Ingredients
- 1 pound fresh okra, sliced into 1/2-inch rounds
- 1 cup buttermilk
- 1 cup yellow cornmeal
- 1/2 cup all-purpose flour
- 1 teaspoon salt
- 1/2 teaspoon black pepper
- Vegetable oil, for frying
Instructions
- Wash and thoroughly dry the okra slices. Place the sliced okra in a bowl and cover with buttermilk. Let it soak for at least 30 minutes. This step helps prevent sliminess.
- In a separate shallow dish, whisk together the cornmeal, flour, salt, and pepper.
- Remove the okra from the buttermilk, allowing excess to drip off, but do not rinse.
- Dredge the buttermilk-coated okra pieces in the cornmeal mixture, pressing lightly to coat completely. Shake off any excess coating.
- Pour about 1 inch of vegetable oil into a large, heavy-bottomed skillet. Heat the oil over medium-high heat until it reaches 375 degrees F (190 degrees C).
- Carefully add the coated okra to the hot oil in a single layer, working in batches to avoid overcrowding the pan.
- Fry for 3 to 4 minutes, turning occasionally, until the okra is golden brown and crispy.
- Remove the fried okra with a slotted spoon and place it on a wire rack or a plate lined with paper towels to drain excess oil.
- Serve immediately.
Notes
- For extra crispiness, you can double-dredge: coat the okra in the buttermilk mixture, dredge in the cornmeal mix, dip back into the buttermilk briefly, and then dredge again in the cornmeal mixture.
- If you do not have a thermometer, the oil is ready when a pinch of the cornmeal mixture dropped in sizzles immediately and floats.
- Use fresh okra for the best results; frozen okra tends to be slimier when fried.
Nutrition
- Serving Size: 1/4 of recipe
- Calories: 350
- Sugar: 5
- Sodium: 550
- Fat: 25
- Saturated Fat: 4
- Unsaturated Fat: 21
- Trans Fat: 0
- Carbohydrates: 30
- Fiber: 6
- Protein: 5
- Cholesterol: 15