

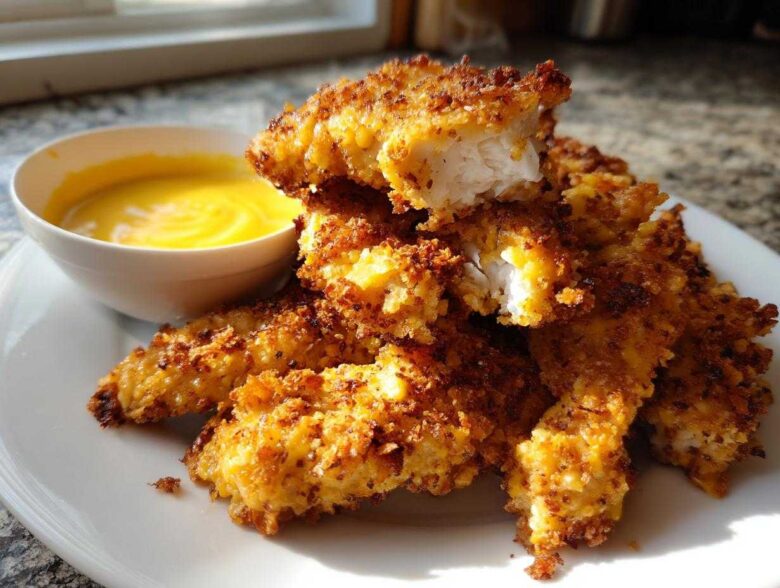
Okay, stop right there. If you think making restaurant-quality, genuinely Crispy Chicken Tenders with Honey Mustard at home means wrestling with two gallons of hot oil, you are absolutely wrong! I spent years perfecting this for my crowd; I wanted that snap, that crunch you crave, but without constantly feeling guilty about deep-frying. Trust me, after countless tests, I cracked the code.
This recipe is different because we are leaning hard into a double-dredge coating technique that locks in crunch whether you’re using an air fryer or a hot oven. You can read more about our kitchen philosophy over on the main blog page! We also pair those perfect tenders with the absolute best, tangy homemade honey mustard dip you’ll ever taste. You won’t just be making dinner; you’ll be winning appetizer night, every time.
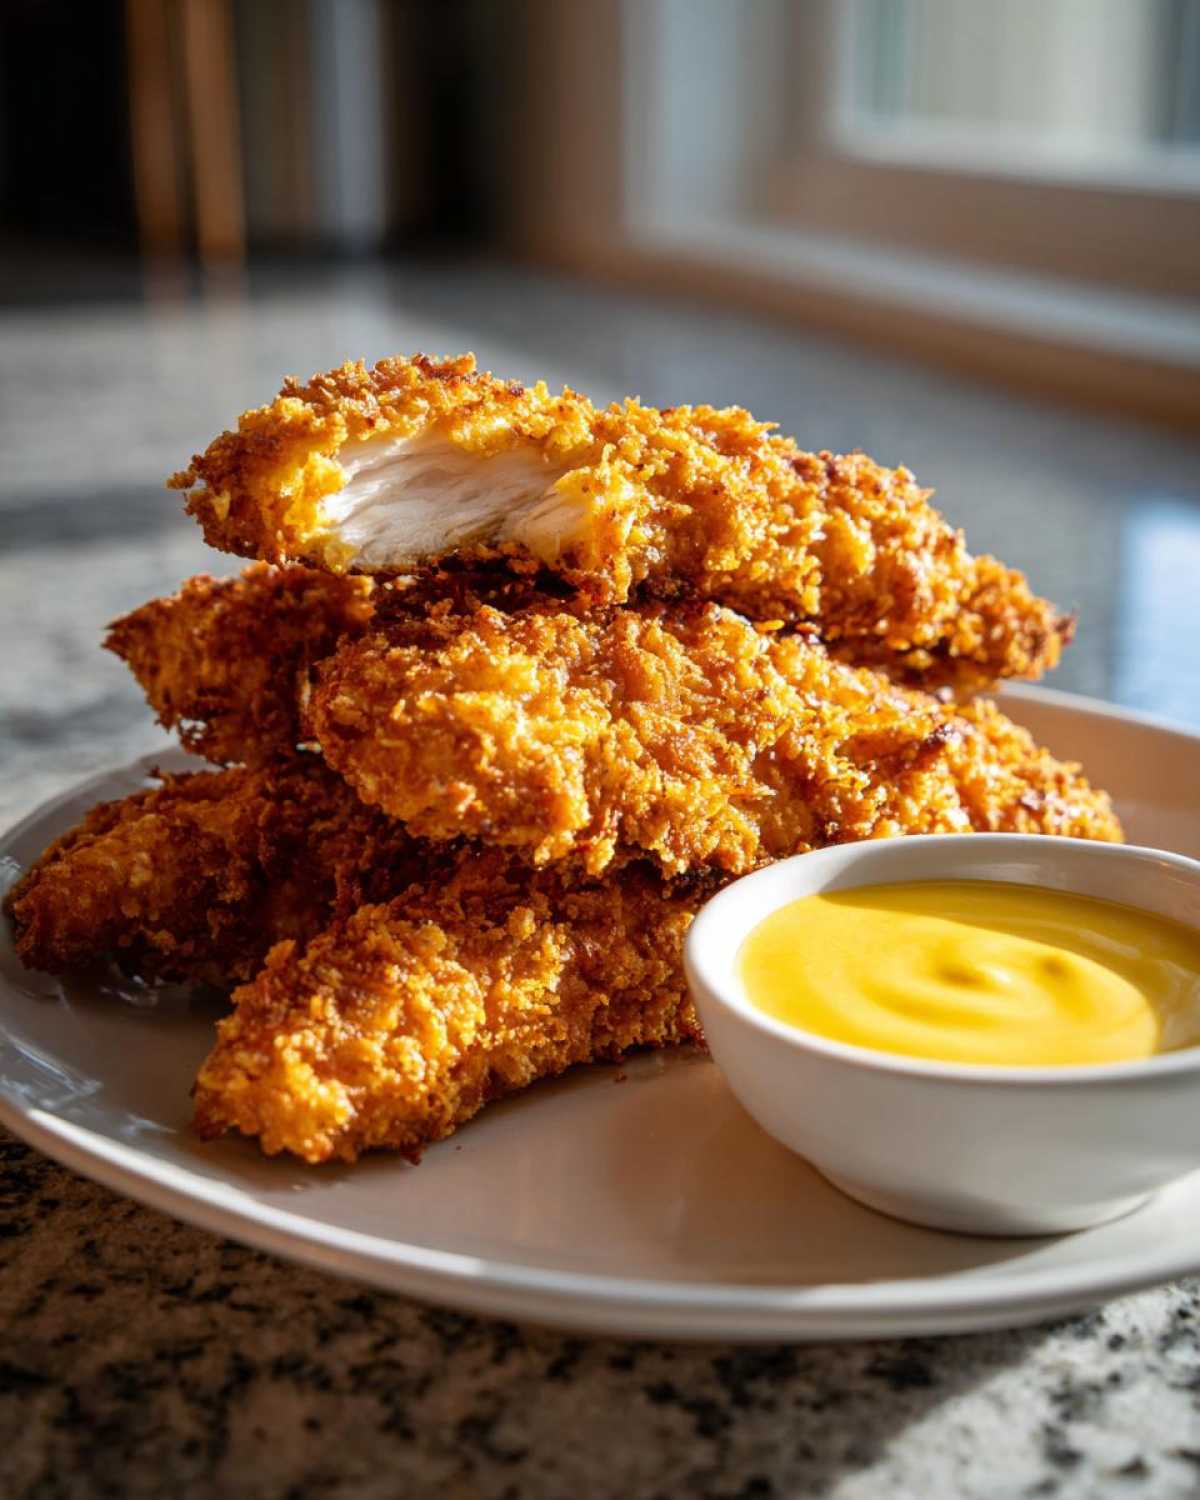
Why This Crispy Chicken Tenders with Honey Mustard Recipe Works
Honestly, folks, the difference between soggy disappointment and crackly heaven is all in the preparation, not the cooking method. I’ve done the hard work so you don’t have to test twenty different coatings!
- The secret is starting with chicken strips patted bone-dry. Seriously, moisture is the enemy of crispiness.
- We use a clever double-dip dredge that chains the coating tightly to the meat. We talk all about the exact Crispy Coating Technique Chicken needed below!
- And that sauce? It’s so much better than anything out of a jar, guaranteed.
Achieving the Ultimate Crispy Coating Technique Chicken
Here’s the quick science: We’re using three bowls so the breading sets up perfectly. First, we coat in seasoned flour—this dries the surface. Then the egg wash acts like super-glue. Finally, when we hit that Panko/flour mix for the second time, we really press it in. That double layer gives you that rugged, crunchy shield.
Tangy Honey Mustard Sauce Recipe Perfection
Forget that overly sweet stuff you find premade. Our quick homemade version shines because we balance the sweetness of honey with sharp Dijon mustard and a little bit of acidity from apple cider vinegar. The result is a truly Tangy Honey Mustard Sauce that cuts right through the richness of the tenders. It’s ready in two minutes flat!
Ingredients for Crispy Chicken Tenders with Honey Mustard
Getting the ingredients lined up is half the battle won! When I prep for these, I lay everything out in little bowls and make sure every measurement is exact. A well-measured dredge is key to getting that perfect crust, so don’t eyeball the flour!
If you want to see how I keep the chicken juicy *before* it even hits the breading, check out this guide on my ultimate all-purpose chicken marinade—though these tenders are great even without a pre-marination.
For the Best Homemade Chicken Tenders
We need three stations for our dredging process, so make sure you have enough space on your counter!
- 1.5 lbs boneless, skinless chicken breasts, cut into 1-inch strips (make sure they are uniform!)
- 1 cup all-purpose flour (for the first seasoned dredge)
- 1 teaspoon salt
- 1/2 teaspoon black pepper
- 1/2 teaspoon paprika (this gives it that lovely, subtle golden color)
- 2 large eggs, beaten with 1 tablespoon of water (this is our binding agent)
- 1.5 cups panko breadcrumbs (These are non-negotiable for crunch!)
- 1/2 cup all-purpose flour (for mixing with the panko)
- Cooking spray or 2 tablespoons oil (if you’re baking yours)
For the Homemade Honey Mustard Dipping Sauce Recipe
This is the easiest, tangiest sauce you’ll ever whip up. It really comes together while the chicken is doing its thing in the oven or air fryer.
- 1/2 cup mayonnaise (I prefer a good quality standard mayo for body)
- 1/4 cup Dijon mustard (don’t use yellow mustard here, we need that Dijon bite!)
- 2 tablespoons honey (use raw, local honey if you have it)
- 1 teaspoon apple cider vinegar (essential for that zing!)
- Pinch of salt
How to Prepare Crispy Chicken Tenders with Honey Mustard
Alright, here is where the magic happens! Before you even think about mixing anything, grab those chicken strips and pat them down. I mean it—use paper towels until they aren’t damp anymore. This is the number one trick for achieving Non Soggy Chicken Tenders, so please, don’t skip that wet-chicken massacre!
We are setting up three stations, just like the pros do. You’ll want a shallow dish for the seasoned flour, a second one for the egg wash, and a third dish containing your crucial Panko/flour mix. Read our guide on how to make crispy chicken strips for a visual guide on this setup!
Preparing the Chicken and Setting Up Dredging Stations
First, coat the dry strips in the seasoned flour, shake off anything that looks too thick. Next, give it a quick dunk in the egg wash—don’t let it soak, just a quick dip! The absolute most important part for that crunch is the final coating. Roll the strip in the Panko blend and press down firmly with your fingers. You really need to *cajole* that coating onto the chicken so it sticks tight through the cooking process.
Cooking Method 1: Oven Baked Fried Chicken Strips Tips
If you’re baking (which is great for a big batch!), crank your oven up to 400°F (200°C). Make sure you line your baking sheet with parchment paper and put a wire rack on top of that. Arranging the tenders on the rack lets air circulate underneath, which stops the bottoms from steaming themselves soggy! Lightly spray them with cooking spray until they shimmer, then bake for about 18 to 22 minutes total, remember to flip them halfway through. We’re looking for that magic 165°F internal temp inside, which means they are done and safe!
Cooking Method 2: Air Fryer Crispy Tenders Recipe Instructions
For the air fryer crowd, set your machine to 380°F (195°C). You MUST place these in a single layer—crowding the basket is a recipe for pale, soft tenders. Spray the basket lightly, drop in your coated strips without touching, and cook for 12 to 15 minutes. Midway through cooking, pull the basket out, flip the tenders, and give them another tiny spritz of oil. They crisp up so fast in there!
Mixing the Tangy Honey Mustard Sauce
While that wonderful baking smell fills your kitchen, focus on the dip! This is so quick. Just whisk the mayonnaise, Dijon, honey, and that little bit of apple cider vinegar in a small bowl together until they look creamy and perfectly smooth. Taste it! If you want more zing, add a tiny dash more vinegar. Set it aside, and you are ready to eat!
Tips for Success: Making Non Soggy Chicken Tenders
We’ve already talked about patting the chicken dry, which is step one hundred, but I want to dedicate a whole section to stopping sogginess in its tracks. No one wants a chicken tender that feels sad and floppy when you pick it up! If you follow these little rules, you can confidently boast about making the Best Homemade Chicken Tenders around. Seriously, these tips build my authority on the subject because they solve the biggest home-cooking problem.
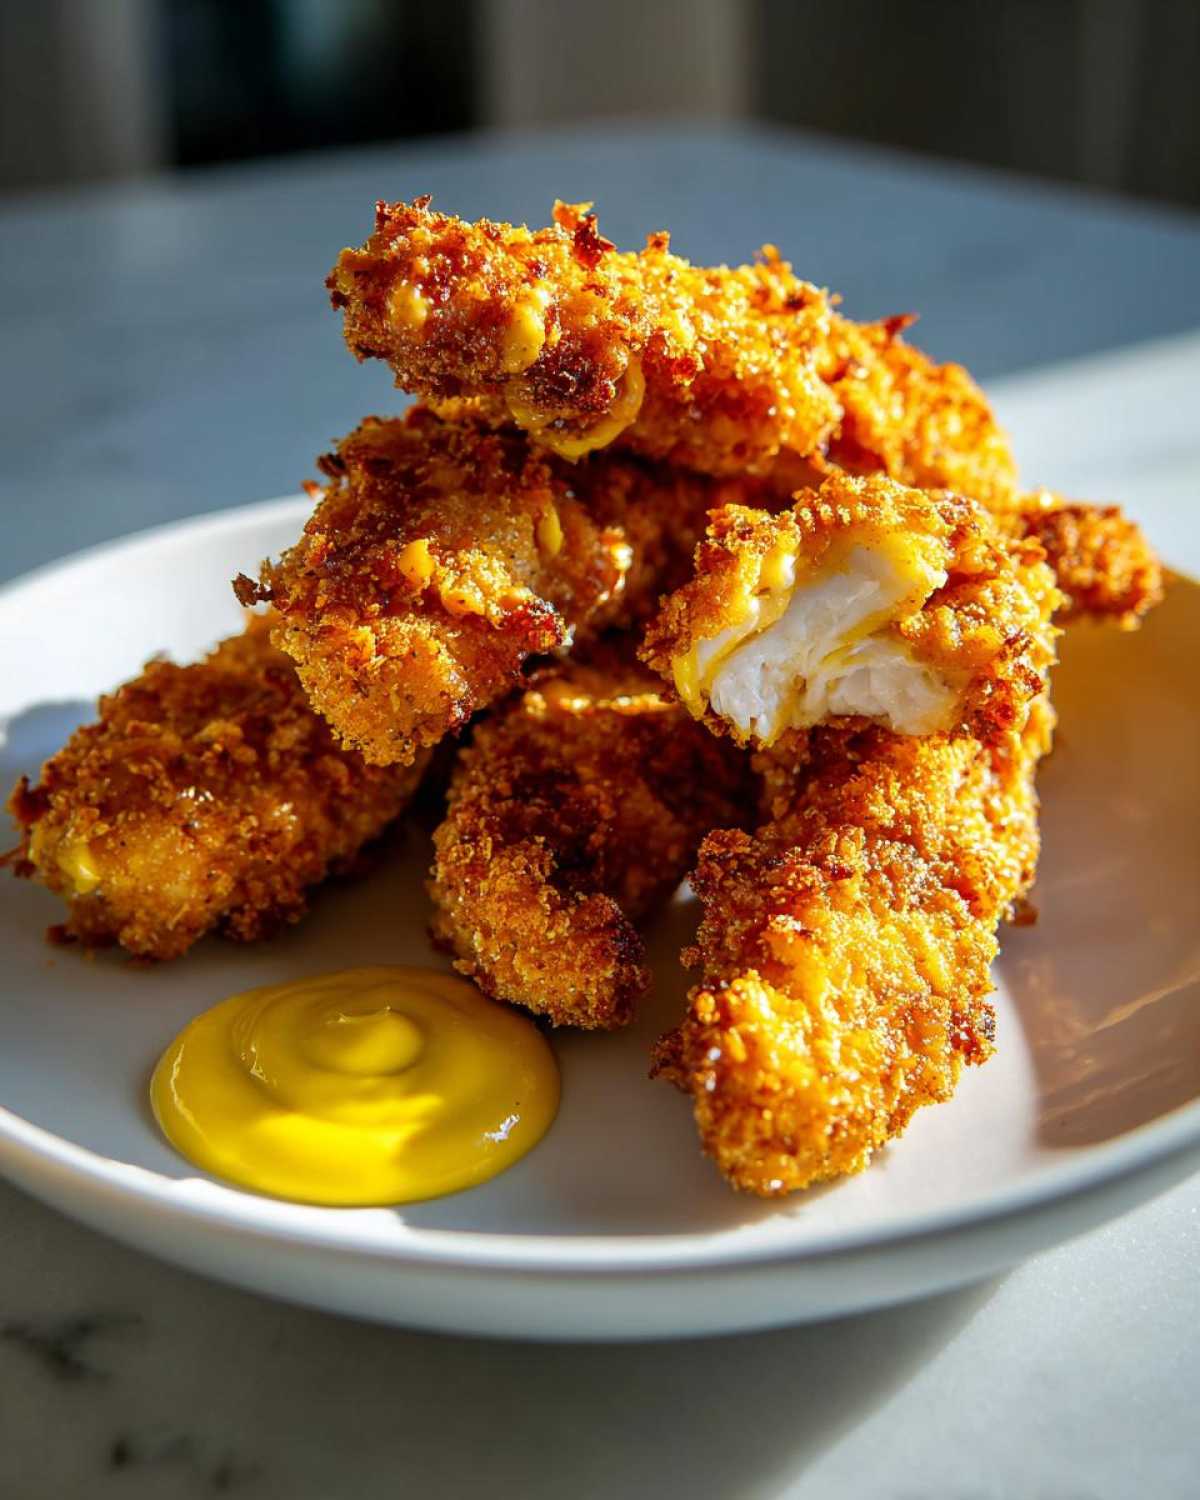
For those of you who decide to deep fry—and hey, I get it, sometimes you need that classic experience—there’s one major rule that separates the crispy from the greasy: Draining. If you set fried tenders straight onto a pile of paper towels, the steam gets trapped underneath, and bam, soggy bottoms. You need airflow!
If you’re interested in a great side dish that shares that same crispy requirement, you should check out my recipe for crispy breakfast potatoes; the technique for air circulation is similar!
Breading Secrets for Perfectly Breaded Chicken Fingers
When you do that final dredge, the one where the panko crumbs are singing your praises, you have to commit! Don’t just gently roll the chicken strip in the coating. Pick it up, place it in the mixture, and use the palm of your hand to actually pat and press that breading onto the chicken. You are essentially laminating the crust onto the meat right there.
I always tell people that the coating shouldn’t look loose or fluffy; it needs to look like a fully bonded skin. If you press hard enough, that outside layer holds together beautifully through any level of heat we throw at it, whether it’s 400 degrees in the oven or 380 in the air fryer.
Handling Leftovers: Reheating Crispy Chicken Tenders
Okay, what happens when you have leftovers? First, important rule: Never, ever microwave leftover Crispy Chicken Tenders. Microwaving equals instant steam bath, and that crunch disappears faster than my patience waiting for water to boil. Don’t do it!
If you want to bring those babies back to life, you need dry heat. The air fryer is your best friend here; toss them in at about 350°F for four to six minutes, flipping halfway. If you don’t have an air fryer, a hot oven (400°F) on a wire rack for about 8 minutes works wonders. They’ll be crunchy again, pinky swear!
Variations for Your Easy Chicken Tender Recipe
I love that this recipe is built on such a solid foundation because it means we can play around with flavors all day long! While the classic paprika dusting is gorgeous, sometimes you just need a little something extra in the mix. Remember, we are working with an Easy Chicken Tender Recipe here, so the changes should be simple additions, nothing complicated.
The easiest place to start experimenting is right in that first flour dredge. That’s where all the flavor bonds to the meat before the egg bath. If you’re making these for adults, you absolutely have to amp up that spice mix. I highly recommend stirring in about a teaspoon of garlic powder along with the salt and pepper. It just gives the savory part of the chicken a real boost!
If you want heat, don’t be shy with the cayenne pepper—start with half a teaspoon if you’re nervous, but a full teaspoon makes these fantastic. If you’re looking for inspiration on how to treat chicken with savory flavors, my recipe for Garlic Butter Chicken Bites uses a similar flavor profile that you could adapt here!
Now, let’s talk about the amazing honey mustard sauce where you can really change the game for weeknight dinners. If you want to turn these into spicy tenders, ditch the simple salt pinch in the sauce and whisk in a good teaspoon of your favorite hot sauce—Sriracha works great—or even a dash of smoked paprika for depth instead of heat. Play around! The base is so stable that it handles everything you throw at it.
Serving Suggestions for Crispy Chicken Tenders with Honey Mustard
Now that your kitchen smells like the best part of a restaurant, what do you serve with these masterpieces? Honestly, they are amazing all by themselves dipped in that tangy honey mustard, but if you’re making this a full meal—especially a Kid Friendly Chicken Meal—you need some good sidekicks.
When I make these for my family, I usually try to balance out the crispiness with something a little softer or fresh. We move away from heavy, greasy sides because the tenders are already rich and flavorful!
If you want a great grain side that everyone loves, I really suggest pairing these striploin tenders with my recipe for easy, fluffy rice pilaf. It’s light enough not to weigh down the meal but flavorful enough that you won’t need extra gravy or butter.
Here are a few of my favorite ways to plate these up:
- Appetizer Style: Serve them piled high on a platter with small bowls of honey mustard and maybe a side of ranch for the picky ones. Make sure you have plenty of napkins; they get messy!
- Dinner Idea: Pair them with oven-baked sweet potato fries instead of regular potatoes. The sweetness of the potato goes beautifully with the Dijon mustard in the dip.
- Keeping it Light: A simple mixed greens salad with a bright vinaigrette is perfect. The fresh crunch of the lettuce contrasts wonderfully with the breading.
- For the Kids: Steamed broccoli or carrot sticks are always a winner. They can even dip the veggies in the extra honey mustard—it’s a great way to get them to eat greens!
No matter what you choose, the star here is definitely the crunch! Make sure you serve them hot right when they come out of the oven or air fryer so that Panko shell is at its peak.
Frequently Asked Questions About Crispy Chicken Tenders
I get so many questions whenever I post pictures of these tenders because everyone wants to know my secrets for making them just right! I’ve tried to answer the most common ones right here so you can feel fully confident tackling this recipe. Getting that perfect breading that somehow stays crispy is really about knowing a few key science bits. If you still have questions after this, feel free to reach out on my contact page!
Can I use chicken thighs instead of breasts for these tenders?
Yes, you absolutely can! Chicken thighs are actually more forgiving because they have more fat, so they stay incredibly juicy even if you overcook them slightly. The trade-off is that they might feel a little less rigid than the breast strips when you bite into them. If you swap them out, just keep an eye on the internal temperature. They might take an extra minute or two to fully cook through compared to the breasts because they are a bit denser.
How far ahead can I prepare the breaded chicken?
This is a great question if you need to get a head start on prep! You can definitely tackle this as a Make Ahead Chicken Tenders project. Once you have breaded all your strips, lay them out on a parchment-lined baking sheet in a single layer—just like you would if you were baking them immediately. Then, cover the whole tray loosely with plastic wrap and stick it in the fridge for up to 12 hours. Do NOT let them sit longer than that, or the moisture from the egg wash will start to break down the crust!
What is the best way to make this a Healthy Chicken Tender Recipes option?
You’ve come to the right place! The primary way this recipe leans healthy is by ditching the deep fryer entirely. Baking or air frying instantly cuts down on the grease while still giving you that desirable crunch. If you want to amp up the nutritional value even further, go ahead and substitute half or all of the all-purpose flour in the coating stations with whole wheat flour. It changes the crisp factor *slightly*, making it a tiny bit less rugged, but the flavor holds up beautifully!
Storage and Reheating Instructions for Leftover Crispy Chicken Tenders
I hate waste, and luckily, these tenders actually keep pretty well, provided you handle the leftovers correctly! The main goal when storing them is to protect that beautiful crust we worked so hard to build. If you manage to have any leftovers—which, honestly, rarely happens at my house—you need an airtight container.
Pop those cooled tenders into a sturdy, airtight container before they even leave the counter. You want them chilled within two hours of cooking. They will keep happily in the refrigerator for about three to four days. If you’re storing them for longer than that, you might start noticing the coating softening up a bit, which is totally normal.
If you happen to bake a massive batch for a party and want to keep them warm for a while, I found that laying them on a wire rack set over a sheet pan in a very low oven (around 200°F) works better than leaving them on a plate, as it slows down the sogginess creep.
If you need some inspiration for soaking up those last bits of honey mustard, I’ve got a fantastic recipe for quick homemade chicken gravy that you could serve over mashed potatoes alongside the tenders!
Now, let’s talk about reintroducing that crispiness. This is where we rescue them! As I mentioned before, the microwave is totally off-limits—it’s a guaranteed texture killer. You need dry, circulating heat to suck the moisture out of the crust and bring back that satisfying snap.
- The Air Fryer is Your Hero: This is truly the best option. Set the air fryer to about 350°F (175°C) and cook the tenders in a single layer for about 4 to 6 minutes. Shake the basket halfway. They come out perfectly revived!
- Oven Revival: If you’re reheating a lot, preheat your oven to 375°F (190°C). Place the tenders on a baking sheet lined with a wire rack (yes, that rack again!). Bake for about 8 to 10 minutes. You want them hot through and crunchy again before you enjoy them.
Don’t be tempted to stack them up when reheating; they need space to breathe if you want the crunch back! Enjoy your next-day crispy batch!
Share Your Crispy Chicken Tenders with Honey Mustard Experience
I honestly cannot wait to hear how this recipe turns out for you! Did you go with the oven method or did you stick to the air fryer for maximum crisp? I’m always so curious to see which method works best for everyone else’s equipment!
If you made these Crispy Chicken Tenders with Honey Mustard, please leave a star rating right below the recipe card—it really helps other cooks know what’s working in the kitchen. Don’t be shy about leaving a comment letting me know if you added an extra spice to the dredge or perhaps tried mixing a dash of chipotle into that lovely homemade honey mustard sauce. We all learn so much from each other!
And if you snap a photo of your crunchy strips (maybe loaded up with some of that crunchy crust!), tag me on social media! I love looking through your cooking adventures. Seeing your beautiful results is the best part of sharing these family secrets!
PrintCrispy Chicken Tenders with Honey Mustard

Make truly crispy chicken tenders using a double-dredge method, suitable for baking or air frying, served with a simple, tangy homemade honey mustard sauce.
- Prep Time: 20 min
- Cook Time: 20 min
- Total Time: 40 min
- Yield: 4 servings
- Category: Main Course
- Method: Baking or Air Frying
- Cuisine: American
- Diet: Low Fat
Ingredients
- 1.5 lbs boneless, skinless chicken breasts, cut into 1-inch strips
- 1 cup all-purpose flour
- 1 teaspoon salt
- 1/2 teaspoon black pepper
- 1/2 teaspoon paprika
- 2 large eggs, beaten
- 1 tablespoon water
- 1.5 cups panko breadcrumbs
- 1/2 cup all-purpose flour (for second dredge)
- Cooking spray or 2 tablespoons oil (for baking/air frying)
- For Honey Mustard:
- 1/2 cup mayonnaise
- 1/4 cup Dijon mustard
- 2 tablespoons honey
- 1 teaspoon apple cider vinegar
- Pinch of salt
Instructions
- Prepare the chicken: Pat the chicken strips completely dry with paper towels. This step is key for crispiness.
- Set up the dredging stations: In the first shallow dish, mix 1 cup flour, 1 teaspoon salt, pepper, and paprika. In the second dish, whisk the eggs and water. In the third dish, place the remaining 1/2 cup flour and the panko breadcrumbs.
- First dredge: Coat each chicken strip lightly in the seasoned flour mixture, shaking off excess.
- Wet dip: Dip the floured strip into the egg wash, letting excess drip off.
- Second dredge (Crispy Coat): Immediately press the strip firmly into the panko/flour mixture, ensuring the entire surface is covered. Press the coating on to adhere well.
- For Baking: Preheat your oven to 400°F (200°C). Line a baking sheet with parchment paper and place a wire rack on top. Arrange the tenders on the rack and lightly spray the tops with cooking spray or drizzle with oil. Bake for 18-22 minutes, flipping halfway, until golden brown and cooked through (165°F internal temperature).
- For Air Frying: Preheat the air fryer to 380°F (195°C). Lightly spray the basket. Place tenders in a single layer, ensuring they do not touch. Cook for 12-15 minutes, flipping halfway, until crispy. Spray lightly with oil before flipping.
- Make the sauce: While the tenders cook, combine mayonnaise, Dijon mustard, honey, apple cider vinegar, and a pinch of salt in a small bowl. Whisk until smooth.
- Serve the crispy chicken tenders immediately with the honey mustard dip.
Notes
- To prevent soggy tenders, always use a wire rack when baking to allow air circulation around the bottom.
- If you prefer deep frying, heat 2 inches of oil to 350°F (175°C) and fry in batches for 3-4 minutes per side until golden. Drain on a wire rack, not paper towels.
- For an extra tangy sauce, add 1/2 teaspoon of dry mustard powder to the honey mustard.
Nutrition
- Serving Size: 4 tenders + 2 tbsp sauce
- Calories: 380
- Sugar: 12
- Sodium: 450
- Fat: 15
- Saturated Fat: 3
- Unsaturated Fat: 12
- Trans Fat: 0
- Carbohydrates: 30
- Fiber: 1
- Protein: 32
- Cholesterol: 120