

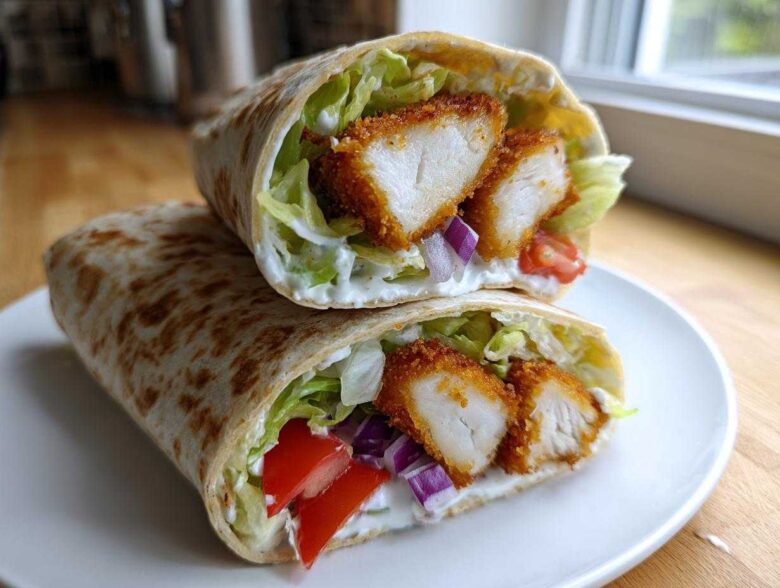
Ugh, sometimes you just need something really satisfying, right? Something packed tight that doesn’t require a fork but tastes like you spent all afternoon cooking. That’s exactly why I obsessed over perfecting the **Crispy Chicken Wrap with Garlic Yogurt Sauce**.
Forget those soggy lunchtime disappointments! After years of testing breading techniques—and unfortunately burying many flimsy wraps—I finally cracked the code. We’re talking shatteringly crispy chicken strips drenched in the creamiest, coolest garlic yogurt sauce you’ve ever had. Honestly, the way that crunchy coating meets the tangy sauce? It’s pure magic in a tortilla. Trust me, this is your new go-to quick meal.
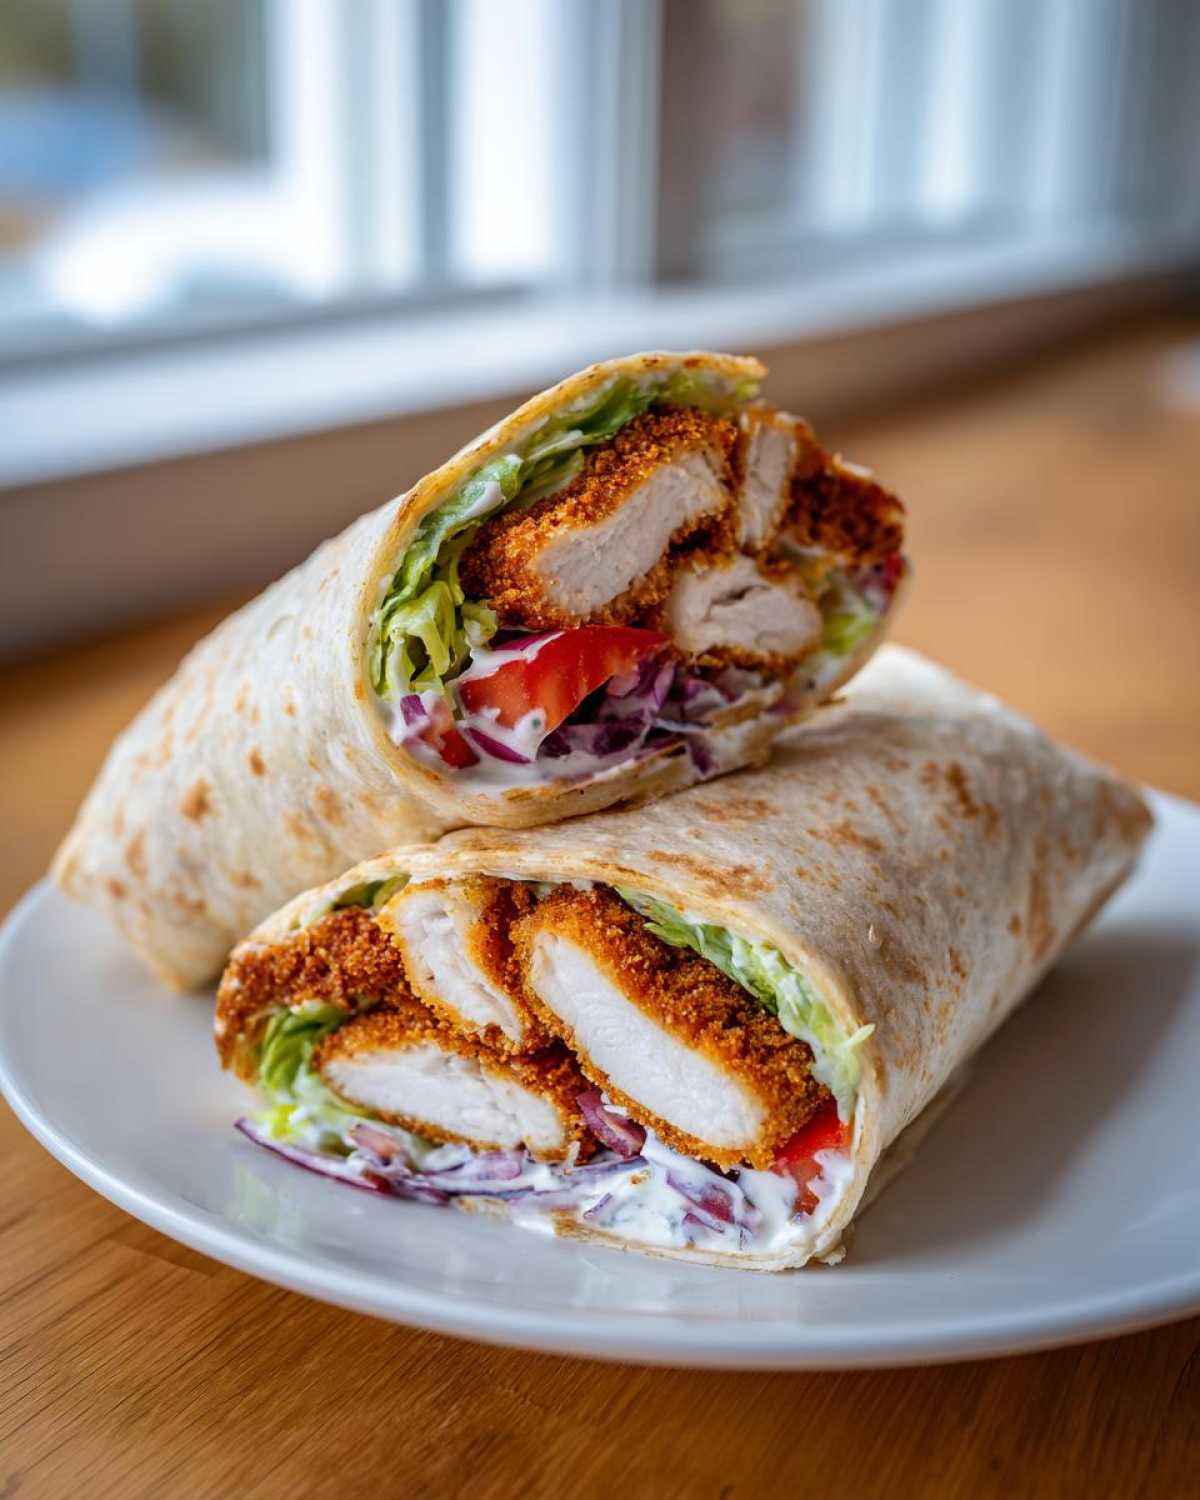
Why This Crispy Chicken Wrap with Garlic Yogurt Sauce Stands Out
I get asked all the time how this wrap beats the competition, and honestly, it comes down to three things: crunch, tang, and speed. Trust me, once you try this combo, you won’t go back to plain grilled chicken wraps!
- The Crisp Factor is Non-Negotiable: We use Panko breadcrumbs, and I’ll show you exactly how to make them stick so that chicken stays crunchy right up until the last bite. No one wants a limp wrap filling!
- The Cool Counterpoint: That homemade garlic yogurt sauce is everything. It’s cool, bright with lemon, and just garlicky enough to cut right through the richness of the fried chicken. It balances everything perfectly.
- Speedy Satisfaction: Seriously, from zero to wrapped in under 45 minutes total. It’s perfect for a weeknight dinner when you’re starving but still want something that feels special.
- Perfectly Portable: This recipe is engineered for rolling tight so all those delicious ingredients—chicken, onions, tomato—stay securely locked inside until you’re ready for that first messy, glorious bite.
It’s the kind of handheld meal that makes you stop scrolling and just focus on eating. That’s a win in my book!
Ingredients for the Ultimate Crispy Chicken Wrap with Garlic Yogurt Sauce
Okay, let’s talk ingredients! You can’t just throw random stuff together and expect perfection, right? The success of this **Crispy Chicken Wrap Recipe** hinges on having the right components ready to go. We have three teams here: the chicken squad, the sauce squad, and the assembly crew. Get everything measured out before you start coating the chicken—trust me, you’ll thank me later!
For the Crispy Chicken Fillets
This is where we lock in that amazing crunch. You want about 2 large chicken breasts, which we’re going to slice up nice and even. Using perfectly uniform strips means everything cooks at the same rate, which is key for even browning.
- 2 large chicken breasts, cut into 1-inch strips
- 1 cup all-purpose flour (our first dredging layer!)
- 1 teaspoon salt
- 1/2 teaspoon black pepper
- 1/2 teaspoon paprika (for just a hint of color)
- 2 large eggs, beaten until frothy
- 1 cup panko breadcrumbs (The secret weapon for maximum crispiness—they are lighter and flakier than regular breadcrumbs!)
- Vegetable oil, enough for about 1 inch in your skillet for frying
If you’re looking for a marinade base for plain flavor before breading, check out my thoughts on the ultimate all-purpose chicken marinade, though for this wrap, we are just seasoning the flour!
For the Garlic Yogurt Sauce Recipe
This cooling sauce is what elevates this from a good wrap to an *amazing* wrap. It’s a beautiful, **yogurt based chicken sauce** that’s super tangy and makes the whole thing taste almost Mediterranean!
- 1 cup plain Greek yogurt (Use the plain kind, not vanilla please!)
- 2 cloves garlic, minced super fine—or use a microplane if you have one!
- 1 tablespoon fresh lemon juice
- 1/4 teaspoon salt
Mix these three ingredients together really well. It should be thick, cool, and wonderfully pungent from that fresh garlic. You can even make this a day ahead!
For Assembling Your Crunchy Chicken Tortilla Wrap
Now for the stuff that holds it all together and gives us freshness. You need large tortillas so you have enough room to pile things high and still roll it neatly.
- 4 large flour tortillas (About 10-12 inches wide works best)
- 1/4 cup shredded lettuce (I prefer iceberg for the actual *crunch*)
- 1/2 cup sliced tomato
- 1/4 cup thinly sliced red onion (soaking the slices in cold water for 10 minutes first can kick the edge off if you find raw onion too strong)
Step-by-Step Instructions for the Crispy Chicken Wrap with Garlic Yogurt Sauce
Ready to cook? This is the fun part! We need to work fast but deliberately here. If you rush the coating, it’ll fall off in the oil, and we definitely don’t want that sad outcome. Remember, we’re aiming for that gorgeous, crunchy coating that holds up perfectly until you hit that last bite of your crispy chicken wrap.
Preparing the Three-Step Chicken Coating
This is the classic breading station, and it works every single time. Set up three plates or shallow dishes in a row. I like to have them right next to my stove so I can move fast.
- First dish: Pour in your flour mixed with salt, pepper, and paprika. Give it a quick whisk just to combine the spices evenly.
- Second dish: Pour in those two beaten eggs. Keep a fork handy near this station!
- Third dish: This is where the magic happens—your Panko breadcrumbs. Don’t substitute these if you can help it; Panko’s rough texture is what gives us that fantastic crunch.
Now, take one chicken strip. Dust it thoroughly in the flour mixture—really work it in, shaking off any heavy excess. Next, dip it completely into the egg wash, letting any drips fall back into the bowl. Finally, press that damp chicken *firmly* into the Panko. I mean press it! You want every nook and cranny covered. Set the coated strips aside on a clean plate while you finish the rest.
Achieving Perfect Crispy Chicken (Frying or Air Frying)
For deep frying—which gives you the absolute best classic crunch—heat about 1 inch of vegetable oil in a deep skillet until it hits 350°F (175°C). It’s important to keep that temperature steady! Fry the chicken strips in batches so you don’t crowd the pan; overcrowding drops the oil temperature too fast and leads to soggy chicken. Cook them for about 4 to 6 minutes, turning occasionally, until they are beautifully golden brown and cooked all the way through. Scoop them out onto paper towels to drain!
Now, if you’re trying to skip the oil, I totally get it! For a healthier result, you can use the air fryer. Just spray those coated strips lightly with cooking spray, arrange them in a single layer (you’ll need two batches), and cook at 400°F (200°C) for about 12 to 15 minutes. Just remember to flip them halfway through so both sides get nice and golden.
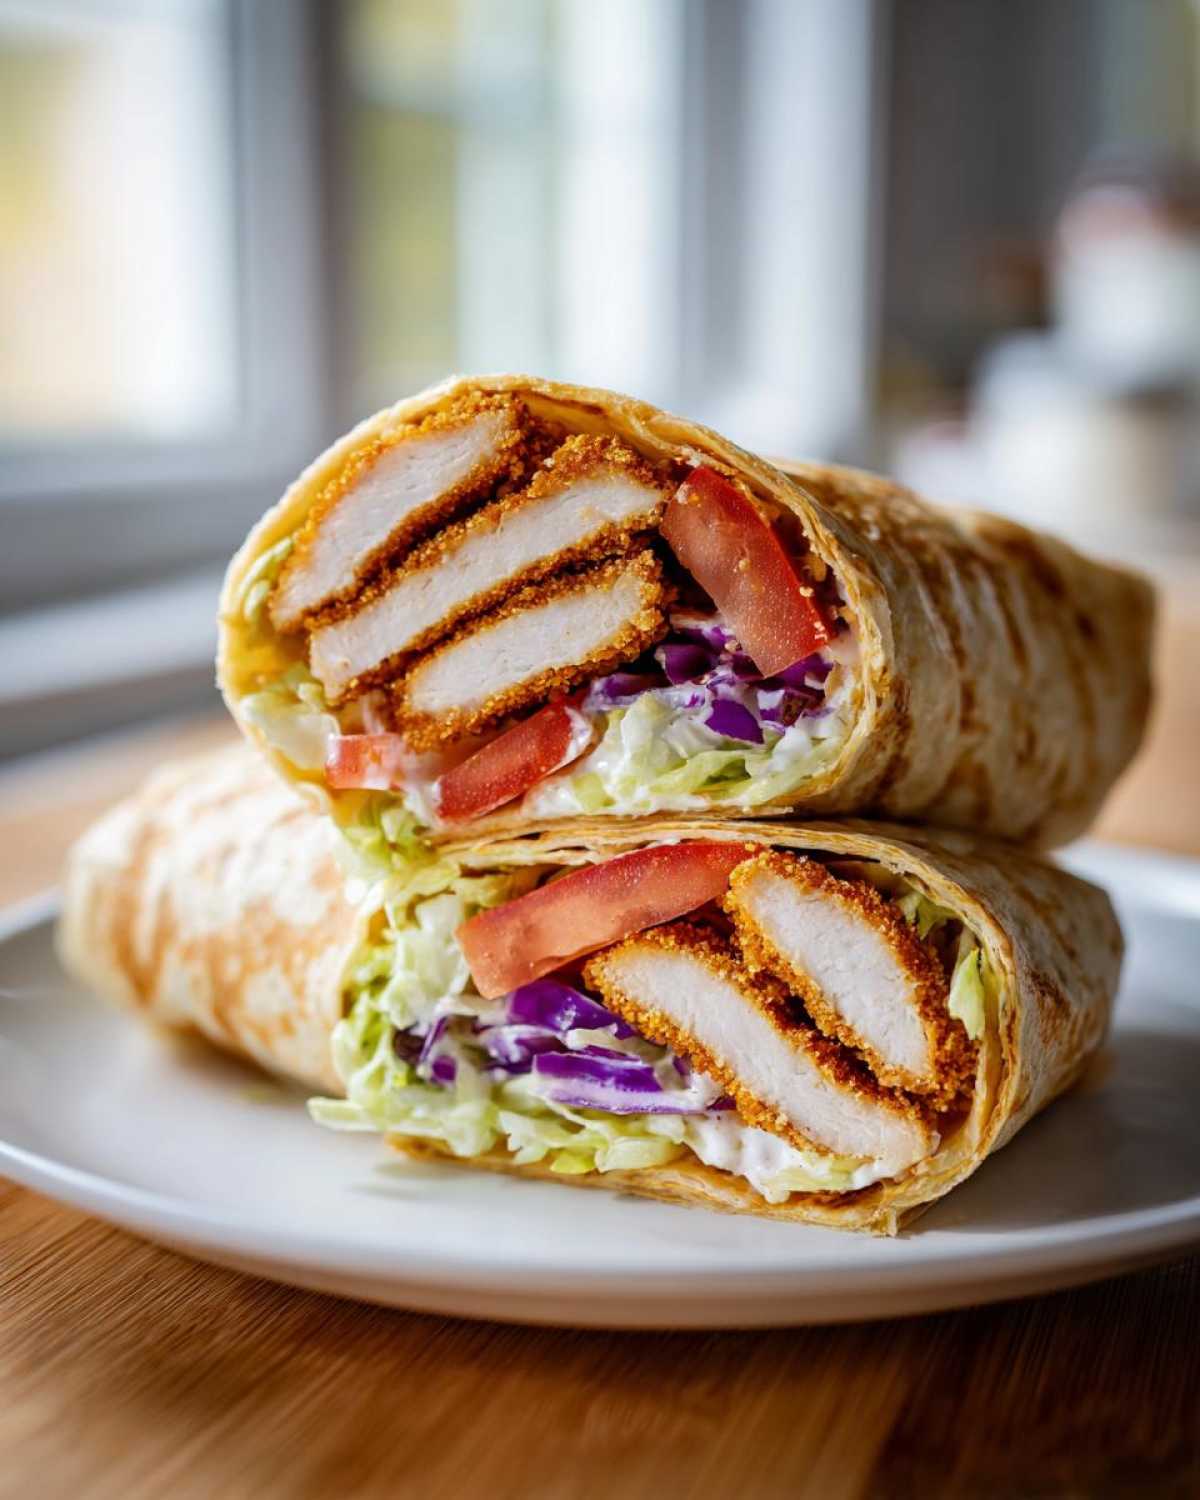
Mixing the Tangy Yogurt Based Chicken Sauce
While the chicken is frying or resting, whip up your sauce. This is quick work! In a small bowl, combine the Greek yogurt, your super-minced garlic, the fresh lemon juice, and that tiny bit of salt. Whisk it together until it’s perfectly smooth. Taste it! Does it need a tiny squeeze more lemon? Go ahead! This is your sauce, and it should taste bright and tangy.
Assembling and Rolling the Easy Chicken Wrap with Sauce
Last step, but you need to move fast before the hot chicken cools the tortilla down too much! Warm up your large tortillas first. A quick 15 seconds per side in a dry, hot skillet or a quick zap in the microwave makes them super flexible so they don’t crack when you roll them.
- Lay a warm tortilla flat. Spoon a generous ribbon of that **garlic yogurt sauce recipe** right down the center strip.
- Layer your fillings directly on top of the sauce. I like to put the crispy chicken strips down first, then nestle the lettuce, tomato, and red onion on top. This order helps keep the heat from the chicken away from the lettuce edges.
- To roll tight, fold both sides (left and right edges) inward first, maybe an inch or so. Then, pull the bottom edge up tightly over the filling and roll swiftly toward the top edge. Tuck it in as you go!
Serve these **easy chicken wraps with sauce** immediately so you get that contrast between the hot, crunchy chicken and the cool, tangy filling. Enjoy being done in minutes!
Tips for Making the Best Crispy Chicken Wrap with Garlic Yogurt Sauce
We’ve got the major steps down, but the difference between a good wrap and an absolutely legendary one lies in these tiny details. I’ve learned a few tricks over the years specifically for this **homemade chicken wrap** to stop things from going wrong right at the finish line.
Preventing the Dreaded Soggy Chicken
This is my number one pet peeve! You spend all that time making the coating perfect, and then the moisture from the veggies or the sauce just melts it into mush. Here’s how you beat it:
- Sauce Placement is Crucial: Don’t slather the sauce all over the tortilla, especially near the bottom where you start rolling. Instead, spread a thin layer up the middle third of the wrap, keeping a dry border near the edges. The crispy chicken acts as a bit of a buffer between the sauce and the tortilla itself.
- Veggies First (Sometimes): Sometimes, I even put a layer of lettuce down *before* the chicken. That leafy barrier creates a totally different texture layer, protecting the tortilla from the hot chicken strips right on top of it.
Ensuring Perfect Sauce Consistency
Remember how I said you can make that yogurt sauce ahead of time? Great idea! But after it chills—especially if you’re using thicker Greek yogurt—it can sometimes get a little too stiff. If your **yogurt based chicken sauce** seems too thick to spread easily or drizzle nicely, just stir in half a teaspoon of cold water or a splash of lemon juice until it loosens up just slightly. You want it spreadable, not pourable, though!
The Right Tortilla Choice Matters
If you use cheap, thin tortillas, they *will* rip when you try to roll them tight around those thick, crispy strips. You need something substantial. Look for the large (10-12 inch) flour tortillas, sometimes marketed as ‘burrito size.’ They are generally softer and more pliable after warming. If you want that slightly different flavor, feel free to try spinach tortillas, but the flour ones hold up best to the frying oils.
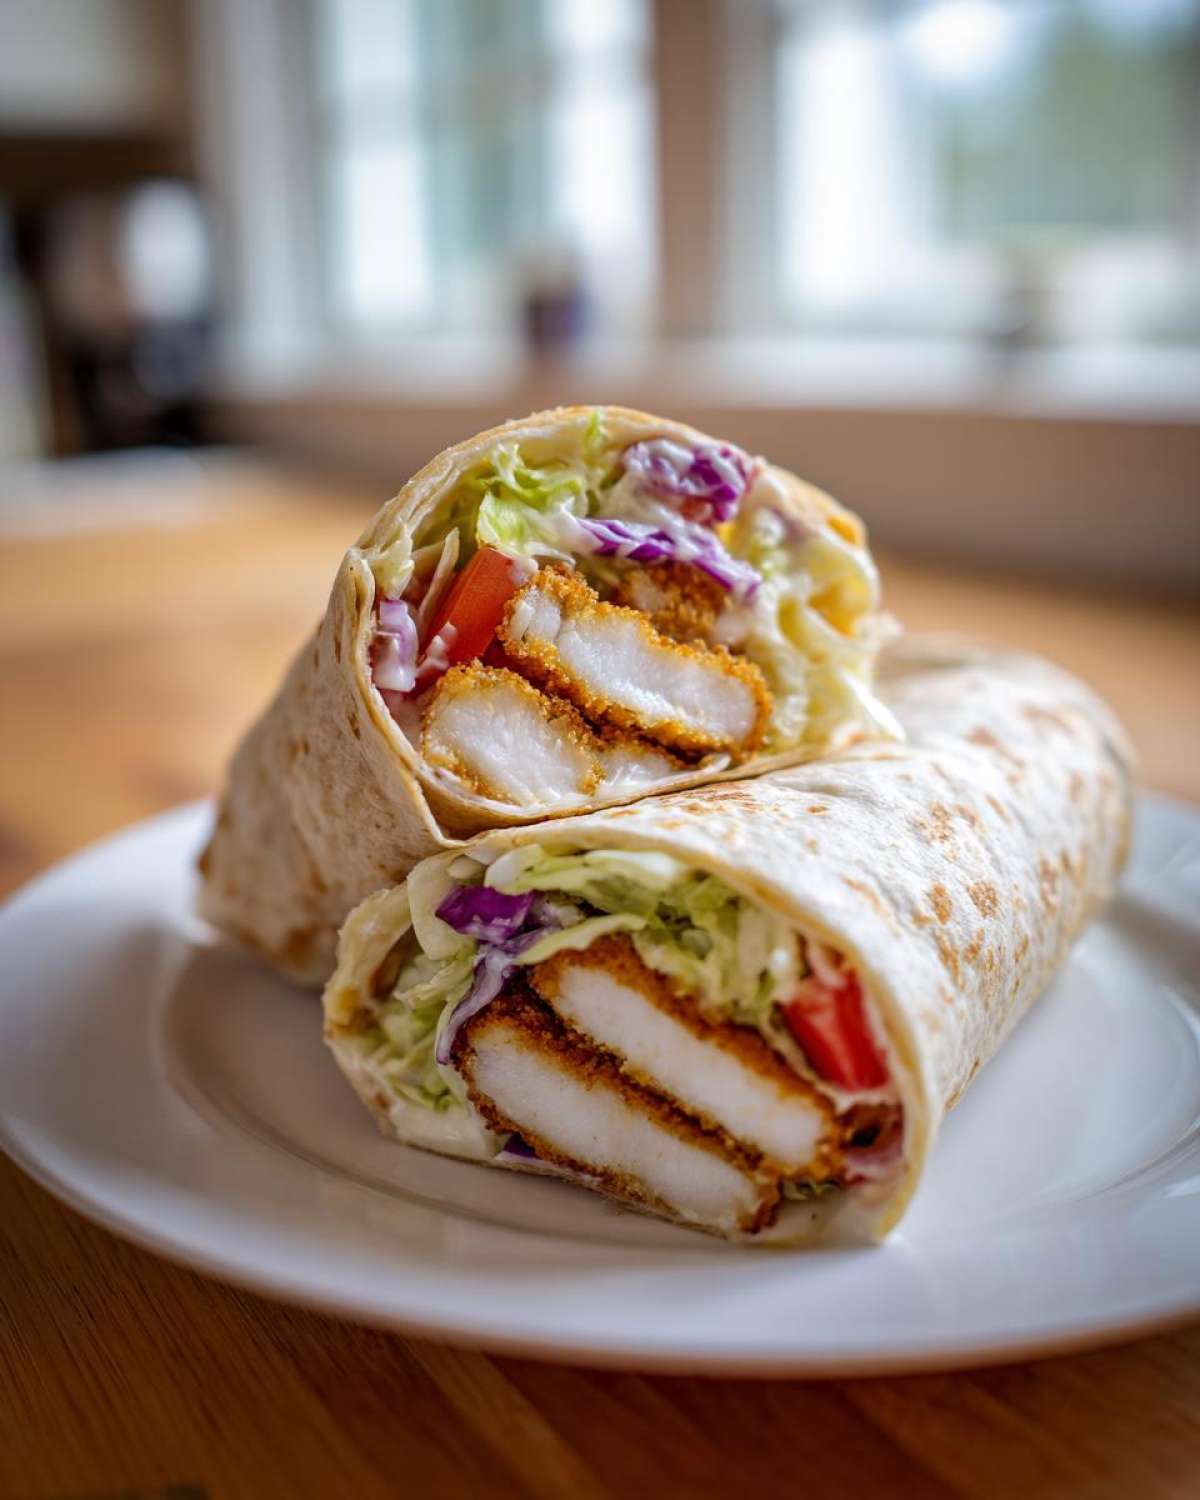
Also, don’t forget that you can prep the chicken coating ahead of time. The note said you can prepare the sauce a day ahead, but honestly, you can bread the chicken strips up to a few hours before you plan to cook them! Just keep them in the fridge on a parchment-lined tray. When it’s time to eat, you just fry them up hot and crispy, and you’ve instantly got a fantastic quick weeknight chicken dinner wrap!
Make Ahead and Storage for Your Chicken Fillet Wrap
Life is busy, and sometimes we need a little help getting dinner on the table fast. The great news is that you can definitely break this whole **Chicken Fillet Wrap Recipe** down over a couple of days. But here’s the golden rule I always follow when making anything crispy: Keep the crunch separate from the wet stuff!
If you just throw leftover crispy chicken into the fridge next to the sauce and veggies, you are guaranteeing a soggy situation by morning. That’s why organization is key for this **make ahead chicken wrap filling** plan.
- The Sauce: You can mix up that fantastic **Garlic Yogurt Sauce Recipe** right up to 24 hours in advance. Just store it in an airtight container in the fridge. It never seems to change flavor, and it’s ready to go when you are.
- The Veggies: Slice those tomatoes and onions, and tear up your lettuce. Store them separately in containers layered with a paper towel to absorb any stray moisture. They’ll be perfectly fresh when assembly time rolls around.
- The Chicken: This takes a bit more finesse. You can absolutely bread the chicken strips up to 4 hours ahead of time! Just set them on a parchment-lined baking sheet and keep them well covered in the fridge. Do NOT cook them until just before you want to eat. Cooking ahead of time is the kiss of death for that crispy coating we worked so hard on.
When it comes time to eat, you just heat the oil and fry (or air fry!) the breaded strips fresh. It takes maybe 15 minutes total for the chicken, and then you’re ready to build! Having all the other components—the sauce and the veggies—ready to grab makes building this **homemade chicken wrap** take literally two minutes. For more planning tips, check out my guide on make ahead chicken wrap filling strategies!
Variations for Your Crispy Chicken Wrap
While I stand by this recipe as the top-tier version of the **crunchy chicken tortilla wrap** experience, I totally encourage messing around with it! That’s what cooking is all about, isn’t it? Once you nail the fundamentals—the perfectly crispy coating and that yummy yogurt sauce—you can start playing with flavors.
Spice It Up (The Coating Remix)
If you want to move this wrap away from that classic American fried chicken vibe toward something a little more zesty or spicy, don’t overhaul the whole dredge! Just swap out some of the paprika in that flour mixture. For a serious kick, mix in about a teaspoon of cayenne pepper along with the salt and pepper. That heat carries through beautifully right before you hit it with the cool yogurt sauce later.
Or, if you’re feeling tropical, you could try a completely different flavor profile. While I haven’t perfected it myself, I know my friend’s coconut lime chicken recipe would be amazing diced up instead of strips in this wrap format. Just use the same breading technique, maybe adding a tiny bit of coconut flour to your main flour mix for texture!
Vegetable Swaps for Tangy Chicken Wrap Ideas
The core veggies—lettuce, tomato, onion—are classic for a reason. They offer freshness and crunch. But if you want to switch things up for some interesting **tangy chicken wrap ideas**, try these additions or swaps:
- Slaw Power: Ditch the shredded lettuce entirely and replace it with a small scoop of creamy coleslaw. The cabbage provides a better crunch factor that holds up against the sauce, and you get a great vinegary tang built right in.
- Avocado Boost: Smash up half an avocado with a tiny sprinkle of salt directly on the tortilla before you layer anything else. It adds healthy fat and a buttery texture that pairs wonderfully with the garlic sauce.
- Pickled Goodness: A few thinly sliced dill pickles or some pickled jalapeños? Yes, please! That sharp tanginess echoes the lemon in the sauce and gives you a fantastic counterpoint to the richness of the fried chicken.
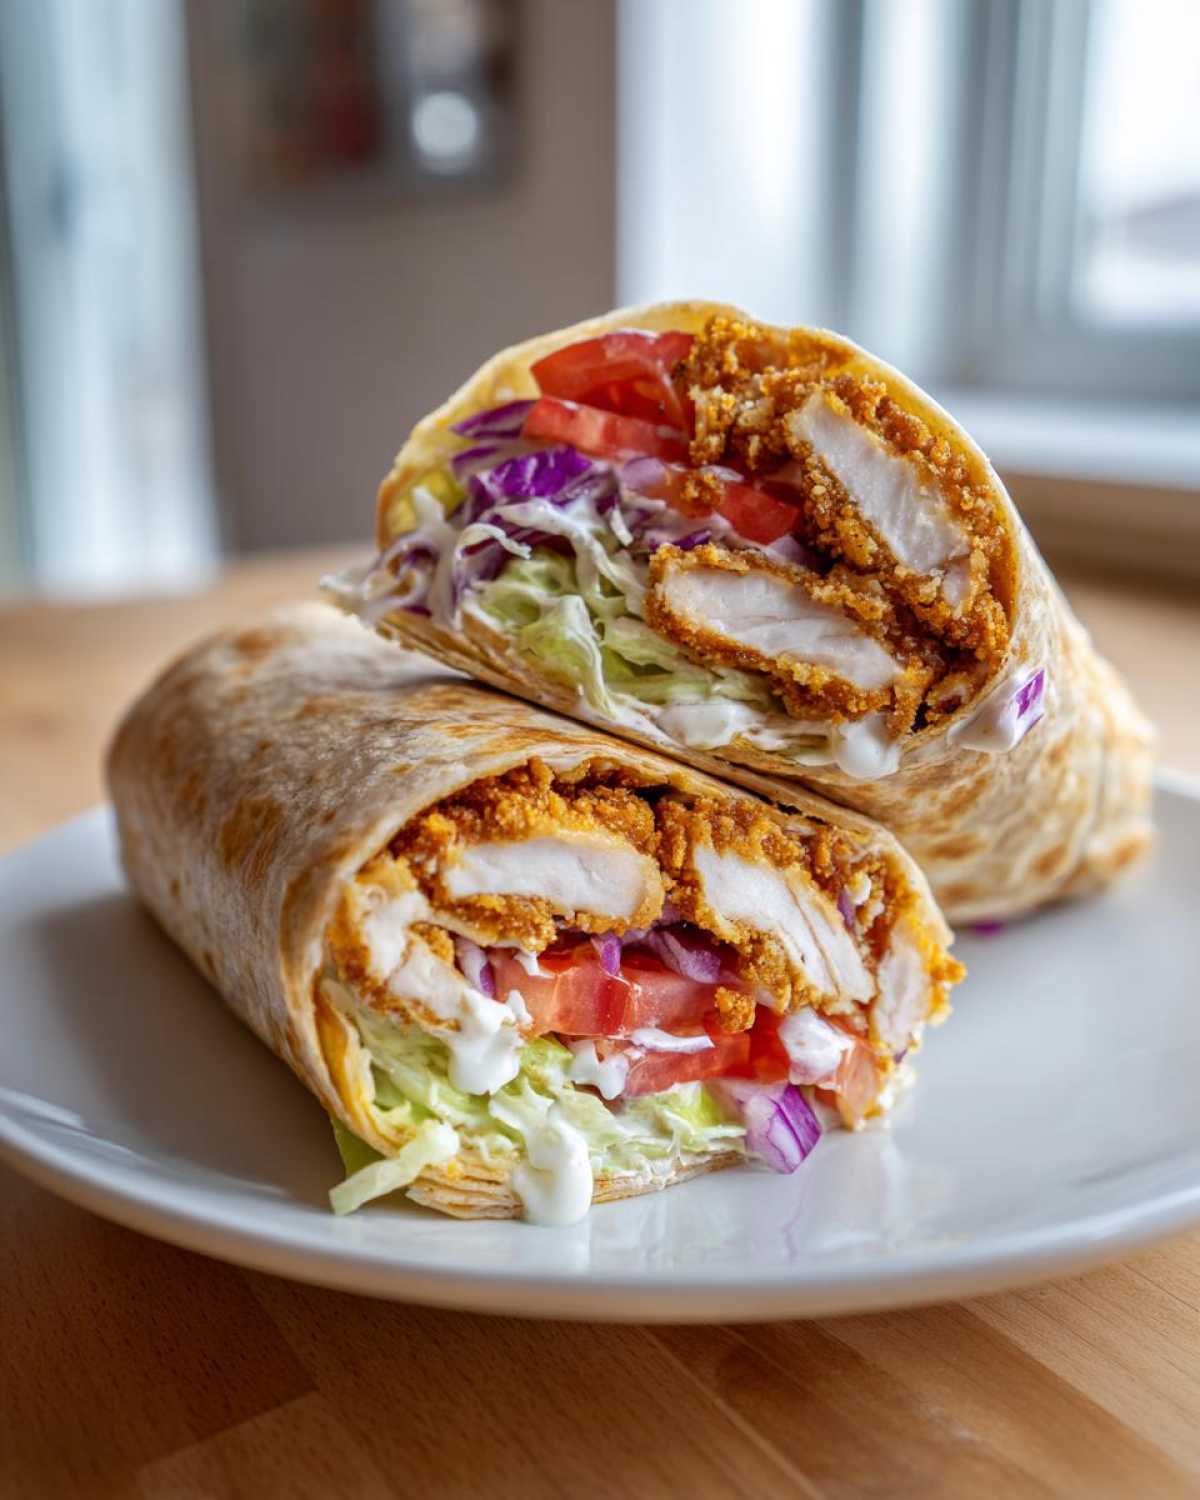
Honestly, as long as you keep that crispy chicken structurally sound, you can put almost anything inside these wraps and they end up tasting great!
Serving Suggestions for a Complete Meal
Okay, so these Crispy Chicken Wraps are seriously satisfying. They are hearty because you’ve got the protein from the chicken and the breading, plus all those veggies. Because they pack such a massive flavor punch on their own, you don’t need heavy sides, which is great if you’re trying to keep this meal on the lighter side—even with a perfectly fried chicken strip!
When I serve these up for dinner, I usually go for something that offers a cool, crisp contrast or something that’s roasted and easy to eat alongside a handheld. Skip the heavy fries here; we already have crunch!
Light & Fresh Sides
If you want to keep things super fresh, you can’t go wrong with a simple, bright salad. I often whip up a quick cucumber and tomato salad dressed with just olive oil, red wine vinegar, and a little dried oregano. It’s cooling and complements that garlic yogurt sauce without being fussy.
- Quick Cucumber Salad: Chopped cucumber, tomato, finely minced parsley, dressed simply.
- Simple Leafy Greens: A handful of mixed greens with a light vinaigrette.
Easy Roasted Options
If you need something warm on the side, roasting is your friend because it doesn’t require constant stirring like stovetop cooking. My absolute favorite thing to pair with these wraps are some perfectly seasoned roasted sweet potatoes. They bring a nice earthy sweetness that plays well with the paprika in the coating.
I’ve got the recipe for roasted sweet potatoes that are crispy on the outside and tender inside, and they are the ideal sidekick. You just toss them with a little salt, pepper, and maybe a tiny pinch of chili powder and let the oven do the work while you’re frying the chicken. Slice them into wedges or cubes—whatever you prefer!
Snacks for the Kids
If you’re making this for the family, sometimes the kids just want something easier to handle. Instead of a full wrap, you can always serve the crispy chicken strips alongside a small bowl of the garlic yogurt sauce for dipping, paired with some baby carrots or bell pepper strips. It’s essentially a deconstructed, kid-friendly version of the wrap that still gives them all the great flavors!
Frequently Asked Questions about the Crispy Chicken Wrap with Garlic Yogurt Sauce
I get asked these questions all the time, especially since everyone wants to nail that perfect texture for their **homemade chicken wraps**! Here are the things that trip people up the most when they first try this recipe.
Can I use chicken thighs instead of breasts for this recipe?
Oh, absolutely, you can! Chicken thighs are actually more forgiving than breasts because they have more fat, so they are much harder to overcook. If you use boneless, skinless thighs cut into strips, you might need to add about 2 to 3 minutes to your cooking time, whether you’re frying or air frying. They will come out incredibly juicy, but you might find the final wrap slightly less ‘low fat,’ if that’s something you’re tracking. It’s a delicious flavor trade-off, though!
How do I prevent the wrap from getting soggy while eating?
This is the make-or-break moment, isn’t it? The number one rule for preventing sogginess in your **easy chicken wrap with sauce** is barrier protection. You want a dry layer between your wet ingredients (sauce/tomato) and the tortilla itself. I always build mine in a specific order: tortilla, then sauce spread thinly in the middle third, then a layer of lettuce, *then* the hot chicken strips, and finally, anything else wet like tomato slices on top of the chicken. That lettuce really acts like a shield, keeping the tortilla dry until you eat it. You can find my full guide on how to make crispy coating for chicken wraps, but structure is just as important!
What is the best way to reheat leftover crispy chicken for a wrap?
Listen to me: Do NOT microwave the leftovers! Microwaving crispy anything is a crime against texture—it just turns it soft and sweaty. If you have leftover crispy chicken that you want to use for lunch the next day, your best bet by far is the air fryer. Pop the strips in at about 375°F (190°C) for just 3 to 4 minutes. That blast of dry heat really brings back that crispiness we worked so hard for. An oven set to 400°F with the chicken on a wire rack works almost as well if you don’t have an air fryer.
Nutritional Estimate for This Homemade Chicken Wrap
I know many of you are watching what you eat, even when you’re enjoying a big, satisfying meal like this **Crispy Chicken Wrap**. It’s important to know what you’re getting, especially since we are working with fried chicken, even if we used a lighter coating technique!
Keep in mind that these numbers are just estimates based on the exact ingredient amounts listed in the recipe above, cooked using the frying method. If you swap to the air fryer or use different sized tortillas, the numbers will shift slightly, of course!
For easy reference, here is a breakdown per serving (which is one complete wrap):
- Serving Size: 1 wrap
- Calories: 550
- Protein: 48g
- Fat: 22g
- Saturated Fat: 4g
- Trans Fat: 0g
- Carbohydrates: 45g
- Fiber: 3g
- Sugar: 6g
- Sodium: 750mg
- Cholesterol: 110mg
One thing I love about this recipe structure is the high protein content, thanks to those big chicken strips! It keeps you feeling full for hours. If you are looking to lighten up the fat content even further—maybe you’re watching your totals for the day—you can always check out my thoughts on a healthy garlic yogurt sauce for wraps, which uses zero-fat Greek yogurt and focuses on zest instead of heavy creaminess. Enjoy the numbers!
PrintCrispy Chicken Wrap with Garlic Yogurt Sauce
Make satisfying wraps featuring crunchy fried chicken pieces coated in a simple, tangy garlic yogurt sauce.
- Prep Time: 20 min
- Cook Time: 15 min
- Total Time: 35 min
- Yield: 4 servings
- Category: Lunch
- Method: Frying
- Cuisine: American
- Diet: Low Fat
Ingredients
- 2 large chicken breasts, cut into 1-inch strips
- 1 cup all-purpose flour
- 1 teaspoon salt
- 1/2 teaspoon black pepper
- 1/2 teaspoon paprika
- 2 large eggs, beaten
- 1 cup panko breadcrumbs
- Vegetable oil, for frying
- 4 large flour tortillas
- 1 cup plain Greek yogurt
- 2 cloves garlic, minced
- 1 tablespoon lemon juice
- 1/4 teaspoon salt
- 1/4 cup shredded lettuce
- 1/2 cup sliced tomato
- 1/4 cup thinly sliced red onion
Instructions
- Prepare the chicken coating: Mix flour, salt, pepper, and paprika in a shallow dish. Whisk eggs in a second dish. Place panko breadcrumbs in a third dish.
- Dredge each chicken strip first in the flour mixture, shaking off excess. Dip into the egg, then press firmly into the panko breadcrumbs to coat completely.
- Heat about 1 inch of oil in a deep skillet to 350°F (175°C). Fry chicken in batches for 4-6 minutes, turning occasionally, until golden brown and cooked through. Remove and drain on paper towels.
- Make the sauce: In a small bowl, combine Greek yogurt, minced garlic, lemon juice, and salt. Mix well.
- Warm the tortillas briefly in a dry skillet or microwave until pliable.
- Assemble the wraps: Lay a warm tortilla flat. Spread a layer of garlic yogurt sauce down the center. Top with crispy chicken strips, lettuce, tomato, and red onion.
- Fold the sides of the tortilla inward, then roll tightly from the bottom up to secure the filling. Serve immediately.
Notes
- For an air fryer method, spray coated chicken with cooking spray and cook at 400°F (200°C) for 12-15 minutes, flipping halfway.
- You can prepare the garlic yogurt sauce up to one day ahead and store it covered in the refrigerator.
- Use whole wheat or spinach tortillas for a different flavor profile.
Nutrition
- Serving Size: 1 wrap
- Calories: 550
- Sugar: 6
- Sodium: 750
- Fat: 22
- Saturated Fat: 4
- Unsaturated Fat: 18
- Trans Fat: 0
- Carbohydrates: 45
- Fiber: 3
- Protein: 48
- Cholesterol: 110