

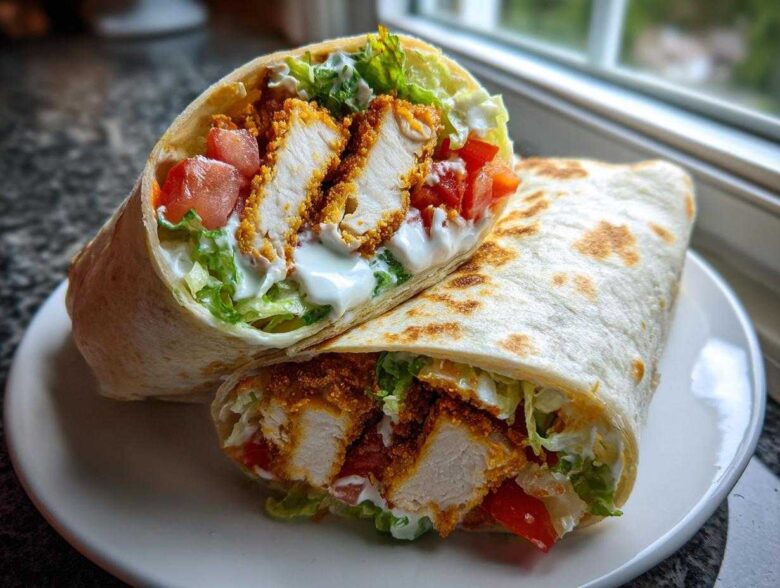
Okay, let’s be real for a second. If there’s one food tragedy I absolutely cannot forgive, it’s a wrap that promised crunch and delivered sogginess. It’s a betrayal! Soggy lettuce, limp chicken—no thanks. That’s why I spent what felt like three weekends straight trying to crack the code for the most bomb Crispy Chicken Wrap with Creamy Ranch Sauce you’ve ever tasted.
This recipe is my ultimate solution because we are focusing squarely on texture. We aren’t just breading chicken; we are building an armor around those tender strips using a double-dredge technique I perfected right here in my own kitchen. You can see some of my early recipe ramblings over at the blog archives—it took a few tries, but now I have it down! Trust me, learning that method changed everything. Soon, you’ll realize that making the perfect crunchy wrap is totally possible, and it all starts right here with these steps.
Why This Crispy Chicken Wrap with Creamy Ranch Sauce is Superior
I get it—you’re probably scrolling around looking for a decent lunch that doesn’t require a two-hour commitment, and that’s exactly what this recipe is built for! We’re only looking at about 35 minutes total, which makes this a serious contender for your new favorite Quick Chicken Lunch Ideas. But time saving isn’t the only win here. We are tackling flavor and texture head-on because that’s what separates a sad, limp wrap from glorious handheld food.
Here’s the breakdown of why you just have to make this version:
- It solves the dreaded soggy center problem instantly.
- The ranch dressing actually tastes like it burst out of a garden, not a bottle.
- It offers a fantastic textural contrast—crunchy chicken next to cool, crisp veggies.
If you’re ever looking to elevate your chicken game further, check out my quick homemade chicken gravy recipe for a completely different comfort-food vibe!
Achieving Next-Level Chicken Crispiness
The secret weapon against sogginess is all in the breading. We use a technique called double-dredging, which basically means we dip the chicken in that wet egg mixture twice before hitting the panko. This creates an extra thick, crusty shield. When that armor hits the hot oil (or the air fryer basket!), it locks in all the moisture and keeps the outside insanely crisp way longer. It makes a huge difference, trust me!
The Rich, Homemade Creamy Ranch Sauce for Wraps
Store-bought ranch is fine for salads when you’re in a total pinch, but it’s watery! For these wraps, we need body—we need richness. Our Homemade Ranch Dressing Recipe brings the flavor with real mayonnaise and sour cream, not just thin, flavored milk. Plus, we use enough dried dill and chives to make sure you get that authentic, herbaceous punch in every bite of this Creamy Ranch Sauce for Wraps.
Ingredients for the Ultimate Crispy Chicken Wrap with Creamy Ranch Sauce
Okay, ingredient staging is half the battle! Getting everything measured and ready before you start dredging and frying is essential—it keeps your workflow smooth. You don’t want to stop mid-process to measure out your spices, trust me. This list is broken down so you know exactly what goes where. And before you start prepping the chicken, maybe check out my ultimate all-purpose chicken marinade if you have extra time to chill it! But for this recipe, we are keeping it simple.
Here is what you need:
For the Crispy Chicken Tenders
- 2 large boneless, skinless chicken breasts, cut into strips
- 1 cup all-purpose flour
- 1 teaspoon salt (keep this simple!)
- 1 teaspoon black pepper
- 1 teaspoon paprika (for color and depth)
- 2 large eggs, beaten
- 1/2 cup buttermilk (this helps the coating stick beautifully!)
- 1 cup panko breadcrumbs (this is key for that actual crunch!)
- Vegetable oil for frying (or cooking spray for air frying)
For the Creamy Ranch Sauce for Wraps
This is where the richness comes into play. We need that satisfying thickness, so we skip the thin stuff and go straight for real dairy and mayo! The combination of mayo and sour cream is magic for the body of this dressing.
- 1/2 cup mayonnaise
- 1/4 cup sour cream
- 2 tablespoons buttermilk
- 1 teaspoon dried dill
- 1/2 teaspoon dried chives
- 1/2 teaspoon garlic powder
- 1/4 teaspoon onion powder
- Pinch of salt and pepper
For Assembly: Perfectly Fried Chicken Wrap Fillings
These are the bits that really flesh out the whole experience. Grab those big, soft tortillas—we need room to roll the goods in there!
- 4 large flour tortillas (make sure they are pliable!)
- 1/2 cup shredded romaine lettuce
- 1/4 cup diced tomato
- 1/4 cup shredded cheddar cheese
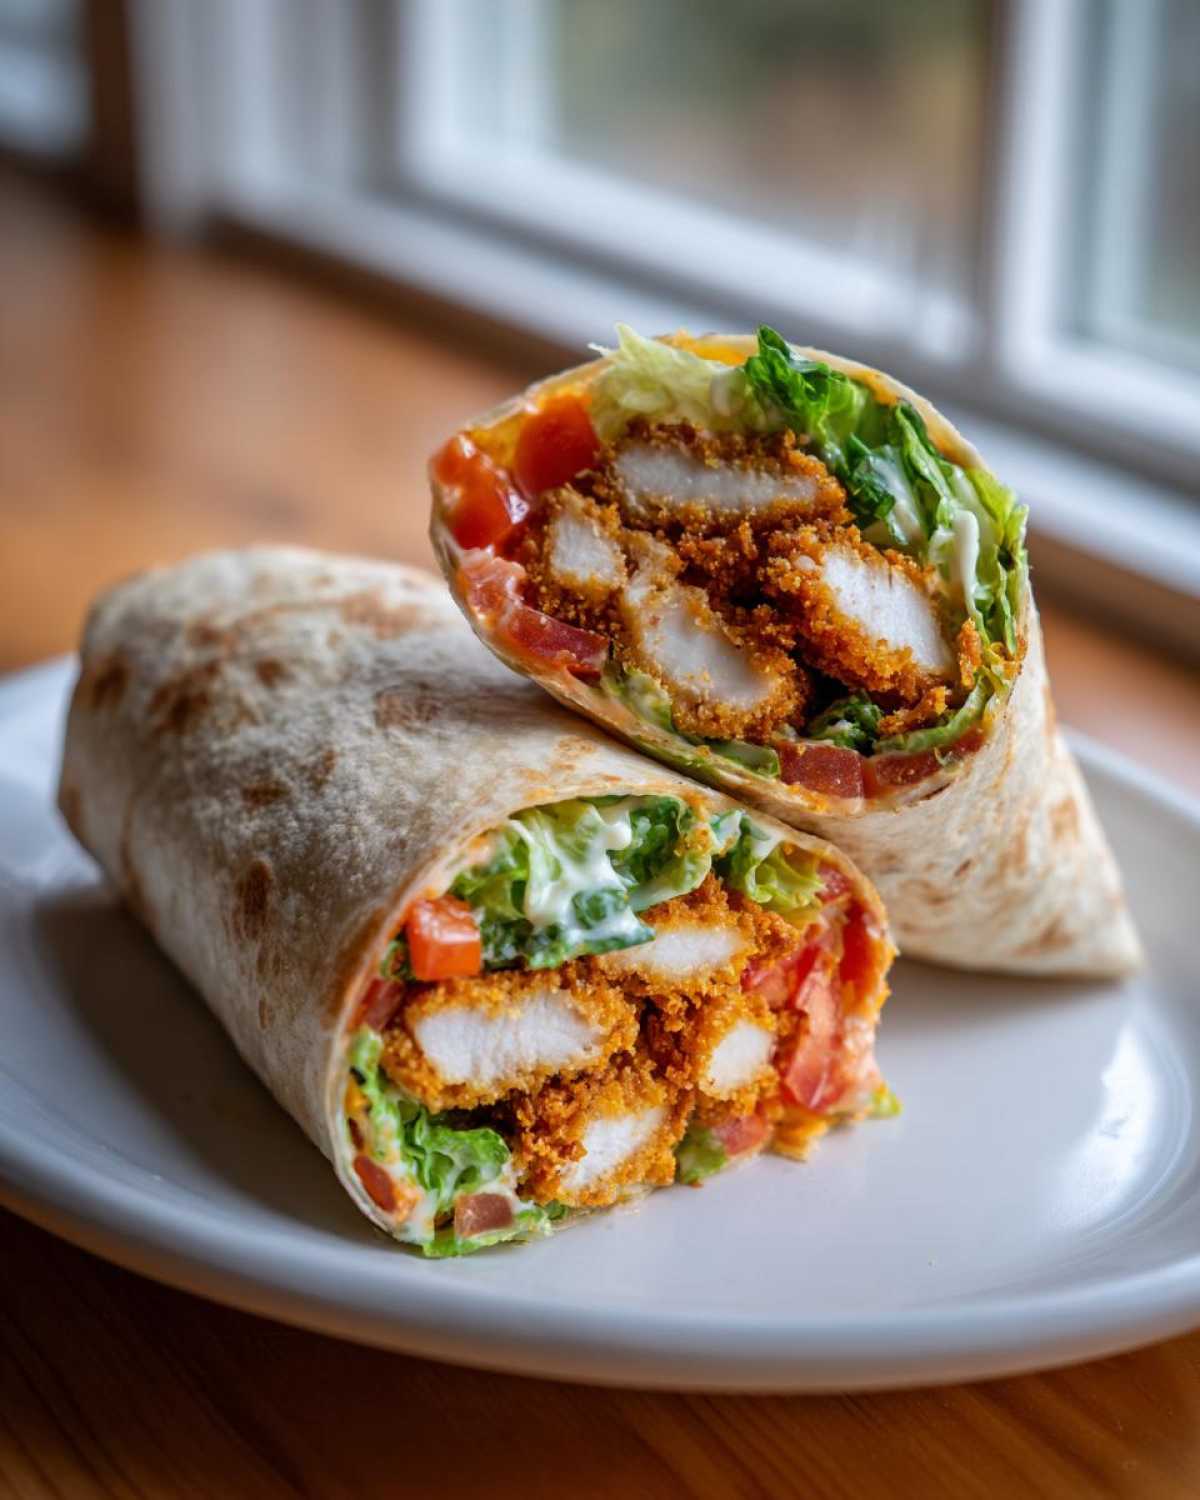
How to Prepare the Crispy Chicken Wrap with Creamy Ranch Sauce
Alright, this is where the magic really happens! We’re moving fast, so make sure your ingredients are prepped. If you follow these steps, you’ll have this whole amazing lunch ready in about 35 minutes total—that’s 20 minutes for prep and just 15 minutes for cooking time. If you want a side dish that is just as crispy, you absolutely have to try my roasted crispy breakfast potatoes recipe while you’re waiting for the chicken to fry up!
Breading and Preparing the Chicken
This is our moment to build that famous crunch! You need three separate shallow dishes ready to go. Dish one gets your dry mix—the flour, salt, pepper, and paprika. Dish two is for the wet stuff: the eggs and the buttermilk whisked together—this is going to be our glue. And dish three? That’s reserved for the glorious Panko breadcrumbs.
Now, here’s the technique for making the best How to Make Crispy Chicken Tenders: Take each chicken strip and give it a good coat in the flour—shake off the excess! Next, into the wet bath it goes. Then, the most important part: back into the flour mixture for a *second* thin coating, *then* back into the wet mix, and finally, press it firmly into the Panko. That double-dredge means the Panko has something extra sticky to grab onto. It makes the coating thicker so it fries up crunchier and dramatically reduces the chance of getting soggy breading later!
Cooking Methods: Frying vs. Air Fryer Crispy Chicken Wrap
You have two fantastic ways to get that perfect golden color and crunch. Choose your adventure!
For Frying: Heat about an inch of vegetable oil in a solid skillet until it hits 350°F. You want the oil hot enough so the crust sets right away. Gently place the breaded chicken strips in batches—don’t crowd the pan! Fry them for about 3 to 4 minutes on each side until they look deep golden brown and those internal juices are running clear. Pull them out and put them straight onto a wire rack to drain the extra oil away.
For the Air Fryer Crispy Chicken Wrap: If you’re keeping it on the leaner side, spray those coated chicken strips generously with cooking spray on all sides. Pop them into your air fryer basket in a single layer (work in batches!). Set the temperature to 400°F and cook for 12 to 15 minutes, remembering to flip them halfway through so they crisp evenly.
Whipping Up the Homemade Ranch Dressing Recipe
This part is seriously easy and takes less than two minutes. You just need one small bowl for this incredible Homemade Ranch Dressing Recipe. Combine absolutely everything—mayonnaise, sour cream, buttermilk, dill, chives, garlic powder, onion powder, and your salt and pepper. Use a small whisk and just mix it hard until everything emulsifies and looks thick, dreamy, and creamy. Before you stop, give it a taste! If you want more zing, add a tiny bit more dill. Done!
Tortilla Wrap Assembly Guide
Timing is key for a fresh wrap, so warm those tortillas up *just* before you start assembling. A quick 10 seconds per side in a dry, hot skillet makes them soft and easy to roll. To follow the best Tortilla Wrap Assembly Guide, remember this order for structural integrity:
- Lay the warmed tortilla flat.
- Spread a generous layer of your creamy ranch sauce right down the center line.
- Add a layer of crisp romaine lettuce.
- Sprinkle on your diced tomato and cheddar cheese.
- Finally, lay 3 or 4 pieces of that gloriously crispy chicken right on top of the cheese layer.
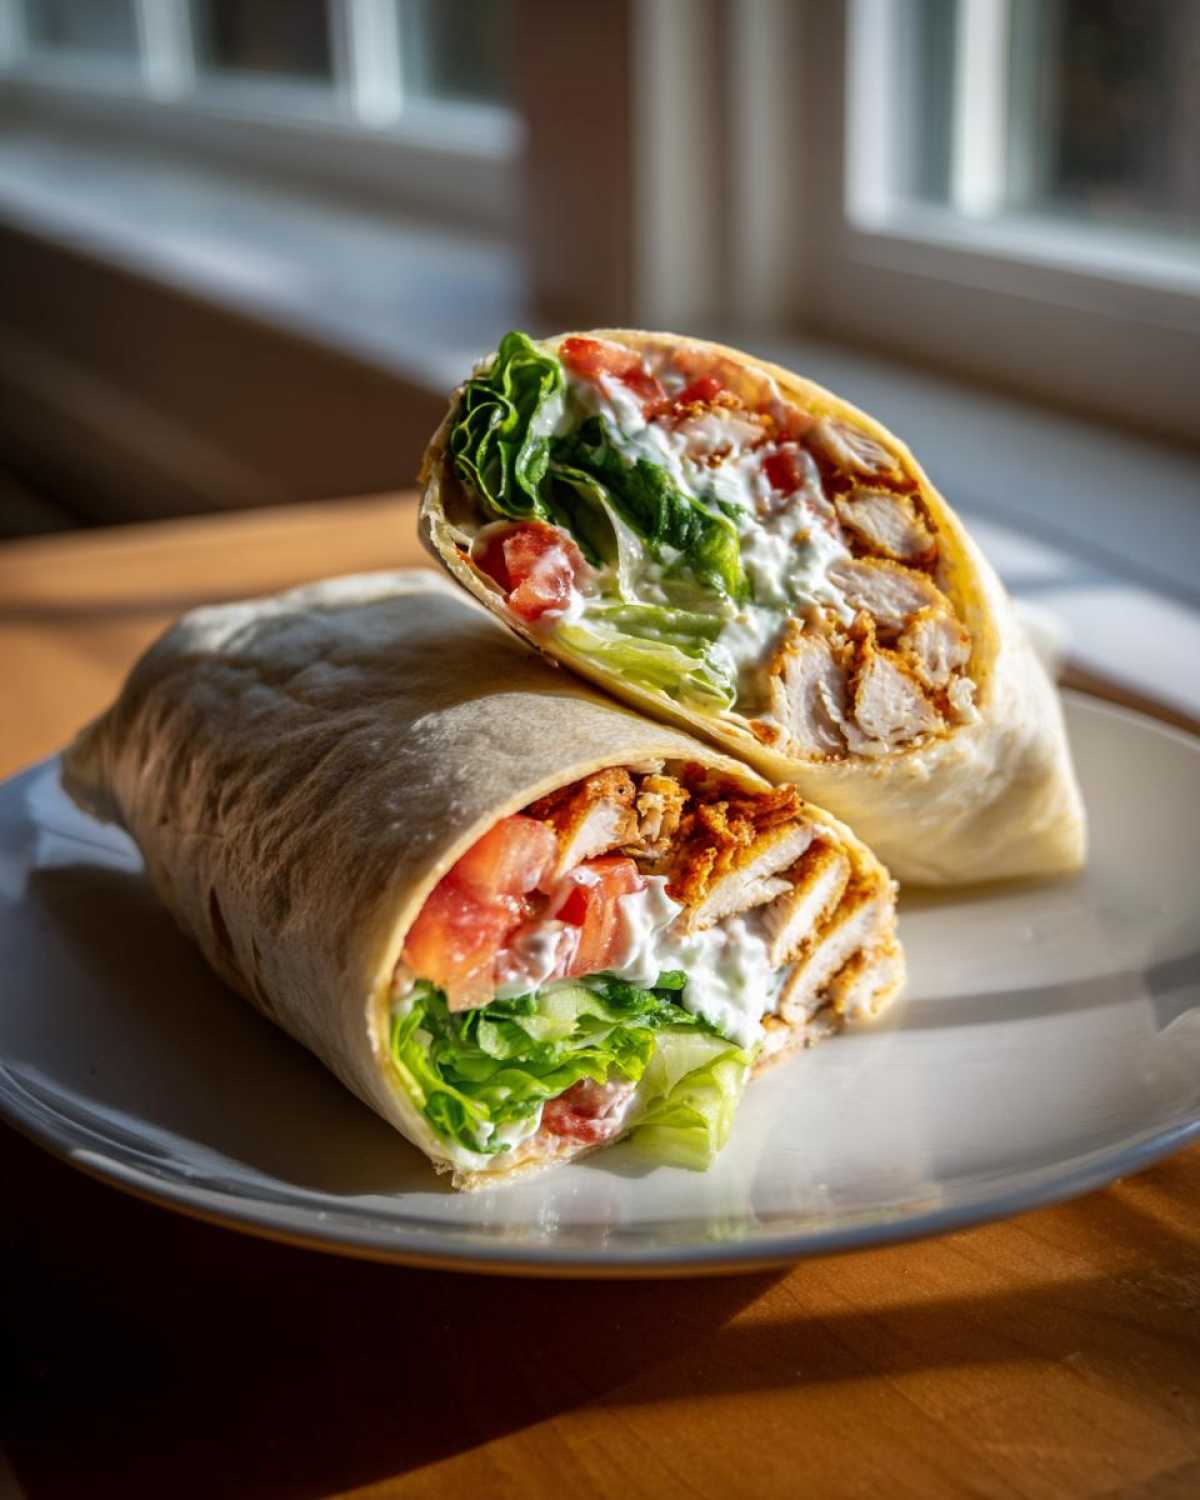
Now, fold the sides in tightly, and roll it up from the bottom edge! I like to slice mine diagonally right before serving.
Tips for Success with Your Crispy Chicken Wrap with Creamy Ranch Sauce
We’ve spent all this time creating the crispiest chicken imaginable, so the last thing we want to do is ruin the texture when it sits for five minutes! Preventing sogginess is my personal mission when I pack these for lunch the next day. If you’re looking for another amazing companion dip for your next party spread, you have to try my best jalapeno popper dip recipe—it’s addicting!
Listen closely, because these tips are all about keeping that crunch locked in until you take that first glorious bite.
Preventing Soggy Chicken in Wraps
When that chicken comes out of the hot oil or the air fryer, it’s dripping with heat and maybe a tiny bit of residual moisture or oil on the surface. If you put that piping hot, steamy chicken right onto a plate or flat surface, that steam has nowhere to go but down into the crust you worked so hard to create. Disaster!
The fix is simple and non-negotiable: As soon as the chicken is cooked, transfer it immediately to a clean wire cooling rack that is set over a baking sheet. That rack lets air circulate completely around the chicken strips. Seriously, air circulation is your best friend here! It allows the surface moisture to evaporate while the residual heat finishes any internal cooking, leaving you with that perfect, dry crunch.
Make Ahead Chicken Salad Wraps Assembly Strategy
I know sometimes you just need to get ahead, especially if you are planning these for a work lunch or a picnic. If you try to assemble the entire wrap and put it in the fridge for six hours, I promise you will come back to a damp, sad experience. We need to treat the wrapper like a delicate package.
Here’s my strategy for making these ahead: Cook and cool all your components completely first. Store the crispy chicken tenders (on the wire rack, if you can!) in an airtight container in the fridge. Keep the creamy ranch sauce in its own tightly sealed jar. Then, keep your lettuce, tomato, and cheese mixed together, perhaps in a small Tupperware. When it’s time to eat, just pull out your three main containers, warm the chicken slightly if you like (or eat it cold!), add a spread of sauce, assemble, and roll. It keeps the crunch alive!
Variations for Gourmet Chicken Wraps
While this basic template for a crunchy wrap loaded with our creamy ranch is just perfection as is, I love encouraging everyone to treat these instructions like a starting point. If you’re looking to step these up from a quick lunch to a real showstopper—I mean, making them feel like those Gourmet Chicken Wraps you see in fancy cafes—you just need a few playful tweaks! For more fun flavor ideas, especially if you like a kick, you absolutely must check out my recipe for buffalo chicken wraps with ranch—it’s wild.
Don’t be afraid to play around with the coatings and fillings. That’s how the best recipes are born, right?
Spice Level Adjustments
If your family loves heat like mine does, it is super simple to turn up the temperature without compromising that awesome exterior texture we worked so hard to create. The easiest spot to add heat is right in the initial flour dredge. Just take about a teaspoon of cayenne pepper—or maybe a teaspoon and a half if you’re feeling brave—and mix it right into your flour, salt, and paprika mix. It infuses the coating right to the core!
Alternatively, or if you want to keep the chicken mild for younger eaters, you can boost the ranch. Try whisking in a teaspoon of your favorite hot sauce or a pinch of smoked paprika into the dressing itself. Suddenly, your simple sauce gets a major personality boost. It’s such an easy way to customize your Best Chicken Wrap Ideas!
Alternative Fillings
The cheese and tomato are great anchors, but we can absolutely get more creative with the supporting cast in these wraps. Think about contrasting textures or adding richness!
I am obsessed lately with adding crispy texture from somewhere else, so I often throw in a few strips of crumbled, fully-cooked bacon. The saltiness goes perfectly with the creamy ranch. If you want healthy fat and a smooth texture to contrast the chicken crunch, toss in a few slices of creamy avocado—it just melts in your mouth.
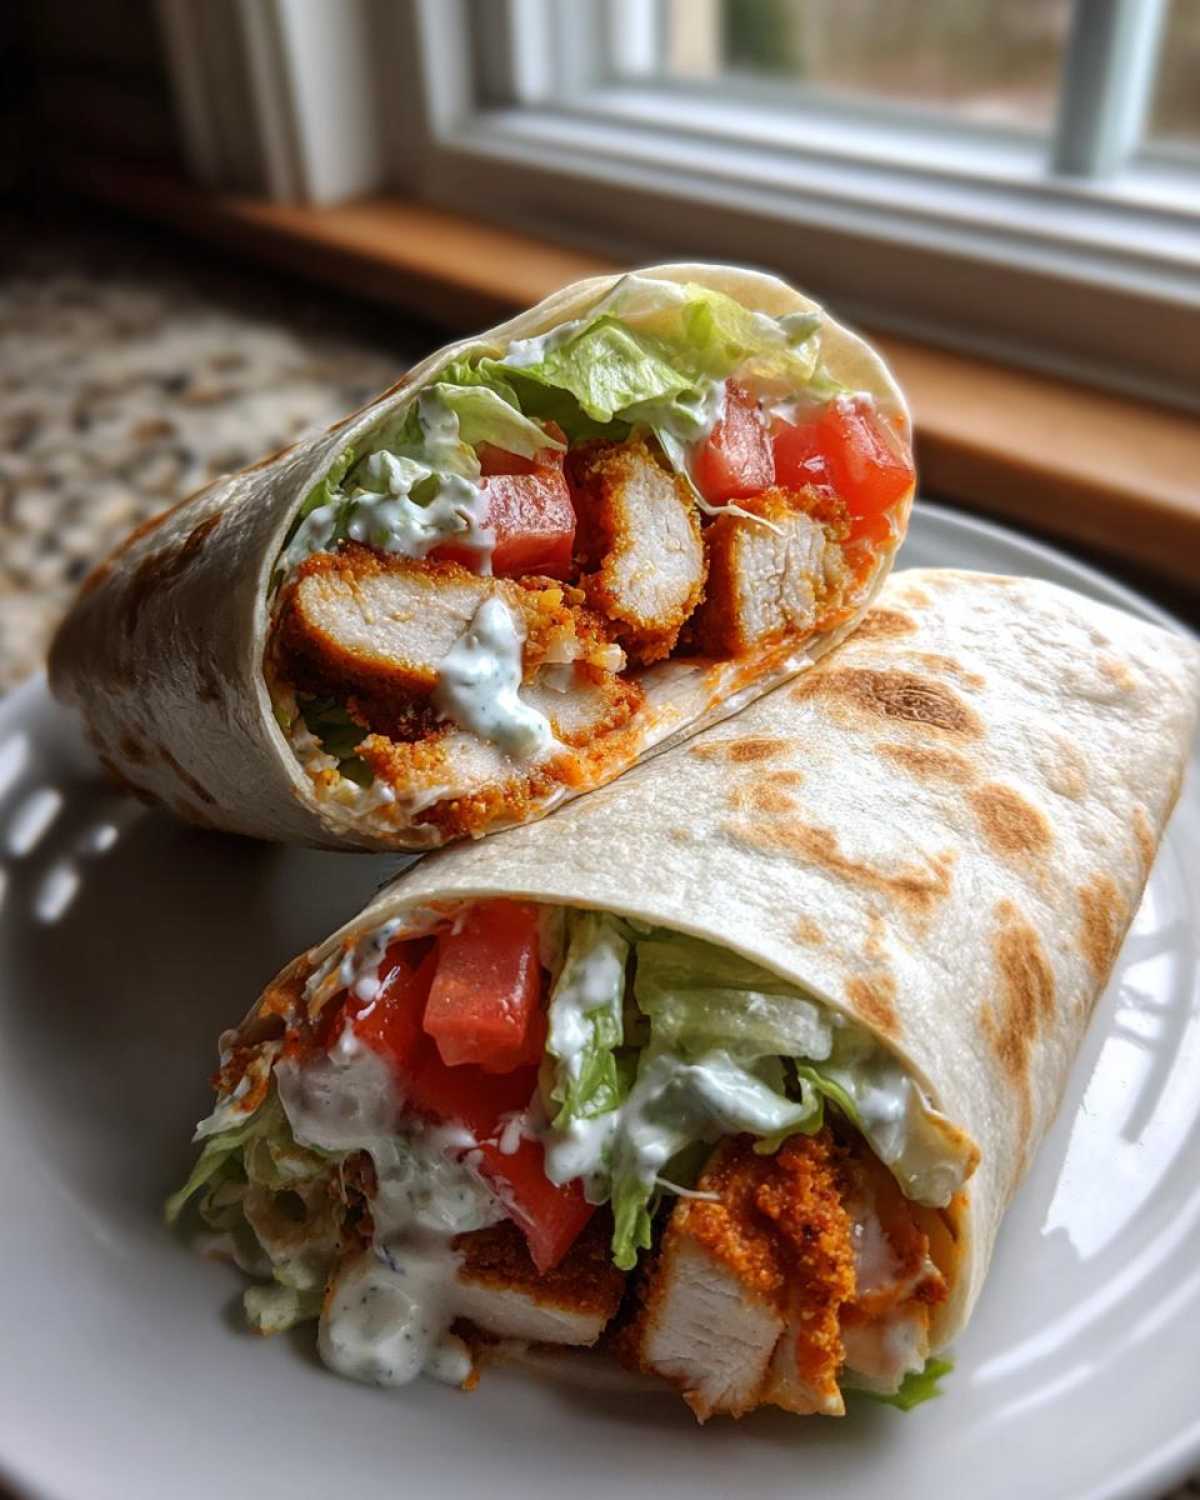
As for cheese, while the cheddar is classic, sometimes I swap it out. Pepper jack is fantastic if you want a little hidden spice, or even crumbled Feta can give it a tangy, slightly more Mediterranean feel that still meshes beautifully with the herbs in the ranch dressing. It all depends on what you’re craving that day!
Serving Suggestions for Your Crispy Chicken Wrap with Creamy Ranch Sauce
So, you’ve got these incredible, fully-loaded wraps. They are substantial enough to be a whole meal, which is why this recipe works so well for those busy weeknights when you need Easy Dinner Wraps on the table fast. But if you’ve got a little extra time, having a side dish that complements the crunch without overpowering the star of the show is the way to go!
I try to keep the sides simple, maybe something roasted or something cool and quick, so the focus stays on that creamy ranch and the chicken armor. Speaking of great textures, if you’re looking for an amazing side that doubles down on the roast vegetable goodness, you have to try my recipe for roasted sweet potatoes—they come out perfectly tender inside and caramelized outside, which is the ideal pairing for the cool wrap!
If you need something fast and fresh, you can’t go wrong with a simple side salad that uses a light vinaigrette, just to cut through the richness of the mayonnaise and sour cream in the ranch. Or, if you want to stick with the Ranch theme, serve these wraps alongside some crunchy celery and carrot sticks for dipping!
Storage and Reheating Instructions for Leftover Crispy Chicken Wrap with Creamy Ranch Sauce
Nobody wants leftovers that taste floppy, especially when you put this much effort into achieving that perfect crunch! The trick here, as I mentioned when we talked about making these ahead, is separation. If you have any Crispy Chicken Wrap with Creamy Ranch Sauce left over, you absolutely must pull apart the components before storing them.
If you try to store the fully assembled wrap, the moisture from the lettuce and the ranch sauce will have soaked into your beautiful breading by morning. That’s just physics, folks! So, take the time to disassemble what you won’t eat right away. You can store the chicken in one container, the veggies (maybe even lightly patted dry again) in another, and the ranch dressing in its own little jar—it lasts forever anyway!
If you’re curious about another amazing creamy chicken dish that stores well, you need to try my easy creamy one-pot chicken tortilla soup recipe. It reheats like a dream!
Reheating the Chicken to Restore Crispness
This is the most important step for leftover chicken. If you just microwave it, you are guaranteed to get rubbery sadness. We need heat, but we need dry heat to bring that crunch back. Throwing it back in the oven or the air fryer is the only way to go.
Oven Method: Spread the leftover chicken tenders in a single layer on a baking sheet lined with foil. Pop them into a preheated oven at 375°F for about 6 to 8 minutes. Keep an eye on them! This gentle reheating dries out the crust and crisps it right back up without cooking the chicken further.
Air Fryer Method (Fastest): If you have your air fryer ready, this is even faster! Set it to 380°F and give the chicken about 3 to 5 minutes. Give them a little shake halfway through. You’ll be amazed at how close this gets you to freshly fried flavor. Once the chicken is hot and crispy, you can proceed with assembling your fresh wrap using your saved sauce and veggies!
Frequently Asked Questions About the Crispy Chicken Wrap Recipe
I always get asked the same things when people first try making this recipe at home, especially around how to deal with the breading. I’ve pulled together the most common concerns so we can get you set up for success right away! If you ever need more inspiration after this, my recipe for chicken scampi with garlic parmesan rice is another favorite for a quick, flavor-packed meal!
Can I use pre-cooked chicken for this Crispy Chicken Wrap Recipe?
You technically *could*, but I would strongly advise against it if your heart is set on that super crisp texture we talked about. See, the reason our double-dredge method works so well is that the raw chicken strips create the perfect sticky surface for the flour, egg, and Panko to adhere to. If you use already cooked chicken, the coating often just slides right off during frying or air frying, leaving you with bare, dry chicken strips and a bunch of crumbs floating in the oil.
What is the best way to keep the chicken crispy if I pack this for lunch?
This is the eternal struggle! If you pack a fully assembled wrap, the steam trapped inside the tortilla will turn that gorgeous crust soft within about an hour. The absolute best way to preserve the crunch is the separation strategy. Pack the crispy chicken tenders in a small container where they can breathe a little, keep the Creamy Ranch Sauce for Wraps in a tiny sealed cup, and keep the veggies separate too! When lunchtime rolls around, just pull it all out, warm the chicken for three minutes in a toaster oven if you can, assemble, and enjoy that fresh crunch!
Can I substitute the buttermilk in the Creamy Ranch Sauce for Wraps?
Oh, absolutely, buttermilk can be tricky to keep stocked for just a few tablespoons! If you’re out, don’t panic. You can make a perfectly good substitute right in your kitchen. Just take regular milk—whole milk works best for the richness—and stir in about a teaspoon of white vinegar or lemon juice for every half cup of milk you are using. Give it a gentle stir and let it sit on the counter for about five or ten minutes. It will curdle just slightly and give you that necessary acid and thickness for the perfect Homemade Ranch Dressing Recipe!
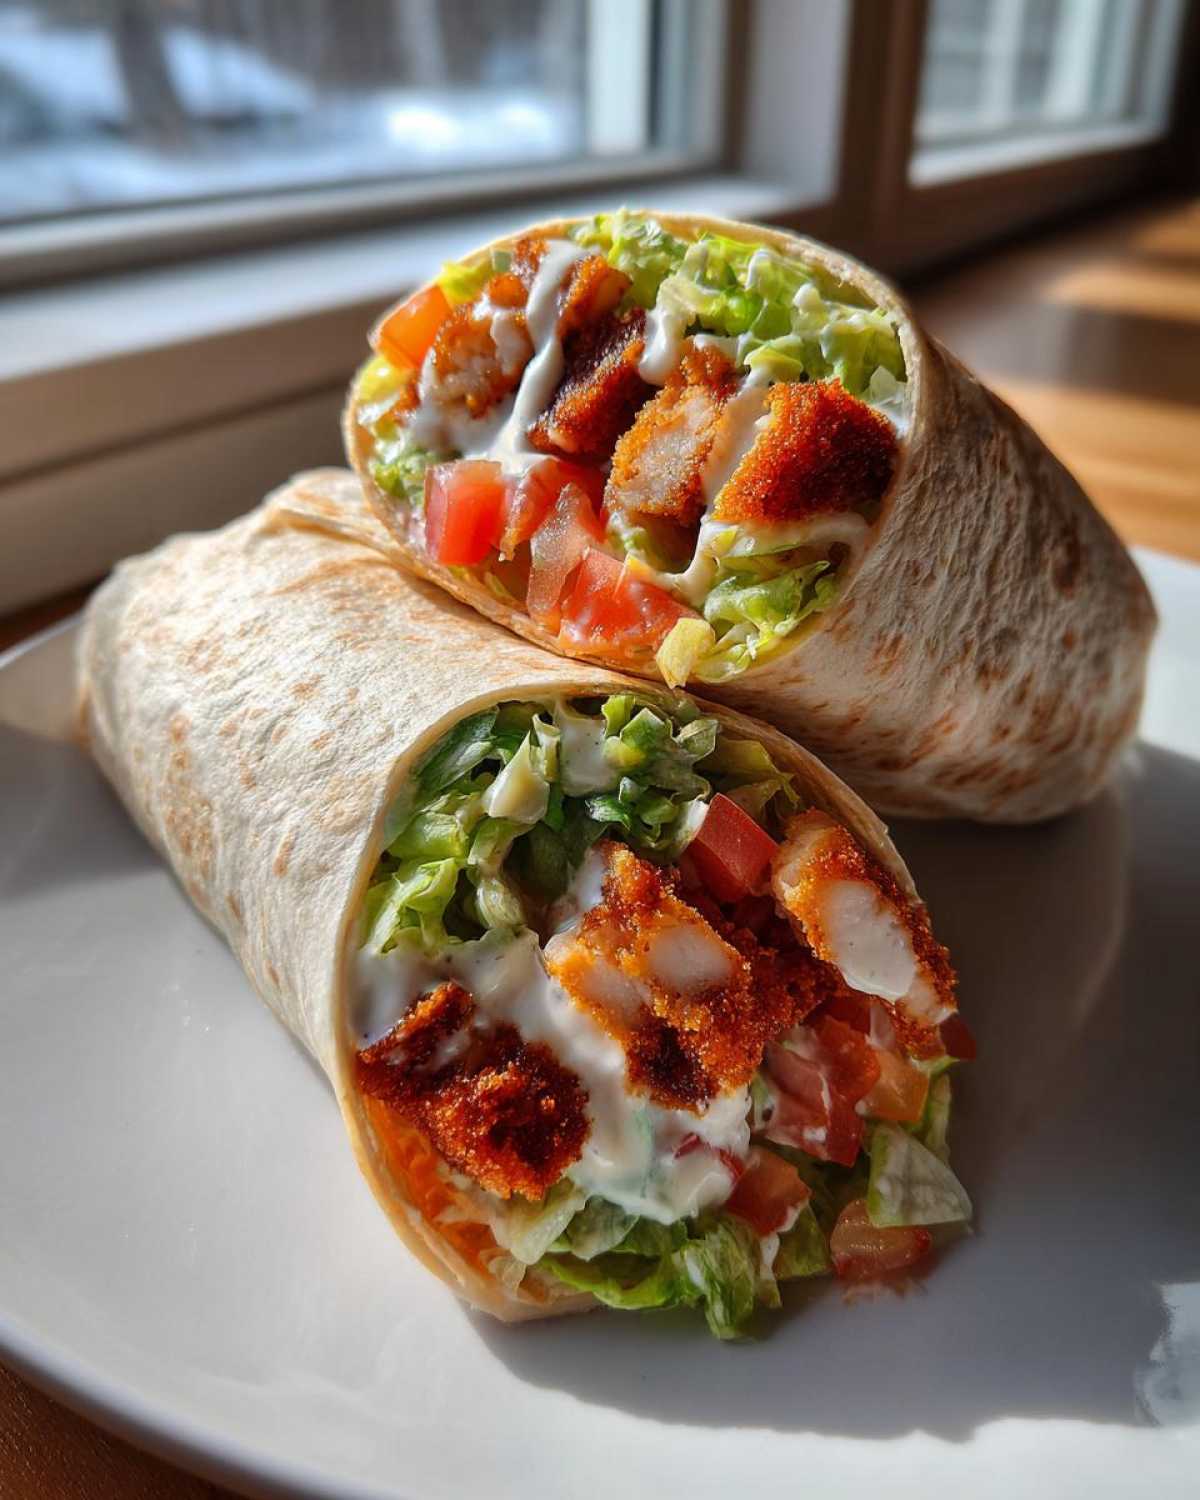
Estimated Nutritional Data for One Crispy Chicken Wrap with Creamy Ranch Sauce
Because we’re using real ingredients here—flour, oil for frying (if you choose that route), and that rich, creamy dressing—it’s important to know what you’re getting! These numbers can really swing depending on whether you air fry or deep fry your chicken, and how generously you slather on that amazing ranch sauce we made. Remember, these are just smart estimates based on standard portion sizes for one full wrap. If you’re looking for something lighter to go alongside, I highly recommend my recipe for chicken caesar pasta salad!
Here’s a general snapshot of what one of these beauties delivers, based on the ingredients listed:
- Serving Size: 1 wrap
- Calories: Approximately 580
- Fat: Around 32g (This includes the frying oil if you deep-fried, so keep that in mind!)
- Saturated Fat: Roughly 8g
- Protein: A solid 35g—keeps you full for hours!
- Carbohydrates: About 38g
- Fiber: About 2g
- Sugar: Only about 5g (That’s naturally occurring, not lots of added sugar!)
- Sodium: Approximately 850mg (We use salt in the breading and the dressing, so measure carefully!)
These figures show that while we are definitely getting great protein and fiber, the fat content is significant due to the rich ranch and the coating process. It’s a satisfying, complete meal, but it’s good to be aware! If you want to shave some fat off, definitely choose the air fryer method!
PrintUltimate Crispy Chicken Ranch Wraps

Make crispy chicken tenders using a double-dredge method or air fryer, then combine them with a rich, homemade creamy ranch sauce and fresh fillings inside a large tortilla.
- Prep Time: 20 min
- Cook Time: 15 min
- Total Time: 35 min
- Yield: 4 servings
- Category: Lunch
- Method: Frying or Air Frying
- Cuisine: American
- Diet: Low Fat
Ingredients
- 2 large boneless, skinless chicken breasts, cut into strips
- 1 cup all-purpose flour
- 1 teaspoon salt
- 1 teaspoon black pepper
- 1 teaspoon paprika
- 2 large eggs, beaten
- 1/2 cup buttermilk
- 1 cup panko breadcrumbs
- Vegetable oil for frying (or cooking spray for air frying)
- 4 large flour tortillas
- 1/2 cup shredded romaine lettuce
- 1/4 cup diced tomato
- 1/4 cup shredded cheddar cheese
- For the Creamy Ranch Sauce:
- 1/2 cup mayonnaise
- 1/4 cup sour cream
- 2 tablespoons buttermilk
- 1 teaspoon dried dill
- 1/2 teaspoon dried chives
- 1/2 teaspoon garlic powder
- 1/4 teaspoon onion powder
- Pinch of salt and pepper
Instructions
- Prepare the chicken: Mix flour, salt, pepper, and paprika in one shallow dish. In a second dish, whisk the eggs and buttermilk. In a third dish, place the panko breadcrumbs.
- Dredge the chicken: Dip each chicken strip first into the flour mixture, shaking off excess. Then dip into the egg/buttermilk mixture. Finally, press firmly into the panko breadcrumbs to coat completely. This double-dredge creates extra crispiness.
- Cook the chicken: For frying, heat 1 inch of oil in a skillet to 350°F. Fry chicken in batches for 3-4 minutes per side until golden brown and cooked through. Drain on a wire rack. For air frying, spray coated chicken with cooking spray and air fry at 400°F for 12-15 minutes, flipping halfway.
- Make the ranch sauce: Combine mayonnaise, sour cream, buttermilk, dill, chives, garlic powder, onion powder, salt, and pepper in a small bowl. Whisk until smooth and creamy.
- Warm the tortillas: Heat tortillas briefly in a dry skillet or microwave to make them pliable.
- Assemble the wraps: Lay a tortilla flat. Spread a generous layer of the creamy ranch sauce down the center. Layer with lettuce, tomato, shredded cheese, and 3-4 pieces of crispy chicken.
- Fold the wrap tightly by folding in the sides first, then rolling from the bottom up. Slice in half if desired and serve immediately.
Notes
- To prevent soggy chicken, place the cooked chicken on a wire rack over a baking sheet immediately after frying or air frying to allow air circulation.
- If assembling ahead of time, keep the sauce, chicken, and vegetables separate. Assemble just before serving for the best texture.
- For an extra crunchy wrap, lightly toast the inside of the tortilla before adding fillings.
Nutrition
- Serving Size: 1 wrap
- Calories: 580
- Sugar: 5
- Sodium: 850
- Fat: 32
- Saturated Fat: 8
- Unsaturated Fat: 24
- Trans Fat: 0
- Carbohydrates: 38
- Fiber: 2
- Protein: 35
- Cholesterol: 110