

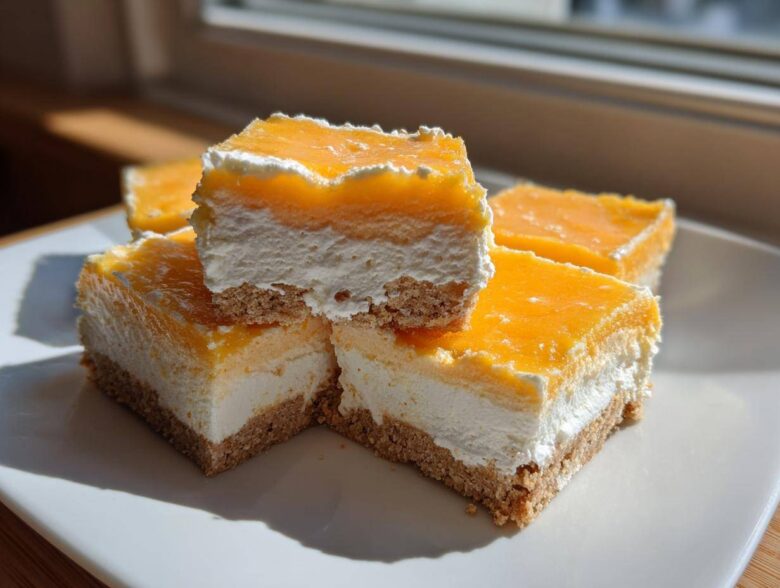
When that summer heat hits, sometimes the last thing I want to do is wrestle with my oven. But oh, that craving for something bright, citrusy, and perfectly creamy? That hits hard! That’s why these No-Bake Orange Creamsicle Cheesecake Bars live rent-free in my summer rotation. They taste exactly like dipping into that classic orange and vanilla ice cream bar from childhood, but in a cool, easily sliceable bar shape. I developed this recipe out of sheer necessity last July when the A/C suddenly died mid-afternoon! It’s the perfect marriage of tangy juice and rich cream, and you don’t even need to turn on a burner. If you’re looking for an easy, refreshing treat, trust me, this is the one you need. For more on my kitchen philosophy, check out my About Page!
Why This No-Bake Orange Creamsicle Cheesecake Bars Recipe Works
Honestly, this recipe hits every single requirement for a perfect *low-stress* dessert. It’s all about maximizing flavor payoff while minimizing effort, which is why it’s become one of my go-to Summer No Bake Dessert Ideas.
- Quick Prep Time for Your No-Bake Citrus Bars: Active time is under 20 minutes. Seriously, you crush up a few crackers, mix some dairy, and put it in the fridge. No fiddling with oven temperatures!
- The Perfect Fluffy Orange Cream Bars Texture: We ditch the heavy bake, but we still get that rich cheesecake vibe thanks to the perfect ratio of cream cheese and airy whipped cream. It sets up beautifully, giving you those gorgeous Fluffy Orange Cream Bars.
You can serve these up without any guilt about turning on the stove. Plus, any extra recipe you might want to check out, like my chicken gravy recipe, is just waiting for you when the weather cools down!
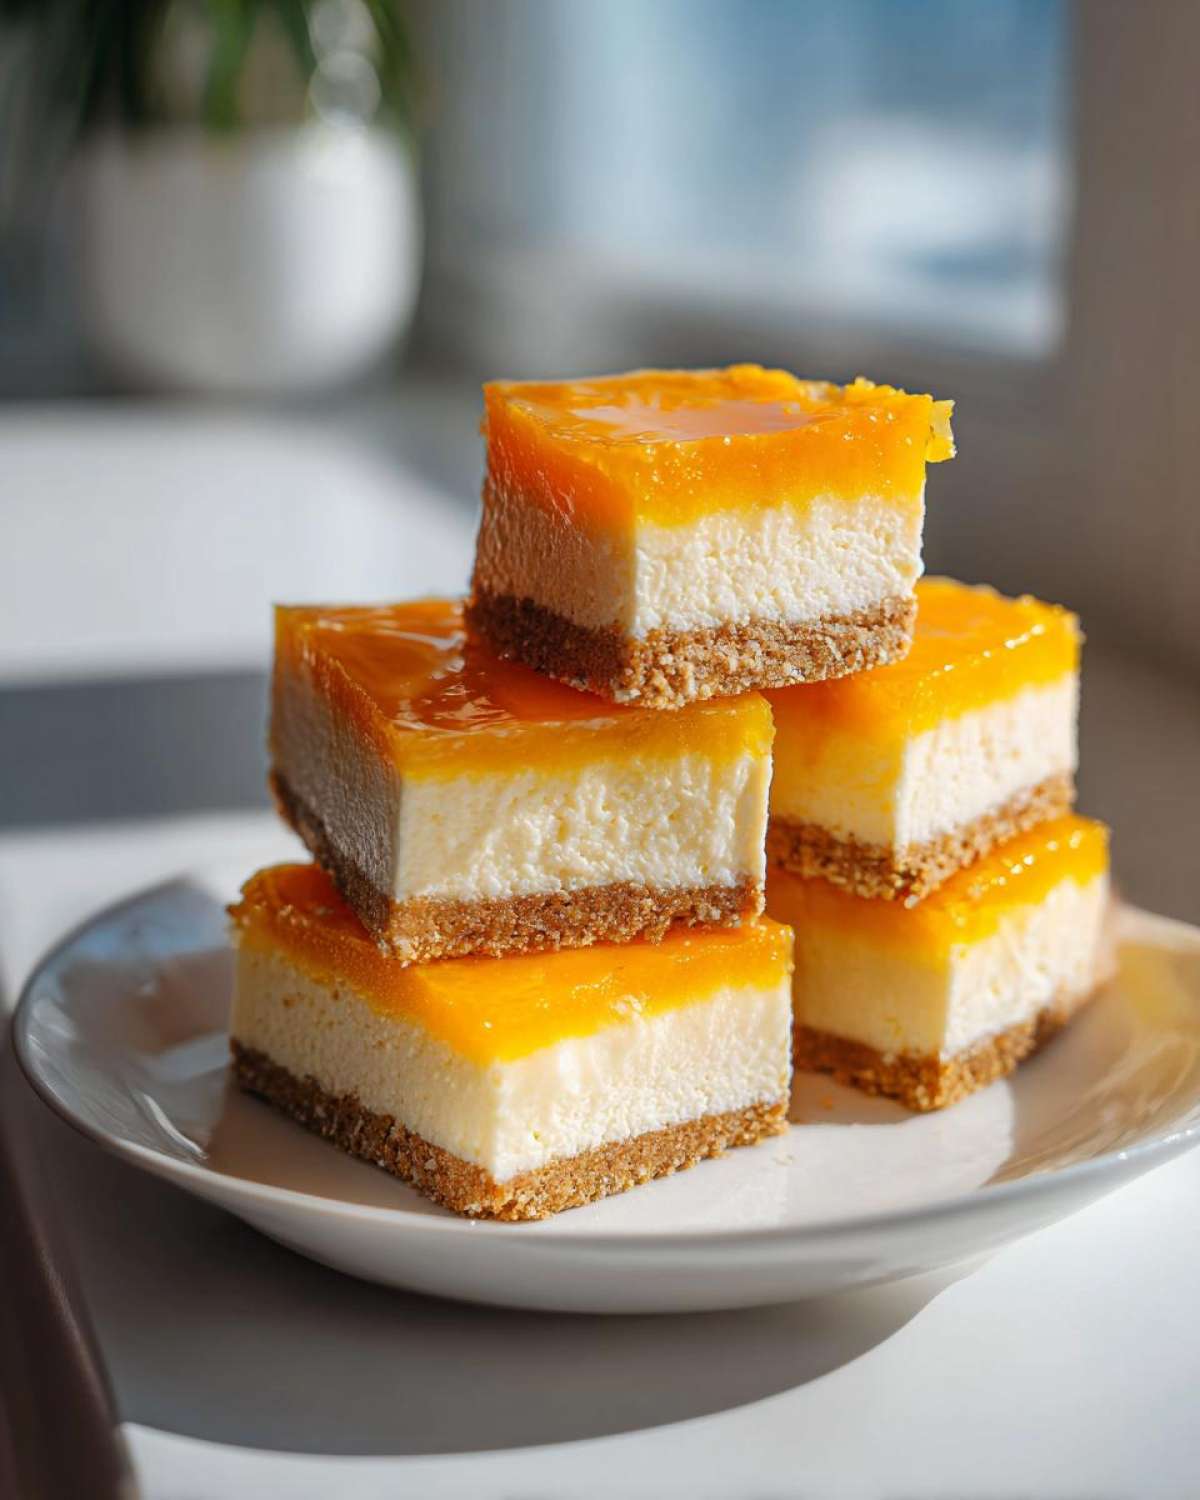
Essential Ingredients for No-Bake Orange Creamsicle Cheesecake Bars
Okay, this recipe is short and sweet on the ingredients list, which I absolutely love. When you’re relying on quality flavor instead of baking tricks, you need the right stuff! We’re keeping this simple, but every single item plays a huge role in achieving that true Creamsicle magic.
For the crust, you’ll need about one and a half cups of graham cracker crumbs, six tablespoons of melted unsalted butter to bind it all, and just a quarter cup of regular granulated sugar. Don’t skimp on the butter here; it’s your cement!
The filling requires an 8-ounce package of cream cheese—and listen to me now, **it must be fully softened** to room temperature—and a 14-ounce can of sweetened condensed milk. That milk is essential for sweetness and structure since we aren’t using an egg or baking!
For that bright citrus punch, grab half a cup of fresh orange juice and one full tablespoon of orange zest. A teaspoon of vanilla extract rounds out the cream flavor. Finally, for the fluff factor, you need one full cup of heavy whipping cream, and it absolutely has to be cold—the colder, the better for whipping!
We finish it off with a quarter cup of powdered sugar just for dusting at the end. If you want some lovely advice on lemon scones and glazes in the meantime, check out this lemon scones recipe!
Equipment Needed for Your Easy Orange Cheesecake Bars Recipe
You don’t need a fancy stand mixer for this; honestly, even a handheld one works like a charm! But having the right vessels ready makes the whole process cleaner. Remember, since this is a No Bake Creamsicle Dessert, we aren’t worried about specialized baking sheets, just good chilling space!
First thing’s first: you absolutely need an 8×8 inch baking pan. This size is perfect for getting those nice, thick bars that hold their shape. Make sure you have a roll of parchment paper handy, too. I always tell people to cut a liner big enough so it hangs over two sides—that’s your personal elevator for lifting the whole thing out later. Trust me on the overhang!
You’ll need a couple of mixing bowls. One medium bowl for crushing and mixing the crust ingredients, and one large bowl for whipping that heavy cream. Speaking of whipping, an electric mixer—handheld or stand—is practically non-negotiable for getting those stiff peaks on the cream and smoothing out the cream cheese base quickly. If you’re interested in how to get perfect sugar cookies that hold their shape, take a peek at this other cookie recipe for comparison!
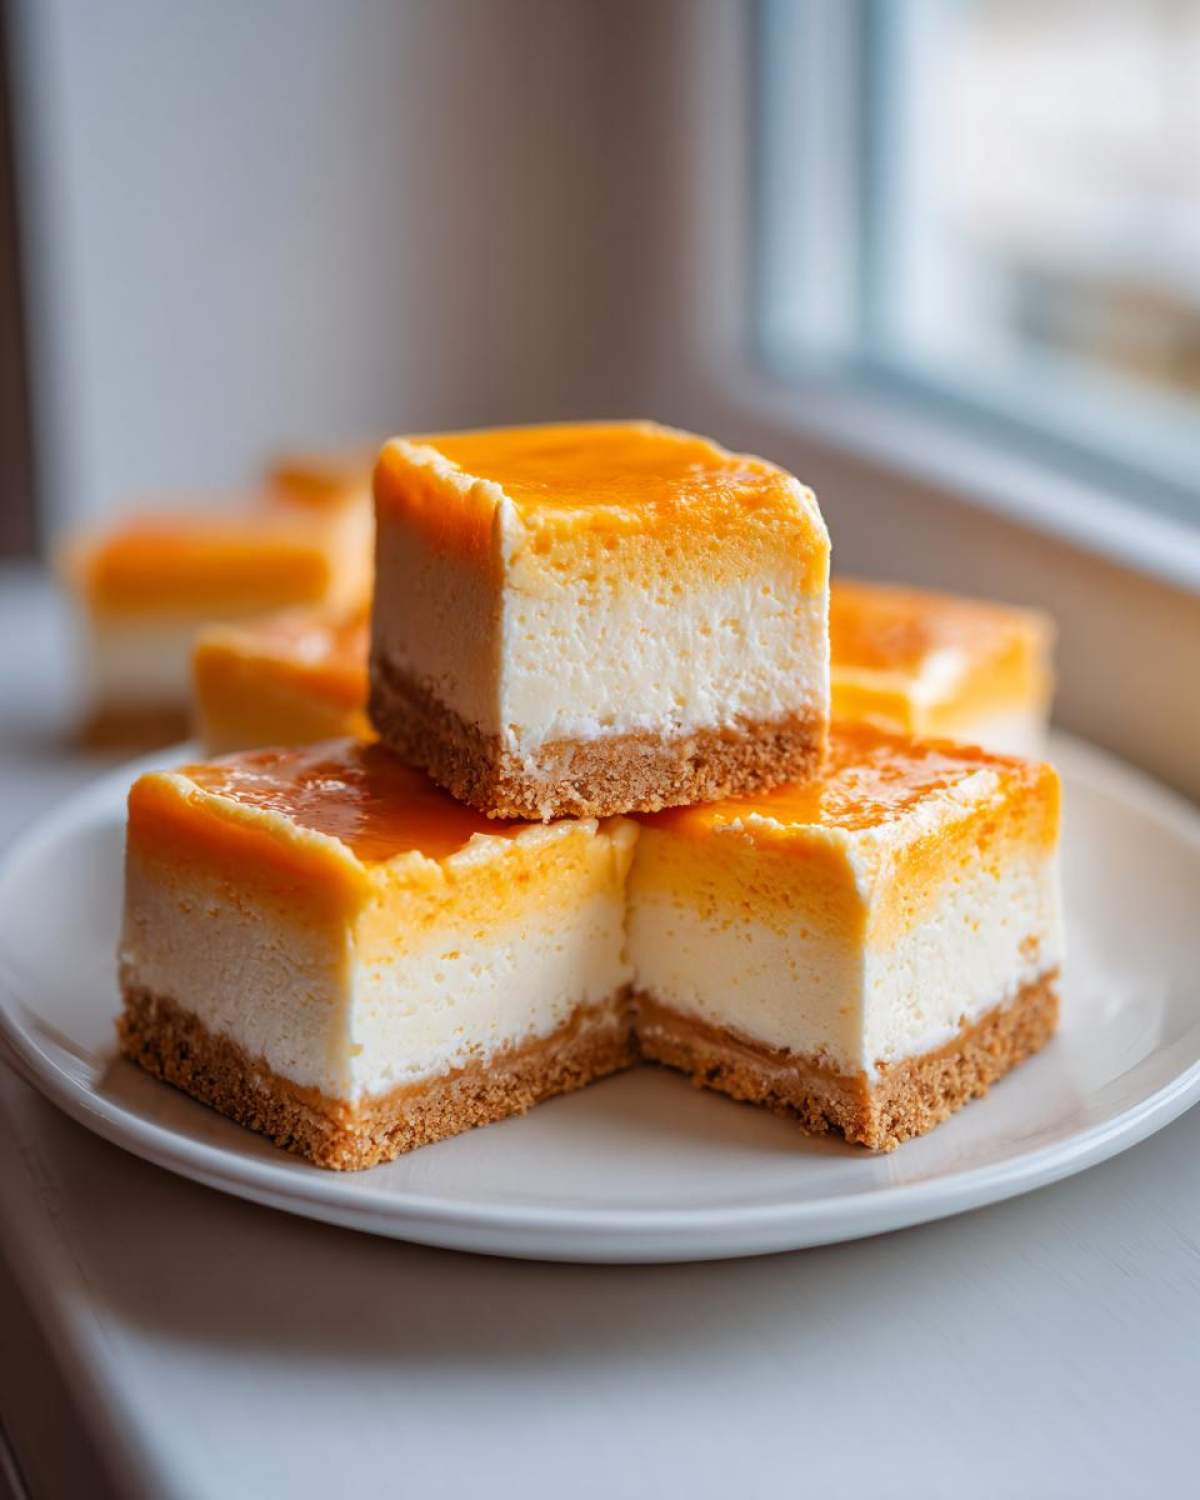
Finally, make sure you have a spatula for scraping down the bowl (you don’t want any unincorporated cream cheese hiding!) and measuring cups and spoons, of course. Keep everything clean, especially the bowl you use for the whipped cream, otherwise, you’ll end up with sad, soupy topping!
Step-by-Step Instructions for No-Bake Orange Creamsicle Cheesecake Bars
Alright, let’s get down to the fun part! Remember, since we aren’t baking, our success hinges entirely on chilling time and gentle mixing. Don’t rush the steps, and you’ll have the most amazing No-Bake Orange Creamsicle Cheesecake Bars. If you need to check out my favorite no-bake Tiramisu while you wait for your cream cheese to soften, pop over to this no-bake Tiramisu recipe!
Preparing the Graham Cracker Crust Base
First thing: line that 8×8 pan with parchment paper, leaving those helpful overhangs—that’s your handle later! In a medium bowl, combine your graham cracker crumbs and the quarter cup of sugar. Pour in the six tablespoons of melted butter and mix it all up until it looks like wet sand. Press this mixture down hard and evenly into the bottom of your prepared pan. You want it packed tight! Toss this crust into the freezer for about 10 minutes while you jump into that glorious filling.
Mixing the Bright Citrus Dessert Bars Filling
Grab your big bowl! Beat your softened cream cheese until it’s totally smooth—no lumps allowed, that’s the ticket. Now, slow your mixer down a touch and beat in that can of sweetened condensed milk until everything looks combined. Then, we stir in the fresh orange juice, the zest, and the vanilla. It should look like smooth, pastel orange icing.
Now for the secret to making these Fluffy Orange Cream Bars: Whip that cold heavy cream in a separate, clean bowl until stiff peaks form. When you lift the beater, the cream should stand up straight! You must go gently here. Using a rubber spatula, carefully fold that whipped cream into your orange base. Use big, sweeping motions, folding until you see no more white streaks. You want to keep all that lovely air you just whipped in!
Setting and Serving Your No Bake Creamsicle Dessert
Pour that fluffy filling over your chilled crust and smooth the top out. Cover it loosely so the plastic wrap doesn’t stick to the top, and then tuck it into the fridge. This is critical: you need at least six hours, but honestly, leave it overnight. Don’t even peek! Once it’s rock solid, use those parchment paper handles to lift the whole block out. You can now slice it neatly into 16 bars. Dust lightly with powdered sugar, and voilà! You’ve made a perfect No Bake Creamsicle Dessert.
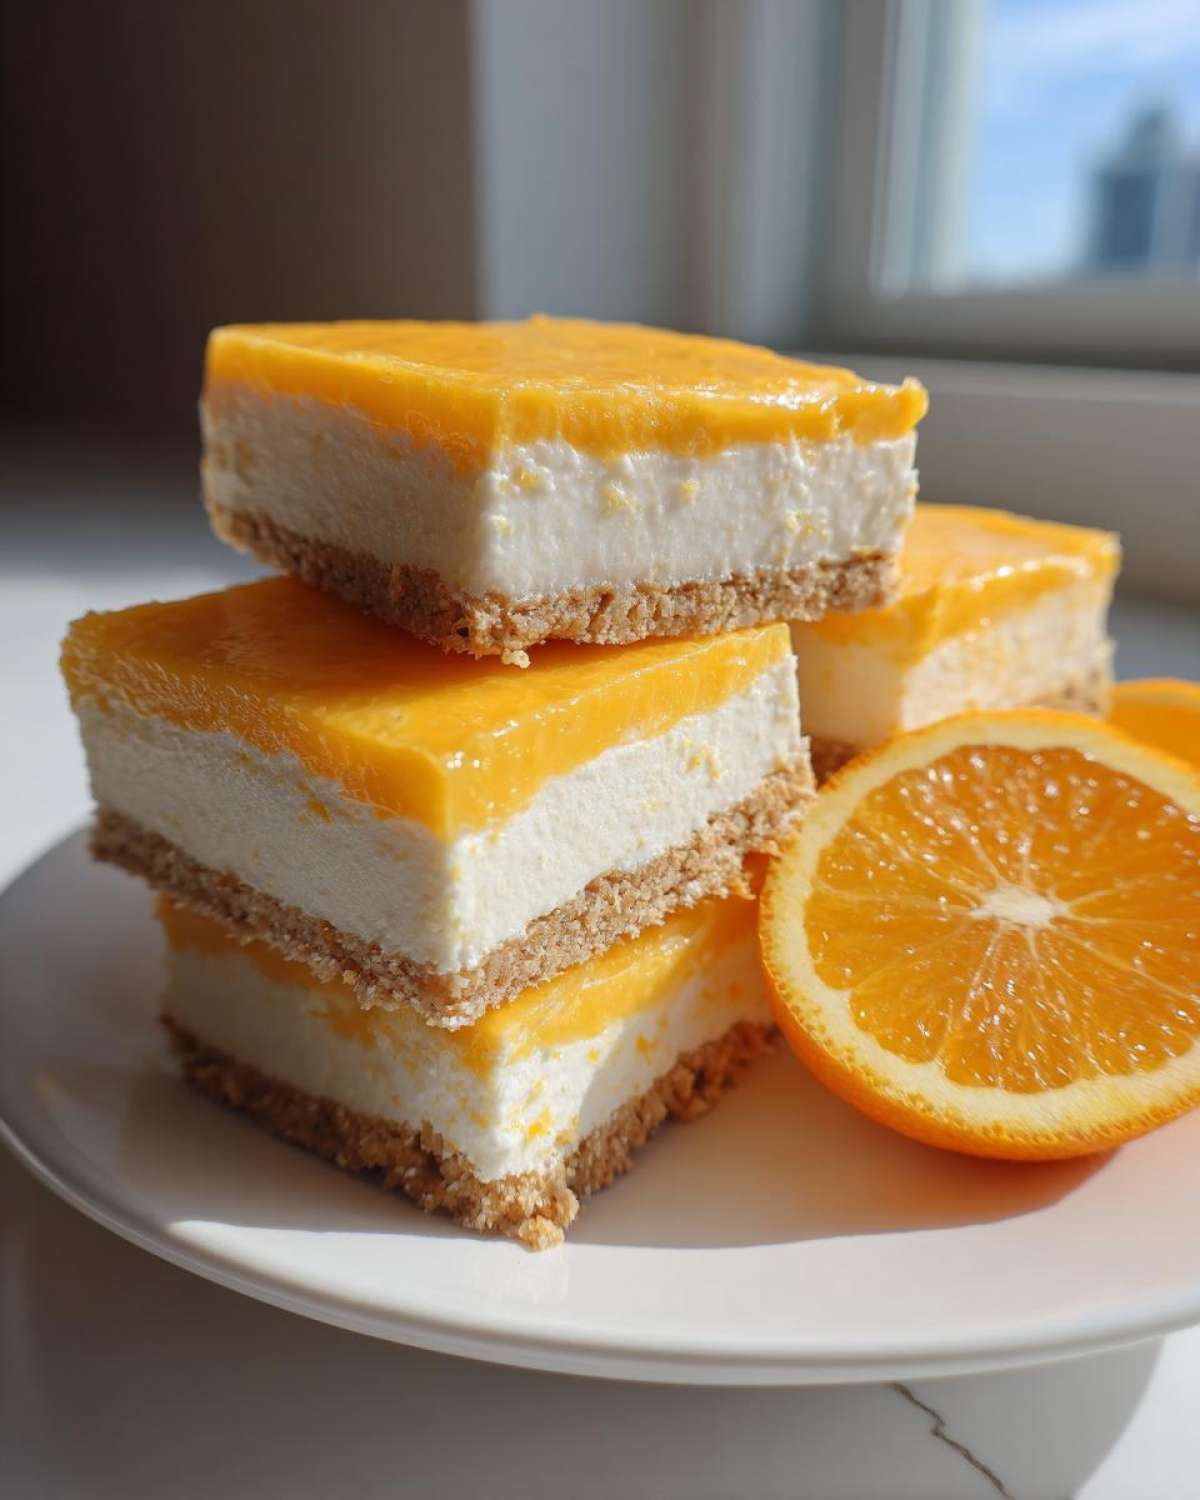
Tips for Perfect No-Bake Orange Creamsicle Cheesecake Bars
Okay, I’ve had a few flops experimenting, so I’m sharing the lessons learned so your No-Bake Orange Creamsicle Cheesecake Bars turn out gorgeously the first time. These little tips make the difference between a soft, wobbly mess and a firm, beautiful bar!
The most important thing is temperature. If your cream cheese is even slightly cold when you start, you’ll have tiny lumps that never fully dissolve, even with that sweet condensed milk working overtime. Pull it out an hour before you plan to start! Also, zest counts! You really want that bright oil from the peel, so use a microplane if you have one. It makes the flavor explode in your simple Orange Cream Dessert.
Ingredient Notes and Substitutions for Orange Vanilla Cream Dessert
A lot of people ask if they can skip the graham crackers. You absolutely can substitute them with vanilla wafers if you happen to have those! That just leans it even more into that classic Dreamsicle Dessert Recipe flavor profile—but you might need to reduce the added sugar in the crust slightly since wafers are already sweet.
And please, please use fresh orange juice! The stuff from the carton just tastes dull next to the vibrant flavor of the zest we’re using. Fresh juice guarantees you get that incredible kick we need for this Orange Vanilla Cream Dessert. If you’re looking for other baking wisdom, check out my general blog page for more ideas!
Storage and Make Ahead Dessert Bars Instructions
One of the best things about these bars, besides tasting like summer sunshine, is that they are fantastic for making ahead! Seriously, if you want to impress people without any last-minute panic, these are your answer. Because they are a No Bake Refrigerated Dessert, they actually taste better the next day once everything has had time to truly marry in the fridge.
For storage, you just need to make sure they’re protected. Once you’ve sliced them, I put them back onto the parchment paper base and cover the entire 8×8 pan loosely with plastic wrap. You don’t want the plastic touching the surface, otherwise, you’ll mess up that smooth top or the dusting of sugar.
These bars keep beautifully in the refrigerator for up to five days. Just keep them chilled, and they stay firm and fresh. They’re definitely one of my favorite Make Ahead Dessert Bars because they never dry out.
Now, can you freeze them? Yes, you absolutely can! If you know you won’t eat them all within five days, I recommend slicing them first, placing the slices on a baking sheet lined with parchment, and flash-freezing them until solid. Then, transfer them to an airtight container with sheets of parchment paper between layers. They thaw perfectly overnight in the fridge. This makes them such a lifesaver when unexpected guests show up! If you are looking for some other make-ahead breakfast ideas, maybe you want to try out my chocolate croissant recipe!
Serving Suggestions for Your Light Summer Cheesecake Alternative
Part of the fun of making something beautiful like these No-Bake Orange Creamsicle Cheesecake Bars is how you present them! Since these are so creamy and bright, they pair perfectly with simple, strong flavors that don’t compete with the lovely orange and vanilla notes.
Always serve them cold! I mean, they are refrigerated bars, but they really shine when they are straight out of the chill. If you let them sit out too long before serving, they can get a little floppy, so keep them tucked away until the very last minute. A little extra chill time makes them slice cleaner, too, which is a huge bonus for presentation.
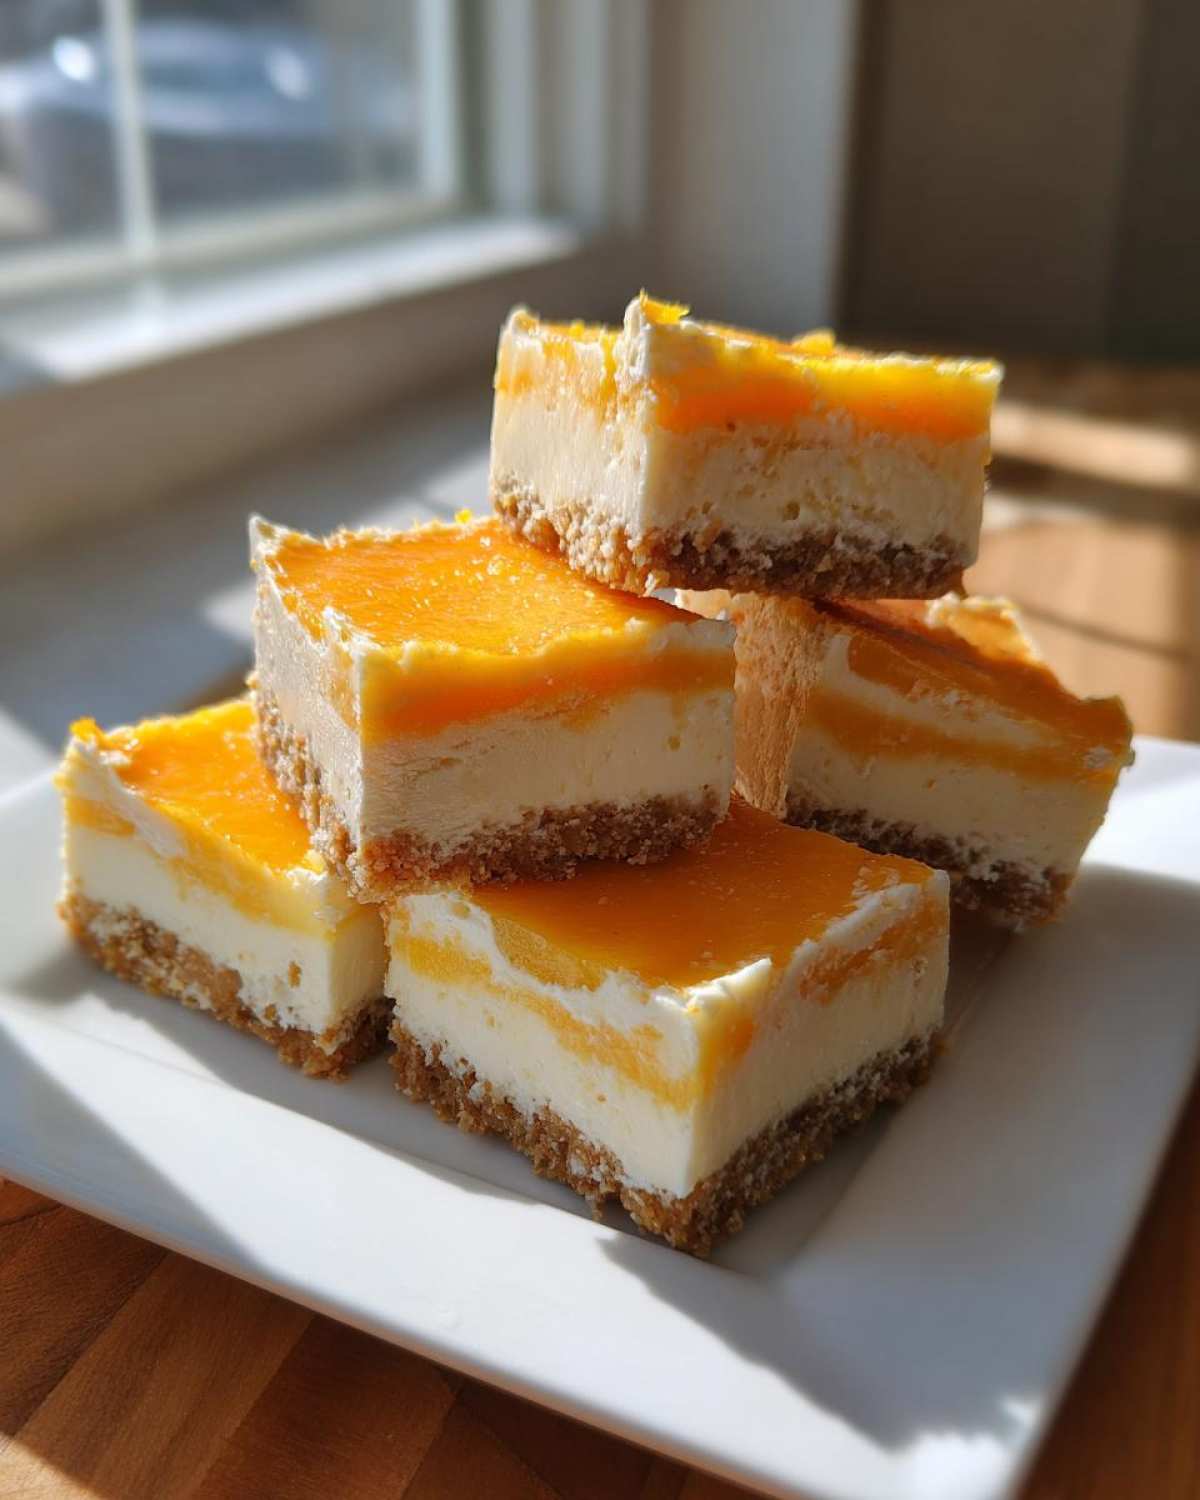
When it comes to drinks, I usually opt for something to cut through that rich creaminess. A strong, black cup of coffee is my absolute favorite partner—the slight bitterness wakes up the sweetness in the bar beautifully. If coffee isn’t your thing, a simple, light iced tea is wonderful. Seriously, skip the sugary sodas here; you want the Creamsicle flavor to be the star!
If you’re setting these out on a platter, I like to use a stark white plate to let that pale orange color really pop. You can always garnish each individual bar with a tiny sliver of fresh orange peel right before serving for an extra elegant touch. They look so festive! If you are a coffee person, you definitely have to check out my recipe for a High-Protein Banana Coffee Smoothie—it’s the perfect wake-up call to enjoy alongside these bars!
Frequently Asked Questions About No-Bake Orange Creamsicle Cheesecake Bars
Whenever I share this recipe, people always have a few questions, especially if they’re trying to tweak it for a specific party or have ingredient dilemmas. Don’t worry; we can troubleshoot together! These bars are pretty forgiving, but a few pointers up front really help ensure you end up with that perfect, creamy texture every time. If you need to get in touch with me directly about the recipe, feel free to use the Contact Page!
Can I use pre-made graham cracker crust for these No Bake Citrus Bars?
Yes, you totally can, and I won’t judge you for taking the shortcut! Those pre-made pie crusts are convenient, but here’s the catch: most standard pre-made crusts are for 9-inch pie plates, which have slightly more surface area than my 8×8 pan. If you use a pre-made crust, you might find the recipe yields a slightly thinner layer of filling, or you might have a little bit of filling left over—maybe just enough for a tiny tasting bowl for yourself!
If you want to use a 9-inch pie crust, just press it into the pie pan, pre-freeze it just like the recipe says, and pour in the filling. It will still set up beautifully, but just know that your bars won’t be as thick and substantial as the ones made in the square pan. Since this is such a great option for No Bake Citrus Bars, I find the square pan gives us those superior, countable portions!
How do I make the orange flavor stronger in the Easy Slice and Serve Dessert?
This is where you can really lean into that intense orange punch! The zest is your best friend here, so if you want it stronger, you can usually bump that orange zest up to a tablespoon and a half without any issue. Zest holds the volatile oils, which give you the bright, fragrant *oomph* of the orange flavor we love in this Easy Slice and Serve Dessert.
Be careful with adding extra liquid juice, though. Too much juice can mess with the delicate balance of the sweetened condensed milk and cream cheese, meaning your bars might not set firmly enough. If you want to go bold, try adding just 1/4 teaspoon of pure orange extract into the mix along with the vanilla. That little bit of extract gives you a serious flavor boost without adding soggy moisture. It really amplifies that bright citrus note!
Nutritional Estimate for No-Bake Orange Creamsicle Cheesecake Bars
Okay, let’s talk numbers for a second. I’m a home baker, not a nutritionist, so take these figures with a huge grain of salt—or maybe a tiny pinch of zest! I ran the ingredients for these No-Bake Orange Creamsicle Cheesecake Bars through a standard calculator, and here’s what popped out for one of those scrumptious 16 bars. Remember, these are just estimates based on standard pantry staples, so your actual numbers might wiggle a bit depending on what brand of sweetened condensed milk you use!
For that single, refreshing bar, here’s the ballpark breakdown:
- Serving Size: 1 bar
- Calories: 280
- Sugar: 28g
- Sodium: 110mg
- Total Fat: 15g (with 9g saturated)
- Carbohydrates: 32g
- Protein: 5g
See? Not bad for a dessert that tastes this rich and satisfying! It’s the perfect light treat for a warm evening. If you want to dive deeper into how recipes are analyzed and how to read nutrient labels in general, you should absolutely take a look at my official Disclaimer and Nutritional Information page before relying too heavily on any numbers!
PrintNo-Bake Orange Creamsicle Cheesecake Bars
Make refreshing, easy-to-slice cheesecake bars that taste like a classic orange creamsicle without turning on your oven.
- Prep Time: 20 min
- Cook Time: 0 min
- Total Time: 6 hr 20 min
- Yield: 16 bars
- Category: Dessert
- Method: No Bake/Refrigeration
- Cuisine: American
- Diet: Vegetarian
Ingredients
- 1 1/2 cups graham cracker crumbs
- 1/4 cup granulated sugar
- 6 tablespoons unsalted butter, melted
- 1 (8 ounce) package cream cheese, softened
- 1 (14 ounce) can sweetened condensed milk
- 1/2 cup fresh orange juice
- 1 tablespoon orange zest
- 1 teaspoon vanilla extract
- 1 cup heavy whipping cream, cold
- 1/4 cup powdered sugar (for topping)
- Orange slices for garnish (optional)
Instructions
- Line an 8×8 inch baking pan with parchment paper, leaving an overhang on two sides for easy removal.
- Combine graham cracker crumbs and 1/4 cup granulated sugar in a medium bowl. Pour in the melted butter and mix until the crumbs are evenly moistened.
- Press the crumb mixture firmly and evenly into the bottom of the prepared pan. Place the crust in the freezer while you prepare the filling.
- In a large bowl, beat the softened cream cheese until smooth.
- Gradually beat in the sweetened condensed milk until fully combined.
- Stir in the orange juice, orange zest, and vanilla extract until the mixture is smooth and uniform.
- In a separate, clean bowl, whip the cold heavy whipping cream until stiff peaks form.
- Gently fold the whipped cream into the orange cream cheese mixture until just combined, being careful not to deflate the air.
- Pour the filling over the chilled crust and spread it evenly.
- Cover the pan loosely with plastic wrap and refrigerate for at least 6 hours, or preferably overnight, until the bars are firm.
- Use the parchment overhang to lift the cheesecake from the pan. Slice into bars.
- Dust the top of the bars lightly with powdered sugar before serving. Garnish with orange slices if desired.
Notes
- For the best texture, ensure your cream cheese is fully softened to room temperature before mixing.
- Chill time is essential; do not rush this step or the bars will not set properly.
- You can substitute vanilla wafers for graham crackers in the crust if you prefer a different base flavor.
Nutrition
- Serving Size: 1 bar
- Calories: 280
- Sugar: 28
- Sodium: 110
- Fat: 15
- Saturated Fat: 9
- Unsaturated Fat: 6
- Trans Fat: 0
- Carbohydrates: 32
- Fiber: 1
- Protein: 5
- Cholesterol: 45