

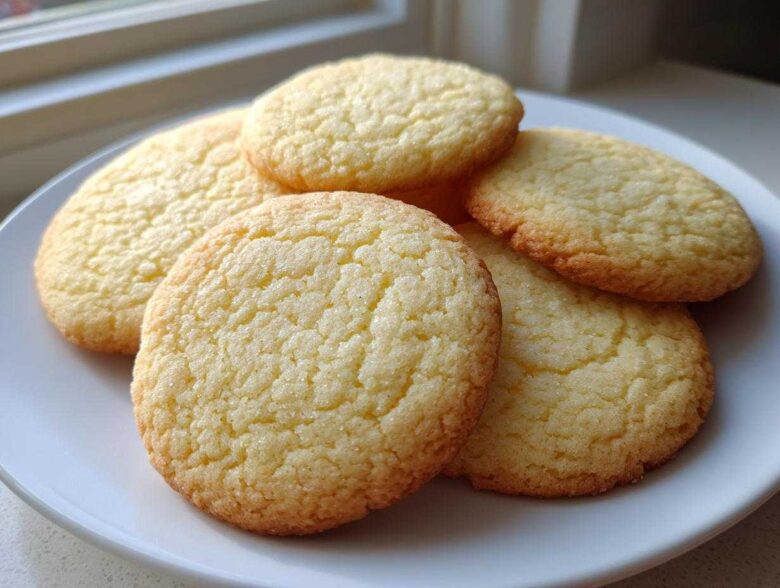
Okay, stop what you’re doing right now, because I’m about to give you the one recipe that changed my holidays forever. You know how we always struggle? We want soft, we want chewy, but we need them to look like perfect little gingerbread men or snowflakes for decorating? It feels impossible, right?
Well, after years of testing dough that spread into sad puddles on the baking sheet, I finally cracked the code. This isn’t just another batch of sugar cookies; this is the absolute best sugar cookie recipe out there because it delivers that dreamy, melt-in-your-mouth texture *while* holding its shape flawlessly, even after an hour on the counter. Trust me, you need this reliable dough in your life!
It took me six full Christmases of trial and error, tweaking the butter ratio and finding that perfect balance of leavening agents, but now I can finally send you to the link for my full baking story when you have a minute! I’ve perfected this whole process so you don’t have to make all those mistakes I did.
Why This is the Best Sugar Cookie Recipe for Cutouts
What makes this dough the MVP of the holiday baking world? It’s all about the structure! We are aiming for those gorgeous, **bakery style sugar cookies** that look pristine even after they cool. You get that wonderful softness you crave in a delicious cookie, but without any of the spread you dread when you’re trying to cut intricate shapes.
Seriously, this recipe is magically engineered to give you consistent results. You won’t find yourself fighting the dough every time you reach for your favorite cookie cutters because these are the ultimate **cut out sugar cookies that don’t spread**.
Achieving the Perfect Soft Sugar Cookies Texture
It comes down to the ratio of fat to dry ingredients. We use a generous amount of softened butter, but we make sure to cream it properly with the sugar first. That creaming process whips in just enough air to keep things light and tender inside. My one non-negotiable tip? When they come out of the oven, don’t rush them onto the cooling rack! Let them sit on the hot baking sheet for five full minutes—that slight residual heat keeps that perfect interior softness locked tight.
Tips for Cut Out Sugar Cookies That Don’t Spread
This is the secret sauce: Chilling is non-negotiable for great cutouts. Once you mix up your dough, you must chill it for at least an hour. This firms up the butter, which is the key player stopping your **sugar cookies** from melting in the oven. Even better? After you cut out your shapes, slide the whole tray into the freezer for ten minutes before baking. That extra cold blast guarantees zero spreading!
Gathering Your Ingredients for Classic Sugar Cookies
Now that you know this dough won’t let you down, we have to talk about what goes into it! Honestly, for **classic sugar cookies**, the quality of what you use really matters. Since the flavor profile is so simple—mostly butter and vanilla—it’s important not to cheat on the good stuff. I’ve used every ingredient under the sun, and this exact combination is what gives us that superior texture and beautiful, **buttery sugar cookies** taste.
Don’t worry, this isn’t some fancy, complicated list. It’s mostly pantry staples, but pay close attention to the descriptions, like making sure your butter is actually softened, not melted!
- 2 1/4 cups all-purpose flour
- 1 teaspoon baking powder
- 1/2 teaspoon salt
- 1 cup (2 sticks) unsalted butter, softened
- 1 cup granulated sugar
- 1 large egg
- 1 teaspoon vanilla extract
Ingredient Notes and Substitutions for Buttery Sugar Cookies
The unsalted butter is critical here because we need to control the salt level precisely to get the best flavor without negatively impacting the dough structure. If you only have salted butter, just skip the extra salt listed in the dry ingredients, but I really recommend unsalted if you can swing it! And please, don’t skimp on the vanilla extract—use the real stuff, not imitation. That high quality shines through, making these simply the most delicious **buttery sugar cookies** you’ll ever roll out.
Step-by-Step Instructions for Easy Sugar Cookie Recipe
I always tell people that baking the very best **sugar cookies** doesn’t have to be a massive ordeal, and this recipe proves it! It’s truly an **easy sugar cookie recipe** once you understand the sequence. We start by getting the dry stuff ready, making sure everything is blended nicely so we don’t have pockets of baking powder later. Then we focus on building that creamy texture before mixing in the flour. Remember, we’re trying to keep things light, so listen close when I talk about mixing.
Once that beautiful, soft dough comes together, the most important step arrives—and you absolutely cannot skip it! That dough needs a good, long nap in the fridge. I know you want to get straight to cutting out your little gingerbread men, but patience here guarantees success later on the baking sheet. You’ll chill it for at least an hour, or until it’s firm enough to handle easily.
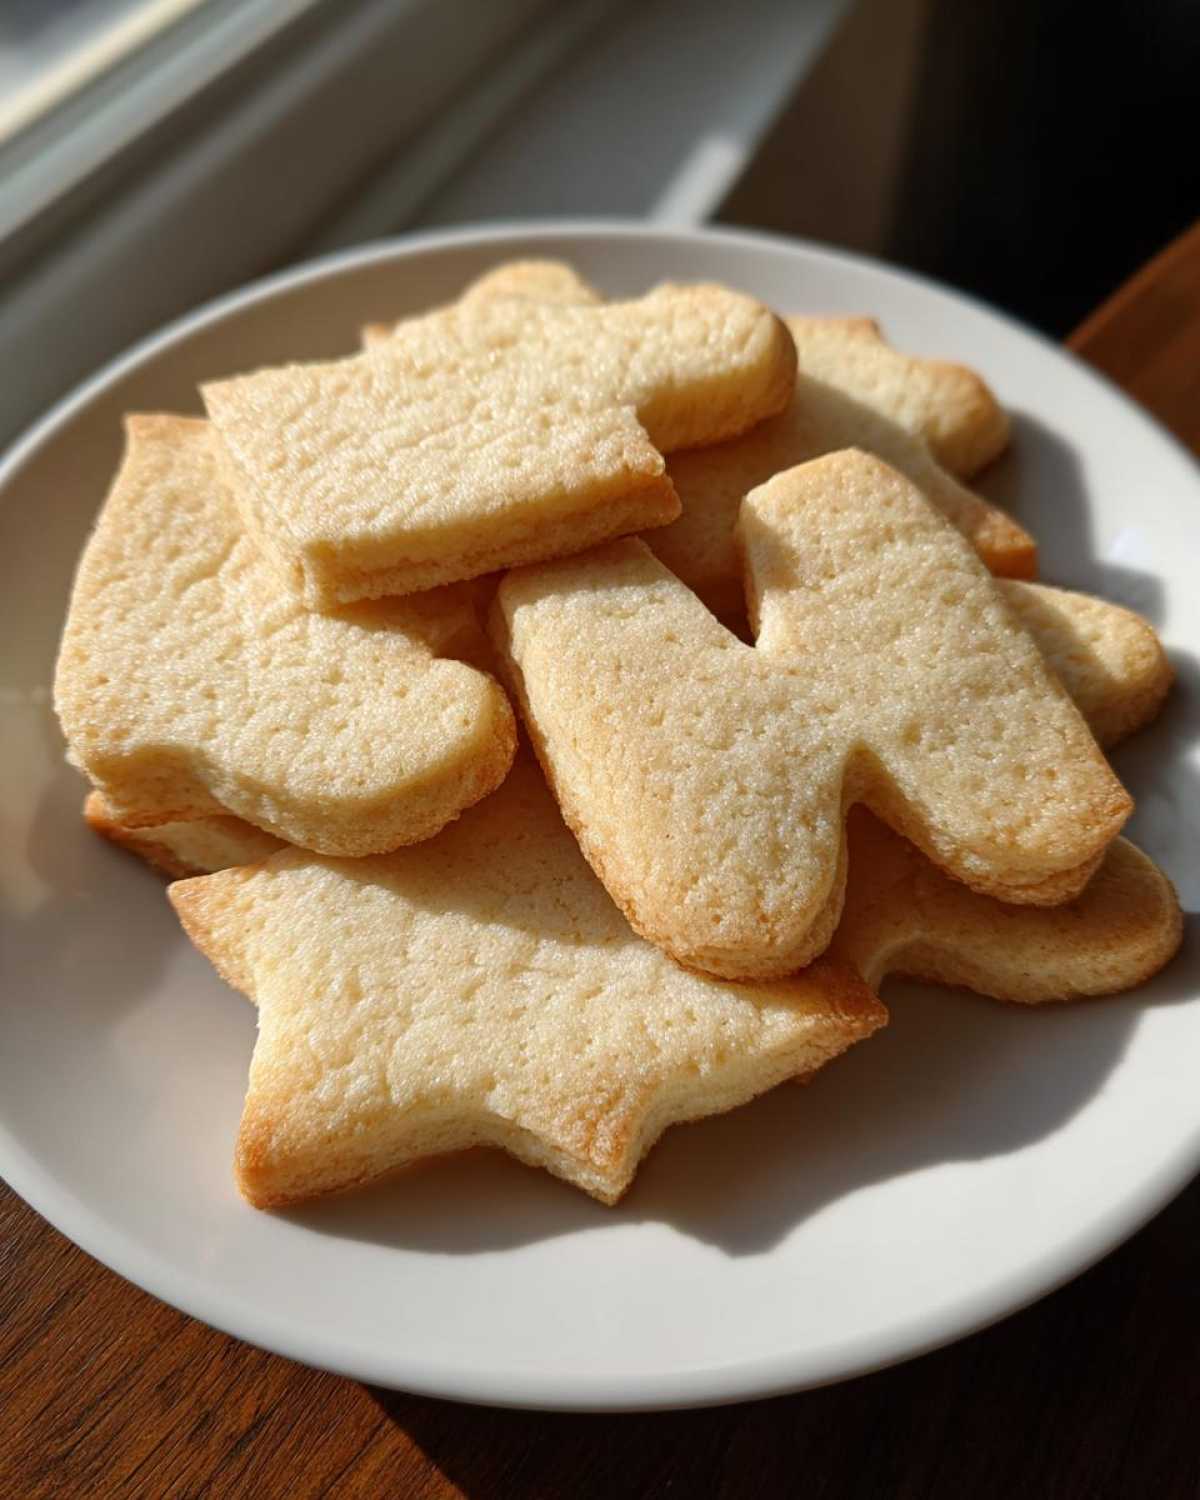
- Whisk together the flour, baking powder, and salt in a medium bowl. Set it aside for a bit.
- In a big bowl, grab your electric mixer (or a sturdy arm!) and beat the softened butter and granulated sugar until it’s truly light and fluffy. This takes about three minutes of solid mixing.
- Beat in the egg and vanilla extract until they are just combined in there. Don’t let it run on high too long once the egg goes in!
- Now, gradually add your dry mixture to the wet stuff, keeping the mixer set to low speed until you see a soft dough forming. I mean it—stop mixing right when the flour disappears.
- Scoop the dough out, divide it into two equal pieces, flatten each piece into a disk shape (easier to roll later!), wrap them tightly in plastic wrap, and get them chilling in the refrigerator for a minimum of one hour.
- When you’re ready to bake, preheat your oven to 375 degrees Fahrenheit. Line your baking sheets using parchment paper!
- On a lightly floured counter or cutting board, roll out one disk of dough until it’s about 1/4 inch thick. Then, get busy with those cookie cutters!
- Place your pretty shapes onto the prepared baking sheets, making sure they have about an inch of space between them.
- Bake for 8 to 10 minutes. You are looking for the edges to be just slightly golden. The centers should still look a little soft when you pull them out.
- Leave the cookies sitting on the hot baking sheet for about 5 minutes to firm up before gently moving them to a wire rack to cool completely before you even *think* about decorating!
After all that hard work, don’t forget you can always find more baking tips over on my latest blog posts!
Mixing the Dough for Perfect Roll Out Sugar Cookies
The first big moment is creaming the butter and sugar. You aren’t just mixing them; you are whipping air into them until they look pale and pale yellow, almost like whipped cream. This is key for that satisfying texture. Once you add the flour, switch to a low speed immediately. If you start overmixing once the flour is in, you develop too much gluten, and suddenly you’re not making soft cookies, you’re making hard little crackers. Keep it gentle!
Chilling and Rolling Out Your Sugar Cookies
That mandatory chill time—at least one hour—is what turns your dough into perfect **roll out sugar cookies**. When the butter is cold and firm, the dough stays exactly where you cut it on the pan. Make sure you roll them out evenly to about 1/4 inch thickness. If they are too thin, they bake too fast and get brittle; too thick, and the centers might not cook through, even if the edges look done. Consistency is everything here!
Baking and Cooling Your Holiday Sugar Cookies
This is the moment of truth for your beautiful cutouts! Remember how I told you to give those cut shapes a little ten-minute chill on the tray before they hit the heat? Don’t skip that! That extra coldness is the secret weapon for perfect **holiday sugar cookies** that don’t bow or spread during those crucial first few minutes in the oven.
When you put them in the 375°F oven, keep a close eye on them, since baking time is always a little tricky. You’re looking for that delicate edge color—think light golden, not brown! The centers should still look slightly soft, almost underdone. That’s how you guarantee they stay chewy once they’re totally cool. If you want to see another recipe where precision in baking matters, check out my tips for perfect apple turnovers!
Once they come out, let them hang out on that hot baking sheet for five minutes, no more, no less. Then, gently move them over to a wire rack. If you try to move them too soon, they’ll break, trust me. They have to cool completely before they are even ready for icing!
Decorating Your Iced Sugar Cookies
Alright, the cookies are cool—and when I say cool, I mean room temperature, you could set your phone on that cookie rack and it wouldn’t even sweat slightly cool! This is crucial because if the cookie surface is even a tiny bit warm, your beautiful icing will just turn into a sad, runny mess. Don’t let that happen!
For these **iced sugar cookies**, I usually stick to royal icing because it dries hard and smooth, which is what you need if you plan on stacking them or putting them in tins. Royal icing is a bit fussy, but totally worth it for clean lines. If you want something softer and creamier—more like a buttery glaze—you can absolutely use a simple powdered sugar and milk glaze, but know that those cookies won’t hold up as well for transportation.
My favorite pro tip for that flawless finish? Once the base layer of icing is down, wait until it’s totally dry before adding any fine details. Trying to rush any layer almost always ends up smudging your beautiful handiwork. This is where the patience we built up from chilling the dough pays off!
Storage and Make-Ahead Tips for Sugar Cookies
The best part about having this recipe is you don’t have to bake everything the day you plan to decorate! This dough is incredible for planning ahead. When you wrap those unbaked disks really well, they freeze beautifully for up to three months. Seriously, just pull one disk out the night before you need it, and let it thaw slowly in the fridge.
Now, for storage after the pretty stuff is on: Once the icing is completely dry, store your decorated **sugar cookies** in an airtight container layered with wax paper between layers. This keeps them from sticking and helps maintain that fantastic **soft sugar cookies** texture for days. Un-iced cookies will keep even longer stored the same way!
Frequently Asked Questions About This Sugar Cookies Recipe
Can I skip chilling the dough for this sugar cookies recipe?
Oh, honey, please don’t! I know it feels like an extra chore when you’re excited to start decorating, but chilling is the absolute key to making sure your **sugar cookies** don’t spread into thin puddles. The cold butter won’t melt nearly as fast in the oven, which stops the dough from spreading out before it has a chance to set. Even if you’re short on time, try for at least 30 minutes in the fridge before rolling them out. If you run into any tricky baking questions later on, don’t hesitate to reach out through my contact page!
Why are my cookies spreading even though I chilled the dough?
If they’re spreading, it usually means one of two things happened after chilling. Either your oven wasn’t quite hot enough, or your dough got too warm while you were rolling and cutting. Remember my tip about putting the cutouts *back* onto the baking sheet and chilling them again right before they go into the oven? That extra cold blast is your safety net against spreading! Another factor: make sure you aren’t using too much flour while rolling, as that can throw off the whole balance, too.
Can I make these chewy sugar cookies without chilling the cutouts before baking?
You absolutely can make **chewy sugar cookies** even if you skip that final ten-minute chill on the tray, but I can’t *guarantee* they will hold their intricate shape perfectly. If you’re just cutting out simple circles, you’re probably fine! But if you’ve got tiny little antlers or complex rooflines, that final 10 minutes on the cold tray ensures the edges are set before they hit the heat. It’s the difference between a perfect tree and a misshapen blob!
How much flour should I use when rolling out my sugar cookies?
You want just enough flour on your surface to keep the dough from sticking to the counter or the rolling pin, but honestly, less is more! Too much flour gets incorporated into the dough as you roll, and that’s a fast track to tough, dry cookies that taste a bit dusty rather than buttery. I usually dust my surface very lightly, and then I lift and re-flour the rolling pin only as needed. If you ever need to get in touch with me about ingredient issues, the contact page is always open!
Estimated Nutritional Information for These Sugar Cookies
Before you jump into frosting land, I always like to give you a heads-up on what’s in these treats! Remember, because we are using real butter and granulated sugar—the good stuff—these are a slice of heaven, but they aren’t exactly diet food. The following numbers are an estimate; they can jump up or down depending on how thick you roll your dough or what brand of vanilla you love.
If you’re curious about how I calculate these things or if you want to check out my general policies, you can always read up on my nutritional disclaimer page!
- Serving Size: 1 cookie
- Calories: 150
- Fat: 8g
- Carbohydrates: 18g
- Sugar: 12g
- Protein: 2g
Share Your Perfect Sugar Cookies Creations
Now you have the blueprint for the absolute best, most reliable batch of homemade **sugar cookies** on the block! I am so excited for you to try this recipe, especially when it comes time for holiday decorating. Seriously, once that dough is chilled and rolled out, half the fun is seeing all the amazing shapes you end up with!
Once you’ve baked them and gotten those cookie cutters back in the cabinet, I really, truly want to hear from you! Please pop down below in the comments and let me know how they turned out. Did you stick to the simple vanilla, or did you jazz them up with almond extract?
More importantly, if you decorated them up—maybe you went totally overboard with sprinkles or got those gorgeous, smooth iced tops—I’d be thrilled if you shared a picture! Tag me on social media if you snap a shot of your beautiful creations. Knowing that this recipe is helping make your family holidays a little sweeter is what keeps me baking and testing things in the kitchen!
PrintThe Best Soft & Chewy Cutout Sugar Cookies That Hold Their Shape

A reliable recipe for classic vanilla sugar cookies that stay soft and chewy while holding their shape perfectly for cutting and decorating.
- Prep Time: 25 min
- Cook Time: 10 min
- Total Time: 1 hour 35 min
- Yield: 24 cookies
- Category: Dessert
- Method: Baking
- Cuisine: American
- Diet: Vegetarian
Ingredients
- 2 1/4 cups all-purpose flour
- 1 teaspoon baking powder
- 1/2 teaspoon salt
- 1 cup (2 sticks) unsalted butter, softened
- 1 cup granulated sugar
- 1 large egg
- 1 teaspoon vanilla extract
Instructions
- Whisk together the flour, baking powder, and salt in a medium bowl. Set aside.
- In a large bowl, beat the softened butter and granulated sugar with an electric mixer until light and fluffy, about 3 minutes.
- Beat in the egg and vanilla extract until just combined.
- Gradually add the dry ingredients to the wet ingredients, mixing on low speed until a soft dough forms. Do not overmix.
- Divide the dough in half, flatten each half into a disk, wrap tightly in plastic wrap, and chill in the refrigerator for at least 1 hour.
- Preheat your oven to 375 degrees Fahrenheit. Line baking sheets with parchment paper.
- On a lightly floured surface, roll out one disk of dough to about 1/4 inch thickness. Cut out desired shapes using cookie cutters.
- Place the cutouts onto the prepared baking sheets, leaving about 1 inch between them.
- Bake for 8 to 10 minutes, or until the edges are lightly golden. The centers should still look soft.
- Let the cookies cool on the baking sheet for 5 minutes before transferring them to a wire rack to cool completely before decorating.
Notes
- For the best shape retention, chill the cutouts on the baking sheet for 10 minutes before placing them in the oven.
- If you prefer a slightly chewier cookie, reduce the baking time by 1 minute.
- This dough freezes well; wrap chilled, unbaked cutouts tightly and freeze up to 3 months.
Nutrition
- Serving Size: 1 cookie
- Calories: 150
- Sugar: 12
- Sodium: 85
- Fat: 8
- Saturated Fat: 5
- Unsaturated Fat: 3
- Trans Fat: 0
- Carbohydrates: 18
- Fiber: 0
- Protein: 2
- Cholesterol: 30