

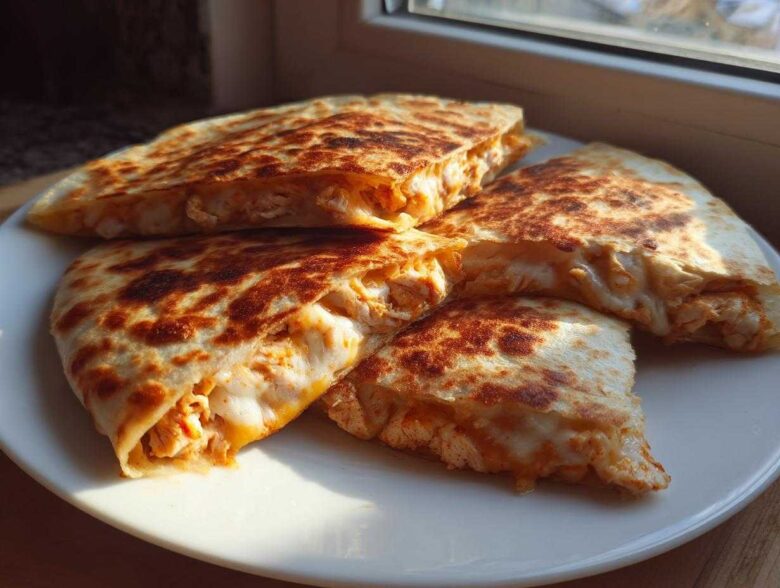
You know that moment when you bite into a quesadilla and everything just *falls apart*? Soggy bottom, lukewarm cheese, and a filling that slides out? Ugh, I’ve been there way too many times! That’s why I spent ages figuring out the perfect method to get that glorious contrast: super gooey, ridiculously cheesy insides hugging a tortilla that shatters like glass when you bite it. Trust me, this recipe for the ultimate **Cheesy Chicken Quesadilla with Crispy Tortilla** is going to change your weeknight game forever. We’re ditching the damp disaster zone and heading straight for crispy perfection!
If you’re looking for more easy, high-quality recipes to spice up your cooking routine, check out my main recipe hub over at the recipe blog for tons of great ideas!
Why This Cheesy Chicken Quesadilla with Crispy Tortilla Recipe Works
This isn’t just another folded-up tortilla, folks. This recipe nails the ultimate textural contrast that makes a quesadilla truly *sing*. We’re talking about a filling that is structurally sound but completely luxurious when you bite in, surrounded by that irresistible golden-brown shell. It’s fast, but it tastes like you spent way more time on it!
- Flavorful Binding: We’re not just throwing shredded chicken and cheese in there; we season the filling *before* it hits the heat, making every bite flavorful. Check out my easy stovetop chili if you want another quick dinner idea!
- Crispy Triumph: We use a secret fat blend that guarantees crunch without burning.
Achieving the Perfect Cheese Melt and Flavor
My biggest hang-up used to be cheese that turned oily or just refused to melt completely. That’s why I swear by using two different kinds! We mix Monterey Jack because that cheese pulls and stretches like crazy—hello, cheese pull!—but we balance it with sharp cheddar. That cheddar brings the necessary flavor punch so it doesn’t taste like bland rubber. Plus, mixing in a little garlic powder right into the filling makes a huge difference; it infuses flavor deep into the melted goodness.
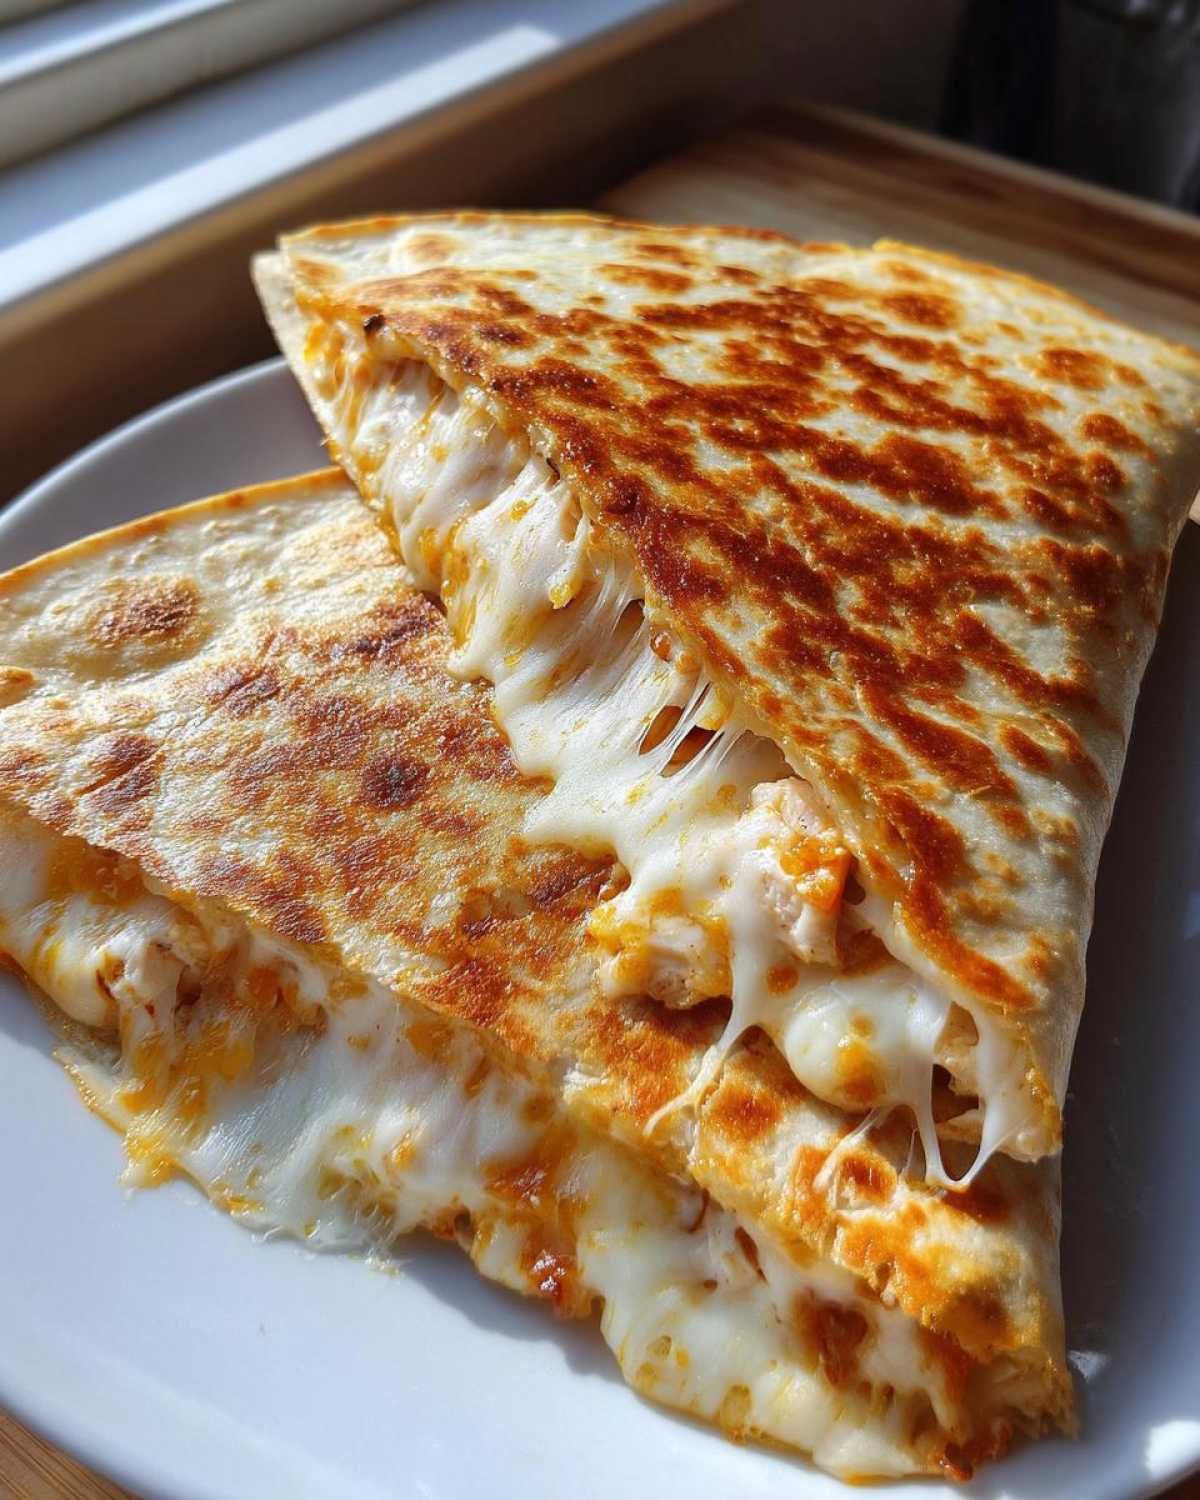
How to Make Crispy Tortillas for Quesadillas
This is where we seal the deal on the texture. You absolutely need the magic combo of fat: use a little bit of butter for that irreplaceable nutty flavor, but always mix in some neutral oil, like vegetable oil. Why? Because the oil has a higher smoke point than butter, meaning your tortilla gets beautifully golden brown and crispy without the butter seizing up and burning before the cheese melts. And listen closely: keep that heat at a solid medium. Medium heat is your best friend for achieving genuinely crispy tortillas!
Ingredients for Your Cheesy Chicken Quesadilla with Crispy Tortilla
Alright, gathering everything is half the battle, especially when you’re trying to get dinner on the table fast. Remember, we rely on already cooked chicken here, which makes this recipe a true lifesaver for busy nights. Check your pantry for these basics, and then go ahead and get your stuff ready—it helps if you grate the cheese ahead of time so there are no pauses once that skillet gets hot!
For the best results, make sure you have all the little bits measured out. If you need a quick backup for using up leftover chicken, I have a fantastic homemade chicken gravy recipe that pairs well with roasted poultry, but for this quesadilla, keep that chicken shredded and ready to go!
- 2 cups cooked, shredded chicken (Make sure it’s already seasoned how you like it!)
- 1 cup shredded Monterey Jack cheese (This is for that ultimate stretch!)
- 1 cup shredded sharp cheddar cheese
- 4 large flour tortillas (Burrito size works best for folding neat pockets)
- 2 tablespoons unsalted butter, divided (Remember we use this for flavor, not just cooking!)
- 1 tablespoon vegetable oil
- 1/4 teaspoon garlic powder
- Pinch of salt
Step-by-Step Instructions for the Ultimate Cheesy Chicken Quesadilla with Crispy Tortilla
Now for the fun part! Making sure everything comes together perfectly and quickly is all about organization here. Since we are relying on that awesome combination of fat for crispness, we need to work fast once the pan is hot. Don’t try to rush the heating process, though! Get your pan ready, and then everything else moves quickly. We are aiming for that amazing texture contrast, so keep an eye on the color!
If you want to dive deep into why the fat combo works so well, I break down all the little details over in my post on stovetop quesadilla cooking secrets.
Preparing the Perfectly Melted Cheese Chicken Pockets Filling
First things first, let’s assemble our filling because everything else happens fast after this. Grab a nice bowl—no need for anything fancy. Toss in your pre-cooked, shredded chicken. Then, dump in both kinds of cheese:
- The Monterey Jack for the stretch.
- The sharp cheddar for the flavor.
This is also when you add the seasoning magic: the garlic powder and just a tiny pinch of salt. Mix it all around with a fork or your hands until you see those orange and white shreds totally mixed up with the chicken. You want a nice, even distribution so you don’t end up with a patch of just cheese or just chicken in one bite. That’s the key to making these Perfectly Melted Cheese Chicken Pockets!
Stovetop Quesadilla Cooking Secrets for a Golden Brown Tortilla Recipe
Heat up a big, heavy skillet—I’m talking cast iron if you have it—over medium heat. This is non-negotiable! Medium heat is your sweet spot. Add one tablespoon of butter and half of your vegetable oil to the pan. Let that fat melt and shimmer a bit so the whole bottom of the pan is coated.
Lay down your first tortilla, and immediately spread half of that filling right onto one half of the tortilla. Leave about an inch border clean around the edges; this lets the tortilla seal up nicely. Fold the empty side over to make that classic half-moon shape. Press down gently with your spatula—just enough pressure to set it, not enough to squeeze the cheese out!
Cook this first side for about 3 to 4 minutes. You have to check! Peek underneath—you want it golden brown and truly looking crispy. Once it’s perfect, carefully flip it! Now for the second side. Add the remaining butter and oil right into the pan around the flipped quesadilla. Cook the second side for another 3 to 4 minutes until it matches the first side in color and the cheese is totally gooey inside. Remove it and cut it into wedges right away. Repeat with the last tortilla, making sure to add fresh fat to the pan before starting the next one!
Expert Tips for Restaurant Style Crispy Quesadillas at Home
You want that beautiful, crackly texture you only seem to get when you order out? I totally cracked the code. It comes down to three things: the pan, the heat level, and not trying to stuff them!
First off, use the right vessel. If you own a cast iron skillet, pull it out! It holds heat so much better than those thin aluminum pans, and that even, heavy heat distribution is what gives you an evenly cooked, **Restaurant Style Crispy Quesadilla at Home**. Forget trying to do this in a non-stick pan if you can help it; cast iron gives you that deep, golden crust.
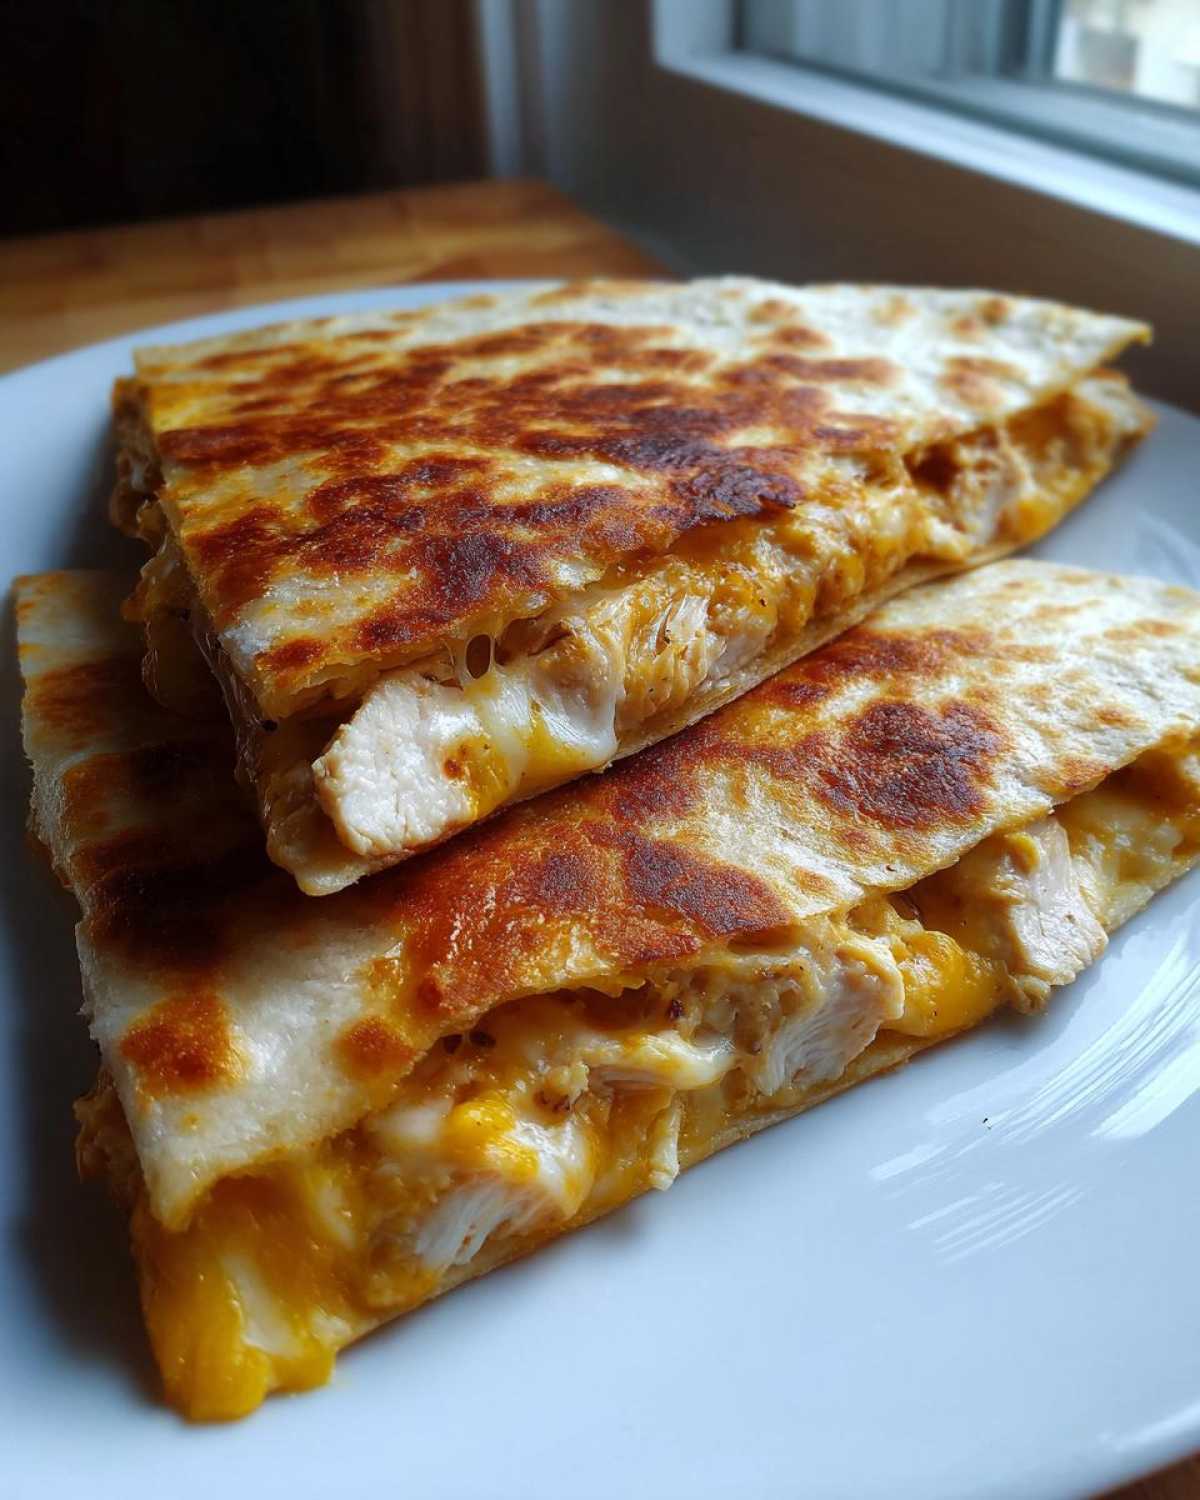
The biggest mistake people make is turning the heat up too high, thinking it cooks faster. Oops! High heat burns the tortilla before the thick cheese center even warms up. Stick to medium heat—it provides a slow, patient warmth that melts the cheese perfectly while allowing the fat to work its magic on the tortilla surface. This slow and steady approach is vital for success!
Also, don’t overfill them. Seriously. If you pile the chicken and cheese too high, you’ll compromise the seal, and the steam trapped inside will turn your crispy exterior into a mushy mess. I find spreading the filling over just *half* the tortilla, leaving that clear 1-inch border, keeps the integrity strong. If you want extra filling, just make more quesadillas! It’s worth the extra 5 minutes.
For an even creamier, more flavorful interior, check out my thoughts on the best cheese blend for quesadillas—getting the interior right amplifies how good that crispy exterior tastes!
Ingredient Notes and Substitutions for Your Cheesy Chicken Quesadilla
Okay, so maybe you’re in a bind! Maybe your fridge doesn’t look exactly like mine did when I wrote this recipe down. That’s fine! Quesadillas are super forgiving, but a few tweaks can change the outcome, so you need to know what you are dealing with.
First off, let’s talk cheese. I love the Jack and Cheddar combo, but if you only have one type, go for it! If you use only Monterey Jack, you’ll get maximum melt and stretchiness, but maybe slightly less flavor depth. If you use only sharp cheddar, you’ll have bold flavor but it might be slightly firmer when cooled. Either way, grate it yourself! Pre-shredded cheese has anti-caking agents that prevent proper melting, and we want zero part of that situation.
What about the tortilla situation? I specified large flour tortillas because they are flexible enough to fold nicely over a hefty filling and they crisp up beautifully. Can you use corn tortillas? Sure, you absolutely can, but I have to warn you: they break much easier, and they don’t create that signature large pocket. If you use corn, use two small ones layered together per side, or make them smaller, open-faced, and just fold them—don’t try to fold them in half like a taco, or they snap!
And the chicken! I say cooked chicken because this is a fast dinner recipe, meant for weeknights when you have leftover rotisserie chicken or some grilled bits sitting around. However, if you forgot to cook chicken, you *can* cook small pieces in the pan first, but you must get them fully cooked and browned before you add the cheese mixture on top of the tortilla. Otherwise, you are playing with fire! For creative ways to change up the meat or veggies in the filling, check out some great homemade chicken quesadilla filling ideas!
Lastly, the fat combination. If you’re watching calories, you *could* use just avocado oil, but you’d miss that wonderful, nutty flavor the butter brings. If you only have butter, cook on lower heat and watch it like a hawk, because it will brown much faster.
Serving Suggestions for Your Cheesy Chicken Quesadilla with Crispy Tortilla
Oh my gosh, you’ve hit the golden-brown crispy stage, and the cheese is perfectly molten—don’t let that gorgeous creation sit there naked on the plate! A quesadilla like this demands the right partners. It’s all about those cool, tangy, or spicy companions to cut through the richness of all that cheese and crisp tortilla.
You absolutely have to serve these immediately, sliced into wedges so everyone can see that cheesy interior, but you need toppings lined up and ready to go right beside the cutting board. I always think of it as building a little dipping station for your **Cheesy Chicken Quesadilla with Crispy Tortilla** wedges.
Here are my can’t-live-without pairings:
- Sour Cream or Mexican Crema: This is mandatory for cooling everything down. The cool creaminess is the perfect foil for a spicy salsa or the warm, savory chicken inside. If you want to go wild, spike your sour cream with a little lime zest!
- Guacamole or Smashed Avocado: A small dollop of fresh guac adds healthy fat and an earthy flavor that just sings with chicken. Freshly mashed avocado seasoned with salt and a squeeze of lime juice is always my go-to since it’s so quick to whip up.
- Salsa: You need acidity! Whether you prefer a chunky Pico de Gallo or a smooth, fiery red salsa, that tomato-based tang cuts right through the richness of the cheese. If you’re feeling extra adventurous and want something warm and creamy, you *must* try this dip recipe sometime; it’s amazing with leftover quesadilla pieces too!
Honestly, any of those three will transform your delicious, simple chicken and cheese wraps into a real meal experience. Don’t forget a little extra lime wedge on the side for squeezing over the top—it brightens everything up!
Storage and Reheating Instructions for Leftover Cheesy Chicken Quesadilla with Crispy Tortilla
Look, my family finishes these almost instantly, but sometimes life happens, and you end up with a perfectly good cheesy pocket leftover. Don’t even *think* about tossing it! The leftover **Cheesy Chicken Quesadilla with Crispy Tortilla** is still fantastic the next day, but you have to use the right reheating method. The microwave is the sworn enemy of crispiness—it just guarantees a steamed, floppy disaster zone. We need crispness, right?
The goal here is to revive that golden brown crunch we worked so hard for, which means low and slow heat application is the key. If you have any leftover wedges, get them wrapped up tightly in plastic wrap first, or place them in an airtight container.
You can keep them safely in the fridge for about three days. Any longer than that, and I’d start worrying about the tortilla quality, even if the filling is still fine.
When you are ready to eat them again, resist the urge to microwave! It’s quick, yeah, but you sacrifice all that beautiful texture. Instead, you have two much, much better options that restore that perfect crunch.
For the absolute best results, use a dry sheet pan in a preheated oven. I usually set mine to about 350°F (175°C). Pop those wedges directly on the rack or a parchment-lined sheet, and bake them for about 8 to 10 minutes, depending on how thick they are. They heat through, the cheese remoltenes, and the outside gets that crunch back—pure magic!
If you have an air fryer—and if you don’t yet, you really should get one!—that’s even faster. Set your air fryer to 350°F and cook for maybe 5 minutes. They come out tasting like they were just made moments ago. Seriously, the texture is phenomenal after air frying. For some other great ideas on bringing crispy leftovers back to life, you should look at how I revive my crispy breakfast potatoes!
Remember, the faster you reheat them, the better the overall texture will be, so don’t let those leftovers sit on the counter for hours before deciding to revive them!
Frequently Asked Questions About Making a Cheesy Chicken Quesadilla with Crispy Tortilla
I get so many questions about getting these right, especially balancing the goey center with the crispy outside! Here are the ones I hear most often. If you have a question about making a big batch for a party, you should check out my thoughts on making my creamy chicken tortilla soup, because that’s way better for parties!
Can I use raw chicken in this Easy Chicken Quesadilla Recipe?
For this specific stovetop recipe, no, you really shouldn’t use raw chicken. We cook the quesadilla on medium heat for just 3 to 4 minutes per side. That short time is perfect for melting cheese and crisping the tortilla, but it is absolutely *not* enough time to fully cook chicken from raw! That would either burn your tortilla completely or leave you with undercooked insides. This is designed as a quick weeknight dinner, so lean on rotisserie chicken, pre-cooked shredded chicken, or leftovers. If you must use raw chicken, you have to cook it separately first!
What is the secret to getting Perfectly Melted Cheese Chicken Pockets?
It’s a two-part secret, really. First, ditch the pre-shredded bags if you can; fresh-grated melts better because it doesn’t have that coating. But most importantly, it’s the heat management we discussed. You need medium heat, not high heat. If the pan is searing hot, the outside burns before the heat travels all the way to the center to melt all that delicious cheese. We want those cheese pockets soft and gooey, so patience with the temperature is what gets you there!
Can I make these ahead of time?
You can certainly assemble them ahead of time! You can mix your filling, spread it on your tortillas, fold them up, and wrap them tightly in plastic wrap. Keep those assembled but uncooked quesadillas in the fridge for up to 24 hours. When you are ready to eat them, pull them out and let them sit on the counter for about 15 minutes to lose the deep chill before cooking them in the fat mixture. For advice on reheating leftovers—which is crucial for that crispy finish—head back up to the storage section!
What to Make Next: A Quick Weeknight Dinner Chicken Idea
Seriously, I hope you get to make this tonight, because it is the definition of a perfect, satisfying meal that takes almost no time at all. That crunch combined with the savory, stretchy cheese filling is just addictive. Once you master this technique, it opens up the door to so many other easy meals!
If you absolutely love how fast and flavorful this turned out, I have a fantastic main course that uses chicken but stretches those flavors differently—you have to try my chicken scampi with garlic parmesan rice next time you’re not quite ordering takeout. It’s another one of those meals that seems fancy but comes together incredibly fast.
Let me know in the comments below if you tried this recipe! Did your tortilla get perfectly golden brown? Which dipping sauce was your favorite? I love hearing how everyone customizes their **Cheesy Chicken Quesadilla with Crispy Tortilla**—happy cooking, friends!
PrintUltimate Crispy Cheesy Chicken Quesadilla (Stovetop Method)

Make a quick weeknight dinner with this recipe for chicken quesadillas featuring a perfectly melted cheese filling and a golden, crispy tortilla exterior cooked on the stovetop.
- Prep Time: 10 min
- Cook Time: 12 min
- Total Time: 22 min
- Yield: 2 servings
- Category: Lunch
- Method: Stovetop Frying
- Cuisine: Tex-Mex
- Diet: Vegetarian
Ingredients
- 2 cups cooked, shredded chicken
- 1 cup shredded Monterey Jack cheese
- 1 cup shredded sharp cheddar cheese
- 4 large flour tortillas (burrito size)
- 2 tablespoons unsalted butter, divided
- 1 tablespoon vegetable oil
- 1/4 teaspoon garlic powder
- Pinch of salt
Instructions
- In a medium bowl, combine the shredded chicken, Monterey Jack cheese, cheddar cheese, garlic powder, and salt. Mix until the ingredients are evenly distributed. This is your filling.
- Place a large, heavy-bottomed skillet (cast iron works best) over medium heat. Add 1 tablespoon of butter and 1/2 tablespoon of vegetable oil to the pan. Allow the fat to melt and coat the bottom.
- Place one tortilla flat in the hot skillet. Immediately spread half of the chicken and cheese mixture evenly over one half of the tortilla, leaving a 1-inch border around the edge.
- Fold the empty half of the tortilla over the filling to create a half-moon shape. Press down gently with a spatula.
- Cook for 3 to 4 minutes until the bottom side is golden brown and crispy. Check frequently to prevent burning.
- Carefully flip the quesadilla. Add the remaining 1 tablespoon of butter and 1/2 tablespoon of oil to the empty space in the skillet around the quesadilla.
- Cook the second side for another 3 to 4 minutes until it is golden brown and the cheese inside is completely melted.
- Remove the quesadilla from the pan. Repeat the process with the remaining ingredients, adding fresh fat to the skillet before cooking the second quesadilla.
- Cut each quesadilla into 3 wedges before serving.
Notes
- For the best melt, use a blend of cheeses that melt well, like Monterey Jack, Asadero, or a mild cheddar.
- To achieve maximum crispiness, cook over medium heat, not high heat, and use a combination of butter for flavor and oil for a higher smoke point.
- Serve immediately with salsa, sour cream, or guacamole.
Nutrition
- Serving Size: 1 quesadilla (cut into wedges)
- Calories: 650
- Sugar: 3
- Sodium: 750
- Fat: 35
- Saturated Fat: 15
- Unsaturated Fat: 20
- Trans Fat: 0
- Carbohydrates: 45
- Fiber: 3
- Protein: 40
- Cholesterol: 120