

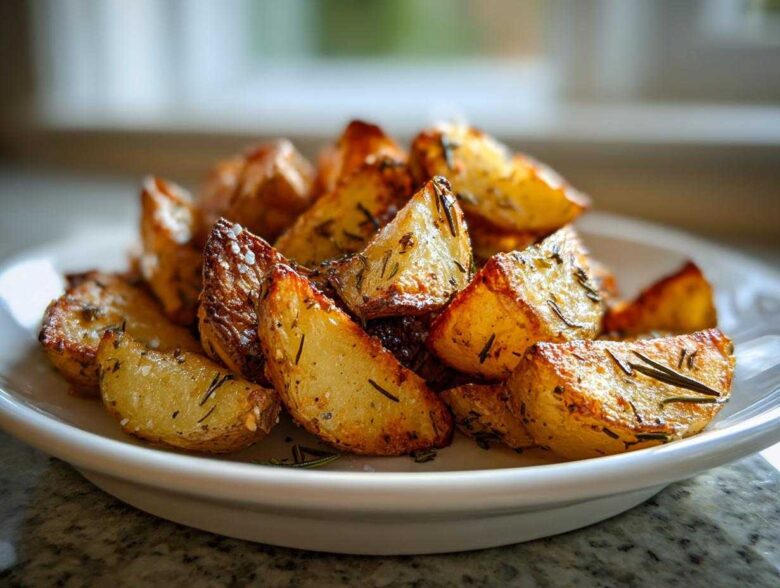
Listen, if you’ve ever gotten potatoes out of the oven that looked perfectly browned but turned out sad and floppy underneath, I get it. It’s the most frustrating feeling! For way too long, I just accepted mediocre potatoes, but I kept experimenting until I cracked the code. I finally figured out how to get that incredible, crunchy, shattered-looking crust while keeping the inside fluffy like a cloud. Seriously, this method for oven roasted potatoes is my absolute favorite weeknight trick. You’ll have the ultimate crispy exterior and a super tender interior every single time you try this recipe. It’s the benchmark for a simple side dish at our house now, and honestly, I have to hide the leftovers!
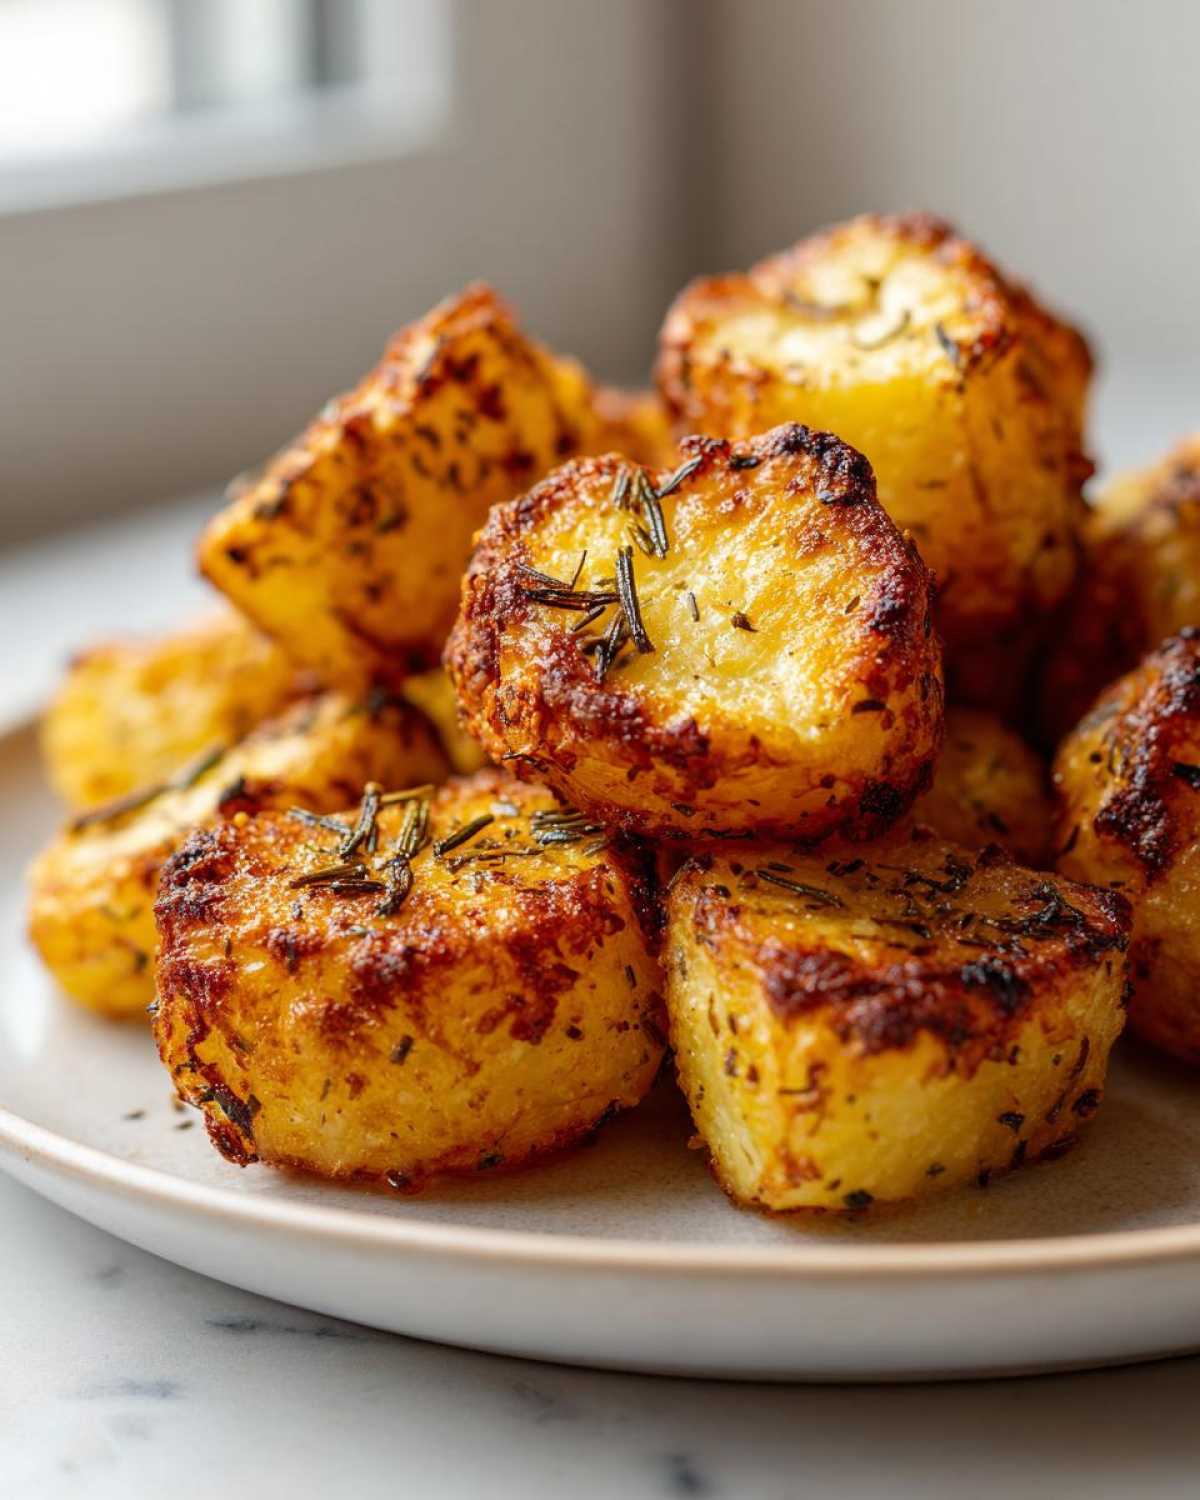
We use a few special steps that transform the humble spud—the secret weapon is actually something you probably have hiding in your pantry right now. We’re talking about combining high heat, careful drying, and a little bit of magic powder. If you want to see the full technique that changed my life, check out my tips on crispy breakfast potatoes too, but stick with me here for the ultimate herb-roasted masterpiece.
Why You Will Make These Oven Roasted Potatoes Every Time
I promise you, once you try these, you won’t go back to your old way of doing things. It’s crazy how much difference a few simple modifications make. Here is why these crispy roasted potatoes jump to the top of my favorites list:
- Guaranteed Crisp: We use a little trick—and I’ll spill the beans very soon—that creates the crunchiest exterior you can imagine. No more soggy bottoms!
- Cloud-Like Interior: The pre-boil and vigorous shake ensure that starchy, fluffy filling contrasts perfectly with the crust.
- Simple Seasoning: You don’t need a million ingredients. Just good quality herbs, salt, and fat get us a fantastic flavor profile for any meal.
- Total Versatility: These are my go-to when I need easy side dishes for a busy night, but they look fancy enough to serve at a dinner party or holiday meal. Find more great ideas over at my easy side dish recipes roundup!
Gathering Ingredients for Garlic Herb Roasted Potatoes
Okay, let’s talk about what you need to pull this off. You don’t need a trip to a specialty store for this recipe—everything is wonderfully straightforward. But listen closely on the potato front because the type you choose really matters! I insist on Yukon Golds here. They aren’t too starchy like Russets, but they aren’t too waxy like new potatoes either. They strike that perfect balance to become tender inside when we boil them just right.
And then there’s the secret sparkle: baking powder. I know, it sounds weird for potatoes, but trust me on this. Baking powder is key to drying out that surface area during the high heat blast, guaranteeing that deeply crackled exterior we’re obsessed with. We’re pairing those flavors with some hardy greens that love roasting, like rosemary and thyme. You can find lots of great pairing ideas over at my garlic butter chicken bites post if you’re planning the rest of your menu!
Essential Components for Oven Roasted Potatoes
Here is exactly what you need for four generous servings. Remember, precision matters, especially with the size of the potato cuts—too big and the inside won’t cook before the outside burns!
- 2 lbs Yukon Gold potatoes, cut into 1.5-inch pieces
- 3 tablespoons olive oil
- 1 teaspoon baking powder (Don’t skip this!)
- 1 teaspoon kosher salt
- 1/2 teaspoon black pepper
- 1 teaspoon dried rosemary
- 1 teaspoon dried thyme
- 3 cloves garlic, minced (We add this later so it doesn’t smoke!)
The Technique: How to Make Crispy Roasted Potatoes in the Oven
Alright, this is where the magic happens. Making oven roasted potatoes that are crisp outside and custardy inside isn’t luck; it’s science mixed with a little bit of elbow grease! The entire process hinges on two things: ensuring the potatoes cook through internally without steaming, and creating a rough, starchy exterior just begging for oil and heat. If you follow these four stages carefully, you’ll never look back. For more inspiration on that crispy-tender texture, you should definitely look at my guide for crispy roasted sweet potatoes too!
Preheating and Parboiling the Potatoes
First things first: get that oven screaming hot! We need 425°F (220°C). High heat is non-negotiable for crispiness. Now, take your cut potatoes and drop them into a saucepan. Cover those guys completely with *cold*, salted water before you even turn on the burner. Starting cold allows the interior of the potato pieces to heat up slowly and evenly with the water, so they cook through without the outside dissolving.
Bring it to a rolling boil, and this part is important—don’t just boil them until they are soft! You only cook them for eight minutes after the water starts bubbling. The edges should just be starting to look pale and soft when you test them. We are aiming for par-cooked, not mushy!
Achieving Surface Area for Maximum Crispness
Drain those potatoes immediately and get them into your colander. Here is the move that separates the rookies from the pros: you have to shake the colander vigorously for a good 30 seconds! You are intentionally smashing up the softened edges of the potato pieces against each other. When you look closely, you’ll see this fluffy, starchy coating forming on the outside of every single chunk. That starchy coating is what turns into that incredible crust when it hits the hot oil!
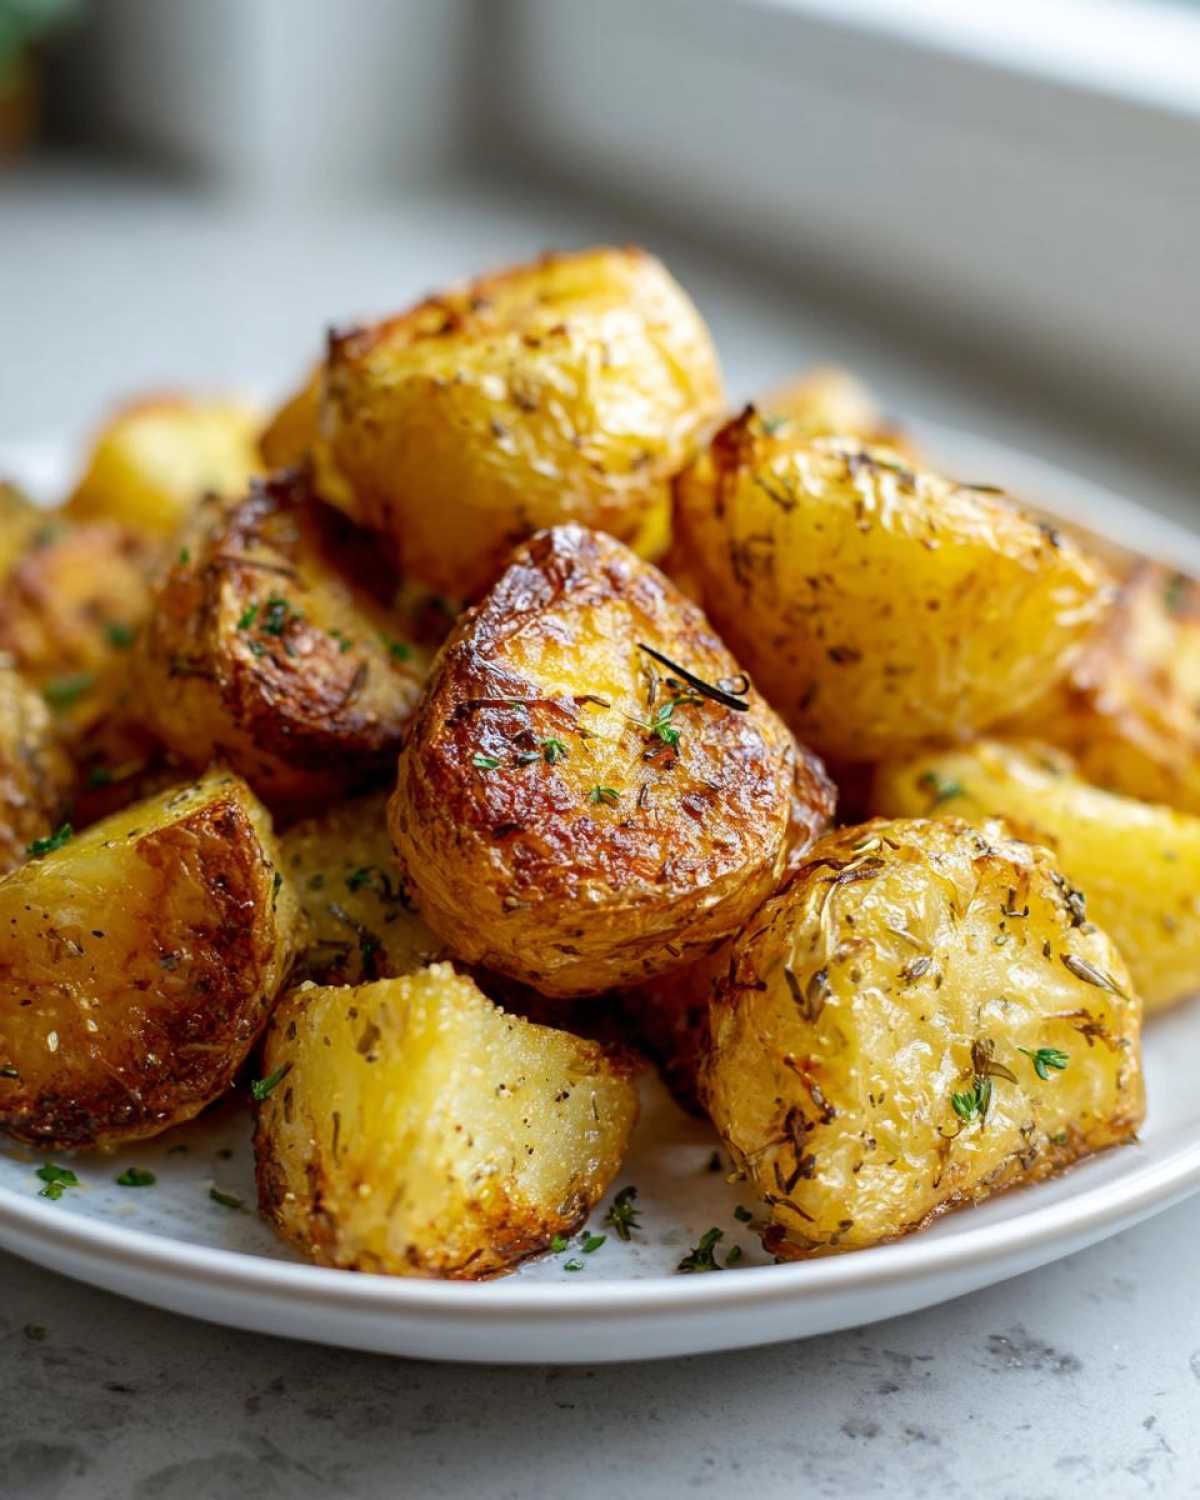
A major warning here: when we put these on the sheet later, you absolutely cannot overcrowd the pan. If they are touching, they steam, and steaming is the mortal enemy of crispiness. Give them space to breathe and crisp up.
Seasoning and Initial Roast for Oven Roasted Potatoes
Now it’s time to toss them! Get those slightly rough potatoes into a big bowl. Drizzle on your olive oil—just enough to thinly coat them, but not so much that they look greasy. Now, add your salt, pepper, rosemary, thyme, and—the miracle worker—the baking powder. Make sure every single edge of every potato piece is covered in that seasoning mix. I usually toss them with my hands for a full minute to ensure the baking powder gets everywhere.
Scrape them onto your large, rimmed baking sheet. Remember our rule: one single layer only! Pop them into that preheated 425°F oven and set a timer for 20 minutes. Don’t touch them! Just let that high heat start building up that beautiful crust.
Finalizing the Best Oven Roasted Potatoes with Garlic
After those first 20 minutes, pull the tray out. The potatoes should be looking much firmer and starting to turn golden. This is the moment to add your minced garlic. Garlic burns so fast, which is why we add it now instead of at the very beginning. Gently toss the potatoes right there on the sheet pan until the garlic is incorporated.
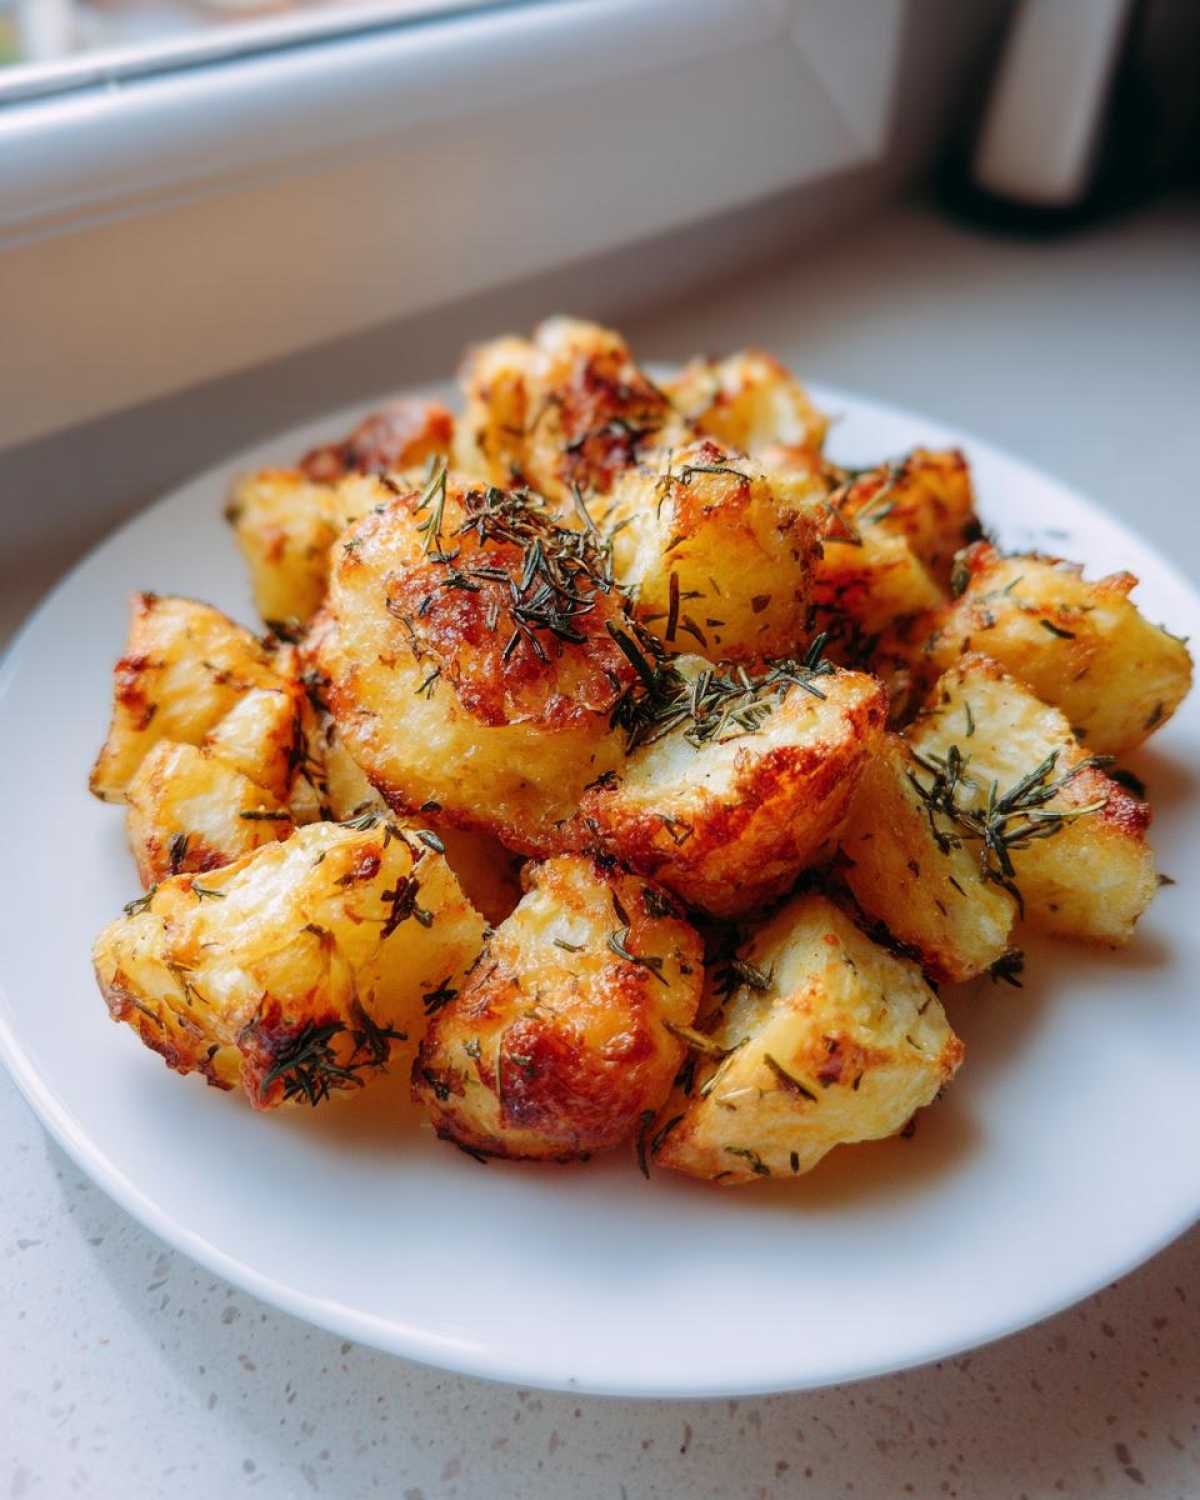
Back into the oven they go! Roast for another 15 to 20 minutes. You are looking for a deep, dark, glorious golden-brown color—almost chocolatey in spots. That’s how you know you’ve achieved the best oven roasted potatoes. The smell when they come out? Divine. That combination of roasted olive oil, salt, and herbs is pure comfort food!
Tips for Perfect Oven Roasted Potatoes Every Time
Look, even with the best recipe, sometimes little things trip up a great batch of potatoes. I still remember the first time I tried leaving them on the sheet too close together—I was distracted by laundry, and they came out pale and spongy. Total disaster! But by learning these little checks and balances, I guarantee you’ll build the authority in your own kitchen. You will be making the oven roasted potatoes everyone asks you for! Check out my other tips for easy potato side dishes for more inspiration on making your weeknight sides shine.
The Baking Powder Secret Explained
I get asked about this all the time: Why baking powder? Well, baking powder is alkaline, and when it hits that high heat, it actually helps suck the moisture out of the outside layer of the potato chunks faster than normal. Think of it like this: it gently dries out the surface starch during the initial 20 minutes of roasting. That dried-out, rough edge we created by shaking the colander (remember that step?) has an easier time crisping up when dusted with that light layer of powder. It gives you that shatteringly crisp crust without needing to deep fry them. It’s foolproof, honestly!
Moisture Control: The Enemy of Crisp
I cannot stress this enough: your potatoes must be bone dry before they hit the oil and spices. When I first started, I’d just quickly dump them from the colander onto my oil bowl, and I’d get that miserable hiss of steam instead of a nice sizzle. That steam messes up the oil’s temperature and prevents the baking powder from doing its job! One time, I was in a huge rush and forgot to let them sit in the colander for those 30 seconds of air drying after draining, and the bottoms were just gummy.
So, here’s what I do now: after I shake them vigorously, I almost always spread them out on a clean dish towel on the counter for five minutes. Seriously, just let them steam off for a few minutes before tossing them with the oil mixture. That extra bit of time allows the surface moisture to evaporate into the air, leaving you with just that desirable starchy coating ready to absorb the oil and crisp up beautifully.
Serving Suggestions for These Dinner Side Recipes
Honestly, these crispy herb potatoes are like the perfect sidekick for almost anything you put on your dinner plate. I’ve made a massive batch just for snacking while I watch TV, but they truly shine when they’re sitting next to something hearty. Because they’re seasoned with rosemary and thyme, they have this wonderful, savory quality that pairs beautifully with grilled or roasted meats.
For a simple weeknight meal, I often pair them with a quick protein tossed in my all-purpose chicken marinade. Pop the chicken in the oven, and then use the remaining heat to blast these potatoes—it’s efficiency at its finest!
When we have company or I feel like making something a little more substantial, these are the perfect counterpoint for a rich cut of beef. They soak up any juices leftover in the bottom of the pan without getting soggy, which is a miracle in itself. They are fantastic alongside a simple sliced flank steak or a classic reverse-seared ribeye; you can find a great blueprint for that over in my Steak Pizzaiola guide if you need some sauce inspiration as well!
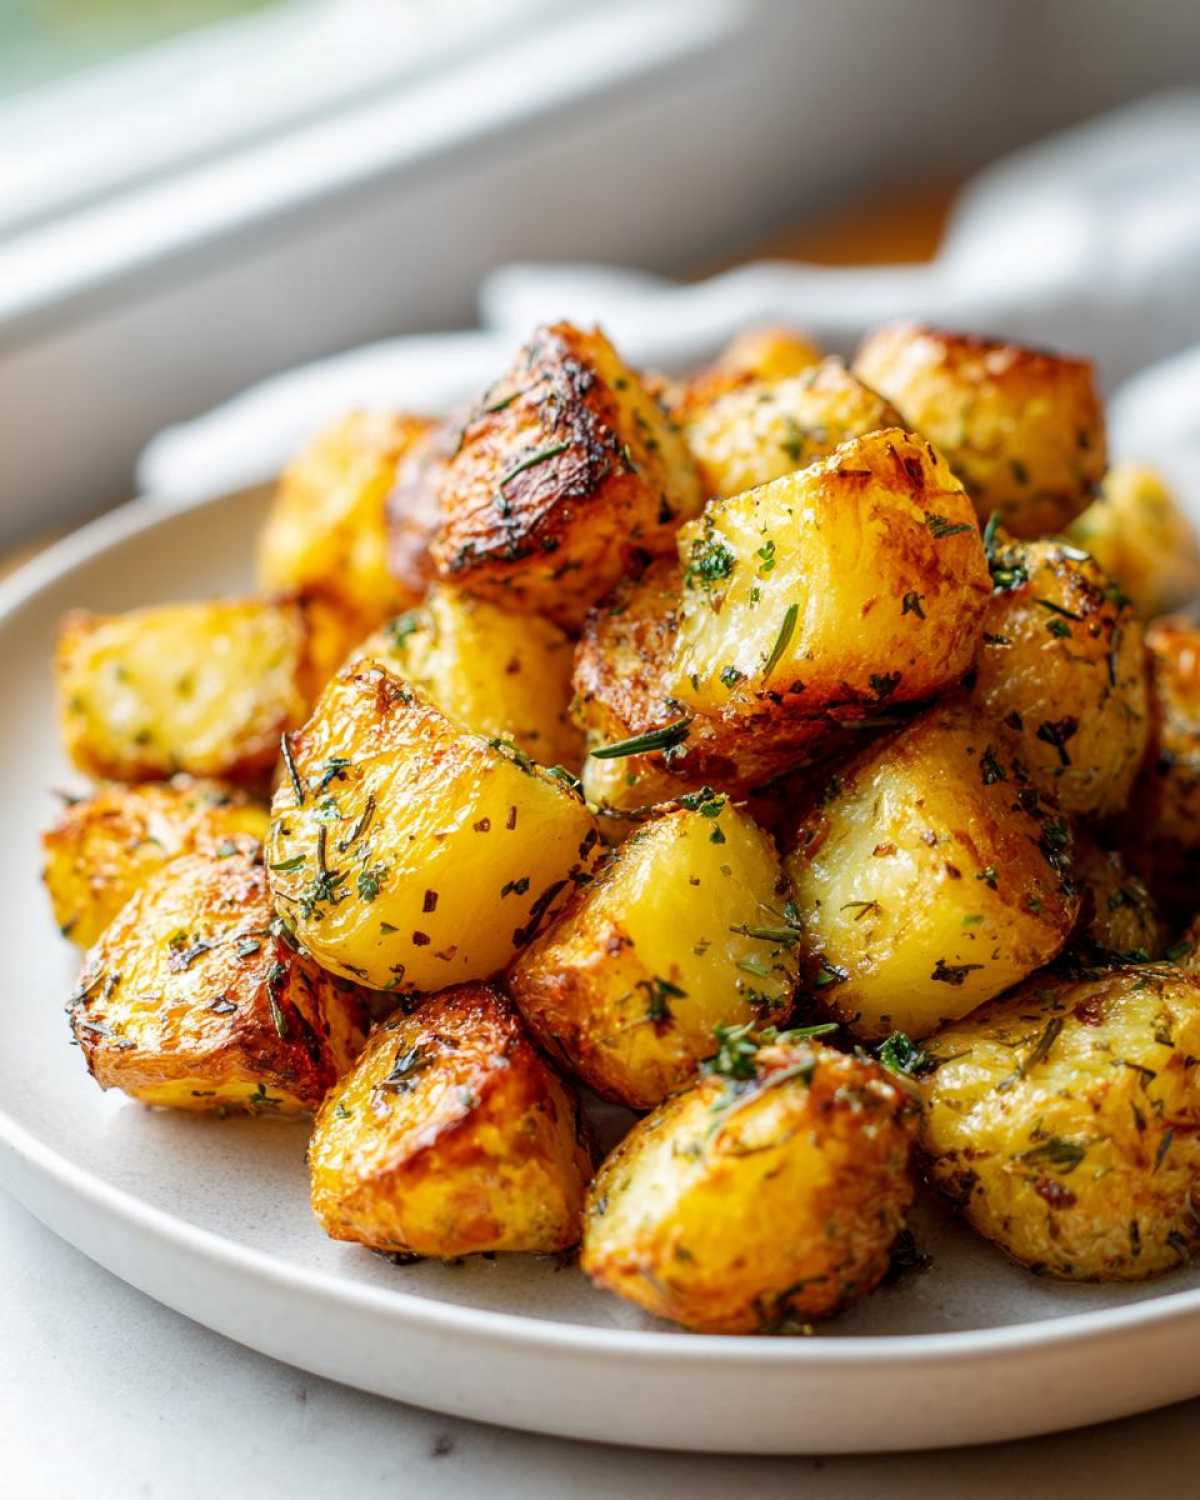
You can even treat them like a comfort food base. Ever tried serving them underneath a big scoop of slow-cooked pot roast? Talk about cozy perfection. They hold up so well to heavy gravies because of that intense crispiness we worked so hard to achieve!
Storage and Reheating for Leftover Oven Roasted Potatoes
The ultimate test of a great side dish, in my opinion, is how well it survives the night! I always make a double batch of these because I love having leftover crispy potatoes for breakfast the next day, but you have to treat them right, or they get limp fast. Leftover steam is the enemy of the crisp crust we fought so hard to create!
When it comes to storage, you can’t just toss them haphazardly into Tupperware. The moisture trapped in a closed container will turn that beautiful crust into a soft, disappointing shell almost instantly. So, when you’re done eating, let the extra potatoes cool down completely on the counter first—maybe spread them out slightly on a fresh paper towel.
Once they are totally cool (this is important!), transfer them to an airtight container. I try not to pack them too tightly. They will definitely last about three or four days in the fridge, but if I know I won’t eat them within that time, I freeze them! Yes, you can freeze roasted potatoes, and they freeze surprisingly well!
Now, reheating? If you just microwave these, well, don’t. You threw away all that effort! The trick to bringing back the crunch is high, dry heat, just like we did initially. I usually grab the stovetop skillet or my air fryer for reheating.
If you’re using the oven, you need to preheat it to about 400°F (around 200°C)—not quite as hot as the initial roast, but close. Spread the cooled potatoes in a single layer on a baking sheet. Blast them for about 8 to 10 minutes until they start sizzling again and the edges look dry and slightly browned. It brings them right back to life!
If you use an air fryer (which I highly recommend for speed!), set it to 380°F. Toss them in a basket with just a tiny spritz of oil, and cook them for about 5 minutes, shaking halfway through. They crisp up unbelievably fast in there! For another great way to repurpose leftovers, you should check out my recipe for crispy mashed potato cakes—but these roasted ones reheat perfectly on their own, too!
Variations on Seasoned Roasted Potatoes
While I swear by our classic combination of rosemary and thyme, sometimes you need a little shake-up, right? These roasted spuds take on new personalities so easily, which is why they are such an indispensable part of my cooking rotation. You need flexibility in the kitchen, and these little tweaks let you keep serving potatoes without anyone feeling like they just ate the exact same thing last week!
You want to make these small additions toward the end of the cooking process, usually during that last 10 to 15 minutes where the potatoes are already golden brown. If you add heat-sensitive spices too early, they just burn off and taste bitter, which ruins everything!
Here are my three favorite ways to spin these potatoes when I’m feeling a little adventurous but still need that amazing crispy texture we worked so hard for:
- Smoked & Savory: If you want a deeper, almost bacon-like flavor without adding any meat, try adding a half-teaspoon of smoked paprika along with your salt and pepper mixture during the initial toss. It gives the potatoes a gorgeous reddish hue and a wonderful smoky warmth that pairs surprisingly well with the thyme.
- Herb Swap: Don’t have rosemary on hand? No problem! Sage is a fantastic substitute, especially if you’re serving these alongside poultry or pork. Use a teaspoon of dried sage or up to a tablespoon of fresh sage if you have it. Sage is earthy and strong, so be a little generous!
- The Cheesy Finish: This is the real crowd-pleaser, especially if you have kids looking for something fun. During the last 10 minutes of roasting (right when you add the garlic, or just after), sprinkle about a half-cup of freshly grated Parmesan cheese right over the top. Toss gently right there on the pan, and let the cheese melt and crisp up against the hot potato edges. It adds that wonderful salty, umami punch we all crave!
When you are experimenting with cheese, keep an eye on them because the cheese can go from perfectly melted to burnt very quickly. They look amazing next to something rich and creamy, like a slice of gooey white pizza with creamy ricotta, trust me on that one!
Frequently Asked Questions About Oven Roasted Potatoes
I know people have lots of questions when they are trying to nail that perfect crisp because frankly, it can feel like a science experiment! I’ve done the trial and error so you don’t have to. If you have a question about potato firmness, what kind of potato to buy, or why my method works so well, chances are it’s covered right here. These answers should help you prepare the absolutely ultimate potato side dish!
If you’re looking for something completely different to serve alongside, maybe a fast main course, I’ve got a great easy ground beef chili recipe!
Can I skip parboiling and still get crispy roasted potatoes?
You technically *can*, but I really, really advise against it if crispy roasted potatoes are your goal. If you just toss raw, hard potatoes with oil and roast them at 425°F, they will eventually brown, sure, but the inside will be dense and perhaps a little chewy, not fluffy. The magic of this method for achieving those amazing fluffy inside crispy outside potatoes is that quick boil; it gelatinizes some of the surface starch while simultaneously softening the center. When you shake them hard, that softened starch turns into a rough, craggy surface area, which then crisps up like a dream in the oven. Skipping that step means sacrificing the internal texture, making them much less special.
Which potato type works best for this recipe?
My winner, hands down, is the Yukon Gold potato, which is what I use in the recipe above. They are considered slightly waxy, but they have enough starch to fluff up perfectly when boiled and roughed up, yet they hold their shape well during the high-heat roasting process. Russets work okay too, but they tend to break down into mush faster during that boil. Avoid extremely waxy potatoes like new potatoes or red potatoes if you are chasing that fluffy interior. Waxy potatoes generally stay firm and don’t fluff out, so you are more likely to end up with firm roasted chunks rather than that delicious contrast we are looking for!
What temperature should I use for the ultimate potato side dish?
The temperature is honestly one of the least flexible parts of this whole process! You need high, dry heat to force moisture out quickly and achieve that extreme crispness. For these oven roasted potatoes, you absolutely must start your oven at 425°F (220°C). If you try to roast them at 350°F or 375°F, they just bake slowly and start to steam themselves, meaning you end up with soft, sad potatoes. The high initial heat combined with the baking powder is the only way to guarantee that shattering crust. Don’t be afraid of the heat; the potatoes are only in there for about 40 minutes total, and that high temperature locks in the moisture while crisping the outside.
Nutritional Estimate for This Side Dish
Now, I want to preface this by saying that my kitchen measurements are usually done by ‘heart’ rather than by a scientific scale, so these numbers are just an educated guess based on standard nutritional databases for the ingredients listed. When you are making oven roasted potatoes at home, especially when you are generous with the olive oil, the fats can really vary!
Also, keep in mind this recipe estimation splits the total for four generous servings. If you’re serving these alongside a heavy steak dinner, the potato portion might be smaller than what’s listed here. But for reference, here’s the ballpark look at what you’re getting with one serving of these simple side dish recipes:
- Serving Size: 1 serving
- Calories: 280
- Fat: 12g (Note: This will jump if you use more oil!)
- Saturated Fat: 1.5g
- Trans Fat: 0g
- Carbohydrates: 40g
- Fiber: 4g (That’s great fiber from the potatoes!)
- Sugar: 1g (Almost entirely natural sugars from the potato itself.)
- Protein: 5g
- Cholesterol: 0mg
- Sodium: 450mg (This depends heavily on the salt you use, so you can adjust this easily for your own needs.)
As you can see, we’re talking about a hearty, satisfying side dish that offers great carbs for energy and a solid amount of fiber! It’s definitely comfort food potato recipes territory, but because we are roasting instead of deep-frying, we keep the grams of fat considerably lower than your average restaurant version. A total win for a weeknight potato sides situation!
PrintUltimate Crispy Herb Roasted Potatoes
Follow these steps to make potatoes with a perfectly crisp exterior and a tender, fluffy inside using simple herbs and oven heat.
- Prep Time: 15 min
- Cook Time: 40 min
- Total Time: 55 min
- Yield: 4 servings
- Category: Side Dish
- Method: Roasting
- Cuisine: American
- Diet: Vegetarian
Ingredients
- 2 lbs Yukon Gold potatoes, cut into 1.5-inch pieces
- 3 tablespoons olive oil
- 1 teaspoon baking powder
- 1 teaspoon kosher salt
- 1/2 teaspoon black pepper
- 1 teaspoon dried rosemary
- 1 teaspoon dried thyme
- 3 cloves garlic, minced
Instructions
- Preheat your oven to 425°F (220°C).
- Place the cut potatoes in a large pot and cover with cold, salted water. Bring to a boil and cook for 8 minutes until the edges just start to soften.
- Drain the potatoes completely. Shake the colander vigorously for about 30 seconds to rough up the edges; this creates more surface area for crisping.
- In a large bowl, toss the dried potatoes with the olive oil, baking powder, salt, pepper, rosemary, and thyme until evenly coated.
- Spread the potatoes in a single layer on a large, rimmed baking sheet. Do not overcrowd the pan.
- Roast for 20 minutes.
- Remove the pan from the oven, add the minced garlic, and toss the potatoes gently.
- Return to the oven and roast for another 15 to 20 minutes, or until deeply golden brown and crisp.
Notes
- Using baking powder is the secret to achieving a very crisp exterior crust.
- Ensure the potatoes are completely dry after boiling before adding oil. Moisture prevents crisping.
- For best results, use only one layer of potatoes on the baking sheet.
Nutrition
- Serving Size: 1 serving
- Calories: 280
- Sugar: 1
- Sodium: 450
- Fat: 12
- Saturated Fat: 1.5
- Unsaturated Fat: 10.5
- Trans Fat: 0
- Carbohydrates: 40
- Fiber: 4
- Protein: 5
- Cholesterol: 0