

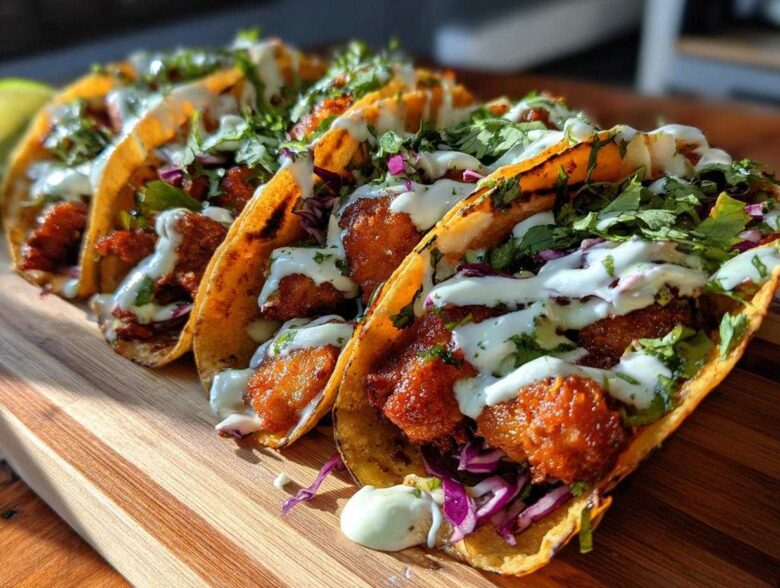
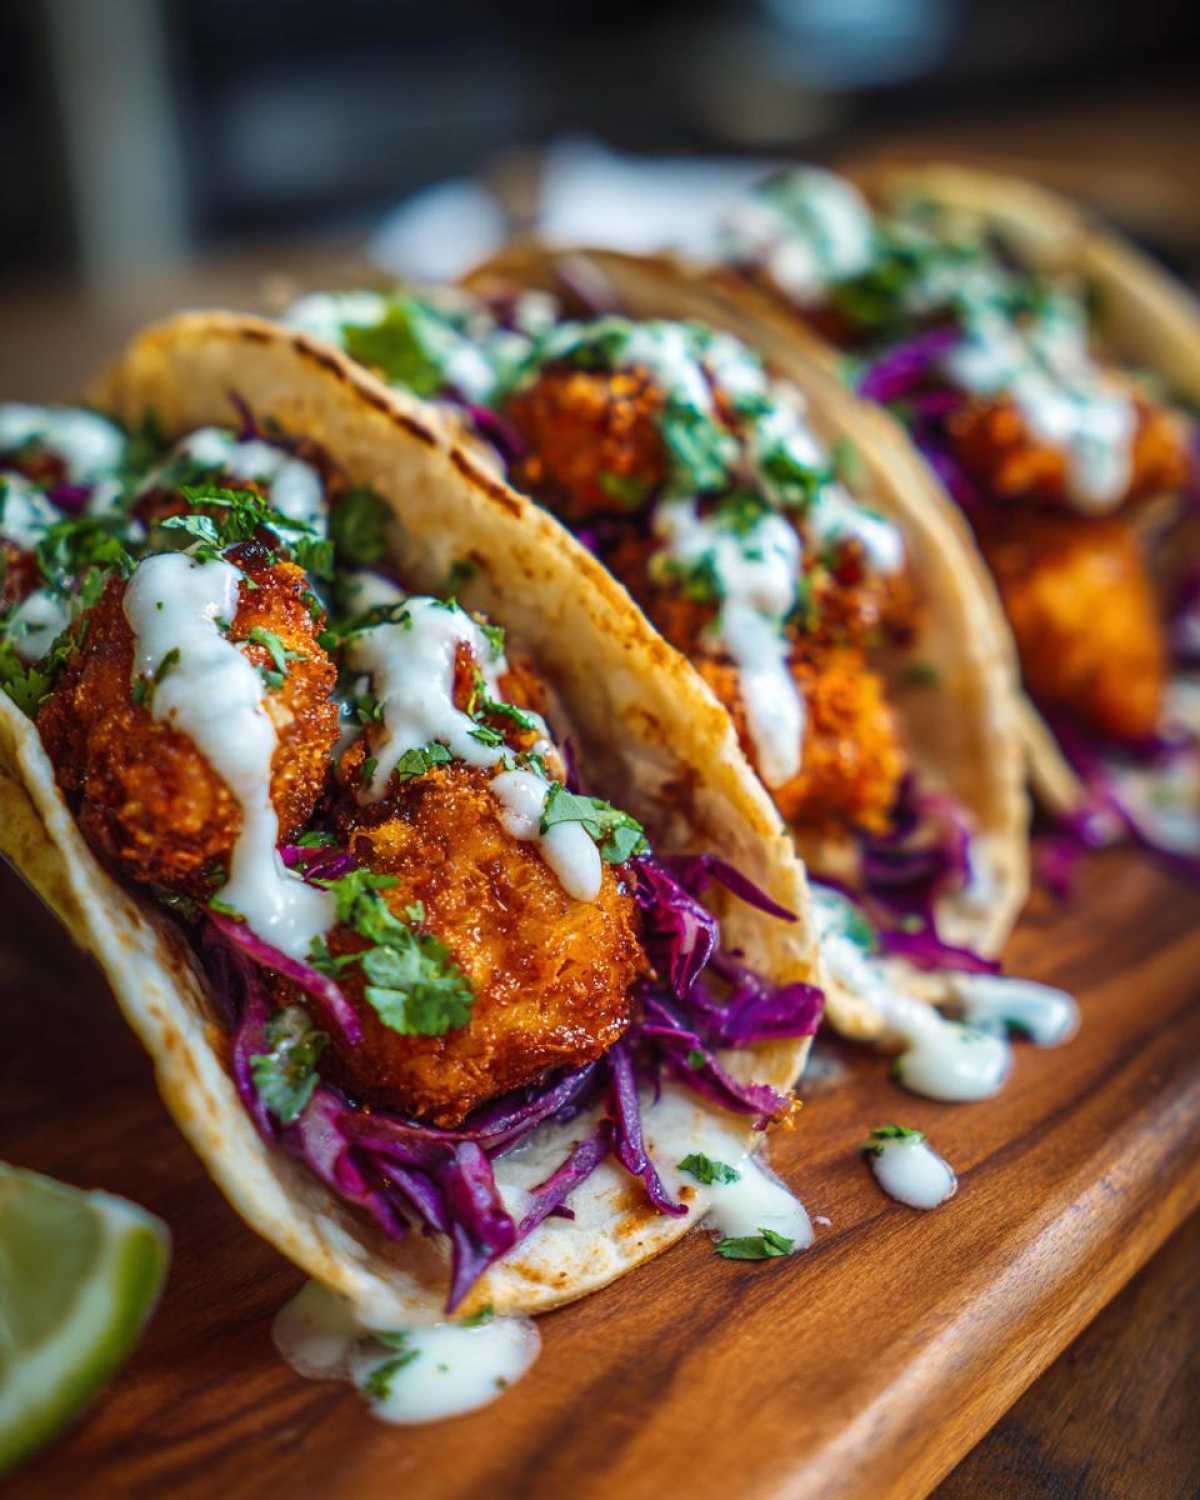
Oh my gosh, I know that feeling! It’s 6 PM, everyone is starving, and you just *need* something exciting, crunchy, and packed with flavor. Forget takeout; tonight, it’s all about these Crispy Chicken Tacos with Garlic Lime Sauce. Seriously, I’ve mastered the art of getting a truly shatteringly crispy coating on chicken without slathering it in oil the old-fashioned way. We’re using the oven or the air fryer, trust me, and the bright, zesty sauce—oh, the sauce—is going to make these your new go-to. You have to try this recipe! You can check out more of my latest cooking adventures over on my main blog page.
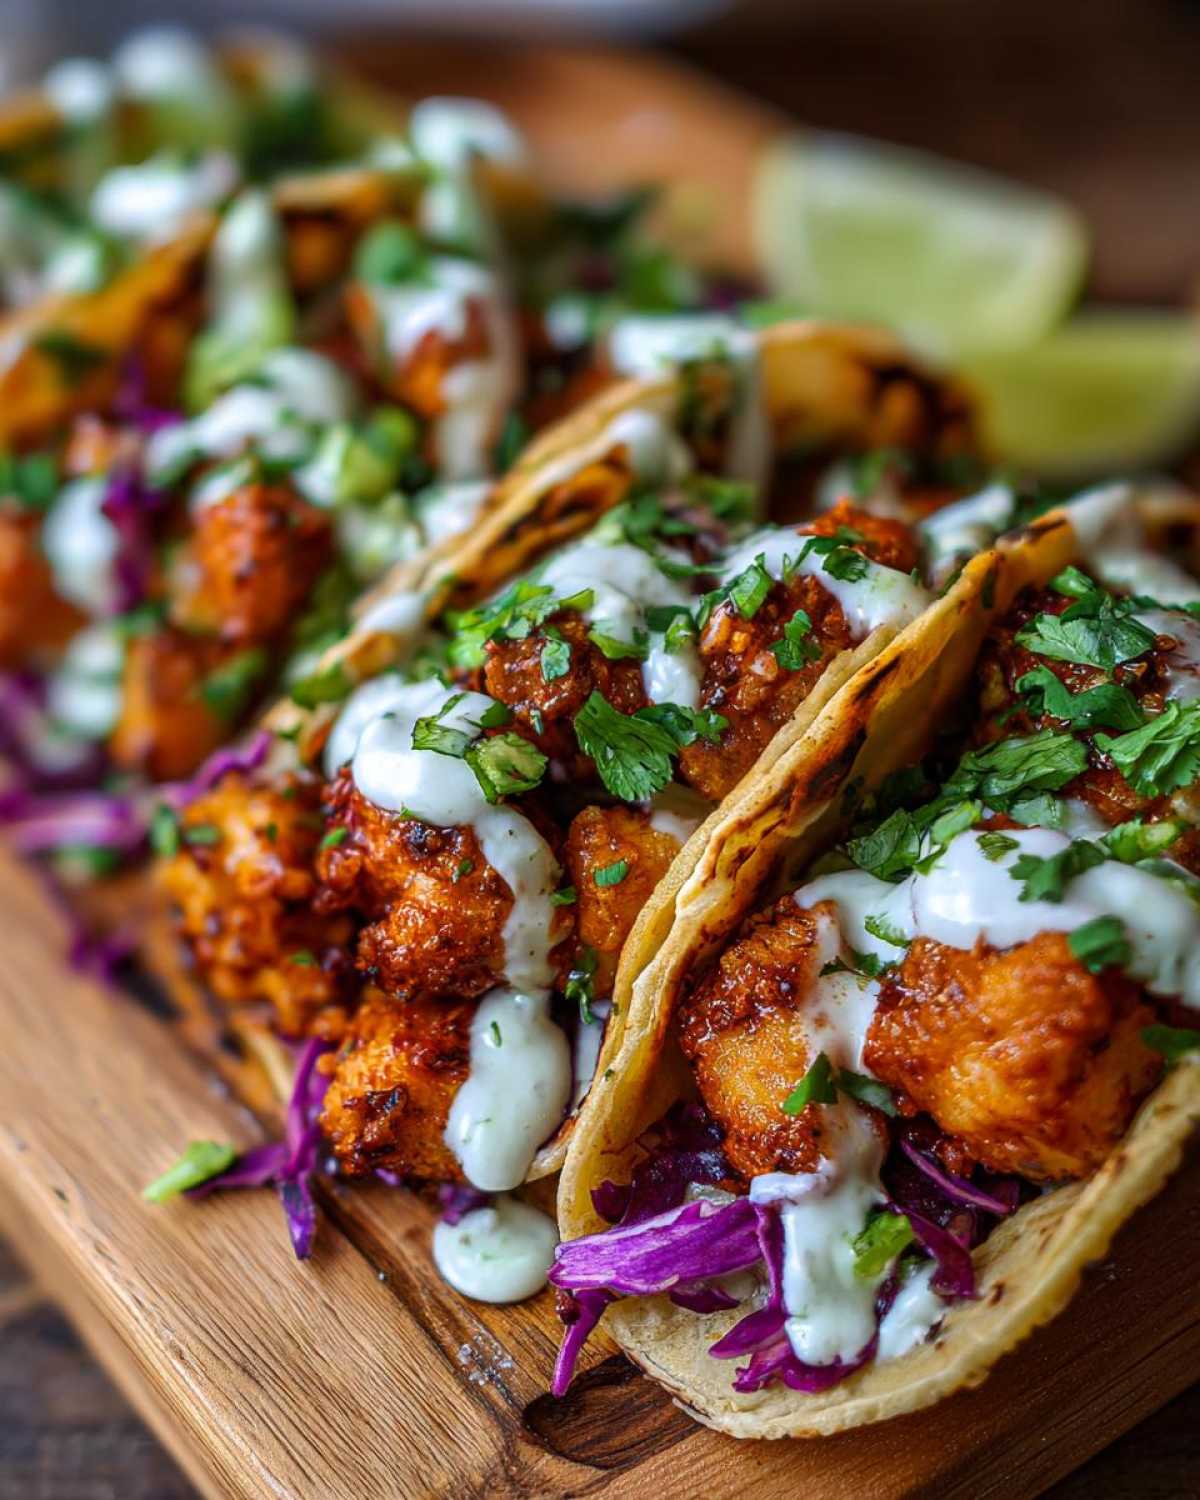
Why You Will Make These Crispy Chicken Tacos with Garlic Lime Sauce Again
I’m telling you, these aren’t just standard weeknight tacos. These hit different! If you are tired of soggy fillings or boring seasoning, this is where you start building your next favorite dinner. Here’s why I keep coming back to this recipe:
- Seriously Crunchy Chicken: We nail that satisfying crunch you crave because of the double-dredge technique and high heat roasting. It’s the crunch without the grease bath, which is always a win in my book.
- That Zesty Kick: That Garlic Lime Sauce! It’s bright, it’s tangy, and the fresh garlic really pops. It cuts through the richness of the coating perfectly, turning these into true zesty chicken tacos.
- Flexible Cooking Methods: Whether you’re leaning into your air fryer for speed or baking them evenly on a sheet pan, the results are consistently golden brown and utterly delightful. It works for any kitchen setup.
- Fast Assembly: Honestly, once the chicken is coated, it cooks up relatively quickly. We’re talking weeknight chicken tacos dinner speed here, maybe 45 minutes total if you hustle on the sauce while it bakes.
Essential Ingredients for Crispy Chicken Tacos with Garlic Lime Sauce
Okay, getting the right foundation is crucial! I always organize my ingredients by what they are doing in the recipe so I don’t have to run back and forth to the pantry mid-dredge. The quality of your chicken and your lime makes a huge difference here. If you are looking to amp up your chicken flavor right from the start, check out my guide on the ultimate all-purpose chicken marinade, but for this recipe, we stick to the simple coating for that perfect crunch!
For the assembly part, keep it simple! We want the chicken and the sauce to shine. Shredded cabbage gives that necessary coolness and crunch, and cotija cheese crumbles beautifully. Don’t skip the fresh cilantro in the sauce; it just ties everything together!
For the Crispy Chicken Coating
This is where the magic happens! We need two bowls set up side-by-side. We’re using standard 1-inch chunks of boneless, skinless chicken breasts—about 1.5 pounds worth.
In the first shallow dish, you’ll mix up your dredge: 1 cup of all-purpose flour, 1 teaspoon of salt, 1 teaspoon of black pepper, 1 teaspoon of paprika, and 1/2 teaspoon of garlic powder. Don’t be shy with the seasoning in the flour; it needs to taste good before it even hits the heat!
The wet bath is easy: 1/2 cup of buttermilk. If you don’t have buttermilk, just mix 1/2 cup of regular milk with 1/2 teaspoon of vinegar and let it sit for five minutes—instant substitute! Remember, we dip that raw chicken into the buttermilk first, let the excess drip off, and then we really press it into the seasoned flour. Pressing helps that coating stick so it doesn’t just fall off in the air fryer or oven.
For the Best Garlic Lime Sauce Recipe
This sauce takes three minutes and completely elevates these fresh lime chicken tacos. The secret weapon here is a creamy base: 1/2 cup of good quality mayonnaise. This gives the sauce body.
Next, you need brightness! That means 1/4 cup of fresh lime juice. Seriously, squeeze it fresh; that bottled stuff is just way too harsh. Then, about 4 cloves of garlic, minced super fine—we aren’t messing around with that garlic flavor! Stir in 1 teaspoon of honey or sugar to balance the acidity, and about 1/4 cup of finely chopped fresh cilantro.
Whisk it all until it’s smooth and creamy. Taste it! Does it need more zest? A little more salt? This is your chance to make it perfect before you drizzle it over everything tonight.
Step-by-Step Instructions for Crispy Chicken Tacos with Garlic Lime Sauce
Alright, let’s get into the action! This process breaks down really smoothly, so don’t feel overwhelmed. We’re tackling the coating, the cooking (where the crispy happens!), and the sauce assembly. If you get the coating right, the cooking is almost foolproof, whether you’re using your air fryer or the oven. Just make sure you use those two shallow dishes we talked about!
Preparing the Coating and Dredging the Chicken
First things first, get those two dishes ready: one with your seasoned flour and one with the buttermilk bath. Take one piece of chicken, dip it completely into the buttermilk so it’s totally saturated—let the excess drip off for just a second. Then, move it right into the flour mixture. This is the key part: you need to press that flour onto the chicken firmly with your fingers. Don’t just gently toss it; really press it in! This adhesion is what keeps the coating intact when we cook it fast and hot.
Achieving Maximum Crispiness: Air Fryer or Oven Baked Crispy Chicken Tacos
Here’s where we choose our path to crunch! Set your temperature high—we need serious heat to set that dredging fast.
If you’re using the Air Fryer Method, preheat that baby to 400°F (200°C). Lightly spray the dredged chicken pieces with cooking spray or toss them with just one teaspoon of oil—this helps them brown up beautifully. Cook them in a single layer for about 12 to 15 minutes total. You have to shake the basket halfway through, trust me, or the side touching the bottom won’t get that perfect crisp!
For the Oven Baked Method, crank your oven up to 425°F (220°C). Put the chicken on a wire rack set over a baking sheet. The rack is non-negotiable because air needs to circulate completely underneath; that’s how we get those crunchy sides! Spray the tops lightly with oil and bake for 20 to 25 minutes, flipping halfway through. A big expert tip here: whatever method you choose, do not try to cram too much chicken in there at once! If you crowd the basket or the pan, that trapped steam ruins all our hard work, and you end up with steamed, soft chicken. We want maximum space!
Whipping Up the Zesty Garlic Lime Sauce
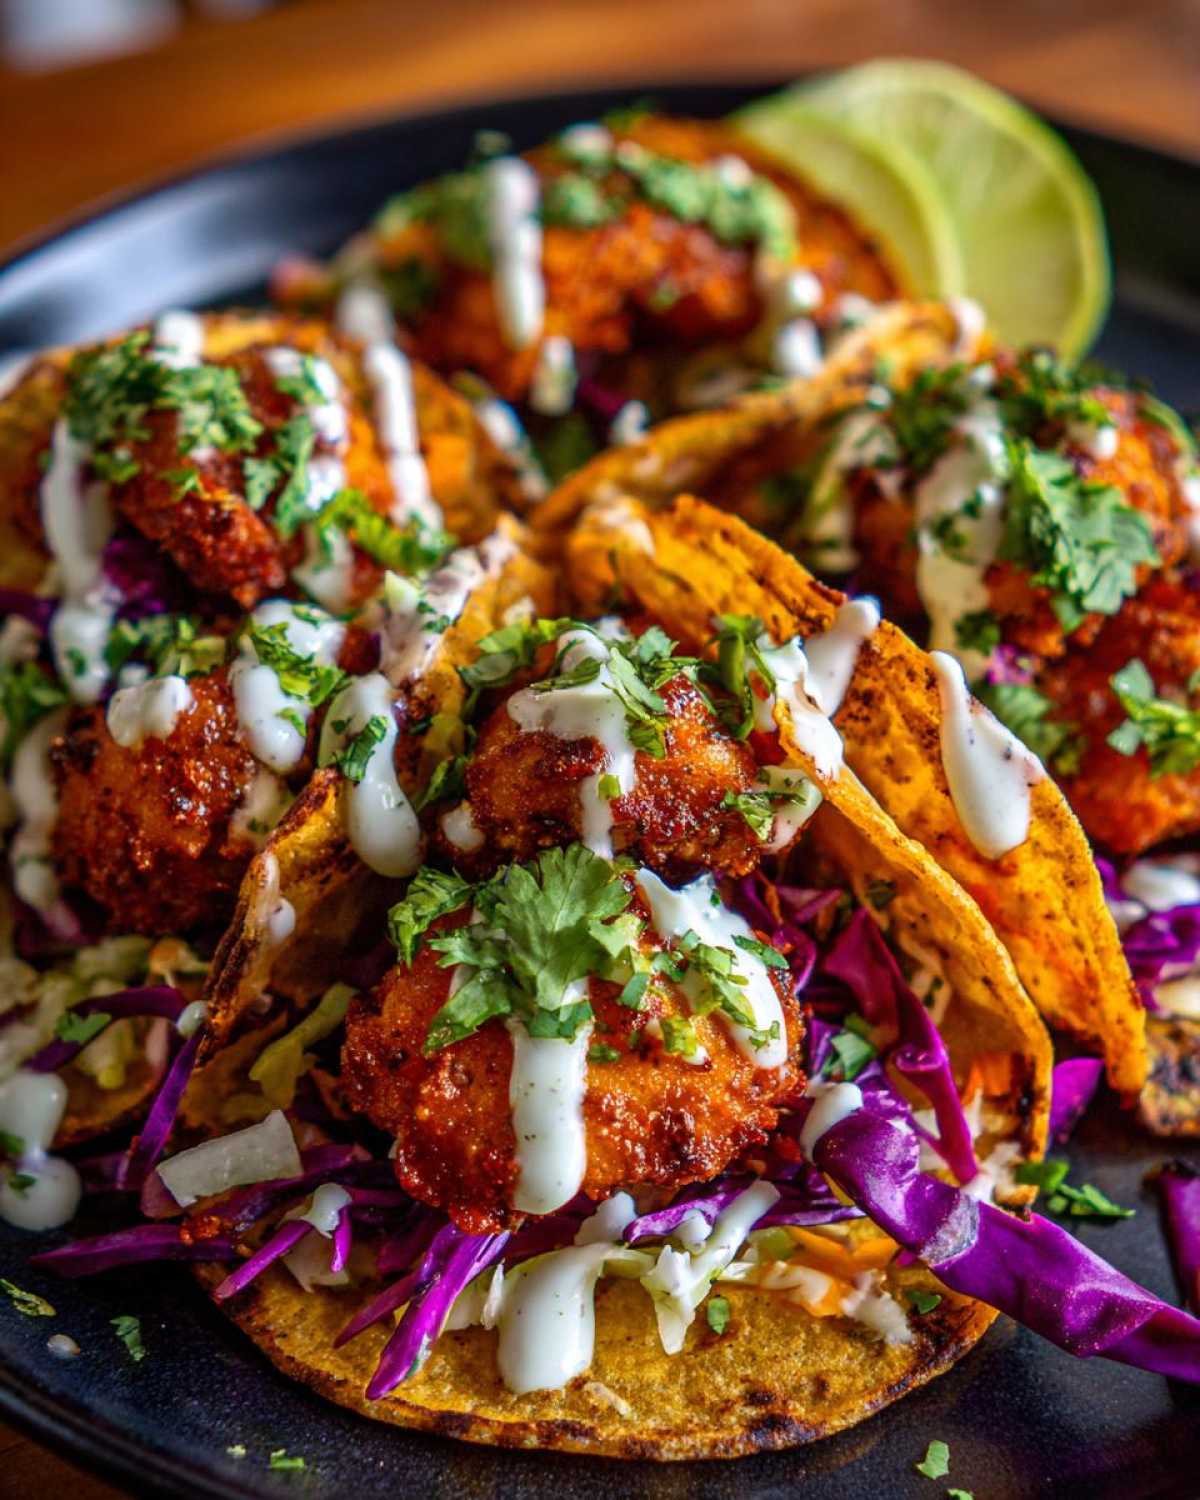
While that chicken is getting golden and crispy, let’s focus on the sauce. Grab a small bowl. We are simply whisking together the creamy base (the mayonnaise) with the bright flavors. Pour in that fresh lime juice, that minced garlic—don’t be scared of the amount, it’s amazing—the honey, and the cilantro. Whisk hard until everything is totally combined and looks like a beautiful, pale green drizzle. Before you pull the chicken out, taste it and maybe sprinkle in a little salt. It should taste punchy and bright!
Assembling Your Flavorful Chicken Taco Toppings
The moment of truth! First, we need warm tortillas. I just heat mine for about 20 seconds per side in a dry skillet until they are soft and pliable—microwave works in a pinch, too, if you wrap them in a damp paper towel.
Now we build! Lay out your warm tortilla. Spoon a generous helping of those hot, crispy chicken pieces down the middle. Then, take your amazing Garlic Lime Sauce and drizzle it liberally over the top. I mean, really drizzle it! Finish it off with a sprinkle of cool, shredded cabbage, a dusting of cotija cheese, and if you like a little heat in your flavorful chicken taco toppings, scatter on a few sliced jalapeños. They are ready to eat immediately!
Tips for Success with Homemade Crispy Chicken Tacos
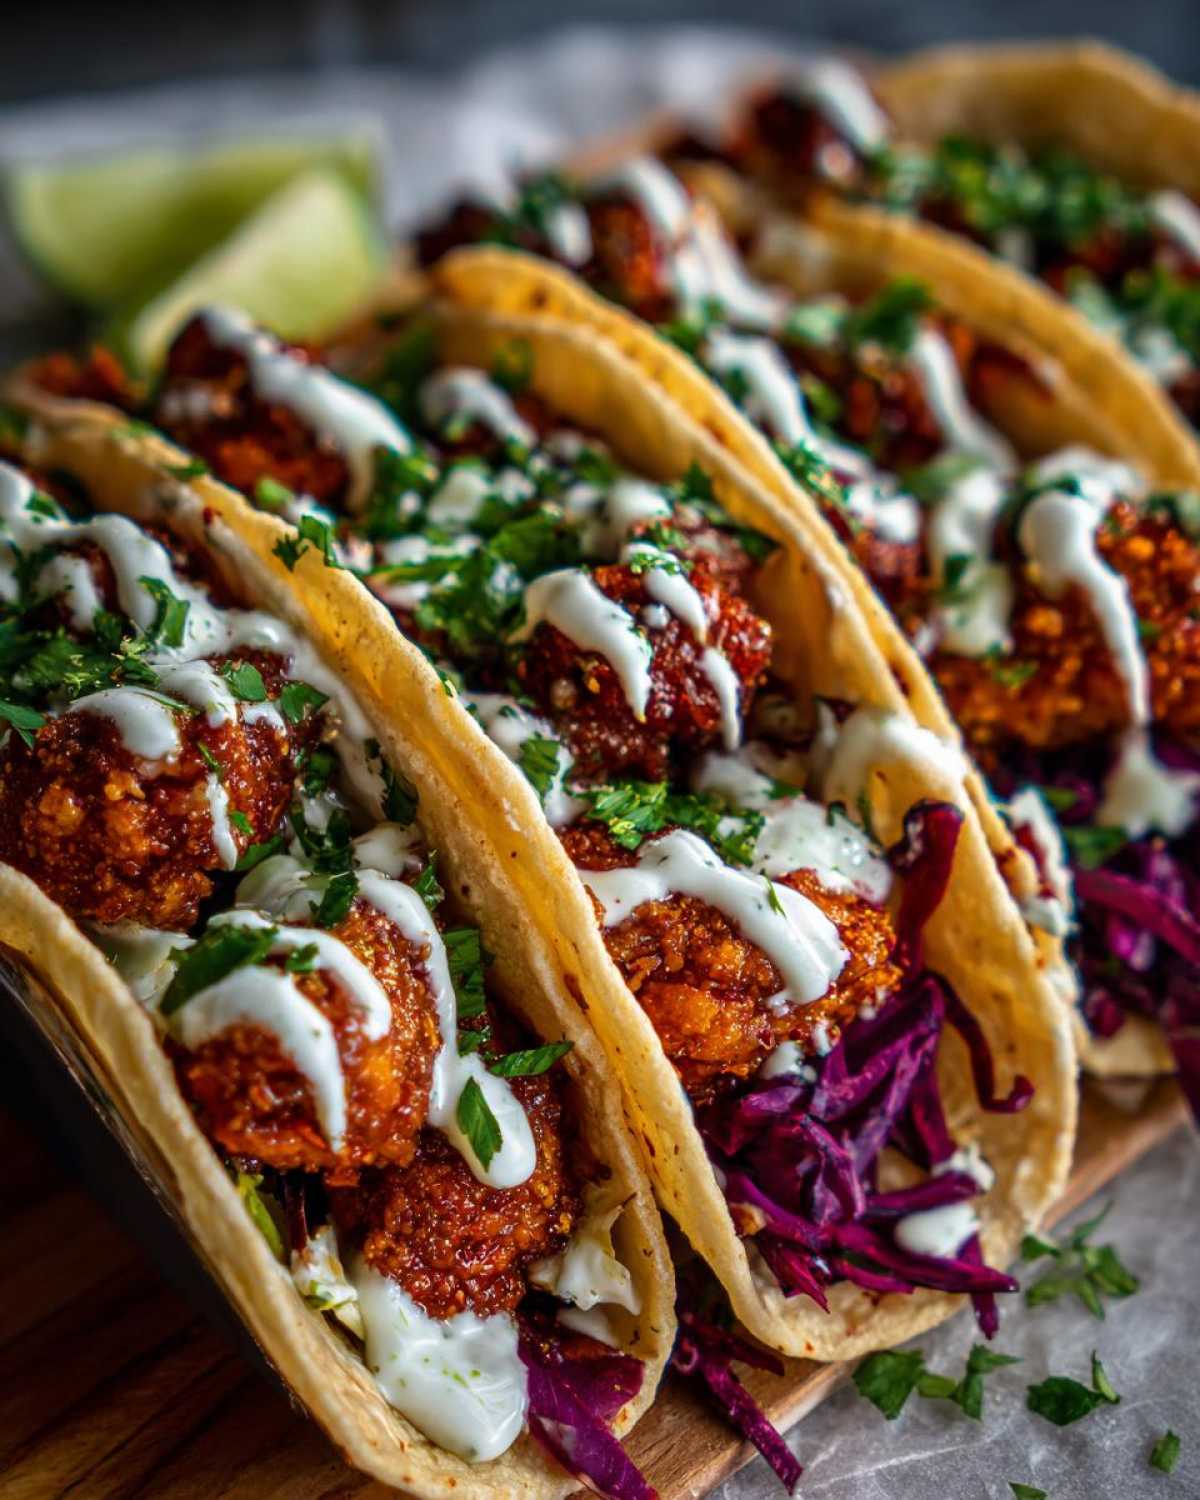
I have made these tacos so many times I practically dream in crispy coating formulas! Getting that crunch to hold up for packaging them for lunch or letting folks grab them buffet-style takes a little insider knowledge. You want texture, not sogginess, right? So stick with me on these three non-negotiables for the best homemade crispy chicken tacos.
First, remember the buttermilk dip? Don’t skip letting the excess drip off before it hits the flour. Too much liquid means a heavy coating that steams itself instead of frying up crisp. We want the chicken damp, not dripping wet when it goes into that seasoning mix. A light coating is better than a thick, clumpy one here.
Second, if you *really* want to take that crunch level up to eleven—and I mean, if you want serious structural integrity—you need to modify the flour mixture. Take half a cup of flour out and swap it for Panko breadcrumbs or very finely ground regular breadcrumbs. I’ve been doing this lately for my other crispy recipes, and it works wonders here! Those crumbs catch the heat better and give you a shard-like crispiness that flour alone sometimes misses.
Finally, when you drain the chicken after cooking (regardless of whether you air-fried or baked it), put it straight onto a wire rack set over a paper towel-lined tray for just two minutes. This allows any residual oil or moisture to escape from underneath the chicken pieces. If you put them straight into a bowl, the steam gets trapped, and suddenly, your perfect crunch is gone. We are preserving that beautiful texture for as long as possible before we dress it in that zesty lime sauce!
Ingredient Notes and Substitutions for Fresh Lime Chicken Tacos
I get questions all the time about tweaking recipes, especially when someone realizes they are out of buttermilk five minutes before they need to dredge chicken! Don’t panic. Most of the ingredients for these fresh lime chicken tacos are pretty flexible, but a few key ones really make this recipe sing. If you’ve been working on your baking skills lately, you might have noticed how small ingredient changes can have a huge impact, just like in my lemon zucchini bread.
Let’s talk about making swaps so you can whip up these quick chicken taco filling any night this week!
Buttermilk Substitutions
If you don’t have buttermilk on hand for the wet dredge, don’t worry one bit. As I mentioned before, the standard fix is mixing 1/2 cup of regular milk with 1/2 teaspoon of white vinegar or lemon juice. Let that sit on the counter for about five minutes until it starts to look slightly curdled. That acidity is what helps the coating stick just right. If you are completely out of milk, plain yogurt thinned heavily with water until it’s the consistency of heavy cream can also work in a pinch, though it might give you a slightly tangier base flavor.
Getting That Perfect Level of Heat
We went with a mild base flavor, relying on that zesty lime and garlic combo for punch. But if you know your family loves some fire, you absolutely need to ramp up the spice level in that beautiful sauce.
When you are mixing the sauce ingredients—the mayo, lime, garlic—this is the time to add any extra heat source you love. I highly recommend tossing in about 1/4 teaspoon of cayenne pepper. That gives you a warm burn that complements the lime beautifully without overpowering the garlic. If you want that heat to be a slower, richer burn, consider using a dash of chipotle powder in the flour dredge instead. It adds smokiness along with the kick!
Adjusting the Citrus Balance
The recipe calls for 1/4 cup of fresh lime juice, which gives us that signature tartness against the creamy sauce. If you find limes aren’t in season or you just prefer a slightly less aggressive citrus note, you can easily substitute up to half the lime juice with fresh lemon juice.
However, I always keep lime as the primary component because its sharp acidity pairs specifically well with the savory depth of the garlic in this specific sauce recipe. When you taste-test your sauce, if it tastes flat, most of the time it just needs more acid—either more lime or a tiny pinch more salt!
Make-Ahead and Storage Tips for Crispy Chicken Tacos
I absolutely love prepping components ahead of time, especially when I’m planning for a busy weeknight chicken tacos dinner. If you want to make the assembly process take five minutes flat when everyone is already hungry, breaking the recipe down into make-ahead steps is the way to go. Just remember that the crispy chicken is the one thing that absolutely has to be done last minute, or it loses its whole personality!
The sauce, though? The Garlic Lime Sauce is perfect for making ahead. In fact, I think it tastes even better the next day after the garlic and cilantro have really had time to meld together in the fridge. You can whip up a double batch of the sauce while you’re doing something else—like maybe stirring up that wonderful quick homemade chicken gravy if you’re making comfort food tomorrow! Store the sauce in an airtight container in the refrigerator. It’ll be ready to just grab and drizzle straight over those fresh tacos.
Storing the Crispy Chicken
Here’s the one rule you cannot break if you want to claim these are crunchy chicken tacos ideas: Store the coating and the chicken completely separate! If you cook the chicken ahead of time, store it in a paper towel-lined, loosely covered container in the fridge for up to three days.
The paper towels are essential; they wick away condensation. Never seal the container tightly right after the chicken cools down—that trapped moisture immediately turns crispy coating soggy. When you’re ready to eat, you must reheat it using high, dry heat to revive that crunch. The air fryer is king here, running at 380°F (195°C) for about 4 to 5 minutes. If you don’t have an air fryer, the oven method we used to cook them works great, too—just bake them until they are hot throughout.
Preparing Toppings in Advance
Most of your toppings are totally fine being prepped a day ahead! Shredded cabbage is great stored in a bag with a small piece of paper towel tucked inside to absorb any moisture it releases. Cotija cheese is already good to go. If you are using fresh jalapeños, slice those up the morning of. If you slice them too far in advance, they start to lose their vibrant color and get a little limp sitting in the fridge. Keep all your toppings chilled, and you’ll be halfway to serving these Mexican inspired chicken recipes before your guests even walk in the door!
Serving Suggestions for Your Zesty Chicken Tacos
Now that we’ve nailed the main event—the crispy texture and that bright, explosive burst of lime and garlic—we need to think about what plays well alongside these amazing tacos. You want sides that either cool down the palate slightly or complement that zesty flavor without competing with it. If you’re looking for the perfect base, you absolutely have to check out my recipe for easy fluffy rice pilaf; it makes a fantastic bed for any leftovers we might have!
When I serve these, I try to keep the sides fresh, simple, and easy to scoop up, because everyone’s hands are going to be full of taco!
The Perfect Pairing: Rice and Beans
You can never go wrong with classic rice and beans, but we can give them a little upgrade to match our zesty chicken tacos vibe. Instead of just plain white rice, try making a simple cilantro-lime rice. You just follow my fluffy rice pilaf recipe, but swap out whatever herbs you are using for a huge handful of fresh cilantro and an extra squeeze of lime juice right at the end. It enhances the sauce we put on the chicken!
For the beans, skip the heavy, overly seasoned chili style. Refried pinto beans are great, but I often prefer whole black beans seasoned very simply with a tiny pinch of cumin, a little salt, and maybe some caramelized onions sautéed in a bit of oil. Keep them slightly loose rather than super thick so they are easy to spoon onto a plate.
Cooling Elements and Slaws
Because the chicken coating is so crunchy and the sauce is so sharp, a cooling element is essential for balance. Shredded cabbage is already on my must-have topping list, but you can expand on that! Make a simple vinegar-based slaw, not a creamy one. Use thinly sliced red cabbage and carrots, toss them with a very light dressing of apple cider vinegar, a touch of sugar, and maybe a teaspoon of olive oil.
This slaw brings acidity and crunch that stands up well to the heat of the air-fried chicken. It’s light, refreshing, and cleanses the palate perfectly between bites of that rich coating and creamy sauce.
Bright Vegetable Additions
If you’re serving these tacos as part of a bigger meal, look for vegetables that you can roast quickly, but keep the seasoning light so it doesn’t fight the garlic lime profile. Think about charred corn on the cob or quickly roasted bell peppers and onions tossed only with salt and pepper.
If you want something really vibrant, a side of fresh pico de gallo is always welcome, but make sure to keep the amount of onion low if you’ve already added onion powder to your chicken coating. The goal is flavor harmony across the whole Mexican inspired chicken recipes plate, not a flavor showdown!
Frequently Asked Questions About Crispy Chicken Tacos with Garlic Lime Sauce
I know you probably have a few last-minute questions before you dive into making these incredible crispy chicken tacos. That’s natural! When you are aiming for perfection, especially that crucial crunch, details matter. I’ve put together the most common questions I get about this specific recipe, especially when people are planning out their Mexican inspired chicken recipes for family night.
Can I use Panko breadcrumbs instead of flour for extra crunch?
Oh, you bet you can! I actually recommend trying it because it ramps up the texture significantly. If you look closely at my tips section, I mentioned that swapping out half the all-purpose flour for Panko creates an absolutely phenomenal crunch. The flour mix is great for sticking to the chicken, but those beautiful Panko flakes bake up so much lighter and crispier. If you do this substitution, the rest of the dredging process stays exactly the same—buttermilk dip, then press firmly into the flour/Panko mix. You won’t regret it for your next batch of crunchy chicken tacos ideas!
What is the best way to reheat leftover crispy chicken for tacos?
This is such an important question because the enemy of crispy chicken is definitely the microwave! If you try using the microwave, you are just asking for rubbery chicken wrapped in soggy coating. Never do that! If you have leftovers, you need high, dry heat to pull that moisture out and crisp things back up.
The air fryer is your absolute best friend here. Set that temperature high—around 380°F (195°C)—and let the chicken pieces sit in the basket in a single layer for about 4 to 5 minutes. If you don’t have an air fryer, using your regular oven on a rack set over a baking sheet at 400°F for about 8 minutes works wonderfully too. Just make sure they are piping hot before you assemble them with that beautiful Garlic Lime Sauce!
Can I make the chicken spicy instead of relying only on toppings?
Yes, absolutely! If you prefer your chicken filling to have the heat baked right in, you have a couple of options when seasoning your flour dredge. You can add about 1/2 teaspoon of cayenne pepper directly into the flour mixture with the salt and paprika. That will give every bite a nice background warmth.
Alternatively, if you want less of a sharp heat and more of a deep, smoky spice that still pairs well with the lime, try swapping 1/4 teaspoon of the smoked paprika for chipotle powder instead. This keeps the flavor profile complex and perfect for those who want more zing in their quick chicken taco filling.
How far ahead can I prepare the Garlic Lime Sauce?
My favorite part of this recipe is that the Best Garlic Lime Sauce Recipe is actually better when made ahead! You can mix up the mayonnaise, lime juice, garlic, and cilantro a full day in advance. Store it tightly covered in the fridge. When the flavors meld overnight, the raw garlic mellows just a tiny bit, and the cilantro really infuses everything. It’s so convenient for a quick assembly later! Just give it a quick whisk right before you put it on the tacos.
Nutritional Estimates for This Recipe
So, let’s talk numbers. I always include this section because even though we are making these delicious crispy chicken tacos with healthier methods like air frying or baking, it’s good to know what you’re working with! Please remember, these figures are just my best estimations. I calculate these totals based on using 1.5 lbs of chicken breast, the measurements provided in the recipe (like using only 1/2 cup mayo for the whole batch), and the approximate calorie counts for the flour, oil, and other staples.
Keep in mind that the final counts really depend on how much sauce you drizzle and what toppings you choose to add! If you pile on extra cotija cheese or jalapeños, those numbers change a bit. For a more detailed breakdown of how I arrive at these numbers, you can always check out my standard site disclaimer here: my site disclaimer.
For a standard serving size of 3 tacos (using the ingredients listed):
- Calories: Approximately 450
- Protein: A whopping 38 grams! That’s why this is such a satisfying weeknight chicken tacos dinner.
- Fat: Around 18 grams total. Since we skip deep frying, most of that comes from the small amount of oil used for spraying and the mayonnaise in the sauce base.
- Saturated Fat: Only about 3 grams! Way down from traditional fried versions.
- Carbohydrates: About 35 grams, mostly coming from the tortilla and the flour coating.
- Sugar: Low at 4 grams, thanks to just a tiny bit of honey in the sauce to balance that lime!
- Sodium: Roughly 550 mg. This one is the ingredient I watch the closest, so be mindful of how much salt you add during the coating and sauce tasting stages!
Honestly, for a meal this flavorful and texturally exciting—the crunch of the chicken combined with that unbelievably zesty chicken tacos sauce—I think those numbers are fantastic for a home-cooked, satisfying dinner!
PrintCrispy Chicken Tacos with Garlic Lime Sauce

Make flavorful, crispy chicken tacos using an air fryer or oven method, topped with a bright, zesty garlic lime sauce.
- Prep Time: 20 min
- Cook Time: 25 min
- Total Time: 45 min
- Yield: 4 servings
- Category: Dinner
- Method: Air Frying or Baking
- Cuisine: Mexican Inspired
- Diet: Low Fat
Ingredients
- 1.5 lb boneless, skinless chicken breasts, cut into 1-inch pieces
- 1 cup all-purpose flour
- 1 teaspoon salt
- 1 teaspoon black pepper
- 1 teaspoon paprika
- 1/2 teaspoon garlic powder
- 1/2 cup buttermilk or milk mixed with 1/2 teaspoon vinegar
- 1 tablespoon olive oil (for baking/air frying)
- 12 small corn or flour tortillas
- 1/2 cup mayonnaise
- 1/4 cup fresh lime juice
- 4 cloves garlic, minced
- 1 teaspoon honey or sugar
- 1/4 cup chopped fresh cilantro
- Toppings: shredded cabbage, cotija cheese, sliced jalapeños
Instructions
- Prepare the chicken coating: In one shallow dish, mix the flour, salt, pepper, paprika, and garlic powder. In a second shallow dish, place the buttermilk.
- Dredge the chicken pieces first in the buttermilk, letting excess drip off, then coat thoroughly in the flour mixture. Press the flour onto the chicken to help it adhere.
- Choose your cooking method for crispiness:
- Air Fryer Method: Preheat the air fryer to 400°F (200°C). Lightly spray the coated chicken pieces with cooking spray or toss with 1 teaspoon of olive oil. Cook in a single layer for 12-15 minutes, shaking the basket halfway through, until golden brown and cooked through (internal temperature 165°F).
- Oven Baked Method: Preheat oven to 425°F (220°C). Place chicken on a wire rack set over a baking sheet. Lightly spray the tops with oil. Bake for 20-25 minutes, flipping halfway, until crispy and cooked through.
- Make the Garlic Lime Sauce: While the chicken cooks, whisk together the mayonnaise, lime juice, minced garlic, honey, and cilantro in a small bowl. Season with salt to taste.
- Warm the tortillas according to package directions (briefly heating in a dry skillet or microwave works well).
- Assemble the tacos: Fill each warm tortilla with the crispy chicken pieces. Drizzle generously with the Garlic Lime Sauce. Top with cabbage, cheese, and jalapeños if desired.
Notes
- For extra crunch, you can substitute half the flour with fine breadcrumbs or panko in the coating mixture.
- Make the Garlic Lime Sauce up to one day ahead; store it covered in the refrigerator.
- If you prefer a spicier sauce, add 1/4 teaspoon of cayenne pepper to the sauce mixture.
Nutrition
- Serving Size: 3 tacos
- Calories: 450
- Sugar: 4
- Sodium: 550
- Fat: 18
- Saturated Fat: 3
- Unsaturated Fat: 15
- Trans Fat: 0
- Carbohydrates: 35
- Fiber: 3
- Protein: 38
- Cholesterol: 110