

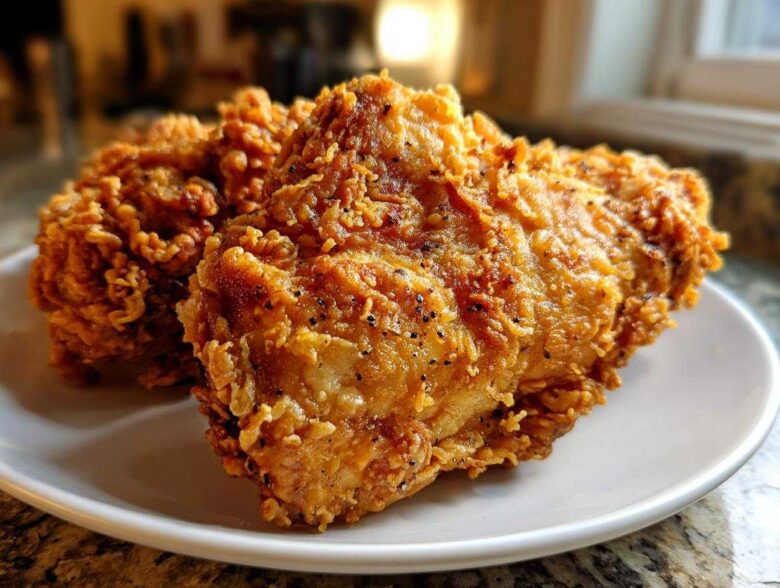
After years of quiet, curated living, we decided our happy retirement needed a little more sizzle—and boy, did we find it! If you believe, like Leo and I do, that the ultimate expression of comfort food is perfectly executed, golden, crunchy, and juicy fried chicken, then pull up a chair. We aren’t just giving you a recipe here; we’re handing over the blueprint for the Best Homemade Fried Chicken you’ll ever make. Forget dry, sad bird; this Buttermilk Southern Fried Chicken knocks it out of the park every single time. We put our 35 years of combined testing (mostly Leo arguing with the oil thermometer) into perfecting this method for you. Trust us, once you try this, you won’t need another recipe! Check out all our culinary adventures over at the main blog page, our tasty news hub.
Why This Buttermilk Southern Fried Chicken Recipe Works
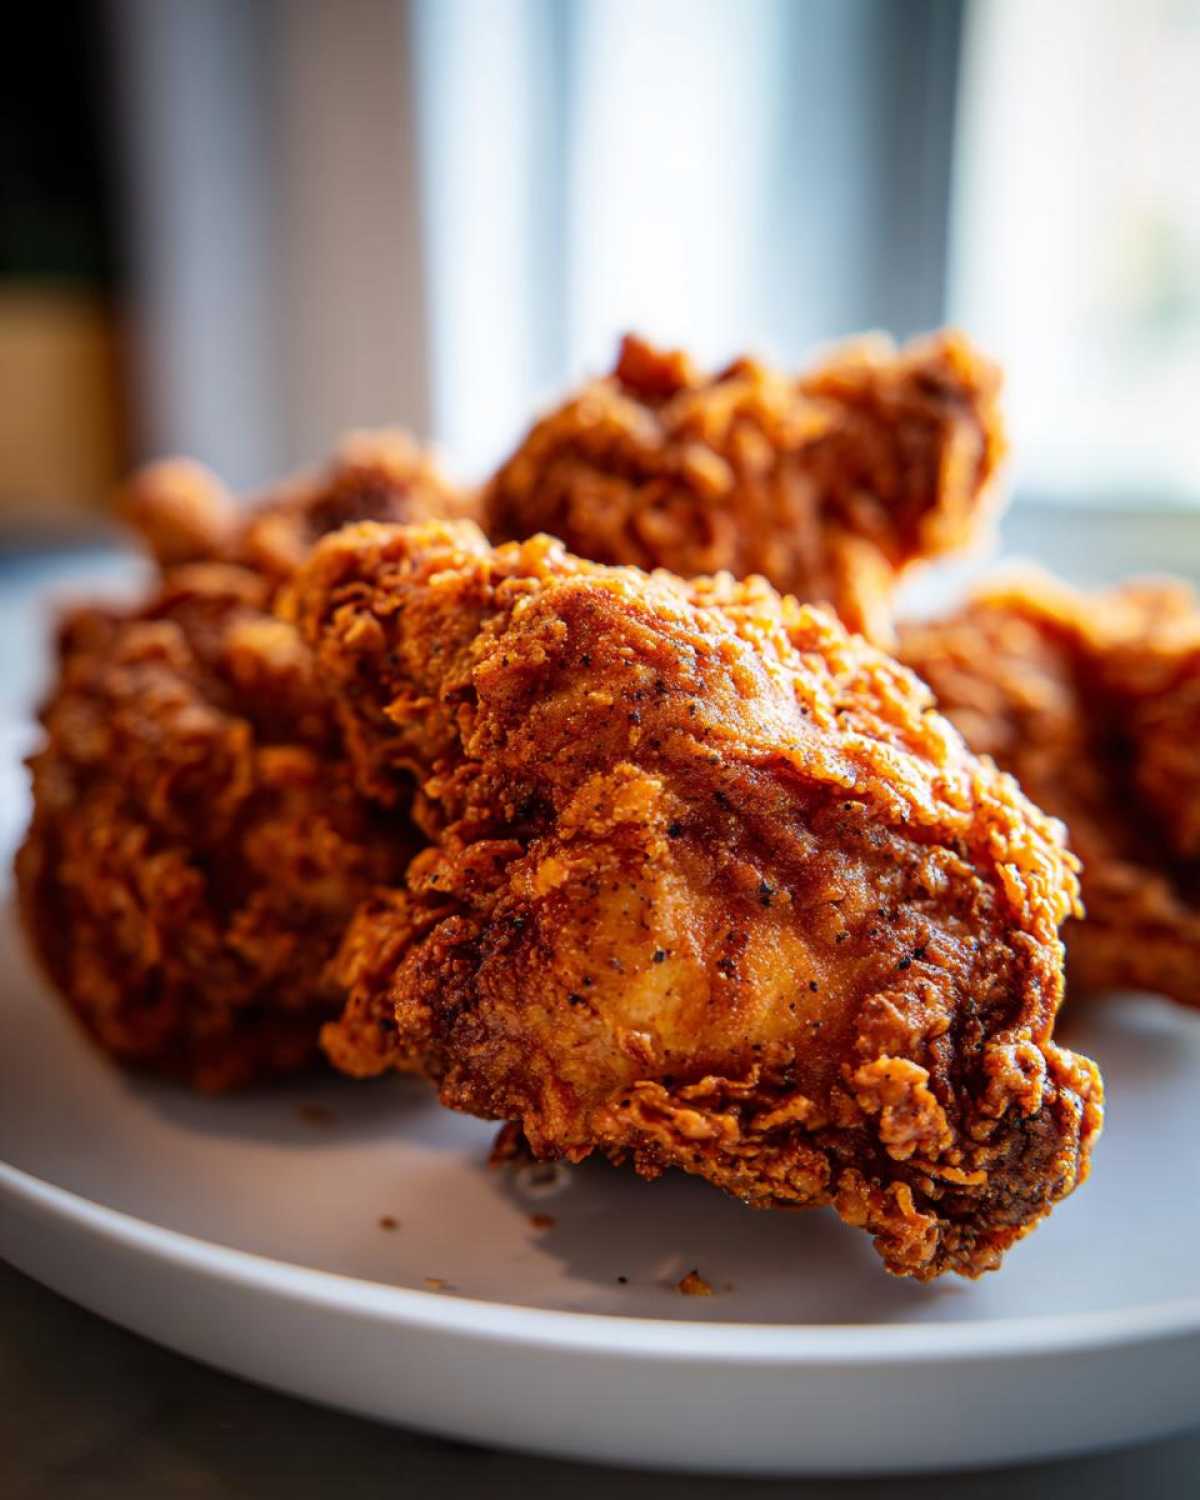
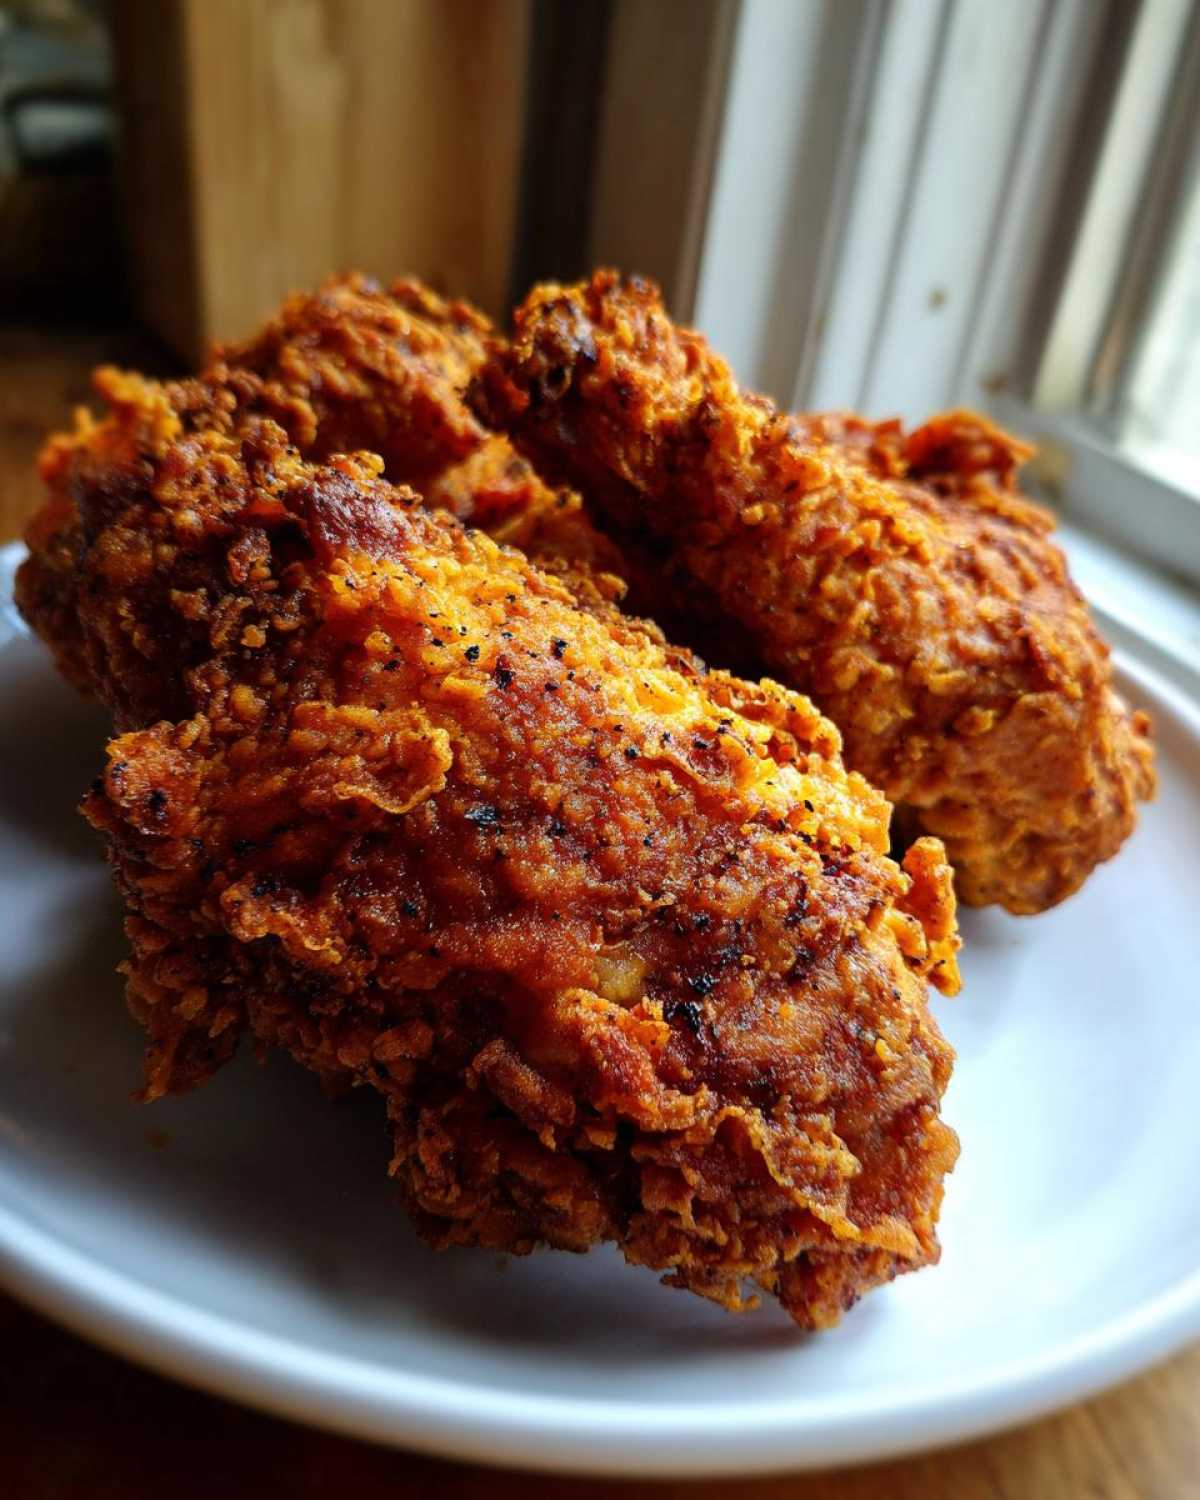
We know, everyone promises the “best” recipe, but hear us out. This isn’t just about throwing chicken in some flour and dunking it in hot oil. This is about mastering texture. We are aiming for that glorious contrast: unbelievably Juicy and Crispy Chicken that shatters when you bite into it. That’s the sign of true Southern cooking perfection, and it’s totally achievable at home.
Leo has a saying: “If the meat isn’t tender before it hits the pan, no amount of sugar will save it.” And that’s why we are so serious about the first step. If you want the absolute best results, you need to check out our tips on a great marinade over at our ultimate marinade guide.
The Magic of the Buttermilk Brined Chicken
The buttermilk isn’t just for flavor; it’s our secret weapon for tenderness. The lactic acid in the buttermilk works magic on the muscle fibers in the chicken, breaking them down just enough so the inside stays incredibly moist while it cooks. Leo insists you can get away with four hours, but honestly? If you cover it up and leave it overnight in the fridge, you get that deep, melt-in-your-mouth flavor that is just unbeatable.
Achieving the Ultra-Crispy Fried Chicken Crust
This is where we separate the decent chicken from the legendary! You need more than just plain flour. That 1/2 cup of cornstarch we sneak into the dredge is non-negotiable for that next-level crunch factor. Combine that with our double-dip technique, and you create deep, craggy pockets designed to capture all that good flavor. That’s the essence of a truly Crispy Fried Chicken Recipe—it’s all about building ridges and texture before the oil works its magic.
Ingredients for the Best Homemade Fried Chicken
Clara here! Now that you know *why* this recipe delivers such unbelievable results, let’s talk about what you need to have ready on your counter. Remember what I said earlier? We curate stories, and that means we care about quality. Using good ingredients isn’t snobbery; it’s respect for the final product! Don’t substitute the buttermilk, please—that’s the heart of this whole operation, and the reason we get that beautiful, tender interior. Here’s what you need to gather before Leo starts warming up the oil!
For the Buttermilk Marinade
This is where the tenderizing party starts! We use bone-in, skin-on pieces because you simply cannot beat the flavor and moisture coming from the bone and the skin during the deep-fry process. If you use boneless, you’re missing out on real Southern flavor!
- 4 lbs bone-in, skin-on chicken pieces (drumsticks and thighs are my favorite combo!)
- 4 cups buttermilk
- 2 tablespoons kosher salt
- 1 tablespoon black pepper
- 1 teaspoon cayenne pepper (Only add this if you want a little whisper of heat! Leo always adds it.)
For the Crunchy Chicken Coating (Dredge)
This dry mix is what builds that incredible, craggy exterior. Trust me when I say that we need that cornstarch right here. It’s the key component that makes the coating crisp up hard instead of just turning soft and oily. Press this stuff on like you mean it!
- 4 cups all-purpose flour
- 1/2 cup cornstarch (Our secret weapon for maximum shatter!)
- 2 tablespoons paprika (For that beautiful golden color!)
- 1 tablespoon garlic powder
- 1 tablespoon onion powder
And finally, you’ll need about 4 to 6 cups of vegetable oil or peanut oil for the actual frying. Make sure you have enough to cover the chicken by at least two inches when it’s in the pot!
How To Make Fried Chicken: Step-by-Step Instructions
Alright, this is the moment of truth! Getting the technique right when you are learning How To Make Fried Chicken means controlling moisture and heat. Follow these steps exactly, and you’ll see why people swoon over Leo’s cooking. We break this down into the brine, the coat, and the fry. It’s a process, but every minute spent waiting is worth the guaranteed amazing results!
Brining and Prepping the Chicken for Fried Chicken
First things first—get that chicken into the buttermilk mixture we made earlier. Remember, it needs a good, long soak. I’m telling you, aim for that overnight chill if you can manage it; it makes the meat so supple! If you absolutely can’t wait, make sure it sponges up that brine for a minimum of four hours in the fridge.
When you pull the chicken out to dredge it, this is important: let the excess buttermilk really drip off. We don’t want the chicken dripping wet when it hits the flour, or you’ll get paste instead of crust. But never, ever wipe it dry! We need that sticky buttermilk residue to grab onto the flour.
The Double-Dip Technique for Maximum Crunch
This is what separates the amateurs from the pros, folks. Take your drippy chicken and coat it heavily in the flour mix. Really press it! Now, plunge it back into that remaining buttermilk for just a quick second—think of it as a flavor hug—and right back into the flour. Press it again, hard, twisting the piece a little so you build up those beautiful, rough edges. Those little flaky bits are what become the ultra-crispy mountain ranges on your fried chicken.
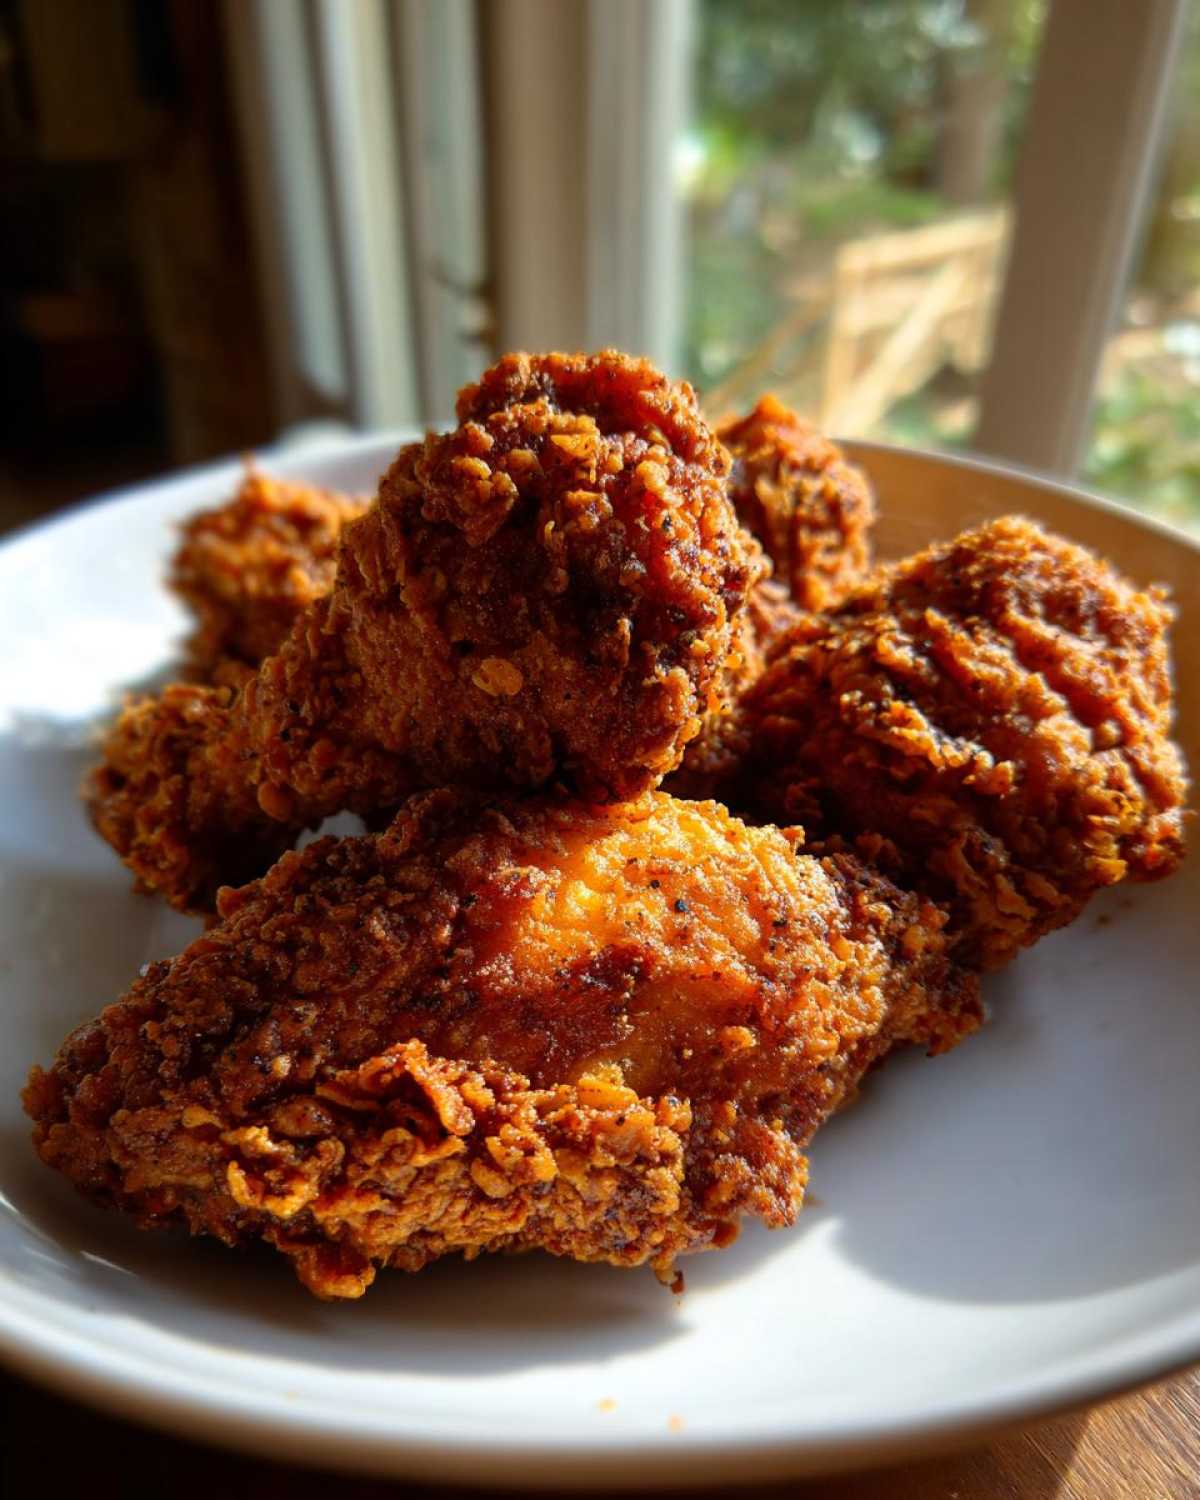
And here’s a pro tip Clara always nags me about: Once they are fully coated, put those beauties on a wire rack and just let them hang out for about 20 minutes. Don’t put them in the fridge, just let them rest at room temp. This resting period makes the coating stick so it doesn’t fall off the second it hits the oil.
Deep Frying the Golden Brown Chicken
Now we go hot and fast, but carefully! Pour your oil into that big, heavy pot—remember, we need about two inches deep—and get it up to a steady 325°F (160°C). Use a thermometer; don’t guess! We are looking for that perfect Golden Brown Chicken hue. Carefully lower about three or four pieces in at a time. Don’t crowd the pot, or the oil temperature tanks instantly, and you get soggy chicken!
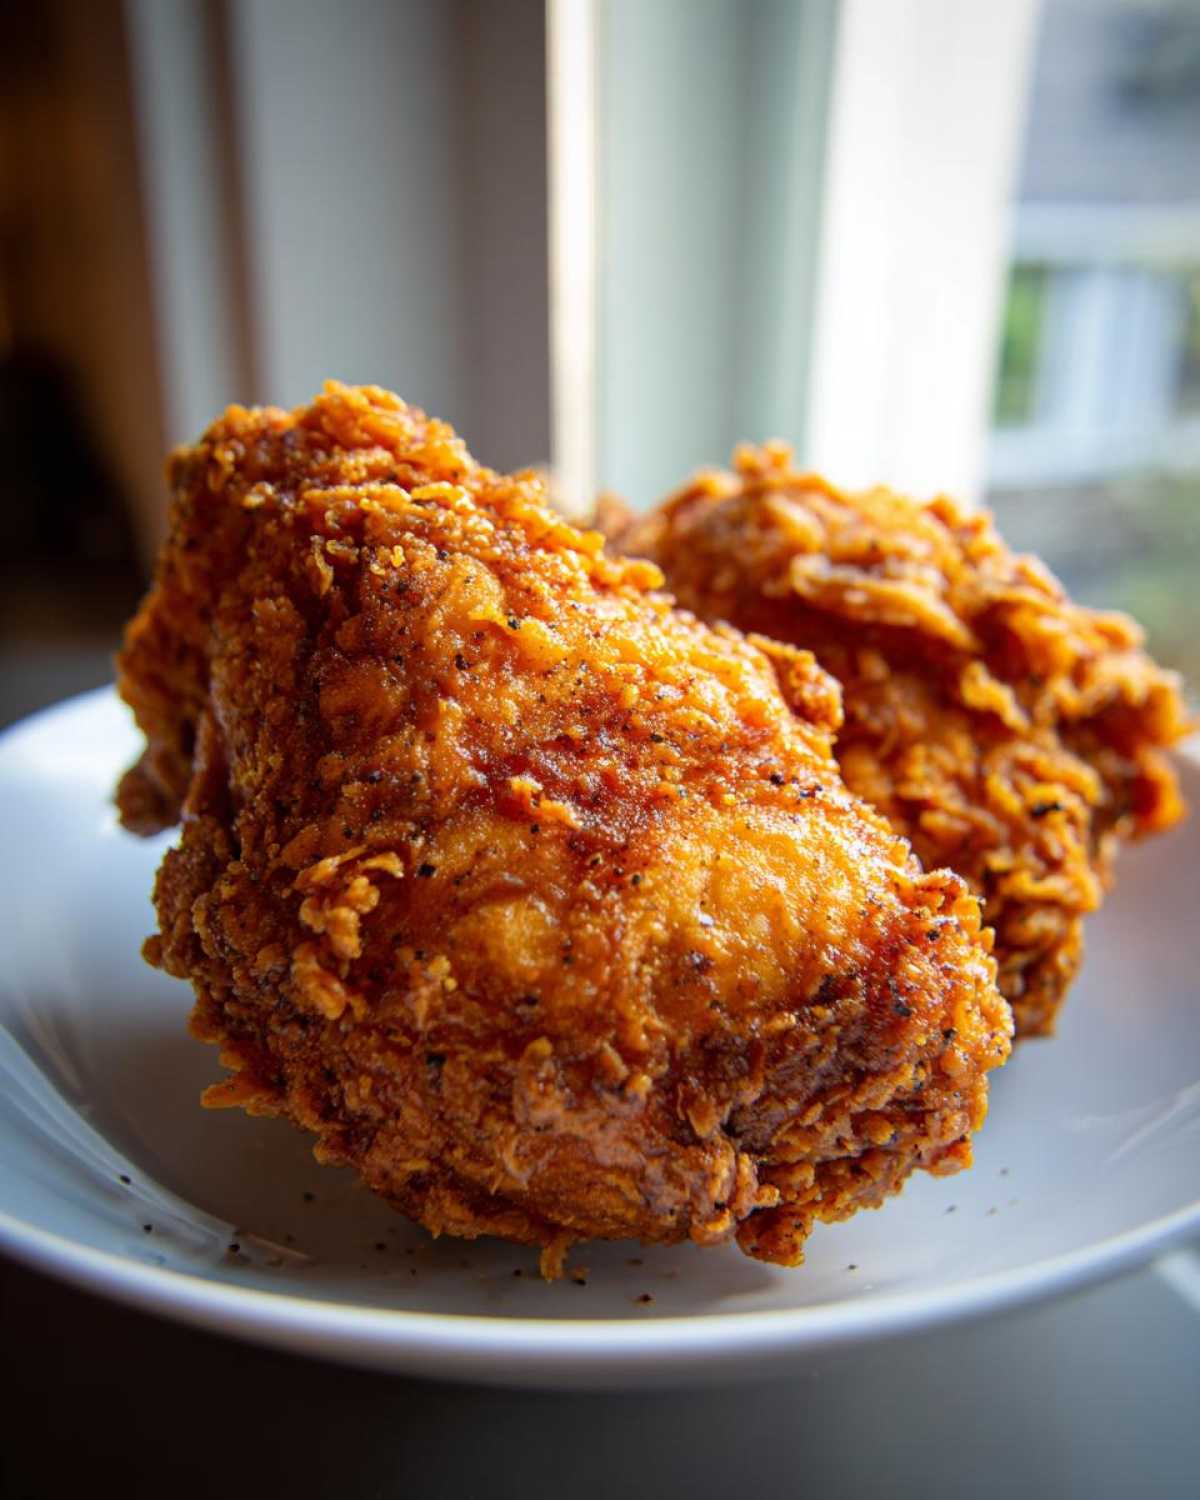
Fry for about 6 to 8 minutes on each side. You’re looking for that internal temperature to hit 165°F (74°C) before they come out. Keep an eye on your thermometer and adjust the burner underneath to keep that oil steady. Once they look perfectly cooked, lift them out and get them onto a wire rack to drain. We don’t want steamy bottoms!
If you want to see some of my favorite sides that go perfectly with this, you can check out how I make those fluffy classic buttermilk scones!
Tips for Perfect Southern Fried Chicken Every Time
Getting that incredible, shatteringly crisp coating on your fried chicken isn’t just about the dredge; it’s about managing the battlefield—and that battlefield is your pot of oil! We’ve learned a few hard-learned lessons over the years working on this Foolproof Fried Chicken method. If you skip these final details, you risk losing that beautiful crunch we worked so hard to build up in the flour mix.
Oil Temperature Management for Consistent Fried Chicken
This is the big one, folks. You cannot just throw piece after piece into the oil without checking the temperature in between batches. Imagine what happens when you drop a cold piece of chicken into 325°F oil—the temperature plummets! When the oil drops too low, the breading ends up sitting there, soaking up oil instead of frying crisp. It turns greasy, fast.
It’s Leo here, and this is my cardinal rule: Always wait for the thermometer to climb back up to that sweet spot of 325°F before you even think about adding the next batch. It might feel like you are waiting forever, but that recovery time is what keeps the crust rigid and golden. A digital thermometer is your absolute best friend here; don’t try to fake it!
Draining and Seasoning After Frying
When the chicken comes out looking like a golden masterpiece, you have to treat it gently right away. Clara used to try to rest hers on a big mountain of paper towels, and what happened? The trapped steam turned the bottom side instantly soggy! Disaster!
You need air circulation all around that crust. Always, always, always place your freshly fried pieces onto a sturdy wire rack placed over a baking sheet, just like we detailed in the instructions. This lets that excess hot oil drip away cleanly and lets steam escape from the bottom so that crunch stays intact. And the second they clear the oil, sprinkle them with just a pinch more kosher salt. That fresh salt grabs onto the hot fat and makes the flavor pop even more. If you’re looking for pairing ideas, this is great with my creamy garlic ricotta pizza—if you can get some greens in, that is!
Variations: Beyond Classic Fried Chicken
Okay, so we’ve perfected the ultimate, crunchy, deep-fried standard, but that doesn’t mean we stop there! The beauty of a good base recipe, like this incredibly juicy fried chicken, is that you can remix it to hit all sorts of different comfort food cravings. Maybe you’re looking for something smothered, or maybe you need more heat than the cayenne alone can give you. We’ve got your back on those tasty pivots right here.
Making Country Fried Chicken with Gravy
I know people often mix up “Southern Fried Chicken” (which is traditionally deep-fried, like ours) with “Country Fried Chicken” or “Chicken Fried Chicken.” Country Fried Chicken usually involves pan-frying the chicken cutlets until they are super brown and crispy, and then the whole thing gets draped in a thick, creamy white gravy made right in the same pan. It’s a different creature entirely, heavier and wetter, but oh so comforting!
If you want to make that specific variation, you’ll need something rich to pour over it. Don’t fret; we have a fantastic guide on whipping up a perfect batch to go with your crispy breasts. You can find the steps for that savory topping over here: our quick homemade chicken gravy recipe.
Spicy Fried Chicken Adjustments
If you taste-tested our initial batch and thought, “Clara and Leo, this is great, but where’s the fire?”—I totally get it. We kept the initial recipe balanced so everyone could enjoy it, but dialing up the heat is so easy! For a spicy version, you have two main options.
First, boost the cayenne pepper in the buttermilk brine. If you were using 1 teaspoon before, try doubling it, or even triping it if you have a major tolerance for heat! Second, and this is something Leo does sometimes, sprinkle some extra chili powder or even a dash of smoked paprika directly into the flour dredge. That way, the spice adheres directly to the coating, guaranteeing a lovely little kick in every single golden brown bite. You’ll still get that lovely juiciness locked inside thanks to the brine, but the outside will pack a punch!
Serving Suggestions for Your Savory Chicken Dinner Ideas
Now that you have arguably the best fried chicken in the neighborhood resting on your racks, the next big headline is, “What goes with this magnificent centerpiece?” We believe a truly Savory Chicken Dinner Idea deserves sides that can stand up to that crispy crust heat but still feel like pure Southern comfort. Forget sad, watery salads; we need hearty companions!
Leo always demands something sweet and crumbly to cut through the richness of the deep-fried batter, and I can never deny him his fix. If you’re looking for the perfect sweet bread to soak up any last bits of flavor, you simply must try making our sweet potato cornbread—it’s the perfect partner! You can find the recipe instructions here: sweet potato cornbread recipe.
Beyond cornbread, think creamy mashed potatoes, tangy coleslaw to cleanse the palate, and maybe some perfectly seasoned collard greens. That combination right there? That’s a five-star comfort meal, guaranteed!
Storage and Reheating Crispy Fried Chicken
Even the best batch of fried chicken rarely lasts long enough to become leftovers, but you know, sometimes miracles happen! If you do manage to hide a few pieces from yourself or the rest of the family, how you store and reheat them is the difference between dry, sad chicken and crispy golden heaven the next day. We hate wasting that perfect crust we worked so hard for!
The main enemy when storing cooked chicken is moisture. Steam is the crust’s sworn enemy, and sealing it up tight in plastic traps that steam right in. So, here’s what Clara prescribes for next-day perfection. We don’t want to ruin our hard-earned crunch!
For really great results when you get around to reheating, make sure you swing over and check out how we get those roasted sweet potatoes crispy and tender—the technique for maintaining that outer crunch is actually similar!
Now, about that chicken: First, let the pieces cool completely on that wire rack—don’t rush this part! Once cool, layer them loosely in an airtight container, separating the layers with squares of parchment paper rather than paper towels. That rough parchment keeps the pieces from sticking together without creating a moisture seal like paper towels do.
When you are ready for round two, skip the microwave entirely if you value texture. The microwave just blasts moisture into the coating, turning it instantly rubbery. Leo’s move is the oven. Preheat it to about 375°F (190°C) and lay those pieces out on a clean wire rack set on a baking sheet. Bake them for about 10 to 15 minutes. You’re essentially giving them a gentle second bake, which heats them through and crisps the exterior back up nicely.
The absolute best way, if you have the appliance, is the air fryer! Pop the pieces in a single layer—you might have to do two batches—at 350°F (175°C) for about 5 to 7 minutes. They come out almost as good as fresh. That little blast of dry, hot air really revitalizes that gorgeous, crunchy breading we built with the buttermilk and cornstarch!
Frequently Asked Questions About Making Fried Chicken
Oh, the questions! As soon as we publish a recipe this good, I know people are going to want the granular details. We always get asked about everything from safety in the kitchen to how to tweak recipes for the next batch. Leo and I put our heads together right here in the newsroom to answer the most common things that pop up when people try to make this crispy fried chicken recipe at home. Don’t hesitate to send us a message if we missed anything!
Can I bake this fried chicken recipe instead of deep frying?
You certainly *can* try to bake it, bless your heart, but I have to be honest with you: if you bake it, you are making baked chicken, not Leo’s fried chicken. The buttermilk brine will still tenderize the meat beautifully, which is a win! But the magic of that crunchy, craggy crust comes entirely from submerging it in hot oil. Baking won’t give you that same deep-set golden color or the kind of shatteringly crisp texture we obsess over here. It’ll be good, but it won’t be *this* good.
What is the best oil to use for making fried chicken?
This is a crucial safety and flavor question! When you’re dealing with oil this hot, you absolutely must use something with a high smoke point. Otherwise, the flavor of the oil breaks down and you end up with something that tastes rancid, which ruins the whole glorious effort. We stick firmly to either pure vegetable oil or, Leo’s favorite, peanut oil. Both of those oils can handle the 325°F temperature we need without smoking out your kitchen. Just make sure you have enough of it to let those pieces float happily!
How can I make this recipe for Chicken Thighs Fried Recipe?
That’s a great question, and yes, you absolutely can swap out pieces! Drumsticks and thighs are actually my personal top choice for any fried chicken, especially if you follow our instructions carefully. Chicken thighs have more fat, which means they stay incredibly juicy even when cooked perfectly through. The main thing you need to watch is the cooking time. Bigger, thicker pieces like thighs and drumsticks might need an extra minute or two per side compared to thinner pieces like wings or breasts. Keep that meat thermometer handy, trust me! You’ll want to check that they hit 165°F internally, just like we talked about in the main recipe steps.
If you’re looking for some lighter side dishes after all that richness, maybe check out my guide on making chicken scampi with garlic parmesan rice for another type of savory chicken dinner!
Nutritional Data for This Fried Chicken
Okay, let’s get down to the straight facts. I know some folks follow recipes to the letter, counting every calorie, and others just dive in because it tastes like heaven—and that’s fine! But we believe in transparency here at the Tasty Tribune. We strive to give you the full picture, just like a good headline should, even if the full picture is incredibly delicious and indulgent.
These numbers below are based on one piece of chicken, using the ingredients listed exactly as we called for them. Remember, because Leo uses a heavy hand with the salt and because frying adds fat, these are just estimates, of course. If you use lighter oil or skip the double dip inspired by our healthier approach ideas, your numbers will change!
- Serving Size: 1 piece
- Calories: 450
- Sugar: 1g
- Sodium: 650mg
- Fat: 28g
- Saturated Fat: 8g
- Unsaturated Fat: 20g
- Trans Fat: 0.5g
- Carbohydrates: 15g
- Fiber: 0.5g
- Protein: 32g
- Cholesterol: 110mg
See? Thirty-two grams of protein! That’s a proper meal. This dish is the definition of comfort food enjoyment, and knowing the numbers just helps you decide what delicious side dish you might pair with it. Mostly, though, I hope you just enjoy every single golden, crunchy bite!
Share Your Latest Tasty Tribune Dispatch
Well, that’s it folks! We’ve spilled all of Leo’s closely guarded secrets on how to achieve that perfect, shatteringly crisp, ultra-juicy fried chicken. Now the joyful chaos moves to your kitchen! We truly hope this recipe inspires you to publish your own tasty story.
When you try this legendary buttermilk version, please come back and tell us how it went. Did you manage the overnight brine? Did the double-dip give you those magnificent ridges? I’m keeping a close watch on the comments section—that’s my official news desk! Don’t be shy; leave us a star rating right underneath the recipe card so other folks know this isn’t just hyperbole; it’s the real deal.
If you have any burning questions that our FAQ didn’t cover, or if you just want to send Clara a picture of your beautiful golden bird, you can reach out to us directly through our contact page. We love hearing from our readers and seeing your versions of our favorite dishes.
Until the next dispatch—may your oil stay hot, and your chicken stay crispy! Happy cooking!
PrintLeo’s Ultra-Crispy Buttermilk Southern Fried Chicken

You will make the best homemade fried chicken with this recipe. We use a buttermilk brine and a special dredge to give you juicy meat and a golden, crunchy coating every time. This is classic comfort food perfection.
- Prep Time: 30 min
- Cook Time: 30 min
- Total Time: 4 hours 30 min
- Yield: 4 servings
- Category: Dinner
- Method: Deep Frying
- Cuisine: Southern American
- Diet: Non-Vegetarian
Ingredients
- 4 lbs bone-in, skin-on chicken pieces (thighs and drumsticks work well)
- 4 cups buttermilk
- 2 tablespoons kosher salt
- 1 tablespoon black pepper
- 1 teaspoon cayenne pepper (optional, for a kick)
- 4 cups all-purpose flour
- 1/2 cup cornstarch (for extra crispiness)
- 2 tablespoons paprika
- 1 tablespoon garlic powder
- 1 tablespoon onion powder
- Vegetable oil or peanut oil, for frying (about 4-6 cups)
Instructions
- In a large bowl, combine the buttermilk, kosher salt, black pepper, and cayenne pepper. Add the chicken pieces, ensuring they are fully submerged. Cover the bowl and refrigerate for at least 4 hours, or preferably overnight. This buttermilk brine makes the chicken juicy.
- In a separate shallow dish, whisk together the flour, cornstarch, paprika, garlic powder, and onion powder. This is your dry dredge.
- Remove the chicken from the buttermilk, letting excess drip off, but do not wipe it dry.
- Working with one piece at a time, dredge the chicken thoroughly in the flour mixture. Press the flour firmly onto the chicken to create a thick, craggy coating.
- For an ultra-crispy coating, perform a double dip: dip the floured chicken back into the remaining buttermilk for just a second, then immediately return it to the flour mixture and press again to build up a thick crust.
- Place the coated chicken pieces on a wire rack set over a baking sheet. Let them rest at room temperature for 20 minutes. This resting period helps the coating adhere during frying.
- Pour enough oil into a large, heavy-bottomed pot or Dutch oven to reach a depth of about 2 inches. Heat the oil to 325°F (160°C). Use a thermometer to monitor the temperature closely.
- Carefully place 3 or 4 pieces of chicken into the hot oil, ensuring you do not overcrowd the pot, which lowers the oil temperature.
- Fry the chicken for about 6 to 8 minutes per side, turning occasionally, until it is deep golden brown and cooked through (internal temperature should reach 165°F or 74°C). Adjust the heat as needed to maintain the temperature.
- Remove the cooked chicken and place it on a clean wire rack set over paper towels to drain excess oil. Sprinkle lightly with a pinch of salt immediately after removing from the oil.
- Repeat with the remaining chicken, allowing the oil temperature to return to 325°F between batches. Serve your crispy fried chicken hot.
Notes
- For the crispiest results, use a cast iron skillet for frying. It holds heat better than other pans.
- If you are making Chicken Fried Chicken, you will need to prepare a simple white gravy to serve over the top.
- The cornstarch in the dredge is the secret to that crunchy coating you are looking for in a great fried chicken recipe.
Nutrition
- Serving Size: 1 piece
- Calories: 450
- Sugar: 1
- Sodium: 650
- Fat: 28
- Saturated Fat: 8
- Unsaturated Fat: 20
- Trans Fat: 0.5
- Carbohydrates: 15
- Fiber: 0.5
- Protein: 32
- Cholesterol: 110