

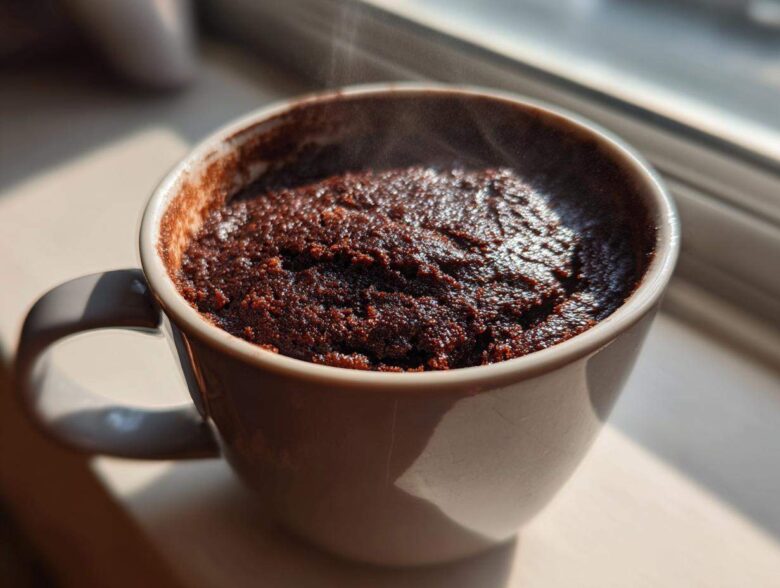
Oh, my friends, do you ever hit that wall around 9 PM where only something deeply rich, warm, and chocolaty will do? Leo and I know that feeling well! When that **late night cravings dessert** strikes, you need salvation, not an hour-long baking project. Well, I’m Clara, and I’m here to tell you that the cavalry has arrived! Forget waiting for the oven to preheat; this Chocolate mug cake is our absolute champion. We timed it ourselves—we mixed and microwaved this fudgy beauty in under four minutes!
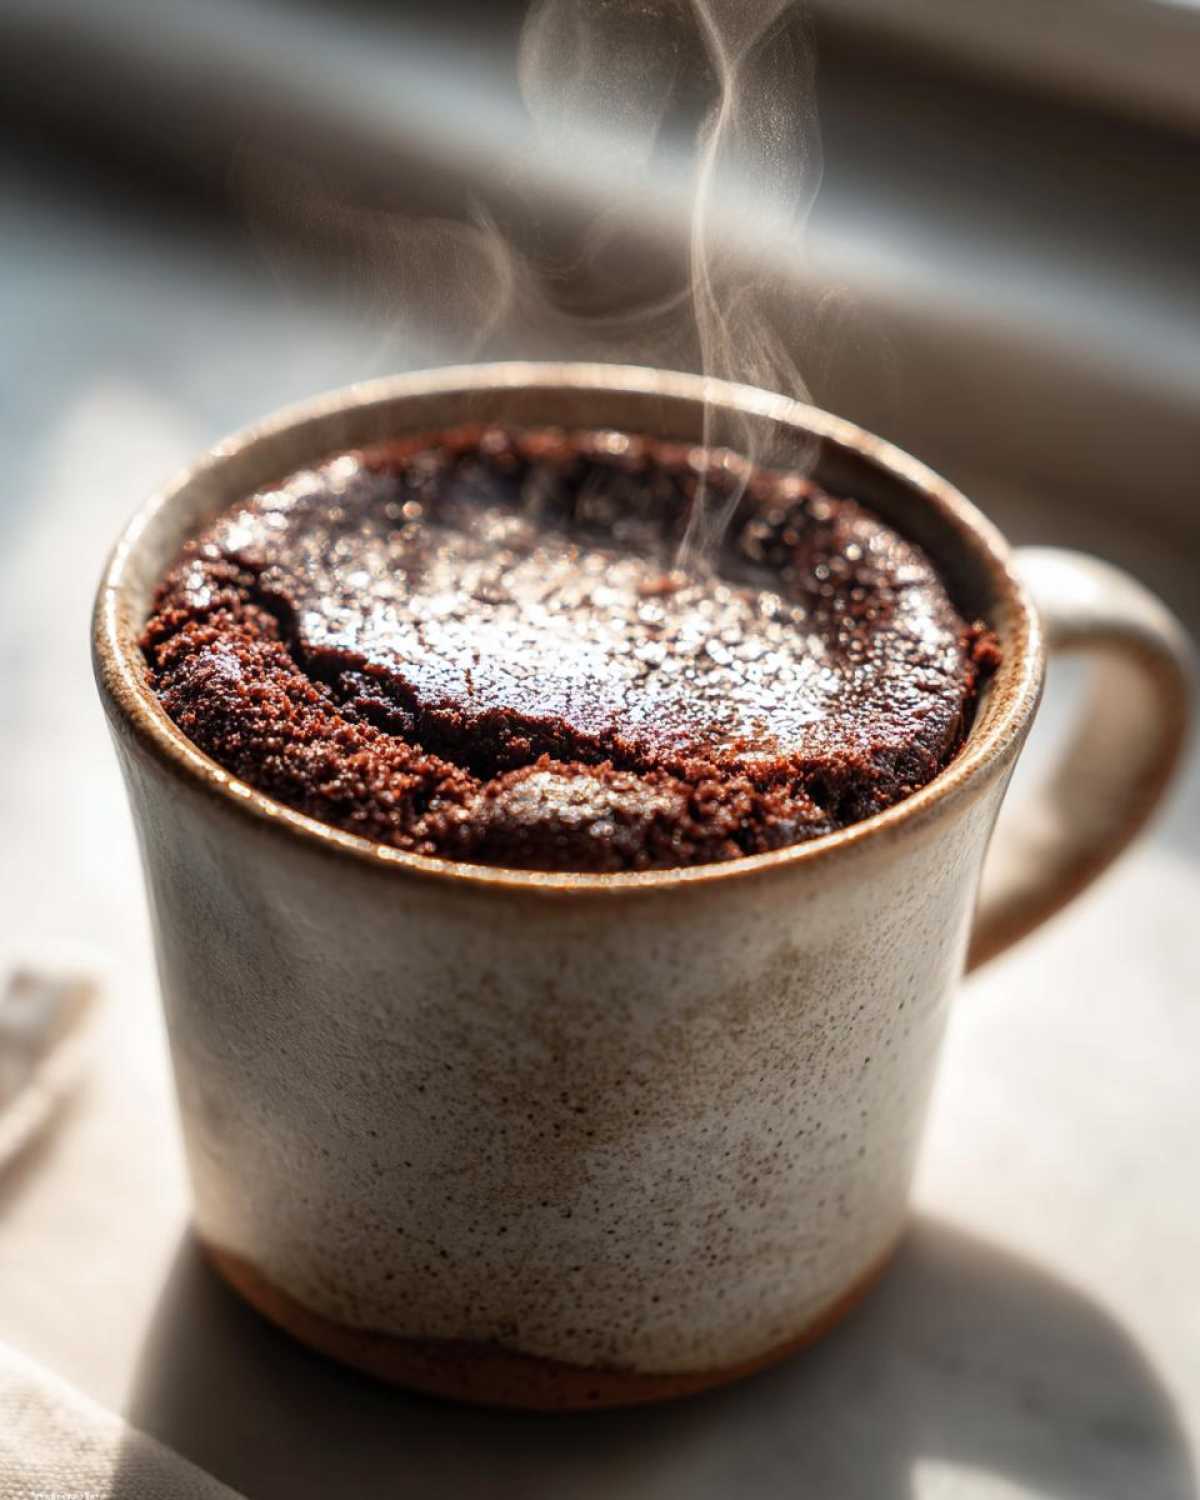
This isn’t just fast food; this is fast, satisfying, single-serving excellence. It’s the perfect answer for a quick indulgence without worrying about half a leftover cake sitting on the counter mocking you the next day. Trust me, if Leo can master this between grading papers, you can too!
Why This Chocolate Mug Cake Recipe is Your New Favorite Quick Dessert in a Mug
I know what you’re thinking: microwave cakes are often rubbery or dry disasters. Not this one! Leo and I fought over whose turn it was to test this recipe until we perfected the timing. This became our go-to choice whenever we needed a fast, rich hit, whether it was a weeknight treat or when we suddenly remembered we forgot dessert for a movie night. It truly beats anything else in terms of sheer convenience!
- This is a genuine chocolate mug cake recipe that delivers on fudgy flavor without demanding much from your pantry.
- It fits the description of quick sweet treats perfectly—ready faster than the kettle takes to boil!
- It’s your secret weapon when you need a dessert in under 5 minutes for portion control, too.
The Ultimate One Mug Wonder
This is why we call it the One Mug Wonder! Seriously, I don’t even bring out a mixing bowl anymore. Everything—the dry stuff, the wet stuff, even the chocolate chips—goes right into the vessel you’ll eat it from. Cleanup? It’s just rinsing one mug under hot water. Can you beat that?
Achieving Fluffy Microwave Cake Texture
Here’s the technical secret I learned from my librarian days of meticulous research: don’t overmix! When you combine the wet and dry ingredients, stop stirring right when the flour streaks disappear. Overworking the batter creates tight gluten strands, which is what makes your Fluffy Microwave Cake turn into a chocolate hockey puck. A gentle mix preserves the air bubbles we need for that light texture!
Ingredients for the Best Mug Cake Recipes
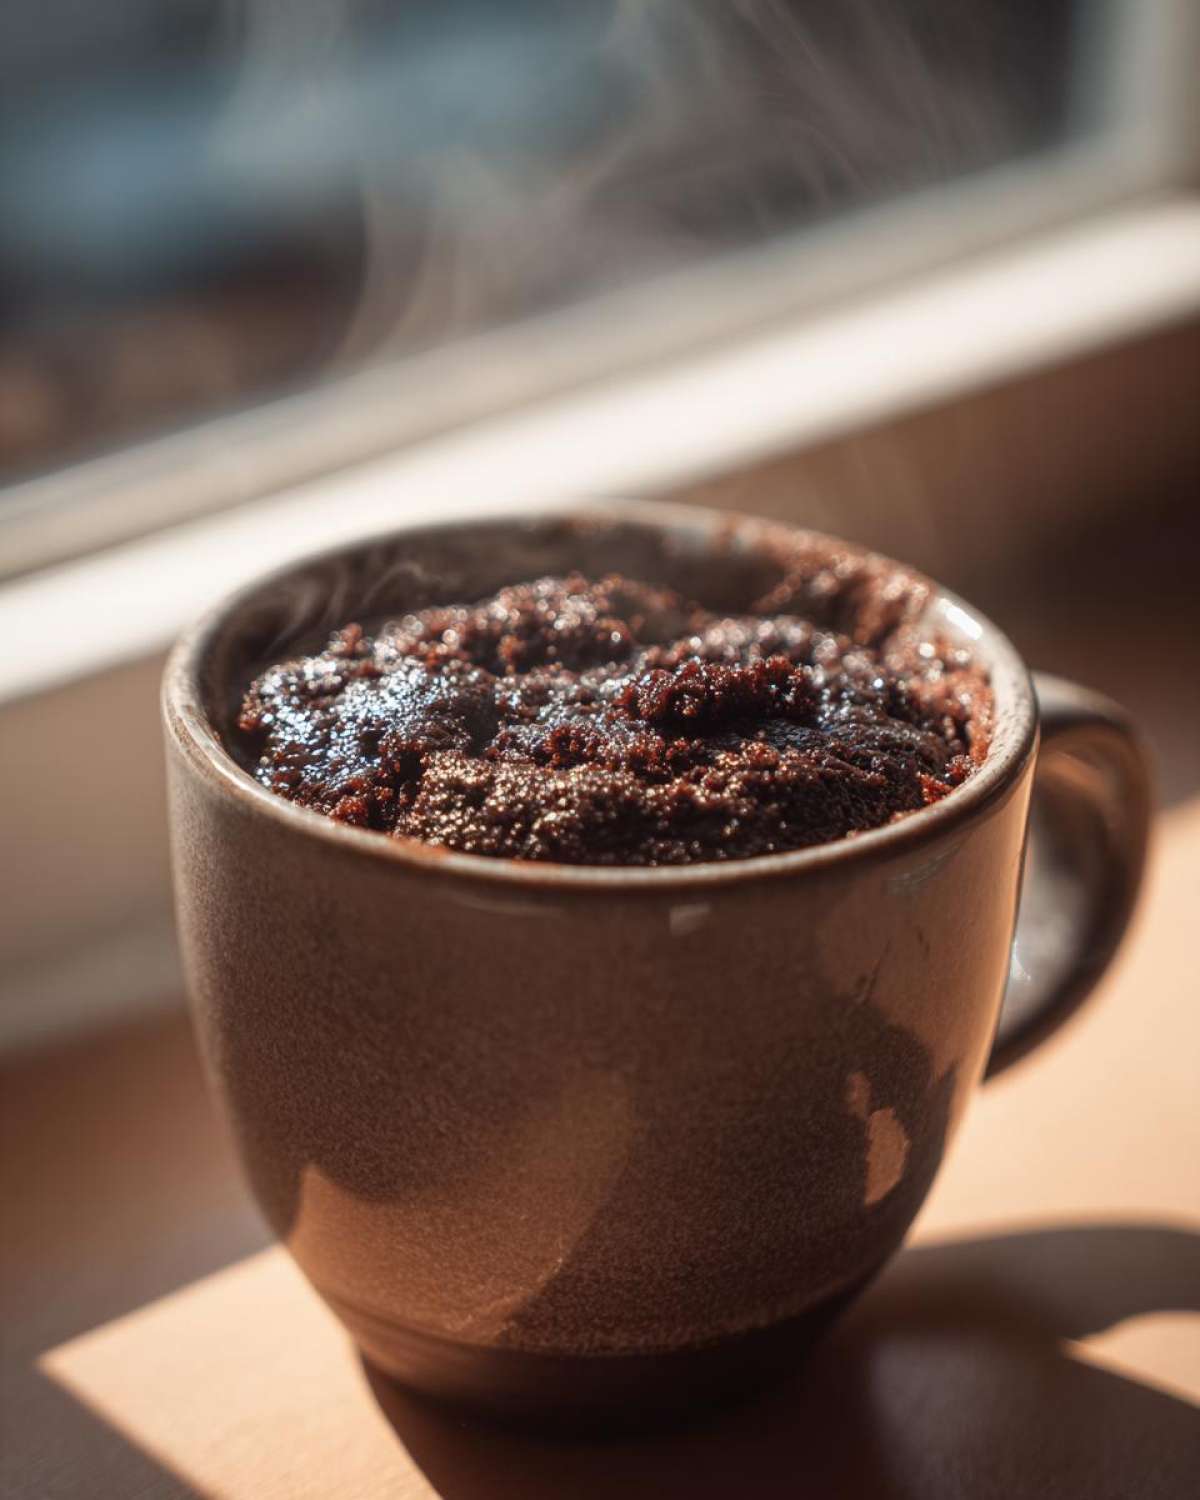
The best part about this being the ultimate Easy Single Serve Cake preparation is that I practically have all these items memorized. When Leo gets that look that says he needs chocolate *now*, I don’t have time to run to the store! These ingredients are true pantry staples, which means we can switch from craving to eating in mere minutes. I always keep my cocoa powder, baking powder, and decent milk stocked high because you never know when a spontaneous baking emergency will strike!
Here is exactly what you need for one perfect, fudgy serving:
- 4 Tbsp all-purpose flour
- 4 Tbsp granulated sugar
- 2 Tbsp unsweetened cocoa powder (Use the good stuff, trust me!)
- 1/4 tsp baking powder
- Pinch of salt
- 3 Tbsp milk (any kind works here)
- 1 Tbsp vegetable oil
- 1/4 tsp vanilla extract
- 1 Tbsp chocolate chips (If you skip these, are you even making cake? Just kidding… mostly!)
Ingredient Notes and Substitution Options
Now, let’s talk flexibility! While this recipe is designed for maximum chocolate punch, sometimes we need to pivot slightly. Leo is always trying to make things a bit lighter, and I support his efforts, provided the flavor is still there, of course.
If you are aiming for a Healthy Mug Cake version, you can try swapping out 1 tablespoon of that all-purpose flour for an equal amount of finely ground oat flour. You can also reduce the granulated sugar by just a teaspoon, but don’t go much lower or the texture gets weird—it needs that sugar to behave in the microwave!
And for all my gym buddies out there—yes, you can absolutely boost the protein here! As the notes mentioned, if you swap 1 tablespoon of the flour for 1 tablespoon of your favorite unflavored or chocolate protein powder, you’ve just made a fantastic Protein Mug Cake. That extra scoop makes it feel less like cheating and more like a strategic, delicious post-workout fuel, but make sure you mix it really well so you don’t get dry spots!
If you ever want to delve into more non-chocolate sweet recipes once you master this, check out our guide on easy baking recipes; they are shockingly easy too!
How to Prepare Your Quick Dessert in a Mug
Alright, time to get down to business! This is where the magic happens, and I promise you, this process is so streamlined it’s like we’re racing against Leo to see who can clean up fastest. We are aiming for that coveted Dessert in Under 5 Minutes title, and speed relies on organization. Grab your favorite ceramic mug—it should be sturdy and microwave-safe, about 10 to 12 ounces is perfect for one serving, keeping overflow to a minimum.
Remember what I said about Leo almost causing a kitchen disaster the first time? He dumped everything in at once! We learned the hard way: follow the order, and you get perfection. This is how you turn pantry staples into a glorious, warm quick dessert in a mug.
Mixing Dry and Wet Components for the Mug Cake
First things first: the solids need to be completely integrated before any liquid enters the scene. Take your fork—yes, a tiny fork works better than a spoon for scraping the sides—and combine the flour, sugar, cocoa powder, baking powder, and that essential pinch of salt. You need to mix this until it all looks like uniform, dusty brown sand. This step is non-negotiable because if you have a pocket of baking powder sitting in the milk later, you get a weird, giant bubble that tastes like metal. No one wants that!
Once your dry elements are smooth, it’s time for the wet ingredients. Pour in the milk, the oil, and the vanilla extract directly on top. Don’t worry about drizzling; just get it in there. If you’re adding those glorious chocolate chips, toss them in now too.
Microwave Timing Secrets for Perfect Cooking
This is arguably the most nerve-wracking part! We are dealing with high-powered technology here, and microwaves vary wildly! What takes one person 70 seconds might take another person 110 seconds. If you are aiming for that ideal 2 Minute Dessert experience, you need to watch it like a hawk. Start by microwaving on HIGH for just 60 seconds.
When you take it out, the top should look mostly set, but definitely still a bit soft in the very center. If it’s still soupy wet, pop it back in for 10-second bursts. My big, honest tip? DO NOT trust the clock past the 90-second mark initially. Overcooking is the #1 killer of a great mug cake; it goes from fudgy to dry faster than Leo can sneak a cookie!
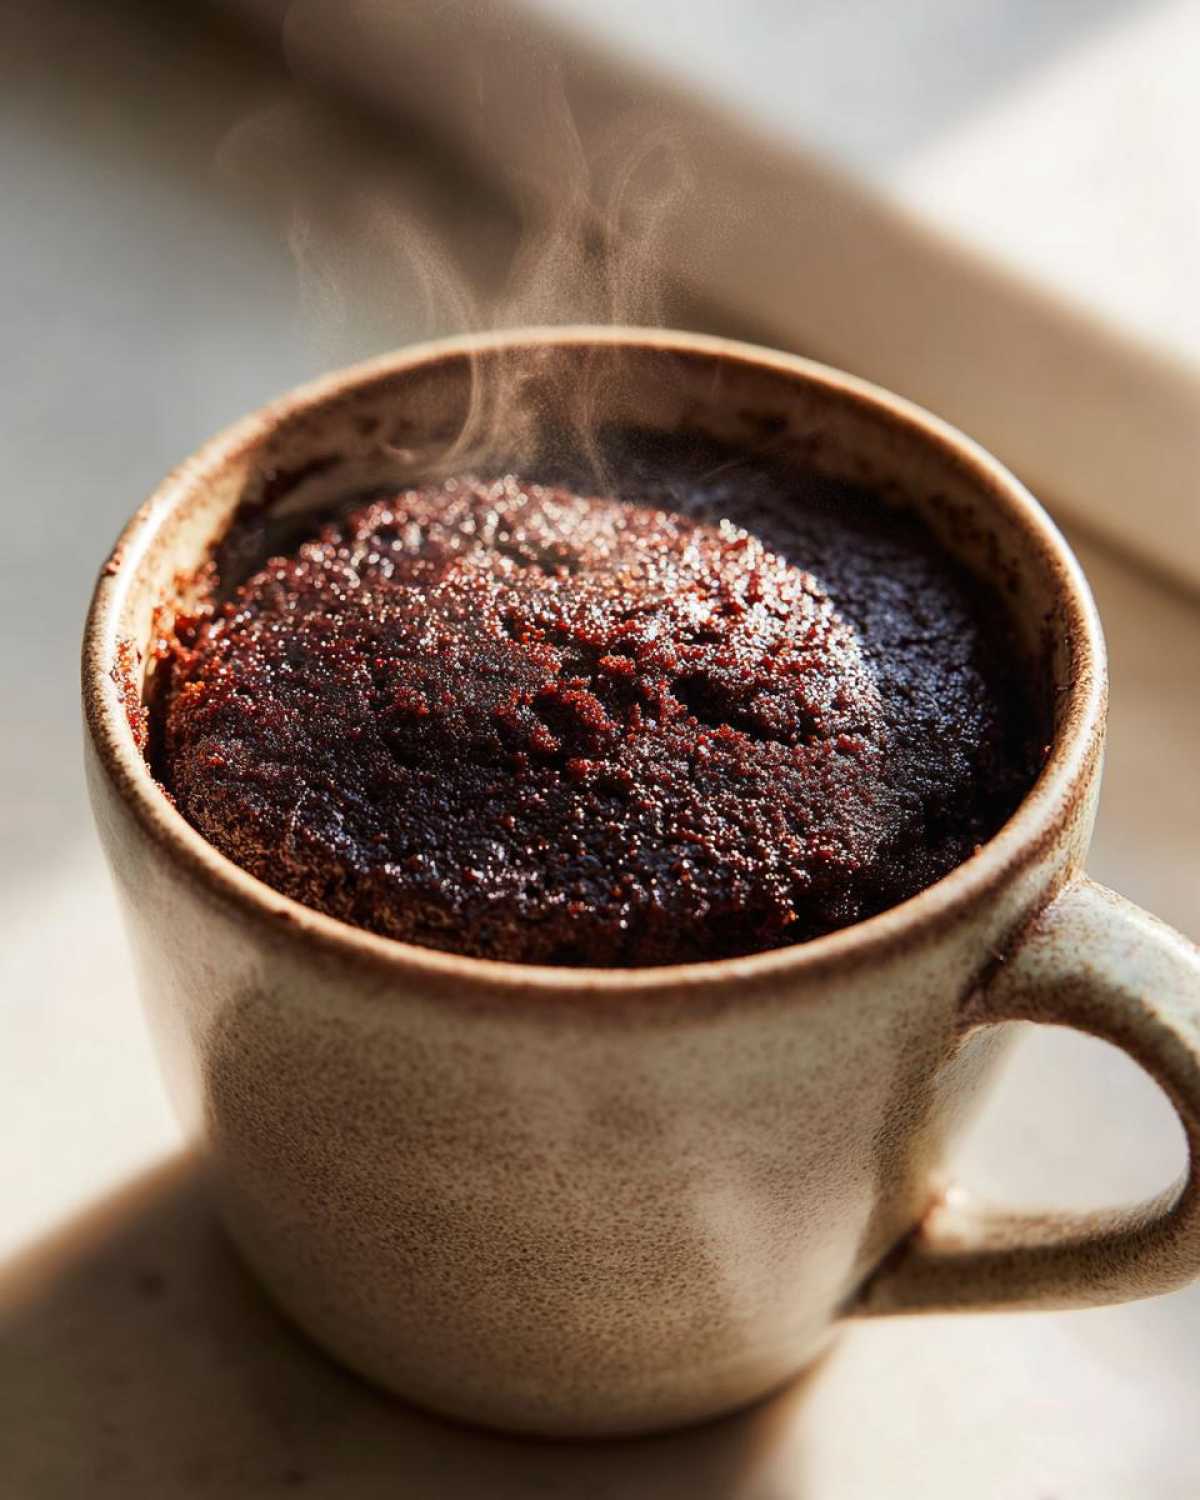
When it’s done, let it sit for a full minute. That residual heat is still cooking the center, and it cools just enough so you don’t burn your mouth eating this fantastic dessert in a mug straight from the microwave!
Tips for Success with Every Single Serve Cake
We’ve almost reached the finish line for your instant gratification dessert! Honestly, after dozens of attempts (mostly Leo’s fault, but we’ll get to that), I’ve gathered the most crucial wisdom to ensure your result is divine, not disastrous. Stick to these little rules, and you’ll never have a bad final assembly of this fantastic single serve cake.
First, remember that gentle mixing trick we talked about? DO NOT OVERMIX. Once the batter is just combined, stop stirring. I still tease Leo about the first time he made this. He used his big stand mixer whisk attachment—for one mug! It came out so dense, I thought he’d managed to turn the batter into a fossil; he lovingly called it his “emergency doorstop.”
Second, if you want that extra fudgy texture, try reducing the milk by just half a teaspoon. Since this is such a small batch, a tiny change makes a big difference in the final gooeyness, which is usually what we’re aiming for, right?
Finally, always check your microwave wattage. If yours runs super hot, stick to that 60-second starting point. It’s far easier to add 10 more seconds than it is to try and rehydrate a cake that has achieved orbit through overcooking! Enjoy your perfect mug cake!
Making This Dessert in Under 5 Minutes Look Gourmet
Wow, it came out of the microwave looking perfect! Now, does anyone want to eat this delicious **quick dessert in a mug** straight from the coffee mug? Sure, sometimes I do, especially when Leo isn’t looking, but honestly, this little single-serve cake absolutely deserves a moment in the spotlight before you devour it.
We’ve got the speed factor handled—it’s done in minutes—but we don’t want it looking like something we scraped together in a panic, right? A few simple additions can take this from a quick fix to something genuinely special. Think of the presentation; it’s the easiest way to make a tiny indulgence feel grand.
Serving Suggestions for Late Night Cravings Dessert
The notes called for a few ideas, and trust me, we’ve tried them all. For the absolute classic look, just dust the top lightly with powdered sugar right after it cools for a minute. It looks so elegant, like it took hours, not seconds!
If you really want to go all out when that craving hits, you have to try it warm with a scoop of vanilla bean ice cream melting right into the top. The contrast between the warm, fudgy cake and the cold cream is honestly one of life’s great small pleasures. Leo is usually sneaking little spoonfuls while I’m getting the toppings ready!

For a slightly less decadent but equally lovely finish, a drizzle of homemade caramel or a splash of cold milk on the side is wonderful. It’s funny, even though this is a perfect little Portion Control Dessert—because it’s just one serving—it tastes so rich you feel like you’ve had a whole slice of cake. Simple toppings make all the difference for those spontaneous late-night moments!
Storage and Reheating Instructions for Your No Oven Cake
Now, I have a confession to make about this recipe. If Leo and I make this decadent No Oven Cake, there are absolutely zero leftovers. Ever. We are two grown adults, and yet, somehow, one 10-ounce mug of chocolate goodness disappears instantly! If you are making this for yourself, congratulations, you don’t need this section!
But perhaps you’re planning ahead, or maybe you got ambitious and made two portions at once (smart move!). Since this is designed to be eaten right away, we haven’t focused much on long-term storage, but I do have a couple of tips if you find yourself with a single survivor stuck in the mug.
If you do have leftovers, the absolute best way to keep it fresh is to cover the mug tightly with plastic wrap or a small lid. While I’m sure it would technically last a couple of days in the fridge, I really wouldn’t recommend it. Microwave cakes, even brilliant ones like this, change texture quickly once cooled too much.
The real trick is reheating. If you grab that cold cake the next morning, don’t try to jump-start it on high power for a full minute again—it will turn instantly into a rock! To bring it back to life, you need to add a tiny bit of moisture. Pop the mug back into the microwave, but this time, place about half a teaspoon of milk right on top of the cake surface before heating.
Microwave on 50% power for about 15 to 20 seconds. That little bit of steam and gentle warming will re-moisten the cake beautifully. It won’t be quite as perfect as the first time, but it’s a wonderful way to enjoy a little bit of that decadent treat later. I usually pair my reheated slice with a cup of Leo’s strong black coffee from this creamy garlic white pizza ricotta recipe day! It makes me feel very grown-up.
Frequently Asked Questions About Microwave Baking
Oh, good questions popping up already! That’s how you know you’ve got a really engaged audience. It’s funny how making something so simple can bring up so many little technical hurdles. Since we are dealing with a science experiment inside a microwave oven, it pays to know the variables. Here are the top things Leo and I get asked whenever we share this super-fast dessert.
Can I substitute the oil in this recipe?
You certainly can! The oil is there primarily to keep the cake soft and prevent it from eating up the moisture from the other ingredients, which can happen fast in a microwave. If you want to cut down on fat, I’ve had good success swapping the tablespoon of vegetable oil for an equal amount of unsweetened applesauce. It works beautifully and keeps the cake quite moist, though the texture might lean ever-so-slightly less rich.
If you aren’t worried about fat but just don’t have oil on hand, melted butter is a fantastic swap for flavor—it adds a lovely, nutty depth. Just make sure you measure it as a liquid, just like the oil!
What is the best wattage for cooking this cake?
This is the single biggest variable, and honestly, it’s frustrating! Microwave wattage ranges from the older, gentler 700-watt models to modern countertop beasts hitting 1200 watts or more! When we develop recipes here at the Tasty Tribune, we usually test on a standard 1000-watt machine, which is why we suggest starting at 60 seconds.
If your microwave is super powerful—say, 1100 watts or higher—you absolutely must stick to that initial 60 seconds and check it carefully. If your unit is older or lower wattage, you might need to cook closer to 90 or even 100 seconds total. The best advice I can give you, to avoid turning your confection into a charcoal briquette, is always to undercook slightly and add 10 seconds until it’s just set on top.
Also, while we are chatting about variables, if you ever want to try something a little more complex, like our creamy New York Cheesecake, remember that those need the oven—no microwave shortcuts there, sadly!
Nutritional Information Estimate
Okay, now for the boring but necessary part! Leo always rolls his eyes when I bring up the spreadsheets, but he understands that people want to know what they are eating, even with a spontaneous dessert like this. Since this is a strictly single-serving recipe, we calculated the details based on the standard ingredients listed above—no added ice cream or heavy toppings!
Please remember, this is just an estimate based on typical values. If you use a special brand of cocoa powder or a different kind of milk, your final numbers will shift slightly. Think of this as a general guideline for our delicious no oven cake!
Here is the breakdown per serving:
- Serving Size: 1 mug cake
- Calories: 280
- Sugar: 25g
- Sodium: 150mg
- Fat: 10g
- Saturated Fat: 2g
- Unsaturated Fat: 8g
- Trans Fat: 0g
- Carbohydrates: 45g
- Fiber: 2g
- Protein: 5g
- Cholesterol: 5mg
Phew! See? It’s not too bad for something that tastes this decadent and took less than four minutes to assemble. Sometimes a little sugar is required for joy, and I think this quick treat earns its little spot in the grand scheme of things!
Share Your Latest Tasty Tribune Dispatch
Well, my dear readers, that’s the whole story of how we conquer those sudden, powerful dessert urges in under five minutes! Now that you have the secrets to this ridiculously fast chocolate indulgence, we absolutely want to see what you’ve created. Leo and I live for these dispatches from your kitchens. We genuinely find such joy hearing how our little kitchen experiments translate into your daily lives.
When you make this, please take a moment to tell us what you thought! If you could leave a rating—five stars if it rescued you from a sugar emergency!—that would mean the world to us. It helps other folks know they can trust our speedy recipes too.
But here is the question I’m dying to know the answer to! Tell us in the comments below: What did you put on top of your No Oven Cake? Did you stick to the simple powdered sugar dusting, or did you go wild with ice cream or maybe even a spoonful of peanut butter? Leo insists that whipped cream is the only true partner, but I’m still a fan of a tart raspberry on the side to cut the richness, especially when I’m having this incredible treat after a late dinner.
Also, don’t forget to share your masterpiece on social media! Tag us so we can see your beautiful serving suggestions. We always check our tags because seeing your delicious successes is the best news headline we get all day here at the Tasty Tribune. Happy baking (well, microwaving!), and we’ll catch you on the next recipe dispatch, perhaps something cozy like our lentil soup soon!
PrintQuick Microwave Chocolate Mug Cake Recipe

Whip up this rich, fudgy chocolate mug cake in under five minutes using only your microwave. It is the perfect single-serve dessert for late-night cravings.
- Prep Time: 2 min
- Cook Time: 1 min 30 sec
- Total Time: 3 min 30 sec
- Yield: 1 serving
- Category: Dessert
- Method: Microwave
- Cuisine: American
- Diet: Vegetarian
Ingredients
- 4 Tbsp all-purpose flour
- 4 Tbsp granulated sugar
- 2 Tbsp unsweetened cocoa powder
- 1/4 tsp baking powder
- Pinch of salt
- 3 Tbsp milk (any kind)
- 1 Tbsp vegetable oil
- 1/4 tsp vanilla extract
- 1 Tbsp chocolate chips (optional)
Instructions
- Find a standard, microwave-safe mug (about 10-12 oz size).
- Add the dry ingredients: flour, sugar, cocoa powder, baking powder, and salt directly into the mug. Use a small fork to mix these thoroughly until no clumps remain.
- Add the wet ingredients: milk, vegetable oil, and vanilla extract to the dry mixture in the mug.
- Mix everything well with the fork until you have a smooth batter. Scrape down the sides to ensure all flour is incorporated. Do not overmix.
- Stir in the chocolate chips, if you are using them.
- Place the mug in the microwave. Cook on high power for 60 to 90 seconds. Cooking time varies based on microwave wattage; start with 60 seconds.
- Check the cake; it should look set on top but still slightly moist. If it is still very wet, microwave in 10-second increments until done. Be careful not to overcook, or it will become dry.
- Let the mug cake cool for one minute before eating directly from the mug.
Notes
- For a fudgier texture, reduce the milk by 1/2 teaspoon.
- This recipe is a great base for a quick dessert in under 5 minutes.
- Top your finished mug cake with a scoop of ice cream or a dusting of powdered sugar for an extra treat.
- If you want a protein mug cake, substitute 1 tablespoon of flour with 1 tablespoon of your favorite protein powder.
Nutrition
- Serving Size: 1 mug cake
- Calories: 280
- Sugar: 25g
- Sodium: 150mg
- Fat: 10g
- Saturated Fat: 2g
- Unsaturated Fat: 8g
- Trans Fat: 0g
- Carbohydrates: 45g
- Fiber: 2g
- Protein: 5g
- Cholesterol: 5mg