

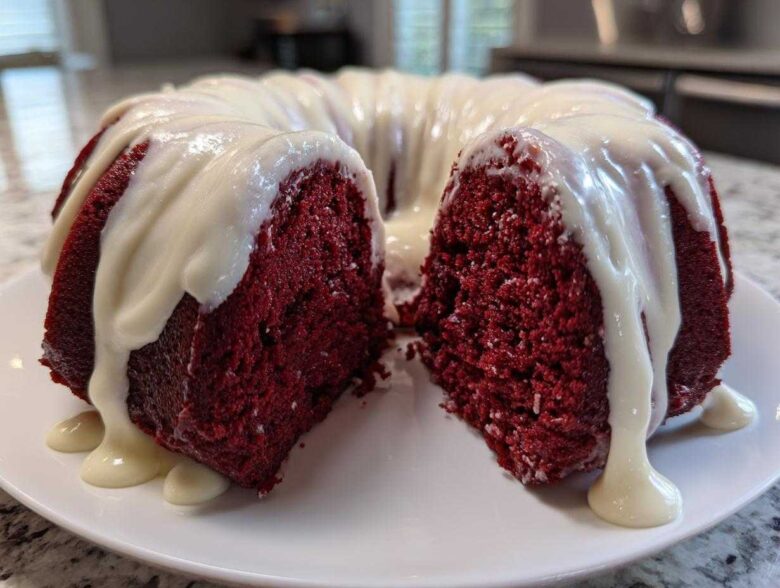
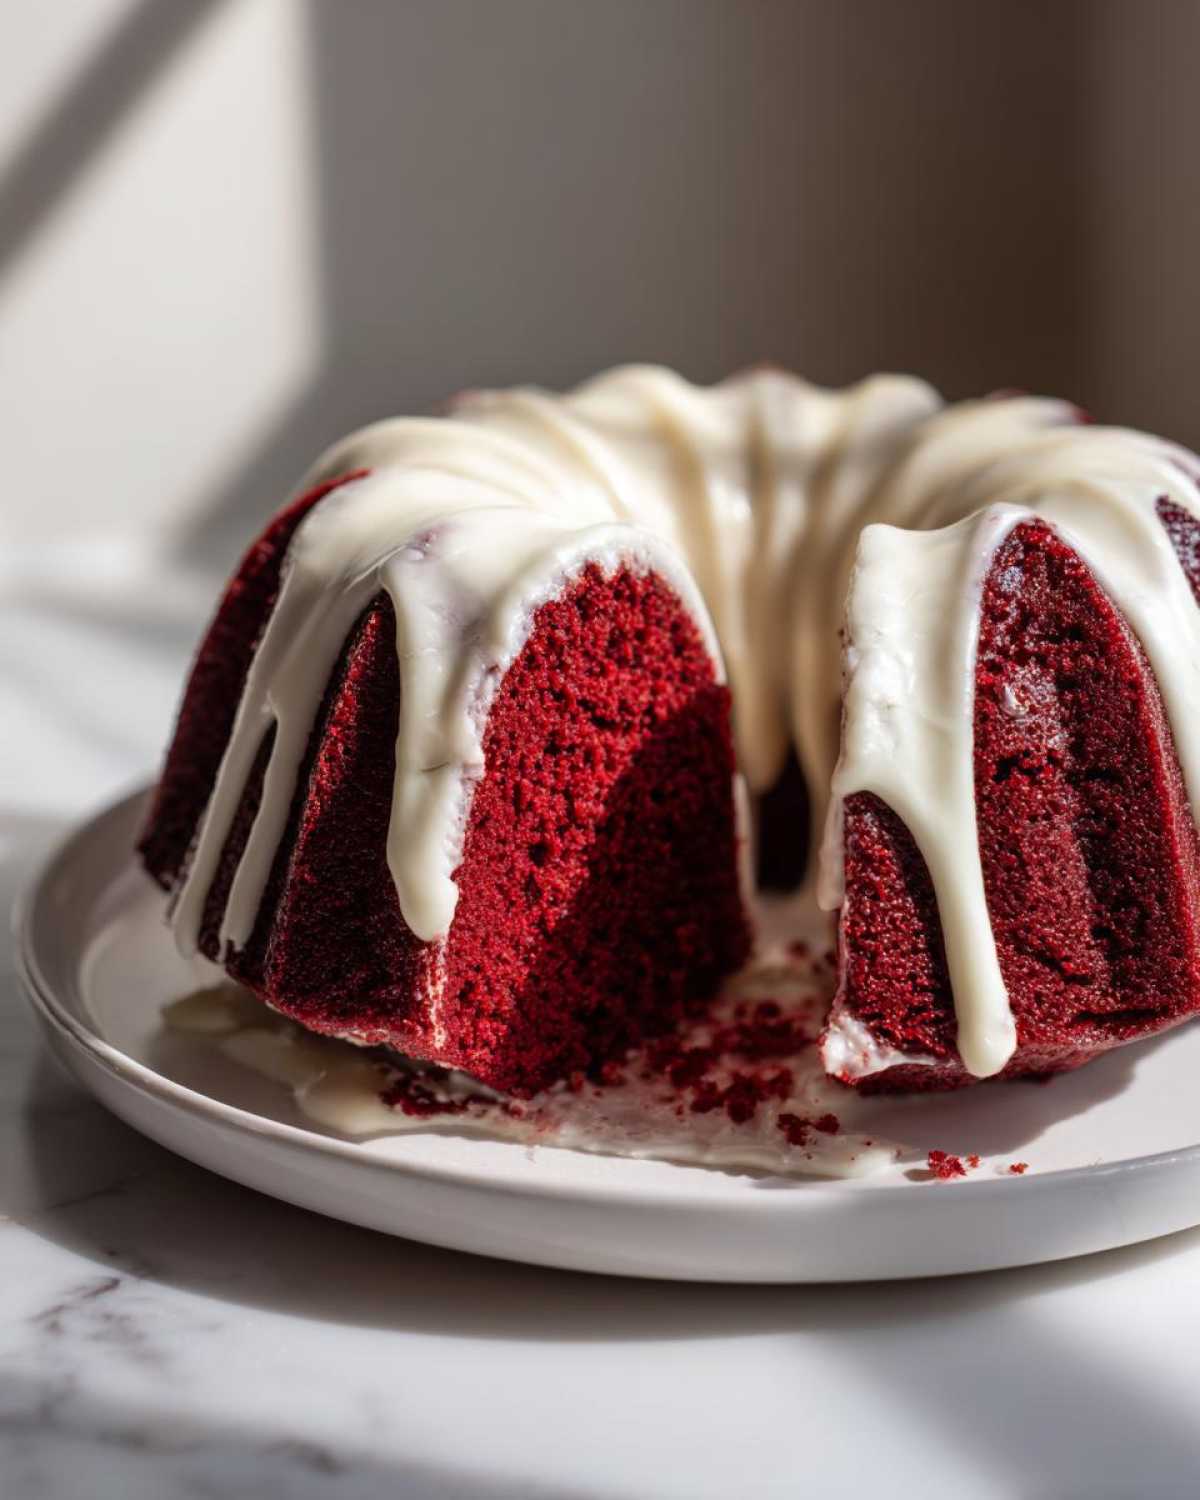
If you’ve ever sighed looking at a dry, sad slice of red velvet, I completely get it. That deep, velvety chocolate flavor deserves moistness, not crumbly disappointment! Making the perfect red velvet bundt cake has become my personal culinary mission, especially around the holidays when you need a true showstopper dessert. Forget those faint, vaguely pink cakes—I’ve cracked the code on getting that vibrant, deep red color paired with the tangiest cream cheese glaze you can imagine. This recipe isn’t just good; it’s the one that makes people ask for the recipe immediately. Trust me, achieving that melt-in-your-mouth texture took a few tries, but now I have the foolproof method perfected right here for you!
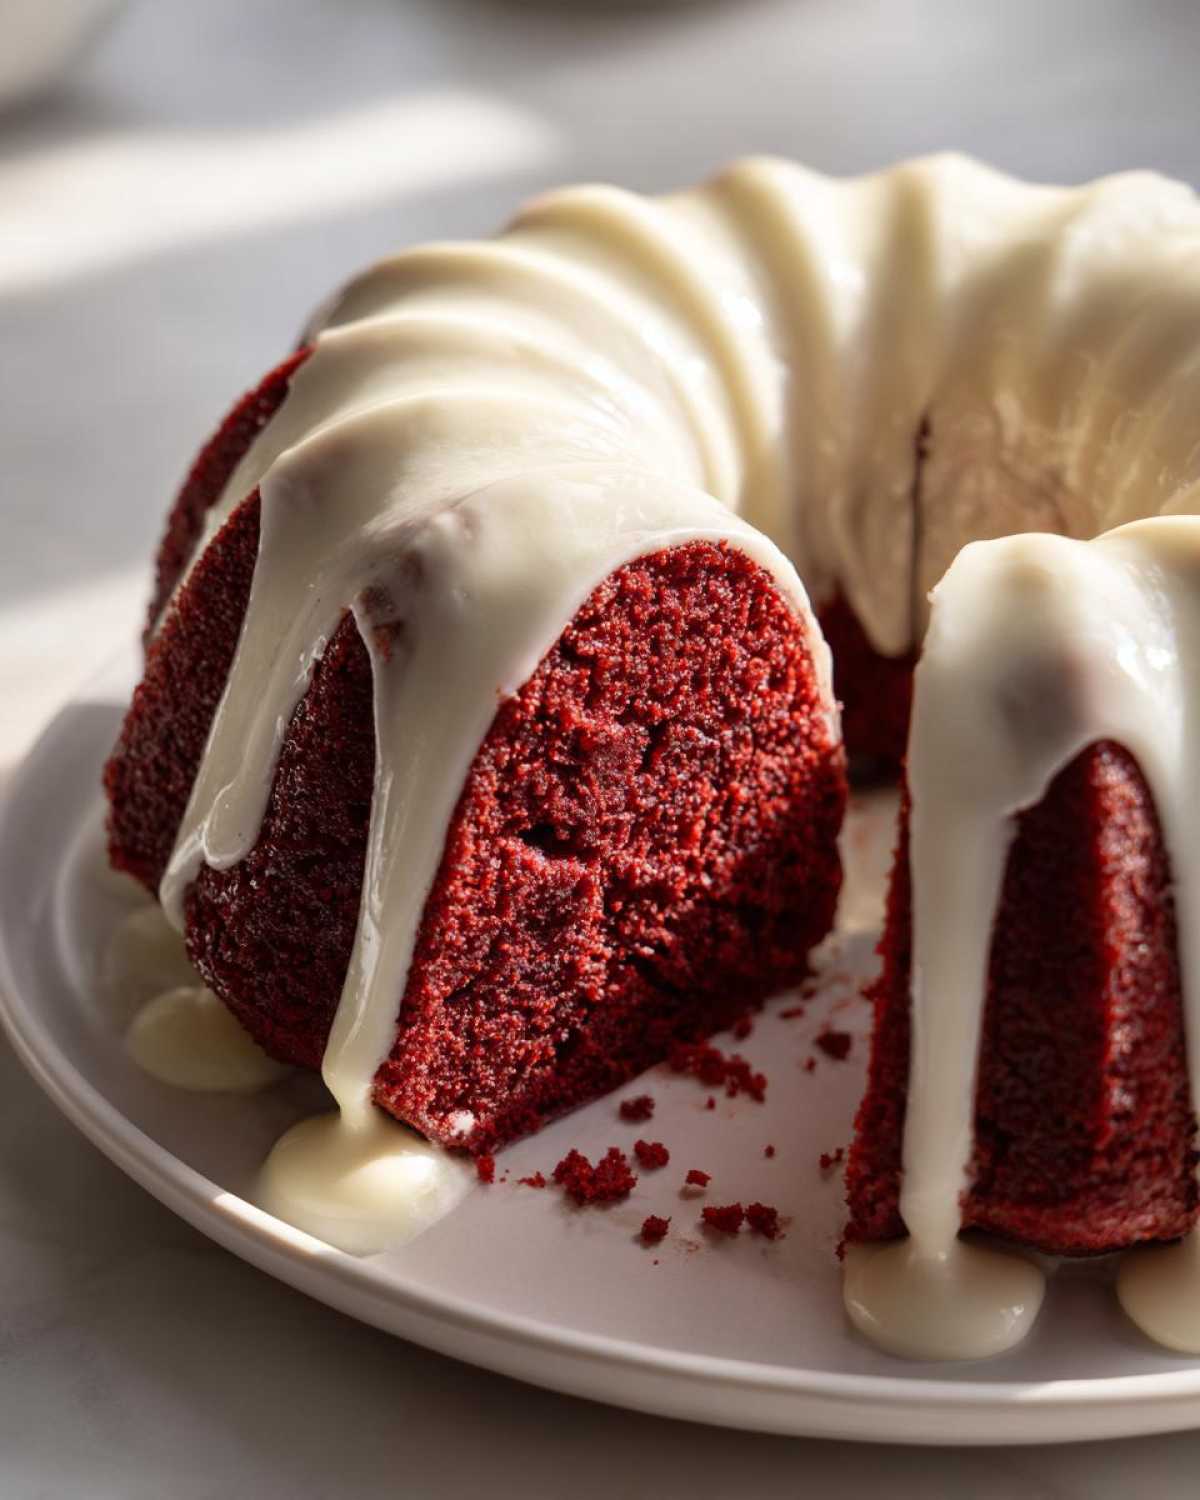
The magic behind this particular red velvet bundt cake lies in the balance of acidic ingredients—buttermilk and vinegar—which react beautifully with the cocoa and baking soda. It creates lift, tenderness, and that iconic subtle tang. Seriously, once you see how easy this is to put together, you’ll be asking the grocery store why they ever sold mediocre mixes!
I learned quickly that baking in a bundt pan changes things a bit compared to a layer cake. You need sturdiness so it doesn’t collapse when you flip it, but you absolutely still need that signature moistness. Good thing we’re covering all the pan prep, too!
If you’re looking for more baking adventures after this one, you can always check out new ideas over on my main blog page for more inspiration.
Why This Moist Red Velvet Bundt Cake Recipe Works
People sometimes assume a Moist Red Velvet Cake is impossible in a bundt pan, but that’s just not true! This recipe is designed for structure *and* tenderness. It’s become my go-to Showstopper Bundt Dessert because it hits every flavor note perfectly, and everyone knows red velvet needs that slight cocoa kiss under the bright color.
- We use the perfect ratio of fat and acidic liquids to keep things incredibly tender, even after cooling.
- The mixing method is tailored specifically to prevent gluten development, meaning no tough edges!
- The glaze recipe is simple but delivers the necessary bright, tangy punch to cut through the richness.
This whole combination makes for a baking experience that truly pays off. If you love my pumpkin bar frosting, you’ll adore the tang we achieve in this glaze! Check out my tips for my famous pumpkin bars if you need another crowd-pleaser!
Achieving the Signature Deep Red Velvet Bundt Cake Color
Don’t skimp on the coloring if you want that incredible, true red. I always strongly suggest using food coloring gel. Liquid coloring just doesn’t pack the pigment punch without adding extra water, which can throw off the batter balance. If you use gel, you only need a little bit to get that truly rich, Deep Red Velvet Cake hue we’re aiming for. It’s worth buying the gel kind just for this recipe!
Gathering Ingredients for Your Red Velvet Bundt Cake
Okay, now we get down to the fun part: prepping our ingredients! For this Homemade Red Velvet Bundt to come out perfectly, room temperature everything is key—I mean it! Cold butter or eggs will fight you every step of the way when you try to create that amazing emulsion we talked about.
I’ve broken down exactly what you need below, making sure we separate the cake needs from the glaze necessities. If you need some inspiration on other baking staples, you should totally check out my buttermilk scones recipe; it uses buttermilk beautifully, too!
Ready to make sure our batter is set up for success? Here’s the list!
Ingredients for the Velvety Cocoa Cake
Remember, the butter needs to be soft enough to press your finger into, but not greasy or melted! We need those eggs right out of the fridge for about 20 minutes before starting.
- 2 1/2 cups all-purpose flour
- 1 1/2 cups granulated sugar
- 1 teaspoon baking soda
- 1 teaspoon salt
- 1 tablespoon unsweetened cocoa powder
- 1 cup unsalted butter, softened
- 2 large eggs (room temperature is important!)
- 1 cup buttermilk
- 1 teaspoon white vinegar
- 1 teaspoon vanilla extract
- 1 ounce red food coloring (gel is my favorite here!)
Ingredients for the Cream Cheese Glaze for Bundt Cake
This glaze is so simple, but it’s the perfect tangy finish. Make sure your cream cheese is softened just like the butter for the cake so it creams up smoothly without any lumps.
- 1 cup powdered sugar
- 2 tablespoons cream cheese, softened
- 1 tablespoon milk (you might need a tiny splash more)
Step-by-Step Instructions for the Best Red Velvet Bundt
Alright, buckle up! This is where we turn those lovely ingredients into a masterpiece. Because we’re using a bundt pan, the prepping step is non-negotiable—you need that cake to release cleanly if you want the pretty fluted sides to show off. Don’t worry, it’s easy, and once you get the hang of using baking spray with flour, you’ll never look back. If you’re looking for other tips on making sure your Bundt cakes never stick, I wrote a whole guide on my apple Bundt recipe that goes into detail on pan prep!
The secret here is patience during the mixing stage. Overmixing is the fastest way to lose the tenderness we worked so hard to build, turning your beautiful cake into something tough. We want that crumb to be perfect!
Mixing the Batter and Baking the Red Velvet Bundt Cake
First things first: Get that oven heating to 350 degrees F (175 degrees C). Right away, you need to prep that 10-cup bundt pan. Grease it really well, and then dust it thoroughly with flour, making sure all those little crevices are covered. Shake out the excess! Now, into your large bowl, whisk together all your dry ingredients—the flour, sugar, baking soda, salt, and that cocoa powder. Set that aside.
In a separate bowl, beat that softened butter until it gets light and fluffy—seriously fluff it up! Then, add your eggs one at a time, mixing well after each one goes in. In a third, small bowl, combine your buttermilk, vinegar, vanilla, and all that red food coloring until it’s one gorgeous, uniform color.
Here’s the crucial part for a Moist Red Velvet Cake: You add the dry mix in stages, alternating with the buttermilk mix. Start and end with the dry ingredients. Don’t dump it all in at once! Mix gently until you just see everything come together. I mean *just* combined—if you see a few streaks of flour, that’s okay! Pour that vibrant batter into your prepped pan. Bake it for 45 to 55 minutes. You’ll know it’s done when a wooden pick inserted right in the deepest spot comes out clean.
Cooling and Applying the Cream Cheese Glaze
Resist the urge to flip it immediately! Let the cake sit right in that warm Bundt pan for about 15 minutes. This cooling time lets the edges firm up just enough so they don’t tear. After 15 minutes, carefully invert it onto a wire rack and let it cool down completely. Completely! If you try to glaze a warm cake, you’ll just get a soupy mess.
While it cools, whip up the glaze: beat the powdered sugar, softened cream cheese, and milk until everything is smooth and dreamy. If it seems too thick to drizzle, add just an extra tiny splash of milk until it drizzles beautifully. Once the cake is totally cool, drizzle that tangy, irresistible Cream Cheese Glaze for Bundt Cake all over the top. That finishes your true Red Velvet Bundt Cake Recipe!
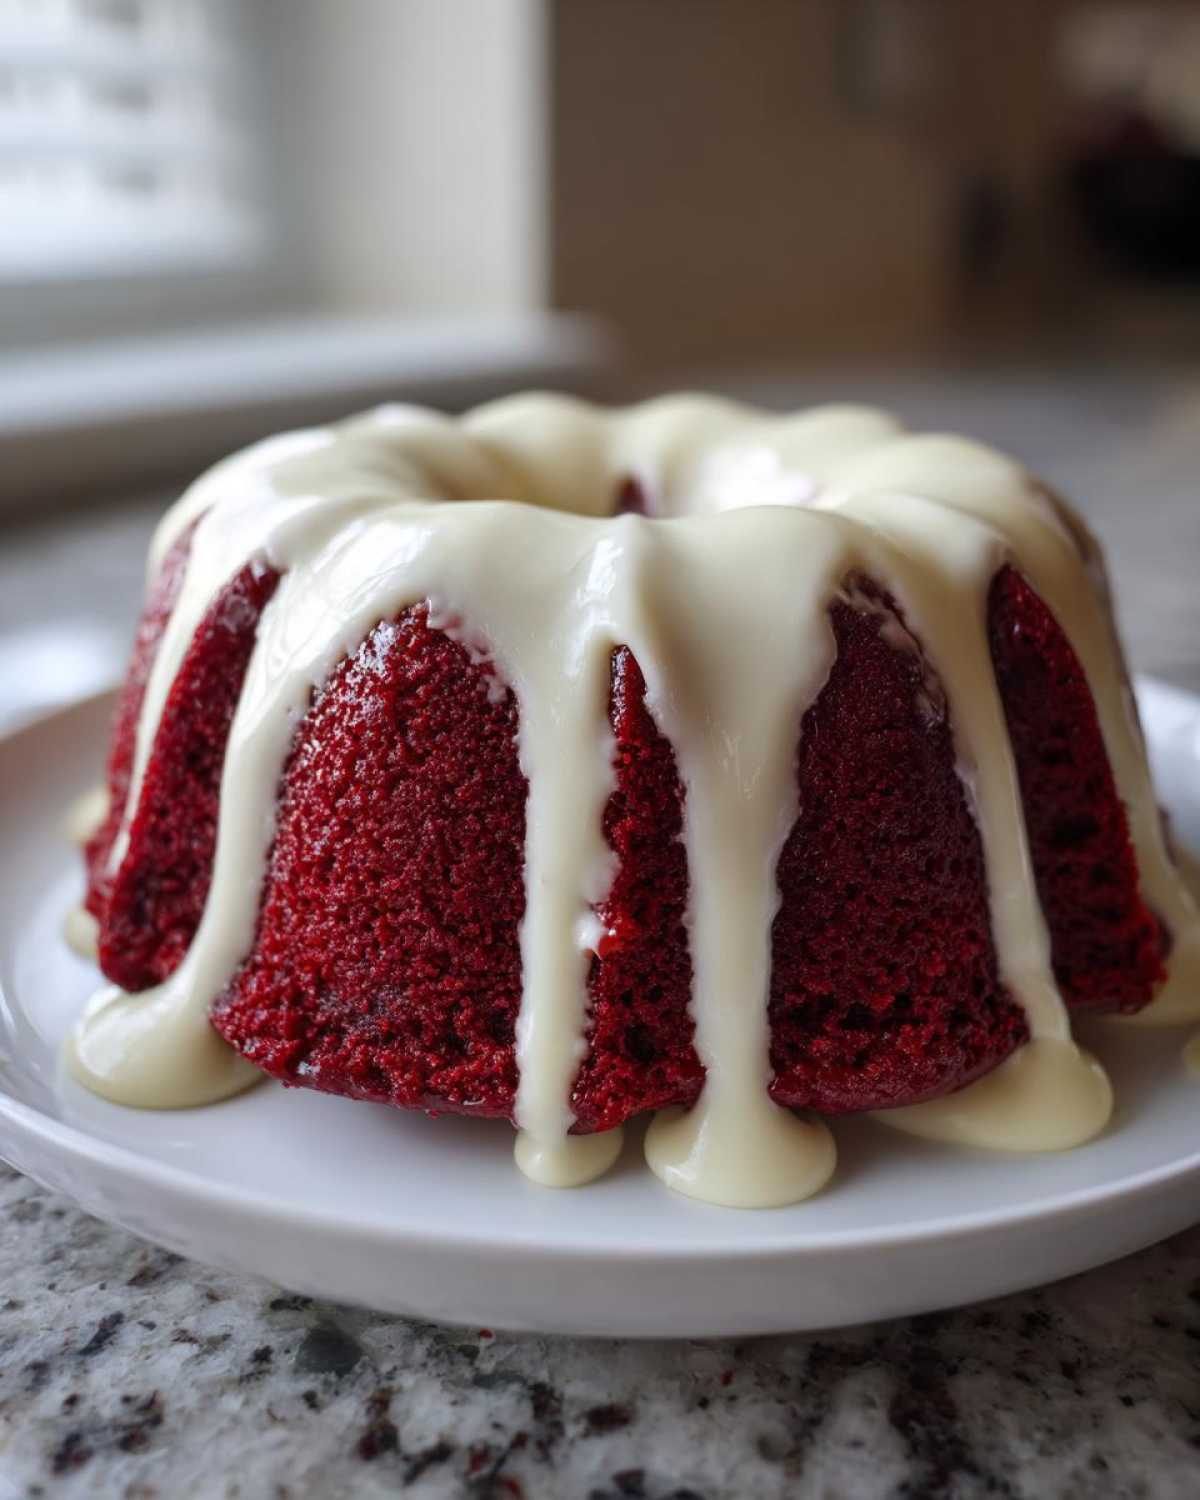
Tips for a Picture Perfect Bundt Cake Success
Making a gorgeous, non-stick cake is seriously half the battle when you choose a beautiful pan like a Bundt. We definitely want this to be a Showstopper Bundt Dessert, not one that crumbles when you try to get it out! My biggest piece of advice, which I feel very strongly about, is ensuring you prepare that pan correctly. It’s the key to maintaining all the lovely detail the pan gives the batter.
If you want extra insurance, skip the basic butter-and-flour dredge and use a baking spray that actually contains flour in it—you can usually find it near the baking oils. Or, whip up a simple mixture of equal parts softened shortening, oil, and flour until it’s a smooth paste, and carefully brush that into every nook and cranny. This never fails me and ensures an easy release every time! If you’ve ever had a sticky situation, you know why I stress this so much. For more reliable baking advice, you might like my tips on brown butter pecan cookies!
Bundt Pan Preparation Secrets for Easy Release
Never underestimate the power of a well-greased pan, especially with a rich cake batter like this red velvet! If you’re using shortening or softened butter, use a pastry brush to get the mixture right up the sides and across the bottom ridges. Then, instead of just regular flour, use a mixture of flour and a tablespoon of cocoa powder. Why? Because if any residue *does* stick, it will already be the same color as your cake, making it completely invisible! It’s a little trick that keeps things looking pristine for that grand presentation.
Variations on the Classic Red Velvet Bundt Cake
While I swear by the classic, pure red velvet bundt cake, sometimes you want to switch things up! This batter is so forgiving and rich, it begs to be dressed up a little for different parties or family gatherings. It’s why this one is such a fantastic foundational recipe for so many Festive Bundt Cakes throughout the year.
The key is that rich cocoa base mixed with the tanginess of the buttermilk. We don’t want to mask that, but we can definitely add layers of flavor or texture. If you’re looking for more ways to use up your baking skills, I’ve got my fun baked pumpkin donuts recipe that might give you some inspiration!
Here are a couple of easy spins you can try next time. Honestly, these make the cake feel even more fancy without adding much work.
Making a Red Velvet Cheesecake Swirl Cake Version
Okay, if you want to take this straight to the top tier of desserts, you absolutely must try the swirl! It turns your beautiful cake into a showstopping Red Velvet Cheesecake Swirl Cake. It’s ridiculously easy, too. You just take about 8 ounces of softened cream cheese (leftover from the glaze ingredients works perfectly, you might just need to double that small amount!) and beat it with a little extra powdered sugar and maybe half an egg yolk if you have one lying around to keep it stable.
Then, pour your red velvet batter into the prepared bundt pan first. Drop spoonfuls of the cheesecake mix randomly over the top of the batter. Take a butter knife—don’t use a sharp one!—and gently swirl it through the cake batter maybe two or three times. Don’t go crazy or you’ll lose the definition! This adds pockets of creamy cheesecake goodness right into your slice. When this bakes up, it’s pure heaven. The contrast is just incredible!
Adding Candied Pecans for Crunch
If you love texture, this is for you! Red velvet loves nuts, and adding them usually means putting them in the batter, but that can interfere with the delicate crumb we’ve worked hard to achieve. Instead, make toasted or candied pecans separately. Once the cake is completely cooled and glazed—this is important!—scatter those crunchy bits right over the top of the glaze before it sets.
This keeps the pecans crisp instead of getting soggy inside the moist cake structure. It adds a lovely crunch and a little earthy flavor that balances the sweetness beautifully. Presentation-wise, it looks really professional, too!
Enhancing the Flavor with Coffee
This is a classic baker’s trick, but it works wonders with chocolate and cocoa flavors! Instead of using the full amount of buttermilk called for in the recipe, I sometimes substitute maybe half a cup of the liquid with very strong, chilled brewed coffee. Coffee doesn’t make your cake taste like coffee; it just deepens the cocoa flavor so your velvety cocoa cake tastes richer and more complex.
It gives the cake an extra layer of background depth, which is perfect when you’re serving it at a big holiday dinner. Just make sure the coffee is completely cold before you mix it in with the buttermilk and coloring!
Serving Suggestions for Your Holiday Red Velvet Dessert
Since this stunning red velvet bundt cake is truly a showstopper, you want your accompaniments to match its elegance! Because the cake itself is so rich and tangy from that cream cheese glaze, I usually keep the sides really simple. For a true Holiday Red Velvet Dessert vibe, serve slices slightly warmed alongside a scoop of vanilla bean ice cream—the contrast in temperature is just divine.
For parties, a light, sparkling fruit pairing works wonderfully. Think fresh raspberries or mandarins—the brightness cuts right through the cake’s richness. It honestly doesn’t need much else! If you’re looking for another festive treat to serve alongside it, my apple cider cupcakes make a great seasonal complement.
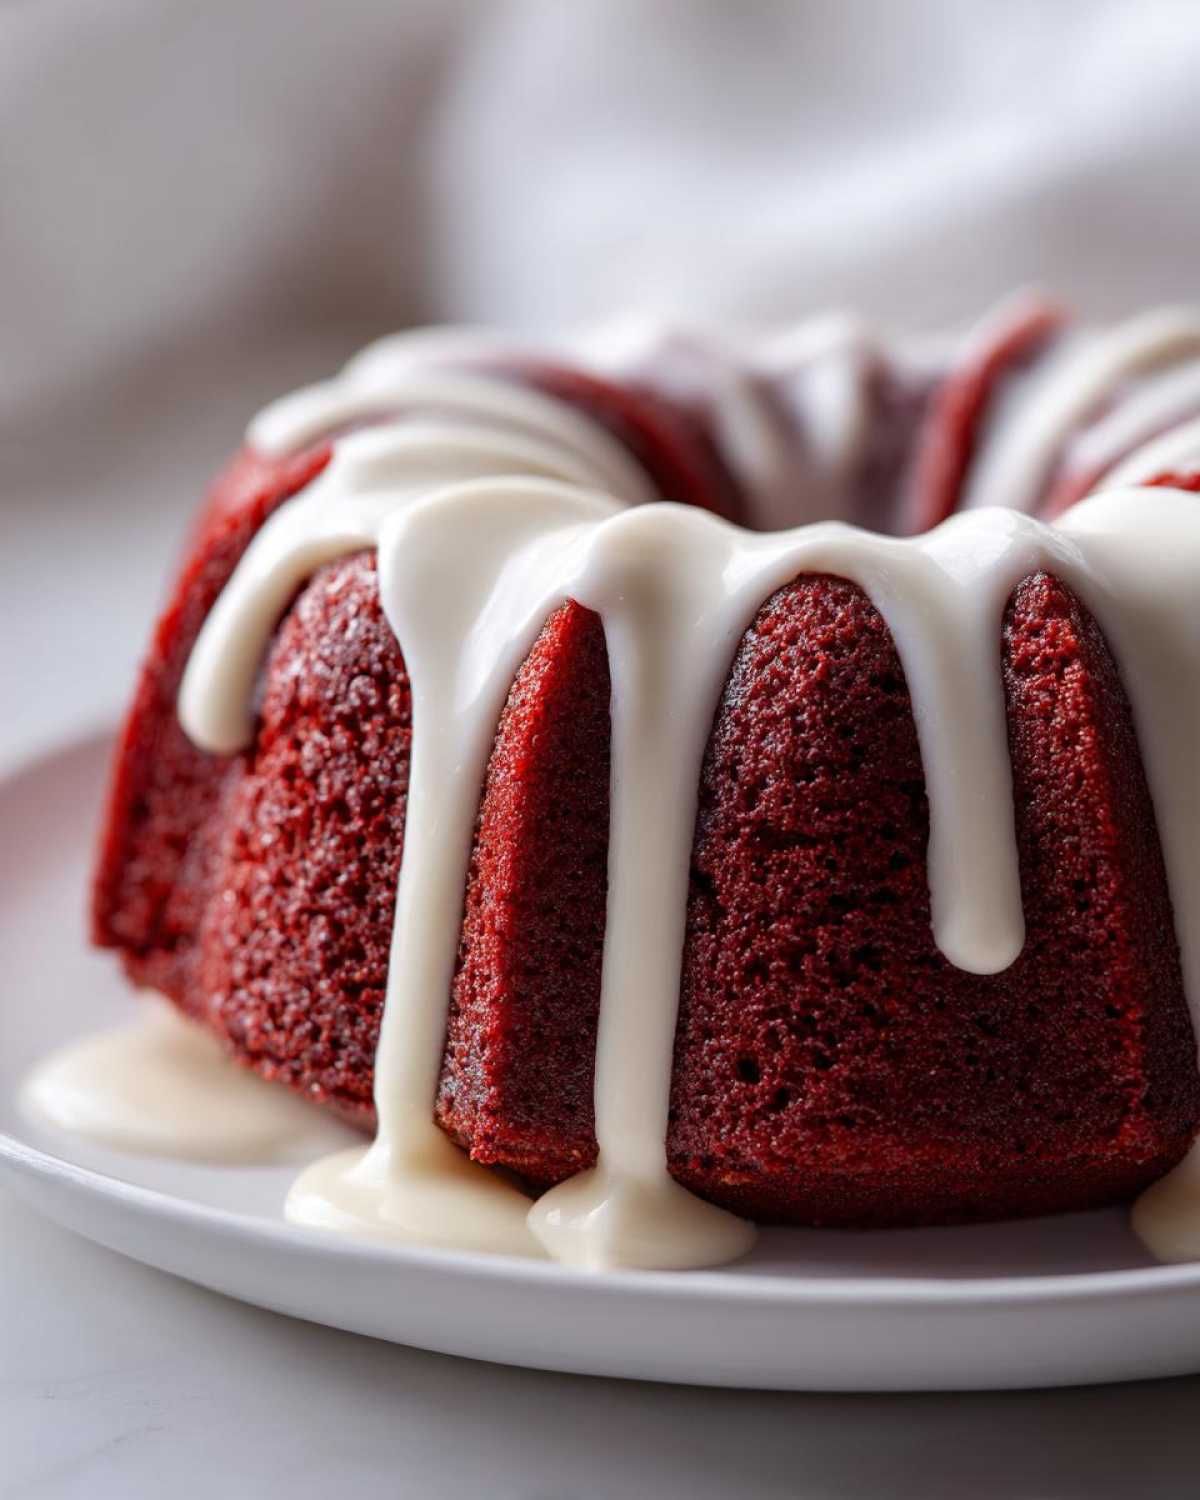
This cake is so flavorful on its own, it truly shines as the main event on any dessert table!
Storage and Reheating Instructions for Red Velvet Bundt Cake
Nobody wants to eat stale red velvet, even when it’s this amazing! Since we focused so heavily on making a truly Moist Red Velvet Cake, how you store it matters a lot to maintain that texture. You’ve got options, but my main rule is always to keep the air away from that pretty glaze!
The good news is that thanks to the buttermilk and the good amount of fat in the recipe, this cake holds up really well. If you’ve got leftovers (which I doubt, but we can hope!), follow these simple steps. If you’re already planning your next bake, you might want to check out my recipe for moist coffee cake to see another great storage hack!
Here’s what you need to know:
- Room Temperature (Best Option): If you plan to eat the rest of the cake within two to three days, keeping it covered at room temperature is actually my top choice. Humidity can make that lovely cream cheese glaze a bit runny, so cover it loosely with plastic wrap or put it under a cake dome. The texture of the cake stays softer this way. Just make sure your kitchen isn’t super hot!
- Refrigeration: If you need to keep it longer than three days, or if your kitchen is tropical, you absolutely need to refrigerate. Always wrap the cake tightly in plastic wrap first—this locks in the moisture we worked so hard to achieve. The downside is the cake can firm up a bit in the cold.
- Serving Reheated Cake: If you stored it in the fridge and it feels a bit hard, don’t panic! Just let that slice sit out on the counter for about 30 minutes before serving. It comes right back to that perfect, melt-in-your-mouth state. You never really want to microwave slices of this delicate cake, as it can seize up the sugar in the batter. Patience pays off!
Because this Red Velvet Bundt Cake is so festive, I always make sure I have a plan for the leftovers before the serving even starts!
Frequently Asked Questions About This Red Velvet Bundt Cake Recipe
It’s natural to have questions when you’re tackling a new recipe, especially one destined for a special occasion! I’ve gathered the questions I get asked the most about making sure this cake turns out perfectly, addressing texture, color, and simple ingredient swaps. We want your Easy Red Velvet Bundt Recipe attempt to be a roaring success the first time out. If you’ve ever wrestled with cookie dough, check out my tips on making sugar cookies that hold their shape—it’s all about ingredient management!
Can I make this Easy Red Velvet Bundt Recipe without Buttermilk?
Oh, that’s a common one! While pure buttermilk gives us the absolute best flavor and rise, I know not everyone keeps it stocked. You can absolutely make a substitute if you’re in a pinch! Take one cup of regular whole milk—and make sure it’s whole milk for the best fat content—and stir in one tablespoon of white vinegar or fresh lemon juice. Stir it gently, and then let it sit on the counter for about five to ten minutes.
What’s happening chemically here is that the acid is curdling the milk slightly, mimicking the pH level of real buttermilk. This acidity is crucial because it reacts with the baking soda to give your cake that beautiful tenderness and rise. Without that reaction, your Moist Red Velvet Cake might end up a little flat or dense, so don’t skip this step!
How does this compare to a Nothing Bundt Copycat Cake?
That’s a great question, especially since the texture of those commercial cakes is so specific! A Nothing Bundt Copycat Cake often relies on using a cake mix base, which tends to be lighter and fluffier than a true scratch cake. This recipe, designed for the Best Red Velvet Bundt results, uses a higher ratio of fat and sour agents specifically to create that rich, dense, yet incredibly moist crumb that you just don’t get from a mix.
Also, their signature cream cheese topping is often more of a thin, poured frosting, sometimes almost hardened. Our Cream Cheese Glaze for Bundt Cake is a little thicker and keeps that essential tangy flavor more prominent. While both are delicious, mine aims for that deep, rich, from-scratch flavor profile, keeping it a superior Showstopper Bundt Dessert on your table!
Do I really need that much food coloring?
I know 1 ounce sounds like a lot, but trust me, it is necessary if you want that real, deep red color that defines red velvet. If you look at the amount of flour and cocoa powder in the recipe, you need enough coloring to overcome the natural brown tones of the cocoa and the eggs. If you use less, you end up with a pinkish-brown cake, which just isn’t the classic look we want for a Festive Bundt Cake!
Remember what I said earlier? Using a concentrated gel color is a game-changer because it gives you that intense color without adding excess liquid that could throw off the careful balance of the wet and dry ingredients. Don’t skimp; that rich color is part of the experience!
Nutritional Estimates for a Slice of Red Velvet Bundt Cake
You know I always preach about enjoying the moment when you’re baking and eating something this delicious, but I also know some of you are curious about what you’re putting into your bodies! Since this is a homemade recipe, these numbers are just estimates, of course. Exact fat and sugar content can change wildly based on the brand of butter or sour cream you use, but this gives you a good starting point for any big gathering.
We calculated these based on 12 generous servings, which makes for a lovely slice of this rich red velvet bundt cake. For more details on how we put together these numbers and why they might vary, take a peek over at my full disclaimer page. Transparency is important, even when we are talking about glorious cake!
Here are the estimated values per slice:
- Serving Size: 1 slice
- Calories: 410
- Sugar: 45g
- Fat: 22g
- Saturated Fat: 13g
- Carbohydrates: 52g
- Protein: 4g
- Cholesterol: 75mg
Isn’t that decadent? Totally worth every single bite, if you ask me! Enjoy knowing the delicious breakdown of your Showstopper Bundt Dessert.
PrintMoist Red Velvet Bundt Cake with Tangy Cream Cheese Glaze
A recipe for a moist, deep red velvet cake baked in a bundt pan, topped with a simple cream cheese glaze.
- Prep Time: 20 min
- Cook Time: 50 min
- Total Time: 70 min
- Yield: 12 servings
- Category: Dessert
- Method: Baking
- Cuisine: American
- Diet: Vegetarian
Ingredients
- 2 1/2 cups all-purpose flour
- 1 1/2 cups granulated sugar
- 1 teaspoon baking soda
- 1 teaspoon salt
- 1 tablespoon unsweetened cocoa powder
- 1 cup unsalted butter, softened
- 2 large eggs
- 1 cup buttermilk
- 1 teaspoon white vinegar
- 1 teaspoon vanilla extract
- 1 ounce red food coloring (liquid or gel)
- 1 cup powdered sugar (for glaze)
- 2 tablespoons cream cheese, softened (for glaze)
- 1 tablespoon milk (for glaze)
Instructions
- Preheat your oven to 350 degrees F (175 degrees C). Grease and flour a 10-cup bundt pan well.
- In a large bowl, whisk together the flour, sugar, baking soda, salt, and cocoa powder. Set aside.
- In a separate bowl, cream the softened butter until light and fluffy. Beat in the eggs one at a time, mixing well after each addition.
- In a small bowl, mix the buttermilk, vinegar, vanilla extract, and red food coloring until the color is uniform.
- Gradually add the dry ingredients to the wet ingredients, alternating with the buttermilk mixture, beginning and ending with the dry ingredients. Mix until just combined; do not overmix.
- Pour the batter evenly into the prepared bundt pan.
- Bake for 45 to 55 minutes, or until a wooden pick inserted into the center comes out clean.
- Let the cake cool in the pan for 15 minutes before inverting it onto a wire rack to cool completely.
- Prepare the glaze: Beat the powdered sugar, softened cream cheese, and milk together until smooth. Add more milk if you need a thinner consistency.
- Drizzle the cream cheese glaze over the cooled cake.
Notes
- For a deeper red color, use gel food coloring instead of liquid.
- To ensure a moist cake, do not overbake. Check for doneness early.
- If you prefer a thicker glaze, use less milk.
Nutrition
- Serving Size: 1 slice
- Calories: 410
- Sugar: 45
- Sodium: 280
- Fat: 22
- Saturated Fat: 13
- Unsaturated Fat: 9
- Trans Fat: 0.5
- Carbohydrates: 52
- Fiber: 1
- Protein: 4
- Cholesterol: 75