

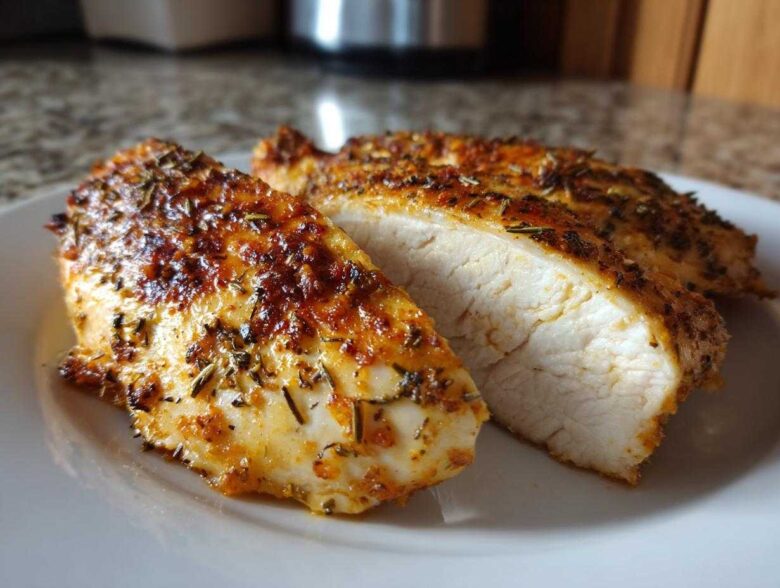
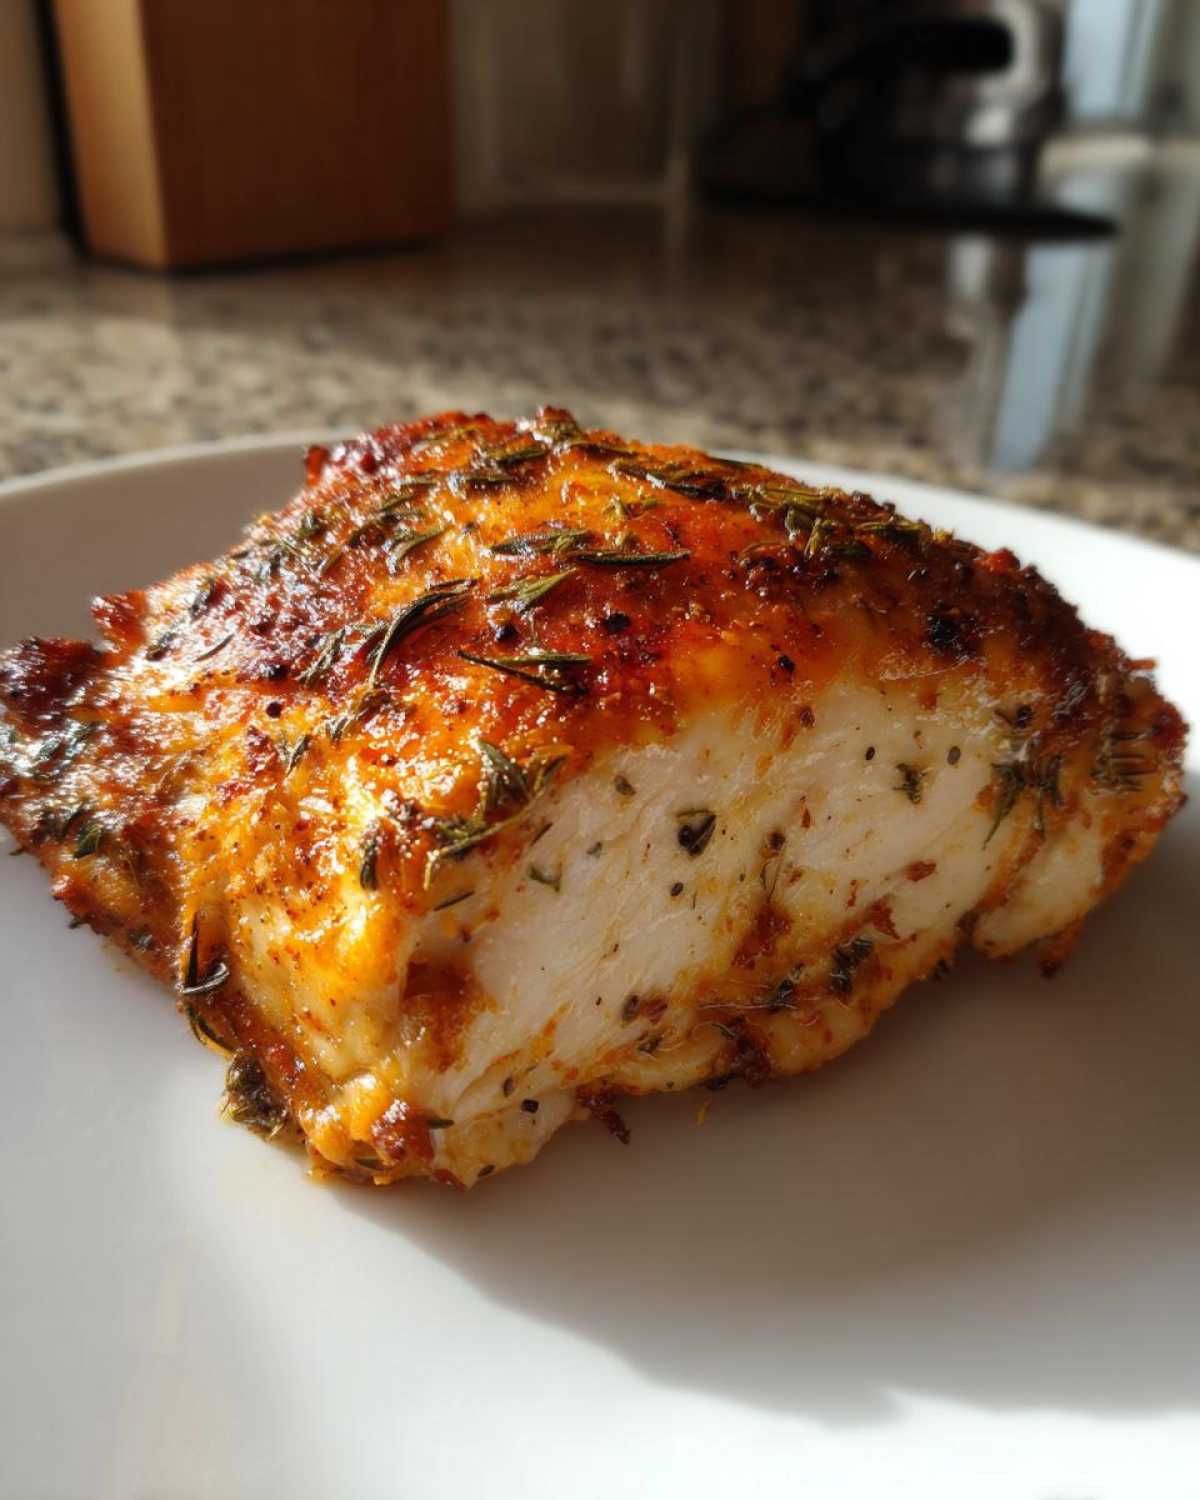
Oh man, we’ve all been there, right? You pull that chicken breast out of the oven, feeling smug because you remembered to turn the oven on, and when you finally slice into it, it looks like white sandpaper. It’s the absolute worst way to ruin a great weeknight dinner plan! Seriously, I spent years battling dry, chewy chicken myself until I finally cracked the code.
This recipe right here—my Foolproof Juicy Baked Chicken Breast—it’s my go-to. It’s what I make when I need a quick protein fix for meal prep, or when I have exactly zero patience left at 6 PM. It’s simple; we aren’t doing anything fancy, but trust me, this technique guarantees you’ll get that deeply flavorful, ridiculously juicy baked chicken breast every single time. It’s my staple for a reason!
The magic isn’t just in the seasoning; it’s in the loving attention to three tiny steps before it even hits the pan. If you follow just those basics, you won’t even need that amazing all-purpose marinade I love, though that’s a fun option for next time!
Why This Foolproof Baked Chicken Breast Recipe Works (The Secret to Juiciness)
People always ask me how I get my chicken to taste like it was slow-cooked when I really only spent 30 minutes on it. Honestly, it comes down to respecting the chicken. The biggest reason it turns out dry is that we pull it out too late! My entire method hinges on temperature. We are aiming for that sweet spot—fully cooked but not dehydrated.
Two other non-negotiables are drying the outside and resting the inside. You have to pat those breasts completely dry with paper towels first. If they are wet, the oil just slides off, and the seasoning won’t form that protective, flavorful crust. That crust is what keeps the beautiful juices you develop locked in during the bake. And please, please, please don’t skip the resting step!
Key Temperature Check for Tender Chicken Breast
If you take only one piece of advice from me today, make it this: use a digital meat thermometer. Seriously, it’s the game-changer for any protein, not just poultry. You need that instant readout! We are baking until the internal temperature hits exactly 165 degrees Fahrenheit. That is the USDA-approved safe temperature, and it means the chicken is perfectly cooked through. Anything hotter, even five degrees, and you’ve started down the path to chalky chicken. Aiming for 165°F is your best defense against having a moist chicken breast in oven.
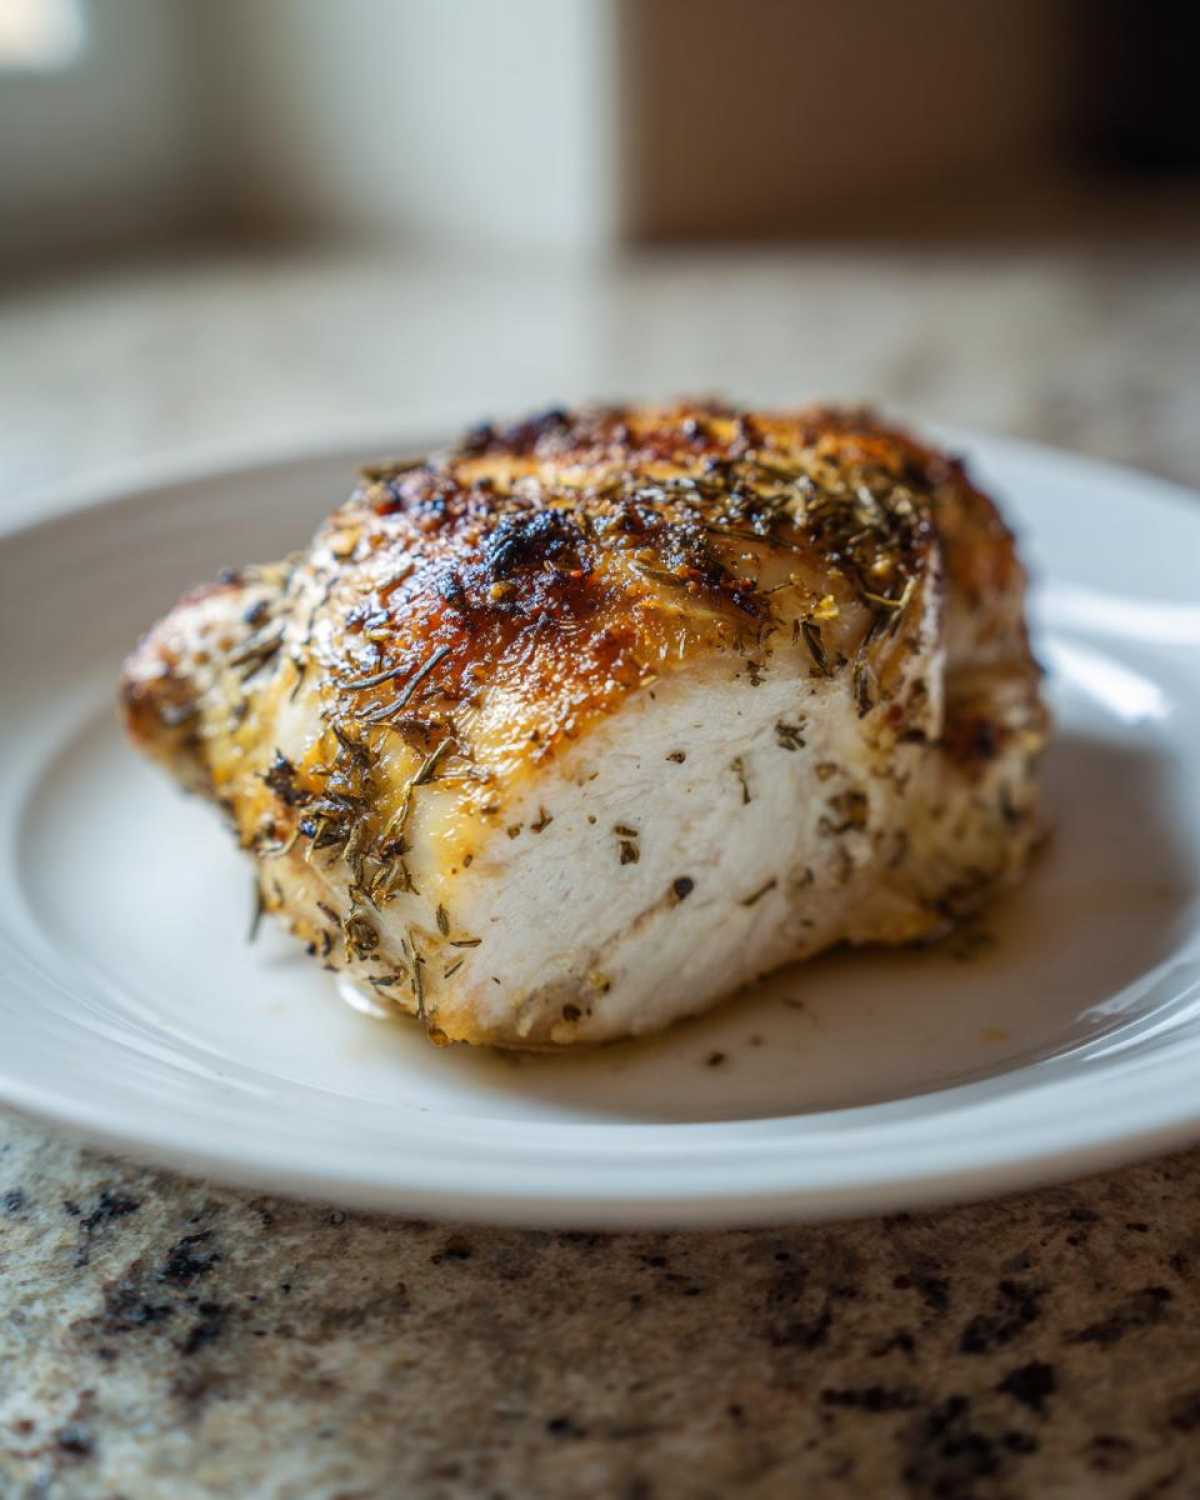
Ingredients for the Simple Seasoning Chicken Blend
Okay, let’s talk about what goes into making these chicken breasts sing! This seasoning blend is intentionally minimal because the absolute best flavor comes from letting the quality of the meat shine through, plus we are keeping this super quick for those busy nights. We are using standard measurements, so grab your smallest measuring spoons!
- 4 boneless, skinless chicken breasts (about 6 oz each)
- 1 tablespoon olive oil
- 1 teaspoon salt
- 1 teaspoon black pepper
- 1 teaspoon paprika
- 1 teaspoon garlic powder
- 1/2 teaspoon dried oregano
I really love this blend because it hits savory, a tiny bit earthy, and just enough warmth from the pepper. It’s the perfect ratio for a classic, reliable Simple Baked Chicken that doesn’t overpower anything you decide to serve alongside it. It’s the foundational flavor!
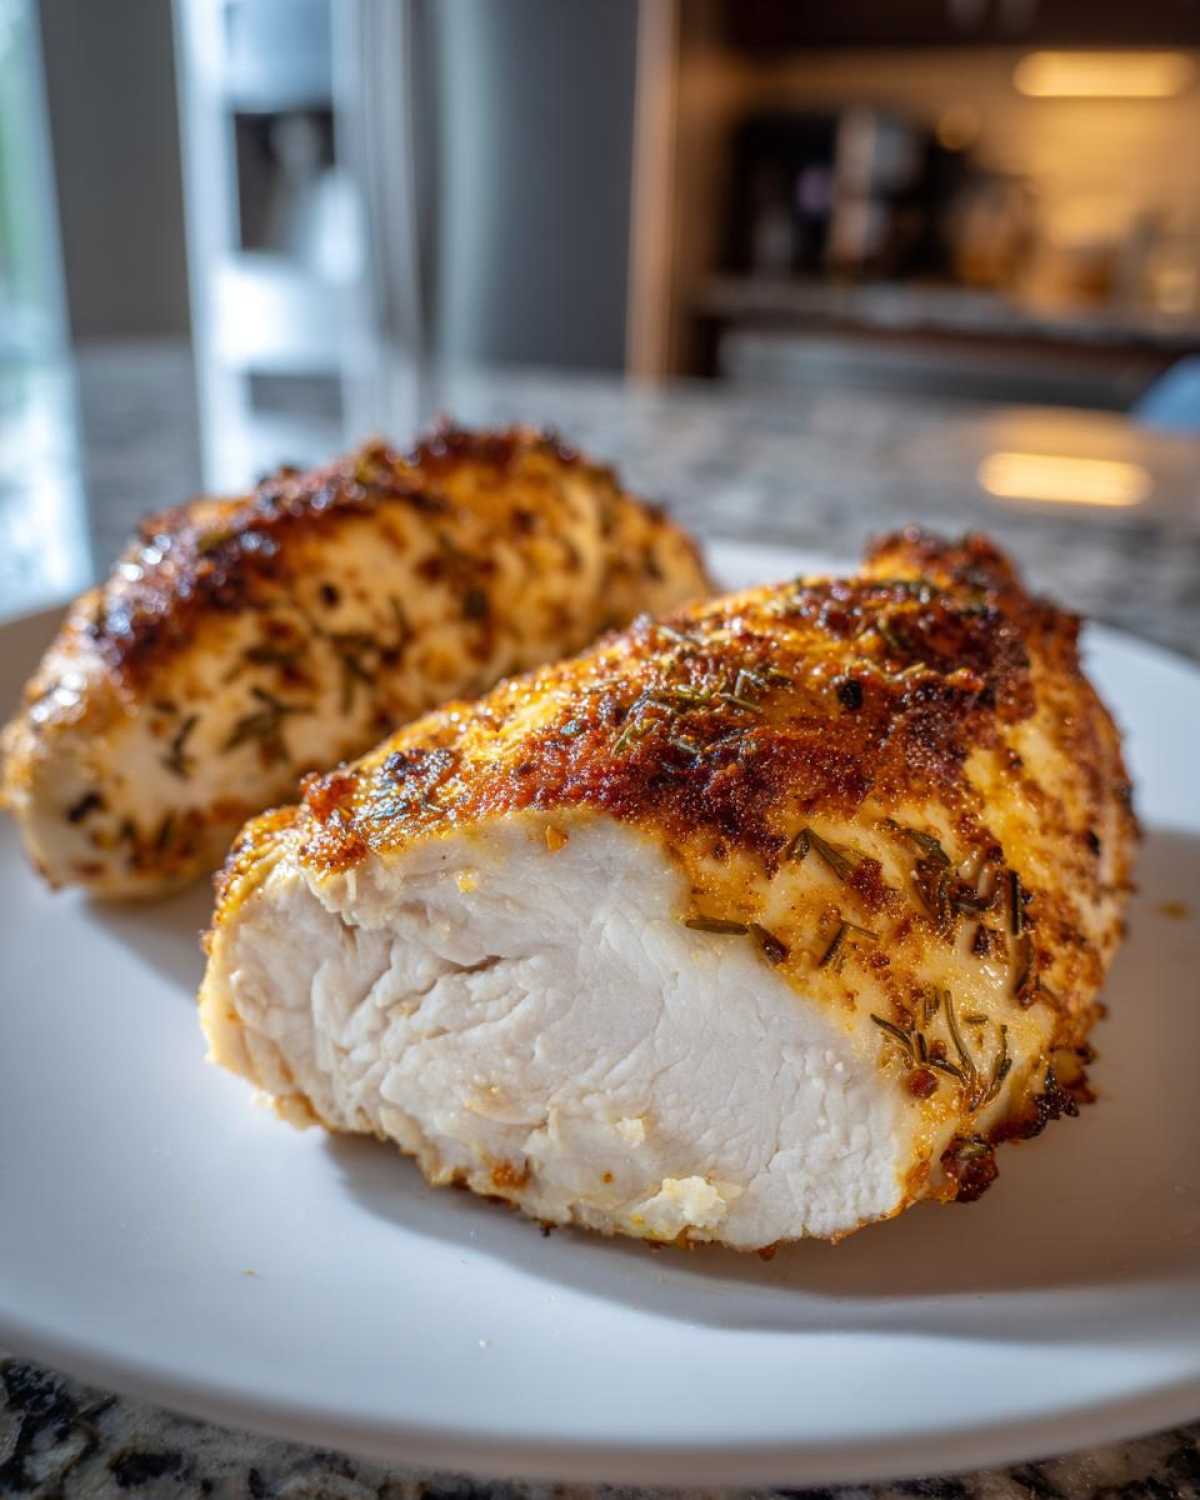
Ingredient Notes and Substitution Guidance
Now, while this recipe is fantastic as is, I’ve learned a thing or two over the years that might help you level up or adjust for what you have on hand. This is where you add your own touch!
If you grab chicken breasts that are super thick on one end and thin on the other—which happens all the time at the grocery store—you absolutely must pound them out a bit. Grab a piece of plastic wrap, put it over the thickest part, and gently tap it with a rolling pin or the flat side of a meat mallet until the thickness is more even, maybe about 3/4 of an inch. This ensures everything cooks at the same rate, preventing dry edges while waiting for the middle to finish.
Also, if you are really worried about moisture—and totally understandable if you are!—try this little trick: just before you pop the dish into the oven, place one little thin pat of good quality butter right on top of each seasoned breast. As it melts, it bastes the top gently. It adds a tiny bit of fat, but honestly, tender chicken breast success is worth a little luxurious butter!
Step-by-Step Instructions for Perfect Baked Chicken Breast
So, you have your ingredients, you trust the science, now let’s get this done! Because this recipe is designed to be so fast, the prep has to be quick, but it needs to be deliberate. We are moving fast but efficiently here so we can get this delicious baked chicken breast on the table in under 30 minutes total time. Don’t rush the prep steps, though—they matter more than you realize!
We’re going to walk through setting up the oven environment, getting that perfect seasoning mix going, and then getting that beautifully seasoned protein into the heat. Then, we talk about the most important kitchen waiting game you’ll ever play!
Prepping the Chicken for Oven Baked Chicken Breast Recipe
Start by getting that oven roaring hot—we want 400 degrees Fahrenheit. Don’t forget to grease your dish or line it with parchment paper for easy cleanup; nobody wants to scrub baked-on spices! Now, grab your paper towels. You need to pat those chicken breasts bone-dry. I mean it, get all that surface moisture off! While that’s happening, quickly combine your salt, pepper, paprika, garlic powder, and oregano in a tiny bowl. This is your dry rub.
Once they’re dry, rub them all over with that tablespoon of olive oil—it helps everything stick. Then, sprinkle that seasoning blend everywhere and really press it in. We want that coating right against the meat!
Baking and Resting for a Juicy Baked Chicken Breast
Place your seasoned chicken breasts in a single layer in that prepared dish. From here, the oven does the heavy lifting. Depending on how thick your cuts are, you’re looking at 20 to 25 minutes total baking time. You MUST use that meat thermometer during this window!
Once that thermometer hits 165°F, pull them out immediately! This is the make-or-break moment for a juicy baked chicken breast. Do not serve these straight away! They need, at minimum, five minutes resting somewhere warm—like a clean cutting board loosely covered with foil. This resting time lets all those delicious internal juices redistribute throughout the meat instead of pouring out onto your plate the second you slice it. Trust me, that rest is key!
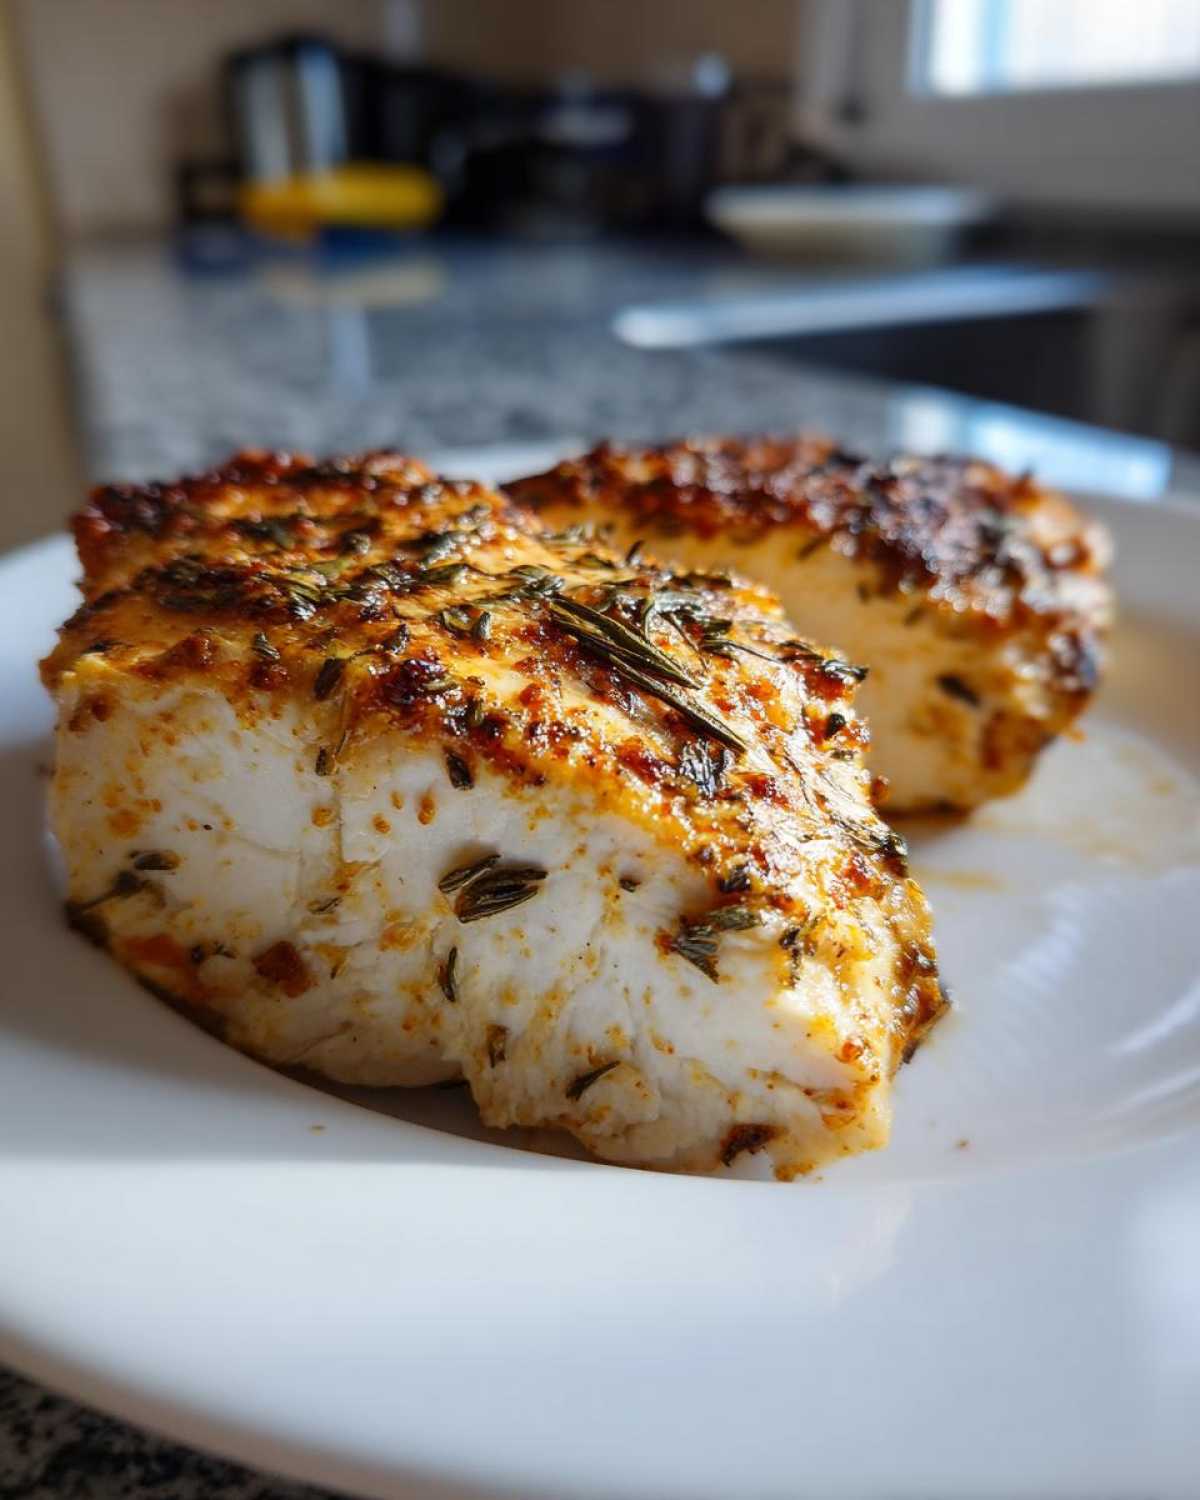
If you’re looking for something gravy-worthy to pour over this perfectly cooked poultry, I highly recommend taking a peek at my recipe for quick homemade chicken gravy once the chicken is resting!
Making This Recipe an Easy Chicken Breast Dinner
This is hands-down my favorite way to tackle dinner when I’ve had a crazy day and need something fast, healthy, and satisfying on the table quickly. Since the hands-on time is practically zero—maybe five minutes of rubbing spices on the meat—this easily qualifies as a superstar easy chicken breast dinner. You’re baking while you prep your sides, maybe toss together a quick salad, and boom, dinner is done in about 30 minutes total.
Because the seasoning is so versatile, you can serve this chicken with nearly anything. If I’m having a lazy night, I usually throw some frozen green beans into the oven right alongside the chicken dish. If I’m feeling ambitious, I’ll sometimes whip up a quick homemade chicken gravy, and this chicken slices perfectly right on top of it. That gravy makes everything taste ten times better! Or, if you’re looking for something heartier that cooks alongside it, you could try my one-pot sausage and rice skillet dinner!
Tips for Meal Prep Chicken Breast Success
If you’re like me and love having protein ready to go for lunch during the week, this recipe is your best friend. It holds up *so* well!
The biggest tip for successful meal prep chicken breast is getting it cooled down properly. You can’t just throw the hot chicken directly into a plastic container and seal it up—that creates steam, and steam equals soggy chicken, even if it was juicy when it came out of the oven. As soon as the 5-minute resting time is done, take the chicken breasts out of the baking dish and place them on a clean plate or wire rack. Let them cool down to room temperature for about 30 to 45 minutes before sealing them up in an airtight container in the fridge. This manages the moisture perfectly.
I find that slicing the chicken right before storing it helps it absorb marinades or sauces later, too! If you are planning to reheat it, just remember to add a tiny splash of water or broth to your container before popping it in the microwave—that quick steam bath will bring back that melt-in-your-mouth texture again!
Serving Suggestions for Your Tender Chicken Breast
The beauty of this simple, savory chicken is that it’s a blank canvas! Since the chicken itself only takes about 30 minutes total, you want sides that cook almost as fast, or ones you can prep while the chicken is resting. Nothing is worse than perfectly cooked chicken waiting around for soggy vegetables, right?
For a super-fast, home-style meal, you can’t beat pairing this with a grain. If you need something in the carb department, my recipe for easy fluffy rice pilaf comes together in about the same amount of time as the chicken resting period. It absorbs any little bit of pan drippings you might drizzle over the top, which is just heavenly.
If you’re looking to keep dinner lighter, roasted vegetables are always a winner. While they might take a touch longer than 30 minutes if they are big and chunky, I love throwing cubed sweet potatoes in the oven alongside the chicken—just toss them with olive oil and salt before the chicken goes in. Check out the trick for getting them perfectly tender with crisp edges in my roasted sweet potatoes recipe. You can time it so everything comes out together!
Of course, a simple steamed green vegetable—broccoli or asparagus—thrown on at the last 10 minutes of the chicken’s bake time is my lazy-but-healthy go-to. It keeps the whole meal quick, healthy, and lets your tender chicken breast shine as the perfect, lean centerpiece.
Troubleshooting Common How to Bake Chicken Breast Issues
Look, even when you follow the best steps, sometimes things don’t go exactly as planned, right? That’s totally normal in the kitchen! I’ve had my fair share of cooking disasters, and honestly, learning to fix the small things before they become big problems is what makes a cook confident. Think of this section as your safety net for when you’re trying to nail that perfect how to bake chicken breast technique.
Here are the three main snags people hit when trying this recipe, and how we fix them fast. Don’t freak out if it happens; just adjust and keep going!
My chicken breast is still mostly pink in the middle!
This is the classic issue, and it almost always comes back to the thickness. If your chicken breasts are shaped like a teardrop—super thick on the bulbous end and thin near the tip—the thin part is going to be dry and chalky by the time that thick part hits 165°F. Did you forget to pound it out or butterfly it? No sweat. If you notice this happening after about 15 minutes of baking, you have two options.
Option one: Quickly pull the thinner pieces out and let them rest while the thicker pieces finish cooking on their own. Option two, and my preferred fix: Tent the entire dish very loosely with foil. This creates a mini-oven that traps heat and steam around the top, slowing down the browning and allowing the heat to gently penetrate the thickest part without scorching the thinner edges. It buys you those crucial extra minutes!
Why did my rub fall off or burn?
If you find that beautiful spice blend you worked so hard to mix just slid right off into the pan or, worse, turned black before the chicken was done, you missed two critical steps. First, the oil application has to be even, but that’s only half the battle.
The second part, which is super important for a dry rub chicken breast, is pressing! You need to gently press the seasonings onto the oiled surface like you are trying to make them stick firmly to the meat. Second issue: sugar burns easily. If you accidentally added any brown sugar to your simple rub (which you shouldn’t have for this recipe, but I know people tweak things!), it will burn before the internal temp is reached. Keep the bake temp at 400°F and stick to the blend I wrote out above, and this shouldn’t happen!
I don’t have a thermometer—how do I know it’s done?
If you absolutely, positively do not have a thermometer (though I highly, highly recommend grabbing one—they are so cheap now!), you have to rely on visual cues, but be extra cautious! Slice a small slit into the thickest part of one breast. You are looking for crystal clear juices. If the juices coming out are cloudy or pinkish, it needs more time. If the juices are totally clear, it’s done. Be aware, though, that this method is less precise, and you risk overcooking slightly just to be perfectly safe!
Frequently Asked Questions About Healthy Baked Chicken
People always have questions when they are trying to perfect something as fundamental as baking chicken, and I totally get it! We want this to be healthy baked chicken, but we absolutely do not want it to taste like cardboard. Here are a few things that pop up most often when people are trying this quick protein dinner method for the first time.
Can I bake frozen chicken breasts using this recipe?
Oh, boy, that’s a tempting shortcut, isn’t it? My advice is firmly: no, don’t put frozen chicken breasts straight into the 400°F oven for this recipe. You will end up with weirdly cooked chicken where the outside gets tough while you wait an eternity for the inside to thaw. If you *must* bake from frozen, you need to start low and slow. Thaw the chicken first in the fridge overnight if you can. If you’re in a real pinch, you can microwave it on the defrost setting just until the ice crystals are mostly gone, then proceed with the recipe. But remember, for the best chicken breast recipe experience, starting with thawed, dry chicken is crucial!
If they are too thick, can I bake at a lower temperature for longer?
You *can*, but I really caution against it if you are aiming for that tender interior. If you drop the temperature much lower than 375°F, you risk the chicken sitting in its own moisture too long without enough ambient heat to create that nice sear/crust we talked about earlier. Lower temp means longer cooking, which risks drying out the exterior before the center is done—it’s a timing nightmare! Better to take the extra minute or two to pound them to an even thickness and keep that oven hot at 400°F for that quick, efficient cook. That’s how we ensure a truly moist chicken breast in oven!
I don’t have an oven right now! Can I adapt this for an air fryer?
Yes! I love adapting standard recipes for the air fryer because it cooks even faster! Since you’re looking for a simple baked chicken result, the air fryer is perfect because it uses high, direct heat. You’ll want to preheat your air fryer to 380°F. Reduce the time significantly—start checking around 12 to 15 minutes. You’ll still use the same spice ratio and you *still* need to check the internal temp! If you want to see how I tackle a whole bird in one of those machines, you can check out my tips on the air fryer whole chicken recipe.
Why is resting the chicken so important for a Juicy Baked Chicken Breast?
This ties back to the juiciness factor, honestly. When chicken cooks, the muscle fibers tighten up, squeezing out all that delicious moisture. If you cut into it immediately, all those juices—the ones you worked so hard to keep inside with oil and seasoning—flow right out onto your plate or cutting board. Resting allows those fibers to relax slightly and reabsorb some of that liquid. That 5-minute rest is non-negotiable for guaranteeing a juicy baked chicken breast that cuts like butter!
Estimated Nutritional Data for This Recipe
Since this recipe is designed to be so straightforward and healthy, folks often ask me what the nutritional breakdown looks like. You want great flavor, but you also need to know what you’re eating, especially if you’re using this as a base for your weekly meal prep chicken breast!
I want to be super clear: these numbers are estimates based on the specific ingredients I list in the recipe—olive oil, chicken breast size, and the basic spices. If you add butter on top, or if your chicken breasts are significantly larger or smaller than the 6 oz size I specified, these values will definitely change. Always treat this as a fantastic reference point for your quick protein dinner, but verify if you’re tracking macros very strictly!
For one standard serving (one 6 oz breast), here is the breakdown:
- Serving Size: 1 breast
- Calories: 220
- Protein: 40g
- Fat: 5g
- Saturated Fat: 1g
- Carbohydrates: 1g
- Sugar: 0g
- Sodium: 450mg
See? Forty grams of protein for only 220 calories! That’s exactly why this simple baked chicken breast is such a staple in my house. It keeps me full without weighing me down. When you keep the seasoning simple, the fat content stays low and you aren’t loading up on hidden sugars or unnecessary oils. It’s clean eating without having to rely on complex sauces or heavy marinades!
Share Your Thoughts on This Best Chicken Breast Recipe
Whew! That’s it! You’ve got my absolute top-tier method for achieving a genuinely best chicken breast recipe result, meaning juicy, tender, and ready in under 30 minutes. I’m so excited for you to try this out on your next frantic weeknight when you need a reliable, healthy dinner on the table fast. It’s truly my secret weapon against dry poultry!
Now that you’ve tried it, I desperately want to know what you think! Did it work out? Was it as juicy as you hoped? Please drop a rating below—five stars if this cracked the code for you, or maybe four if you tweaked something a little differently!
I always love seeing how you all adapt my staple recipes. Did you try adding a tiny bit of onion powder to the rub? Are you pairing it with that amazing fluffy rice pilaf I mentioned for a quick side? Snap a picture of your finished plate and tag me on social media! I read every single comment, and your feedback really helps me figure out what recipes to share next. Happy cooking, everyone!
PrintFoolproof Juicy Baked Chicken Breast
A simple method for baking chicken breasts in the oven to achieve a tender and moist result every time using a basic seasoning blend.
- Prep Time: 5 min
- Cook Time: 25 min
- Total Time: 30 min
- Yield: 4 servings
- Category: Dinner
- Method: Baking
- Cuisine: American
- Diet: Low Fat
Ingredients
- 4 boneless, skinless chicken breasts (about 6 oz each)
- 1 tablespoon olive oil
- 1 teaspoon salt
- 1 teaspoon black pepper
- 1 teaspoon paprika
- 1 teaspoon garlic powder
- 1/2 teaspoon dried oregano
Instructions
- Preheat your oven to 400 degrees Fahrenheit (200 degrees Celsius). Lightly grease a baking dish or line it with parchment paper.
- In a small bowl, mix the salt, pepper, paprika, garlic powder, and oregano to create the seasoning blend.
- Pat the chicken breasts dry thoroughly with paper towels. This step helps the seasoning adhere and promotes better texture.
- Rub the olive oil evenly over all sides of the chicken breasts.
- Sprinkle the seasoning blend over the chicken, pressing gently so the spices stick.
- Place the seasoned chicken breasts in the prepared baking dish in a single layer.
- Bake for 20 to 25 minutes, depending on the thickness of the breasts.
- Use a meat thermometer to check the internal temperature; the chicken is done when it reaches 165 degrees Fahrenheit (74 degrees Celsius) in the thickest part.
- Remove the chicken from the oven and let it rest on a cutting board for 5 minutes before slicing or serving. This resting period keeps the juices inside.
Notes
- For extra moisture, you can place a few thin pats of butter on top of each breast before baking.
- If your chicken breasts are very thick, pound them to an even thickness (about 3/4 inch) before seasoning to ensure even cooking.
- This recipe works well for meal prepping; store cooled chicken in an airtight container in the refrigerator for up to 4 days.
Nutrition
- Serving Size: 1 breast
- Calories: 220
- Sugar: 0
- Sodium: 450
- Fat: 5
- Saturated Fat: 1
- Unsaturated Fat: 4
- Trans Fat: 0
- Carbohydrates: 1
- Fiber: 0
- Protein: 40
- Cholesterol: 110