

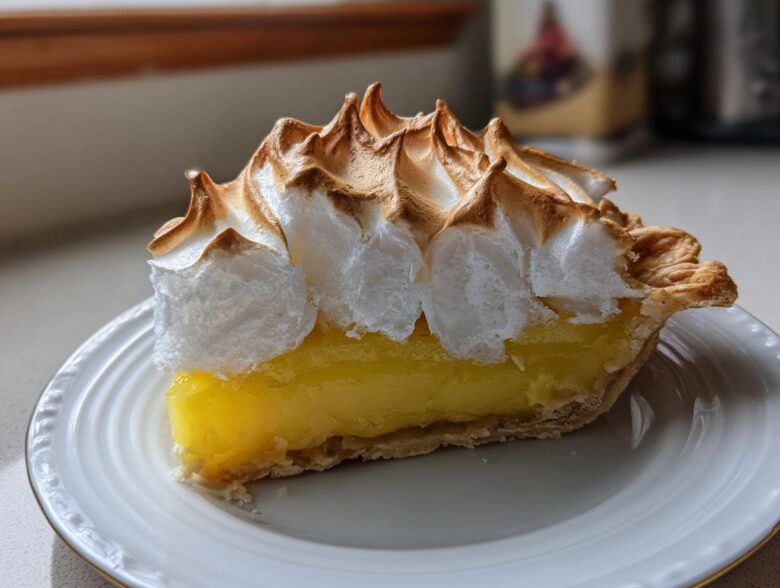
Oh, friends, you know how Leo and I kept our lives quiet and scheduled for decades? Well, that’s all over now that we’re retired! The loudest room in our house these days is the kitchen, especially when we’re pulling out a masterpiece like this lemon meringue pie. Forget those dusty boxes mixes; this is the real deal. We’re talking about the ultimate, showstopping, from-scratch Lemon Meringue Pie that will make everyone at your table gasp. When I finally mastered keeping that glorious meringue from weeping, I knew I had to share the secret. This recipe is pure sunshine, baked with the joy of our second act! If you want to see what else is making headlines in our kitchen, check out our latest dispatches over at Tasty Tribune!
Why This Homemade Lemon Meringue Pie Recipe Is Your New Family Favorite Pie
I promise you, once you make this lemon meringue pie completely from scratch, you’ll never go back. Leo swears that since we retired, I’ve become even more stubborn about quality, and he’s right! We decided this couldn’t just be *a* pie; it had to be the pie—the one that stops conversation when you bring it to the table. This recipe is foolproof because we are skipping anything powdered or artificial. It’s all about that glorious, tangy, authentic flavor.
- It’s truly homemade, from the buttery crust right up to that cloud-like topping.
- It delivers the ideal texture contrast every single time.
- We spent weeks perfecting the filling so it sets beautifully—no soupy centers here!
If you’re looking for a dessert that sings, this is it. You might want to check out my secret for perfect sugar cookies while you wait for your pie to chill, too! These hold their shape beautifully.
The Perfect Balance: Zesty Lemon Custard Meets Fluffy Meringue Topping
The magic of the Best Lemon Meringue Pie comes down to texture. Our lemon custard isn’t just sweet; it’s bright and zesty—that real citrus punch that cuts through the richness. Then, we top it with a meringue that is so tall and fluffy you’ll wonder how it stays put! We’ve engineered this recipe to give you a stable structure, making it the centerpiece you always dreamed of serving.
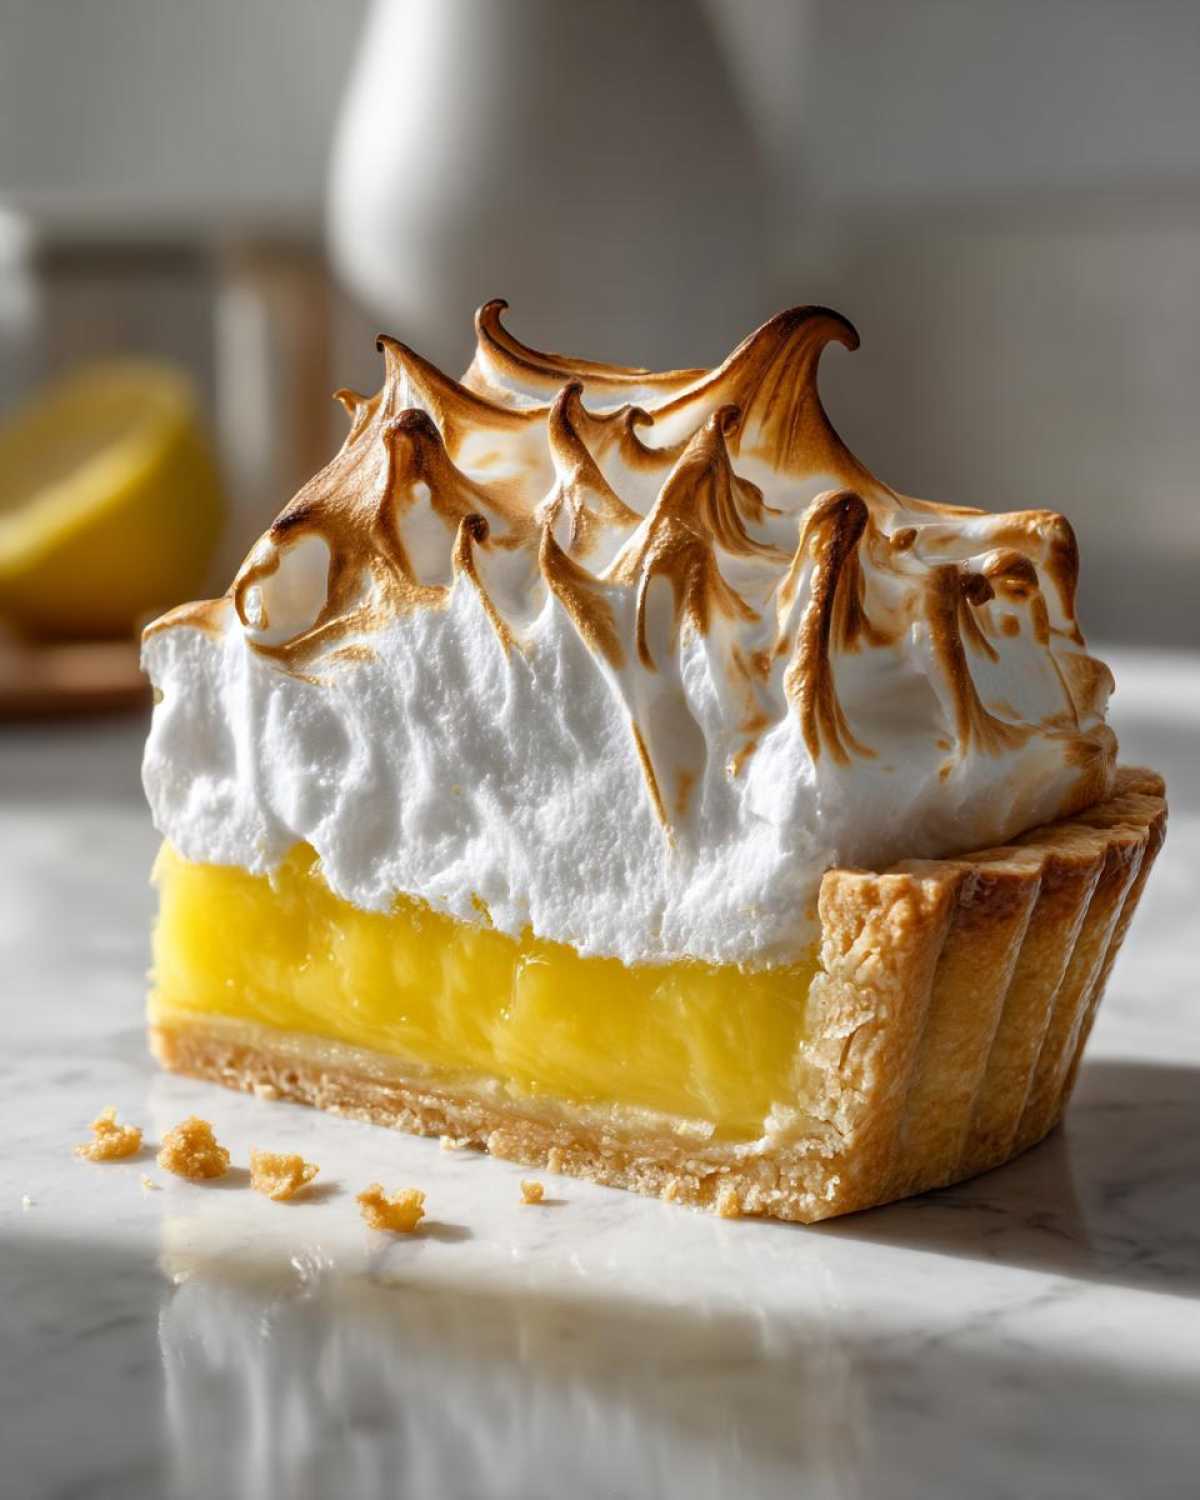
Essential Ingredients for Your Classic Lemon Meringue Pie Recipe
I know, I know, gathering all these fresh components takes a little more effort than dumping powder from a box, right? But trust me, this is where your Homemade Lemon Meringue Pie earns its stripes! Clarity is key when you’re building something this beautiful. These measurements are exact for an 8-serving, 9-inch pie, guaranteed to give you that irresistible, tangy sweet dessert experience. Don’t forget to check out our scone recipe if you need a beautiful brunch item to serve alongside the leftovers—or just because you deserve something delicious! These buttermilk scones are buttery perfection.
For the Buttery Pie Crust
- 1 (9-inch) unbaked Buttery Pie Crust (Use your favorite homemade recipe or a high-quality store-bought one! Just make sure it’s blind-baked until lightly golden before filling.)
For the From Scratch Lemon Custard
- 1 1/2 cups granulated sugar
- 1/3 cup cornstarch
- 1/4 teaspoon salt
- 1 1/2 cups cold water
- 4 large egg yolks, lightly beaten
- 2 tablespoons unsalted butter
- 1/2 cup fresh lemon juice (I use juice from about 3 good lemons for that real tang!)
- 1 tablespoon lemon zest
For the Fluffy Meringue Topping
- 6 large egg whites, at room temperature (This is non-negotiable for a tall, Fluffy Meringue Topping!)
- 1/2 teaspoon cream of tartar
- 1/2 cup granulated sugar (for meringue)
How to Make Lemon Meringue Pie: Step-by-Step Instructions
Okay, this is where the real action happens! Making How to Make Lemon Meringue Pie from scratch requires a little choreography, but it’s totally worth the effort. If you follow my timing cues—especially about temperature—you’ll end up with a perfect, vibrant pie. We’re mixing, stirring, tempering, and whipping our way to dessert stardom. Don’t rush the cooling steps, that’s my biggest plea!
Preparing the Crust and Custard Base
First things first: Handle that crust. You need to prepare your pie shell, which means baking it first according to whatever method you use, or the package instructions. We want it golden, not pale! Let that shell cool completely on a wire rack. I mean completely cool—if it’s even slightly warm when the hot filling goes in, you’re setting yourself up for a soggy bottom, and nobody wants that drama.
Now for the base of the From Scratch Lemon Custard. Grab a medium saucepan and whisk together your 1 1/2 cups of sugar, cornstarch, and salt. Then, slowly whisk in the cold water until it’s all smooth and lump-free. Put that over medium heat and stir, stir, stir constantly until it gets thick like pudding and actually comes to a rolling boil. Let it boil for exactly one minute while stirring the whole time, then take it right off the heat.
Creating the Zesty Lemon Pie Filling
Here’s the step that separates the bakers from the beginners: tempering the eggs! In a separate bowl, take your 4 lightly beaten egg yolks. Remember, if you dump the hot sugar mixture right onto them, you’ll end up with lemon scrambled eggs. Yikes! Slowly, and I mean slowly, drizzle about a cup of that hot sugar mixture into the yolks while whisking constantly like your life depends on it. This gently warms them up.
Once they look happy and tempered, pour that yolk mixture carefully back into the saucepan with the rest of the hot base. Put it back on medium heat and cook it again, stirring constantly, until it thickens up majorly and just starts to bubble again. Don’t let it hammer away boiling, just a gentle bubble is what we want! Finally, take it off the heat, stir in the butter until it melts away, and then mix in your fresh lemon juice and zest. Pour this beautiful, Zesty Lemon Pie filling immediately into that cooled pie shell.
Achieving the Fluffy Meringue Topping
Time for the showstopper! Make absolutely certain your mixing bowl and whisk attachment are squeaky clean—any trace of grease or yolk will stop your meringue in its tracks. Take those 6 room-temperature egg whites and start beating them. Once they look foamy, add your cream of tartar. Keep going until you get soft peaks that bend over slightly when you lift the whisk.
Now, slowly stream in that final 1/2 cup of sugar while the mixer is running. Keep beating until the meringue is stiff, glossy, and those peaks stand up straight when you pull the whisk out. That’s the trick to a Fluffy Meringue Topping that holds its shape! For an extra creamy texture, you might want to read up on my creamy cheesecake recipe—the texture secrets are similar!

Assembling, Baking, and Cooling the Lemon Meringue
Don’t wait! Spoon that magnificent meringue right over the hot lemon custard. This is crucial for preventing “weeping” later on—make sure the meringue touches the crust edge all the way around the perimeter; seal it in tight! Swirl the top decoratively with the back of a spoon to catch the heat beautifully.
Bake this beauty at 350°F (175°C) for about 12 to 15 minutes, just until those lovely peaks turn golden brown. Then, my friends, comes the hardest part: patience! Let it cool on the counter for a full hour at room temperature. After that hour, cover it gently and move it to the fridge to chill for at least four hours, but honestly, overnight is best for the filling to truly set!
Tips for Success: Mastering Your Lemon Meringue
We’ve covered the steps, but when you’re tackling a showstopper like this, you need the insider knowledge to ensure perfection. Leo calls this the ‘Troubleshooting Tribune’ section! The biggest worries people have when making a Lemon Meringue pie usually revolve around the meringue deciding to cry or deflate. Don’t let that happen to you!
These little tricks are why Grandma’s recipes always turned out flawlessly, and they’re the reason ours will, too. If you want fewer tears in your kitchen and more compliments at your table, pay close attention here. I even have a shortcut recipe for chili if you need a savory break after all this baking! It’s incredibly easy.
No Weeping Meringue Tips for Your Lemon Meringue Pie
Weeping—that awful thin layer of sugary liquid that pools between the custard and the meringue—happens when the meringue isn’t properly sealed to the hot filling. My number one tip is what I called “The Great Seal.” When you place your meringue onto the hot From Scratch Lemon Custard, you must spread it completely so it touches the crust edge all the way around. Trap that moisture in!
Secondly, those egg whites must be at room temperature. Room temperature egg whites whip up higher and create a much more stable, glossy structure that holds its stiffness better during baking and cooling. If you use cold whites, you’ll never get that truly tall, cloud-like height we’re aiming for in the Fluffy Meringue Topping!
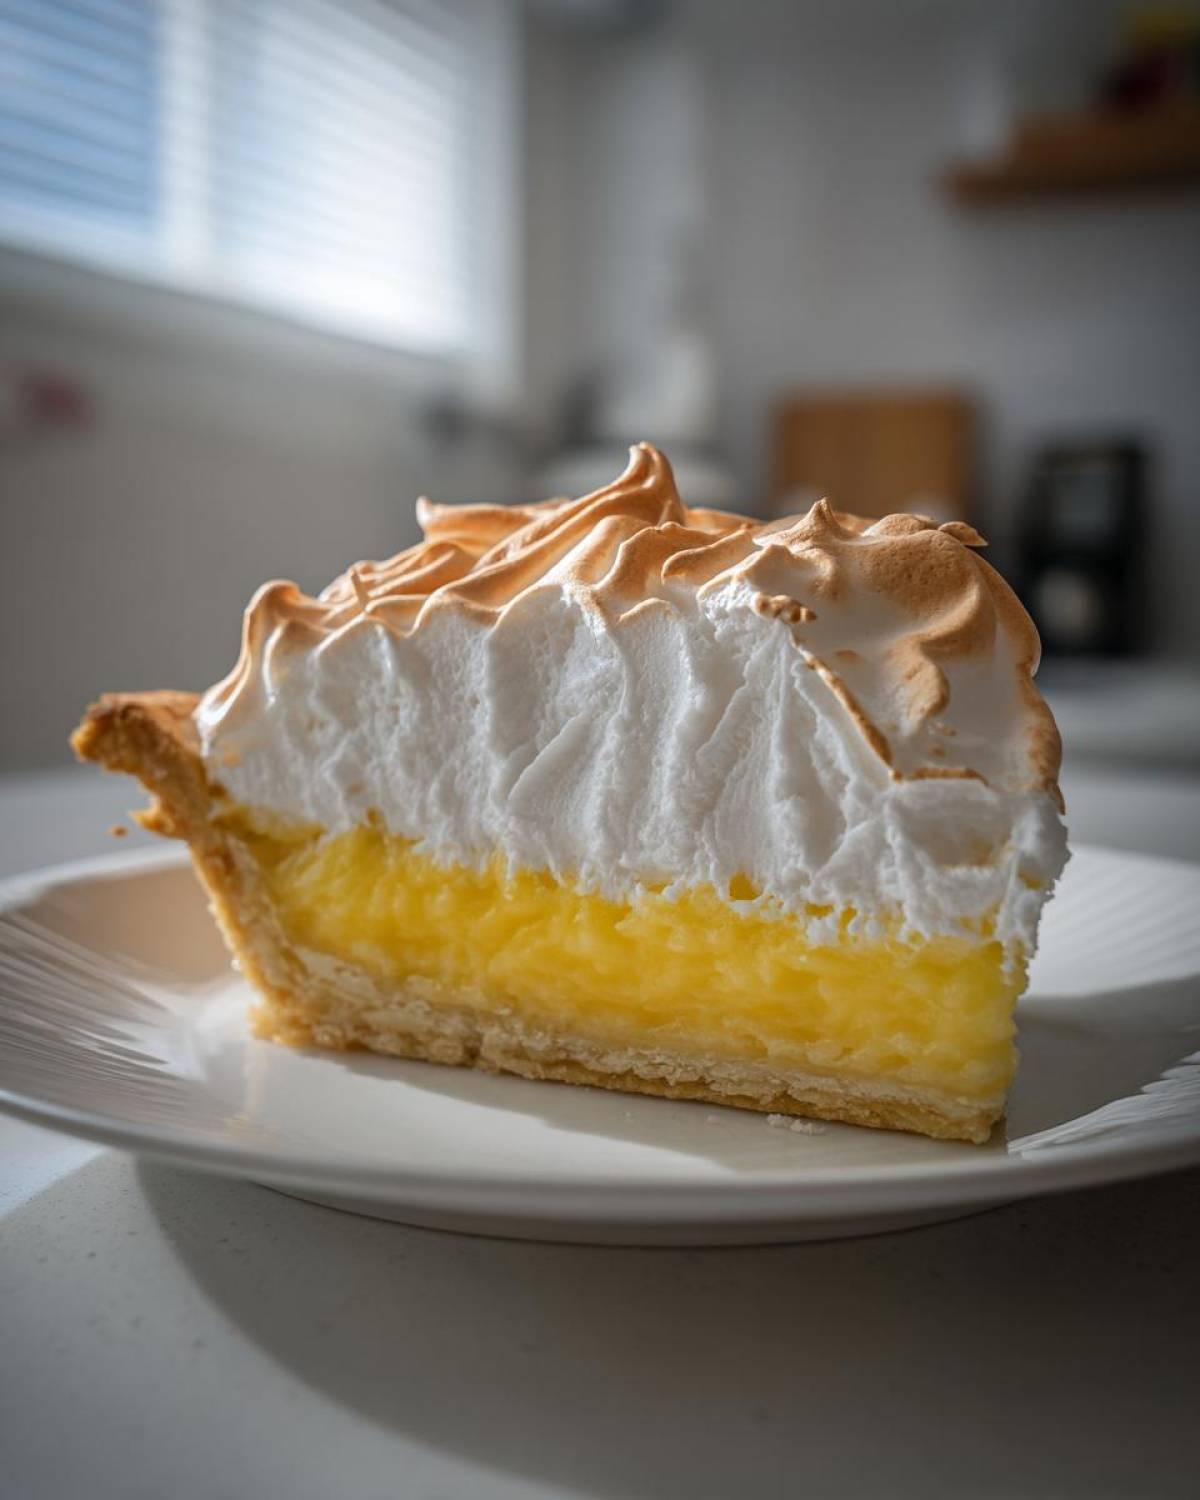
Storage and Reheating Instructions for Your Tangy Sweet Dessert
Alright, this is the part that gets me every time. How do you keep this magnificent Lemon Meringue masterpiece looking perfect overnight? Leo always wants to sneak a slice at midnight, but I insist we wait until it’s properly set! Because of that lovely, delicate meringue, this pie is really happiest when served the same day it’s made, but we know life happens, and leftovers are a blessing!
The biggest thing to remember is that humidity is the enemy of meringue. We need to get this pie into a cool, dry spot immediately after it’s fully cooled on the counter. If you cover it too tightly while it is still cooling, condensation will form, and that’s how we get weeping! Don’t even think about trying to reheat this pie; once that custard sets and the meringue is toasted, heating it up will just result in a soupy, sad mess. Stick it in the fridge!
For storage, place the pie, uncovered, in the coldest part of your refrigerator for about an hour. Once it’s thoroughly chilled, you can cover it very loosely with plastic wrap—just enough to keep it from drying out, but not so tight that you trap moisture against that gorgeous meringue. Honestly, it tastes best within 24 hours.
If you do have leftovers after day one, here’s my best shot for saving it: gently use a thin knife to remove the meringue layer entirely and store it separately in an airtight container. Yes, this feels sacrilegious, but it protects the structure! The lemon custard and crust should be stored tightly covered in the fridge. When you’re ready for another slice, just eat the custard/crust combo cold—it’s still divine! Or, if you want to bake new meringue the next day, you can use the base custard. If you’re looking for a fantastic make-ahead item that *does* reheat well, you absolutely must try my sour cream coffee cake!
Common Questions About Making Lemon Meringue
It’s only natural to have a few questions when tackling something as iconic as this pie! Leo always says that if you aren’t worried about your meringue collapsing, you aren’t trying hard enough. Don’t stress! We’ve answered the most common reader queries right here, focusing on how to nail that Zesty Lemon Pie experience every time. If you’re looking for another reliable make-ahead dish, my recipe for creamy white pizza is surprisingly easy for a weeknight!
Can I use a pre-baked crust for my Homemade Lemon Meringue Pie?
Absolutely, yes! A pre-baked crust is a requirement for this Classic Lemon Meringue Pie Recipe. The lemon custard cooks relatively fast once you add the tempered yolks. If you pour hot custard into a raw crust, the crust won’t cook through properly, and you’ll end up with just mush. Bake that crust until it’s lightly golden first, let it cool completely, and then you’re ready to fill it.
What is the best way to get a tall, Fluffy Meringue Topping?
This is my favorite topic! For a truly tall and utterly Fluffy Meringue Topping that doesn’t shrink away from the filling, two things matter most, even more than vigorous whipping. First, your egg whites must be at room temperature; they just incorporate more air that way. Second, make sure you add that little bit of cream of tartar. It stabilizes the structure and gives the meringue the backbone it needs to stand up proud and golden brown!
Also, how long does it take to set? You should plan for at least four hours chilling time after cooling on the counter, but overnight is truly the gold standard for the filling to firm up perfectly for slicing.
Serving Suggestions for This Showstopping Dessert
Honestly, when this glorious Lemon Meringue pie is sitting on the table, glowing under kitchen lights, it doesn’t really need much adornment. It’s already a showstopper! But if you’re serving this beauty to guests, that bright, tart flavor pairs wonderfully with simpler, creamy sides, or just a lovely hot beverage.
Since this is one of my favorite Summer Dessert Recipes—nothing says sunshine like lemon, right?—I often serve it after a heavy barbecue. When that happens, I skip anything heavy on the side. A small dollop of unsweetened, freshly whipped cream on the side of the slice is perfect; it just melts against that tangy curd. Leo, of course, insists on having a huge mug of strong black coffee alongside his piece. He says the bitterness of the coffee wakes up the citrus notes in the Zesty Lemon Pie.
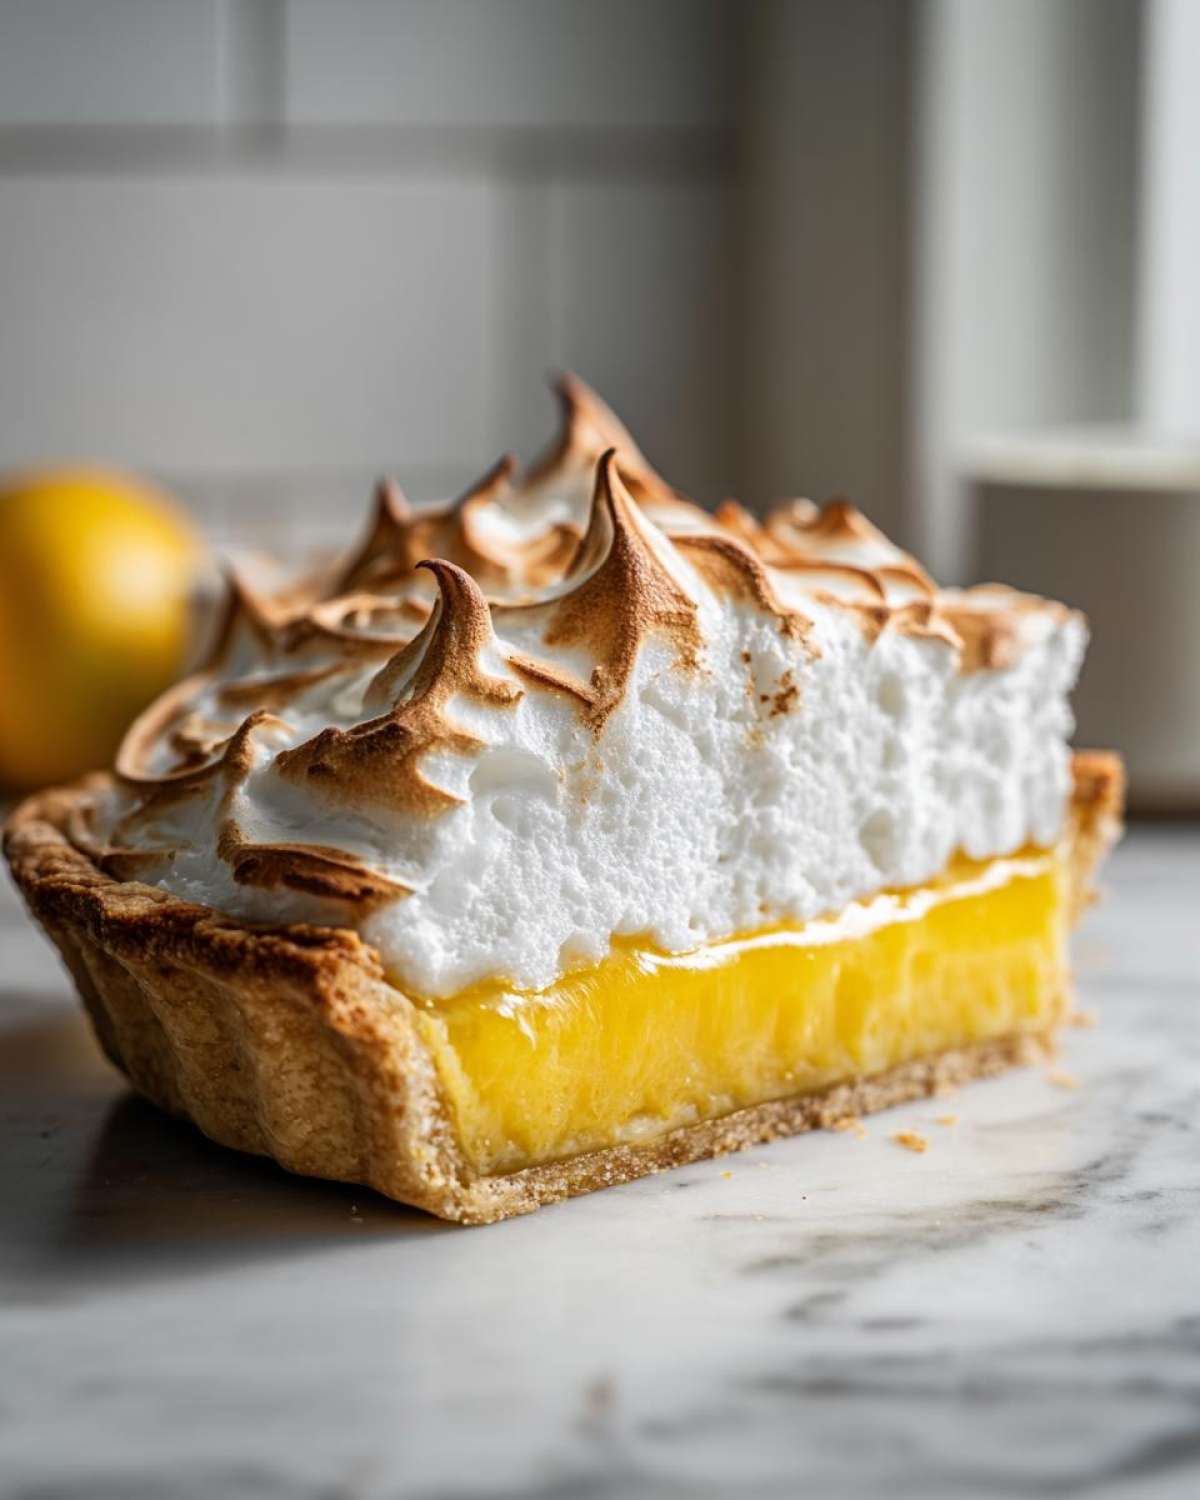
If you’re looking for a complementary pairing for a spring gathering—maybe for Easter or a fancy brunch—you might want to try making one of my soft lemon scones! They have a wonderful glaze that echoes the lemon theme without competing with the main event. You can check out the recipe for those delicate lemon scones here. They make a lovely appetizer before the pie comes out!
For those times when you’re looking for something slightly less intense but still citrusy, I’ve seen people enjoy a side of fresh berries, like raspberries or blueberries, which provide a nice color contrast to the yellow filling. And if you just want inspiration for other dazzling desserts to wow your crowd, I highly recommend checking out this other amazing Lemon Meringue Pie recipe I found online—it’s got some lovely ideas for presentation, too: Check it out here!
Estimated Nutritional Data for Lemon Meringue
Now, I know some of you wonderful bakers are tracking things closely, so here is the rundown on what roughly goes into each slice of this glorious Tangy Sweet Dessert. Remember, this is just an estimate! Leo and I use kitchen scales for accuracy when we bake, but the final numbers can change wildly depending on the size of the lemons you juice or which brand of butter you use. If you’re looking for something warm and nourishing that sticks to your ribs, you should definitely try my hearty lentil soup next week—that recipe is super reliable! It’s a family favorite.
This data is based on 8 generous servings, assuming you used our recommended recipe components:
- Serving Size: 1 slice
- Calories: 380
- Sugar: 45g
- Sodium: 180mg
- Fat: 18g
- Saturated Fat: 8g
- Unsaturated Fat: 10g
- Trans Fat: 0g
- Carbohydrates: 55g
- Fiber: 1g
- Protein: 6g
- Cholesterol: 110mg
It’s important to note that this is a showstopper, so the sugar content reflects that beautiful, balancing act between the tart curd and the sweet meringue! If you’re just starting out and worried about the complexity, remember that even a smaller slice of this Classic Lemon Meringue Pie is bursting with flavor.
Share Your Tasty Tribune Lemon Meringue Creations
Well, that’s it, my friends! We’ve made it through the whole process, from tempering those egg yolks without scrambling them to achieving that perfectly sealed, tall, glorious meringue. Leo’s already pacing, waiting for the final chilling period to pass so he can hear the delightful *thunk* of the knife going through the set From Scratch Lemon Custard.
Now, this is the part where you—our wonderful readers—take center stage! I truly want to know how your Lemon Meringue Pie turned out. Did the meringue get beautifully toasted? Did you manage that elusive, perfect seal so there was zero weeping? Trust me, creating these showstoppers is so much fun when we can share the triumphs!
Please, please, please leave a star rating right below this article. It helps other folks who might be nervous about tackling a classic dessert like this know that they can trust our recipe. Hearing about your success stories—especially with the meringue—really makes my day. It means our little kitchen laboratory here at Tasty Tribune is inspiring joy elsewhere!
If you snapped a photo of your finished, beautiful, Tangy Sweet Dessert on the table, tag us on social media! Leo loves scrolling through and seeing the different ways you’ve captured the light bouncing off that toasted topping. Remember, baking is community, and we can’t wait to see what you create. If you have any burning questions that we missed, or just want to say hello, feel free to reach out through our contact page. Happy baking, everyone!
PrintGrandma’s Classic Lemon Meringue Pie: The Ultimate From-Scratch Recipe

You deserve a showstopping dessert. This recipe delivers the best homemade Lemon Meringue Pie, featuring a buttery crust, a zesty, perfectly set lemon custard, and a tall, fluffy, toasted meringue topping that resists weeping.
- Prep Time: 30 min
- Cook Time: 30 min
- Total Time: 4 hours 30 min
- Yield: 8 servings
- Category: Dessert
- Method: Baking and Cooking
- Cuisine: American
- Diet: Vegetarian
Ingredients
- 1 (9-inch) unbaked Buttery Pie Crust (store-bought or homemade)
- 1 1/2 cups granulated sugar
- 1/3 cup cornstarch
- 1/4 teaspoon salt
- 1 1/2 cups cold water
- 4 large egg yolks, lightly beaten
- 2 tablespoons unsalted butter
- 1/2 cup fresh lemon juice (about 3 lemons)
- 1 tablespoon lemon zest
- 6 large egg whites, at room temperature
- 1/2 teaspoon cream of tartar
- 1/2 cup granulated sugar (for meringue)
Instructions
- Prepare your pie crust: Bake the crust according to package directions or your favorite recipe until lightly golden. Let it cool completely on a wire rack.
- Make the Lemon Custard: In a medium saucepan, whisk together the 1 1/2 cups sugar, cornstarch, and salt. Gradually whisk in the cold water until smooth.
- Cook the base: Heat the mixture over medium heat, stirring constantly, until it thickens significantly and comes to a boil. Boil for one minute, stirring constantly. Remove from heat.
- Temper the yolks: In a separate bowl, lightly beat the 4 egg yolks. Slowly drizzle about 1 cup of the hot sugar mixture into the yolks while whisking constantly. This prevents the yolks from scrambling.
- Combine and finish custard: Pour the tempered yolk mixture back into the saucepan with the remaining hot mixture. Return to medium heat and cook, stirring constantly, until the custard thickens again and just begins to bubble. Do not boil vigorously.
- Add flavor: Remove from heat. Stir in the butter, lemon juice, and lemon zest until the butter is melted and fully incorporated.
- Fill the shell: Pour the hot lemon custard immediately into the cooled, pre-baked pie shell.
- Prepare the Meringue Topping: In a clean, grease-free bowl of a stand mixer (or using a hand mixer), beat the 6 room-temperature egg whites until foamy. Add the cream of tartar and continue beating until soft peaks form.
- Sweeten the meringue: Gradually add the remaining 1/2 cup of sugar, one tablespoon at a time, beating well after each addition. Continue beating until the meringue is stiff, glossy, and holds firm peaks. This is your fluffy meringue topping.
- Top the pie: Spoon the meringue over the hot custard, spreading it completely to touch the inner edge of the crust all the way around. This seals the filling and helps prevent weeping. Create decorative swirls with the back of a spoon.
- Bake: Bake at 350°F (175°C) for 12 to 15 minutes, or until the meringue peaks are golden brown.
- Cool slowly: Cool the pie completely on a wire rack at room temperature for about 1 hour. Then, transfer it to the refrigerator to chill for at least 4 hours, or preferably overnight, before slicing. Slow cooling helps set the filling and stabilize the meringue.
Notes
- To prevent weeping, make sure the meringue completely seals the hot custard edge-to-edge.
- Use room temperature egg whites for the meringue; they whip up higher and create a more stable structure.
- For a truly showstopping dessert, use a kitchen torch to brown the meringue peaks instead of baking for the final step.
Nutrition
- Serving Size: 1 slice
- Calories: 380
- Sugar: 45g
- Sodium: 180mg
- Fat: 18g
- Saturated Fat: 8g
- Unsaturated Fat: 10g
- Trans Fat: 0g
- Carbohydrates: 55g
- Fiber: 1g
- Protein: 6g
- Cholesterol: 110mg