

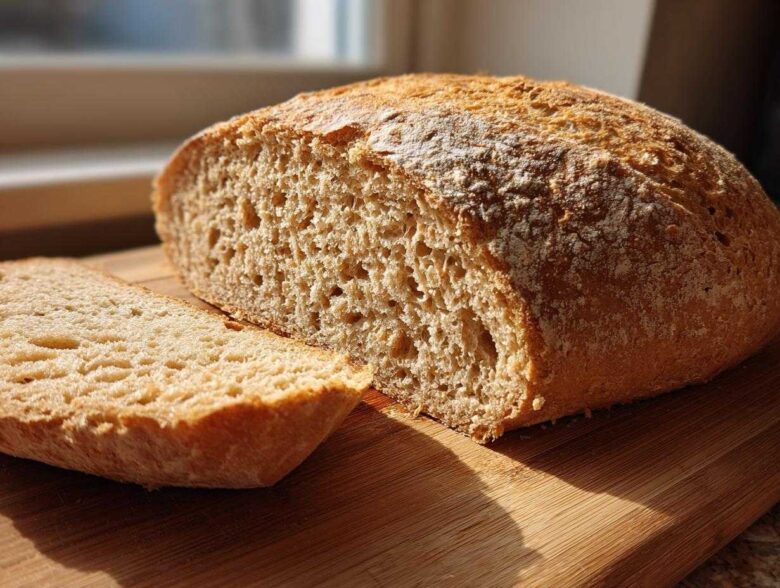
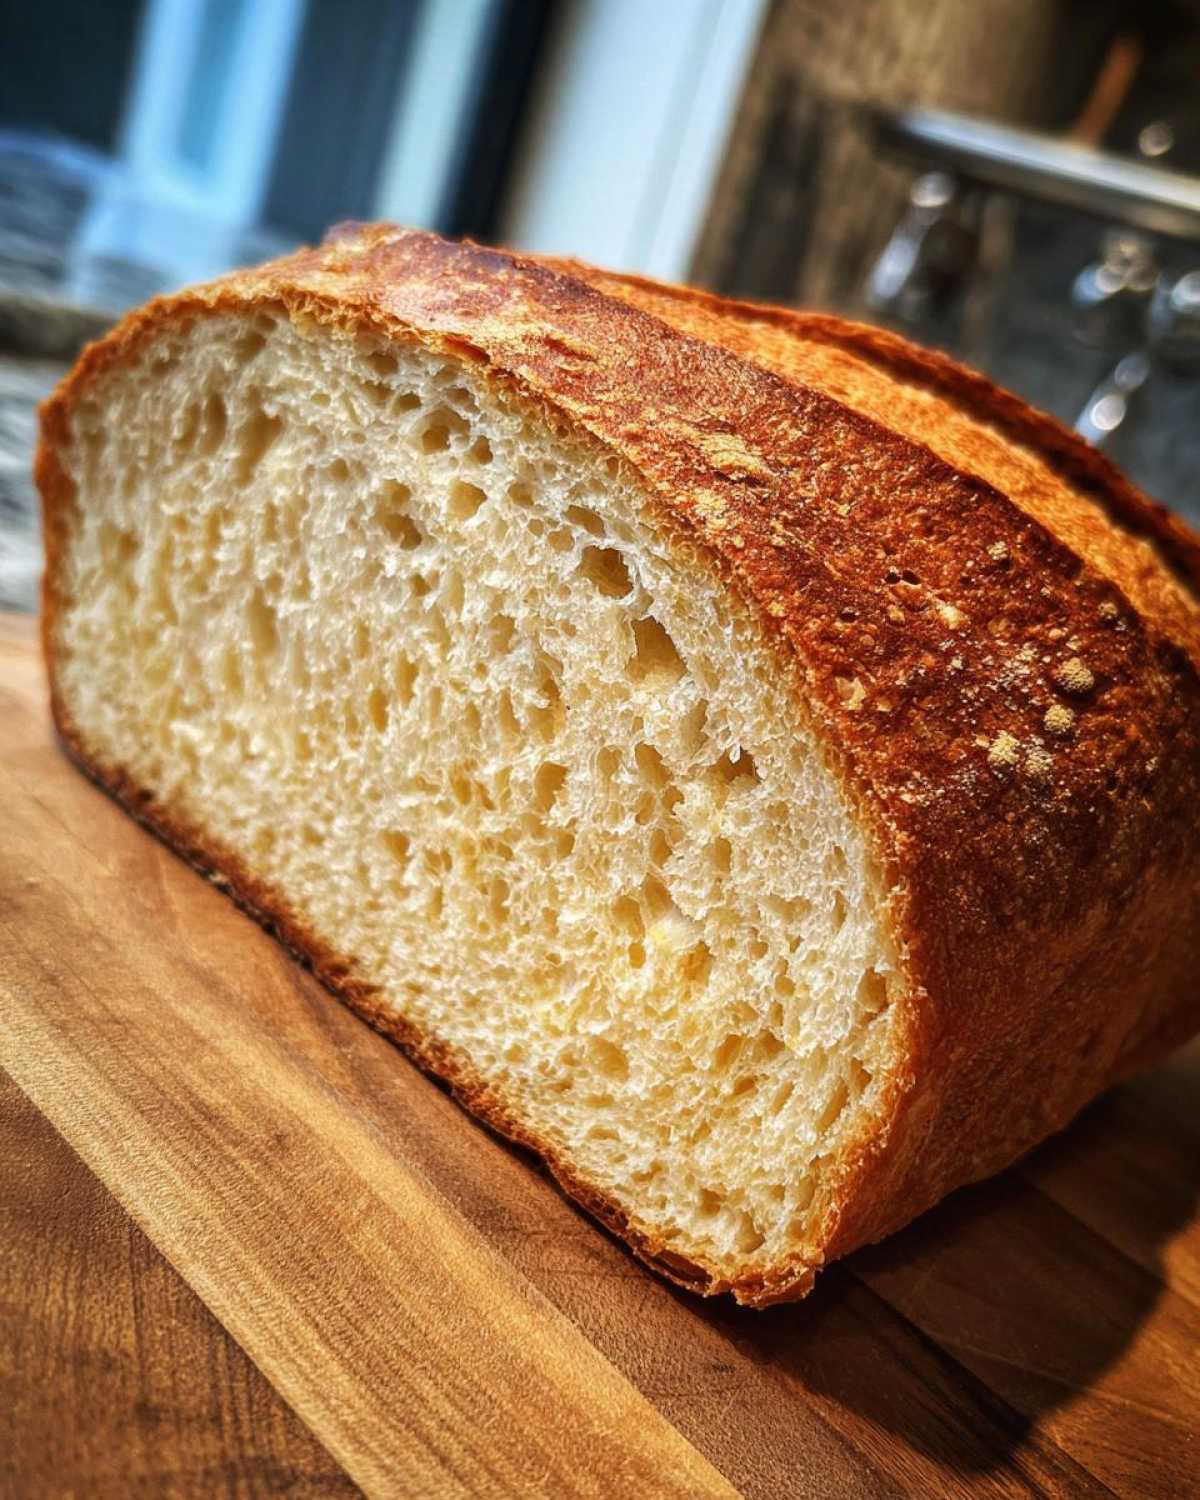
Oh, that smell! There’s just nothing in the world that snaps you out of a retirement slump faster than the aroma of truly fresh bread baking. Forget the expensive bakery loaf; Leo and I finally nailed it. We cracked the code on making a **whole wheat bread** that is surprisingly soft and fluffy. I mean, truly rivaling the good stuff down at the corner bakery. After thirty years of writing down other people’s compositions, Leo, my Lead Composer, has finally improvised something magnificent!
Baking this bread is one of those perfect post-retirement activities because it fills the quiet house with noise and warmth. It reminds us that creating something tangible and nourishing is the best kind of publication there is. Forget the Dewey Decimal System; this whole wheat bread recipe is the headline news in our kitchen today. Trust me, once you pull this hearty loaf out of the oven, you’ll see what all the fuss is about!
We’ve tucked away time-tested tips in the steps below, including a handy link for when you tackle baking bread bowls next, but for now, let’s get this soft, beautiful whole wheat bread into your life.
Why This Soft and Fluffy Whole Wheat Bread Recipe Works
The thing about making homemade **whole wheat bread** is that it often turns into something dense, like a baked brick! That’s charming in its own way, but not what you want for a perfect sandwich. This recipe is different, and that’s why we keep coming back to it around here. Even if we’re just having toast, we want it light!
- It’s great for beginners—Leo insists that if you can make foamy yeast work, you can conquer bread!
- The texture is hearty because it’s whole wheat, but thanks to a little trick, it stays wonderfully soft.
- The honey adds just enough sweetness so it doesn’t taste heavy or grassy.
Achieving Bakery-Quality Whole Wheat Bread at Home
This is where Leo gets really bossy, bless his heart. He’s adamant that the magic isn’t just in the whole wheat flour. We use a combination—most of the whole wheat flour for that nice, wholesome heartiness, but we sneak in a half-cup of all-purpose flour. Don’t worry, it’s still wonderfully healthy bread! That little bit of white flour gives the gluten just enough room to stretch and hold onto the air during the rise, which is how we keep that fluffy texture. It’s his favorite part of the composition, seeing the dough get beautifully elastic!
If you want to explore other forms of baked treats, check out our recipe for homemade English muffins—same principle of texture science applies there!
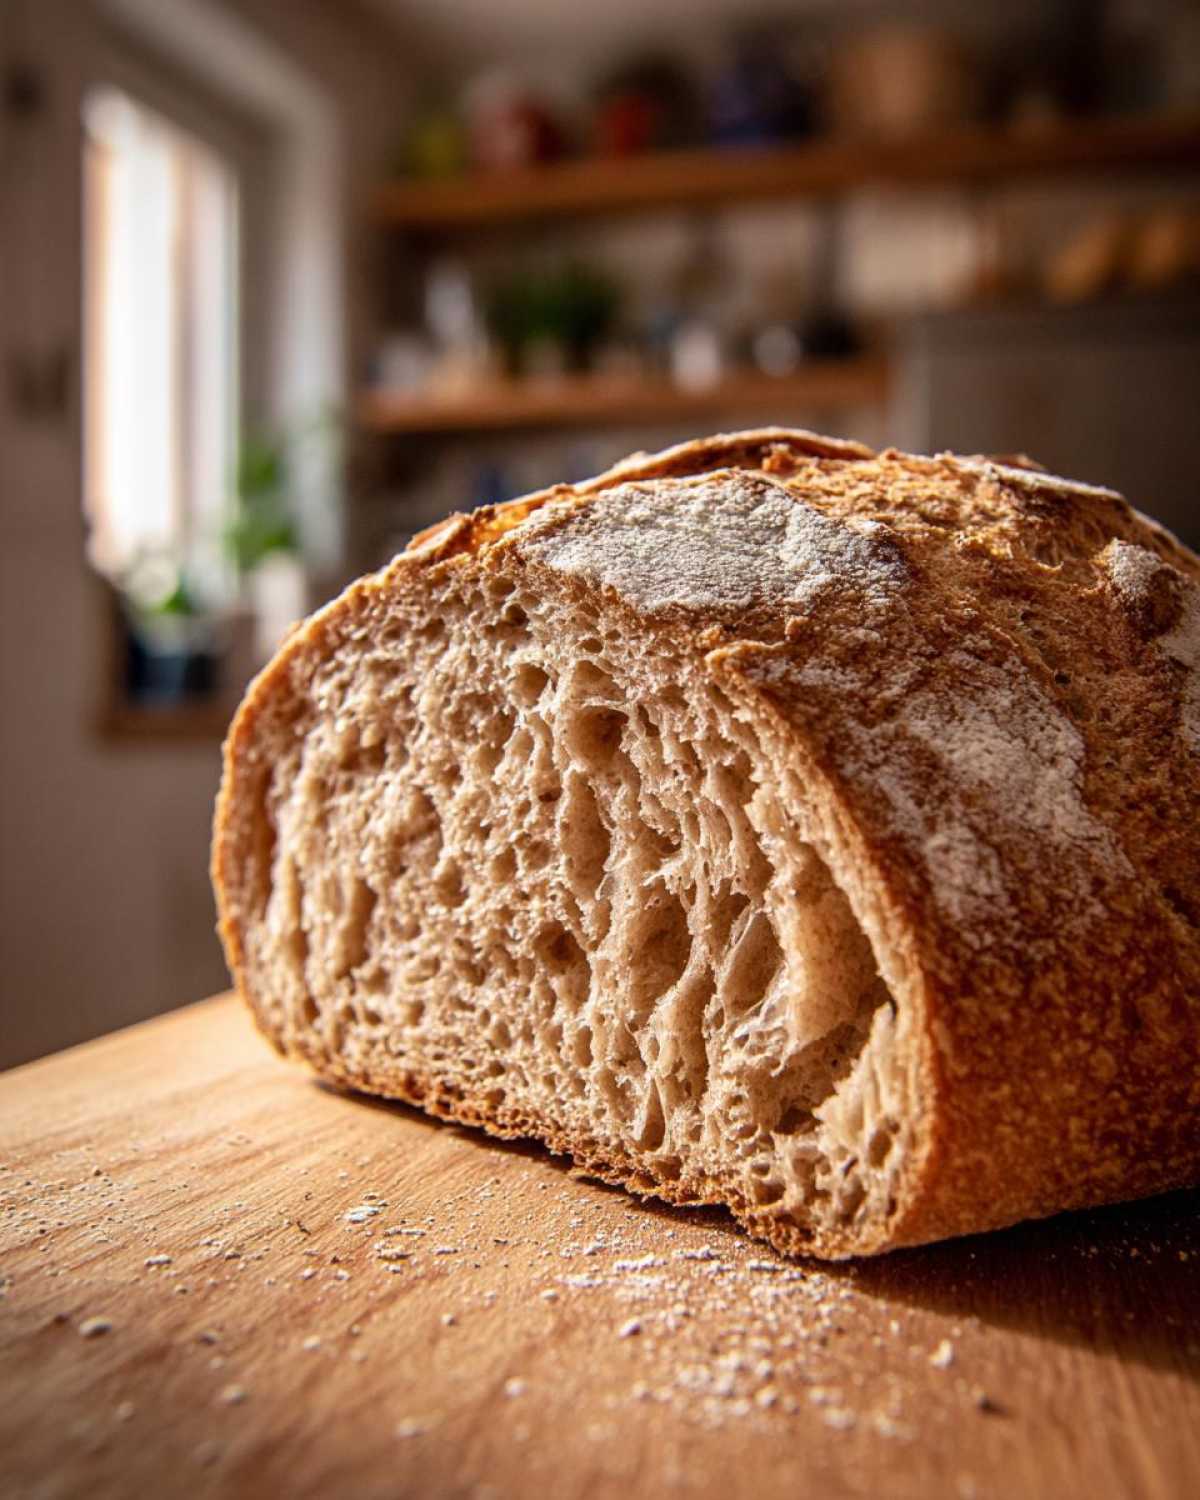
Ingredients for Your Homemade Whole Wheat Bread
Okay, let’s talk supplies. When you’re making **whole wheat bread** from scratch, I always say clarity upfront builds confidence later! Leo insists that these measurements are non-negotiable; he’s got them underlined twice in the original notebook. We are using both whole wheat and all-purpose flour, which keeps things light and wonderfully textured.
- 1 cup warm water, and please, try to hit that sweet spot between 105°F to 115°F. Too cold, and the yeast sleeps; too hot, and we are back to square one!
- 2 teaspoons active dry yeast—the engine of the loaf!
- 1/4 cup honey for natural sweetness.
- 2 tablespoons unsalted butter, and it needs to be melted completely.
- 1 1/2 teaspoons salt, because even bread needs seasoning.
- 3 cups whole wheat flour, plus you’ll need more for dusting later.
- 1/2 cup of all-purpose flour, plus you’ll need extra for the surface.
Step-by-Step Instructions to Bake Perfect Whole Wheat Bread
Alright, here is the action plan! This is where the transformation happens, moving from random ingredients to a beautiful, hearty loaf. Follow these steps closely, especially around timing, and you’ll have the best **whole wheat bread** you’ve ever tasted. Leo always says that the waiting parts—the rising—are the most important; that’s when the flavor builds its foundation. If you’re curious about sourdough next, which has a much longer waiting game, check out our pumpkin sourdough recipe!
Activating the Yeast and Mixing the Dough for Whole Wheat Bread
First thing first: wake up the yeast! In your big bowl, mix that warm water with the yeast and the honey. This needs about five to ten minutes. Don’t rush this part! If it gets foamy and bubbly on top, it means your yeast is happy and ready to work its magic. Leo stresses that if you use water that’s too hot, you’ll accidentally kill the yeast, and your **whole wheat bread** will be flat. Once it’s foamy, stir in that melted butter and the salt. Now we start adding flour, but gently!
Kneading and First Rise for Your Whole Wheat Bread Loaf
Start adding the whole wheat flour slowly until it looks like a shaggy mess. Then, introduce the all-purpose flour bit by bit until the dough starts pulling away from the bowl sides. Now, turn that shaggy mess out onto your lightly floured counter. You need to knead this dough! Push, fold, and turn for a full 8 to 10 minutes until it feels smooth and delightfully elastic under your hands. When it passes the windowpane test, it’s ready for its nap. Grease your bowl lightly, tuck the dough ball in, give it a turn so it’s coated, and cover it up tight. Stick it somewhere warm and just leave it alone for 1 to 1 1/2 hours. It needs to double in size—this long rise is key for flavor!
Shaping and Final Proofing of the Whole Wheat Bread
Once it’s puffed up like a pillow, gently punch the air out—it’s very satisfying! Shape it into a nice tight loaf shape and tuck it into your greased 9×5 inch loaf pan. It shouldn’t pop right out of the pan, mind you; we want it to grow *in* the pan this time. Cover it loosely and let it rest again for about 30 to 45 minutes. This second rise is crucial! Here’s the trick: use the last 15 minutes of this rise to preheat your oven to 375°F (190°C). You want that oven blazing hot when the bread goes in to get that beautiful crust.
Tips for Success When Making Homemade Whole Wheat Bread
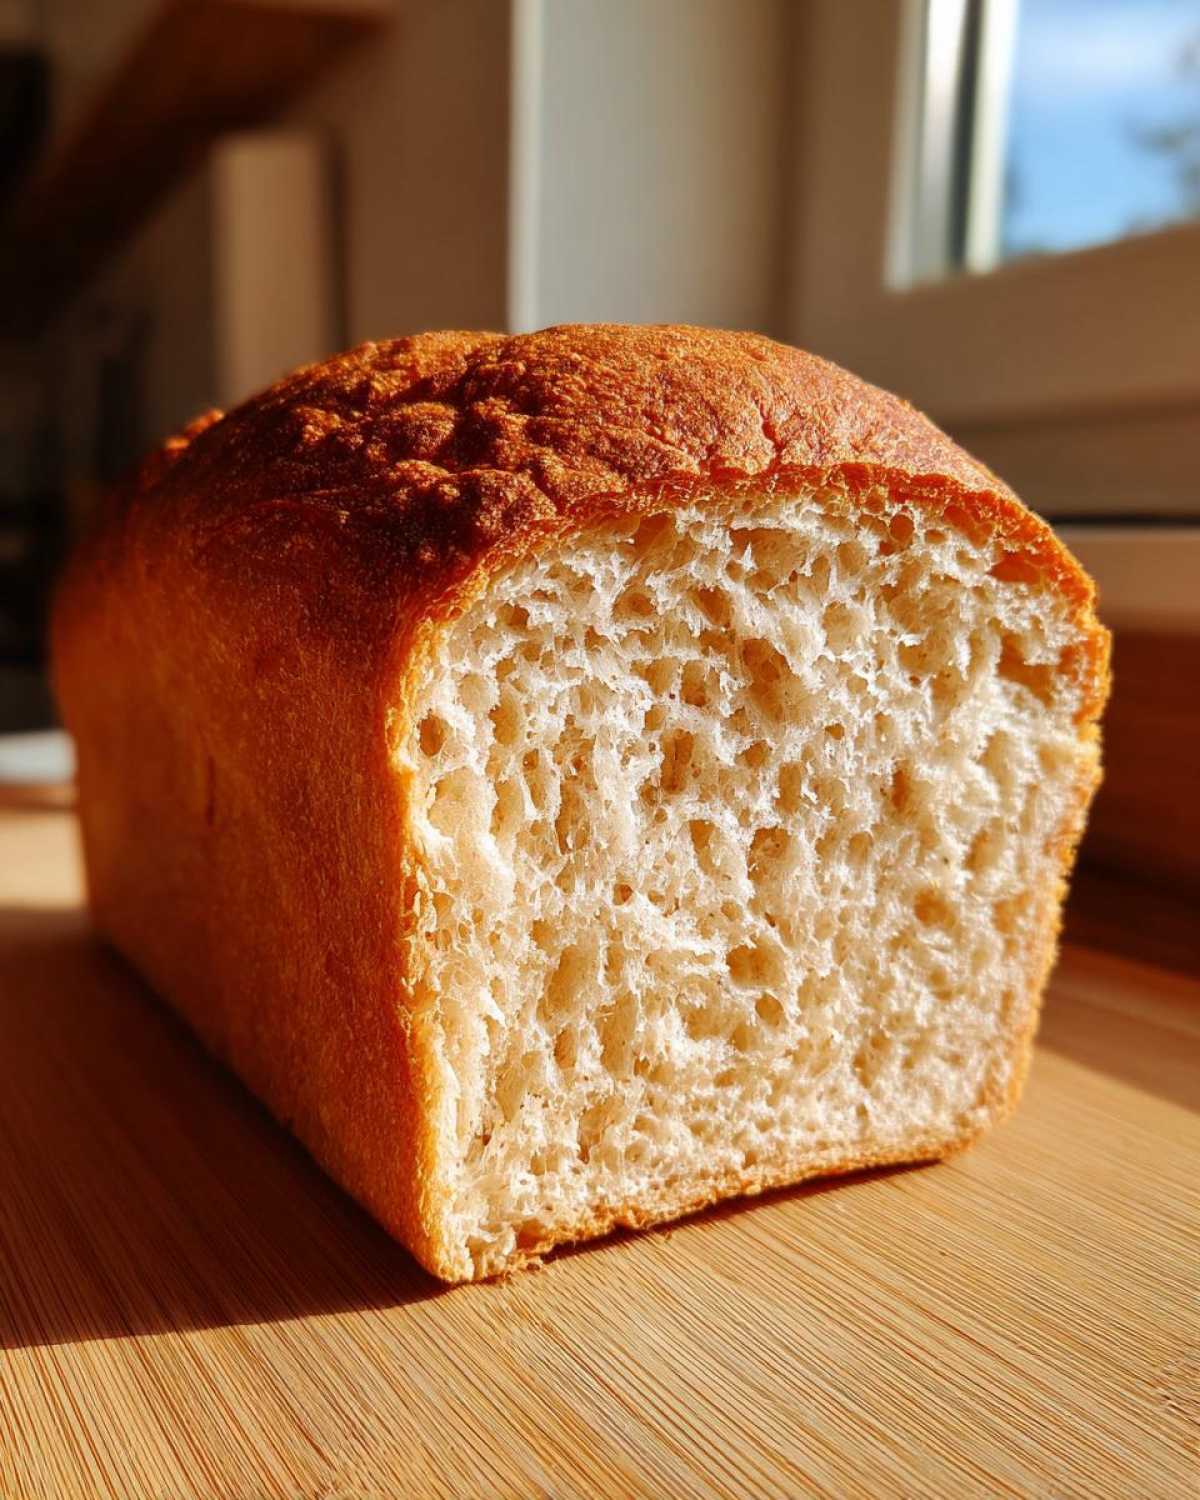
Baking bread at home, especially that hearty **whole wheat bread**, is so rewarding, but sometimes the details trip us up! We’ve made hundreds of loaves since retiring, and I’ve learned a couple of things to make this recipe absolutely foolproof. You’ve done the hard work of kneading and rising, now let’s make sure that crust is perfect. Leo’s simple trick for a softer exterior is right after the loaf comes out of the oven—brush the top immediately with just a little dab of melted butter. It melts right in and keeps the crust from hardening too much. It’s such an easy addition that makes a huge difference in how that first thick slice feels.
Also, remember that this is your stage! You can improvise a bit. If you are making this for weekend breakfasts and want a slightly sweeter slice, just boost that honey up a bit. We’ve tested it successfully going up to 1/3 cup of honey, which gives the toast a real treat of flavor. We also love checking out the techniques other wonderful bakers use, like those found over at Goodies Recipes to see how they approach their whole grain loaves!
Adjusting Sweetness in Your Whole Wheat Bread
I mentioned it above, but I want to make sure you know you have permission to sweeten this up if you prefer! If you are using this loaf more for breakfast toast than for savory sandwiches, don’t hesitate to swap that 1/4 cup of honey for 1/3 cup. It really complements the earthiness of the flour without making it taste like dessert. It’s a small change, but it changes the whole vibe of your homemade **whole wheat bread**! If you plan on eating it alongside something spicy later, like Leo’s famous chili—check out the recipe here—you might want to stick to the original amount.
Storing Your Delicious Whole Wheat Bread
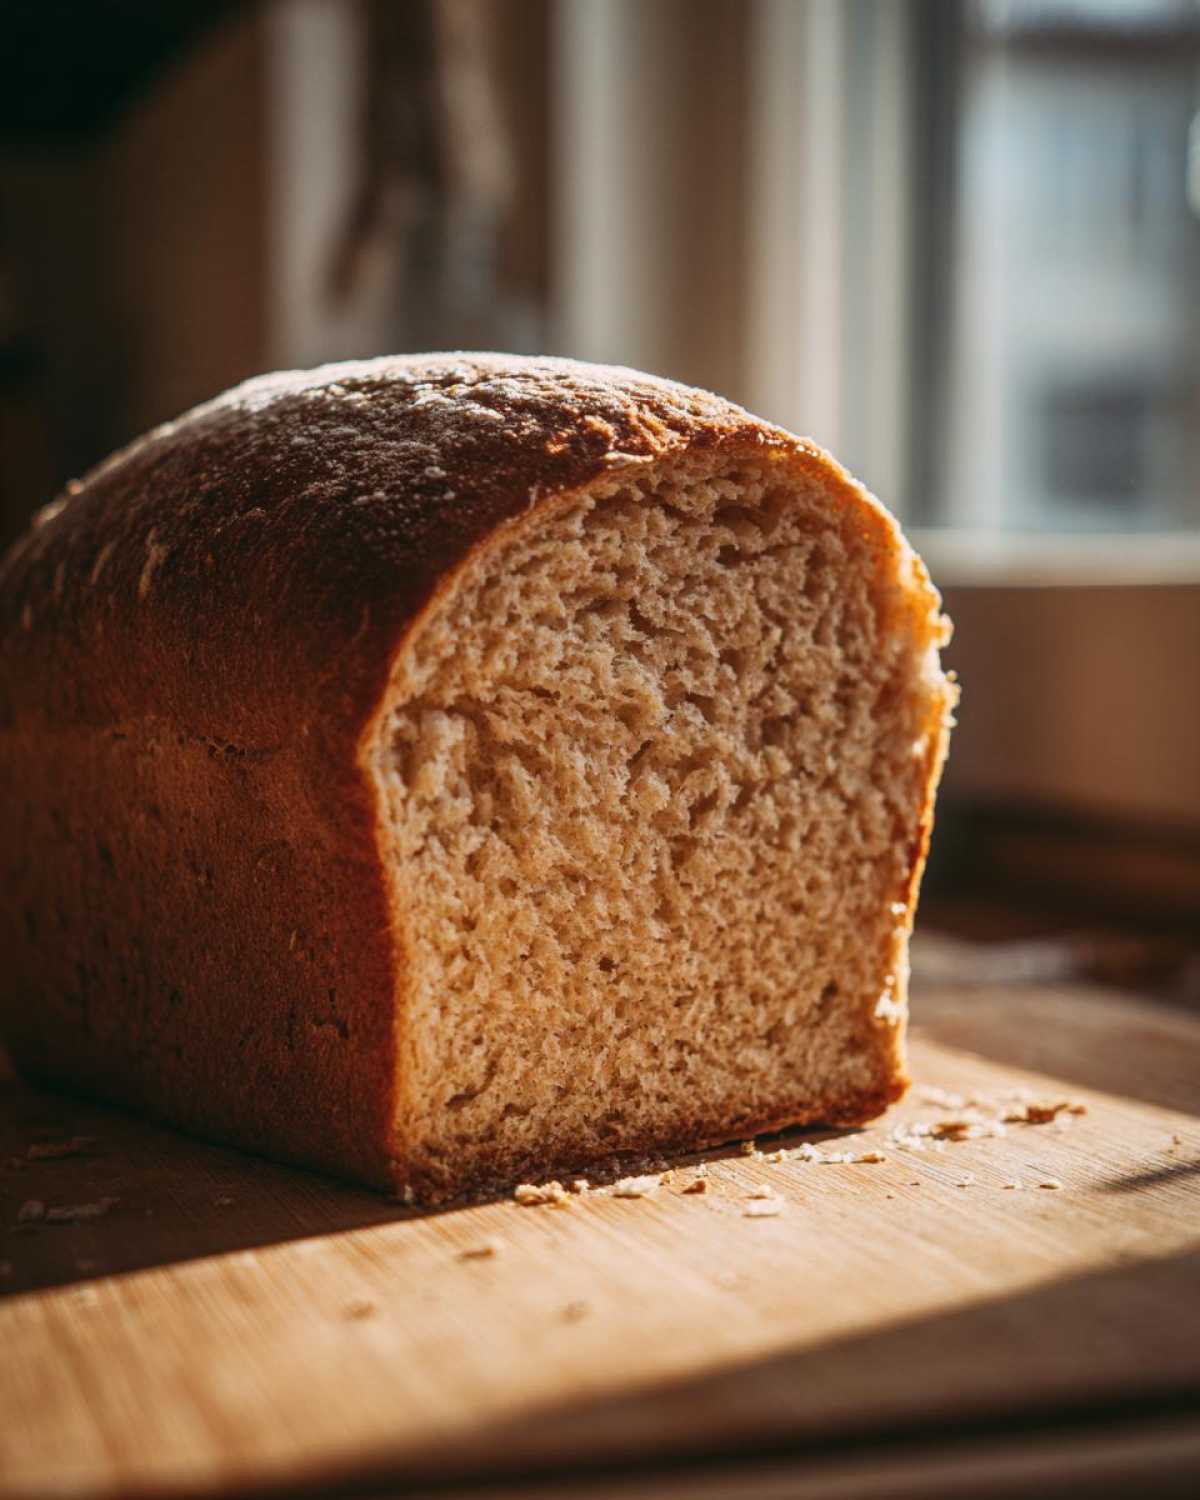
Patience is a virtue, especially when you are dealing with a perfect loaf of homemade **whole wheat bread**! I cannot stress this enough: you absolutely must let it cool completely on a wire rack before you slice it. If you cut into it while it’s still warm, all that beautiful trapped steam escapes, and sure enough, you end up with gummy bread, not fluffy bread. Leo always tries to cheat—he just can’t resist—but I stand firm!
Once it’s totally cool, this bread keeps really well on the counter in a paper bag or bread box for about three to four days, retaining that wonderful texture. If you made a huge batch—because who stops at one loaf?—wrap slices tightly in plastic wrap and toss them in the freezer. It keeps beautifully for months, ready to be toasted straight from the freezer. It’s our long-term strategy for keeping that fresh-baked aroma alive, kind of like freezing sheet music to play later!
If you’re making those gooey chocolate cinnamon rolls next week, save the freezer space and just freeze the bread instead!
Serving Suggestions for Fresh Whole Wheat Bread
Now that you have this incredible, soft **whole wheat bread** loaf sitting on your wire rack, the real performance begins! Leo always says bread is the best supporting actor in any meal. Of course, it makes the world’s best sandwich bread, especially with thick layers of deli meat and sharp cheddar. But don’t stop there!
It’s phenomenal toasted with a thick smear of butter; I swear, the honey we use gives the toast an extra golden glow. My favorite way to use up the last few slices is by dipping them into Leo’s famous ‘Italian Penicillin’ soup. You can grab that comforting recipe right here! It’s hearty enough on its own that you don’t need any side dishes.
Frequently Asked Questions About Baking Whole Wheat Bread
We get so many notes after folks bake their first loaf of **whole wheat bread**, and that’s wonderful! Bread baking can feel intimidating, but it’s mostly physics and a little patience. Clara spends half her day answering emails, and I (Leo!) have compiled the most common queries so you can jump right back into baking without any stress.
Can I use 100% whole wheat flour for this whole wheat bread recipe?
That’s a great question, and yes, you absolutely can! Remember, we add that half-cup of all-purpose flour because it helps us achieve that legendary fluffiness that whole wheat flour sometimes struggles to hold onto by itself. If you swap it all out for 100% whole wheat flour, your dough might feel a little stiffer quicker, and you might need to add an extra tablespoon or two of water during the mixing phase. Also, give that kneading time an extra minute or two; that extra heartiness needs a bit more work to get smooth!
My dough did not double in size. What went wrong with my whole wheat bread?
Oh, the sinking feeling when the bowl looks exactly the same as when you covered it! Usually, that’s a temperature issue. If your water was too cold when you mixed the yeast, the yeast is just sleeping instead of working. If your kitchen is chilly—like my old music room used to be!—the dough won’t rise well either. Try placing the covered bowl near a warm spot, like near (but not on top of!) a preheating oven or on top of a refrigerator. If it still doesn’t budge after two hours, your yeast might have been old, or the water might have been too hot initially.
We’re always updating our tips and tricks over on the main Tasty Tribune blog if you need more general baking troubleshooting!
Estimated Nutritional Data for Whole Wheat Bread
Leo and I always look at the numbers, even though we mostly cook from the heart! For those of you tracking things or just curious, here’s what we came up with for a single slice of this **whole wheat bread**. Remember, these are just our best estimates based on the ingredients we used, so yours might vary just a tiny bit depending on your honey brand or how much flour you really ended up needing!
- Serving Size: 1 slice
- Calories: 130
- Sugar: 3g
- Sodium: 180mg
- Fat: 3g
- Carbohydrates: 23g
- Protein: 5g
We definitely think that for a hearty, homemade loaf packed with fiber, those numbers look wonderful! But just a friendly note from Clara, the archivist: these are estimates, not lab results!
Publish Your Baking Results
Well, that’s it! You’ve done the hard work and created a piece of art—your very own soft and fluffy **whole wheat bread**! We are honestly so excited for you to try it. If you baked this loaf and it filled your kitchen with that comforting, warm scent, please do us a huge favor: dash down to the comment section below and give it a star rating. Five stars if it filled the spot where the store-bought loaves used to live!
We absolutely adore hearing the stories that come out of your kitchens. Did you share the first slice with your spouse? Did the kids finally agree that homemade bread is superior? Tell us everything! Leo is always looking for his next improvised masterpiece, and your feedback helps shape what headlines we publish next.
Thank you so much for stopping by the newsroom today. If you want to read a bit more about how Clara and I navigate this wonderful, chaotic retirement life, check out our About Us page. Happy baking, everyone—we hope to see your delicious creations in the comments!
With love and the scent of warm honey and wheat,
Clara & Leo
PrintSoft and Fluffy Homemade Whole Wheat Bread

Leo shares his easy recipe for a soft, hearty whole wheat bread loaf that is perfect for sandwiches or toast. You will bake bakery-quality bread right in your kitchen.
- Prep Time: 20 min
- Cook Time: 35 min
- Total Time: 140 min
- Yield: 1 loaf
- Category: Baking
- Method: Baking
- Cuisine: American
- Diet: Vegetarian
Ingredients
- 1 cup warm water (105°F to 115°F)
- 2 teaspoons active dry yeast
- 1/4 cup honey
- 2 tablespoons unsalted butter, melted
- 1 1/2 teaspoons salt
- 3 cups whole wheat flour, plus more for dusting
- 1/2 cup all-purpose flour, plus more for dusting
Instructions
- In a large bowl, combine the warm water, yeast, and honey. Let this mixture sit for 5 to 10 minutes until it becomes foamy. This shows the yeast is active.
- Stir the melted butter and salt into the yeast mixture.
- Add the whole wheat flour gradually, mixing until a shaggy dough forms.
- Add the all-purpose flour slowly, mixing until the dough comes together. You might not need all the all-purpose flour.
- Turn the dough out onto a lightly floured surface. Knead the dough for about 8 to 10 minutes until it becomes smooth and elastic.
- Lightly grease a large bowl with oil. Place the dough in the bowl, turning it once to coat. Cover the bowl with plastic wrap or a clean kitchen towel.
- Let the dough rise in a warm spot for 1 to 1 1/2 hours, or until it has doubled in size. This long rise time develops great flavor.
- Gently punch down the risen dough. Shape it into a loaf and place it in a greased 9×5 inch loaf pan.
- Cover the loaf pan loosely and let the dough rise again for 30 to 45 minutes, or until it has nearly doubled. Preheat your oven to 375°F (190°C) during the last 15 minutes of this second rise.
- Bake for 30 to 35 minutes, or until the top is golden brown and the internal temperature reaches 190°F (88°C).
- Remove the bread from the pan immediately and let it cool completely on a wire rack before slicing.
Notes
- For a softer crust, brush the top of the loaf with a little melted butter immediately after removing it from the oven.
- If you want a slightly sweeter loaf for toast, increase the honey to 1/3 cup.
- This recipe is excellent for beginners learning to bake homemade bread.
Nutrition
- Serving Size: 1 slice
- Calories: 130
- Sugar: 3g
- Sodium: 180mg
- Fat: 3g
- Saturated Fat: 1.5g
- Unsaturated Fat: 1.5g
- Trans Fat: 0g
- Carbohydrates: 23g
- Fiber: 3g
- Protein: 5g
- Cholesterol: 5mg