

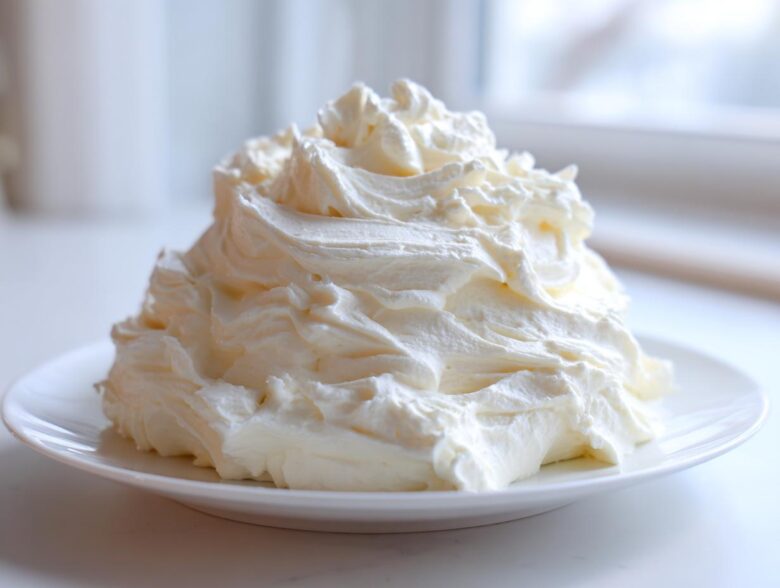
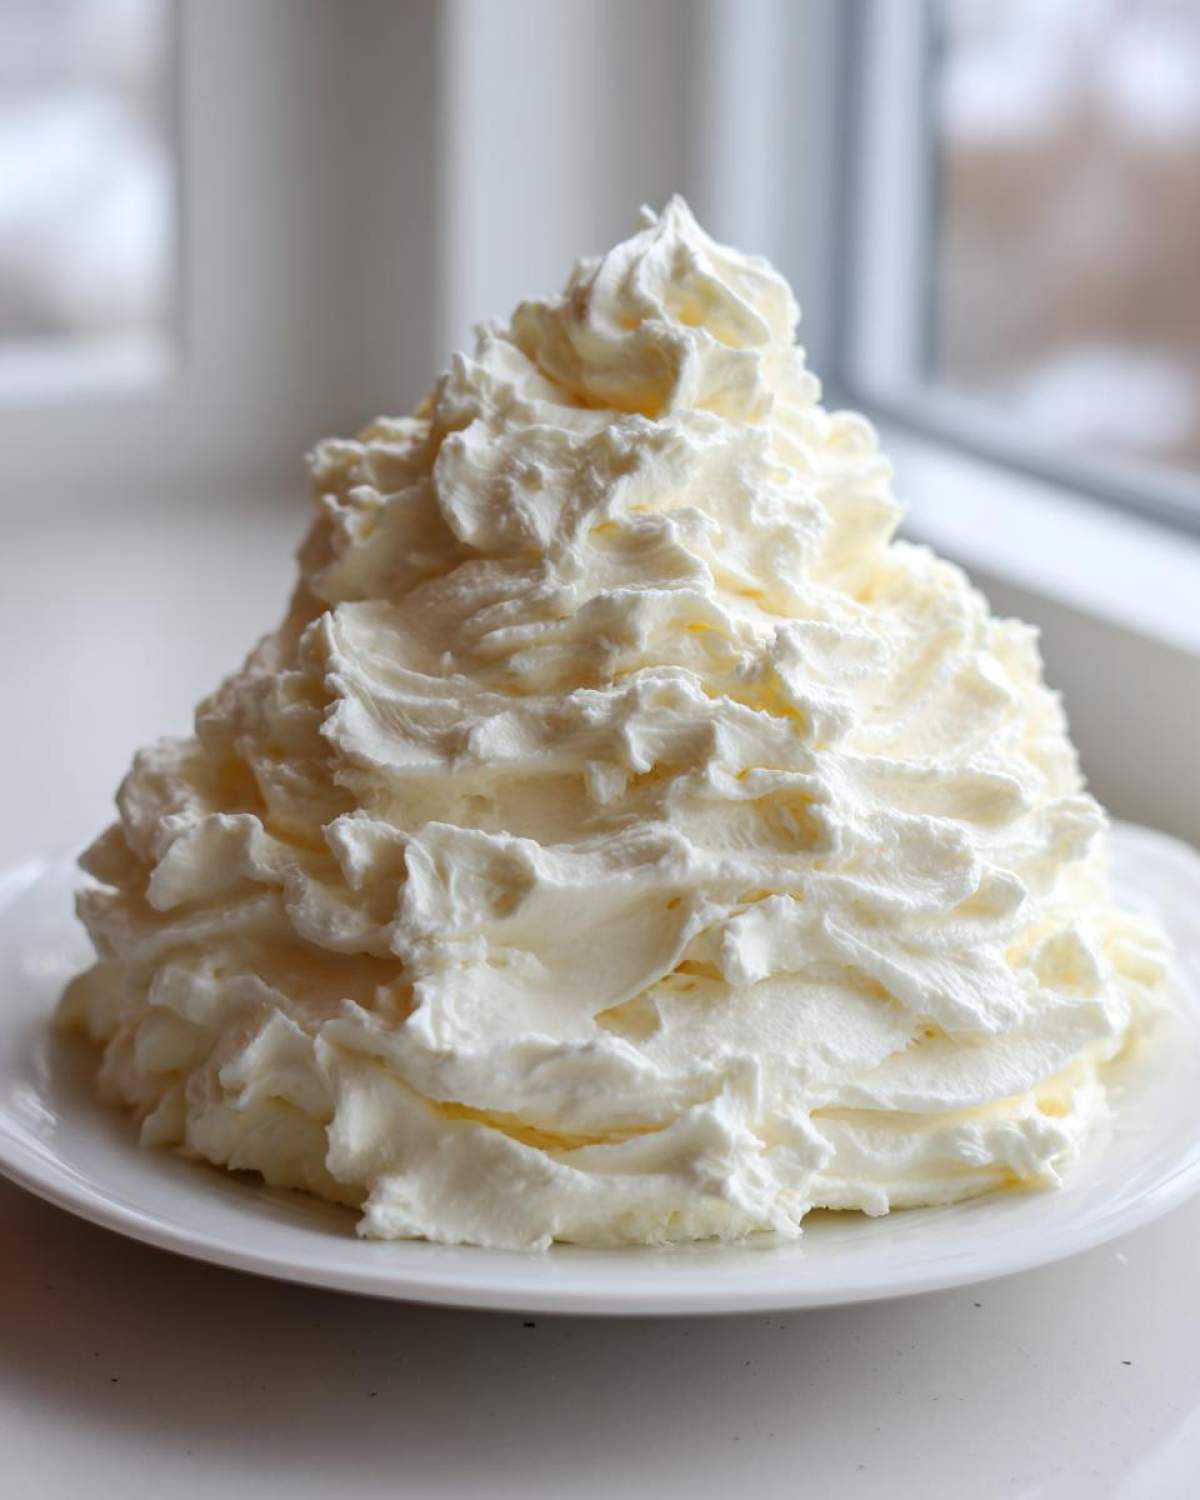
Oh, the sheer joy of perfectly prepared frosting! Leo often jokes that the best part of baking anything—be it a cake or a batch of cookies—is the final, glorious swirl of sweetness on top. And trust me on this, after enough retirement projects in this kitchen, I have perfected the ultimate topping. We’re not messing around with crusty or grainy results here. This is officially my most reliable, absolutely stunning, **vanilla buttercream frosting** recipe. It’s the classic American buttercream you dream about: incredibly smooth, wonderfully fluffy, and it holds sharp piping details like a champ. I’ve tweaked the timings and the temperatures over the years—that’s my job as the Editor-in-Chief!—to ensure you get that dream texture every single time. If you’re looking for perfect vanilla cupcakes to go with it, we have you covered!
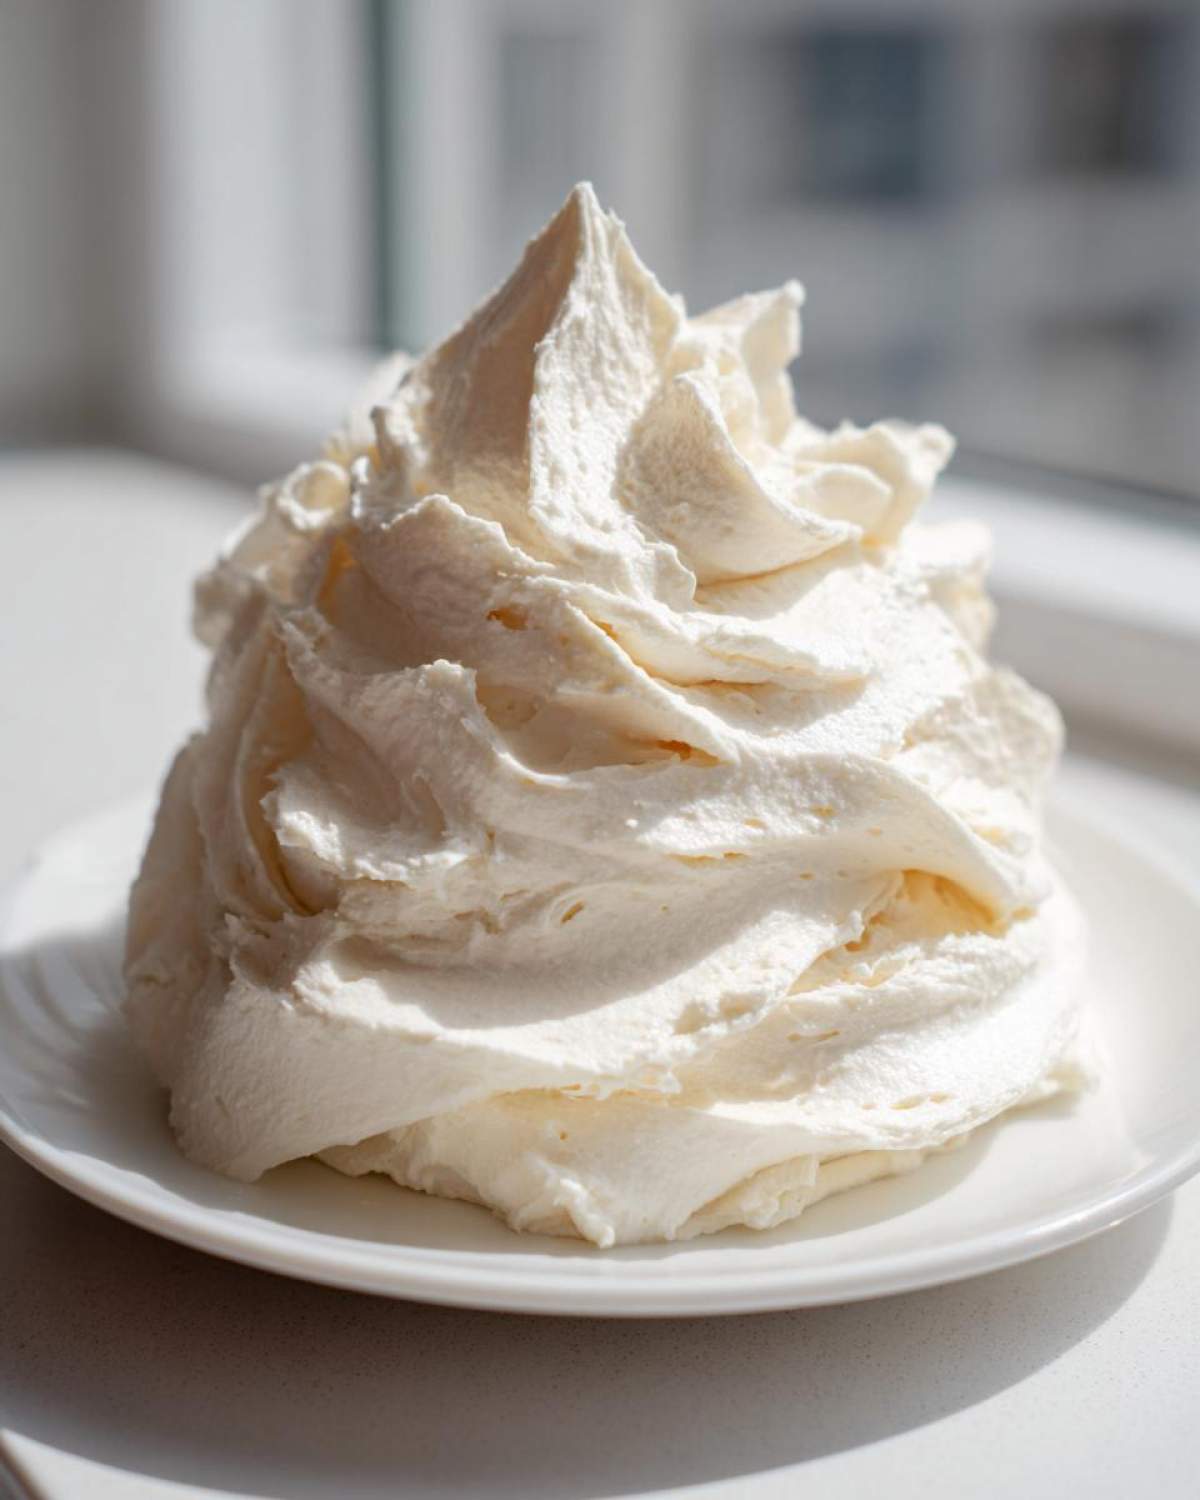
Why You Will Love This Classic Vanilla Buttercream Frosting
I know there are a million frosting recipes out there, but I promise you, this one earns its spot at the top of your recipe box. Leo and I barely make it through a whole batch without tasting it straight from the bowl! Here’s why this vanilla buttercream frosting will become your new go-to:
- It’s Ready in a Flash! True to its nature as the classic homemade vanilla buttercream frosting in 30 minutes, we’re talking about a fully decorated cake in under an hour if you’re quick!
- Perfect Piping Consistency: This is my secret sauce for sharp stars and clean borders. It holds its shape beautifully, making it the best buttercream for cakes when you need decoration to look professional.
- Melt-in-Your-Mouth Texture: We whip this fluffier than Leo’s choir director’s hair—it’s light, airy, and never heavy or greasy on the tongue.
- Incredibly Versatile: It works perfectly on everything—from sturdy chocolate cakes to delicate vanilla frosting for cupcakes.
- No Cooking Required: This is a true no-cook buttercream recipe. We skip the fancy steps and go straight to mixing!
- Pure Vanilla Flavor: We use just enough high-quality vanilla to let the creamy butter and sweet sugar shine through, making it a wonderfully creamy vanilla frosting recipe.
Ingredients for the Perfect Vanilla Buttercream Frosting
Now, for the building blocks of this amazing topping! With the **vanilla buttercream frosting** recipe, the quality of your start really matters, especially since this is a butter and sugar frosting that relies on simplicity. Don’t substitute blindly here—I’ve done the testing so you don’t have to! If you need help baking the base, check out our guide for homemade vanilla cake frosting pairings.
Here’s exactly what you need to pull together this beautiful, reliable batch of frosting:
- 1 cup unsalted butter, softened to room temperature (I cannot stress this enough!)
- 4 cups powdered sugar, sifted (Go ahead and sift it—it saves so much trouble later!)
- 1 teaspoon pure vanilla extract (Use the real stuff, please!)
- 3 to 4 tablespoons heavy cream or milk (Keep this measured out and ready to go.)
- A tiny pinch of salt (This stops the sweetness from being overwhelming.)
Remember, the butter needs to be right—not cold, not melted and greasy. That perfect consistency is the secret foundation for any truly amazing classic American buttercream.
Essential Tips for Achieving Smooth Vanilla Buttercream Frosting
Look, anyone can dump butter and sugar in a bowl, but turning that into a cloud-like, gloriously smooth frosting takes just a touch of knowledge. When you’re aiming for that perfect, glossy finish—the kind that makes people say, “Did you buy that?”—you have to respect the process. These two steps are where most people go wrong when making their vanilla buttercream frosting, so pay attention!
The Critical Role of Room Temperature Butter
This is non-negotiable, dear bakers. Your butter cannot be straight from the fridge—it will just tear up your powdered sugar and leave you with tiny, hard lumps. But please, for the love of all that is sweet, it cannot be melty or greasy either. We need the butter soft enough that your finger leaves a gentle dent, but cool enough that it still has some structure. This perfect state lets the mixer incorporate air properly, which is the secret handshake for a truly creamy vanilla frosting recipe.
Sifting Powdered Sugar for Fluffy Vanilla Icing Tutorial
If you skip sifting, you’re asking for trouble. Powdered sugar clumps up just sitting in the bag, and trying to beat those little hardened pockets out with your mixer just doesn’t work. Sifting breaks up those clumps and aerates the sugar first. When the sugar is light and dusty, it incorporates seamlessly, helping build that gorgeous, fluffy vanilla icing tutorial texture we are aiming for without turning your entire kitchen into a snowy mess. Trust me, it’s worth the extra thirty seconds!
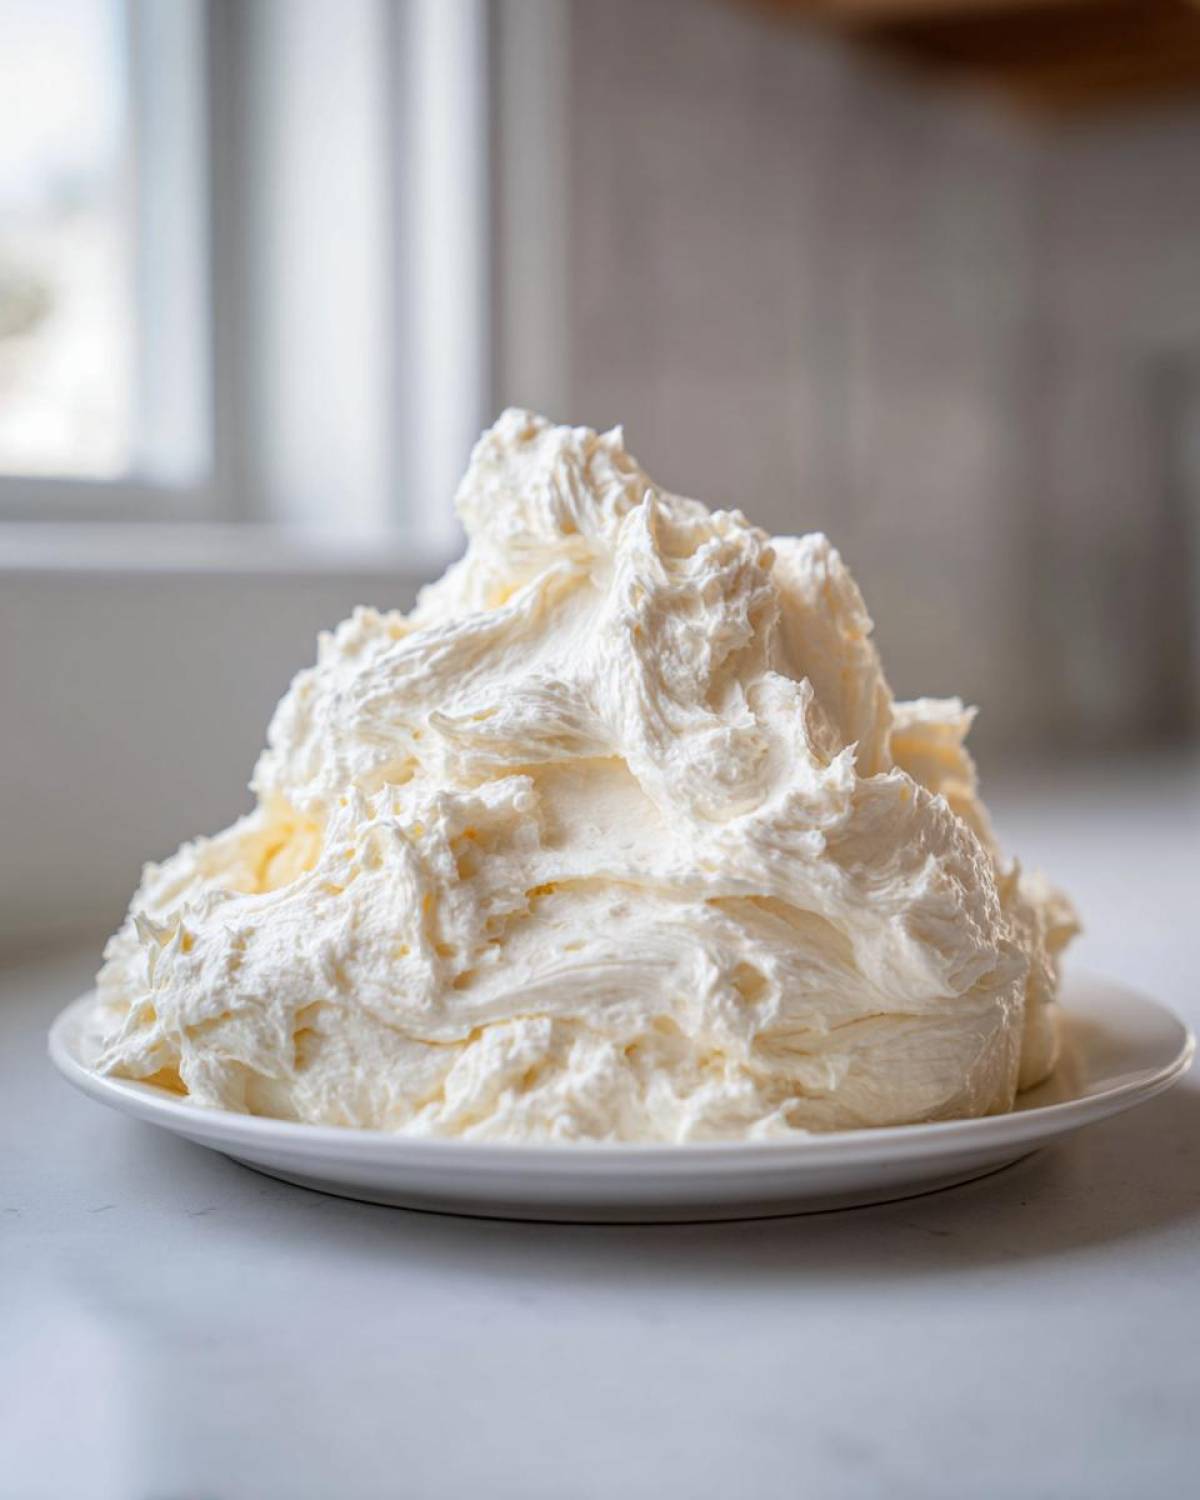
Step-by-Step Instructions for Classic American Vanilla Buttercream Frosting
Alright, let’s get this party started! In just about ten minutes, we’ll have the most divine **vanilla buttercream frosting** you’ve ever scooped onto a cake. Leo usually stands by the mixer, timing everything because he gets too excited. It’s all about the sequence here to ensure you get that beautiful, billowy structure. Follow these steps exactly, and you’ll see why people rave about this recipe—it’s truly the best buttercream for cakes!
Creaming the Butter and Adding Sugar
First thing’s first: your butter needs to look like smooth silk. Toss that room-temperature butter into your stand mixer (paddle attachment, please!) and beat it on medium speed until you can’t see any lumps or streaks—that takes about two minutes. Once it’s happy, turn the machine down to low and start sneaking in your sifted powdered sugar, cup by cup. Don’t dump it all in at once, or you’ll be wearing white dust! Scrape down those sides frequently, always making sure everything is incorporated before you move on.
Whipping for the Best Buttercream for Cakes Texture
Now for the magic that makes this an amazing, whipped vanilla frosting. Once the sugar is mostly mixed in, toss in your vanilla and that tiny pinch of salt. Then, crank that mixer up to medium-high. You need to let it whip—and I mean *really* whip it—for a full three to five minutes after adding the first three tablespoons of cream. This intense whipping time is crucial! It incorporates air, turning your thick mixture into that pale, fluffy texture you see in bakery windows. If you’re wanting to peek at others who nail this process, check out this easy vanilla buttercream frosting recipe for inspiration!
When you’re done with this stage from our easy homemade frosting tutorial, take a look. If it seems stiff, add that last tablespoon of cream slowly, a teaspoon at a time, until you hit that perfect buttercream frosting piping consistency. You’ve got this!
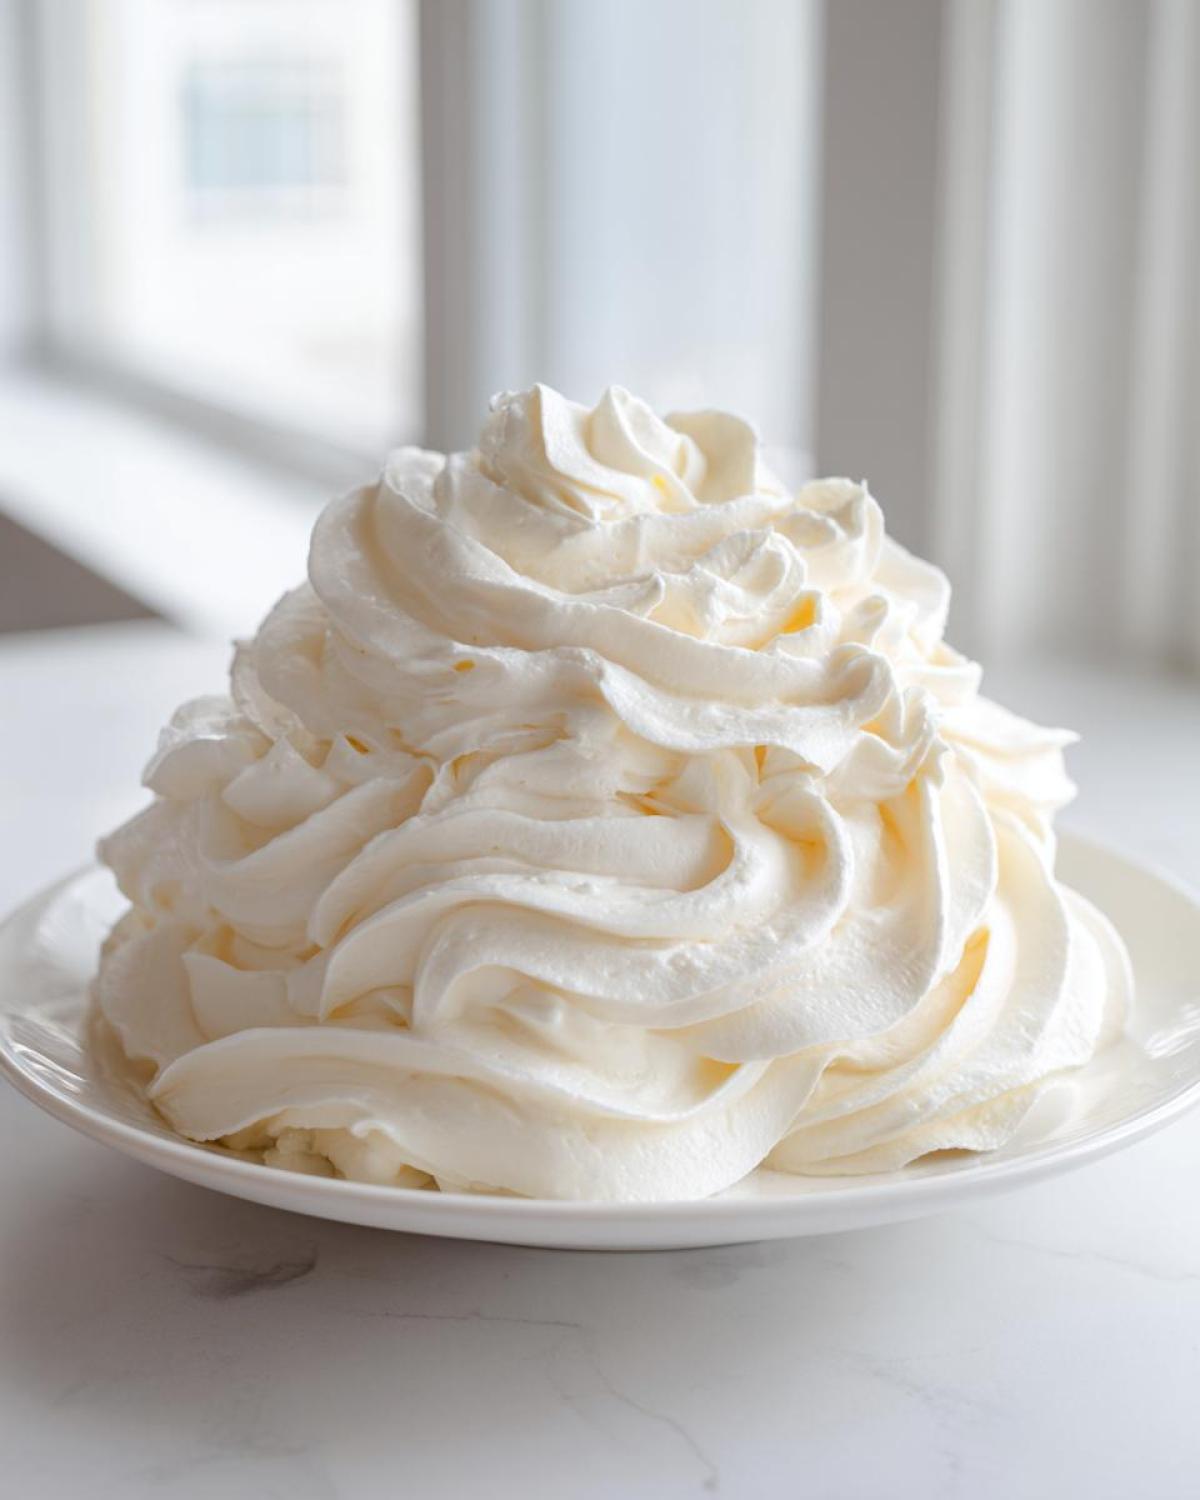
Troubleshooting Your Vanilla Buttercream Frosting Consistency
Don’t panic if your vanilla buttercream frosting isn’t behaving exactly how you pictured it right after mixing! This happens to the best of us, even when using the most reliable buttercream from scratch recipe. The temperature of your kitchen or even the humidity can change how much liquid the sugar absorbs. The key thing to remember is that this is an easy fix, whether you’ve ended up with soup or concrete. We want a smooth, spreadable base for our homemade vanilla cake frosting, and we can absolutely get there!
Fixing Runny Vanilla Frosting for Cupcakes
If your mixture seems too loose—maybe it’s slumping right off the paddle attachment or just looking shiny and wet—it means you need more structure. The fix is simple: grab more of that sifted powdered sugar! Start adding it in, one level tablespoon at a time, while the mixer runs on low speed. Don’t add too much at once, or you’ll swing too far the other way! After each addition, let it mix in completely, then check the texture. With a little patience, you’ll bring that creamy vanilla frosting recipe right back to life.
Adjusting Stiff Creamy Vanilla Frosting Recipe
Conversely, sometimes your finished frosting looks gorgeous, but you try to spread it on a cake, and it feels like you’re applying spackle! If your whipped vanilla frosting is too stiff, it’s almost always because the butter seized up slightly, or you measured your liquid too conservatively. For this, we go back to the heavy cream or milk. Add it in, but only one teaspoon at a time, mixing slowly so it incorporates without separating the emulsion. If you’re aiming for sharp borders and need that super-stiff buttercream frosting piping consistency, sometimes the best move isn’t adding ingredients, but chilling it! Try covering the bowl and popping it in the fridge for just 15 minutes, then remixing it very briefly before piping.
We want you to succeed with this recipe every time, so don’t be afraid to play with those final few additions. You can check out some great tips on achieving the perfect buttercream frosting piping consistency right here on the blog!
Storage and Reheating Instructions for Homemade Vanilla Frosting
Once you’ve made this divine batch of **vanilla buttercream frosting**, you might find yourself with leftovers—which is a great problem to have, believe me! Leo polished off the last of the bowl scraps yesterday, but if you’re saving some for a loaf cake you’re baking tomorrow, you need to know how to store it right. Keeping this butter and sugar frosting fresh is key to making sure it’s still perfect the next day, especially if you need that lovely, smooth finish for later decorating.
For short-term storage, say, keeping it on the counter for a few hours before finally tackling those easy homemade frosting decorated cupcakes? Just cover the bowl tightly with plastic wrap, touching the surface of the frosting if you can. At cool room temperature, this frosting should be fine for a day or two. It really is a fantastic simple desserts topping that holds up well.
If you need to save it for longer, the refrigerator is your friend. Place your **homemade vanilla frosting** in an airtight container—really lock that lid down, because butter loves to absorb fridge smells! It will last beautifully for up to two weeks in the cold.
Now, here’s the important part: bringing that refrigerated frosting back to life. When you pull that cold, hard block of creamy vanilla frosting recipe out later, you cannot just stick it in the mixer and expect magic! It will look crumbly, stiff, and sad. Don’t despair! Allow it to sit on the counter for at least an hour, maybe two if your kitchen is chilly, until it’s softened again. Once it’s pliable, beat it in your mixer on medium speed for about five minutes. This whipping process reincorporates the air you lost during chilling, returning it to that light, gorgeous, piping-ready state. It’s like giving your frosting a little refresh, and it will be ready to decorate!
Serving Suggestions for This Simple Desserts Topping
I absolutely love that once you have this reliable **vanilla buttercream frosting** in your arsenal, it transforms from just a cake topping into the most versatile, **simple desserts topping** you can imagine! Leo and I rarely have leftovers, but when we do, we put them to good use. It’s such a joy to whip up a batch of this classic American buttercream for something unexpected.
Of course, it’s glorious on cupcakes and layer cakes—that’s its main starring role—but don’t stop there! Think about using it to assemble whoopie pies. A little dollop of this sweet, fluffy vanilla between two soft chocolate cookies? Heaven! It’s the perfect filling for homemade sandwich cookies, giving you that immediate nostalgia trip.
Also, if you’re making something sturdy like brownies or a crumbly coffee cake, instead of a boring drizzle, spread a thin layer of this homemade vanilla cake frosting over the cooled top. You instantly elevate a simple bake into something truly special. I even used this recipe once to top my famous easy apple crumble recipe when we had unexpected company because it was quick and tasted so luxurious!
Trust me, once you master this frosting, you’ll be looking for excuses to use it. For more inspiration on desserts that benefit from a dollop of this amazing topping, check out this lovely guide over at Vanilla Buttercream Frosting Recipe. Happy decorating, dear readers! This whipped vanilla frosting deserves to be celebrated!
Frequently Asked Questions About Vanilla Buttercream Frosting
I always get the same few questions after Leo sends out the latest dispatch about this wonderful **vanilla buttercream frosting**. Honestly, most questions come down to ingredient swaps or timing, which is totally understandable! We want this recipe to be as foolproof as possible for your own kitchen. Here are the main things I hear and my best advice for a guaranteed perfect outcome!
Can I use salted butter in this creamy vanilla frosting recipe?
Oh, that’s a great question about keeping this a creamy vanilla frosting recipe! You absolutely *can* use salted butter in a pinch, but you must adjust the salt we add. Since the recipe calls for just a small pinch of salt to balance the sweetness, if you use salted butter, just omit the added salt entirely. If your butter is quite salty, you might even consider reducing it slightly more, but usually, skipping that pinch is enough! Just remember, room temperature rules still apply for that perfect texture.
How long does this no-cook buttercream recipe last?
This is where knowing how to store your no-cook buttercream recipe pays off! Because this frosting relies on a lot of butter and sugar—and no eggs—it’s quite stable. You can definitely keep it covered tightly on the counter in a cool pantry for about two days. If it’s summer or your kitchen is very warm, though, I’d move it to the fridge where it will last beautifully for up to two weeks. Just remember to let it soften up and give it a good, quick whip before you put it on those cakes!
Can I color this vanilla frosting for quick dessert decorations?
Of course, you can! This is where you can get really creative and turn this into fantastic quick dessert decorations for any holiday. My one crucial piece of advice is to avoid liquid food coloring. Liquid dyes can thin out your frosting very quickly, ruining the structure we worked so hard to build. Always, always use gel food coloring! If you want to tint the whole batch of **vanilla buttercream frosting** a pastel shade, I recommend adding the gel color right after you add the vanilla in Step 3, before the final, long whip. That way, the high-speed mixing incorporates the color evenly for that smooth finish.
Publish Your Own Tasty Story
Oh, friends, I truly hope you give this vanilla buttercream frosting a whirl! Honestly, seeing your creations pop up in my inbox or comments makes my retirement feel like the grandest adventure. If you try this recipe, please, please let me know how it goes! Did you whip it long enough to get that pale, fluffy texture we talked about? Did you make sharp stars on your cupcakes? Telling me about your success is the headline news for me!
Head down to the comments section below—it’s like sending a letter to the editor! Give the recipe a star rating so others know this is the real deal for the best buttercream for cakes. Your feedback helps keep our little newsroom buzzing!
As Leo always says when the mixer finally stops whirring, “That’s the sign of a job well done! Now, go eat your art!”
We love seeing you join in on the fun here at Tasty Tribune. If you’re looking for more inspiration on what to frost next, pop over to the main blog page for all our latest dispatches. Happy baking, dear readers!
PrintThe Best Classic American Vanilla Buttercream Frosting
Learn how to make this creamy, smooth, and fluffy vanilla buttercream frosting. This classic American buttercream is perfect for piping details on cakes and cupcakes and comes together quickly.
- Prep Time: 10 min
- Cook Time: 0 min
- Total Time: 10 min
- Yield: About 3 cups
- Category: Dessert Topping
- Method: Mixing
- Cuisine: American
- Diet: Vegetarian
Ingredients
- 1 cup unsalted butter, softened to room temperature
- 4 cups powdered sugar, sifted
- 1 teaspoon pure vanilla extract
- 3 to 4 tablespoons heavy cream or milk
- Pinch of salt
Instructions
- Place the softened butter into the bowl of a stand mixer fitted with the paddle attachment. Beat the butter on medium speed until it is completely smooth and creamy, about 2 minutes. Scrape down the sides of the bowl.
- Gradually add the sifted powdered sugar, one cup at a time, mixing on low speed until just combined after each addition.
- Add the vanilla extract and a pinch of salt. Increase the mixer speed to medium-high and beat for 3 minutes. This step incorporates air, making the frosting fluffy.
- Add 3 tablespoons of heavy cream or milk. Beat on medium-high speed for another 3 to 5 minutes until the vanilla buttercream frosting is light, pale, and fluffy. This extended whipping time is key for the best texture.
- Check the consistency. If the frosting seems too stiff for spreading or piping, add the remaining tablespoon of cream, one teaspoon at a time, until you reach your desired consistency for smooth buttercream.
- Use immediately to frost your cakes or cupcakes.
Notes
- Use room temperature butter; it must be soft but not melted. This is essential for achieving a smooth buttercream texture.
- Sift your powdered sugar to prevent lumps in your final frosting.
- If your frosting seems too thin after adding the liquid, add 1/4 cup more sifted powdered sugar and beat again.
- If you need a stiffer frosting for sharp piping consistency, chill the finished buttercream for 15 minutes before using.
Nutrition
- Serving Size: 1/4 cup
- Calories: 350
- Sugar: 55
- Sodium: 45
- Fat: 15
- Saturated Fat: 9
- Unsaturated Fat: 6
- Trans Fat: 0
- Carbohydrates: 56
- Fiber: 0
- Protein: 1
- Cholesterol: 40