

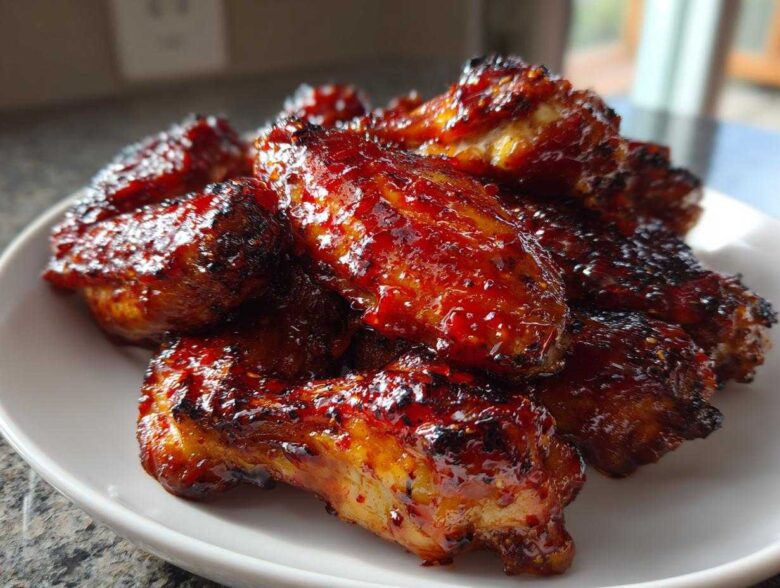
You know that feeling when you desperately crave chicken wings—the kind that shatter perfectly when you bite into them and are absolutely dripping with shiny, sweet, spicy glaze? I used to think that meant heading out for takeout or dealing with hot, splattering oil. Nope! Not anymore. It took me *ages*—seriously, several batches of sadly-soggy failures—to crack the code, but I finally have the ultimate technique for Sticky Sweet Chili Chicken Wings Oven Baked.
Forget the fryer; we are using elbow grease and a wire rack! This method guarantees you get that incredible, crispy skin *before* we smother every single piece in a thick, homemade sweet chili sauce. If you’re looking for the Best Baked Chicken Wings you’ve ever made that taste like they came from a favorite restaurant, you’re in the right spot. I’ve linked my detailed guide on general crispiness techniques here: crispy baked chicken wings recipe.
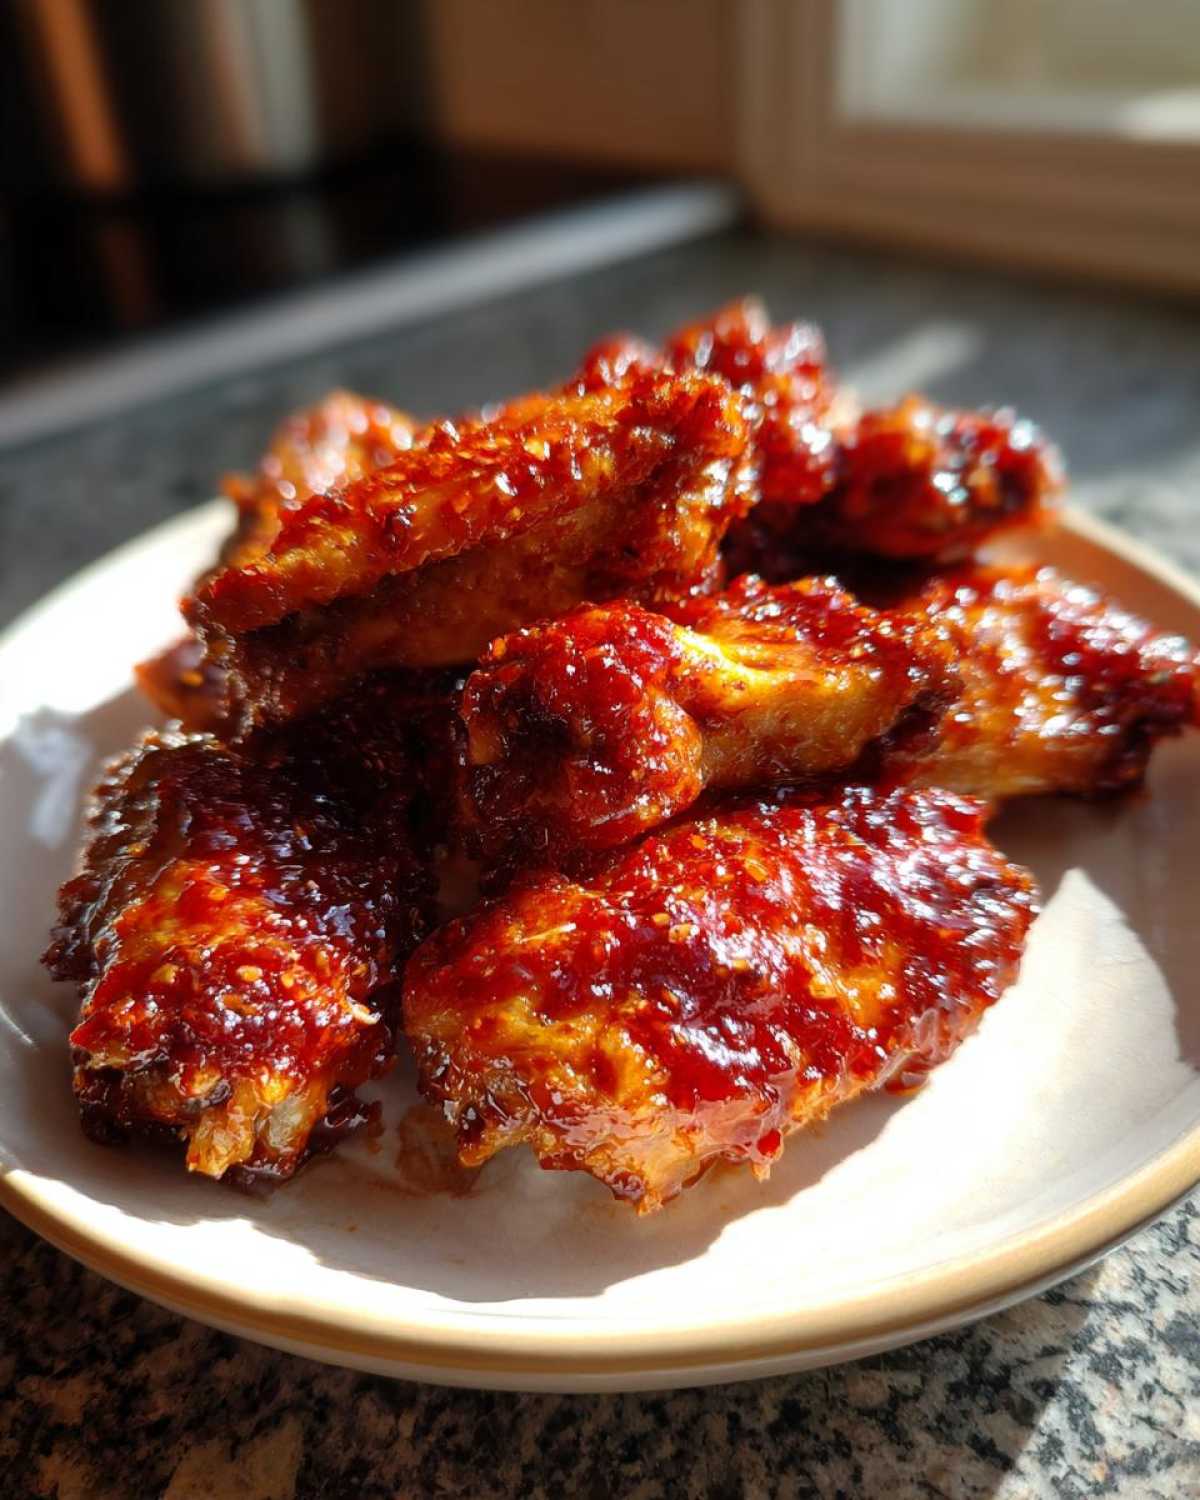
Why You Will Love These Sticky Sweet Chili Chicken Wings Oven Baked
Seriously, these wings check every single box. I promise they are worth making, even if you’re just planning for a quiet Tuesday night. You don’t need any fancy equipment, which is a huge win in my book!
- You get truly crispy skin without ever turning on the deep fryer. It’s magic, I tell you!
- The sauce is intensely sticky and sweet, balancing that perfect kick of chili spice.
- They look restaurant-quality—glazed, glossy, and begging to be eaten immediately.
- It’s a one-pan (plus one rack!) technique, meaning cleanup on laundry day isn’t a nightmare.
- Perfect for a big game day appetizer or a surprisingly easy weeknight chicken wing dinner.
Essential Ingredients for Your Sticky Sweet Chili Chicken Wings Oven Baked
Okay, gathering things is my least favorite part of cooking, but trust me, having everything measured out makes the process of creating these Sticky Sweet Chili Chicken Wings Oven Baked so smooth. The secret to the crispiness isn’t in a long marinade; it’s in a dry rub we apply right before they hit the heat! We need two main groups of ingredients here: the dry coating for the wings themselves, and everything for that glossy glaze we’ll pour over later. You can find my favorite breakdown on marinades, though we are doing a dry rub here, over at this link: ultimate all-purpose chicken marinade juicy.
Here is exactly what you need to pull this off. Don’t skimp on the baking powder—it’s the real MVP for getting that oven-baked crisp!
- About 2 lbs of chicken wings, separated into those easy-to-handle flats and drumettes.
- One tablespoon of baking powder (and listen to me: must be aluminum-free, this makes a difference!).
- One teaspoon of salt and half a teaspoon of black pepper for the basic seasoning.
- For the glaze, you’ll need about half a cup of store-bought sweet chili sauce—no need to make that part from scratch!
- For stickiness, grab a quarter cup of honey or dark brown sugar—I usually use honey, but brown sugar gives it a deeper flavor.
- Two tablespoons of soy sauce and one tablespoon of rice vinegar for that essential tangy backbone.
- One teaspoon of fresh ginger, grated finely, and two cloves of garlic, minced up small.
- Crucially, you need a slurry: one teaspoon of cornstarch mixed smoothly with one tablespoon of cold water. This is what locks in the shine!
Equipment Needed for Perfect Oven Baked Chicken Wings Recipe
Honestly, the beauty of making Sticky Sweet Chili Chicken Wings Oven Baked this way is that you don’t need a fryer taking up counter space! We are keeping things simple, but there are a few specific items that make the difference between soggy and sensational. If you forget these, you might end up with flatter wings, so listen up!
The one piece of gear I absolutely insist on is a wire rack. This is non-negotiable for crispy skin. You cook the wings on the rack, which sits on top of a foil-lined baking sheet. Why? Because the hot air circulates all around the chicken, drying out the bottom skin instead of having it steam in its own juices on the metal pan.
For mixing and saucing, you’ll need just a few standard things you probably already own:
- A large mixing bowl for tossing the wings with the baking powder mixture.
- A small saucepan for gently simmering our homemade glaze.
- A whisk or wooden spoon to make sure that sauce comes together without lumps.
- When it’s time to serve, grab another clean, large bowl—this one is essential for coating the hot wings in their sticky goodness without making a huge mess everywhere.
Step-by-Step Guide to Making Sticky Sweet Chili Wings
Alright, this is where the fun starts! Getting the wings ready is crucial if you want that perfect, crackly skin beneath all that sweet sauce. Remember, the goal here is to pull every bit of moisture out of the skin before baking so they crisp up nicely. Follow these steps exactly, and trust me, you’ll see why I consider this the Crispy Baked Wings Recipe standard. If you’ve ever struggled getting potatoes crispy in the oven, the principles are the same—always use that rack! You can check out my favorite tips for roasting vegetables here: easy oven roasted crispy mexican potatoes 1.
Preparing the Wings for Maximum Crispiness
First things first, crank that oven up! We need it roasting hot at 425 degrees Fahrenheit. Don’t skip lining your baking sheet with foil—that’s protecting your sanity during cleanup later! Set your wire rack right on top. Now, grab your wings. You absolutely must pat them bone-dry with paper towels. I mean *bone-dry*. If they are even slightly damp, they steam, and we don’t want steam!
In your big bowl, dump the baking powder, salt, and pepper. Toss those dry wings in until they are coated evenly—it’ll look a little dusty, that’s exactly what we want. Arrange them on that waiting wire rack. Make sure they are in a single layer; they cannot be touching each other. If they crowd, they steam again! We are building layers of crispiness, people!
Baking the Chicken Wings Perfectly
Into the hot oven they go for the first assault: 25 minutes. Don’t peek too much! When that timer rings, put on some oven mitts and carefully flip every single wing over. This ensures even cooking on both sides. They go back in for another 15 to 20 minutes. You’re looking for skin that’s richly golden brown and feels firm when you poke it slightly. Once they look perfectly cooked and crispy, pull them out and let them relax for just a minute while you finish the sauce!
Crafting the Easy Sweet Chili Glaze for Sticky Asian Chicken Wings
While those glorious wings are getting their final crisp in the oven, we pivot over to the stovetop to make the sauce. This is where the “sticky” part of our Sticky Sweet Chili Chicken Wings Oven Baked truly comes alive! We’re taking basic ingredients and making them transform into something shiny and thick, kind of like when you make a quick gravy—speaking of which, I have a really great quick homemade chicken gravy recipe if you ever need it!
We combine the sweet chili sauce, honey (or brown sugar), soy sauce, vinegar, ginger, and garlic in a small saucepan. Bring that mixture to a gentle simmer for about three minutes just to let those aromatics wake up. Now comes the secret weapon for true stickiness: the cornstarch slurry. You have to whisk that slurry in while everything is simmering gently. Don’t dump it all in at once, or you’ll get lumps, and nobody wants lumpy sauce!
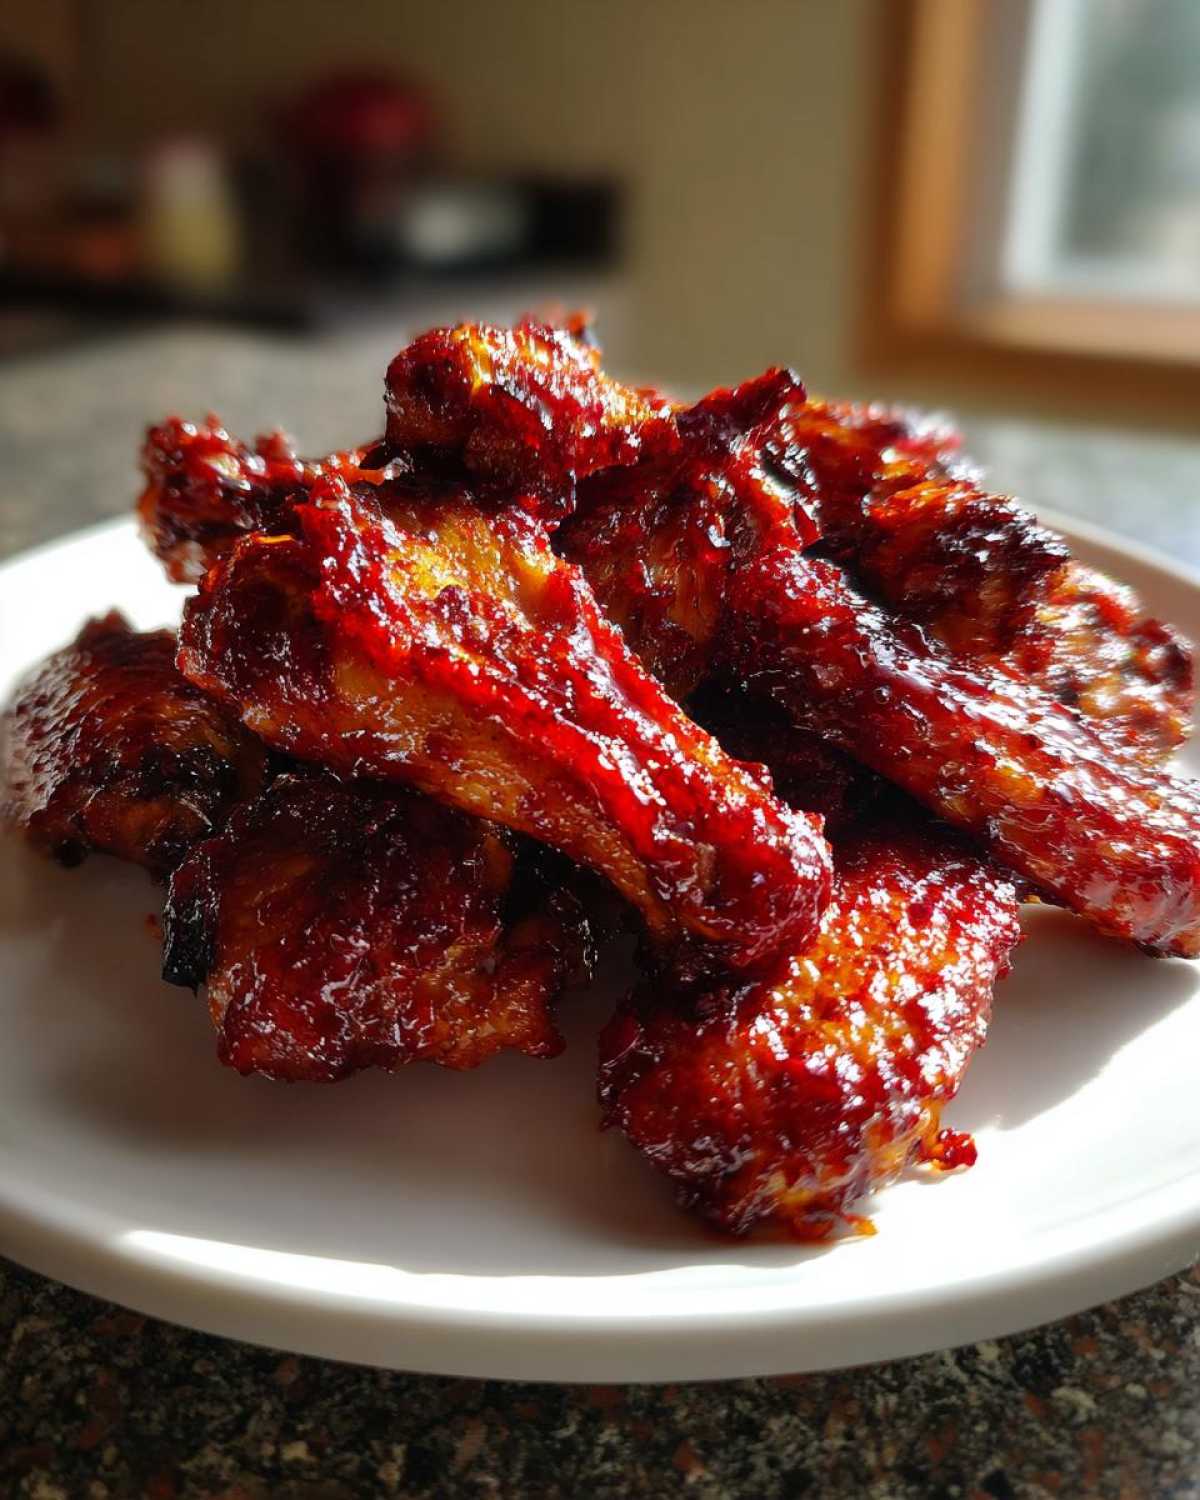
Keep stirring until the sauce thickens up enough to coat the back of your spoon—this means it is ready to cling perfectly to our Sticky Asian Chicken Wings. Turn off the heat right away! If you cook it too long after adding the starch, it gets gummy instead of beautifully sticky. That’s all there is to it!
The Final Toss: How to Make Sticky Wings in Oven Look Perfect
This is it—the moment of truth! We’ve got crispy wings, and we’ve got thick, glossy, beautiful glaze. Now we have to marry them without ruining all that hard work we put into making the skin crispy in the first place. If you just dump the sauce on them while they’re still on the rack, you’ll end up with a sticky mess all over your pan, and worse, soggy wings again!
As soon as those wings are out of the oven and your sauce is ready, transfer all of those perfectly baked beauties into that second, clean, large bowl I told you about earlier. This gives you room to work without battering your wings into little shreds.
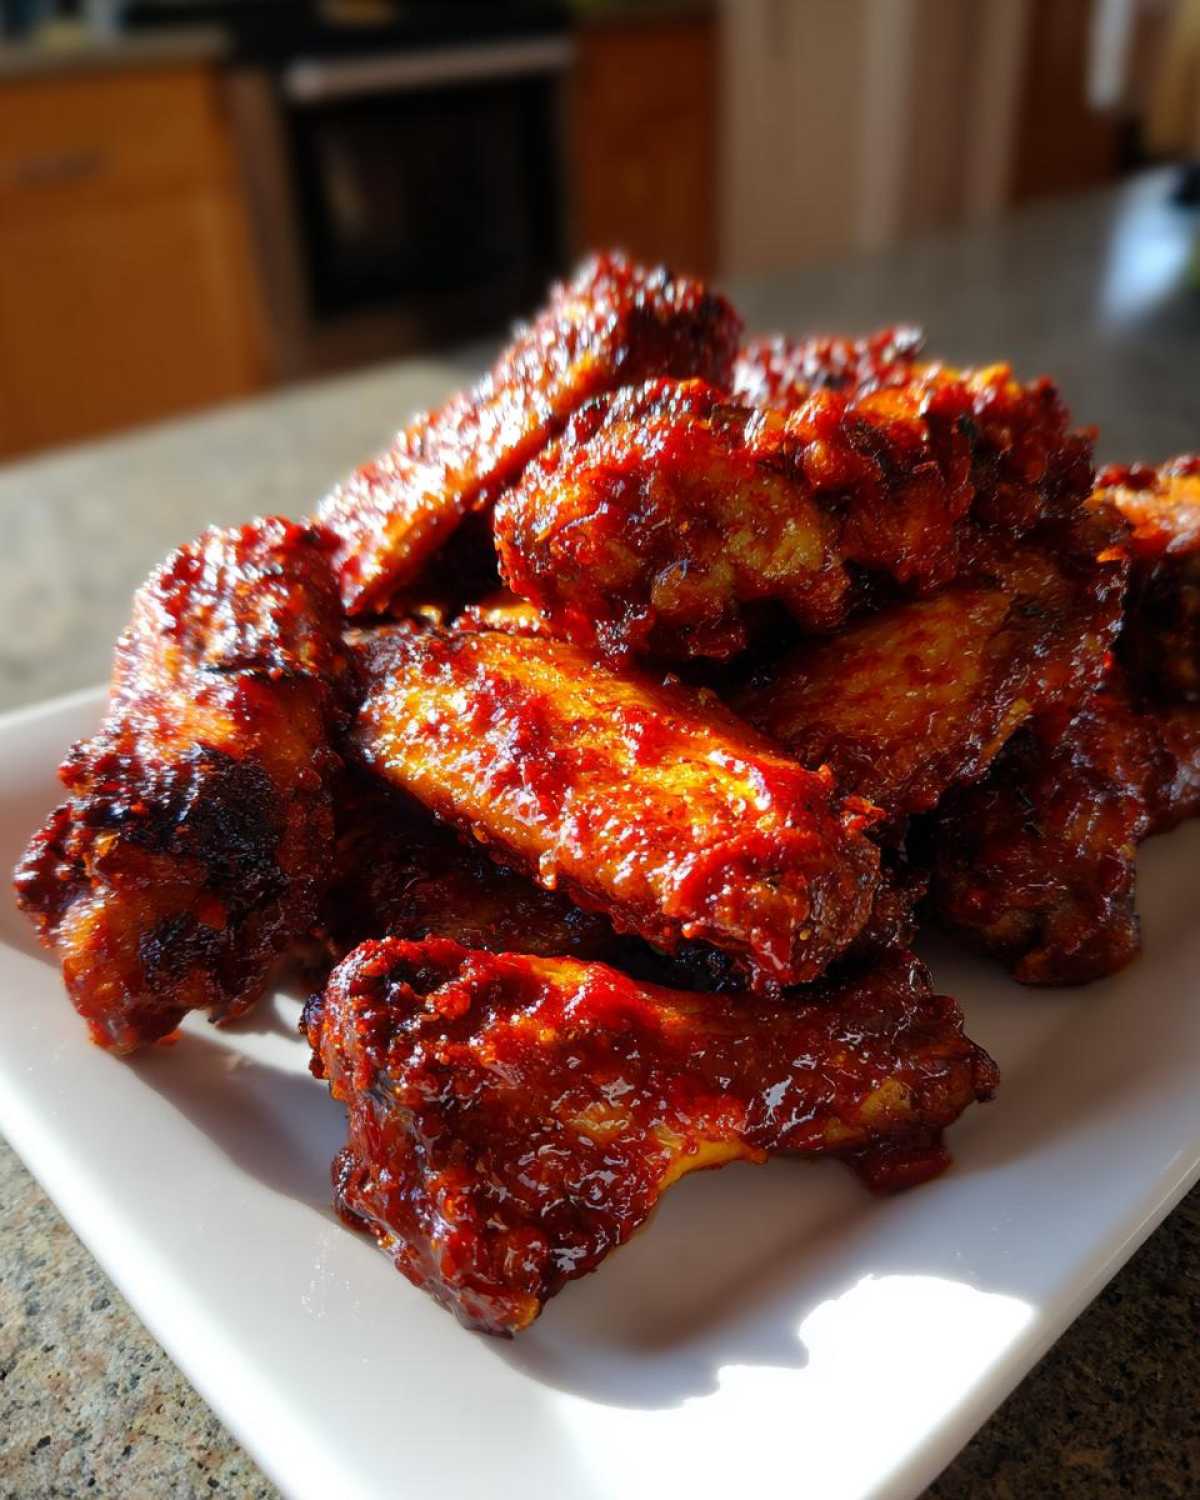
Take about two-thirds of your warm sweet chili glaze—I like to save a little bit extra for serving on the side, just in case people want more dipping action. Pour that main portion right over the wings in the bowl. Now, gently toss! Use tongs if you have them, or just use your hands (careful, it might be warm!). You want to gently fold the wings over until every single surface is coated in that signature shiny glaze.
Seriously, watch how quickly they transform. One moment you have pale, crispy wings, and the next, they are glistening and look exactly like the best Sticky Sweet Chili Chicken Wings Oven Baked. Serve them right away while they are piping hot off the stove and straight from that final toss. That perfect combination of crisp exterior underneath a thick, slightly spicy glaze is unbeatable!
Tips for Success with Your Perfectly Baked Chicken Wings
I know I sound like a broken record, but seriously, these little tricks are what take these from ‘good weeknight wings’ to ‘the ones everyone asks for.’ Since we aren’t frying, we have to be extra precise with preparation to get that satisfying crunch beneath the beautiful glaze. I learned most of these the hard way, so you don’t have to! If you want to skip the sauce entirely and just focus on plain crispiness, I have a fantastic full breakdown here: best baked chicken wings recipe.
Listen closely—these are my final nuggets of wisdom for ensuring you get the Best Baked Chicken Wings possible!
Baking Powder Distribution is Everything: I know you already tossed the wings in the mixture, but go back in there! With your fingers, gently ensure that baking powder blend (salt, pepper, and powder) has touched every single piece of chicken. If even one patch of skin misses out, that spot will stay pale and rubbery while the rest crisps up beautifully. We want consistent texture chaos!
Sweetness Substitution is Allowed: If you don’t have honey on hand or you just prefer that deep, molasses flavor, don’t sweat it! You can absolutely swap the honey for dark brown sugar cup for cup. I usually find that brown sugar sinks in a little more and caramelizes slightly better during the baking process, which is lovely, though honey gives that high-gloss shine.
The Post-Bake Rest Period (My Pet Tip): This is something I only discovered a few months ago, and it changed everything when it comes to not ruining the crispness during the toss. After you pull the wings out of the oven, resist the urge to immediately dump them into the glaze bowl. Let them rest on the wire rack for five minutes. They just came from intense heat, and they need a moment to set up. That quick rest lets the skin firm up just enough so that when you toss them with the glaze, the skin holds its integrity instead of immediately turning soft and wrinkly. It’s a small step, but it makes a huge difference for these Perfectly Baked Chicken Wings!
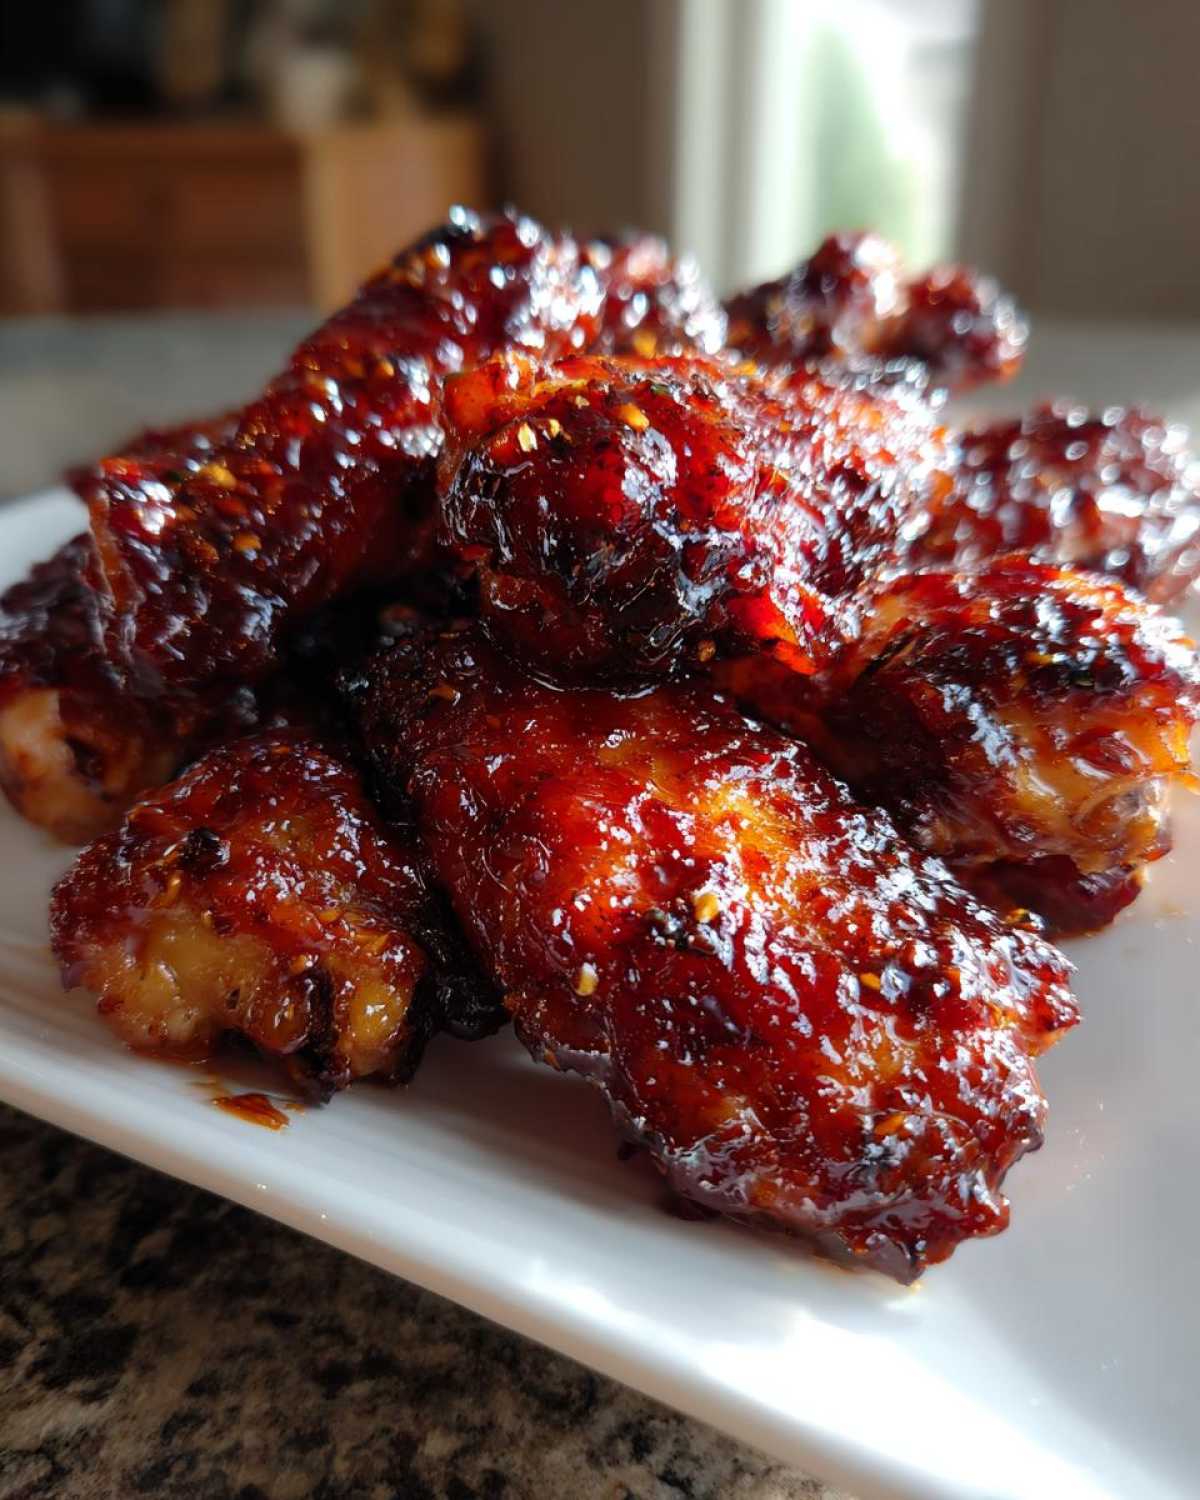
Follow these few extra steps, and I promise you’ll have fantastic Glazed Chicken Wings without Frying every single time.
Storing and Reheating Your Glazed Chicken Wings without Frying
Now, let’s talk reality. Do these Sticky Sweet Chili Chicken Wings Oven Baked taste best when five minutes out of the oven and fresh from the final toss? Absolutely, yes. That sticky glaze is going to be warm, shiny, and perfectly clinging to that crispy skin. However, let’s be real, leftovers happen, especially if you’re prepping these for a Game Day appetizer!
The main thing you need to know is that the sauce will firm up significantly once it cools down. That shiny, gooey texture you love so much solidifies when the sugars cool off. It’s not bad, but they won’t have that same immediately appealing looseness. Store any leftovers in an airtight container in the fridge for up to three days.
The absolute biggest mistake you can make when reheating these beauties is reaching for the microwave! I know it’s fast, but the microwave brings back steam, and steam is the natural enemy of crispy skin. Microwaving these will turn your beautiful, Oven Baked Chicken Wings Recipe effort into soft, rubbery disappointments. Don’t do it to yourself!
If you want to revive them, you have to use dry heat. I highly recommend tossing them back onto a wire rack set on a baking sheet in a preheated 350-degree oven for about 8 to 10 minutes. A toaster oven works just as well if you only have a few wings left. This gently warms the chicken through and—this is the key—it shocks the glaze just enough to soften it again, bringing back some of that coveted stickiness. If you’re making a huge batch, remember that fresh is always best for this Sweet and Spicy Wing Sauce!
Frequently Asked Questions About Sticky Sweet Chili Chicken Wings Oven Baked
I totally get it; whenever I try a new wing recipe, I always have a few nagging questions before I commit to dirtying all those bowls! Making these Sticky Sweet Chili Wings come out perfectly crispy and glazed relies on a couple of key decisions you make early on. Here are the things I hear most often from people trying this Oven Baked Chicken Wings Recipe for the first time. If you’re looking for a great soup side dish, I’ve got a hearty one here!
Can I skip the baking powder for the Crispy Baked Wings Recipe?
Oh gosh, please don’t! If you want truly crispy skin from the oven, the baking powder is your secret weapon. It slightly raises the pH level of the chicken skin, which helps break down the proteins and allows moisture to escape faster, leading to that wonderful browning and crisping. If you skip it, you’ll still end up with cooked wings, but they won’t achieve that signature crackle you’re looking for underneath the glaze. They’ll lean toward being soft rather than crunchy!
How can I make the glaze spicier to get that perfect Sweet and Spicy Wing Sauce?
That’s an easy fix! The base sweet chili sauce has a mild kick, but if you’re a heat fiend like me sometimes, you want more punch. Before you simmer the sauce mixture, toss in about half a teaspoon of dried red pepper flakes or a dash of your favorite hot sauce—like Sriracha or gochujang if you have it handy. Just taste it when you add the slurry, and adjust if needed. You want the heat to build just behind the sweetness!
Can I bake these on a simple sheet pan without the wire rack?
Look, sometimes your kitchen drawer magic fails you, and the rack goes missing! Yes, you *can* bake them directly on a foil-lined sheet pan, but I am warning you: they will be less crispy on the bottom. If you do this, you absolutely must flip them more frequently. Instead of just flipping once at 25 minutes, I would recommend checking and flipping them every 15 minutes throughout the bake time. This helps air circulate underneath and prevents that bottom layer from just sitting in the rendered chicken fat and steaming!
Why do I have to use aluminum-free baking powder?
This is a quality control thing for me when making Simple Oven Wings Recipe. Some cheaper baking powders contain aluminum, and while it helps with rising (not a big concern for meat skin, but still), it can sometimes leave a slightly metallic aftertaste, especially when concentrated on the skin like this. Aluminum-free baking powder delivers the necessary alkaline reaction without affecting the pure flavors of the wings and the sweet chili glaze.
PrintSticky Sweet Chili Chicken Wings Oven Baked
Follow these steps to make perfectly baked chicken wings coated in a sticky, sweet chili glaze using your oven.
- Prep Time: 15 min
- Cook Time: 45 min
- Total Time: 60 min
- Yield: 4 servings
- Category: Appetizer
- Method: Baking
- Cuisine: Asian-Inspired
- Diet: Low Fat
Ingredients
- 2 lbs chicken wings, separated into flats and drumettes
- 1 tablespoon baking powder (aluminum-free)
- 1 teaspoon salt
- 1/2 teaspoon black pepper
- 1/2 cup sweet chili sauce
- 1/4 cup honey or brown sugar
- 2 tablespoons soy sauce
- 1 tablespoon rice vinegar
- 1 teaspoon grated fresh ginger
- 2 cloves garlic, minced
- 1 teaspoon cornstarch mixed with 1 tablespoon cold water (slurry)
Instructions
- Preheat your oven to 425 degrees Fahrenheit (220 degrees Celsius). Line a baking sheet with foil and place a wire rack on top of the foil.
- Pat the chicken wings completely dry using paper towels. This step helps achieve crispier skin.
- In a large bowl, toss the wings with baking powder, salt, and pepper until evenly coated.
- Arrange the wings in a single layer on the wire rack. Do not let them touch.
- Bake for 25 minutes. Flip the wings over and bake for another 15 to 20 minutes, or until the skin is golden brown and crisp.
- While the wings finish baking, prepare the glaze. Combine the sweet chili sauce, honey (or brown sugar), soy sauce, rice vinegar, ginger, and garlic in a small saucepan.
- Bring the mixture to a simmer over medium heat. Cook for 3 minutes, stirring occasionally.
- Whisk in the cornstarch slurry. Continue to simmer and stir until the sauce thickens enough to coat the back of a spoon, about 1 to 2 minutes. Remove from heat.
- Once the wings are cooked, transfer them to a large, clean bowl.
- Pour about two-thirds of the warm glaze over the wings. Toss gently until every wing is thoroughly coated.
- Serve immediately with the remaining glaze on the side for dipping.
Notes
- For extra crispiness, ensure the baking powder is mixed well with the seasoning before coating the wings.
- If you prefer a thicker glaze, reduce the sauce slightly before adding the cornstarch slurry.
- You can substitute brown sugar for honey if you prefer a deeper molasses flavor in the glaze.
Nutrition
- Serving Size: 4 wings
- Calories: 350
- Sugar: 18
- Sodium: 450
- Fat: 18
- Saturated Fat: 5
- Unsaturated Fat: 13
- Trans Fat: 0
- Carbohydrates: 25
- Fiber: 1
- Protein: 22
- Cholesterol: 85