

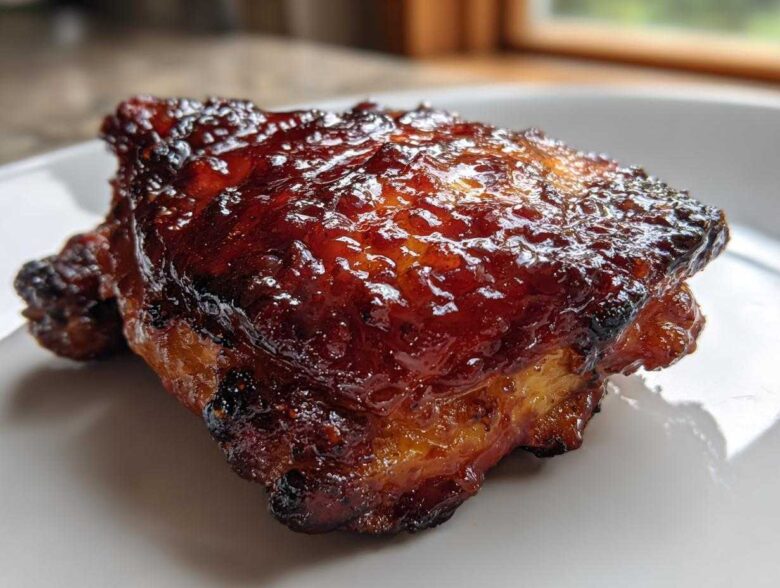
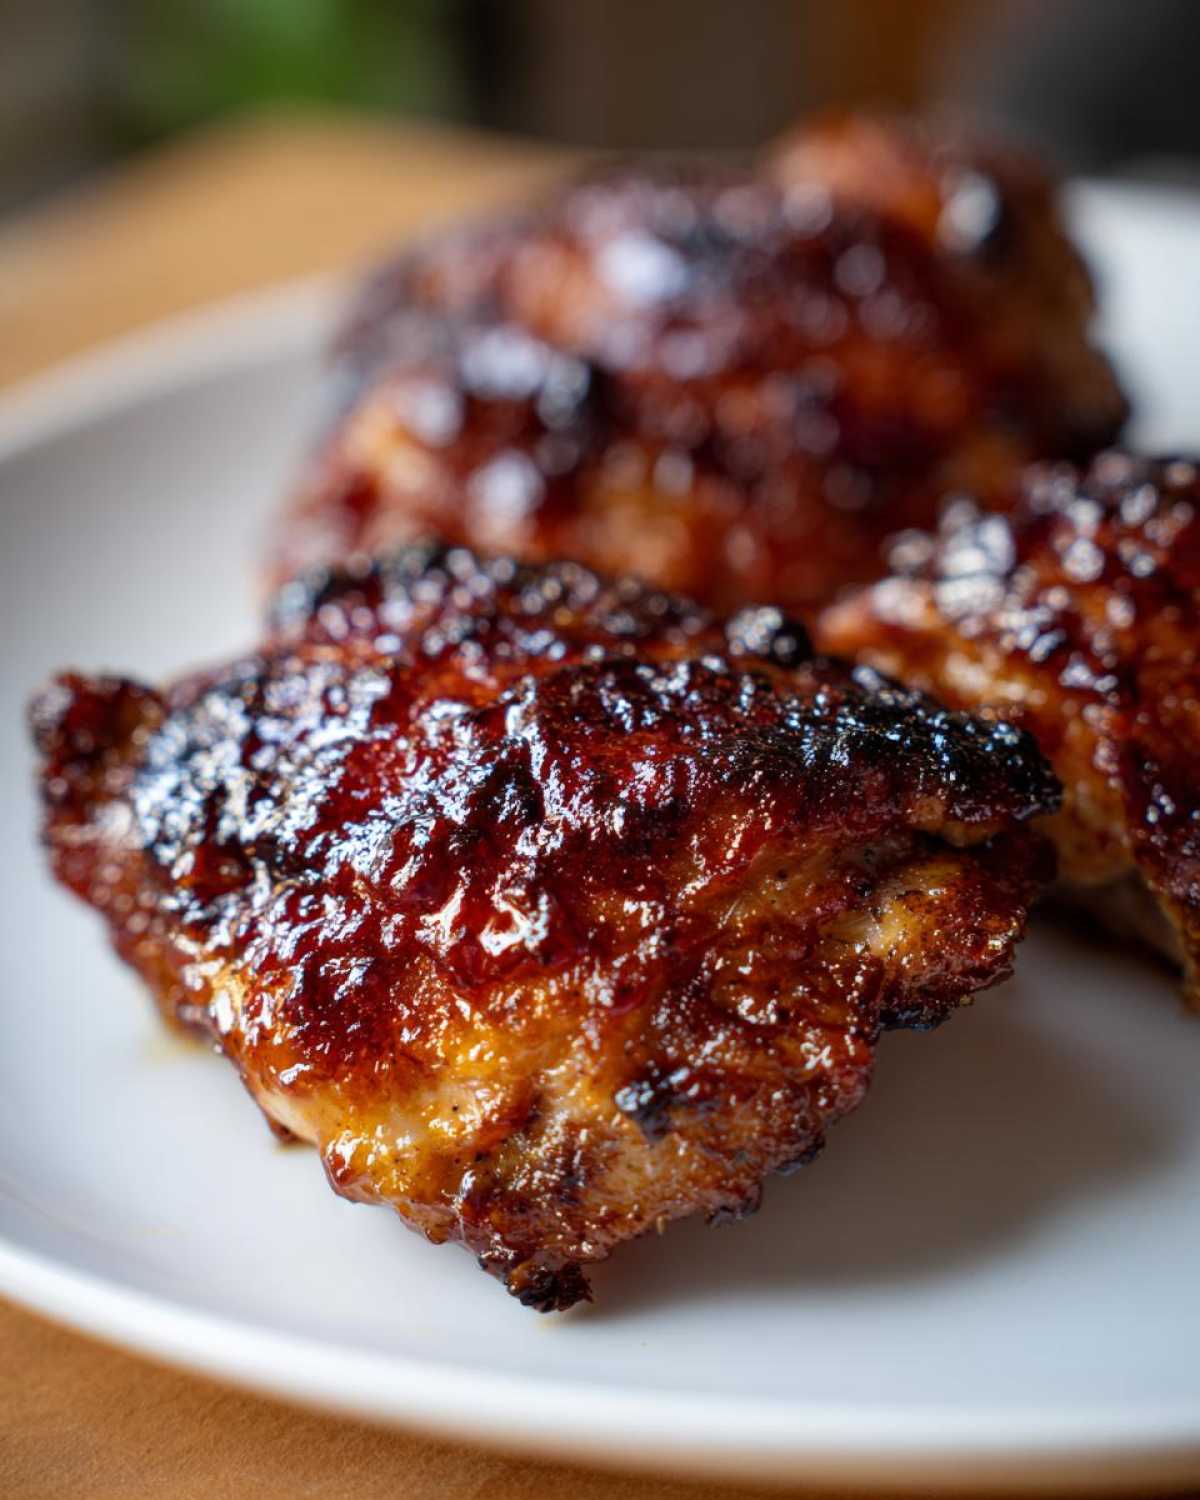
Look, getting really good BBQ chicken has always felt like a battle between textures. You either get that amazing, thick, almost tacky sweet glaze that makes your fingers sticky, or you get the skin that cracks perfectly when you bite into it. Never both! For years, I was drowning my chicken in sauce too early, only to end up with sad, wet skin. Talk about frustrating! But honestly, I cracked the code on these Sticky BBQ Chicken Thighs with Crispy Edges. By using a specialized two-stage glazing method, we bake them first to render the fat and crisp the skin, and *then* we paint on that beautiful sauce at the end. Trust me, this technique transforms weeknight chicken into something you’d happily serve for the Fourth of July. It’s pure magic!
Why You Will Make These Sticky BBQ Chicken Thighs with Crispy Edges Repeatedly
Honestly, I know you’re going to bookmark this because it solves the eternal chicken crisis. Forget choosing between tender meat and crispy skin; this recipe gives you everything. It’s the perfect balance for any night of the week, and you’ll be shocked how few ingredients you need!
- The texture contrast is just unbeatable! You get that satisfying crackle from the skin followed immediately by the gooey, sweet-and-savory glaze.
- Seriously easy for a weeknight. Prep is under 10 minutes, and the oven does almost all the heavy lifting for you.
- We use basic pantry spices, so you don’t have to run out for a million fancy ingredients just to get that “smoked” flavor.
- Bone-in, skin-on chicken thighs stay wonderfully juicy, so you never have to worry about dry meat, even if your timing is a little off.
- This recipe works like a charm whether you’re firing up the grill or sticking to the oven—total flexibility for any season.
See? It just makes sense. Plus, the smell while the glaze is caramelizing? Unforgettable.
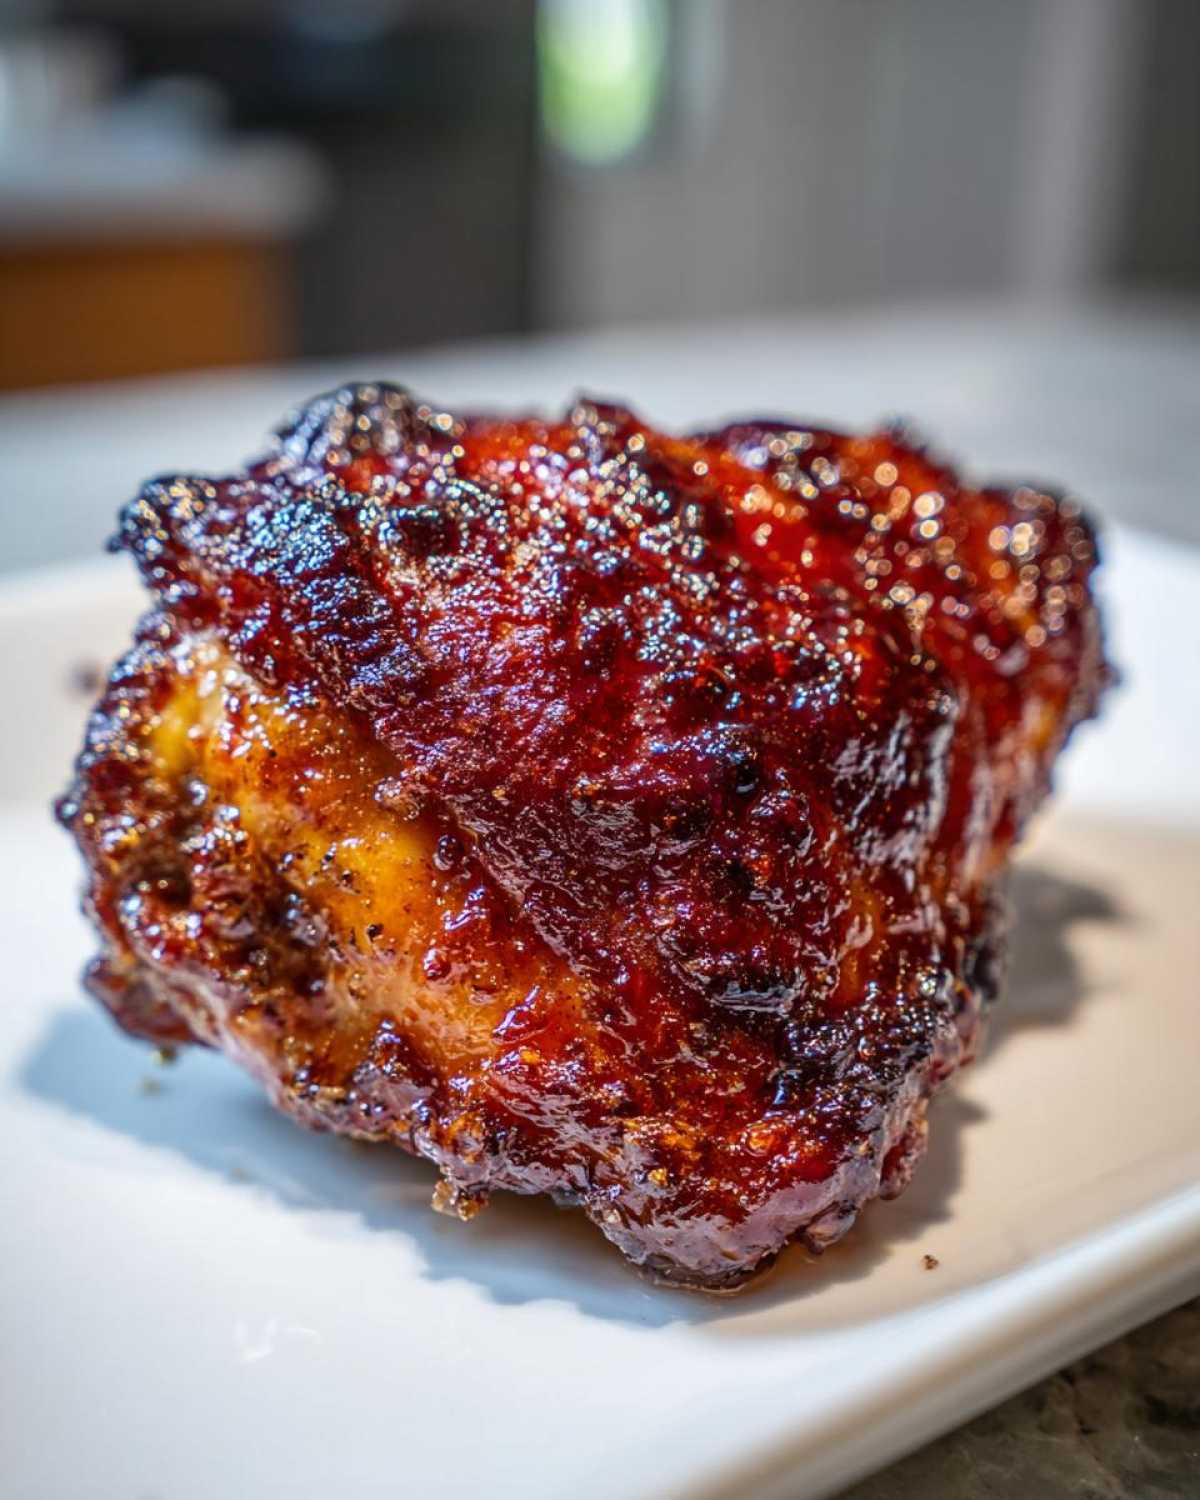
Essential Equipment for Perfect Sticky BBQ Chicken Thighs with Crispy Edges
You don’t need a smoker or a fancy rotisserie for this recipe, thank goodness! We’re keeping things simple and using standard kitchen gear. However, there is one item that separates the good BBQ thighs from the *great* ones, and it’s non-negotiable if you want those crispy edges all around the chicken.
First off, you’ll need a sturdy baking sheet. Make sure it’s one that hasn’t warped in the oven over the years! Since the glaze gets pretty sticky and can burn onto the pan itself, I always line mine—either with heavy-duty foil or, even better, parchment paper. This makes cleanup virtually nonexistent, which is a win in my book.
Now for the MVP: the wire rack. You have to elevate those chicken thighs! If you just lay them directly on the baking sheet, the bottom skin will sit in its own rendered fat and steam itself into a rubbery mess. Baking on a wire rack allows air to circulate underneath the skin. That constant airflow is what dries out the skin and makes it crisp up beautifully, even under a layer of sugary sauce.
Finally, you’ll need two bowls:
- A small one for your spice mix.
- A small saucepan for thickening that gorgeous, sticky BBQ glaze component. You don’t need anything fancy here, just something that heats gently on the stovetop.
Keep these few simple tools handy, and you’re halfway to the best sticky, crispy chicken thighs you’ve ever made!
Ingredients for Sticky BBQ Chicken Thighs with Crispy Edges
I love pulling this recipe out because the ingredient list is so short! You probably have most of this stuff sitting in your pantry right now, which means dinner is closer than you think. The real secret ingredient here isn’t a spice; it’s the *quality* of your BBQ sauce. If you start with a thin, watery sauce, you’ll end up with a runny glaze, not a sticky one!
I’ve learned to always choose a thick, robust sauce—think sweet and smoky, not vinegary and thin. Since we are making a small modification to the sauce on the stovetop, you can even use a store-bought brand you already love. If you were looking for a great marinade base for next time, I always keep a batch of my ultimate all-purpose chicken marinade on hand, but for this method, the dry rub is king!
Here is what you need to gather up for 4 servings:
- 8 bone-in, skin-on chicken thighs. Yes, bone-in and skin-on! That’s crucial for both moisture and crispiness.
- 1 tablespoon of olive oil—just enough to help the dry rub stick to the skin properly.
- 1 teaspoon salt and 1/2 teaspoon black pepper. Standard seasoning basics!
- 1 teaspoon smoked paprika. This is the MVP that gives the illusion of a smoky grill flavor even when we’re baking inside.
- 1/2 teaspoon garlic powder. Skip the fresh stuff here; dried powder adheres better when baking.
And for that wonderfully sticky glaze component that has to be cooked down:
- 1 cup of your favorite thick BBQ sauce. Go bold here!
- 2 tablespoons brown sugar—dark brown sugar is fantastic if you have it, for deeper color and molasses flavor.
- 1 tablespoon apple cider vinegar. This tiny bit of acid cuts through the richness and helps everything caramelize nicely without tasting sour.
That’s it! We combine the sauce ingredients on the stove while the chicken gets its initial bake underway. Simple, effective, and guaranteed to result in those deliciously crispy edges you’re craving!
The Method: How to Prepare Sticky BBQ Chicken Thighs with Crispy Edges
Okay, get ready because this is where the magic happens! We aren’t just throwing chicken and sauce in a pan and hoping for the best. We are layering textures here! Remember when I told you about my old soggy-skin days? That won’t happen here because we break this down into three distinct, easy steps. Stick with me, especially on the drying and the timing of the glaze—that’s the secret sauce to that fantastic texture contrast on our Sticky BBQ Chicken Thighs with Crispy Edges.
Prepping the Chicken and Initial Seasoning
First things first, crank that oven up to 400 degrees Fahrenheit. You want it hot when those thighs go in. Make sure your baking sheet is lined with foil and that wire rack is sitting right on top. Now, the most critical step for crispy skin chicken thighs: take those thighs and pat them down, down, down with paper towels until they feel almost dusty dry. Seriously, moisture is the enemy of crispiness! Once they are dry, toss them with that little bit of olive oil just to help the dry rub stick to the skin properly. Then, sprinkle on your salt, pepper, smoked paprika, and garlic powder. Rub that spice mix everywhere! We aren’t touching the thick BBQ sauce yet. They go onto the rack skin-side up and bake for 25 minutes. This initial blast of dry heat renders out a ton of fat and starts that crisping process.
Making the Sticky Glaze Component
While the chicken is doing its initial work in the oven, we make our glaze thick. Grab a small saucepan over medium-low heat. Dump in your cup of thick BBQ sauce, the brown sugar, and that splash of apple cider vinegar. You just need to stir this gently until the sugar dissolves and the whole mixture starts to look a little more cohesive. It’ll thicken up nicely, but don’t let it boil hard or aggressively! Boiling too fast can make the sugar scorch later on. You are basically just marrying the ingredients here. For a full rundown on thickening techniques, check out my guide on how to make sticky BBQ sauce, but honestly, this small stovetop heating trick is perfect for the job!
Glazing and Final Bake for Sticky BBQ Chicken Thighs with Crispy Edges
When that timer goes off after 25 minutes, carefully pull the tray out. The skin should already look tighter and lighter in color—that’s great progress! Now, generously brush that thickened, sticky glaze over the upturned tops of the thighs. Don’t worry if some drips down; we want them coated! Send them back into the 400-degree oven for another 15 to 20 minutes. You are looking for that internal temperature to hit about 175°F (80°C). If you want that last pop of caramelization, switch the oven to the broiler for the final minute or two. I mean it: watch them like a hawk! Broilers work fast, and we want sticky, not charcoal! A quick 5-minute rest, and you’re serving the best chicken dinner you’ve ever made. If you want more tips on achieving that perfect oven texture, I cover a lot of overlap in my easy oven roasted crispy chicken recipe!
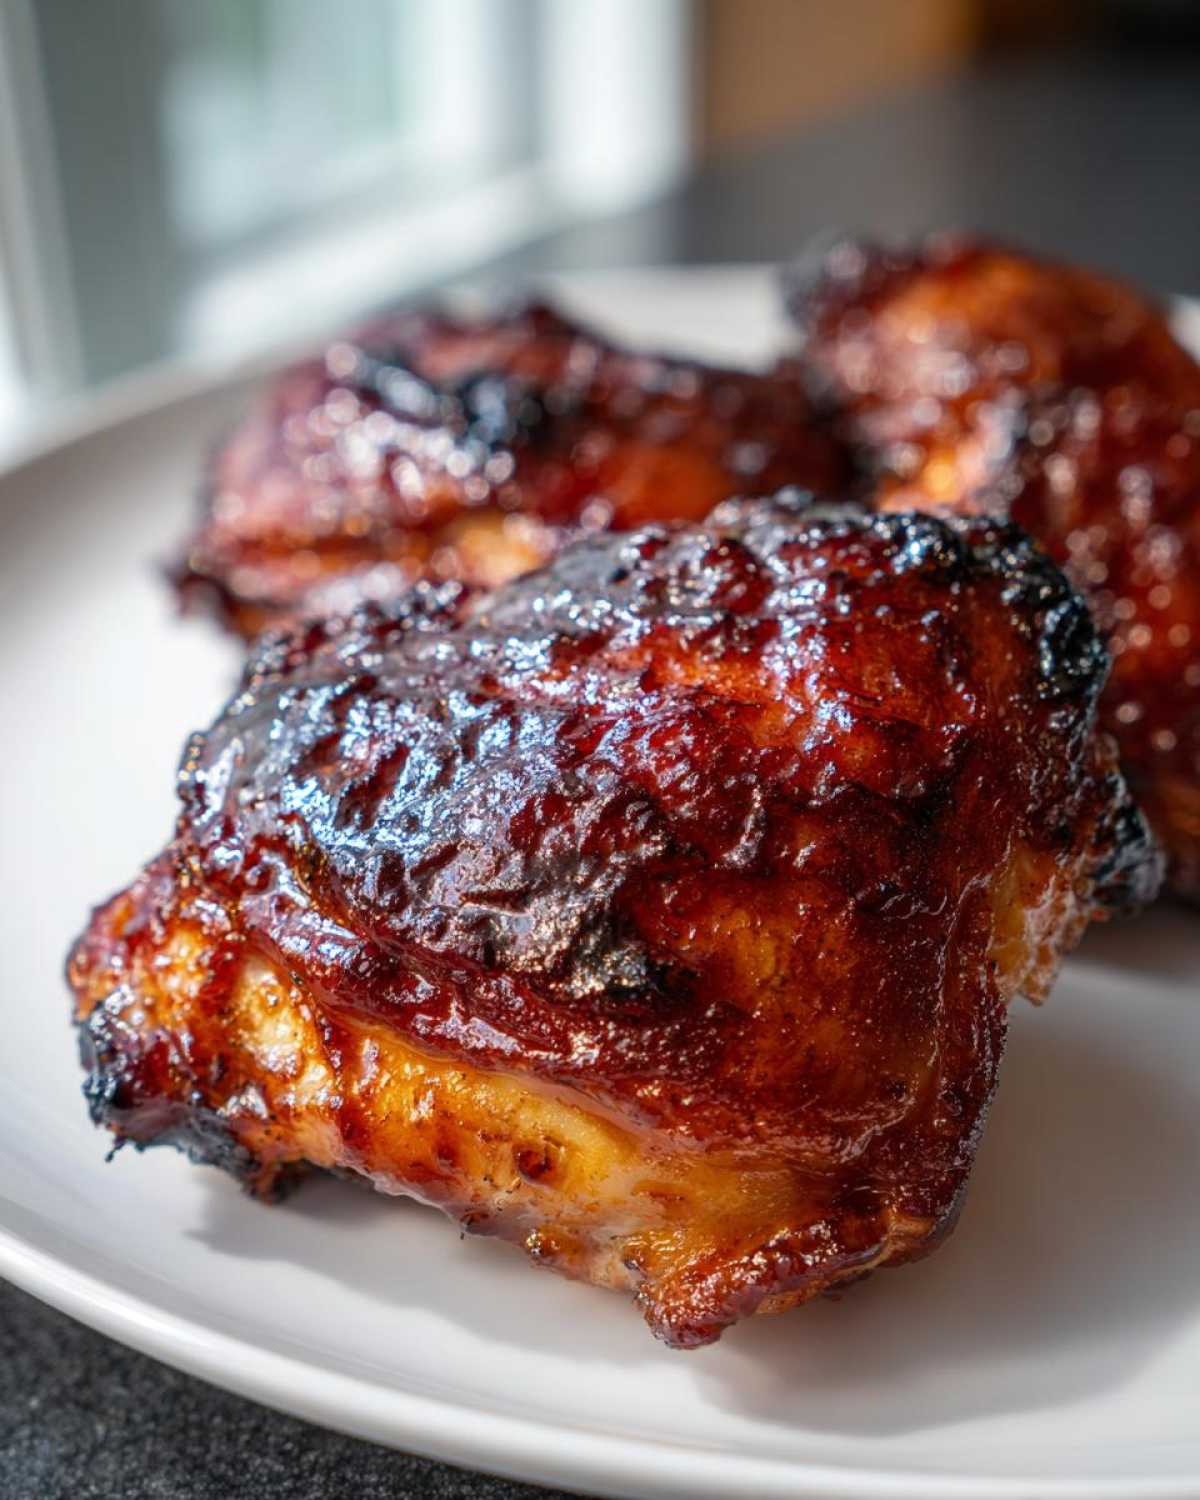
Tips for Achieving Maximum Crispy Skin Chicken Thighs
Listen, I know the sticky glaze gets all the glory, but let’s talk about that beautiful, crunchy skin for a minute. If you skip or rush the crisping steps, the result is just soft, sauce-logged leather, and we absolutely can’t have that. We already hit the big two—patting the meat bone-dry and using that essential wire rack—but I have one more little trick up my sleeve that makes a huge difference in rendering out all that frustrating under-the-skin fat.
It’s all about the timing of the initial bake. Remember, we bake them naked (no sauce!) for those first 25 minutes at 400°F. That’s the time dedicated solely to rendering. Fat needs heat to melt and drain away, so don’t rush this part. If you happen to have thicker thighs, you might even want to increase that initial time by five minutes, *before* brushing on that sugary glaze. Sugar burns fast, so we need the fat gone before the sugar hits the heat for the second round!
Here are my secrets boiled down for peak crispiness:
- The Dry Rub Advantage: That small amount of olive oil we use just helps the dry ingredients stick. Because the salt, pepper, and especially that smoked paprika are directly touching the skin, they help draw out moisture that the paper towel missed, creating a better surface for crisping.
- Rack Placement Matters: Make sure there’s plenty of space around each thigh on the rack. If they’re huddled together like they’re waiting for a bus, the steam just gets trapped between them. Give them room to breathe!
- The Cold Fat Rendering Secret: This is my extra authority tip, and it comes straight from my attempts to make perfect crispy breakfast potatoes—it works for chicken skin too! If your chicken thighs are coming straight from the fridge (and the skin feels cold and clammy), you can place the seasoned thighs on the rack, *uncovered*, in the fridge for about 30 minutes before preheating the oven. The cold air dries the surface even more effectively than paper towels alone. It’s worth the extra 30 minutes of waiting time!
Once that sugar goes on during the second half of the bake, those crispy bits we worked so hard to create can soften slightly under the sticky coating. That final 1–2 minutes under the broiler is your insurance policy. It reactivates the crispness instantly. Just keep your eyes glued to the oven door, okay? It happens fast!
Ingredient Notes and Substitutions for Your Sticky Glazed Chicken
So you’ve got everything laid out, but maybe you’re looking at your pantry and don’t have exactly what the recipe called for. Don’t panic! This recipe is super resilient, but a few key ingredients need respecting to keep that wonderful sticky-crispy balance we worked so hard to achieve.
My biggest piece of advice: if you mess with the primary components—the skin-on thighs or the sugar in the glaze—you might need to adjust the overall cooking time just a little bit. It’s all about baking intuition, but I can certainly guide your choices here!
What If My Favorite BBQ Sauce Is Too Thin?
This is such a common issue because barbecue sauces vary wildly! If your sauce is watery rather than thick right out of the bottle, you absolutely cannot skip thickening it on the stovetop with the brown sugar. A thin sauce will just run off the chicken or soak into the skin during baking, leading to steam instead of that beautiful caramelized coating.
When heating it up, if you notice it’s still too runny after dissolving the sugar, turn the heat up just slightly (medium heat) and let it simmer really gently—not boil hard—for a few extra minutes. You want it thick enough that when you dip a spoon in it, it coats the back of the spoon. If you’re in a real rush, you can always mix a tiny bit of cornstarch (about half a teaspoon) with a tablespoon of cold water into a slurry, then whisk that into the simmering sauce. It’ll thicken almost instantly! Just watch closely; we don’t want clumpy sauce!
Can I Use Boneless, Skinless Chicken Thighs Instead?
This breaks my heart a little bit, but the answer is technically yes, but you will lose the main texture selling point of the recipe. Remember, we are obsessed with **crispy skin chicken thighs**! Skinless thighs will still cook up nicely and take on the glaze, but they won’t get those desirable crispy edges. If that’s all you have, you’ll need to drastically lower your expectations for the crisp factor.
If you must use skinless thighs, for the love of all things holy, pat them bone-dry anyway! And since there’s no outer fat layer to render, only bake them for about 15 minutes before glazing, and then check the internal temperature closer to the 165°F mark. Save the broil step entirely! They might even benefit from a quick spritz of oil before the glaze goes on so the sauce has something to adhere to.
Can I Substitute the Brown Sugar in the Glaze?
You certainly can tinker, but brown sugar (especially dark brown sugar) is what gives BBQ glazes that gorgeous molasses depth and color. It also caramelizes at a slightly lower temperature than plain white granulated sugar, which is helpful since we are only baking the glaze for 15 or 20 minutes.
If you are out of brown sugar, you can use granulated sugar, but you’ll need to compensate for the missing molasses flavor. Try substituting about half of the granulated sugar with maple syrup or honey. Honey is stickier than sugar, so for that reason, you might want to reduce the amount slightly if you use it. White sugar alone will work, but your final **sticky glazed chicken** will look lighter in color, and the flavor won’t be quite as rich as this best BBQ chicken recipe intends!
Serving Suggestions for Glazed Chicken Dinner Ideas
Once you pull these beautiful, sticky, crispy thighs out of the oven, you’re going to need something stellar to serve them alongside! Because we have so much intense flavor—sweet, savory, smoky, and that gorgeous char—I always lean toward sides that are simple, fresh, or slightly tart. You want something that can handle the heavy sauce without getting completely overshadowed.
My go-to solution when I make these **BBQ chicken thighs recipe** favorites is balancing the richness. You don’t want another heavy, creamy dish competing with the robust glaze. Believe me, I learned that lesson the hard way when I once paired this chicken with homemade mac and cheese—it was delicious, but I needed a nap immediately afterward!
Here are the three combinations I always reach for when serving these up:
- The Bright & Crunchy Side: You absolutely need something fresh to cut through that sugar. My favorite is a simple, crisp salad with a really bright, acidic vinaigrette—think lemon juice, a touch of Dijon, and good olive oil. A creamy ranch dressing just won’t do the trick here! Something like thinly sliced cucumber, red onion, and maybe some fresh dill wakes up the palate perfectly between bites of that rich glaze.
- The Starch Soak-Up: If you are feeding hungry folks, you need a starch, but avoid overly seasoned potatoes. The meat has enough going on! I adore serving these over something plain and fluffy that can absorb any extra sticky drippings that accumulate on the plate. My recommendation is always a simple, perfectly cooked rice pilaf. It’s just light enough, and if you keep the seasonings basic—maybe just some butter and parsley—it lets the chicken remain the star of the show. You can find my simple recipe for easy fluffy rice pilaf here.
- The Tangy Vegetable Element: When summer rolls around or I want something slightly less green than a salad, I opt for something creamy but tangy. Baked beans are classic, sure, but I prefer creamy coleslaw or, even better, steamed green beans tossed with a little bit of butter and apple cider vinegar right at the end. That mild tartness from the vinegar echoes the acidity we built into the glaze, tying the whole plate together beautifully.
No matter what you pair it with, make sure you serve these **sweet and savory chicken** thighs immediately while the skin is at its absolute crispiest!
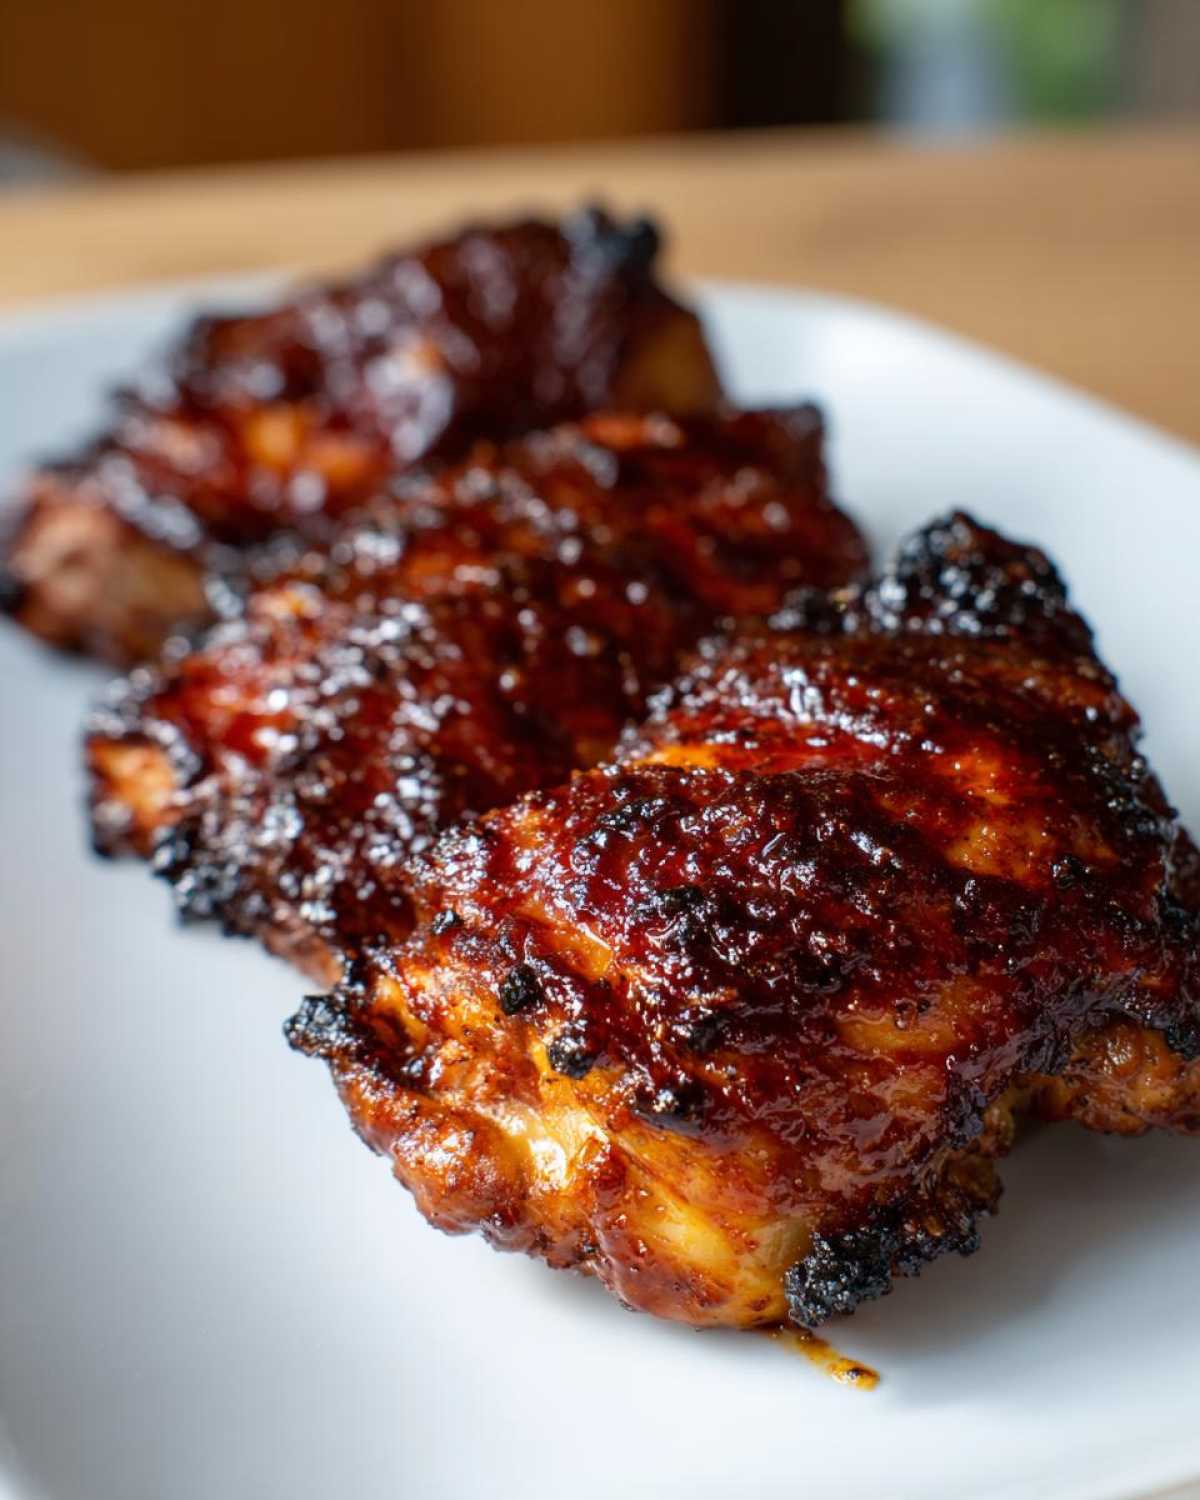
Storage and Reheating Instructions for Leftover Sticky BBQ Chicken Thighs
It’s rare that we ever have leftovers of these **Sticky BBQ Chicken Thighs with Crispy Edges** because everyone devours them fresh from the oven, but on the rare occasion we do, I want you to know how to treat them right!
The tricky part with any glazed chicken is that the sugar in the coating tends to absorb moisture from the air and the fridge, making the sticky part soft and sometimes almost gummy the next day. Also, that glorious crispy skin we worked so hard for? Gone. Poof! Microwaving is the absolute death knell for crispy skin, so please, put the microwave on timeout for this job.
Here’s how you handle leftovers to respect all that effort you put into the initial bake:
- Fridge Life: Store the cooled chicken thighs in an airtight container. They will keep perfectly well for about 3 to 4 days in the refrigerator. Make sure they are fully cooled before you seal the container up tight, otherwise, condensation builds up, and that adds moisture back into the skin!
Now, let’s talk about bringing that crispiness and stickiness back. We need dry heat to restore the texture!
Reheating for Maximum Crispiness (Oven Method)
The oven is my preferred method for reviving these because it mimics the original cooking environment. It gives the best chance of restoring some of that texture contrast. You want to reheat them slowly enough so that the glaze gets warm and tacky again, but fast enough that the meat doesn’t dry out.
Here’s what you do: Preheat your oven very low, around 300°F (150°C). Place the cooled thighs on a clean wire rack set over a lined baking sheet. Seriously, use the rack again! Air circulation is key. Bake them for about 10 to 12 minutes. You might notice the glaze looking a little dull at first, but that heat brings the sugar back to life. If they seem dry when you pull them out, you can give them a half-hearted brush with a tiny bit of fresh, thin BBQ sauce near the very end, but resist adding too much!
The Best Way to Reheat: Using the Air Fryer
If you have an air fryer, this is hands-down the fastest way to breathe life back into your leftovers. It circulates air incredibly efficiently, which is perfect for reviving crispy spots.
Set your air fryer to about 350°F (175°C). Place the thighs in the basket in a single layer—don’t overlap them, or you’ll just steam them! Air fry for about 5 to 7 minutes. You’ll want to check them at the 5-minute mark. The glaze should be bubbly and hot again, and the skin pieces underneath should have regained some of their original snap. This method keeps the meat super tender while working magic on the skin.
What to Avoid: The Microwave Warning
I can’t stress this enough: A microwave will turn your beautifully seasoned, **crispy skin chicken thighs** into soft, chewy rubber in seconds. The microwave heats the water molecules in the meat, creating steam, and steam softens everything crispy it touches. If you are in a desperate hurry and absolutely must use a microwave, only zap the thigh for 30 seconds until warm, and then immediately throw it under your oven’s broiler for 60 seconds just to try and flash-crisp the surface again. It’s messy, but it’s better than soggy straight from the microwave!
Frequently Asked Questions About This Recipe
I get so many questions about this recipe, which just proves how much everyone loves the idea of perfectly cooked chicken thighs! If you’re wondering about adjusting the method or just need a safety check, chances are, someone else asked it too. Here are the ones I hear most often regarding our favorite **sweet and savory chicken**!
Can I make these Sticky BBQ Chicken Thighs in an Air Fryer?
Oh, absolutely! If you want the fastest route to **easy weeknight chicken**, the air fryer is your best friend for achieving both stickiness and crispiness. The process is slightly different because the air fryer cooks things using intense, direct convection heat. You’ll still need to skip the sauce for the first part of the cook!
Here’s the quick adjustment:
- Season your dry thighs (don’t skip the drying step!).
- Air fry at 370°F (188°C) for about 15 to 18 minutes. This renders the fat and crisps up that skin nicely.
- Pull them out, brush them generously with your pre-thickened sticky glaze.
- Air fry again for another 5 to 7 minutes, watching carefully until the glaze is bubbly and caramelized.
It cuts down the total cooking time by about 15 minutes, and honestly, the air fryer often gives you even *crispier edges* than the oven does. It’s a game-changer for **glazed chicken dinner ideas**!
What is the safest internal temperature for perfectly cooked chicken thighs?
This is such an important question for anyone cooking poultry at home! For chicken breasts, we can pull them off at 165°F (74°C) and they’re done. But thighs are dark meat; they actually have more connective tissue and fat, and they taste *better* when they are cooked a little further past that minimum threshold. They stay incredibly juicy even when hotter!
While the USDA states 165°F (74°C) is safe, I insist on pushing these **perfectly cooked chicken thighs** up to **175°F to 180°F (80°C to 82°C)**. At that temperature, those tough tissues fully break down, and you get that beautifully tender, fall-off-the-bone texture we are aiming for, while still maintaining that crisp bite on the exterior where the glaze is. Always use a reliable meat thermometer inserted into the thickest part of the thigh, avoiding the bone!
If you’re planning a big meal and worried about temperatures stabilizing, side dishes like my famous chicken corn chowder can simmer away while you manage the final stage of the chicken glaze!
PrintSticky BBQ Chicken Thighs with Crispy Edges
Follow this recipe to bake bone-in, skin-on chicken thighs that develop a thick, sticky BBQ glaze and feature perfectly crisp skin.
- Prep Time: 10 min
- Cook Time: 45 min
- Total Time: 55 min
- Yield: 4 servings
- Category: Dinner
- Method: Baking
- Cuisine: American
- Diet: Low Calorie
Ingredients
- 8 bone-in, skin-on chicken thighs
- 1 tablespoon olive oil
- 1 teaspoon salt
- 1/2 teaspoon black pepper
- 1 teaspoon smoked paprika
- 1/2 teaspoon garlic powder
- 1 cup your favorite thick BBQ sauce
- 2 tablespoons brown sugar
- 1 tablespoon apple cider vinegar
Instructions
- Preheat your oven to 400 degrees Fahrenheit (200 degrees Celsius). Line a baking sheet with aluminum foil and place a wire rack on top of the foil.
- Pat the chicken thighs very dry using paper towels. This step helps achieve crispy skin.
- In a small bowl, mix the salt, pepper, smoked paprika, and garlic powder. Rub this seasoning mix evenly over all surfaces of the chicken thighs.
- Place the seasoned thighs skin-side up on the wire rack set over the baking sheet.
- Bake for 25 minutes. This initial bake renders some fat and begins crisping the skin.
- While the chicken bakes, prepare the sticky glaze: In a small saucepan, combine the BBQ sauce, brown sugar, and apple cider vinegar. Heat over medium-low heat, stirring until the sugar dissolves and the sauce thickens slightly, about 3 minutes. Do not boil rapidly.
- After the initial 25 minutes of baking, remove the chicken from the oven. Brush a generous layer of the sticky glaze over the top and sides of each thigh.
- Return the chicken to the oven and bake for another 15 to 20 minutes, or until the internal temperature reaches 175 degrees Fahrenheit (80 degrees Celsius). The glaze should look caramelized and sticky.
- For extra crispiness, switch the oven setting to broil for the final 1 to 2 minutes, watching constantly to prevent burning.
- Remove the chicken from the oven and let it rest for 5 minutes before serving. Brush with any remaining glaze if desired.
Notes
- For the crispiest skin, ensure the chicken thighs are completely dry before seasoning.
- Baking on a wire rack allows air to circulate underneath, preventing the bottom skin from steaming.
- If your BBQ sauce is thin, reduce it slightly on the stovetop before applying it to the chicken.
Nutrition
- Serving Size: 2 thighs
- Calories: 450
- Sugar: 25
- Sodium: 650
- Fat: 25
- Saturated Fat: 8
- Unsaturated Fat: 17
- Trans Fat: 0
- Carbohydrates: 28
- Fiber: 1
- Protein: 30
- Cholesterol: 110