

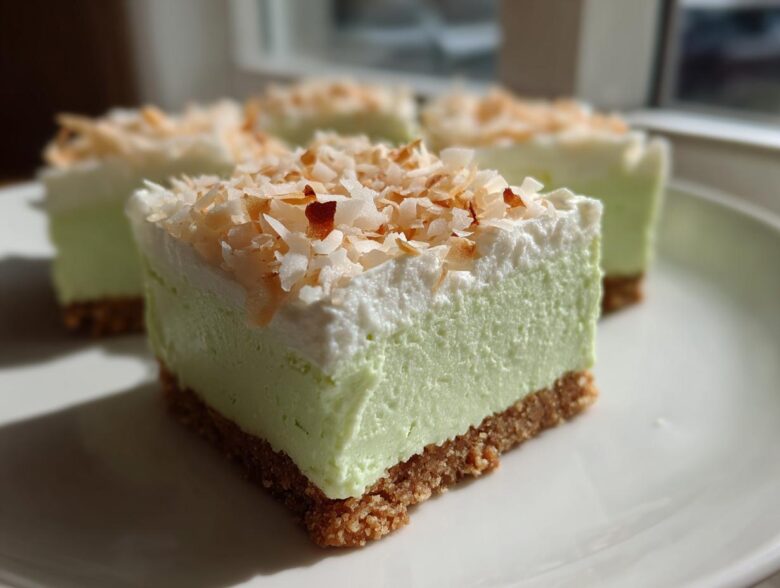
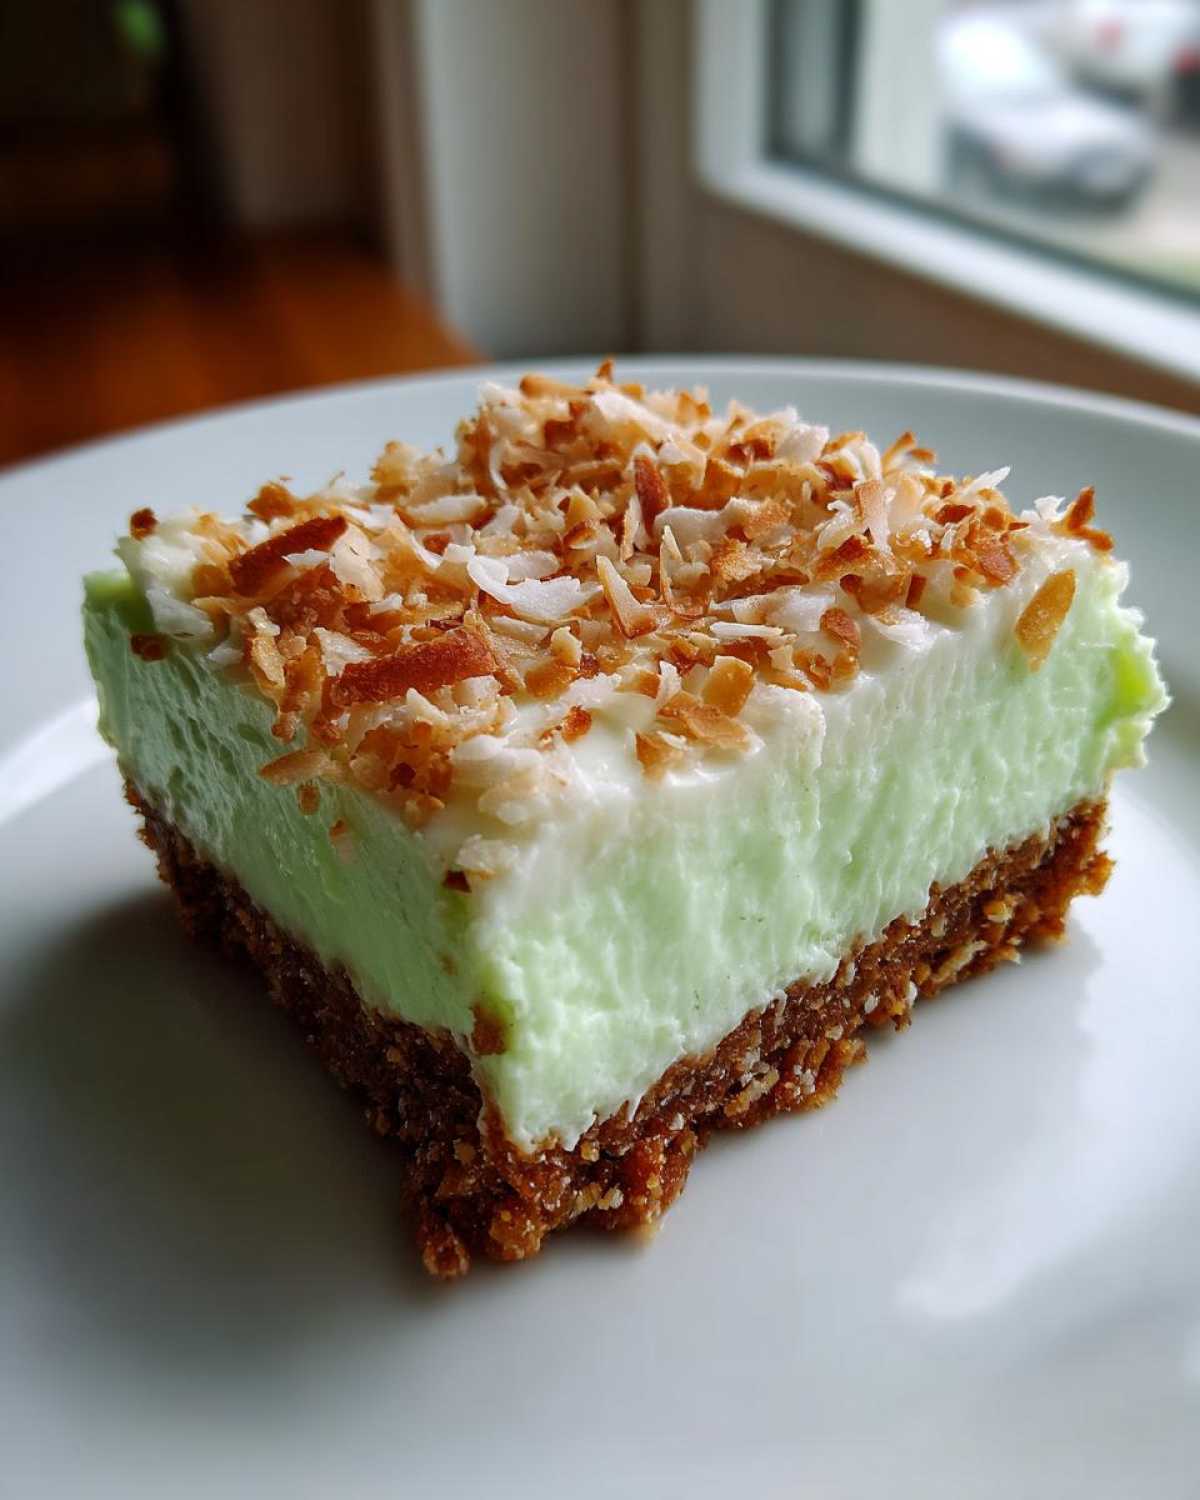
Is it just me, or does the thought of turning on the oven when it’s gorgeous outside feel like a crime? I swear, when the sun is shining, my kitchen strategy shifts completely to ‘no heat required.’ That is why I am so obsessed with these **No-Bake Coconut Lime Bars**! They’re unbelievably zesty, sweet, and packed with that bright tropical flavor we all crave when summer hits. Trust me, when it comes to reliable, foolproof chilled desserts, I’ve tested just about everything so you don’t have to. You can check out more of my favorite simple recipes over at my blog for even more inspiration. This recipe always sets perfectly and tastes like sunshine in bar form.
Why You Will Love These No-Bake Coconut Lime Bars
Honestly, these bars earn their spot in my weekly rotation because they check every easy-dessert box. They are the definition of speed and refreshment!
- Seriously fast prep time—we’re talking 15 minutes max before they hit the fridge.
- They are the ultimate Refreshing summer treats; that lime tang is just incredible on a hot day.
- No messy baking cleanup! This is the best kind of Quick chilled dessert bars experience.
- They travel beautifully, which means they are perfect for picnics or potlucks. Check out some other zesty favorites of mine right here: Zesty Lime Dessert Ideas.
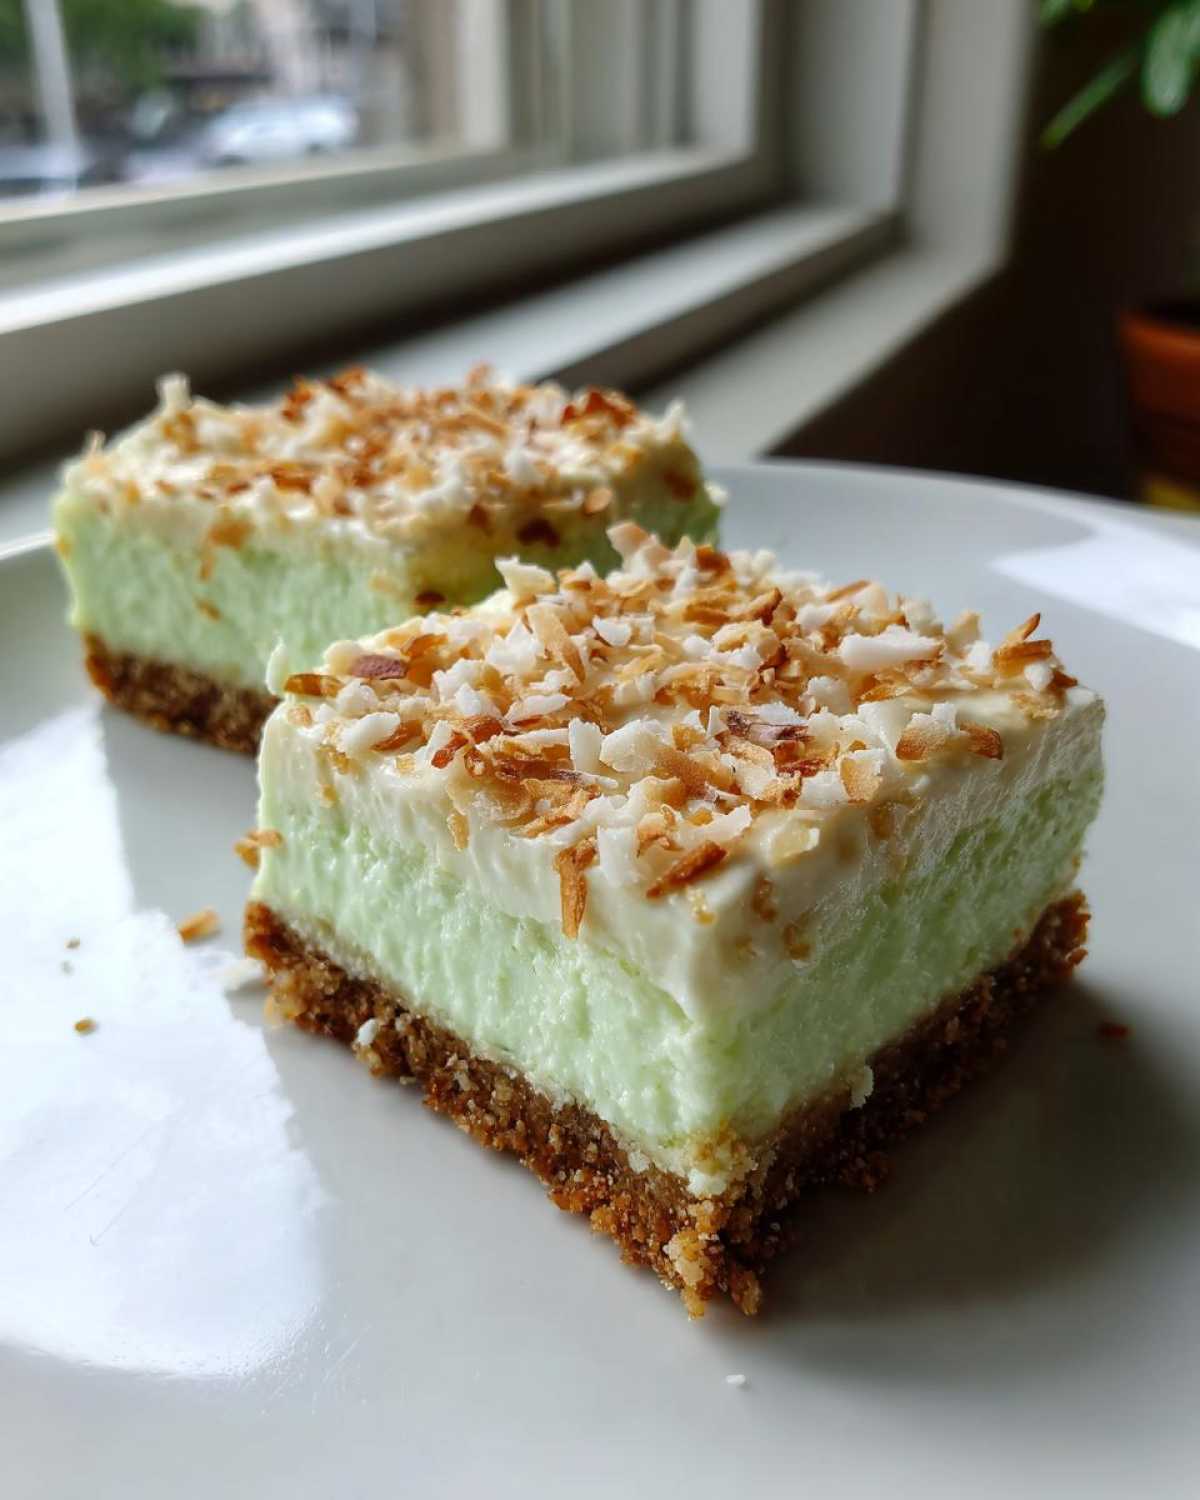
Essential Ingredients for Perfect No-Bake Coconut Lime Bars
Okay, the beauty of these bars is that they rely on just a few pantry heavy-hitters. You absolutely need that can of sweetened condensed milk—this is what creates the magic in these Condensed milk lime bars because it acts as both the sweetener and the binder. You can’t skip it!
For the crust, we need graham cracker crumbs, that crucial half-cup of *toasted* coconut, and melted butter. Don’t forget the fresh lime juice and zest! That zest is where all the real punch comes from, so please zest those limes before you juice them.
Here’s the full rundown:
- 1 1/2 cups graham cracker crumbs
- 1/2 cup unsweetened shredded coconut, toasted
- 1/4 cup granulated sugar
- 6 tablespoons unsalted butter, melted
- 1 (14 ounce) can sweetened condensed milk
- 1/2 cup fresh lime juice
- 1 tablespoon lime zest
- 1/4 cup unsweetened shredded coconut, for topping
I always recommend checking out my chili recipe if you need something savory after the sweets come out: Easy Ground Beef Stovetop Chili.
Ingredient Notes and Substitutions for No-Bake Coconut Lime Bars
Let’s talk about that coconut. You *must* toast the half-cup going into the crust! Seriously, grab a dry skillet over medium heat and stir it constantly until it smells nutty and looks pale gold. It goes from perfect to burnt in like three seconds, so watch like a hawk!
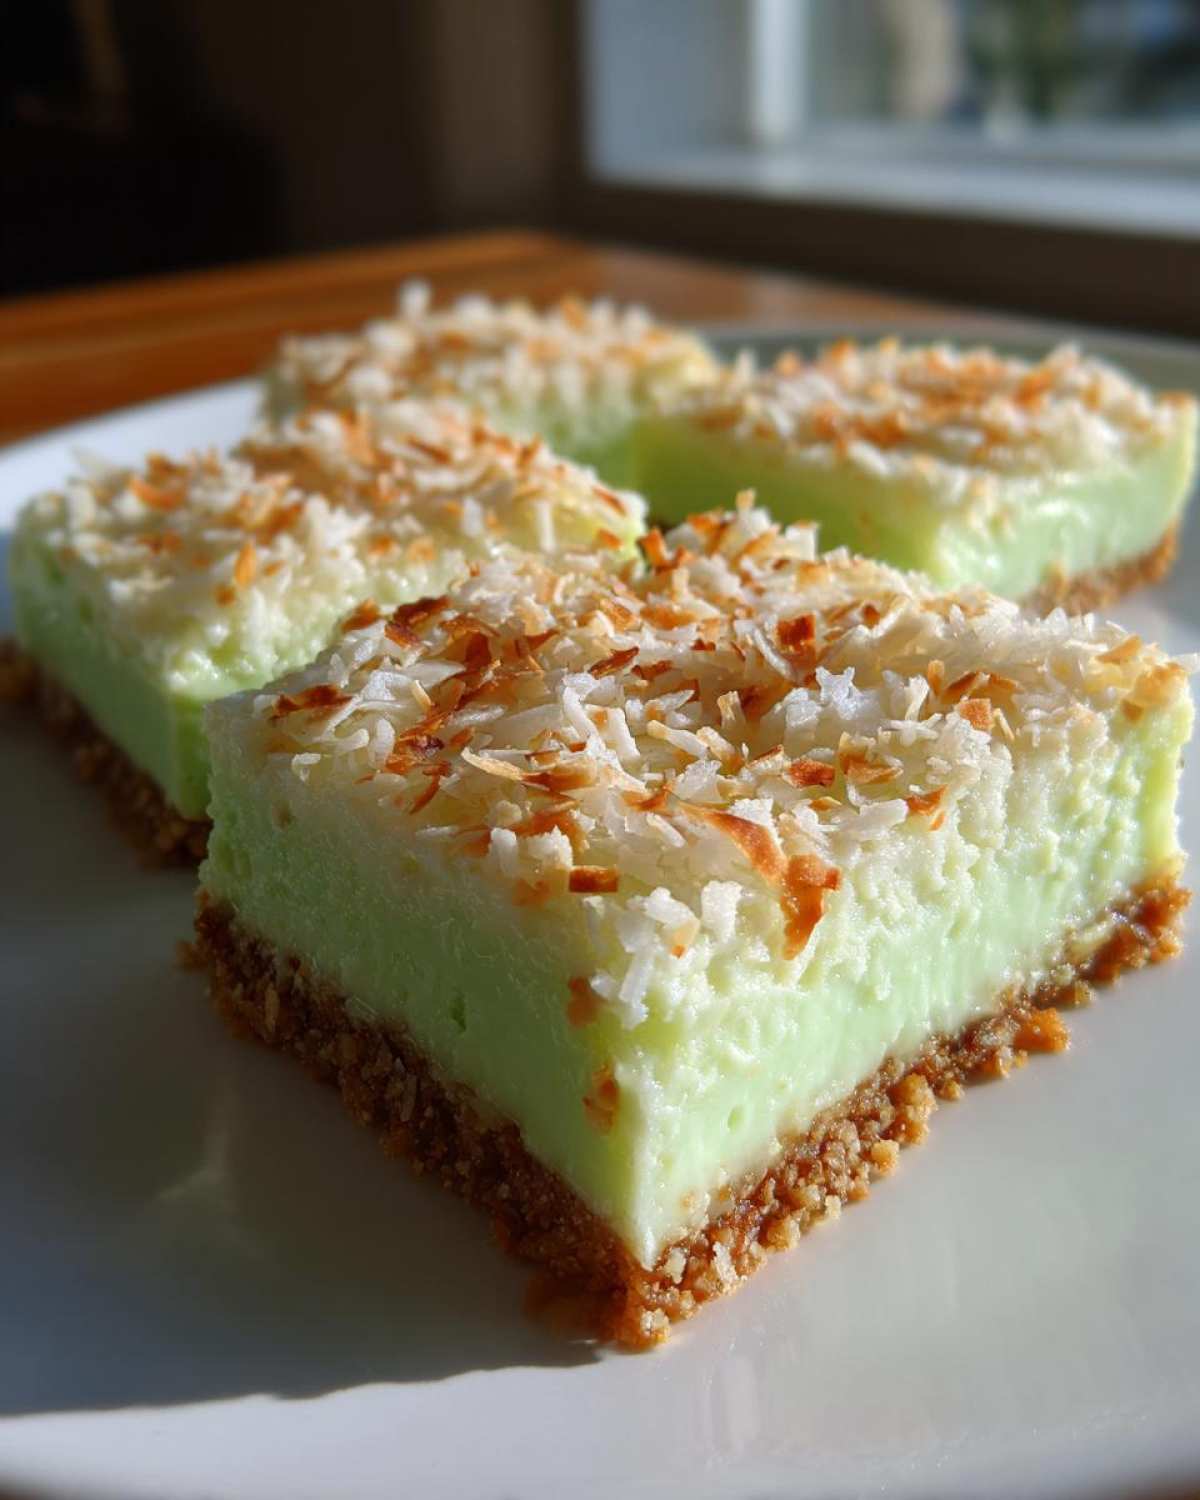
For the crust base, if you’re running low, you could use vanilla wafers or even shortbread crumbs, though graham crackers are the classic pairing here. If you were looking for ways to make these vegan or somehow completely dairy-free—which would require sourcing specific vegan condensed milk substitutes—you’d lose some of that classic fudgy texture these bars are known for. If you need ideas for Dairy free lime dessert options, you might need to look at a cashew-based recipe, but for this one, stick to the real deal for that creamy set!
Step-by-Step Instructions for Making No-Bake Coconut Lime Bars
I promise you, this is the easiest part, but it requires a tiny bit of patience while everything chills. Making these is truly a win for any fan of an Easy no bake dessert because the cooking aspect is completely eliminated!
Preparing the Press-In Crust
First things first, let’s get the pan ready. Grab an 8×8 inch pan and line it with parchment paper. You want that paper to have an overhang on two sides—this is our handle later for lifting the whole thing out, which is a lifesaver!
In a bowl, mix up your graham cracker crumbs, that lovely toasted coconut (remember how important it is?), and the sugar. Then, drizzle in your melted butter and mix it really well until every crumb looks damp. Now, press that mixture firmly into the bottom of your lined pan. Don’t be shy here; press it down hard so it holds together! Once it’s packed tight, pop the whole thing into the freezer while you whip up the lime part.
Mixing and Setting the Zesty Lime Filling
Time for the flavor explosion! In a clean bowl, whisk together the whole can of sweetened condensed milk with your fresh lime juice and that zest. You’ll notice almost immediately that the mixture starts getting a little thicker—that’s the acid from the lime reacting with the milk, which is super cool!
Pour that gorgeous, zesty filling right over your chilled crust. Gently tap the pan on the counter a couple of times just to make sure that filling settles evenly. Sprinkle that last bit of coconut right on top. Now for the hardest part: cover it lightly and put it in the fridge for a minimum of four hours. If you try to slice these any sooner, you’ll end up with a soupy mess, and we want perfect, firm No-Bake Coconut Lime Bars. You can read more about making magic ahead of time here: Make Ahead Tropical Dessert.
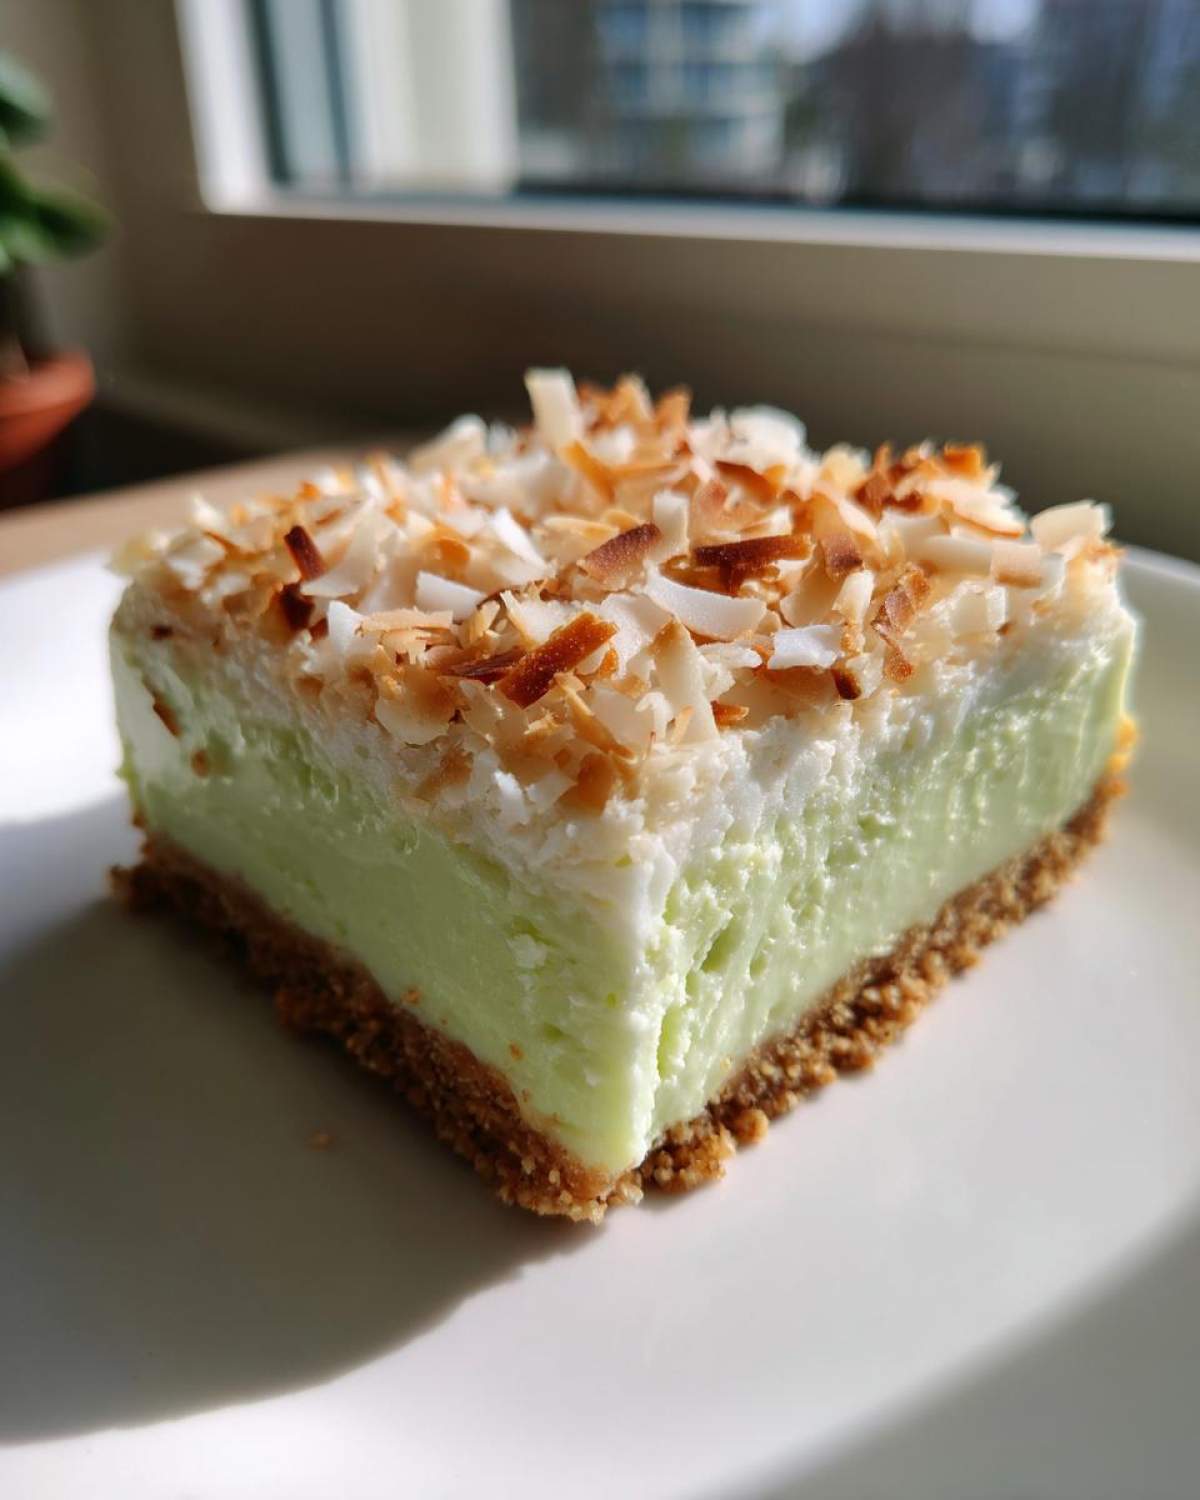
Tips for Achieving the Best No-Bake Coconut Lime Bars Texture
Texture is everything with these chilled bars, right? If the crust isn’t sturdy, you end up with crumbs everywhere. So, my biggest piece of advice—and this is where I channel my inner test kitchen expert—is to really pack that first layer down. Use the bottom of a dry measuring cup to really compress those graham crumbs and butter; you want it solid like pavement!
Next, don’t rush the chilling time. Four hours minimum is non-negotiable if you want clean slices. If you prefer a truly aggressive, ‘wake-up-your-mouth’ tanginess, which really pushes this into that amazing Tropical lime bars recipe category, try adding an extra tablespoon or two of lime juice. Just be sure everything is perfectly set before you try pulling those beautiful bars out using your handy parchment sling!
If you’re looking for something warm and comforting next time, maybe try my cozy lentil soup recipe: Best Lentil Soup Cozy Healthy Recipe.
Storage and Make Ahead Tropical Dessert Tips
One of the absolute best things about utilizing No Oven Dessert Recipes like these Coconut Lime Bars is that they are tailor-made for making ahead of time! They actually taste better the next day after those bright lime flavors have really settled into the crust. These are fantastic for planning parties because you can knock them out completely the day before.
When you’ve cut them, I find the best way to store them is in a single layer in an airtight container. If you have to stack them, you *must* put a small sheet of parchment paper between the layers, otherwise, that beautifully set filling will stick to the coconut topping of the bar underneath it. Believe me, you don’t want to end up wrestling with your dessert!
They stay perfectly fresh and wonderfully firm in the refrigerator for about four to five days. I wouldn’t recommend freezing them, though, because the texture of that sweetened condensed milk filling can sometimes get a little weird when it thaws out. Sticking to the fridge keeps them tasting just as zesty as when you first made them. It’s a perfect Make ahead tropical dessert solution!
If you’re looking for another easy make-ahead appetizer, you have to try my whipped ricotta dip recipe; it’s so simple, which you can check out right here: Easy Whipped Ricotta Dip Recipe.
Variations on Classic No-Bake Coconut Lime Bars
Part of the fun with any great base recipe, especially a No Oven Dessert Recipe, is playing around with it once you’ve mastered the fundamentals. Since the structure of these bars relies almost entirely on the chilling process and the magic of sweetened condensed milk, there’s lots of room to personalize the flavor profile!
If you’re looking to branch out from strict lime territory, swapping citrus is the easiest way to go. Try using fresh lemon juice and doubling up on the zest for a classic citrus bar, or mix the zests—a little lemon and a little mandarin orange mixed with the lime can create something really special and unique. It totally shifts the vibe into different kinds of Zesty lime dessert ideas.
A tiny splash of pure vanilla extract right into the filling mixture, maybe just half a teaspoon, works wonders too. It doesn’t change the texture at all, but it rounds out the sweetness a bit! I know some people try to get really clever and aim for something that feels a bit more like Fudgy no bake bars, but honestly, with this specific recipe, that usually means messing with the liquid ratios, and that can cause your bars to never set right.
If you really want a denser bar without risking a gooey center, your best bet is actually to keep the liquid ratios the same but increase the graham cracker crumbs by about a quarter cup. That extra structure will help everything firm up beautifully when chilled. After you experiment, you can check out my amazing soft lemon scones for more bright flavor fun right here: Lemon Scones Soft Fluffy Glaze Recipe.
Frequently Asked Questions About No-Bake Coconut Lime Bars
I get so many questions about these bars because they seem almost too easy, right? I totally get it; when something sounds this simple, you start wondering where the catch is! But these are just reliable, perfect Sweet coconut treats every single time.
How do I know when my No-Bake Coconut Lime Bars are actually set?
This is the most common query! You absolutely cannot judge by sight alone. You need to do the touch test. When you gently press the surface of the filling, it shouldn’t give way or feel liquidy at all. It should feel firm and cool, almost like a very soft cheesecake. If you can still easily depress the center with your finger, put them back in the fridge for another hour. Remember, a minimum of four hours is key for these Quick chilled dessert bars.
Can I substitute something for the graham crackers in the crust?
Yes, you certainly can play around with the base! While graham crackers give you that classic texture, vanilla wafers work beautifully and give a slightly sweeter, less spiced base. If you’re trying to make them gluten-free, look for a gluten-free graham cracker substitute or use finely crushed shortbread cookies made with GF flour. Just remember that whatever you use, you still need to bind it all with the butter and gently toast the coconut for the best flavor!
Can I freeze these bars?
I strongly advise against freezing them. While they are fantastic Make ahead tropical dessert options, that fantastic, creamy texture comes from the sweetened condensed milk and lime juice mixture. When frozen and then thawed, the mixture sometimes separates slightly and can get a bit watery or grainy, especially right on top where the coconut is. They are best enjoyed fresh from the fridge, honestly! For more foolproof baking tips, check out my guide on Best Sugar Cookies That Hold Their Shape.
Estimated Nutrition for These Sweet Coconut Treats
I’ve pulled the nutrition info here so you can keep track if you need to! Now, I always tell folks to take these numbers with a grain of salt—or maybe a pinch of lime zest! Since we’re working with homemade recipes, especially one that relies on fresh juice and toasting your own coconut, these figures are just estimates based on standard industry math for one square serving.
For a single serving of these Sweet coconut treats, here is what you’re generally looking at:
- Serving Size: 1 bar
- Calories: 180
- Sugar: 18g
- Fat: 9g (with 6g saturated fat)
- Carbohydrates: 23g
- Protein: 3g
- Cholesterol: 15mg
They are sweet, absolutely, because of that key ingredient, the sweetened condensed milk, but they pack a nice punch for only 180 calories which I personally think is a bargain for such a refreshing dessert! If you’re done with sweets and ready for something warm and cozy next, check out my super simple apple crumble recipe for later: Easy Apple Crumble Recipe Best Ever.
Share Your Experience Making No-Bake Coconut Lime Bars
Okay, now it’s your turn! I’ve shared all my best secrets for making sure these **No-Bake Coconut Lime Bars** turn out perfectly creamy and zesty every single time you try them.
I really want to know what you think! Did you manage to get that crust packed down perfectly firm? Did you manage to resist the urge to sneak a taste before the four-hour chill time was up (I never do!)? Please jump down to the comments section and tell me how they turned out for you. Were they a huge hit?
If you loved how easy and bright these were, please consider leaving the recipe a five-star rating right below this section! That kind of feedback helps everyone know what a reliable, quick chilled dessert this is. And if you tweaked the recipe—maybe you added a little pure almond extract or used a different type of crumb—definitely share those modifications with us. We love hearing about what works in different kitchens!
If you need to get in touch with me about anything else, maybe you have a burning question about citrus ratios or how long they really last in the fridge, you can always head over to the contact page here: Contact Me.
PrintNo-Bake Coconut Lime Bars
Make refreshing, zesty coconut lime bars without turning on your oven. These bars use a simple press-in crust and a creamy, set filling.
- Prep Time: 15 min
- Cook Time: 0 min
- Total Time: 4 hours 15 min
- Yield: 16 bars
- Category: Dessert
- Method: Chilling
- Cuisine: American
- Diet: Vegetarian
Ingredients
- 1 1/2 cups graham cracker crumbs
- 1/2 cup unsweetened shredded coconut, toasted
- 1/4 cup granulated sugar
- 6 tablespoons unsalted butter, melted
- 1 (14 ounce) can sweetened condensed milk
- 1/2 cup fresh lime juice
- 1 tablespoon lime zest
- 1/4 cup unsweetened shredded coconut, for topping
Instructions
- Prepare an 8×8 inch baking pan by lining it with parchment paper, leaving an overhang on two sides for easy removal.
- In a medium bowl, combine the graham cracker crumbs, 1/2 cup toasted coconut, and 1/4 cup sugar.
- Pour the melted butter over the crumb mixture and mix until the crumbs are evenly moistened.
- Press the crust mixture firmly and evenly into the bottom of the prepared pan. Place the pan in the freezer while you prepare the filling.
- In a separate bowl, whisk together the sweetened condensed milk, lime juice, and lime zest until smooth. The mixture will thicken slightly.
- Pour the lime filling over the chilled crust. Gently tap the pan on the counter to level the filling.
- Sprinkle the remaining 1/4 cup of coconut evenly over the top.
- Cover the pan loosely with plastic wrap and refrigerate for at least 4 hours, or until the filling is firm.
- Use the parchment overhang to lift the bars from the pan. Cut into squares before serving.
Notes
- Toast the 1/2 cup of coconut for the crust in a dry skillet over medium heat, stirring constantly until lightly golden. Watch carefully as it burns quickly.
- For a firmer crust, chill it for 15 minutes before adding the filling.
- If you prefer a slightly tangier filling, increase the lime juice to 2/3 cup.
Nutrition
- Serving Size: 1 bar
- Calories: 180
- Sugar: 18
- Sodium: 75
- Fat: 9
- Saturated Fat: 6
- Unsaturated Fat: 3
- Trans Fat: 0
- Carbohydrates: 23
- Fiber: 1
- Protein: 3
- Cholesterol: 15