

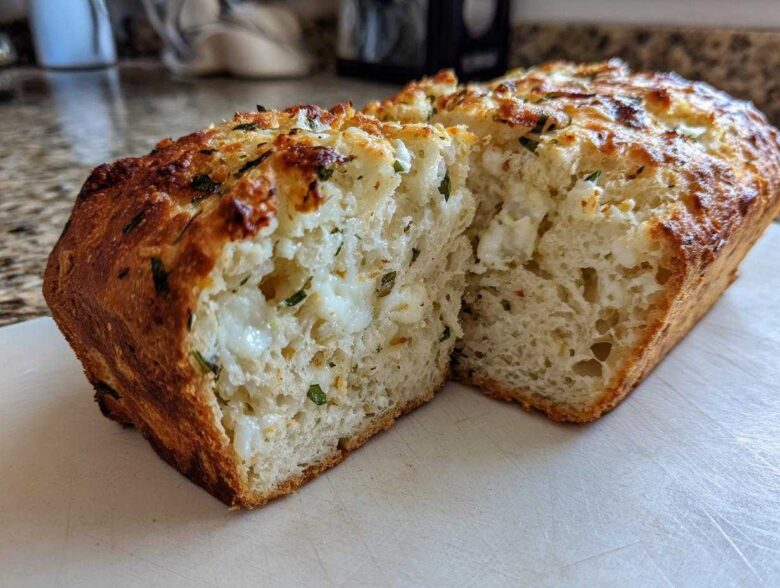
Oh, friends, there is nothing quite like the smell of bread baking—unless it’s the smell of savory garlic and cheese mingling with the scent of a warm oven! When Leo and I retired from all that structured noise, I vowed to simplify things, but never sacrifice flavor. And that is how this glorious, unbelievably easy Italian herb and cheese bread machine loaf came to be. Trust me, if you think mastering yeast is too tricky, this recipe is your ticket to buttery, cheesy success. We are turning out a phenomenal *sandwich loaf* right from the machine, and I couldn’t be more thrilled to share this simple formula with you today. You absolutely must try this recipe! If you love the idea of handmade bread convenience, you simply have to peek at my guide for bakery-style homemade bread bowls next.
Why This Italian Herb and Cheese Bread is Your New Favorite Easy Bread Machine Recipe
If you are just starting out with baking—or just terribly busy, like I was for decades—this recipe is your new best friend. It’s practically foolproof thanks to the trusty bread machine handling all the heavy lifting. You are going to look like a baking superstar with zero effort.
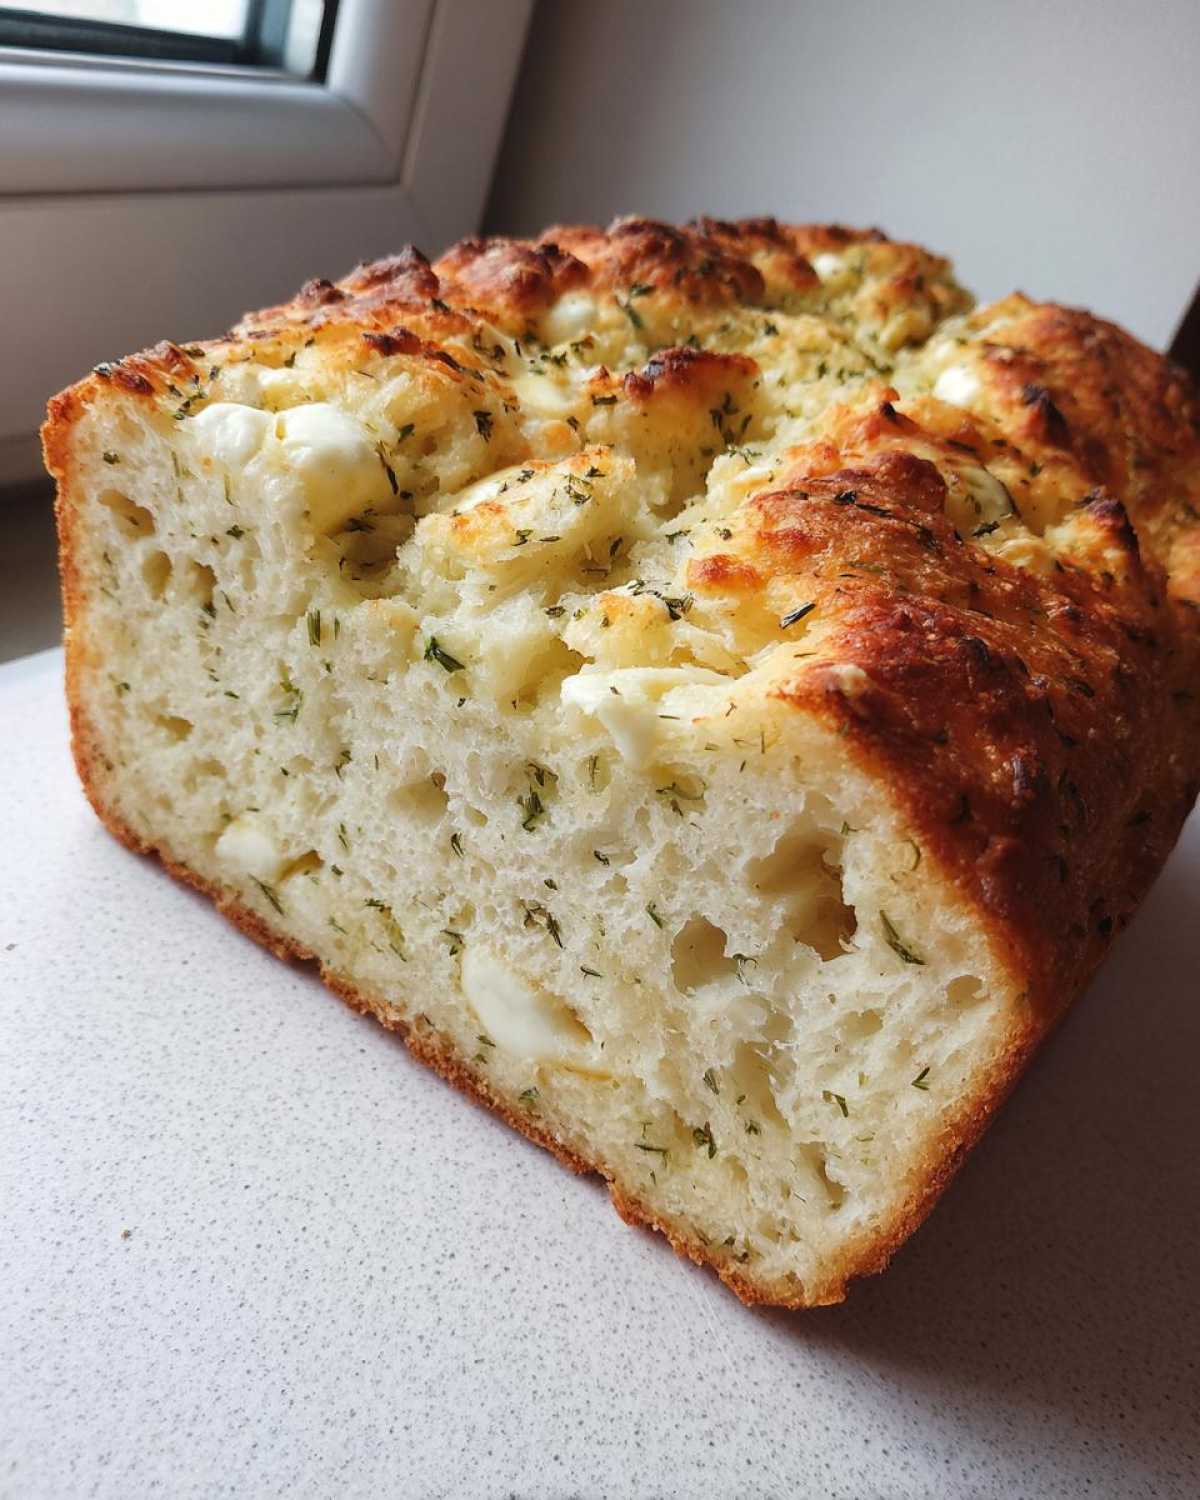
- Perfect for the absolute beginner bread machine owner—just toss ingredients in!
- It bakes up a sturdy, beautiful loaf that keeps its shape, making it the ideal sandwich loaf.
- The convenience means you can have fresh Italian flavor any Tuesday night.
Flavor Profile: More Than Just Garlic Herb Bread
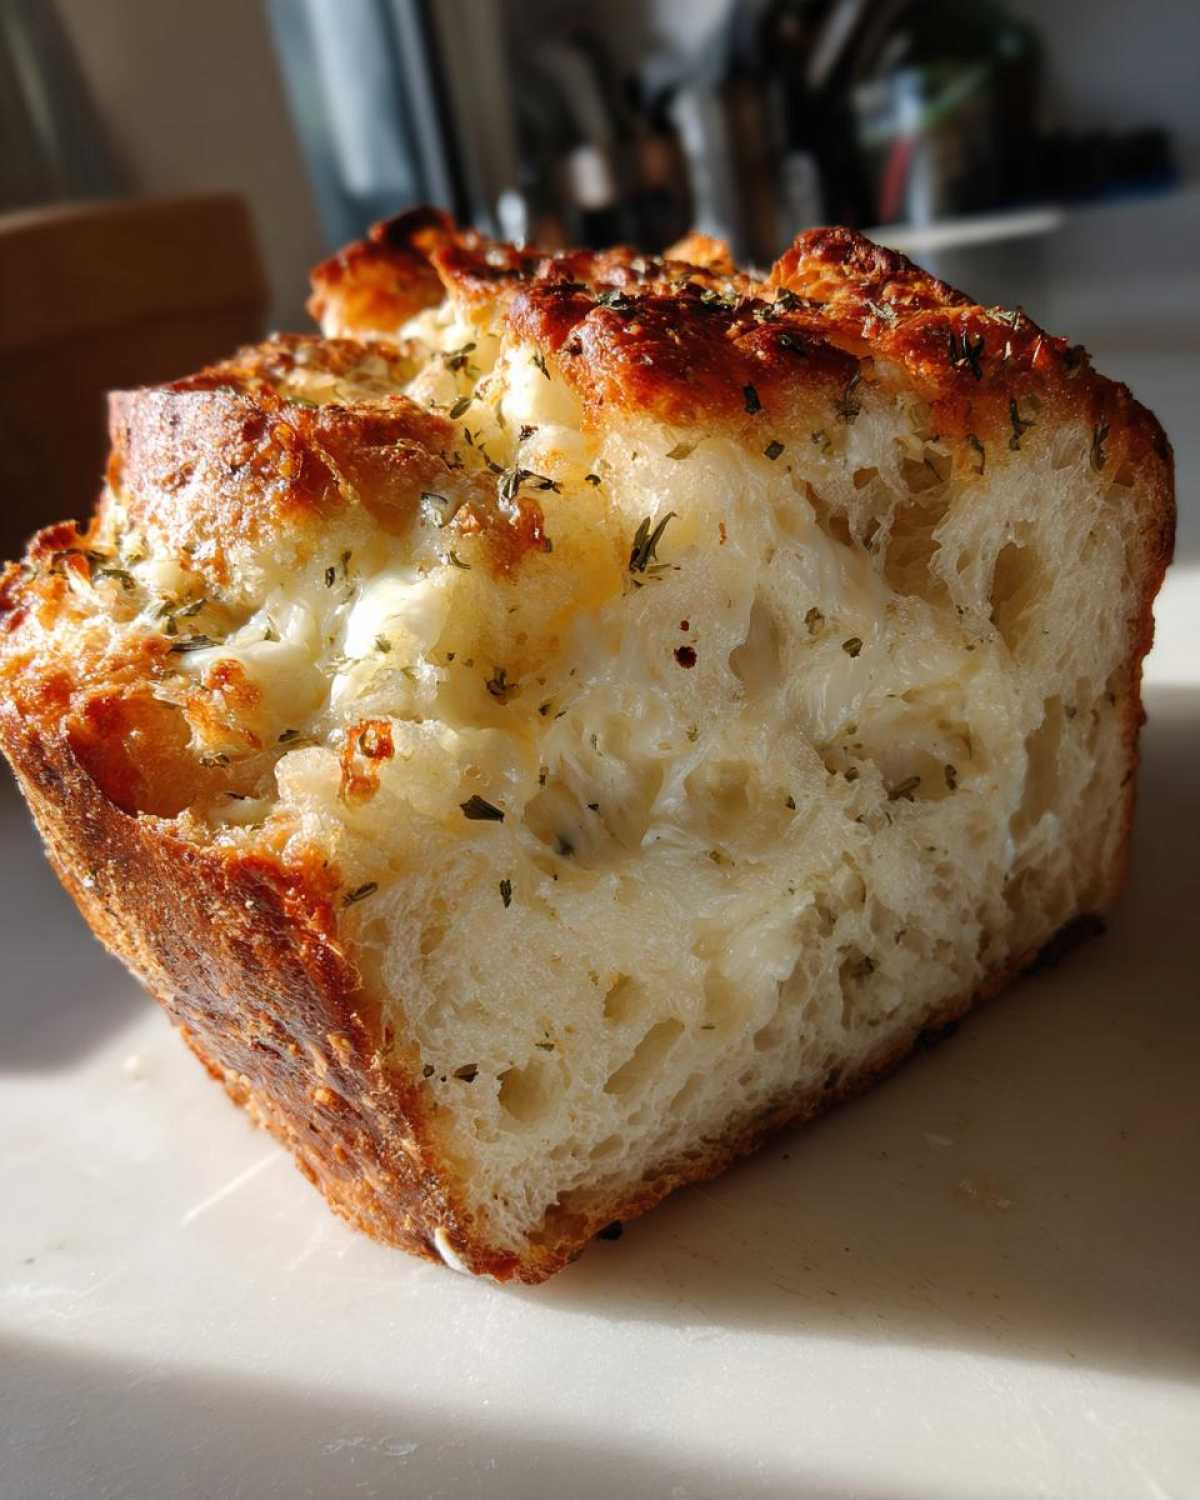
Now, don’t mistake this for just another simple garlic herb bread. We are using the whole Italian seasoning blend here, which gives you that complex, sun-dried flavor profile—think basil, oregano, and a hint of thyme all working together! And the cheese? Oh goodness. When the mozzarella melts around the final bake, Leo just stands there watching the dough through the glass, waiting for the moment he can pull a slice out just to watch that glorious cheese stretch. It’s pure theater, folks!
Gathering Your Ingredients for Perfect Italian Herb and Cheese Bread
The beauty of using a bread machine is that the actual prep time is tiny, but we still need to be precise about what goes into the pan! Remember, yeast is sensitive, so aim for water that feels just warm to the touch—think bathwater, about 80°F. We need that perfect environment for our yeast to wake up happy. I think you’ll find using bread flour here makes all the difference, giving us that structured, chewy interior perfect for a hearty sandwich loaf.
For the cheese, don’t just eyeball it! Make sure your mozzarella is nicely packed into its cup measure, and the Parmesan should be the grated kind, not the powdery stuff in the green shaker can, if you can help it. Speaking of herbs, if you happen to be out of a full Italian blend, mix up your own! A teaspoon of dried rosemary mixed with a teaspoon of oregano makes a wonderful substitute for our cheesy dinner bread.
Ingredient Notes and Substitutions for Cheesy Dinner Bread
Listen, if you’re dealing with a marinated cheese cube recipe on the side, you’ll want yours drained very, very well before adding them, but for this recipe, we stick to the basics. Always use active dry yeast for this machine recipe; instant yeast can sometimes react too fast in this setup. And please, use bread flour. It has a higher protein content that builds the gluten structure we need for a tall, sturdy loaf. If you skip it, you get a denser, more crumbly result. We want texture!
Step-by-Step Instructions for Your Bread Machine Herb Bread
Alright, Clara here. Leo often jokes that I put the paper instructions in the machine manual, but honestly, knowing the timing is everything when working with these wonderful gadgets! Always, always check your specific machine’s advice on the liquid-to-dry order. Most want the water and oil in first, then flour, then yeast sitting right on top of the flour mound. We keep those ingredients separate until the machine tells them to mingle!
Once you hit start—we are using the Basic or White cycle, aiming for that Light crust setting so it doesn’t get too dark with the Parmesan on top—we wait. You need to let the machine do the first round of serious kneading until the dough is smooth and elastic. Don’t wander off too far!
Timing the Mix-Ins for Optimal Parmesan Herb Bread
This is the crucial part that makes sure you have pockets of melty cheese instead of a giant cheesy blob. Wait until the machine signals its first pause, usually about 15 to 20 minutes in, right after the initial heavy kneading is done. This is when the dough is perfect and established. Quickly lift the lid and carefully drop in your packed mozzarella and grated Parmesan cheese. You can usually use the little flap door if you’re nervous about opening the whole thing! Closing the lid quickly keeps the heat in. This step ensures those beautiful cheeses stay intact until they melt into glorious pools later on.
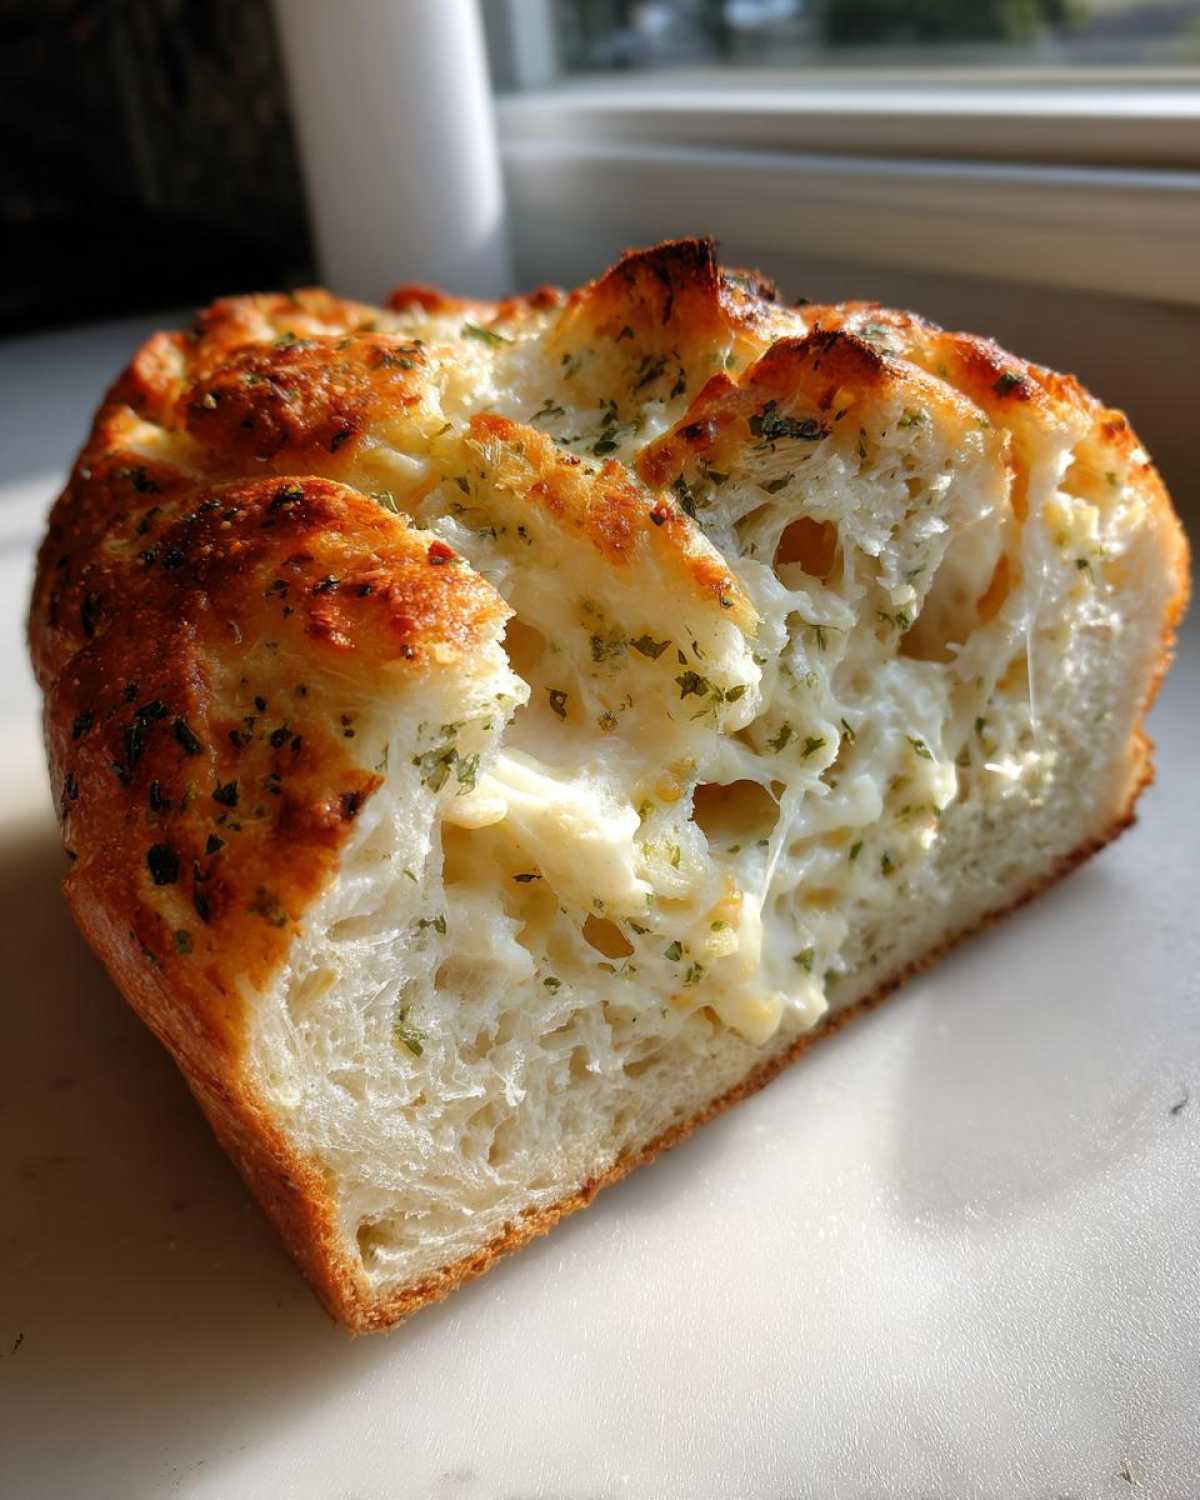
Expert Tips for Perfect Italian Herb and Cheese Bread Texture
Even though the machine does the work, sometimes things go a little sideways, right? Don’t panic! This is where our years hovering over messy kitchens pays off. If you catch the first knead—and if your machine lets you, you absolutely should peek—look at the dough ball. Is it a smooth, slightly tacky sphere? Wonderful. If it looks like wet cake batter splashing the sides, add just one tablespoon more of bread flour at a time until it cleans up. If it looks dry and stiff, add half a teaspoon of water.
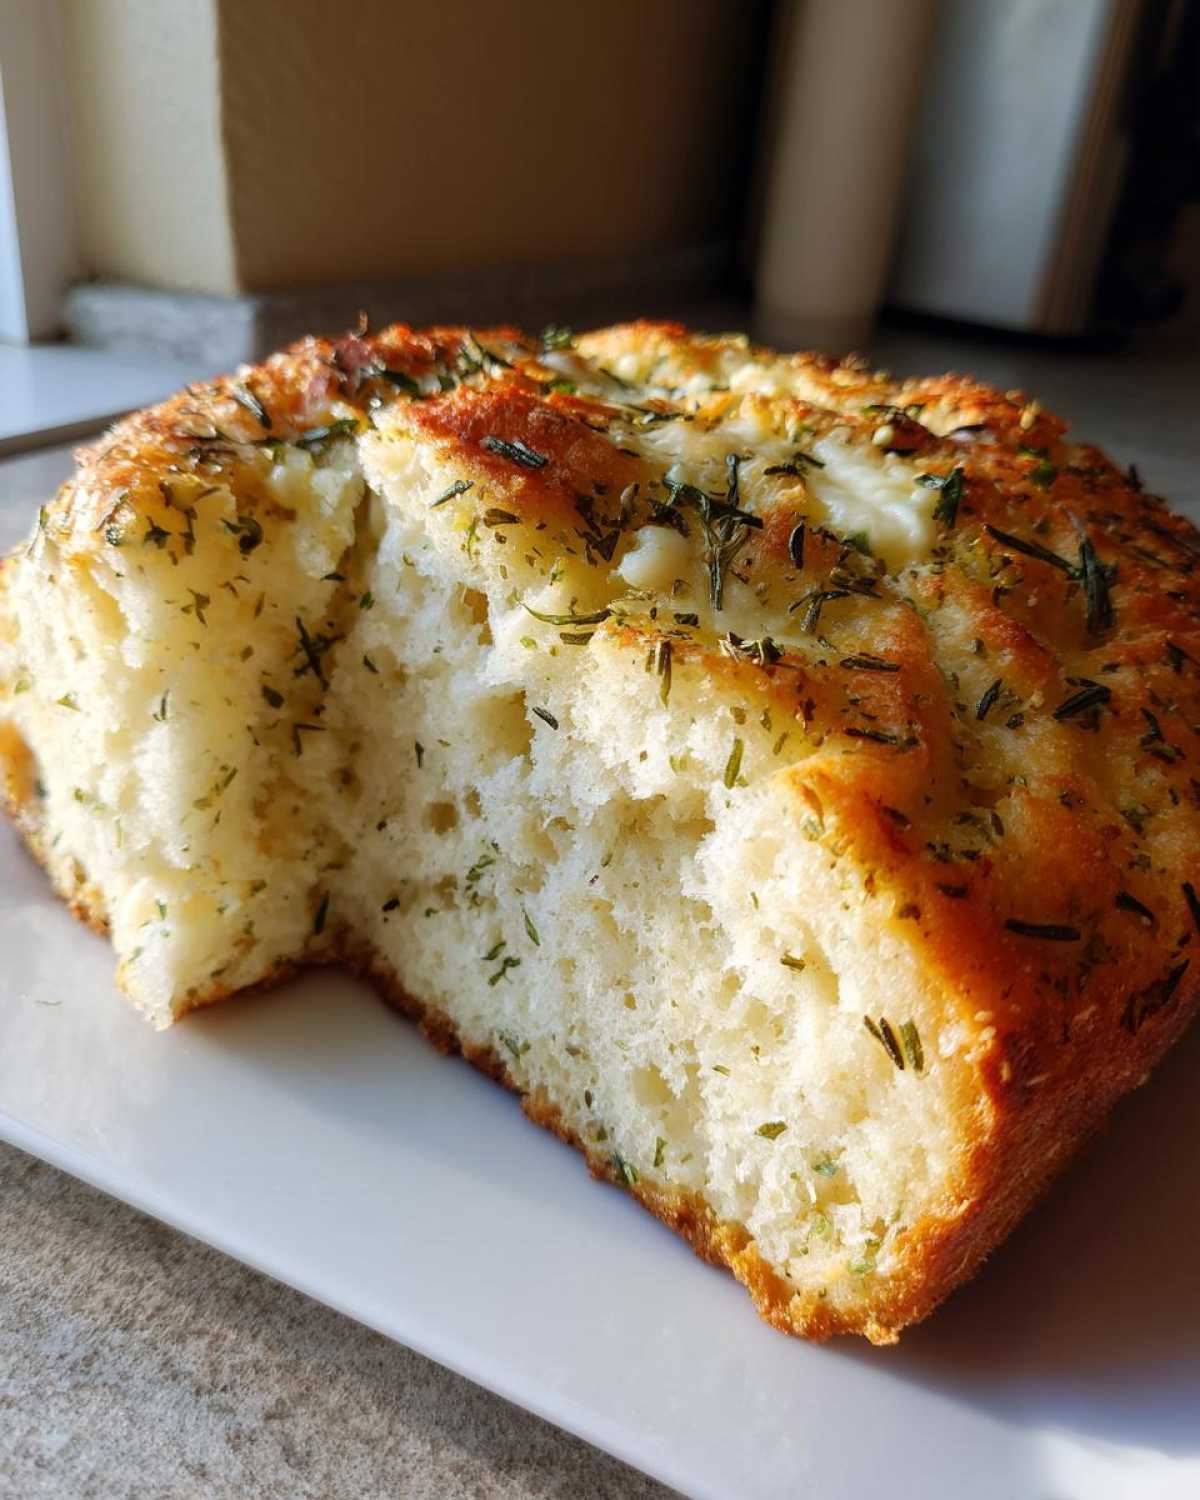
Leo insists that checking the consistency ensures we don’t get soup instead of bread! Another major thing: make sure your yeast is fresh. Old yeast equals a sad, dense loaf. Also, think about your olive oil; using a good quality oil, perhaps even a lovely herb-infused one, really boosts the flavor depth in this savory bread. Getting this texture right means you’ll have a perfectly chewy, cheesy slice every single time.
Serving Suggestions for Your Cheesy Dinner Bread
Now that you have this magnificent Italian cheese bread, what do you do with it? Well, besides tearing off chunks standing right by the cooling rack (don’t deny it!), this loaf is fantastic sliced thick. It toasts up beautifully, maintaining that cheesy goodness, making it the ultimate base for any hearty sandwich.
But honestly, Leo and I usually make this bread alongside a big pot of something warm and comforting. It’s perfect for dunking into a thick creamy Italian sausage and tortellini soup. It also works wonderfully next to a vibrant pasta dish or even served on the side of a lighter meal, like a simple salad or perhaps even a slice of that creamy garlic ricotta white pizza we made last week! It’s the perfect cheesy dinner bread companion.
Storage and Reheating for Your Italian Herb and Cheese Bread
I know you won’t want any leftovers of this amazing Italian herb and cheese bread, but just in case Leo hides a slice from me, we need a plan! The trick to keeping this cheesy masterpiece fresh is all about cutting off the air supply. Once the loaf is completely cool—and I mean stone cold, otherwise you’ll trap moisture and get mush—wrap it up tightly. I use plastic wrap first, then tuck the whole thing into a sturdy zip-top bag or store it in a completely airtight container. This simple step helps keep that lovely crust from going stale too quickly.
If you store it properly, this bread should stay perfectly soft on the inside and flavorful for about three, maybe four days. However, let’s be honest, it usually disappears by day two!
When it comes time to reheat, you want to bring back that fresh-from-the-machine crispiness. Microwaving cheese bread is a recipe for disappointment; it just gets tough and chewy. Instead, try one of these methods I use:
- The Oven Refresh: Preheat your oven to 350°F (175°C). Slice the bread first—it reheats faster and more evenly that way. Place the slices directly on the baking sheet. Bake for about 5 to 7 minutes. This brings back that beautiful golden edge and melts the cheese just enough without drying out the interior crumb.
- Toaster Oven Quick Fix: For just a slice or two, the toaster oven is fantastic! Set it on a medium setting. It toasts the outside beautifully and warms the cheesy bits through quickly. Watch it closely, though; Parmesan browns fast!
This ensures that even day-four bread tastes like it just finished its cycle. Enjoy those leftovers!
Frequently Asked Questions About Bread Machine Herb Bread
I know sometimes having a new appliance means a learning curve, even if this is one of the most straightforward easy bread machine recipes out there. Leo and I have gone through the trial-and-error so you don’t have to! Here are a few things I hear readers ask most often about making this wonderful bread machine herb bread.
Can I use all-purpose flour instead of bread flour in this Italian Herb and Cheese Bread?
That’s a question I get all the time! Yes, you absolutely *can* swap in all-purpose flour if that’s what you have on hand. However, you must know the trade-off. Bread flour has more protein, which builds that strong, stretchy gluten network that holds up under the weight of all that cheese. If you use all-purpose flour, your loaf will still taste fantastic—all that rosemary and Parmesan shine through—but the structure will be softer and more delicate. It won’t slice quite as cleanly for a perfect sturdy sandwich loaf, but it will still be delicious for dipping!
What is the best cycle for this recipe if I don’t have a ‘mix-in’ alert?
This is a super important detail if your machine is an older model or just doesn’t chime in for extras! Most standard Basic or White bread cycles run about three hours total. For this recipe, the main kneading—where the dough forms that beautifully smooth ball—is usually finished around the one hour and fifteen minute to one hour and twenty-minute mark. Listen for the machine slowing down significantly after that long, vigorous session. That’s your cue! Open it up gently right after the slow-down, drop in your cheese, and quickly close the lid. It should move right into the rise cycle after that. You want to make darn sure you don’t miss that window, or the cheese will vanish into the dough forever!
If you want to dive into more of our kitchen adventures, you can always check out the main Tasty Tribune archives here. Happy baking!
Nutritional Estimates for This Parmesan Herb Bread
Now, Leo always says that when you’re eating something this delicious, numbers shouldn’t matter a lick—and he’s probably right after he’s had a second slice! But since I’m the Editor-in-Chief and I like to keep things organized, I pulled the data for a basic serving size, just so we have a ballpark idea.
Remember, this is just an estimate! If you use light mozzarella, or maybe skip the olive oil and use water instead (though I wouldn’t recommend it for this Parmesan herb bread), your tallies will change. We calculated this based on 14 generous slices from the final loaf.
- Serving Size: 1 slice
- Calories: 180
- Fat: 6g (Saturated Fat: 3g)
- Carbohydrates: 27g
- Protein: 6g
- Sodium: 320mg
See? Not too shabby for a slice of homemade, cheesy, herby goodness! Don’t stress about these numbers too much, though. If this *cheesy dinner bread* is serving as an occasional side dish, enjoy every savory bite. That’s what retirement—and great Italian herb and cheese bread—is all about!
Share Your Tasty Tribune Story
Well, that’s it from our kitchen desk for this edition! Leo is already cleaning up his flour dusting on the counter, which is my quiet signal that he’s very pleased with how this Italian herb and cheese bread turned out. I hope you’ve given this recipe a whirl in your own machine. It truly is one of those simple triumphs that brings so much comfort.
If you made this loaf, please tell me all about it! Did you use light crust or dark? Were the cheese pockets in the right spot? Leave a rating right here below the recipe—it really helps us know what stories you want us to publish next. And goodness, if you managed to snap a photo of that amazing cheese pull, I’d love to see it! You can always check out our About Us page for ways to send us pictures directly.
Thank you so much for stopping by the newsroom today. We are always happy to have new readers join our community of joyful, noisy bakers. We’ll see you tomorrow for the next tasty dispatch!
With love and laughter,
Clara & Leo
PrintEasy Italian Herb and Cheese Bread Machine Loaf
Bake a flavorful, cheesy Italian herb bread right in your bread machine. This recipe makes a perfect sandwich loaf or dinner side bread.
- Prep Time: 10 min
- Cook Time: 3 hr 30 min (machine cycle time)
- Total Time: 3 hr 40 min
- Yield: 1 loaf
- Category: Bread
- Method: Bread Machine
- Cuisine: Italian
- Diet: Vegetarian
Ingredients
- 1 cup water, warm (about 80°F)
- 2 tablespoons olive oil
- 2 1/2 teaspoons salt
- 3 cups bread flour
- 1 tablespoon granulated sugar
- 1 1/2 teaspoons active dry yeast
- 1 tablespoon dried Italian seasoning blend
- 1 teaspoon garlic powder
- 1 cup shredded mozzarella cheese, packed
- 1/2 cup grated Parmesan cheese
Instructions
- Add the warm water, olive oil, and salt to your bread machine pan in the order recommended by your machine’s manual.
- Add the bread flour, sugar, Italian seasoning, and garlic powder on top of the liquids. Create a small well in the center of the flour.
- Place the yeast into the well you created in the flour. Do not let the yeast touch the liquid yet.
- Select the Basic or White Bread cycle and the Light crust setting on your machine. Start the cycle.
- Wait until the kneading phase is complete, usually about 15 to 20 minutes into the cycle.
- When the machine pauses for mix-ins (or when the manual suggests adding extras), carefully open the lid.
- Add the shredded mozzarella cheese and grated Parmesan cheese to the dough through the access flap or by gently dropping them onto the dough mass. Close the lid quickly.
- Allow the bread machine to complete the full baking cycle.
- Once the cycle finishes, carefully remove the bread pan and turn the loaf out onto a wire rack to cool completely before slicing.
Notes
- For the best texture, use bread flour instead of all-purpose flour for this sandwich loaf.
- If your machine does not have a mix-in alert, add the cheese and herbs during the first brief pause after the initial kneading phase.
- This cheesy dinner bread slices well once fully cooled, making it great for sandwiches.
Nutrition
- Serving Size: 1 slice
- Calories: 180
- Sugar: 1
- Sodium: 320
- Fat: 6
- Saturated Fat: 3
- Unsaturated Fat: 3
- Trans Fat: 0
- Carbohydrates: 27
- Fiber: 1
- Protein: 6
- Cholesterol: 15