

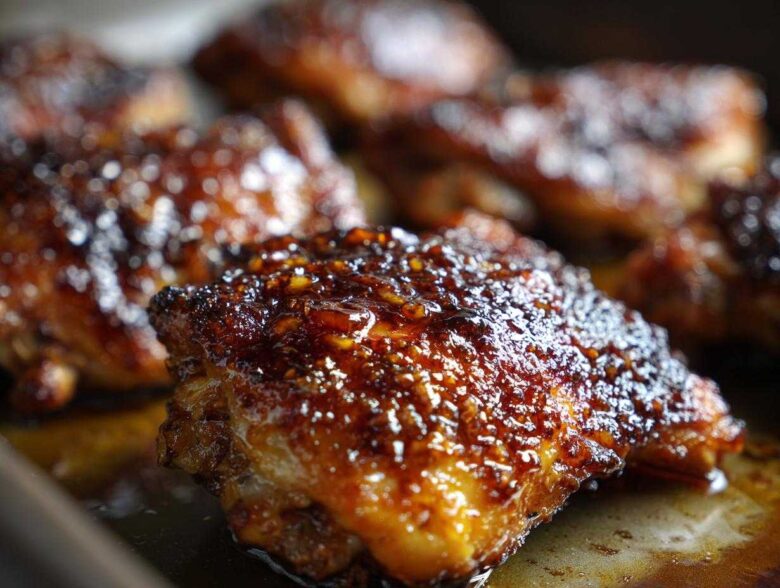
Oh, chicken skin. It’s the Everest of weeknight cooking, isn’t it? You either get pale, chewy disappointment, or you get that shatteringly crisp sound when you bite into it. I used to struggle so much with this! I mean, why can’t we just have tender, juicy meat *and* that perfect crunch under a sticky, sweet glaze?
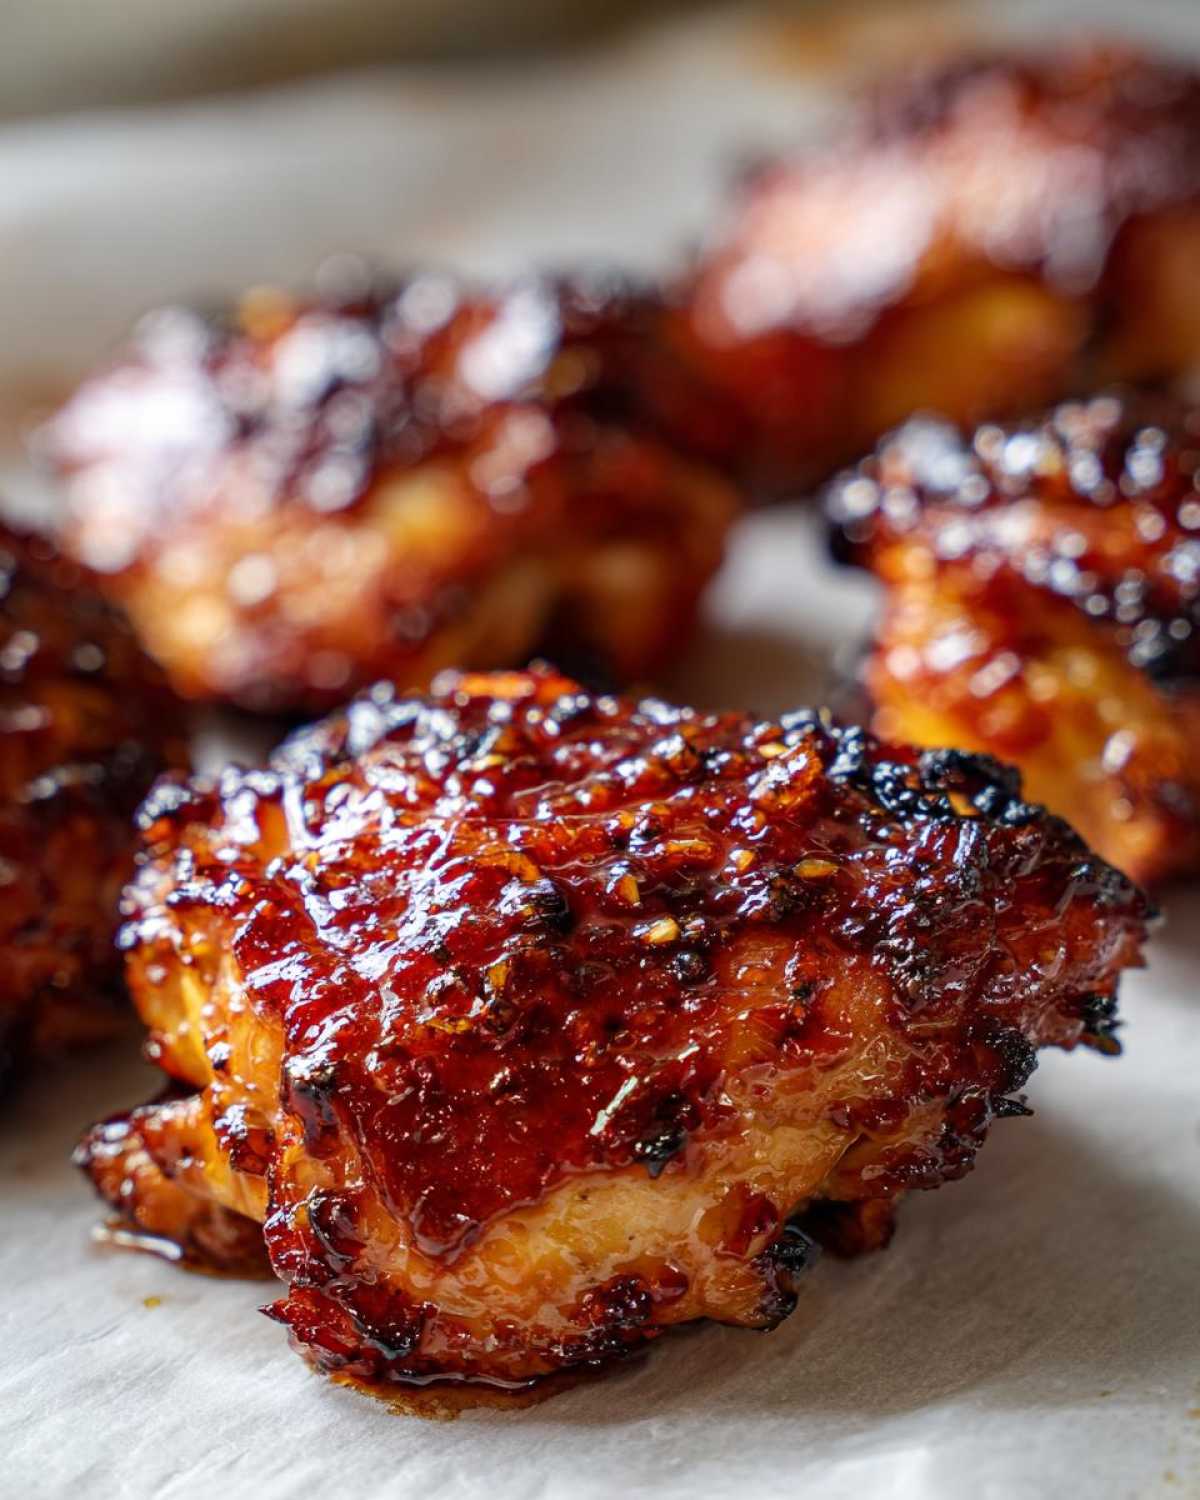
Well, I spent what felt like a year experimenting with drying racks, patting it dry until my arms ached, and playing peek-a-boo with the broiler. But I finally cracked the code for the absolute dreamiest Honey Garlic Chicken Thighs with Crispy Skin. This method keeps the meat unbelievably juicy while the oven works its magic to give you restaurant-quality crispness. Trust me, you’re going to use this recipe again and again!
Why You Will Love This Honey Garlic Chicken Thighs with Crispy Skin Recipe
Honestly, this recipe checks every single box a busy cook like me needs. We’re talking about balancing that intense craving for deep, savory flavor with the reality of getting dinner on the table before everyone melts down.
- The Texture Contrast is Insane: You get that beautiful, shatteringly crisp chicken skin that we all dream about, perfectly contrasting the fall-off-the-bone tender meat underneath. It’s worth the effort of drying the skin, I promise!
- That Sticky Glaze Hits Different: The balance of honey, soy, and garlic is the perfect sweet and savory punch. It caramelizes beautifully under the broiler, giving you that gorgeous sticky coating that begs to be soaked up with rice.
- Weeknight Chicken Warrior: Even with the small steps of patting it dry and using the broiler finish, this is truly a streamlined recipe. It’s fast enough that it works perfectly for a Weeknight Chicken Dinner crisis.
- Bone-In Flavor Power: Using bone-in, skin-on thighs means natural flavor is pumped into the meat while it cooks. You simply don’t get this depth of flavor from boneless cuts.
- Minimal Cleanup: Because we use a wire rack over the baking sheet, the glaze drips down onto the pan, not all over your baking sheet, making clean-up way less dramatic!
Essential Ingredients for Honey Garlic Chicken Thighs with Crispy Skin
When it comes to this recipe, the quality of your ingredients really shines through, especially in that glaze! You don’t need a million things, but the few we use have to be good quality. The most non-negotiable thing? Make absolutely sure you grab those bone-in, skin-on chicken thighs. That skin is our ticket to crunchy success, and the bone keeps everything super moist.
Here is what you need for the four servings. Don’t skimp on the prep work here; a little pre-seasoning goes a long way before we add that sticky sauce on later. If you want to get a head start on flavor sometimes, check out my tips on marinades, but for this one, we are keeping it simple upfront!
- 4 bone-in, skin-on chicken thighs (The star of the show!)
- 1 tablespoon olive oil
- 1 teaspoon salt
- 1/2 teaspoon black pepper
- 1/4 cup honey (The golden binder!)
- 3 tablespoons soy sauce (Use low sodium if that’s easier for you)
- 3 cloves garlic, minced (Freshly minced makes such a difference here, don’t use the jarred stuff if you can avoid it.)
- 1 tablespoon apple cider vinegar
- 1 teaspoon grated fresh ginger
See? Mostly pantry staples, but that combination is what makes these the Best Honey Garlic Glazed Thighs you’ll ever make!
Equipment Needed for Perfect Honey Garlic Chicken Thighs with Crispy Skin
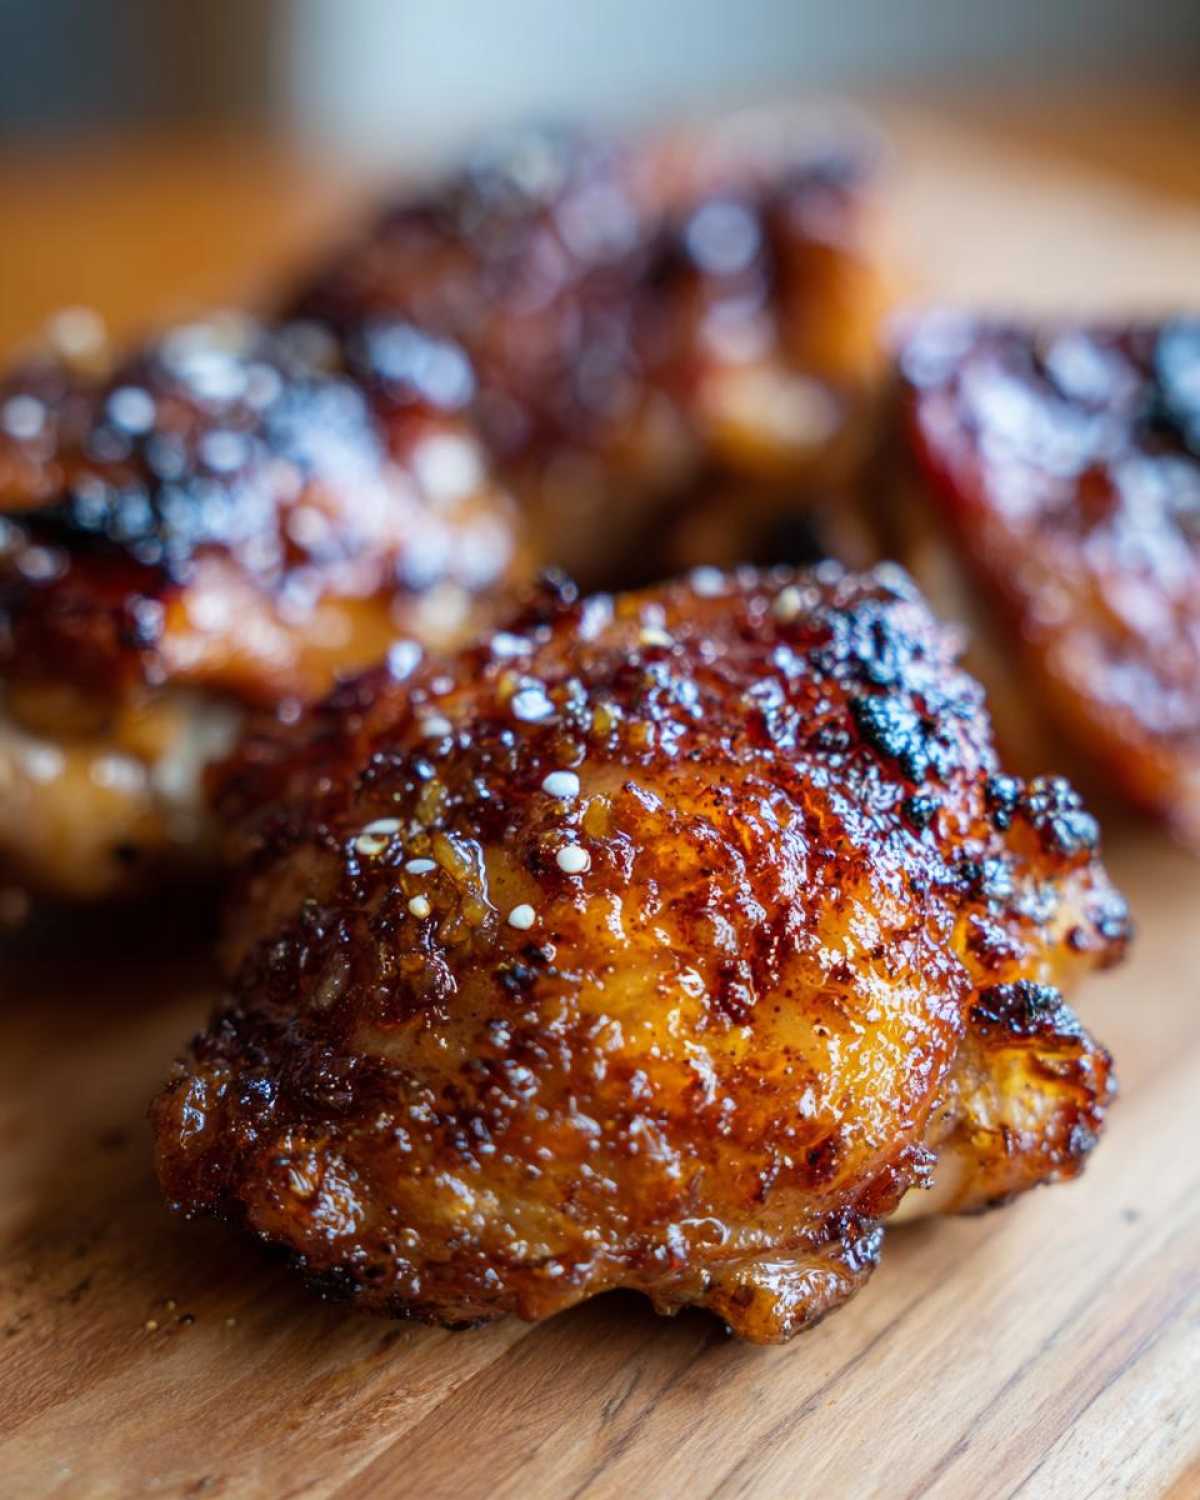
You don’t need fancy gadgets for this, thank goodness! The key to getting that incredible Oven Baked Crispy Chicken Skin is creating airflow around the meat. If the skin sits directly in its own juices, it steams, and we definitely don’t want damp skin!
Make sure you have these items ready to go before you even grab the chicken. It keeps the process flowing smoothly when things get hot.
- A sturdy baking sheet (standard half-sheet size works great).
- A wire cooling rack that fits inside your baking sheet. This is the MVP for air circulation!
- Small saucepan for mixing the glaze.
- Silicone brush for applying that sticky sauce later on.
- Paper towels (you’ll use a surprising amount of these—don’t skimp!).
That’s it! No immersion blender, no giant roasting pans, just the basics needed to make these Flavorful Chicken Thighs shine.
Step-by-Step Instructions: How to Get Crispy Skin Chicken Thighs
Okay, this is the main event! Follow these steps exactly, especially the parts about the skin, and you’ll be serving up the juiciest, crispiest dinner ever. We’re moving fast here, so make sure your oven is ready to go when you are.
Preparing the Chicken for Maximum Crispiness
Listen, if you skip this part, you fail the crispy skin test before you even start baking! Moisture is the enemy of crispiness. Grab those thighs and use paper towels—I mean really use them—to blot every bit of moisture from that skin. I press down hard, flip them, and press again until the paper towels aren’t even damp anymore. This simple trick guarantees better results on your Crispy Skin Chicken Thighs.
Once they are bone-dry, rub them lightly with the olive oil and season generously with salt and pepper on both sides. Then, here’s the setup: put the thighs skin-side up on the wire rack over your baking sheet. That rack is what allows the heat to circulate underneath, giving you that even, all-around crunch, which is the magic behind Oven Baked Crispy Chicken Skin success.
Making the Sticky Honey Garlic Glaze for Chicken Thighs
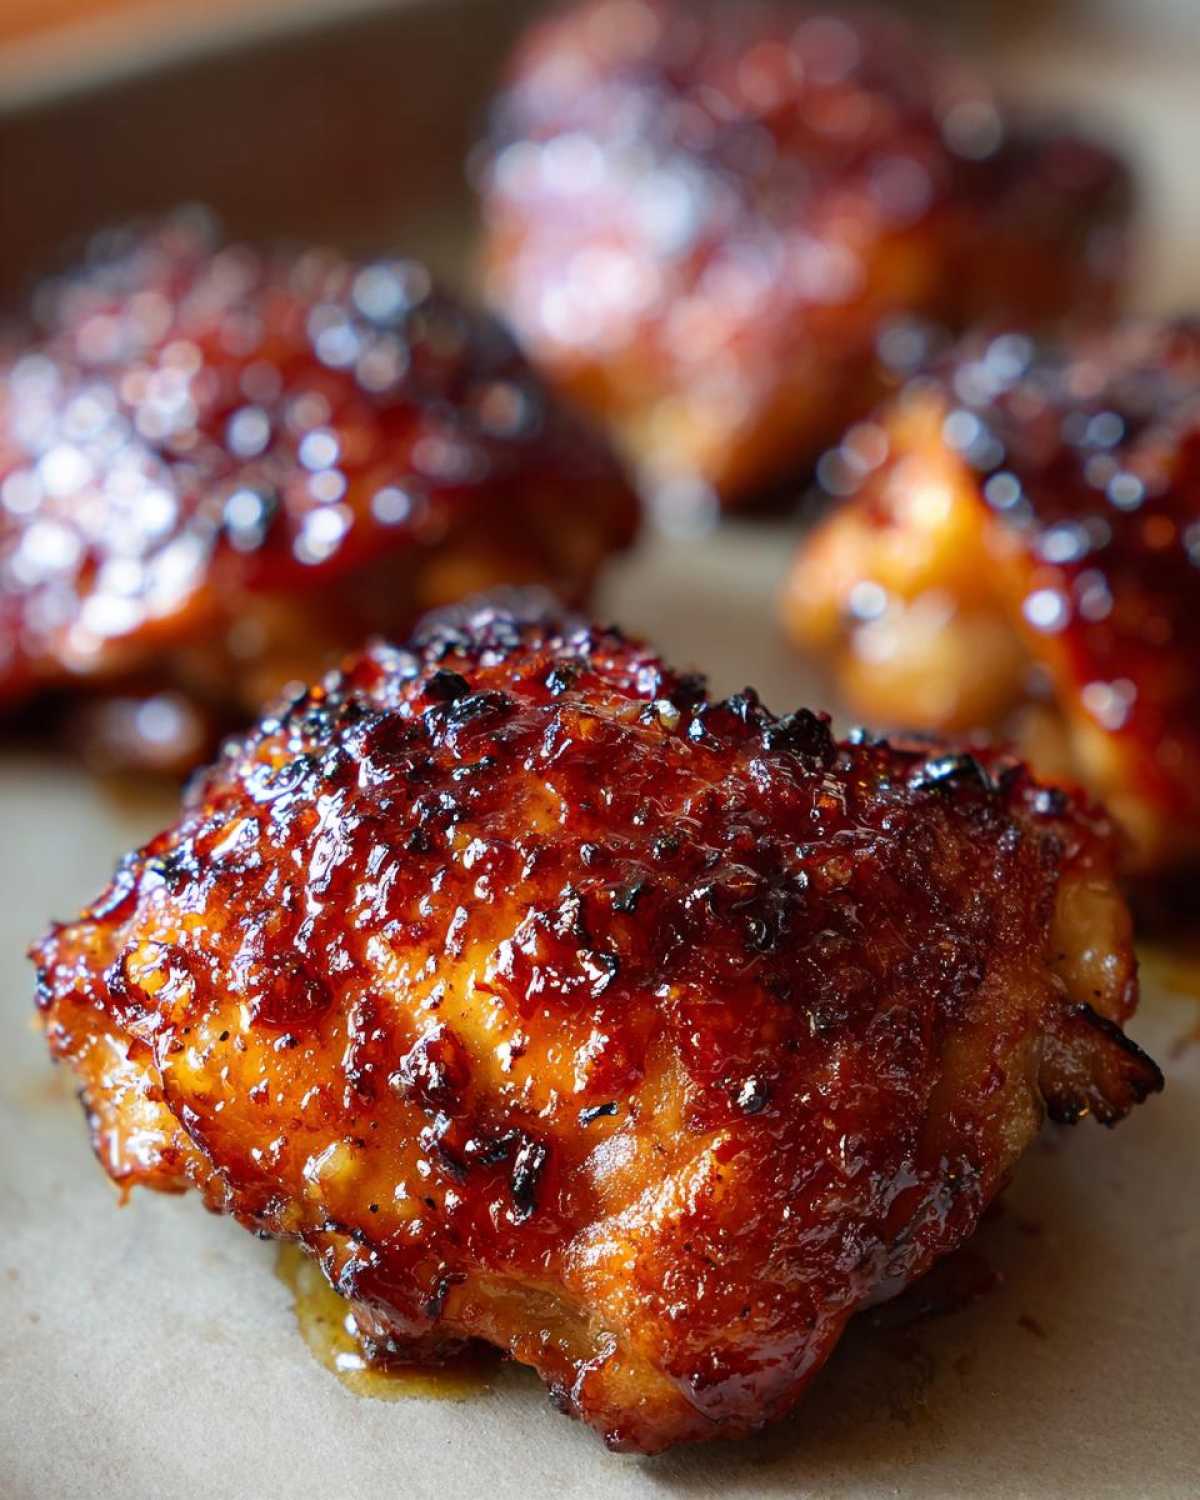
While the chicken is chilling in the oven for its first go, we assemble the sauce. This needs just a gentle warm-up so everything dissolves nicely into one glorious, cohesive Sticky Honey Garlic Sauce for Chicken.
Toss the honey, soy sauce, minced garlic, apple cider vinegar, and grated ginger into a small saucepan. Heat it over medium-low heat. You just want to warm it until the honey is fully liquid and the sauce starts to bubble just a tiny bit around the edges. Right when you see that light simmer, pull it straight off the heat. We don’t want to cook the sauce down now; we need it liquid for brushing later!
Baking and Glazing Technique for Flavorful Chicken Thighs
Start the chicken by baking it naked (no sauce yet!) at 400°F for 25 minutes. This renders some of the fat out of the skin. After 25 minutes, brush about half that gorgeous glaze over the skin. Pop them back in for 10 more minutes.
Now for the finale: switch your oven to the broiler on high! Brush the rest of the glaze on the chicken thighs and watch them like a hawk. Seriously, step right there—broiling only takes 2 to 4 minutes, and they can go from perfect to charcoal in seconds. You want that skin dark amber and crackling. Pull them out immediately when they look done and let them rest for five minutes before you dig into those amazing Glazed Chicken Thighs Recipe servings.
Expert Tips for the Best Honey Garlic Glazed Thighs
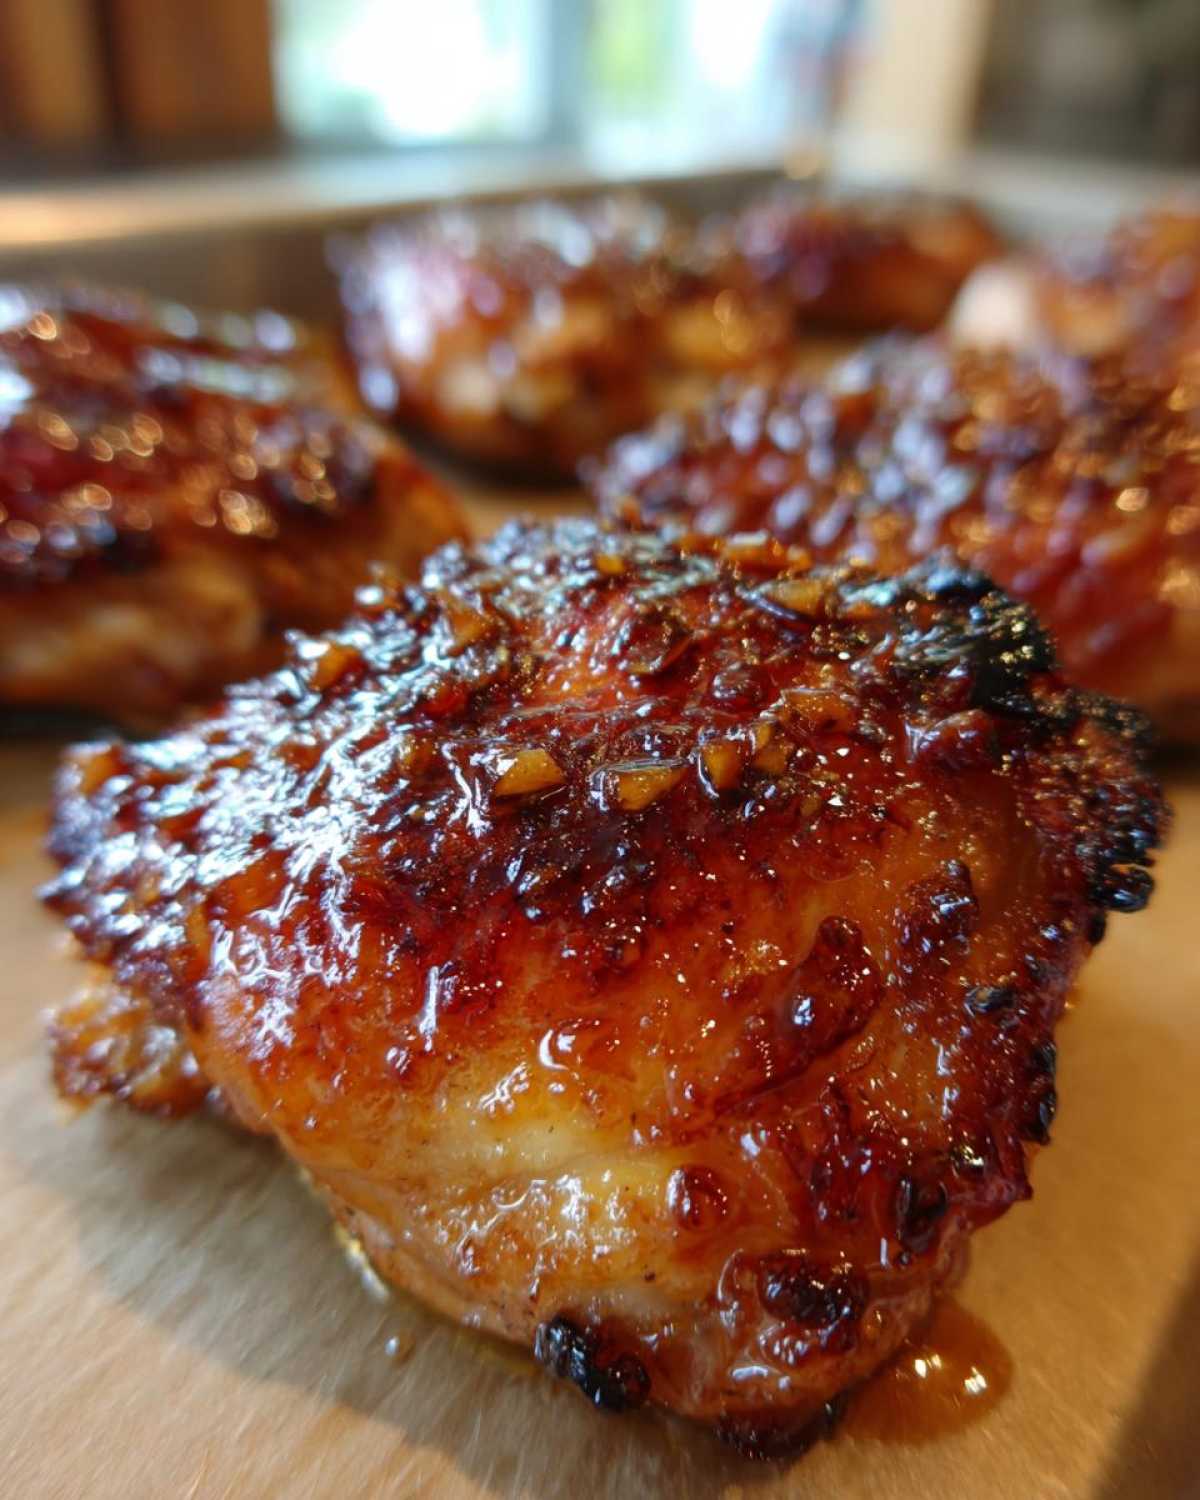
Even though this is a simple recipe, squeezing out that last bit of perfection takes a little insider knowledge. I learned these tricks the hard way—by burning a few batches of that lovely honey glaze! But now, these tips help me nail that crispy skin every single time. Think of these as the final polish on your already fantastic Honey Garlic Chicken Thigh Recipe.
First and most importantly: Don’t Crowd the Pan! If you are making more than four thighs, you need another baking sheet setup. If the thighs are touching on the rack, they end up steaming each other, and bam—no crispy skin where they touch. Give them space to breathe so that hot air can hit every inch of skin.
My second big tip is about the glaze application—timing matters! We glaze them twice, right? The first time after the initial 25 minutes helps flavor the meat deep down without burning the sugars too early. But that *second* glaze right before the broiler? That’s the one that needs patience. Brush it on, let it sit for about 30 seconds to adhere, and *then* hit that broiler. If you brush it on and immediately broil, the loose sauce drips off before it can caramelize properly.
Also, please, use fresh garlic! I know the jarred stuff is convenient, but when you’re dealing with a potent flavor like garlic in such a small sauce batch, fresh is necessary. Jarred garlic is often suspended in water or oil, which throws off the glaze consistency and dulls that necessary sharp flavor punch. When you mince it fresh, you get all those fragrant oils released, making the sauce brighter.
Finally, know your broiler. Some ovens run hotter than others. If you notice the second glaze bubbling aggressively after just one minute under the broiler, immediately pull the rack down one level. If you see smoke, turn the broiler off, let the internal oven heat finish the job at 425°F, and start watching again. The broiler is your ultimate finisher for that ultimate crisp, but it demands your full attention!
Variations on Your Honey Garlic Chicken Thighs with Crispy Skin
I love that this recipe is almost perfect right out of the gate, but I also totally get that sometimes you look in the pantry and think, ‘I need to use up that jar of chili paste!’ Don’t stress about changing things up! These Sweet and Savory Chicken Thighs work wonderfully with a few easy tweaks. You don’t need a whole new recipe; just a little creative spark!
For starters, if you like things with a little kick—and who doesn’t?—add some heat right into that glaze mixture. I usually toss in about half a teaspoon of red pepper flakes when I’m mixing the honey and soy sauce. It gives you a lovely, slow burn that plays so well against the sweetness. If you wanted to go totally different, you could check out my Coconut Lime Chicken Recipe, but for this one, a little spice works wonders!
Another fun change-up I use when I’m feeling citrusy is swapping out the apple cider vinegar. Instead of vinegar, use an equal amount of fresh orange juice. The orange brightens up the whole flavor profile and makes that honey and garlic feel even richer. It’s a subtle shift, but it elevates the sauce beautifully!
When it comes to finishing touches, save your fresh herbs for *after* the oven time. If you throw basil or parsley in before the broil, they just turn black and bitter. Wait until the chicken has rested for those five minutes, and then sprinkle fresh chopped chives, or maybe even some sesame seeds if you want that nutty crunch, right over the top. This is a great way to add freshness to your Simple Chicken Thighs Recipe without ruining the texture of the crisp skin!
Serving Suggestions for Your Glazed Chicken Thighs Recipe
Now that you’ve mastered the art of the perfect glaze and that impossibly crisp skin on your Honey Garlic Chicken Thighs with Crispy Skin, the next big question is: What goes next to it on the plate? You want something that soaks up those leftover sticky glaze juices, but you also don’t want something that fights the sweetness of the honey.
If I’m serving this up as a proper, hearty meal, I always lean toward simple bases. As the notes mentioned, rice is the perfect canvas. Forget plain white rice; you need something with a little more personality to stand up to that bold flavor. I highly recommend making a batch of my Easy Fluffy Rice Pilaf—it has a little bit of onion and broth flavor that complements the garlic beautifully without being too heavy.
For something green, always roast your vegetables! Steamed veggies just don’t cut it with a dish this rich. Broccoli or asparagus tossed with just a tiny bit of olive oil and salt are perfect. Roast them alongside the chicken, or right after you pull the chicken out. The high heat brings out their natural sweetness, which plays perfectly with the honey. These suggestions turn an already fantastic recipe into a complete Easy Chicken Thigh Dinner Idea.
If you want something slightly fancier but still easy, try mashed potatoes! But don’t go boring on me—add a little roasted garlic right into your mash. The slight earthiness of the potatoes mixed with the sweet, savory chicken is just heavenly. Honestly, once you nail this glaze, you’ll find this is one of the most versatile and Family Favorite Chicken Meals you’ve ever cooked!
Storage and Reheating Instructions for Leftover Honey Garlic Chicken
We are lucky if we have any leftovers of these Honey Garlic Chicken Thighs with Crispy Skin, because they disappear fast! But if you manage to save a few pieces, you need to treat them right. That wonderfully crisp skin we worked so hard for is delicate, and the microwave is its sworn enemy. Microwaving makes everything sad and rubbery, and we refuse to let that delicious skin go soft!
For storage, just pop any remaining thighs into an airtight container. If you need to separate a few pieces, that’s fine, but try not to stack them too heavily on top of each other. They will last happily in the fridge for about three to four days. Make sure they are fully cooled before you seal the container up.
When it comes to reheating, if you want to bring back any of that crispiness, the oven or the air fryer are your best friends. This is where you salvage your hard work! Skip the microwave entirely unless you absolutely have no other choice.
Reheating in the Oven to Keep Things Crisp
The oven is the most reliable way to warm these back up gently while drying out the skin again. Preheat your oven to about 350°F (175°C). You don’t need to add any oil or sauce to the chicken itself—it’s already got plenty of flavor locked inside!
Just like we did when we first cooked them, place the thighs skin-side up on a wire rack set over a baking sheet. This allows the hot air to hit the skin evenly. Bake for about 10 to 12 minutes. Keep an eye on them after the 10-minute mark. Because that glaze has sugar in it, it can go from warm to slightly too dark very quickly, especially if you’ve already broiled them once!
The Air Fryer Method for Quick Crisp
If you have an air fryer, this is even faster! Set yours to 375°F (190°C). Place the honey garlic thighs in the basket in a single layer. Air fry for about 5 to 7 minutes. This method is fantastic for reviving that outer texture without drying out the meat inside. It’s almost as good as fresh!
And while this recipe is fantastic on its own, sometimes leftovers need a little boost. If you find the flavor seems a bit flat after storage, consider whipping up a quick drizzle of fresh sauce, or try making my Quick Homemade Chicken Gravy to pour over the chicken and some mashed potatoes—but only if you want to go totally decadent!
Frequently Asked Questions About Crispy Skin Chicken Thighs
Whenever I post a picture of these beauties, I always get the same handful of questions. It makes sense—the crispiness seems like borderline witchcraft! Here are the top things folks ask before they dive into making these Flavorful Chicken Thighs. Seriously, feel free to ask anything else if you don’t see your specific worry here!
Can I use boneless, skinless chicken thighs for this Honey Garlic Chicken Thigh Recipe?
Oh, that’s a common swap! You absolutely *can* use boneless, skinless thighs if that’s what you have on hand, or if you prefer not to deal with the bone. However, I need to be honest with you: you won’t get the Crispy Skin Chicken Thighs result we’re aiming for here because… well, there’s no skin left to crisp!
Since the meat will also cook faster without the bone insulating it, you’ll need to drastically reduce your baking time. For boneless thighs, I’d start checking for doneness way earlier—maybe even after 18 minutes total baking time at 400°F before adding any glaze. Honestly, this recipe shines brightest with the skin on for that beautiful caramelization and texture contrast!
What is the secret to getting truly crispy skin in the oven?
If I could only tell you ONE thing about this recipe, it would be this secret forever! The absolute number one secret to getting that legendary, crunchy skin is starting bone-dry. I mean bone-dry, like the surface of Mars dry. You need to spend a good minute or two methodically patting every single piece of your Bone in Skin on Chicken Thigh Recipe with paper towels.
Steam equals soggy, and we are fighting steam every step of the way! That’s why the second critical piece is using the wire rack. The rack lifts the skin away from the pan surface, letting all the rendered fat drip down and allowing the hot air to hit the bottom of the skin. This combination—dry skin plus air circulation—is the only way to guarantee you nail that perfect finish every time!
How do I know when my Honey Garlic Chicken Thighs are done before broiling?
That’s a great question, especially because the second bake is crucial for heating them through before we apply the final layer of sticky sauce. Before you even worry about the glaze, you need to check the internal temperature. For bone-in thighs, you are aiming for 165°F pulled right around the 35-minute mark (25 mins + 10 mins).
But for the ultimate juiciness, I try to pull them off the heat slightly early—around 160°F—before the main glaze goes on. This gives you a little buffer room when you hit the intense heat of the broiler, ensuring the meat doesn’t dry out while the skin is getting its final gorgeous color. If you don’t have a meat thermometer, look for clear juices when you pierce the thickest part, though the thermometer is my go-to for reliable results on these Glazed Chicken Thighs Recipe nights.
PrintHoney Garlic Chicken Thighs with Crispy Skin

Make oven-baked chicken thighs with skin-on for a sticky, sweet, and savory honey garlic glaze and perfectly crisp skin.
- Prep Time: 10 min
- Cook Time: 40 min
- Total Time: 50 min
- Yield: 4 servings
- Category: Dinner
- Method: Baking and Broiling
- Cuisine: American
- Diet: Low Fat
Ingredients
- 4 bone-in, skin-on chicken thighs
- 1 tablespoon olive oil
- 1 teaspoon salt
- 1/2 teaspoon black pepper
- 1/4 cup honey
- 3 tablespoons soy sauce
- 3 cloves garlic, minced
- 1 tablespoon apple cider vinegar
- 1 teaspoon grated fresh ginger
Instructions
- Pat the chicken thighs very dry with paper towels. This step is key for crispy skin. Season both sides with salt and pepper.
- Preheat your oven to 400°F (200°C). Place the chicken thighs skin-side up on a wire rack set over a baking sheet.
- Bake for 25 minutes.
- While the chicken bakes, prepare the glaze: In a small saucepan, combine honey, soy sauce, minced garlic, apple cider vinegar, and ginger. Heat over medium-low heat until the honey melts and the sauce simmers lightly. Remove from heat.
- After 25 minutes of baking, brush half of the honey garlic glaze over the chicken thighs.
- Return the chicken to the oven and bake for another 10 minutes.
- Switch the oven setting to broil (high). Brush the remaining glaze over the chicken. Broil for 2 to 4 minutes, watching closely to prevent burning, until the skin is deeply browned and crisp.
- Remove from the oven and let the chicken rest for 5 minutes before serving.
Notes
- For the crispiest skin, ensure the chicken skin is completely dry before seasoning and baking.
- If the glaze starts to burn under the broiler, move the rack further from the heat source.
- Serve these thighs over rice or with roasted vegetables.
Nutrition
- Serving Size: 1 thigh
- Calories: 380
- Sugar: 18
- Sodium: 550
- Fat: 22
- Saturated Fat: 6
- Unsaturated Fat: 16
- Trans Fat: 0
- Carbohydrates: 19
- Fiber: 0
- Protein: 28
- Cholesterol: 110