

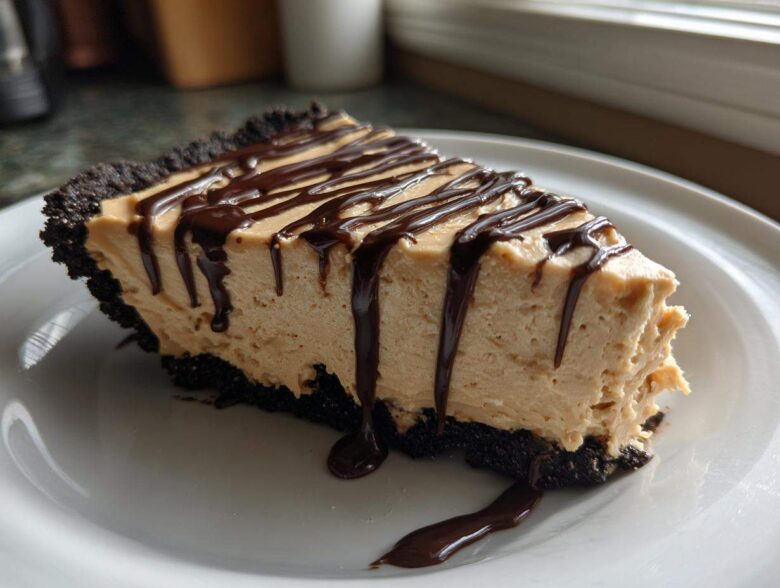
Oh, friends, if you’re anything like us lately, you’ve found yourself staring into the pantry at 3 PM wondering how to create maximum indulgence with minimum effort. Forget complex baking; when the craving for something rich hits, Leo immediately shouts, “We need the peanut butter pie!” This recipe is my absolute favorite dispatch from our kitchen because it proves you don’t need an oven or hours of fuss to create the crowd pleaser dessert of the year.
Leo, my resident Composer, loves this version because the prep time is so incredibly wild—barely 20 minutes! He says it’s like creating a symphony using only three or four perfect notes. If you need a fast, impressive ending to a big meal, or just need a sweet fix for Thursday night’s movie, this No Bake Peanut Butter Pie is our ultimate secret weapon. Trust me, once you try this easy perfection, it’ll be right there on your weekly rotation. You can check out some of our other quick tips over on the main Tasty Tribune page!
Why This No Bake Peanut Butter Pie Recipe is Your New Favorite Crowd Pleaser Dessert
When I tell you this is the easiest dessert we’ve ever published, I mean it! If you’re trying to keep the heat out of the kitchen, or if someone unexpectedly shows up needing a dessert right now, this recipe is the answer. Leo calls it his favorite because it requires zero oven time; we just need a freezer and a mixer!
- It’s the definition of No Oven Desserts—perfect for summertime or when your oven is already full of the main course.
- We’re talking under 20 minutes of active work. It’s truly a Quick Peanut Butter Dessert!
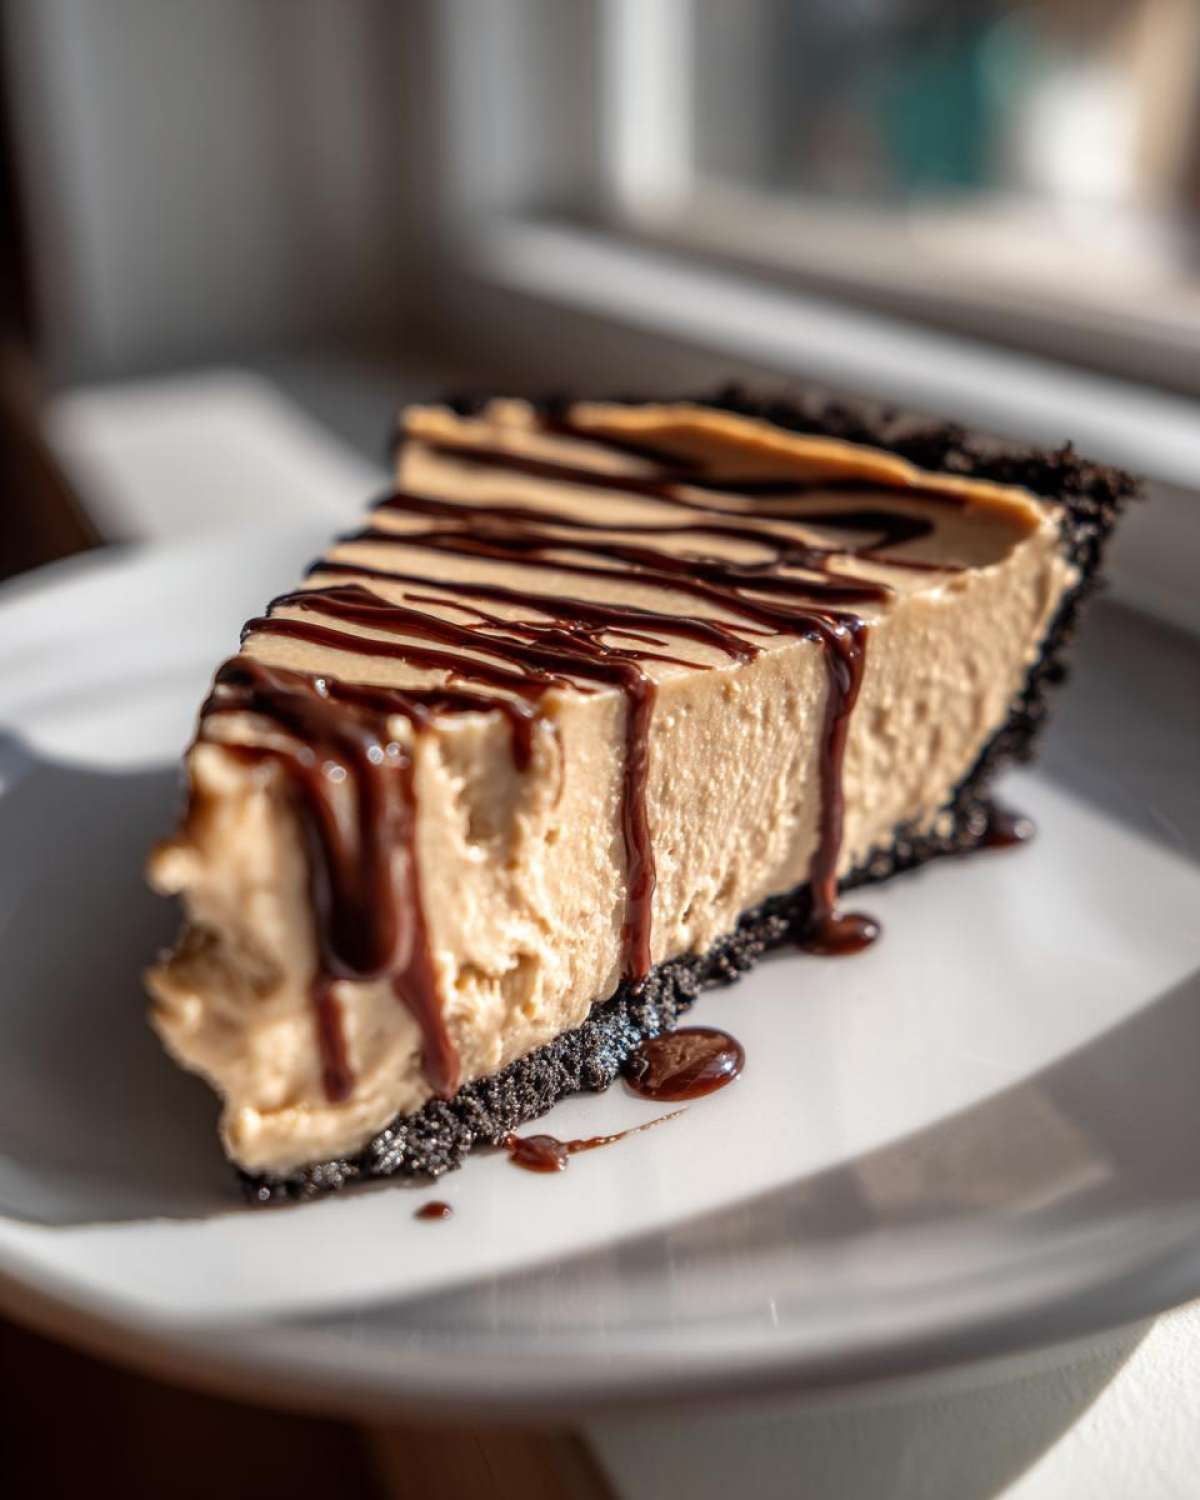
- The final product is this unbelievably rich, set, and luxurious slice. It’s everything you want in a Creamy Peanut Butter Pie.
The Magic of a Quick Peanut Butter Dessert
Seriously, 20 minutes. That’s the prep time! If you’re scrambling for something great to take to a potluck tomorrow, stop searching. This is the Best Peanut Butter Pie for those emergency dessert situations. You just mix, press, fill, and chill. That’s it! No baking stress, no worrying about whether the edges burned before the middle set.
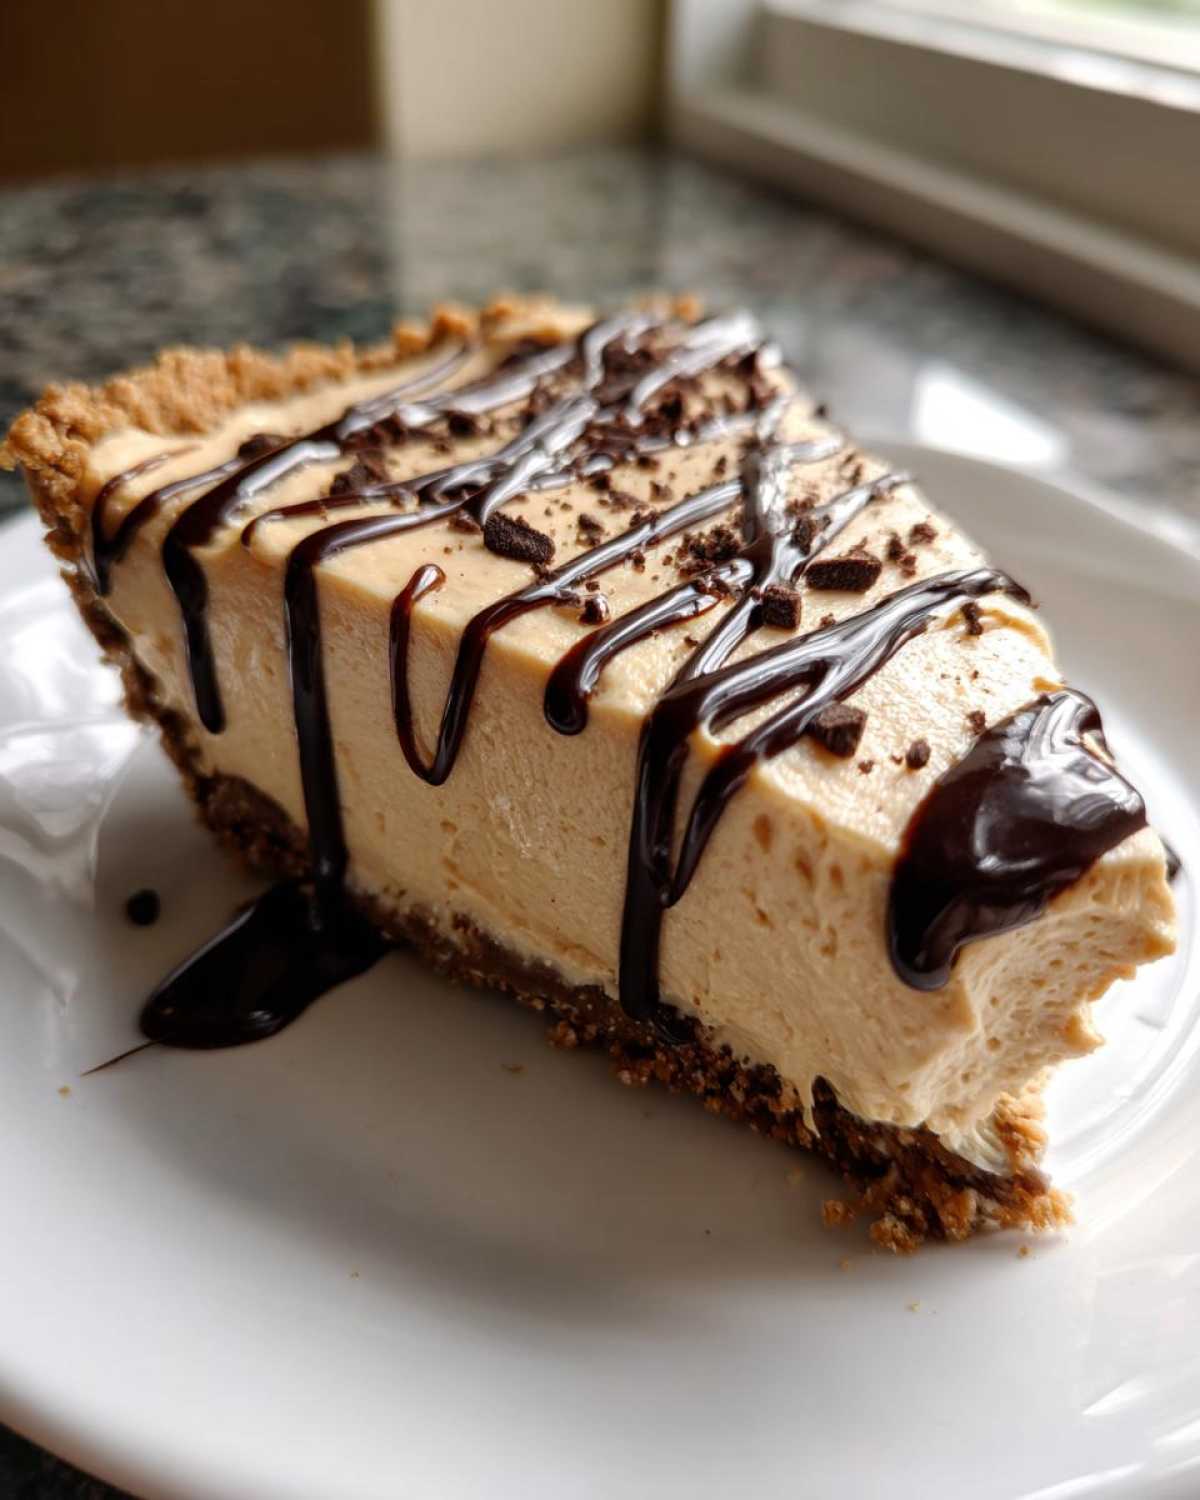
Achieving the Perfect Creamy Peanut Butter Pie Texture
The real secret to that cloud-like, melt-in-your-mouth sensation isn’t just the peanut butter—though that’s certainly important! It’s the partnership between the softened cream cheese and the thawed whipped topping. When we fold those together, we trap all that wonderful air. It keeps the whole Peanut Butter Pie light. If you need help with another easy recipe for baked goods, check out my guide on making soft pretzel bites; same principle, lots of air!
Gathering Ingredients for Your Homemade Peanut Butter Pie
Okay, Clara typing now! Before we get too wild with mixing, we need to make sure we have everything ready to go. Leo always tells me to set out the cream cheese at least an hour early—it’s crucial that everything is the right temperature! Since this is a no-bake recipe, the ingredients are going to do all the heavy lifting to give us that beautiful texture later on. Let’s get our list straight so we can jump right into making this Rich Dessert Pie.
For the Graham Cracker Crust Pie Base
First up is our foundation. We need 1 1/2 cups of graham cracker crumbs mixed with 1/3 cup of granulated sugar. The binder is key here: make sure you have 6 tablespoons of unsalted butter melted down and ready to go. Now, if you’re feeling mischievous, you can absolutely skip the graham crackers and use 2 cups of finely crushed Oreos for an Oreo Crust Peanut Butter Pie instead—Leo loves that extra chocolate hit!
For the Rich Dessert Pie Filling
This is where the decadence pays off! You must have one 8-ounce package of cream cheese that is fully softened—no shortcuts here, or we’ll get lumps in our filling! Pair that with 1 cup of your favorite creamy peanut butter and 1 1/2 cups of powdered sugar. Don’t forget the vanilla extract (just 1 teaspoon). And please, make sure that 12-ounce container of whipped topping is thawed out completely, but still cold, just waiting to be folded in gently.
Peanut Butter Pie Toppings and Variations
The pie is delicious plain, but we rarely leave it that way! I usually have chocolate syrup standing by for a beautiful drizzle, or we chop up some mini peanut butter cups for topping. If you want to pull this toward that sweeter, more classic flavor profile like an Old Fashioned Peanut Butter Pie, you can swap out half the powdered sugar in the main filling for granulated sugar—it changes the texture just a touch, but it’s delicious!
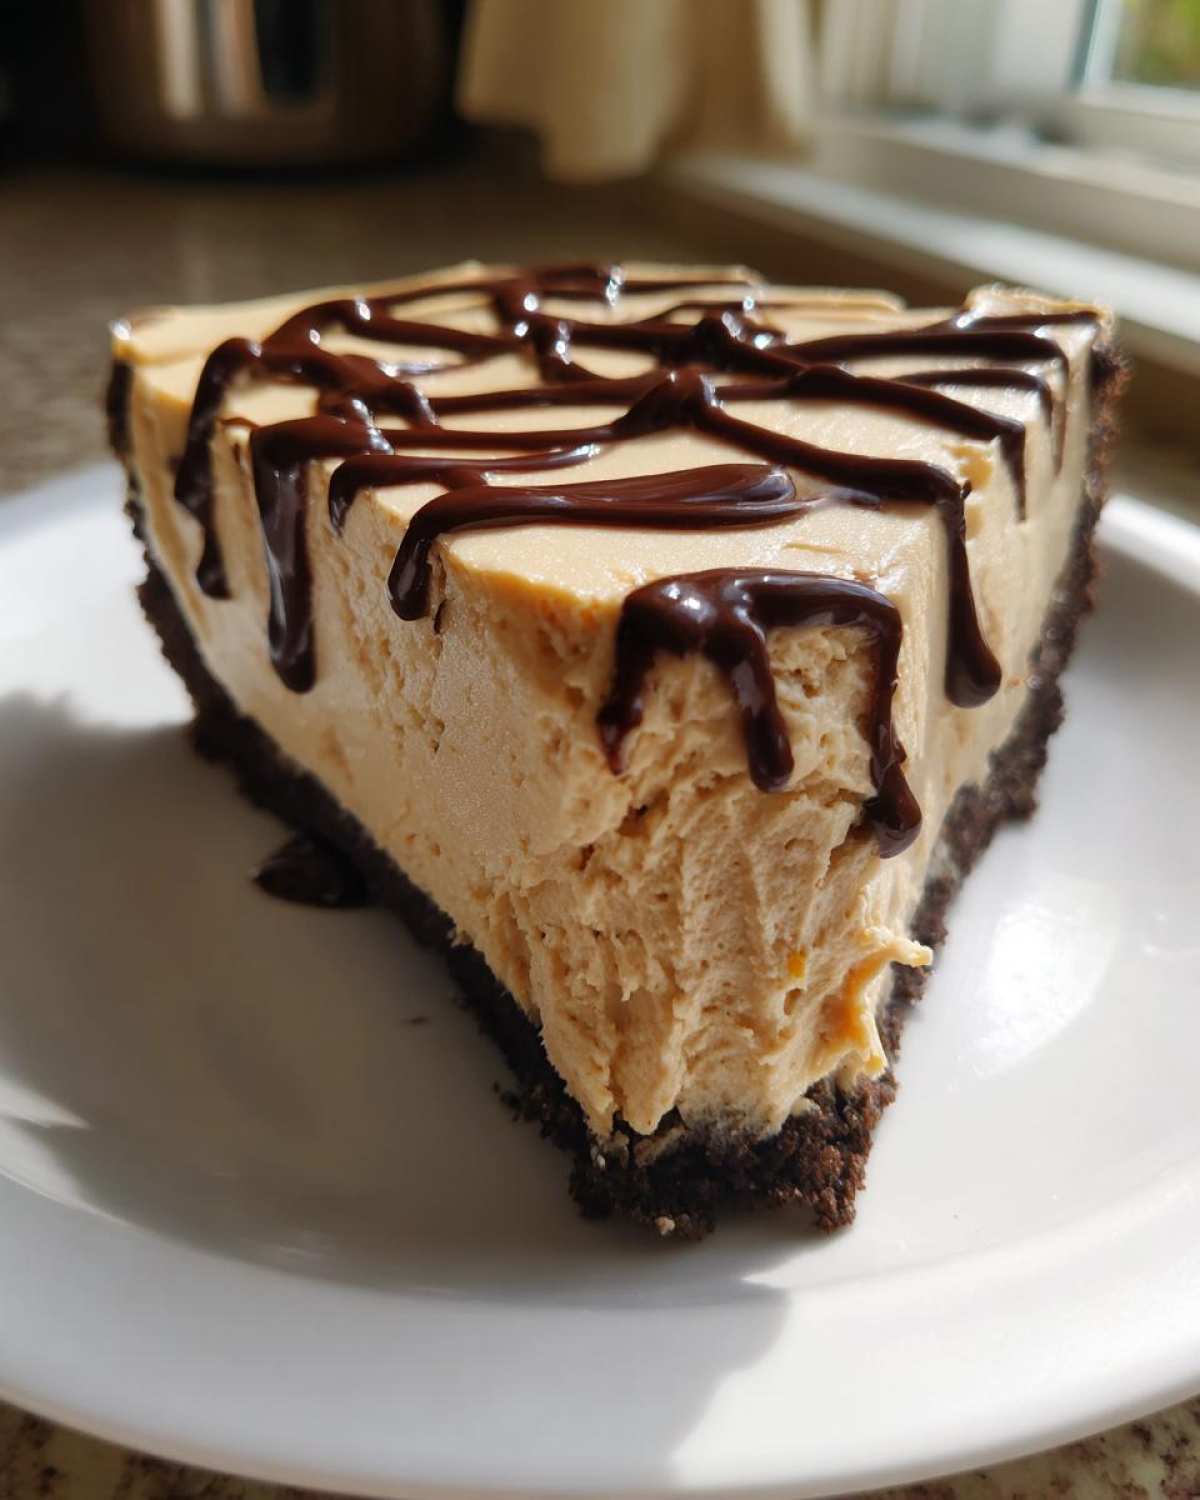
Step-by-Step Instructions for the Easy Peanut Butter Pie Recipe
Alright, this is where the magic really happens! Don’t let the steps intimidate you; Leo has perfected this so that even if you’re new to the kitchen, this peanut butter pie will turn out looking like a magazine spread. Remember, we’re moving fast here, so have your 9-inch pie plate ready to go. If you need a recipe that uses the stove top, check out Leo’s excellent stovetop chili post, but for this pie, the only heat you need is the oven you’re *not* using!
Creating and Chilling the Graham Cracker Crust Pie
Step one is focused entirely on that buttery base. In a medium bowl, mix your graham cracker crumbs and the 1/3 cup of granulated sugar together. Now, pour in that melted butter and stir until everything looks uniformly damp—it should clump nicely when you squeeze a bit between your fingers. Take that mixture and press it down *really* firmly into the bottom and up the sides of your 9-inch pie plate. Don’t be shy; press it hard! Once it’s packed tight and smooth, pop the whole thing into the freezer while you work on the filling. This chilling is an absolute must to make sure this Graham Cracker Crust Pie doesn’t crumble when we slice it later.
Mixing the Creamy Peanut Butter Pie Filling
This is where we achieve that luxurious texture. First, grab your large bowl and beat that softened cream cheese until it’s perfectly smooth—no lumps allowed, Clara insists! Once it looks like silk, add in the cup of creamy peanut butter and beat it until it’s totally incorporated. Now, for the sweetness: gradually add the 1 1/2 cups of powdered sugar, starting slow so it doesn’t shoot out the mixer! Once it’s mixed in, crank the mixer up a bit until the base of your Creamy Peanut Butter Pie filling is smooth as velvet. Don’t forget that teaspoon of vanilla extract!
Folding in the Whipped Topping and Assembling the Peanut Butter Pie
This next move determines how light the pie ends up. Take your thawed whipped topping and gently fold it into the peanut butter mixture using a spatula. I mean *gently*! You are trying to incorporate it without knocking all the air out we worked so hard to beat in earlier. Stop folding the moment you don’t see any white streaks left. This keeps the filling airy! Once it’s mixed, spoon that glorious filling right into your chilled crust. Smooth the top with the back of a spoon; I sometimes use an offset spatula for a professional look on my Peanut Butter Pie.
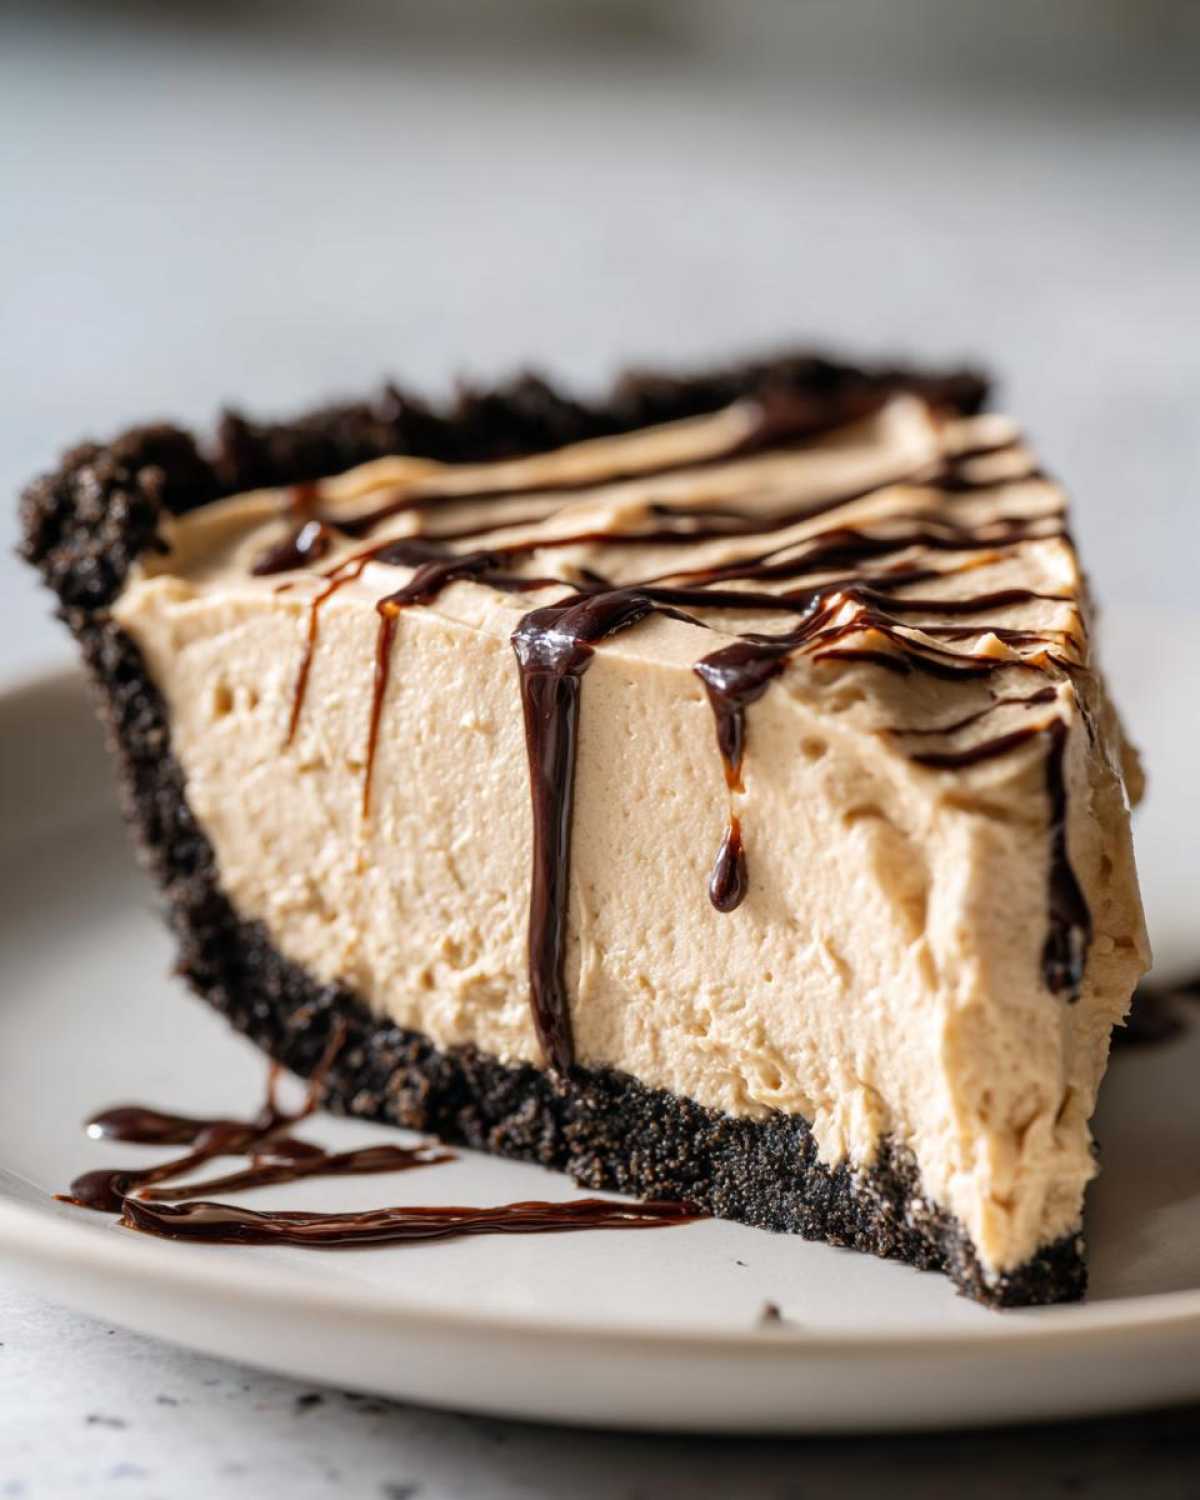
Chilling and Serving Your Indulgent Peanut Butter Dessert
The waiting game begins now, but trust me, it’s worth it. Cover the pie loosely with plastic wrap—don’t let the wrap touch the surface of the pie! You need a minimum of 4 hours in the refrigerator for this Indulgent Peanut Butter Dessert to set properly, but I always insist on chilling overnight if I can manage it. That extra time guarantees firmness. Right before serving, pull out your toppings—go ahead and drizzle that chocolate syrup or scatter those chopped mini cups over the top! Slice thin, because this is rich stuff!
Tips for Success with Your Peanut Butter Pie
Leo and I have made enough of these beauties to know exactly where things can go sideways if you rush them. Since this is a no-bake scenario, we don’t have the oven to correct mistakes later, so we have to get our prep work spot on! Listen to these two things, and your peanut butter pie will come out perfectly set and unbelievably smooth every single time. We learned these the hard way, believe me!
Ingredient Temperature Matters for Creamy Peanut Butter Pie
If you take one thing away from this whole post, let it be this: your cream cheese *must* be properly softened. I mean, leave it out for a good hour before you even think about starting step two. If that cream cheese is even slightly cold, when it hits the mixer with the peanut butter, you’ll end up with tiny, stubborn lumps that refuse to break up. We learned this when Leo tried to rush things before his choir practice! You want a silky-smooth base for your Creamy Peanut Butter Pie, and that starts with fully pliable cream cheese mixed with room temperature peanut butter.
Making a Make Ahead Dessert: Storage Guidance
This is heaven for holiday hosts! This pie is truly a fantastic Make Ahead Dessert. Because it sets up so well from the cream cheese and whipped topping, it holds its shape beautifully. You can wrap it tightly in plastic wrap (make sure the wrap doesn’t actually touch the surface, or it might stick) and keep it in the fridge for up to three days. Can you imagine? You can make this a day or two before Thanksgiving, and that takes a massive load off your plate. It’s one of my favorite Simple Thanksgiving Desserts because I can guarantee moist, rich dessert is ready waiting in the fridge while everyone else is busy!
If you want to see how we applied similar patience to our cookies, check out the tricks in my Chewy Chocolate Chip Cookies recipe post. For more inspiration on making a truly decadent pie like this, check out the lovely recipe details Mia shared over at Handle the Heat!
Equipment List for Making this Peanut Butter Dessert
You don’t need a professional bakery setup for this, thank goodness! Leo insists on simple tools, and I agree—less cleanup means more time for eating pie! Before you pull out the ingredients, just do a quick sweep of the kitchen to make sure you have these basics on hand. Even though this is an Easy Peanut Butter Pie Recipe sometimes having the right tools set aside prevents frantic searching mid-mix!
- A sturdy 9-inch pie plate. Glass or ceramic works great, but just make sure the pie fits snugly.
- One medium mixing bowl for the crust.
- One large mixing bowl for the filling, where all the creaming happens.
- An electric hand mixer or a stand mixer. You could technically use a strong wooden spoon, but your arm will thank you for the electric help when beating the cream cheese!
- Measuring cups and spoons, obviously. Be precise with the sugar measurements!
- A rubber spatula for gently folding in that whipped topping—this is essential for the airy texture.
- Plastic wrap for covering the pie during chilling.
Frequently Asked Questions About This Easy Peanut Butter Pie Recipe
We always get a few questions when readers try this recipe for the first time, which usually means they’re looking to customize or make it ahead of time! That’s the joy of sharing our recipes at the Tribune—we get to help troubleshoot. Leo is always ready to jump in with opinions, but here are the facts we’ve gathered from making this pie dozens of times.
Can I use crunchy peanut butter instead of creamy in this peanut butter pie?
Oh, absolutely! You can certainly use crunchy peanut butter if that’s what you prefer. Just know that it will change the magnificent Creamy Peanut Butter Pie texture we’re aiming for. Instead of that unbelievably smooth mouthfeel, you’ll get little pops of peanut texture throughout the filling. Leo doesn’t recommend it for his *perfect* **peanut butter pie**, but if you love the extra crunch, go for it! Everything else in the recipe stays the same.
How long does this No Bake Peanut Butter Pie last in the fridge?
This is a wonderful Make Ahead Dessert Recipe! Since we aren’t dealing with eggs that need baking, the filling sets up beautifully and stays fresh for quite a while. We recommend covering it loosely and keeping it in the refrigerator for up to three full days. It needs that cold time to stay firm, but it tastes just as good on day three as it does on night one. It’s fantastic for making sure one part of your dessert menu is handled early!
Is this recipe suitable for a large crowd or gathering?
Yes, yes, and a thousand times yes! This is why we call it our go-to Crowd Pleaser Dessert. It’s simple, everyone loves peanut butter, and it looks beautiful when sliced. You can easily double the recipe to fill a 10-inch tart pan or even use two pie plates if you’re hosting a huge gathering. Just be extra diligent about chilling time if you make a double batch—you might need an extra hour or so for that larger filling to set completely firm. For more ideas on managing big holiday meals, take a peek over at our post on gooey chocolate cinnamon rolls!
Estimated Nutritional Data for One Slice of Peanut Butter Pie
Now, I know some of you wonderful readers are keeping track of what you eat, and I always want to be transparent about what goes into our delicious creations here at the Tribune. Leo worries that listing numbers takes the magic out of it, but I figure it’s just good housekeeping! Below are the estimated nutritional contents for one slice of this amazing Peanut Butter Pie.
Please remember, these numbers are just our best guess! We calculate them based on standard, name-brand ingredients, but if you substitute a low-fat cream cheese or use a different type of cracker crumb in your Easy Peanut Butter Pie Recipe, those numbers will shift. Consider this a helpful baseline, not gospel truth!
- Serving Size: 1 slice
- Calories: 450
- Fat: 28g (with 10g of that being Saturated Fat)
- Carbohydrates: 45g
- Sugar: 35g
- Protein: 9g
- Sodium: 280mg
It’s definitely an indulgent treat, but what is life without a little bit of indulgence? We figure if you make something this good, you deserve every bite of that sweet and salty flavor!
Share Your Tasty Tribune Creations
Well, that’s our entire broadcast for this unbelievably easy, decadent peanut butter pie! Leo and I live for seeing what you all whip up in your own kitchens. When you post your tasty stories, please come back and leave us a rating—it helps other folks find this incredible treat. If you post photos of your slices (especially with that chocolate drizzle!), tag us! You can always reach out to us with questions or compliments over on the contact page. Happy baking, everyone!
PrintLeo’s Best No-Bake Creamy Peanut Butter Pie
You need this easy peanut butter pie recipe! It is a crowd pleaser dessert that comes together fast with a buttery graham cracker crust and a rich, creamy filling. This no bake peanut butter pie is perfect for any gathering.
- Prep Time: 20 min
- Cook Time: 0 min
- Total Time: 4 hr 20 min
- Yield: 8 servings
- Category: Dessert
- Method: No Bake
- Cuisine: American
- Diet: Vegetarian
Ingredients
- 1 1/2 cups graham cracker crumbs
- 1/3 cup granulated sugar
- 6 tablespoons unsalted butter, melted
- 1 (8 ounce) package cream cheese, softened
- 1 cup creamy peanut butter (use your favorite brand)
- 1 1/2 cups powdered sugar
- 1 teaspoon vanilla extract
- 1 (12 ounce) container frozen whipped topping, thawed (or homemade whipped cream)
- Optional Topping: Chocolate syrup or mini peanut butter cups
Instructions
- Prepare the crust: In a medium bowl, mix the graham cracker crumbs and 1/3 cup granulated sugar. Pour in the melted butter and stir until the crumbs are evenly moistened. Press the mixture firmly into the bottom and up the sides of a 9-inch pie plate. Place the crust in the freezer while you prepare the filling.
- Make the filling base: In a large bowl, use an electric mixer to beat the softened cream cheese until it is smooth. Add the peanut butter and beat until fully combined and creamy.
- Sweeten the filling: Gradually add the powdered sugar to the peanut butter mixture, beating on low speed until incorporated, then increase speed to medium and beat until smooth. Mix in the vanilla extract.
- Fold in the topping: Gently fold in the thawed whipped topping using a spatula until no streaks remain. Do not overmix; you want to keep the filling light and airy.
- Assemble the pie: Spoon the creamy peanut butter filling evenly into the chilled graham cracker crust. Smooth the top with the back of a spoon or an offset spatula.
- Chill the pie: Cover the pie loosely with plastic wrap and refrigerate for at least 4 hours, or until the filling is firm. For best results, chill overnight.
- Serve: Before serving, top your homemade peanut butter pie with a drizzle of chocolate syrup or chopped peanut butter cups. Slice and enjoy this indulgent peanut butter dessert!
Notes
- For an Oreo crust peanut butter pie, substitute 2 cups of finely crushed Oreo cookies (filling removed) for the graham cracker crumbs.
- If you prefer a sweeter, more classic old fashioned peanut butter pie flavor, you can substitute 1/2 cup of the powdered sugar with an equal amount of granulated sugar in the filling mixture.
- This recipe is a fantastic make ahead dessert; it holds up very well in the refrigerator for up to three days.
Nutrition
- Serving Size: 1 slice
- Calories: 450
- Sugar: 35g
- Sodium: 280mg
- Fat: 28g
- Saturated Fat: 10g
- Unsaturated Fat: 18g
- Trans Fat: 0g
- Carbohydrates: 45g
- Fiber: 2g
- Protein: 9g
- Cholesterol: 35mg