

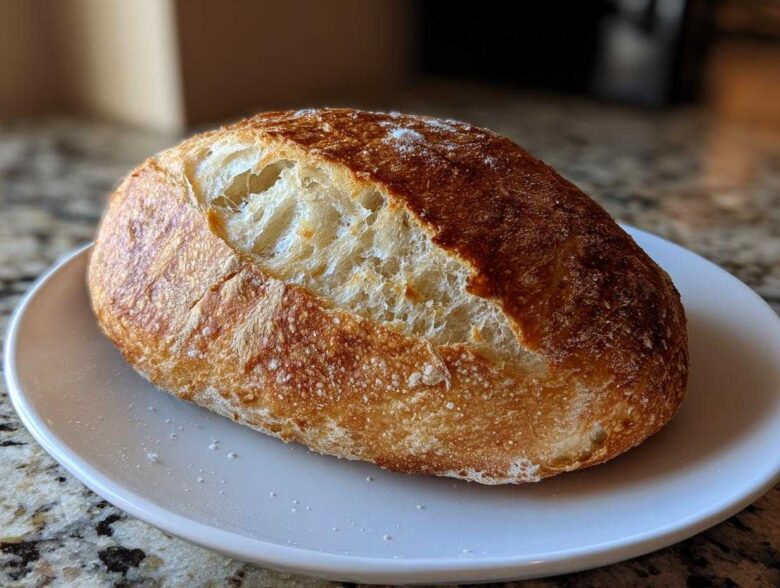
Oh, sweet mercy, there is nothing—and I mean *nothing*—that compares to the aroma of real, honest-to-goodness italian bread baking in your oven. When Leo and I first retired, the house was quiet, but since we started baking, it’s just glorious, yeasty chaos! I promised myself I wouldn’t let retirement be boring, and trust me, wrestling dough has kept things exciting. This recipe right here is the key to conquering the crust. We’re bypassing the fussy bakery stuff and getting that incredible golden crunch and soft center right here at home. No fancy tools, just simple ingredients and a little bit of Clara’s famous encouragement! If you want to know more about how we traded in quiet retirement for kitchen adventures, you can read about our story over at Our Second Act.
Why This Easy Crusty Homemade Italian Bread Recipe Works for You
I get it; baking bread can feel intimidating! But this recipe is my go-to when Leo wants a loaf ready for dipping sauce after a long day. We focus on what matters most: a rock-hard, golden crust and an interior that’s just chewy enough. This formula is reliable, which is why it’s perfect for Easy Crusty Bread Baking newbies. If you want true Soft Inside Crusty Outside Bread, the secret isn’t complicated; it’s just a few key steps executed correctly. If you loved the idea of our decorative bread bowls, you might also want to check out that Bakery Style Homemade Bread Bowls Recipe!
Achieving the Perfect Golden Brown Crust Bread
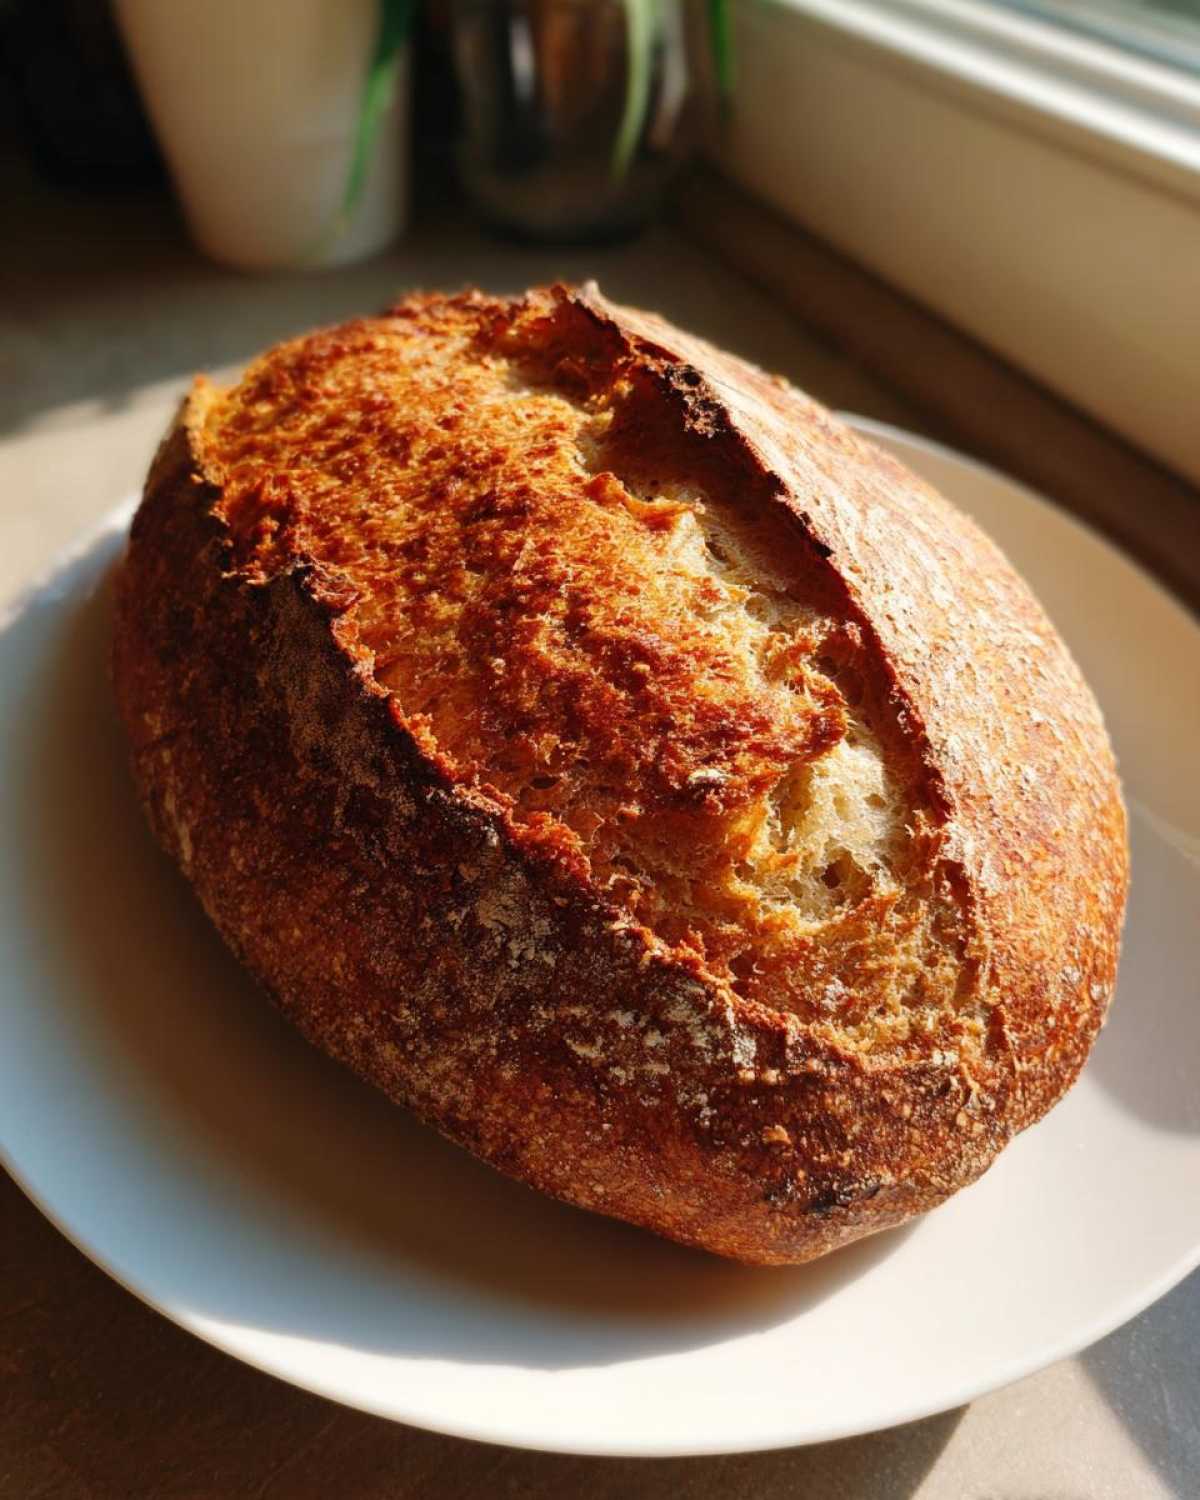
The crunch? That comes down to steam, dear reader! Leo insists on making a fuss, setting up that little pan on the bottom rack to sizzle with hot water right before the loaf goes in. That burst of humidity slows down crust formation just enough, letting the bread expand fully before hardening into that incredible crackle. It’s pure baking magic, honestly.
Beginner Bread Making Success
Don’t fret about the kneading—this isn’t some complicated artisan world where you need fancy proofing baskets. We use just standard flour, yeast, and water. Every step, from foaming the yeast to the simple shaping, results in a true Beginner Bread Making win. If you can mix ingredients and wait patiently, you’ve got this loaf covered!
Gathering Ingredients for Your Italian Bread
Before we get messy—and trust me, we always get messy here, Leo tends to spill the oil—let’s get our ducks in a row. True clarity comes from having everything measured and ready before the yeast starts bubbling! This recipe is wonderful because it relies on real pantry staples; no specialty flours needed for this loaf!
Here’s exactly what you’ll need to have ready on the counter for your crusty masterpiece. Write these down, or, like me, pull out the recipe card and get ready to mark off those checked boxes!
- 3 1/2 cups all-purpose flour
- 1 1/2 teaspoons salt
- 1 teaspoon granulated sugar
- 2 1/4 teaspoons active dry yeast (That’s exactly one full packet, a lovely shortcut!)
- 1 1/2 cups warm water (This temperature is crucial! Aim for about 105-115°F, just warm to the touch, not hot.)
- 2 tablespoons olive oil, plus more for oiling the bowl later
If your water is too cold, that yeast just sleeps; if it’s too hot, it dies on you! We want a nice, lively sleeping giant ready to wake up and give us that rise for our Homemade Italian Bread Recipe.
Step-by-Step Instructions for Bakery Style Italian Loaf
Alright, now for the fun part! This is where the magic happens, and where Leo usually manages to get flour everywhere. Pay close attention to these timing cues, as they’re what elevate this from just ‘bread’ to truly fantastic italian bread. We’re going step-by-step, just like the instructions say, so don’t rush past anything! Before we dive in, if you’re looking for something robust to go with this fresh loaf, check out my recipe for Easy Ground Beef Stovetop Chili—it’s perfect for dipping!
Activating Yeast and Mixing the Dough for Italian Bread
First things first: wake up that yeast! Mix your warm water, sugar, and yeast together in your big bowl. We need to see that foamy top—that fluffy layer confirms the yeast is alive and ready to work its wonders. If it looks like flat pond water after about ten minutes, toss it and try again with warmer water. Once it’s bubbly, stir in your flour and salt until it just comes together into a nice, messy lump we call shaggy dough. Don’t overmix yet; we need to save the hard work for the kneading!
Kneading and First Rise for Chewy Italian Loaf
This is where we build character into the dough! Turn that shaggy mass out onto your counter and drizzle on those two tablespoons of olive oil—it helps keep things from sticking to your hands, which is a blessing. Now, knead. You need to work it for a solid 8 to 10 minutes. I know, it feels long, but you’re aiming for smooth and elastic. When it feels soft and springs back gently when you poke it, you’ve got a perfect Chewy Italian Loaf structure started. Then, baby it! Lightly oil your bowl, pop the dough in, give it a flip to coat, cover it tight, and let it sit somewhere cozy for about an hour to an hour-and-a-half until it’s doubled. Patience, dear chef!
Shaping and Creating Steam for Perfect Italian Bread Baking
Once it’s doubled, give it a gentle punch—get rid of all that built-up air. Now, shape it! I find an oval loaf looks the most authentic for this recipe. Place it on parchment paper, cover it loosely again, and let it chill out for its final 30-minute rest. While it’s resting, crank that oven up to 400°F. Leo’s pro move, which I’ve adopted for truly great results, is preheating an empty shallow pan on the bottom rack. We need that intense heat for Perfect Italian Bread Baking! If you want tips on getting that bakery crust perfection, check out this great article on Crusty Italian Bread.
Scoring and Baking to Achieve Golden Brown Crust Bread
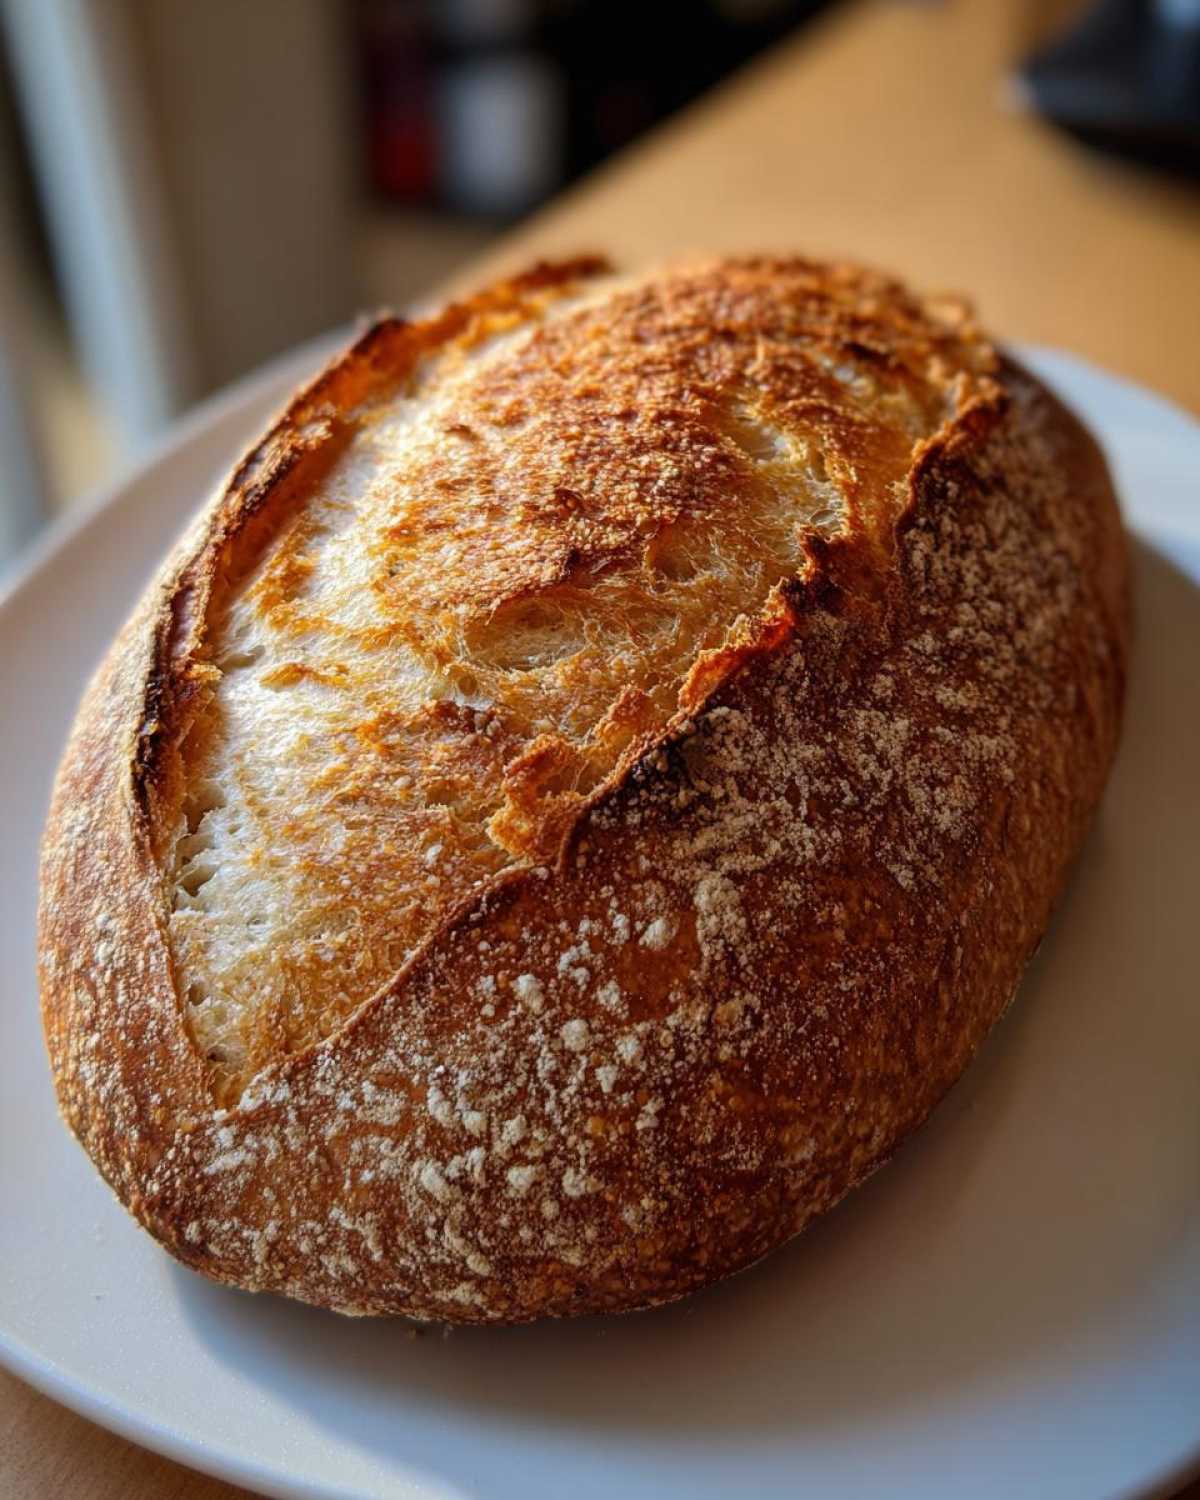
Right before it goes in, grab your sharpest knife—careful now! You need to slash the top about 3 or 4 times, deep enough to guide where the bread expands, otherwise, it might burst awkwardly! Now, for the steam: carefully pour about half a cup of hot water into that preheated pan on the bottom rack and quickly close the door. Bake it for 30 to 35 minutes. Keep an eye out for that deep, rich color—you want a Golden Brown Crust Bread that sounds absolutely hollow when you tap on it. That sound means success! Trust me, the aroma alone is worth the effort.
Expert Tips for Homemade Italian Bread Recipe Perfection
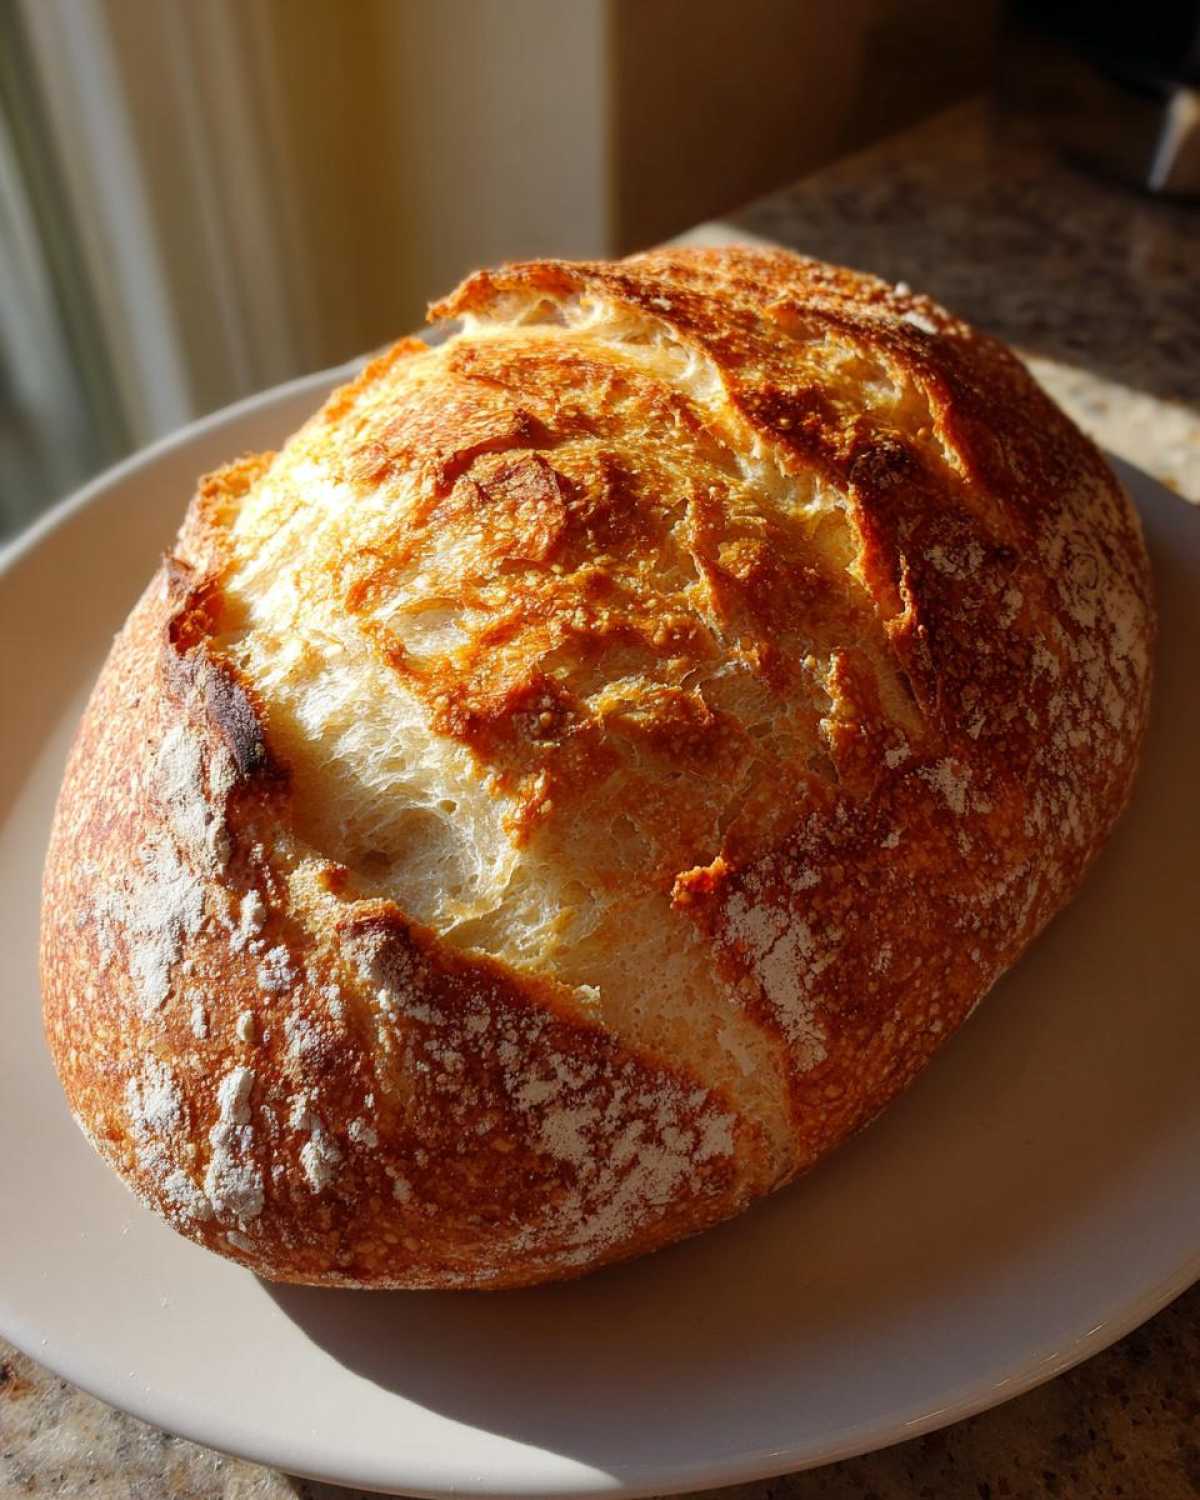
Leo and I have definitely learned a thing or two after making dozens of loaves of this Homemade Italian Bread Recipe. Baking is all about feeling the dough, but a few rules we stick to guarantee a fantastic result. You need that water temperature just right—if it’s not hitting that 105°F to 115°F mark, your yeast is likely lazy, and that ruins the whole rise! Here are our little secrets we’ve picked up over the years. For more of our kitchen happenings, check out the latest from the newsroom on our Tasty Tribune Blog!
Ingredient Notes and Substitutions
Remember how I mentioned steam earlier? That’s for the *maximum* crunch. If you’re in a hurry, or maybe you just prefer a slightly softer exterior for sandwiches, you can absolutely skip pouring water into that hot pan. The bread will still bake up beautifully!
Also, please don’t be tempted to swap out the yeast type without checking instructions first. This recipe expects active dry yeast, which needs that warm bath to wake up. If you use instant yeast, you can skip that foamy step, but frankly, watching it foam is half the fun! If you’re looking for other beginner tips, this recipe from Naya Baker for crusty bread is also very reliable.
Serving Suggestions for Your Fresh Baked Bread Aromas
Once that beautiful loaf is cooled just enough, the real adventure begins! The comforting smell of the Fresh Baked Bread Aromas means it’s ready for duty. This crusty Italian bread is the perfect canvas for dinner. We love using it for proper Dipping Bread Recipes—drizzle good olive oil, maybe some balsamic vinegar, and use a little of the seasoning blend from our Creamy Garlic White Pizza Ricotta Recipe.
Of course, it’s divine soaked in every drop of sauce left over from Leo’s spaghetti night. And honestly? Dipping thick slices into Leo’s famous Italian Penicillin Soup is my favorite part of winter. It’s just so satisfying!
Storing Your Crusty Italian Bread
Here’s the tricky part about having a perfect crust on your italian bread: that wonderful crunch doesn’t last forever once it hits room temperature! Right after it cools—and I mean cooled completely on the rack—keep it loosely wrapped in a clean tea towel or paper bag. Avoid plastic wrap initially, or you’ll steam the crust right off! If it gets a little soft the next day, don’t worry. Just splash a little water on the crust and pop it back in a 350°F oven for about five or six minutes. It wakes right up!
Frequently Asked Questions About This Italian Bread
My inbox gets filled with questions anytime I post about baking bread! It’s wonderful that so many of you are giving this a try. I’ve grouped the most common ones below, hoping to save you a little time so you can get back to kneading. Don’t forget, if you need a reliable refresher on how to make these loaves, our whole process is covered in the main text for a fantastic Quick Italian Bread Tutorial.
Can I use instant yeast instead of active dry yeast in this italian bread recipe?
Oh yes, you absolutely can substitute! Instant yeast is very forgiving. If you use instant yeast, you can skip Step 1 entirely—no need to proof it in water first! Just mix the instant yeast right in with your dry ingredients (the flour and salt). Then, when you add the water, make sure that water is still warm enough, and proceed directly to mixing. It saves about ten minutes, but honestly, watching the active dry yeast foam up is half the fun! If you’re looking for other beginner tips, this recipe from Naya Baker for crusty bread is also very reliable.
How long does it take to make this Simple Sandwich Bread?
That’s a great question for those of you juggling schedules! The active time is pretty low, thankfully—only about 20 minutes of prep time plus 8-10 minutes of kneading. However, remember, baking is a waiting game, especially with good bread. The total time, including both rising periods, clocks in around 2 hours and 25 minutes. If you were looking to create more of an Artisan Bread at Home experience that takes days, this isn’t it! This loaf is designed to give you maximum flavor with minimal fuss in under three hours total.
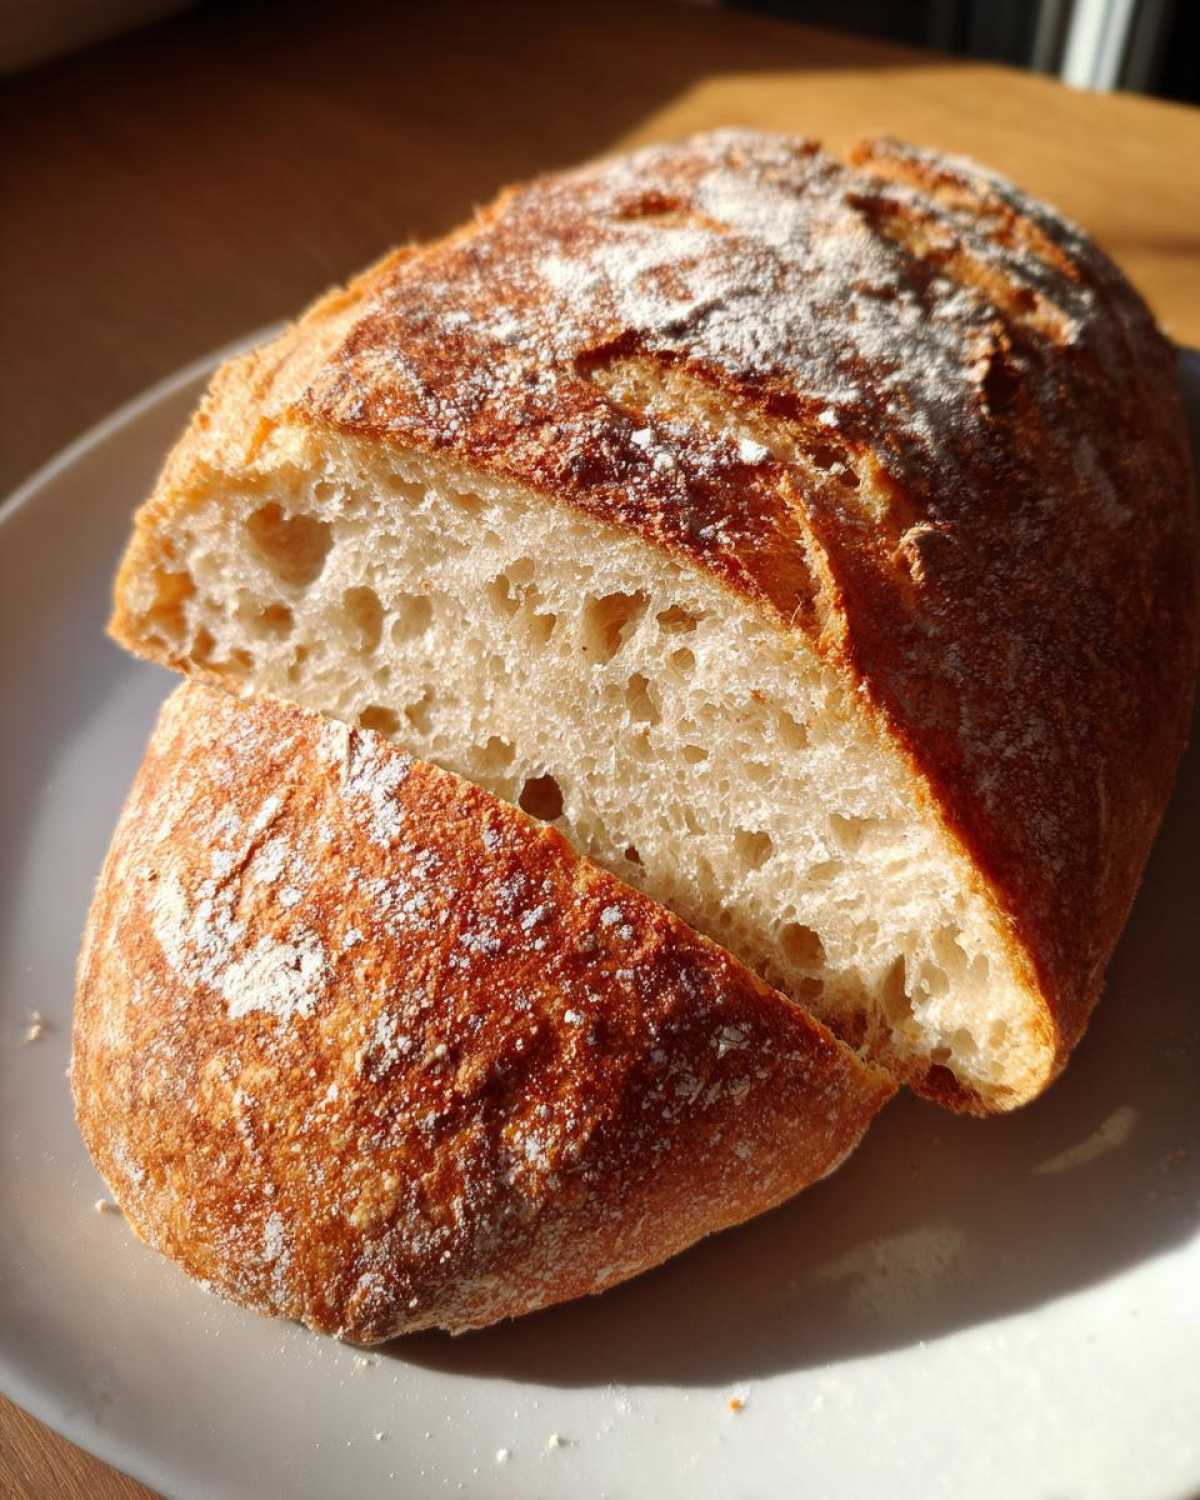
If you want a deeper dive into the results you can expect, some absolute pros have shared how theirs turned out over here: Perfect Italian Bread Recipe. As always, if you have other questions about making this wonderful loaf, feel free to check out my recipe notes on Classic Buttermilk Scones Recipe for other baking tips!
Estimated Nutritional Data for Italian Bread
Now, I’m no registered dietitian—I’m a librarian turned enthusiastic baker! So please take these numbers with a gentle grain of salt. This data is estimated based on the ingredients we used in our specific batch size. If you start adding extra cheese or drenching it in butter (which Leo tries to do!), things will change!
This chart gives you a rough idea of what’s in one slice of this fabulous crusty loaf, according to our calculations. We’re happy to report that it’s wonderfully low in sugar, which is nice when you’re eating half the loaf in one sitting!
- Serving Size: 1 slice
- Calories: 180
- Sugar: 0.5g
- Sodium: 300mg
- Fat: 2.5g
- Saturated Fat: 0.4g
- Unsaturated Fat: 2.1g
- Trans Fat: 0.0g
- Carbohydrates: 34g
- Fiber: 1.5g
- Protein: 5g
- Cholesterol: 0mg
If you’re ever worried about what’s in our recipes, you can always read up on our transparency standards over at the Tasty Tribune Privacy Policy page. Happy baking, and don’t forget to check how we use our data!
Share Your Crusty Loaf Creations
Now for the big finish! I just can’t wait to hear how this loaf turned out for you. Leo and I put our hearts into making sure this italian bread is foolproof, but the best part of sharing recipes is seeing your unique results. Did you manage to get that deep, dark golden crust? Did your family devour it while it was still warm?
Please, if you loved this recipe (and I bet you will!), please take a moment to leave us a rating—five stars would make our retirement newsroom shine! And if you managed to snap a picture of your stunning loaf for dipping purposes, we’d adore seeing it. You can send your beautiful photos or just tell us about your experience in the comments section below, or even reach out directly through our Contact Page. We read everything!
If you’re having a fantastic time and want to check in on others who made this batch, you can see how the community faired with their loaves over at Recipe Special. Go on now, get mixing, and don’t be shy about sharing your success with us!
PrintEasy Crusty Homemade Italian Bread: Bakery Style at Home
You can bake perfect, bakery-style Italian bread with a golden, crunchy crust and a soft, chewy interior using this simple recipe. This recipe is great for beginners and uses basic pantry ingredients.
- Prep Time: 20 min
- Cook Time: 35 min
- Total Time: 2 hours 25 min
- Yield: 1 large loaf
- Category: Bread
- Method: Baking
- Cuisine: Italian
- Diet: Vegetarian
Ingredients
- 3 1/2 cups all-purpose flour
- 1 1/2 teaspoons salt
- 1 teaspoon granulated sugar
- 2 1/4 teaspoons active dry yeast (1 packet)
- 1 1/2 cups warm water (about 105-115°F)
- 2 tablespoons olive oil, plus more for the bowl
Instructions
- In a large bowl, mix the warm water, sugar, and yeast. Let this stand for 5 to 10 minutes until it becomes foamy. This shows your yeast is active.
- Add the flour and salt to the yeast mixture. Mix with a wooden spoon until a shaggy dough forms.
- Turn the dough out onto a lightly floured surface. Add the 2 tablespoons of olive oil. Knead the dough for about 8 to 10 minutes until it becomes smooth and elastic. You are looking for a soft, chewy texture.
- Lightly oil a large bowl with more olive oil. Place the dough in the bowl and turn it over to coat. Cover the bowl with plastic wrap or a clean kitchen towel. Let the dough rise in a warm place for 1 to 1.5 hours, or until it has doubled in size.
- Gently punch down the risen dough. Shape it into a long, oval loaf. Place the loaf on a baking sheet lined with parchment paper or on a pizza stone.
- Cover the loaf loosely and let it rest for a second rise for about 30 minutes. While it rests, preheat your oven to 400°F (200°C). For extra crust, place a shallow pan on the bottom rack while preheating to create steam later.
- Before baking, use a sharp knife or razor blade to slash the top of the loaf 3 or 4 times, about 1/2 inch deep. This allows the bread to expand properly.
- Carefully pour about 1/2 cup of hot water into the preheated shallow pan on the bottom rack to create steam. Immediately place the bread in the oven.
- Bake for 30 to 35 minutes, or until the crust is deep golden brown and sounds hollow when tapped.
- Remove the loaf from the oven and transfer it to a wire rack to cool completely before slicing. Enjoy your homemade Italian bread!
Notes
- For an extra crispy crust, brush the loaf lightly with water halfway through the baking time.
- If you want a softer crust, skip adding water to the bottom pan for steam.
- This bread is perfect for dipping in olive oil or serving alongside pasta dishes.
Nutrition
- Serving Size: 1 slice
- Calories: 180
- Sugar: 0.5
- Sodium: 300
- Fat: 2.5
- Saturated Fat: 0.4
- Unsaturated Fat: 2.1
- Trans Fat: 0.0
- Carbohydrates: 34
- Fiber: 1.5
- Protein: 5
- Cholesterol: 0