

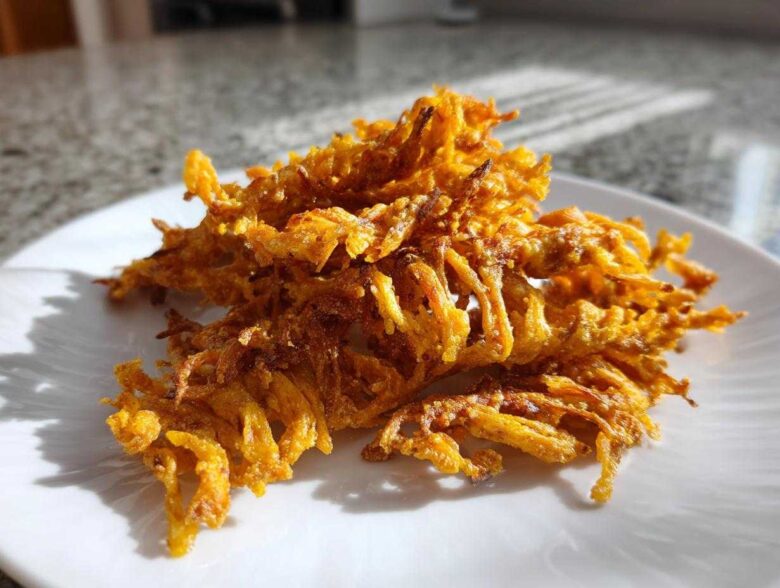
Oh my gosh, if you are hosting anything—literally *anything*—you need these golden, savory bites on your table. Forget those sad, stale crackers! I’m talking about the real deal, the kind that shatter perfectly when you bite into them. These aren’t just *any* snack; this is my go-to cheese straws recipe that always vanishes first at every single gathering I host. Trust me, making these irresistible, homemade cheese straws from scratch using sharp cheddar is worth the tiny bit of effort. They smell incredible while they bake, filling your house with that perfect cheesy aroma. We’re making the classic Southern version today; it sets the bar high, but I promise, it’s totally achievable! For the best guidance on this authentic flavor, check out my notes on the classic Southern cheddar cheese straws here.
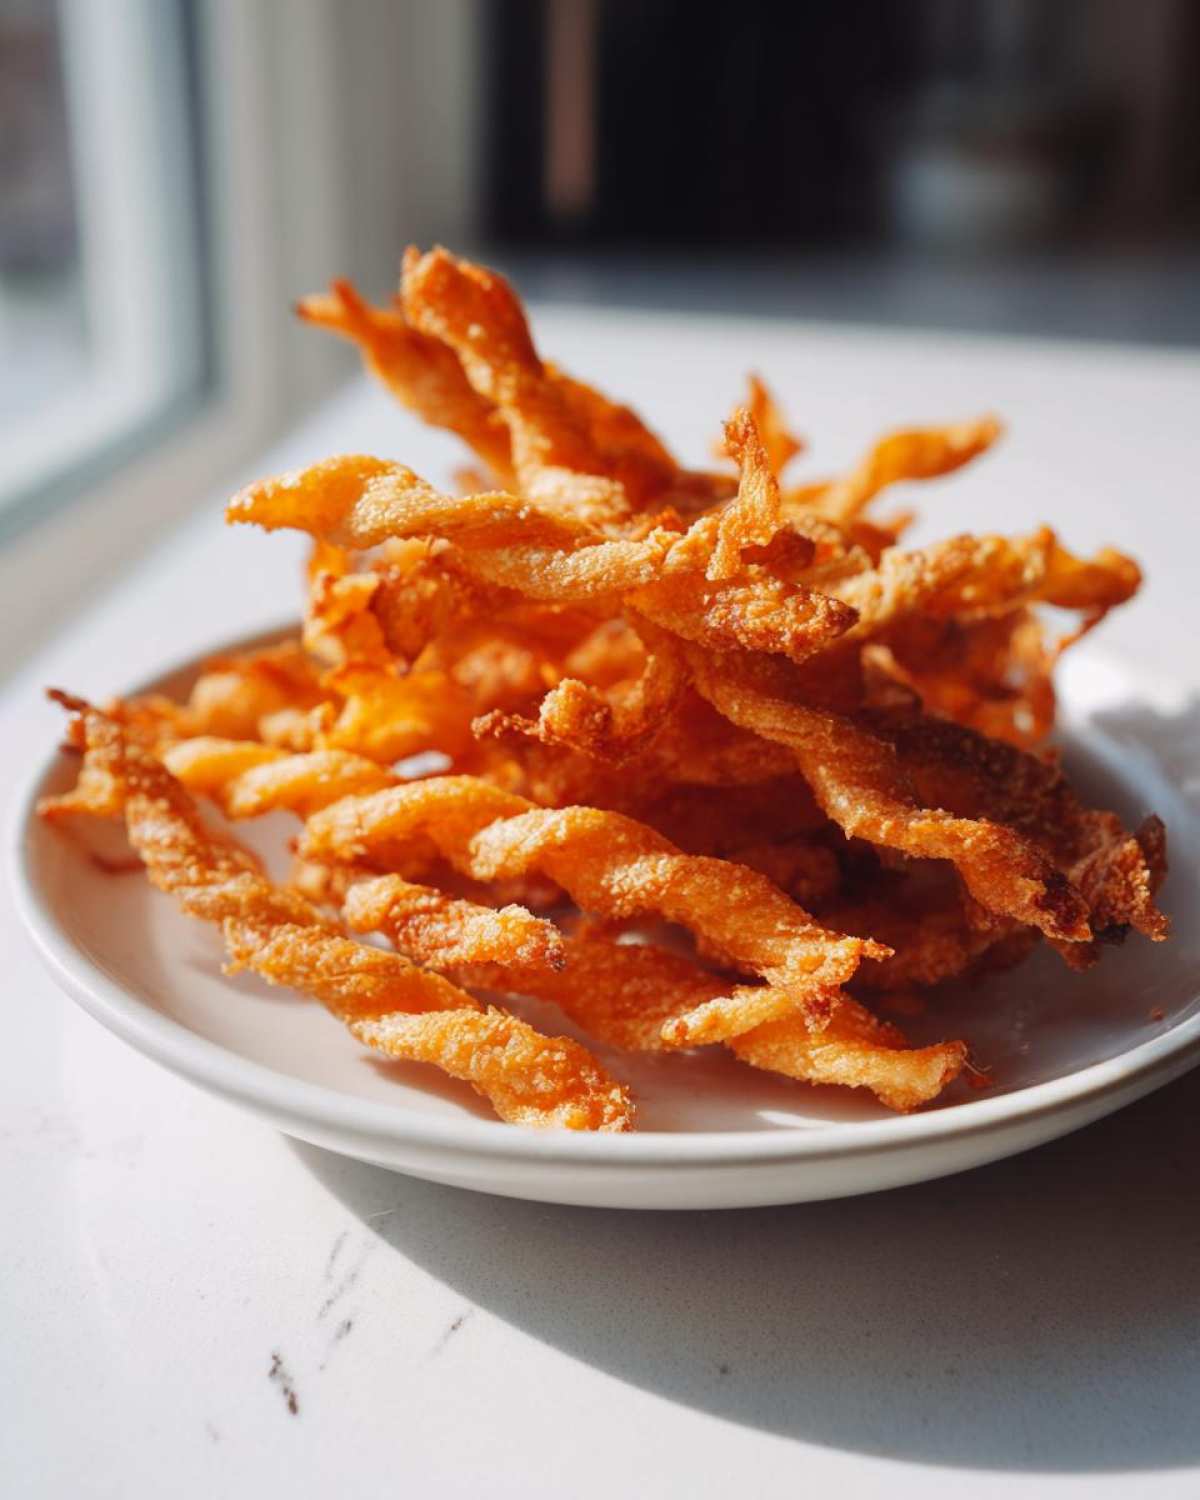
Why You Will Love This Classic Cheese Straws Recipe
Honestly, once you try making these at home, you’ll never go back to store-bought. It’s my secret weapon for impressing guests without spending hours in the kitchen. See why this recipe keeps showing up on my rotation for appetizers for entertaining:
- Unbeatable Crispness: We use cold butter and the right dough handling to ensure every single straw shatters beautifully. They stay perfectly crunchy, too!
- Incredibly Easy Dough: This dough comes together fast—no yeast needed, minimal mixing required. It’s more straightforward than pie crust, I promise.
- Maximum Cheese Flavor: Sharp cheddar is non-negotiable here. It melts into the dough, providing that intense, slightly tangy flavor every bite needs.
- Perfect Party Appetizers: They look fancy when you arrange them, but they’re really just simple finger foods for parties that disappear instantly.
- Make-Ahead Friendly: You can chill the dough for a day or two, or bake them ahead of time for stress-free entertaining.
Gathering Ingredients for Your Cheddar Cheese Straws Recipe
Okay, let’s talk what you need, because the quality of your ingredients makes or breaks these cheddar cheese straws recipe results. Since this is traditionally a pastry dough, we need everything cold, cold, cold! That icy butter is what creates those lovely little layers that make them snap instead of bend. Don’t try to skimp on the cheese, either; sharp cheddar is key for that recognizable savory punch. I often look at other recipes online, like those marinated cheese cubes, but for straws, sharpness truly matters. You want that flavor to shine through the butter!
Here’s the full shopping list for about three dozen perfect, easy cheese straws:
- 1 1/2 cups all-purpose flour
- 1/2 teaspoon salt
- 1/4 teaspoon cayenne pepper (This is just a tiny kick—perfect!)
- 1/2 cup (1 stick) cold unsalted butter, cut into small pieces
- 6 ounces sharp cheddar cheese, grated (Please grate it yourself!)
- 3 tablespoons ice water
- 1 large egg, beaten (This is just for brushing the tops)
Step-by-Step Guide to Making Perfect Homemade Cheese Straws
This is where the magic truly happens! I’m going to walk you through exactly how to handle this dough because the fear of making them tough is what stops most people from trying this amazing cheese straws recipe. Remember, gentle hands make for the best savory snacks. When we mix, we’re aiming for texture, not just a uniform bowl of ingredients. And don’t skip the chill time! That rest period firms up the butter so you get that desirable snap when they bake.
Grab your savory snacks ingredients and let’s get started!
Mixing the Dough for Your Cheese Straws Recipe
First things first: in a big bowl, whisk together your flour, salt, and that tiny bit of cayenne. Now, grab your cold butter pieces and cut them into the flour mixture. You need to work quickly here—use a pastry blender or just your fingertips until it looks like rough cornmeal or coarse crumbs. Don’t overwork it! That’s rule number one. Next, toss in all that grated sharp cheddar and stir it gently to coat the cheese in flour. Finally, add the ice water, just a tablespoon at a time, mixing until the dough starts clinging together. It should look shaggy, definitely not smooth! Form it into a disk, wrap it tight, and tell it to chill out in the fridge for at least 30 minutes. That minimum chill time is non-negotiable for great texture.
Rolling and Cutting the Crispy Cheese Straws Recipe
Time to preheat that oven to 400 degrees Fahrenheit! Line your baking sheets with parchment paper; trust me, you want that easy clean-up. Take your dough out and roll it thin—aiming for about 1/8-inch thickness. If it starts getting soft while you work, pop it back in the fridge for five minutes. Once rolled, use a pizza cutter or a knife to cut long, thin strips, maybe half an inch wide and five to six inches long. Lay them out on your prepared sheets, giving them a little breathing room so they bake evenly. Then, grab your beaten egg and brush the tops very lightly. This egg wash gives them that gorgeous golden sheen.
Baking Time and Cooling for the Best Cheese Straws Recipe
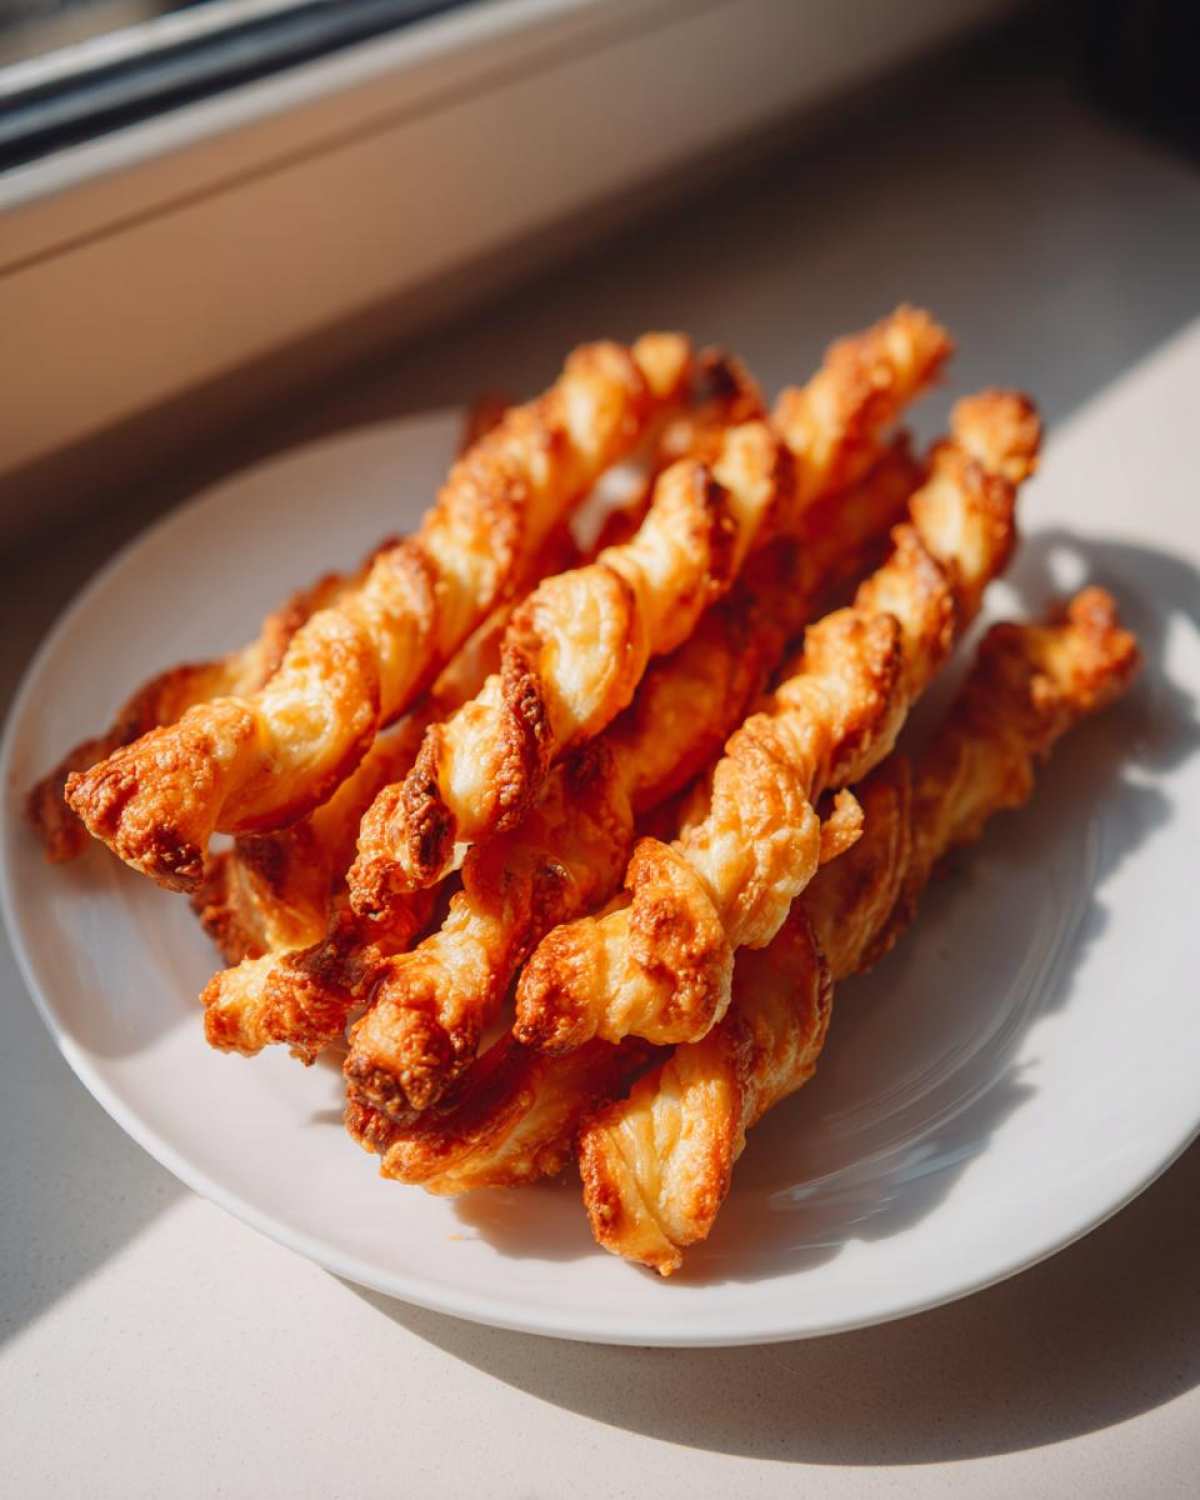
Into the hot oven they go! Bake these amazing treats for 10 to 14 minutes. Keep an eye on them after the ten-minute mark because they go from golden to brown pretty fast. You are looking for a deep golden color all over. Once they look done, pull them out immediately. The final, most critical step for truly crispy cheese straws is cooling. Transfer them right away to a wire rack to cool completely. If you leave them on the pan, they’ll steam and soften up—we don’t want soggy bottoms in this house!
Tips for Success with This Cheese Straws Recipe
Look, anyone can mix flour and cheese, but getting that satisfying *snap*? That takes a little know-how. Since these are delicate, that butter needs to stay cold every second it can! If your kitchen is warm or you have slow hands, just stop every few minutes and put the dough or the rolled strips back in the fridge. Seriously, a five-minute chill break keeps everything solid.
The single biggest pointer I can give you to guarantee these are crispy cheese straws and not bendy sticks revolves around the cheese. You absolutely must use sharp cheddar here. Mild or medium cheese just won’t cut it; they don’t have the density or the flavor punch we need to stand up against the dough. Also, buy the block and grate it yourself! Pre-shredded cheese has starches tossed on it to keep it from clumping in its bag, and that stuff messes with the dough structure we worked so hard to create.
When rolling, remember that thinner yields crispier! Don’t be shy about rolling the dough out to 1/8 inch. If you go thicker than that, you end up with something closer to a savory shortbread, which is lovely, but it’s not the classic snap we’re angling for here. Check out my notes on savory shortbread techniques if you decide to purposely go thick, but for straws, thin is the magic word! Roll it thin, cut them into tight strips, and bake until they are deeply golden. That color equals crunch!
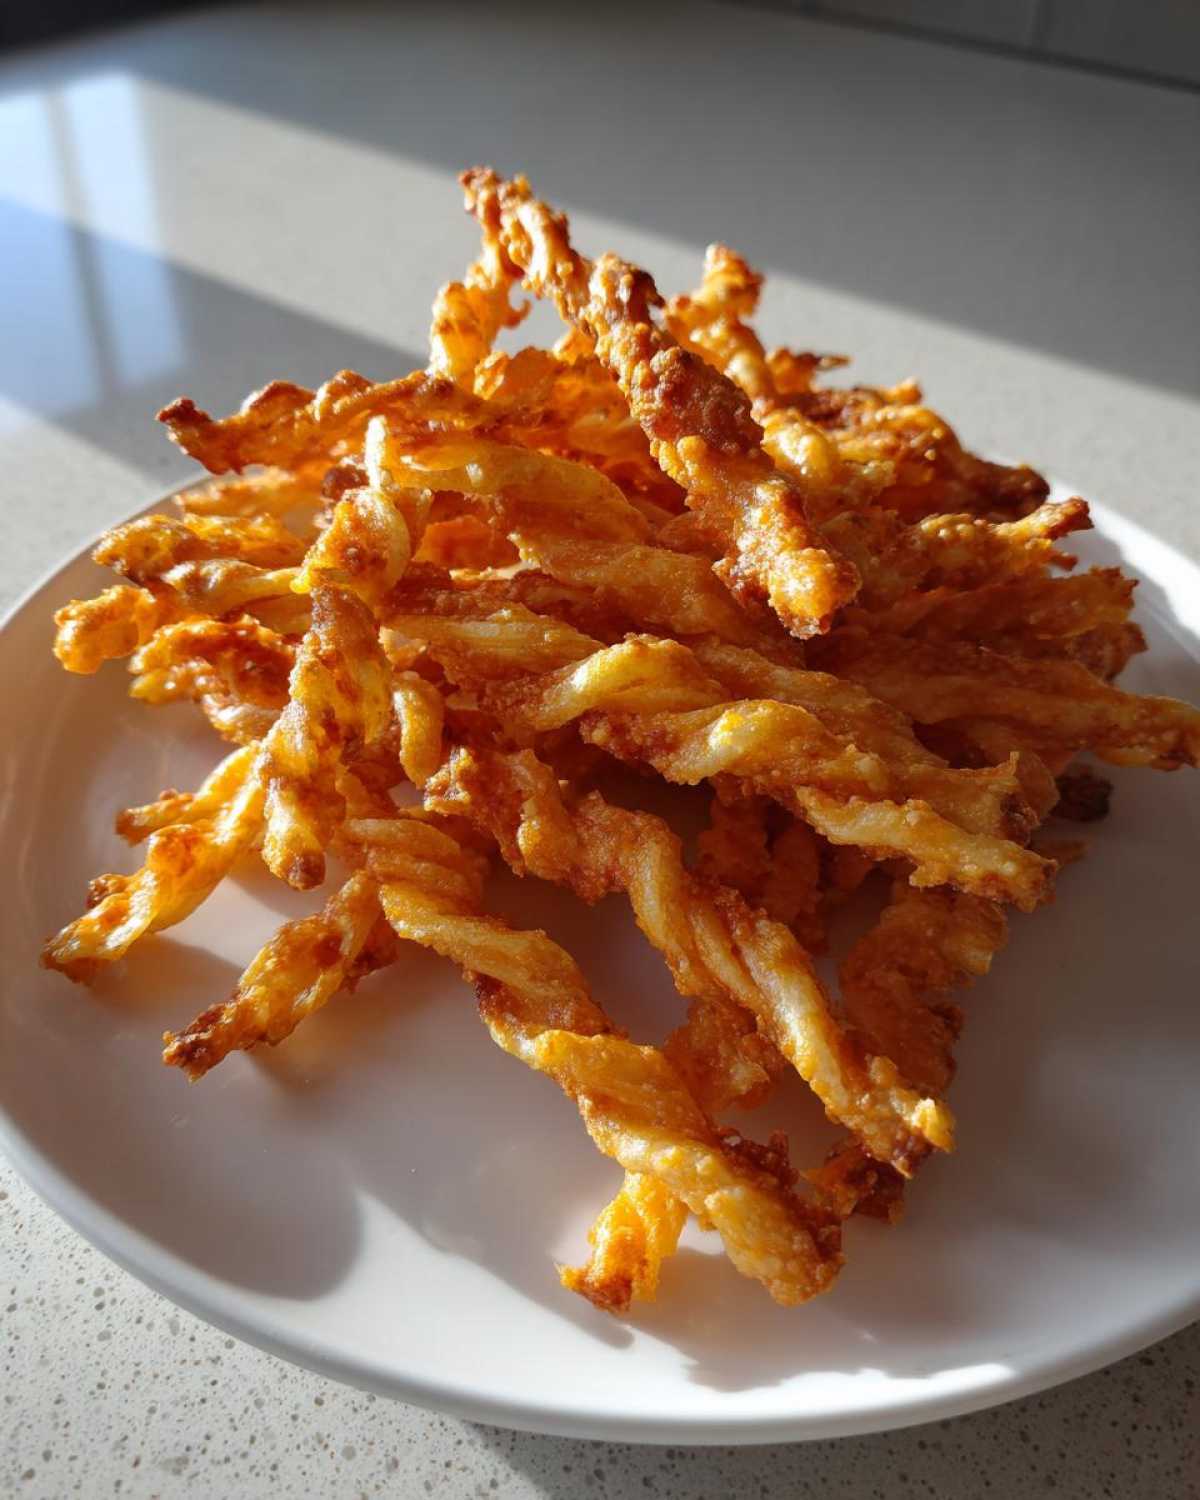
Ingredient Notes and Simple Substitutions for Your Cheese Straws Recipe
Now that you’ve seen the basic list, let’s talk about mixing things up a little bit without ruining the delicate balance of this baking science experiment. Grandma always said that while the core recipe was sacred, a good cook knows how to tweak things based on what’s in the pantry or what feeling they want to convey. These little changes can turn your standard cheddar cheese straws recipe into something totally unique!
The flavor of the cheese is what carries this snack, so if you want to lean into complex, earthy flavors, you might want to try incorporating herbs directly into the dough. You could try adding a teaspoon of finely chopped fresh rosemary when you mix the flour. The scent alone when that bakes up is just heavenly, creating those fantastic rosemary parmesan straws every time. It’s subtle, but it elevates the whole thing.
What about texture? If you are looking for that absolute flakiest texture possible—maybe even better than what you get with just butter—you can make one small substitution. I sometimes swap out half of the butter for solid shortening. Now, before you gasp, shortening doesn’t add any flavor, obviously, but it has a higher melting point than butter. What this means for you is that the fat stays solid longer while baking, preventing too much gluten development, which results in those super tender, flaky layers rather than just a dense, buttery crunch. It really changes how they break apart!

Remember, these adjustments are just little pointers to inspire your next batch, but the original recipe is absolutely fantastic as written if you want that classic, pure cheddar taste.
Serving Suggestions for These Savory Snacks
So you’ve got a glorious mountain of golden, crispy straws cooling on the rack—great job! Now what? These are amazing all on their own, of course, especially while watching the big game, but they really shine when paired up. Since these are such intense party appetizers, I usually keep the dips a bit milder so the cheese flavor stays front and center. A cool, tangy ranch is always a winner, or if you want something with a little kick, try my favorite jalapeño popper dip. Can you imagine dipping that warm, spicy creaminess onto a cold, sharp cheddar straw? Heaven! They also look fantastic simply clustered around a bowl of good olives or some creamy goat cheese. It’s all about presentation!
Storage and Make Ahead Tips for Your Cheese Straws Recipe
One of the best parts about whipping up a big batch of these savory beauties is that you don’t have to serve them all at once! Seriously, these are fantastic make ahead appetizers. If you’re planning a big holiday spread or just want a quick snack ready for the week, you’re in luck.
When it comes to storing the baked straws, airtight containers are your only friend here. Keep them at room temperature—no need to mess with the fridge! If you store them properly, they maintain that wonderful crispness for almost a full week. I keep a container hidden away in the pantry, and they are perfect for last-minute munchies.
What if you want to get ahead of the game even more? You can absolutely make the dough ahead of time! After you mix up that perfect shaggy dough and form it into a disk, wrap it tightly in plastic wrap and stick it in the fridge. It holds up beautifully for about 24 to 48 hours. When you’re ready to bake the texture we associate with southern cheese straws, just let it sit on the counter for five or ten minutes until it’s slightly pliable—not soft, just less rock-hard—then proceed with rolling and cutting. This saves you the initial mixing time right before guests arrive, which is totally worth it! If you are looking for other great recipes that save you time, you should check out my list of make ahead appetizers for inspiration.
If you happen to bake too many and they start to taste a little less snappy after a few days, you can sometimes revive them! Pop them back on a baking sheet in a 300-degree oven for just 3 to 5 minutes. That blasts off any residual moisture they’ve absorbed. Let them cool again completely on the rack, and they should be almost as good as new.
Frequently Asked Questions About the Cheese Straws Recipe
I get so many messages about people’s cheese straws turning out flat or soft, so I gathered up the most common questions I hear. Don’t stress if your first batch isn’t magazine-perfect; baking is all about learning the feel of the dough! If you want a super straightforward path to golden goodness, start here for tips on making easy cheese straws.
Why aren’t my cheese straws crispy?
This is the number one issue, and it almost always comes down to two culprits: either the dough was handled too much, making it tough, or the butter wasn’t cold enough when you cut it in. Warm butter creates pastry that melts too fast rather than creating those airy, flaky pockets. Also, make absolutely sure you let them cool completely on a wire rack after baking! If they aren’t fully cool, they’ll feel soft when you store them. The secret to maximum crunch in these cheddar cheese straws recipe results is that cooling stage.
Can I use pre-shredded cheese for this cheese straws recipe?
Oh, honey, please don’t! I preach this all the time. Pre-shredded cheese is coated in starch (like potato starch or cellulose) to keep the shreds separated in the bag. That starch works against our dough structure. Our great cheese straws recipe thrives on pure, grated cheese melted directly into the butter and flour mix. If you use the bagged stuff, your straws will likely be a little duller in flavor and potentially puffier rather than flaky. Block sharp cheddar, grated fresh—that’s the way to guarantee amazing homemade cheese straws!
Can I swap the cayenne pepper for something else?
You certainly can! The cayenne adds just the tiniest background warmth that cuts through the richness of the cheddar, but it’s totally optional if you’re sensitive to heat. If you want a deeper spice, try swapping that tiny bit of cayenne for a pinch of smoked paprika for a smoky twist. Or, if you want to lean into the herb territory, skip the pepper and just add a half teaspoon of dried thyme to your dry mix. These little tweaks make them entirely your own without changing the core dough structure for these fantastic savory snacks.
How far in advance can I make the dough?
You can prep the dough up to two days ahead! After mixing, chilling, and forming that disk, wrap it very securely in plastic and pop it in the fridge. Because this dough is rich with fat, it keeps beautifully. When you’re ready to bake the texture we associate with southern cheese straws, just let it warm up on the counter for about 10 to 15 minutes until you can roll it without it cracking excessively. This is such a lifesaver when preparing for big holiday baking recipes!
Can I freeze the cut straws before baking?
Yes, this is the best trick for making great party appetizers! Once you cut your strips, arrange them on a baking sheet, making sure they aren’t touching. Stick that whole sheet into the freezer until the straws are completely solid—usually about an hour. Then, you can transfer those frozen straws into a heavy-duty zipped bag or container. When you need them, preheat your oven to 400°F (the same instructions!) and bake them straight from the freezer! You might need an extra minute or two sometimes, but they will bake up perfectly like puff pastry appetizers do.
Estimated Nutritional Data for This Cheesy Breadsticks Recipe
Now, I always say you shouldn’t obsess over numbers when you are eating something this delicious, because these buttery beauties are meant to be enjoyed at parties and holidays! But for those of you who like to keep track, I’ve pulled together the nutritional estimates based on the recipe for our classic cheesy breadsticks. Keep in mind that this information is just an estimate based on the ingredients listed, especially that lovely sharp cheddar, so results can vary slightly depending on the exact brand of butter or cheese you use.
This data breaks down what you’re getting if you enjoy about three of these crunchy straws:
- Serving Size: 3 straws
- Calories: 110
- Fat: 7g (4g Saturated Fat)
- Carbohydrates: 8g
- Protein: 4g
- Sodium: 150mg
- Sugar: Just 0.2g—that’s right, almost none!
See? Pretty reasonable for a fantastic, savory snack! If you’re looking for other easy-to-track appetizers, check out my notes on making cheesy breadsticks for simple counts.
PrintClassic Cheddar Cheese Straws
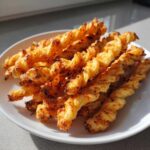
Make crispy, savory cheese straws using sharp cheddar cheese and simple pastry dough. These are excellent party appetizers.
- Prep Time: 20 min
- Cook Time: 14 min
- Total Time: 54 min
- Yield: About 3 dozen
- Category: Appetizer
- Method: Baking
- Cuisine: American
- Diet: Vegetarian
Ingredients
- 1 1/2 cups all-purpose flour
- 1/2 teaspoon salt
- 1/4 teaspoon cayenne pepper
- 1/2 cup (1 stick) cold unsalted butter, cut into small pieces
- 6 ounces sharp cheddar cheese, grated
- 3 tablespoons ice water
- 1 large egg, beaten (for egg wash)
Instructions
- In a large bowl, whisk together the flour, salt, and cayenne pepper.
- Cut in the cold butter using a pastry blender or your fingers until the mixture resembles coarse crumbs.
- Stir in the grated cheddar cheese until evenly distributed.
- Add the ice water one tablespoon at a time, mixing until the dough just comes together. Do not overmix.
- Form the dough into a disk, wrap it in plastic wrap, and chill it in the refrigerator for at least 30 minutes.
- Preheat your oven to 400 degrees Fahrenheit (200 degrees Celsius). Line two baking sheets with parchment paper.
- On a lightly floured surface, roll the chilled dough out to about 1/8-inch thickness.
- Cut the dough into long, thin strips, about 1/2 inch wide and 5 to 6 inches long.
- Place the strips on the prepared baking sheets, leaving a small space between them.
- Brush the tops of the straws lightly with the beaten egg wash.
- Bake for 10 to 14 minutes, or until the straws are golden brown and crisp.
- Transfer the cheese straws to a wire rack to cool completely before serving.
Notes
- For extra flavor, add 1 teaspoon of finely chopped fresh rosemary to the dry ingredients.
- If you prefer a flakier texture, substitute half of the butter with shortening.
- These straws store well in an airtight container at room temperature for up to one week.
Nutrition
- Serving Size: 3 straws
- Calories: 110
- Sugar: 0.2
- Sodium: 150
- Fat: 7
- Saturated Fat: 4
- Unsaturated Fat: 3
- Trans Fat: 0.2
- Carbohydrates: 8
- Fiber: 0.4
- Protein: 4
- Cholesterol: 18