

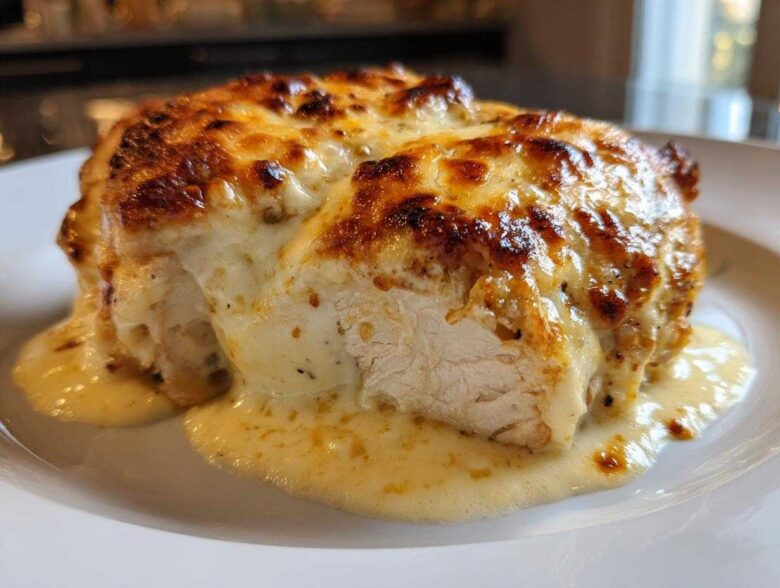
Oh, the weeknight dinner dread! I know you feel it—that 5 PM panic when you realize you have zero energy but still need to feed the troops something that tastes like actual effort went into it. Leo and I spent decades living quietly, but now retired, our kitchen is definitely not quiet anymore! We fill it with noise because we’re finally having fun creating things, like this amazing caesar chicken. Seriously, this creamy, cheesy, baked chicken is the answer to every busy evening. Finding recipes that deliver huge flavor without needing three hours of prep is honestly one of the greatest joys of our new life. If you want to know more about how we traded silence for spice, you can always check out our story over at the About Us page!
Why This Baked caesar chicken Recipe is Your New Weeknight Hero
If you are looking for that perfect dish that screams comfort food but demands next to no effort—stop scrolling! This caesar chicken is it. We know you’re busy, so we made sure this bake checks all the boxes: big flavor, minimal cleanup, and guaranteed deliciousness. It’s everything you want in an easy weeknight chicken dinner rolled into one glorious cheesy bite.
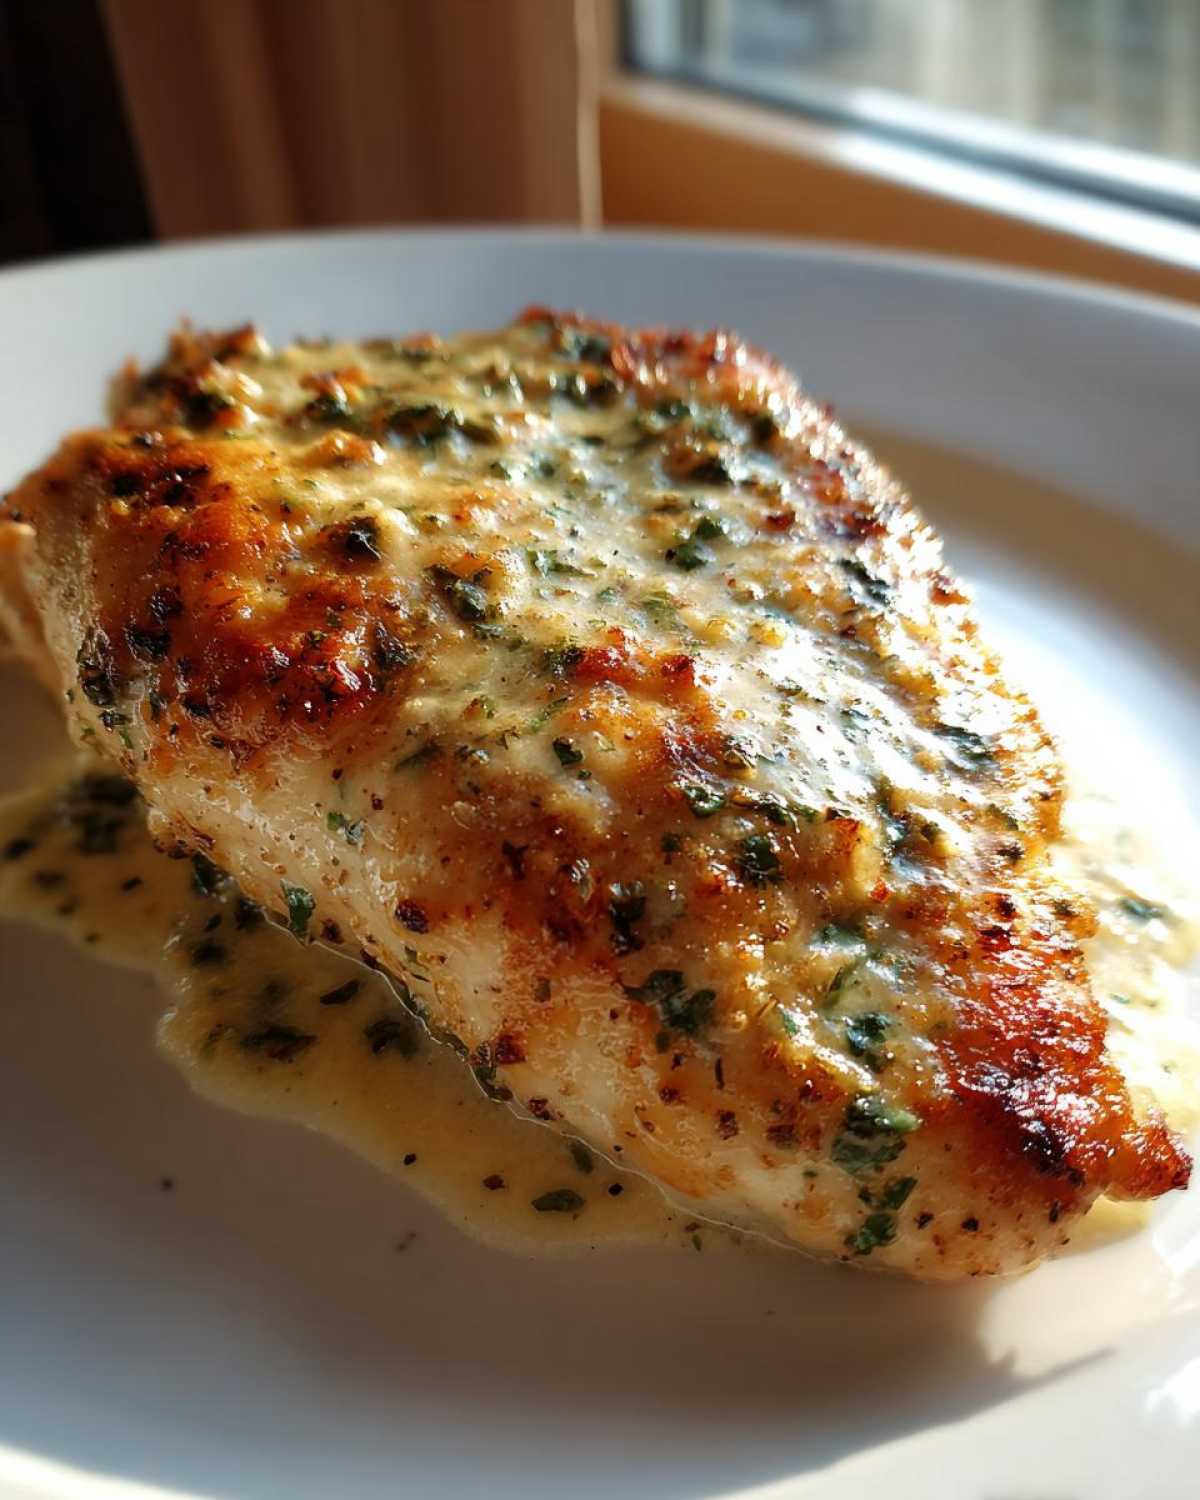
- Prep Time: A blink-and-you’ll-miss-it 10 minutes!
- Cook Time: Just 25 minutes in the oven.
- Flavor Profile: All those rich, tangy Caesar salad flavors we love!
It’s one of those simple recipes that feels totally gourmet. If this dish interests you, you might also want to check out my recipe for easy ground beef stovetop chili when you need another fast favorite!
Achieving Juicy Baked Chicken Breasts Every Time
The secret to making sure your chicken doesn’t dry out while baking is all about the coating. That thick blanket of Caesar dressing and Parmesan cheese acts like a protective armor while it cooks in the oven. Don’t skip patting the chicken dry first, though! Moisture on the surface just steams the meat instead of letting that glorious crust form. Also, if your breasts are super thick on one end, take a moment to gently pound them on the thicker side until they are uniform. That way, they cook evenly and finish at the same time, which is just smart cooking, right?
Gathering Ingredients for the Creamy Parmesan caesar chicken
Okay, now for the best part of any recipe: checking the pantry! This Creamy Parmesan caesar chicken is a lifesaver because it uses ingredients I usually have on hand for lunch salads anyway. Clarity is key here, so make sure you grab exactly what the list calls for so we get that perfect texture.
You will need exactly four large boneless, skinless chicken breasts—no skimping here! For the sauce, we mix up creamy Caesar dressing with a good half-cup of grated Parmesan cheese. Don’t forget the seasoning essentials like garlic powder, pepper, and salt.
If you’re feeling fancy and want that lovely little golden crunch on top, grab some panko breadcrumbs too. Honestly, this recipe is so straightforward, it practically cooks itself. If you need a backup plan for making chicken incredibly tender, my notes on the ultimate all-purpose chicken marinade are fantastic, but for this bake, the dressing does all the heavy lifting!
Step-by-Step Instructions for Your caesar chicken Dinner
Alright, let’s get this show on the road! Cooking this caesar chicken is so easy it feels like cheating, but I promise it’s 100% real cooking magic. First things first, Leo always yells at me if I skip this: you absolutely must preheat the oven to 400 degrees Fahrenheit. You don’t want cold air hitting that chicken when it goes in!
Get your baking dish ready; I like to use a little cooking spray or line it with parchment paper, especially since this sauce can get a bit clingy. Make sure you pat those chicken breasts dry first—that’s rule number one for absorbing all that delicious flavor. Then, we just coat them, pop them in, and wait for that wonderful smell!
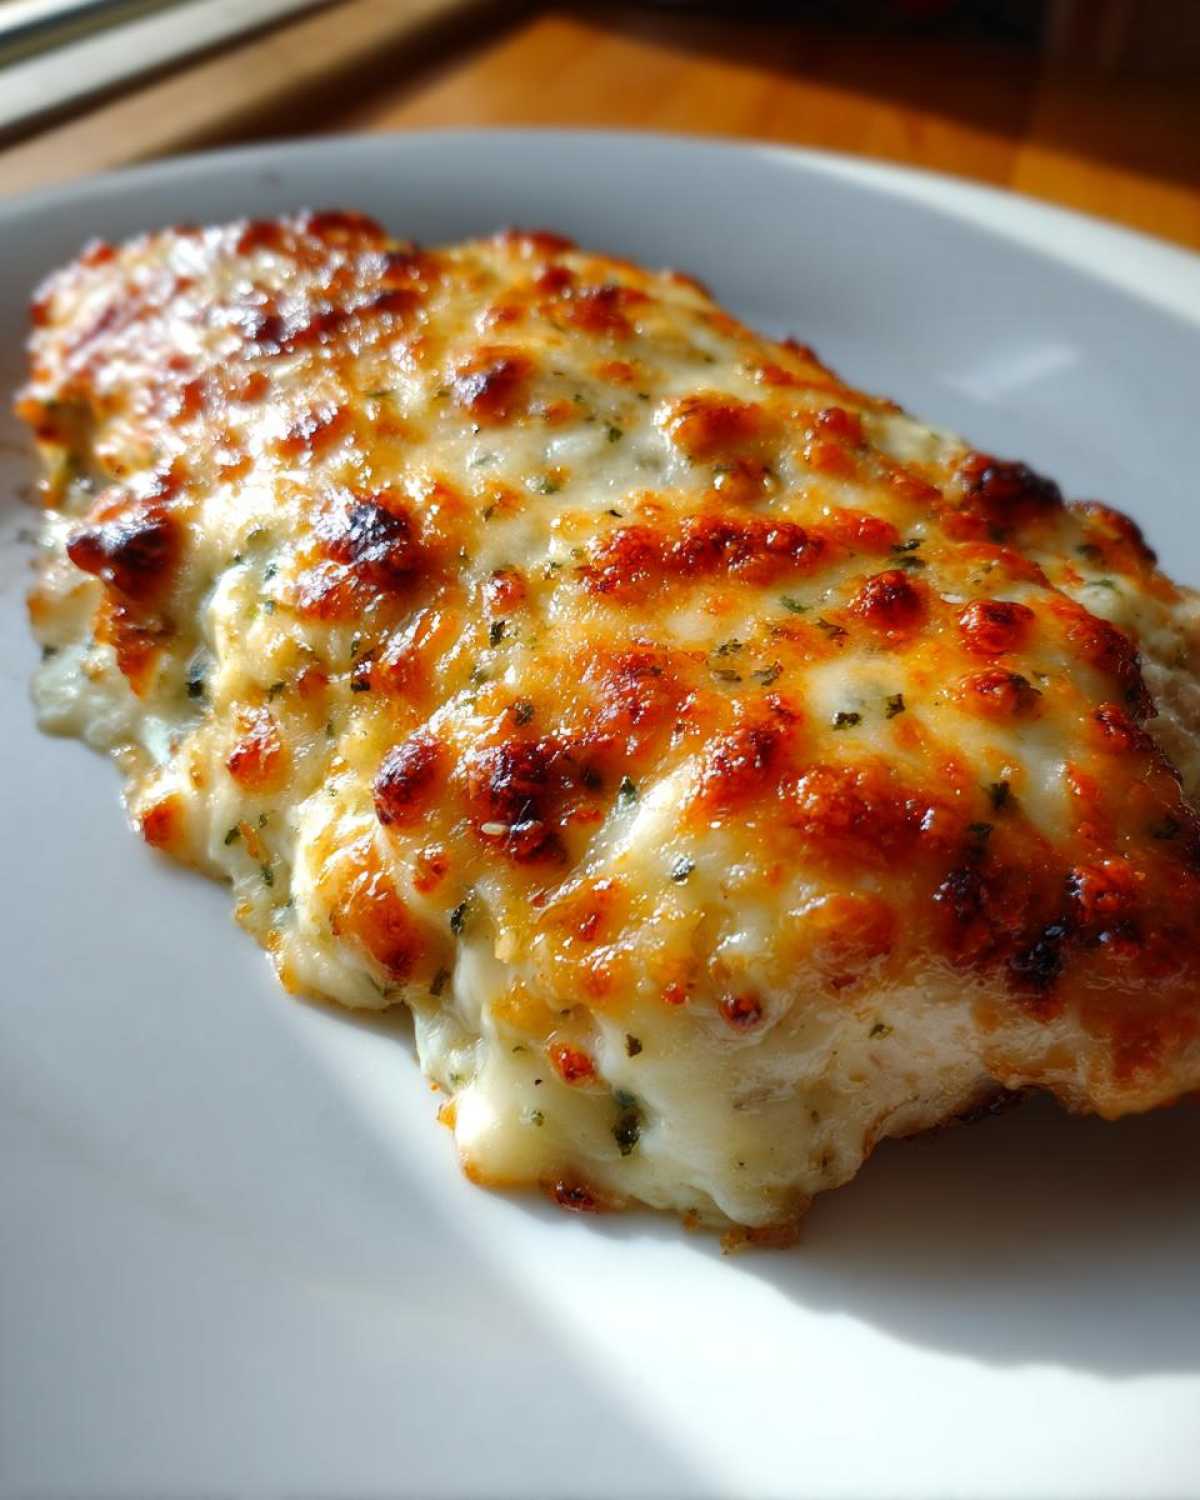
Remember, safety first, my friends! Because these are thick cuts, always double-check that internal temperature before pulling them out. We are looking for 165 degrees Fahrenheit (74 degrees Celsius) inside to make sure everything is cooked through and safe for the family after just about 25 minutes.
Mixing the Creamy Caesar Coating
This is where that creamy texture comes together! Grab a medium bowl—not the giant mixing bowl Leo uses for dough, just a regular one. You want to dump in your creamy Caesar dressing, that half-cup of grated Parmesan cheese (use the good stuff if you can!), along with your garlic powder, pepper, and salt. You want to stir this until it’s totally uniform; make sure there are no dry pockets of cheese hiding out. That Parmesan is key because it melts down and thickens the dressing beautifully as it bakes!
Baking Time and Temperature for perfect caesar chicken
Once your chicken is perfectly smothered, slide that dish onto the middle rack where the heat is steady. We are baking this lovely caesar chicken at 400°F. I check mine around the 20-minute mark, but honestly, it might take up to 25 minutes depending on how thick those pieces are. **The absolute golden rule after they hit 165°F?** Let them rest for about five minutes right on the counter! This lets the juices redistribute, and trust me, resting is the difference between good chicken and truly great, juicy chicken.
If you’re looking for amazing side companions for this cheesy bake, my recipe for easy oven-roasted crispy Mexican potatoes roasts right alongside it and comes out crunchy!
Tips for the Best caesar chicken Experience
Leo and I have tested batches of this caesar chicken practically every way you can imagine! If you want that truly restaurant-quality texture, there are two things you absolutely must do. First, even if the package says they are uniform, always check the thickness of your chicken breasts. If one end is much thicker, gently take a meat mallet covered in plastic wrap and lightly pound that thicker part until it’s the same size as the thin end. This prevents dry edges while you wait for the center to cook!
Secondly, don’t skip the optional panko! If you want a little textural excitement—a slight, savory crunch against that creamy sauce—sprinkle the panko breadcrumbs right over the top before baking. I drizzle a tiny bit of olive oil over the breadcrumbs so they toast up instead of just burning. It adds such a fun element without turning this into a complicated recipe at all. Honestly, for a simple chicken dinner, the payoff here is huge. If you are ever looking for another quick chicken winner, check out our recipe for chicken piccata!
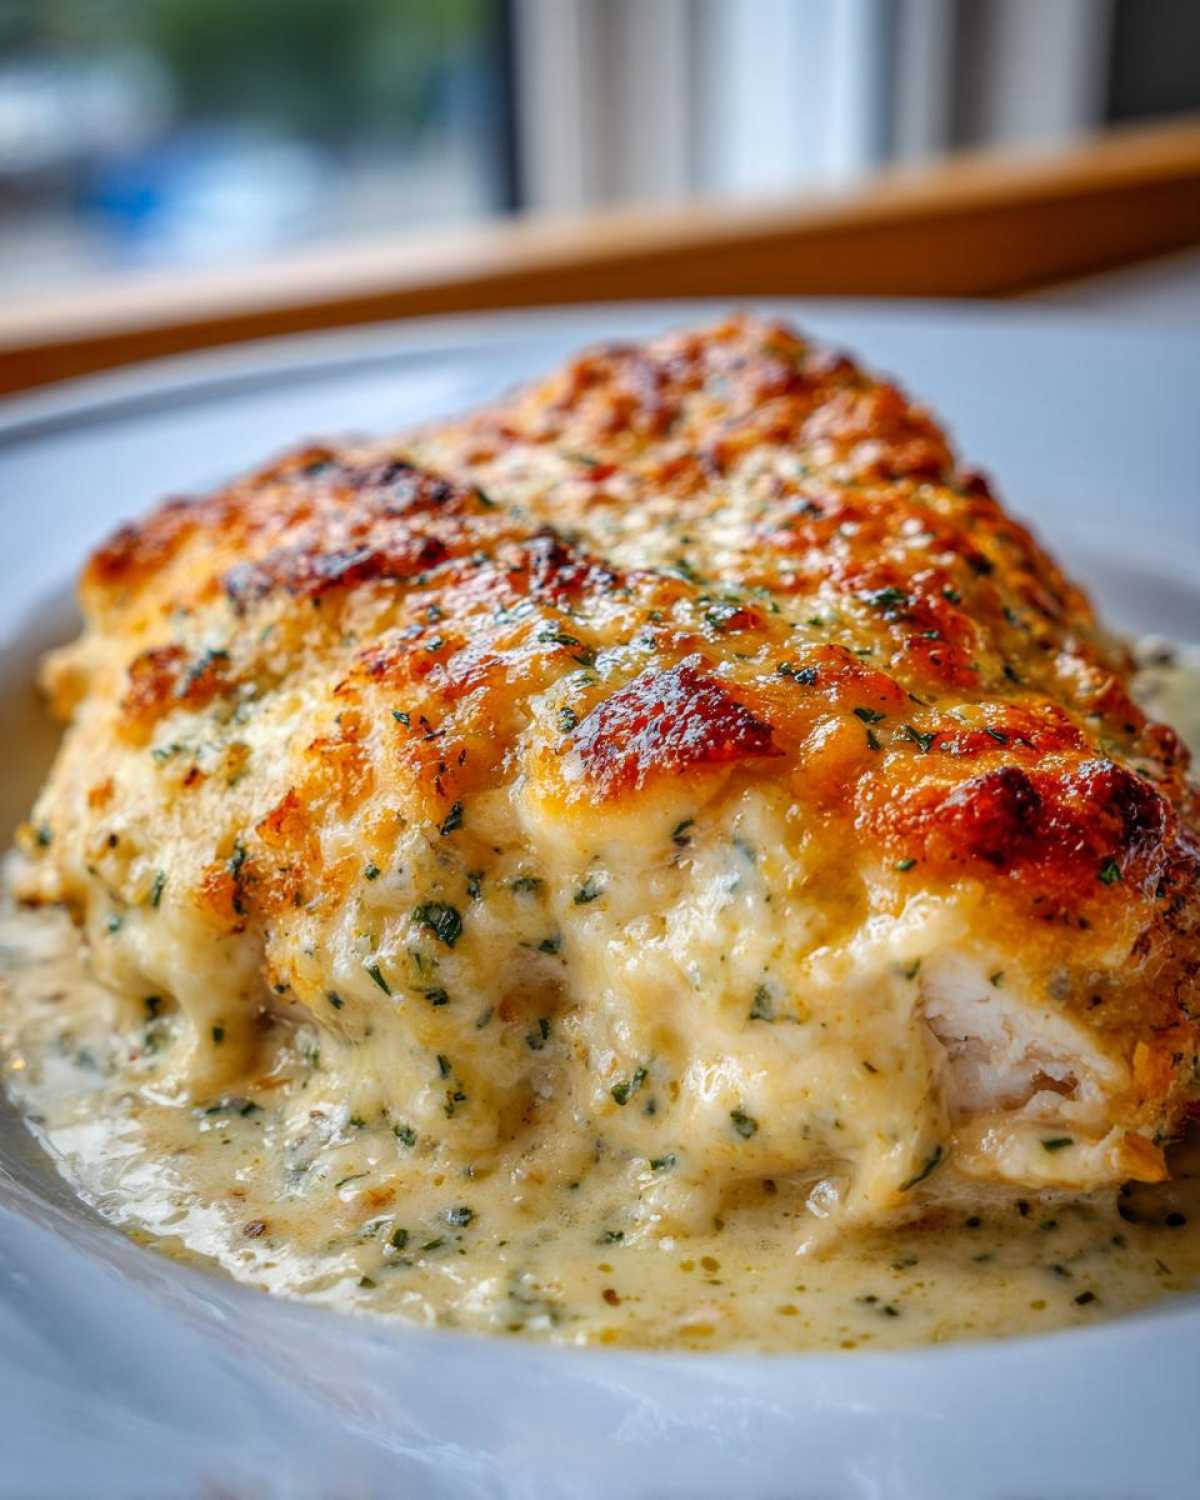
Serving Suggestions for Your Baked Chicken Dinner
Now that you have this perfectly juicy, oven-baked chicken sitting on the counter resting (don’t peek before five minutes!), you need something amazing to put next to it. Since the sauce is so rich and savory, leaning into bright sides really cuts through that creaminess nicely.
My first thought, especially if you want that true one pan chicken dinner feel, is steaming or roasting some green vegetables. Asparagus is a classic pairing, but steamed broccoli tossed with a tiny bit of lemon juice works wonders. If you roasted the chicken and veggies on the same pan, boom—dinner is done!
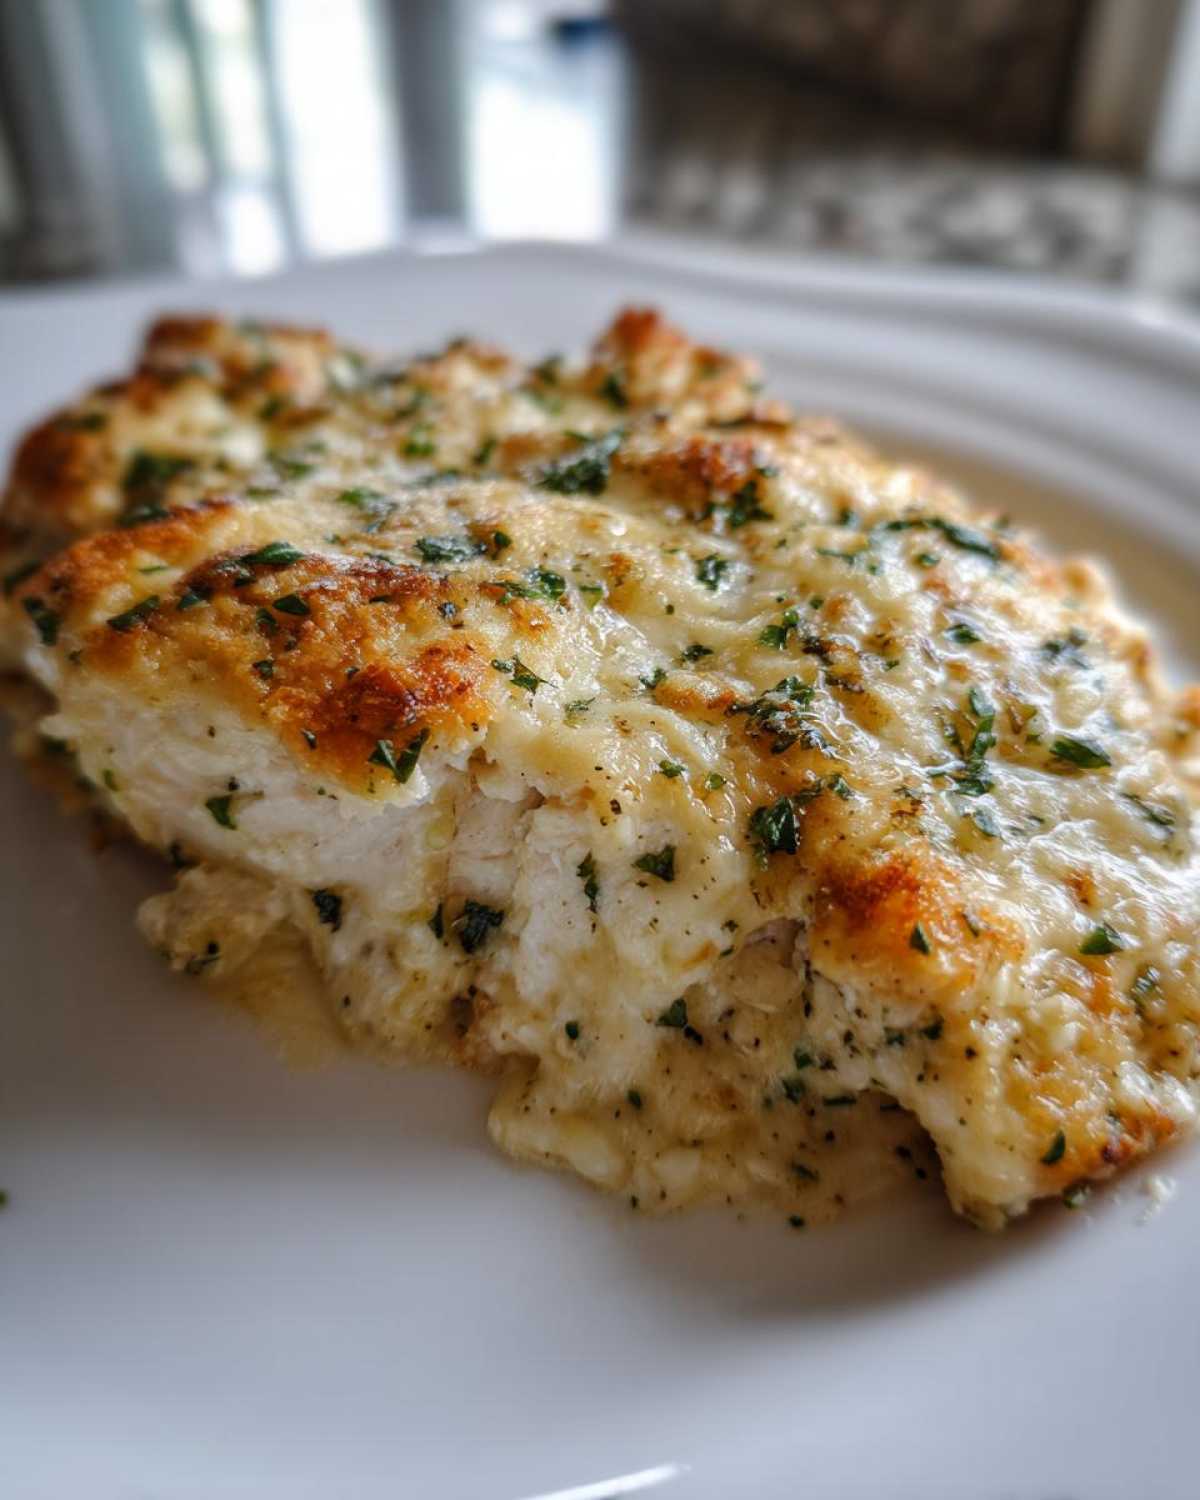
If you’re eating this over pasta like some people do, you’ll want to save the extra sauce for that. If you want something starchy, my recipe for crispy roasted sweet potatoes is surprisingly good alongside it, or you could make a side of creamy garlic rice if you’re leaning toward comfort food mode. Whatever you pick, keep it simple; the chicken is the star here!
Storage and Reheating this caesar chicken
We rarely have leftovers of this caesar chicken because Leo tends to hover by the pan, but when we do, storing it right is important! Keep any remaining baked chicken in an airtight container—not just loosely covered—in the fridge for up to three days. The creamy sauce helps it stay moist, which is a huge bonus.
When you reheat, my advice is to avoid the microwave if you can, since that heats unevenly. Pop those delicious pieces in a toaster oven or a standard oven set to about 350°F until just warmed through. If you want a little something extra to loosen up that sauce, I whip up a batch of my quick homemade chicken gravy and drizzle a spoonful over the top before heating. Perfect!
Frequently Asked Questions About caesar chicken
When Leo and I host, people always have questions about making sure their caesar chicken turns out just as flavorful as ours. It’s usually the little details that make the difference between creamy perfection and a sticky mess! Here are the things folks usually ask me right after they’ve finished their second piece.
Can I use chicken thighs instead of breasts?
Oh, absolutely! Chicken thighs are actually much harder to overcook, which is great for beginners. They have a bit more fat, so they stay super juicy. Since they are often thinner, you might want to check them closer to the 20-minute mark. If you use bone-in thighs, you’ll probably need to add another 10 to 15 minutes to the baking time, so keep an eye on that internal thermometer!
What if I don’t have any panko breadcrumbs for the topping?
Don’t let fancy breadcrumbs stop you! If you don’t have panko, just skip it! This dish is honestly 95% fantastic because of that creamy sauce, so the crust is purely optional for texture. If you absolutely must have a crust, you can crush up some basic store-bought croutons in a Ziploc bag until they are coarse crumbs. They won’t be as light as panko, but they work in a pinch for a savory little crunch.
Can I prepare the chicken and sauce ahead of time?
Yes, you certainly can! This is one of the reasons I love this recipe for entertaining. You can mix up your creamy coating and spread it over the raw chicken breasts. Cover the whole dish tightly with plastic wrap and stick it in the fridge for up to 24 hours. Just when you’re ready to bake, let it sit on the counter for about 20 minutes to take the chill off before putting it in the 400°F oven. It makes dinner time so much calmer!
What is the best kind of Caesar dressing to use?
The dressing is the boss in this recipe, so quality matters! I always say use whatever creamy Caesar you love at home. If you use a high-quality, thicker dressing, the sauce will naturally be richer. If your favorite dressing seems a little thin, add an extra tablespoon of the grated Parmesan cheese to help it firm up before baking. If you love making things from scratch, you might enjoy my tips for chicken corn chowder, which uses a lot of amazing homemade stocks!
Nutritional Snapshot of this Easy Weeknight Chicken
I gathered the estimated nutritional information for a single serving, just so you know what you’re working with in this delicious dish. Remember, because we are using dressing and cheese, the sodium is a little higher, but look at that protein count!
- Calories: Approximately 380
- Protein: A whopping 35g!
- Fat: Around 25g
- Carbohydrates: Only about 5g
Take these numbers with a grain of salt, sweet friends, as they are just estimates based on our specific recipe ratios. If you use low-fat dressing or skip the panko, those numbers will certainly shift! For more great chicken ideas, you’ll want to check out my take on chicken scampi with garlic parmesan rice.
Share Your caesar chicken Creations!
Now that you’ve made this fabulous caesar chicken, we just have to know how it went! Please come back and leave us a quick star rating and a little note in the comments below. Leo and I love seeing the photos you share; it truly makes our day here at the Tasty Tribune newsroom. Happy cooking, everyone! Don’t forget to browse our full blog for more daily dispatches!
PrintEasy Baked Caesar Chicken with Creamy Parmesan Sauce

You will love this simple recipe for juicy baked chicken breasts coated in a rich, creamy Caesar and Parmesan sauce. It makes a fantastic, flavorful dinner with minimal effort, perfect for busy weeknights.
- Prep Time: 10 min
- Cook Time: 25 min
- Total Time: 35 min
- Yield: 4 servings
- Category: Dinner
- Method: Baking
- Cuisine: American
- Diet: Vegetarian
Ingredients
- 4 large boneless, skinless chicken breasts
- 1 cup creamy Caesar dressing
- 1/2 cup grated Parmesan cheese, plus extra for topping
- 1/4 cup panko breadcrumbs (optional, for a slight crust)
- 1 teaspoon garlic powder
- 1/2 teaspoon black pepper
- 1/4 teaspoon salt
- 1 tablespoon olive oil
Instructions
- Preheat your oven to 400 degrees Fahrenheit (200 degrees Celsius). Lightly grease a baking dish or line it with parchment paper.
- In a medium bowl, mix together the creamy Caesar dressing, 1/2 cup of Parmesan cheese, garlic powder, pepper, and salt. Stir until well combined.
- Pat the chicken breasts dry with paper towels. This helps the sauce adhere better.
- Place the chicken breasts in the prepared baking dish. Brush or spoon the Caesar-Parmesan mixture evenly over the top of each chicken breast, making sure they are well coated.
- If you want a slight crust, sprinkle the panko breadcrumbs evenly over the sauce on top of the chicken. Drizzle the olive oil lightly over the breadcrumbs, if using.
- Bake for 20 to 25 minutes, or until the internal temperature of the chicken reaches 165 degrees Fahrenheit (74 degrees Celsius) and the topping is golden brown. Cooking time depends on the thickness of your chicken breasts.
- Let the baked chicken rest for 5 minutes before serving. Sprinkle with a little extra fresh Parmesan cheese if desired.
Notes
- For extra juicy baked chicken breasts, pound the chicken to an even thickness before coating.
- You can serve this creamy Parmesan chicken over pasta or alongside roasted asparagus for a complete one pan chicken dinner experience.
- If you do not have panko, you can skip the breadcrumbs entirely for a purely creamy bake.
Nutrition
- Serving Size: 1 breast
- Calories: 380
- Sugar: 3
- Sodium: 650
- Fat: 25
- Saturated Fat: 7
- Unsaturated Fat: 18
- Trans Fat: 0
- Carbohydrates: 5
- Fiber: 0
- Protein: 35
- Cholesterol: 110