

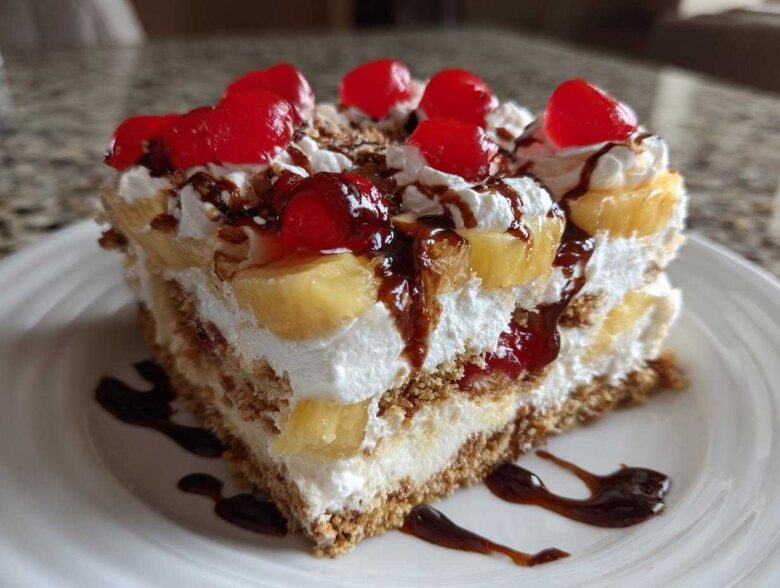
Listen, when the heat hits and you don’t want to even think about turning on the oven, I have the solution that will make everyone at your summer barbecue think you worked for hours! Forget complicated baking; we are making the ultimate **banana split cake**. This isn’t just some dessert; it’s the entire nostalgic trip of a classic ice cream sundae turned into the most glorious, cool, layered dessert you’ve ever stuck a fork into.
It took me nearly a summer to perfect this, honestly. The first few tries were too soupy, or the crust kept crumbling! But I finally cracked the code on getting those distinct layers firm yet creamy. This no-bake approach means your kitchen stays cool, and your guests stay happy. Trust me, this easy banana split dessert will become your go-to potluck star immediately.
Why This No Bake Banana Split Cake is a Summer Favorite
If you need a show-stopper that requires zero actual baking, stop scrolling right now. This **banana split cake recipe** is my summer secret weapon, and it checks every single box you could ever need for easy entertaining.
- No Oven Required: It’s a lifesaver when it’s 90 degrees outside. You just mix, layer, and chill!
- Quick Assembly: Seriously, you can have this whole thing layered in about 25 minutes before it heads to the fridge.
- Classic Flavor Replication: It tastes exactly like digging into a giant sundae, but you can serve it on a plate!
- Potluck Perfect Dessert: It travels well (just keep it cool!) and always disappears first because who can resist a creamy, fruity dessert?
Achieving the Classic Banana Split Flavors in a Layered Banana Split Dessert
What I love most is how this transforms the sundae experience. That buttery graham cracker base isn’t just a crust, it’s like the crunchy cone base, right? Then the tangy, sweetened cream cheese layer feels just like that fluffy ice cream you dream about. When you finish it off with the sweet pineapple, ripe banana, and bright cherries, you’ve got a true **layered banana split dessert**.
Essential Ingredients for Your Banana Split Cake Recipe
Okay, listen up, because having the right ingredients—and prep work for them—is 90% of making this happen without turning into soup! Since this is a **refrigerated dessert** and not a baked one, the texture relies totally on how you treat these components. I’ve gone through dozens of batches finding the perfect ratios, and you need to pay close attention to the notes here so your cake sets up perfectly. Don’t skip the draining, and make sure that cream cheese is perfectly soft!
Graham Cracker Crust Dessert Base
First up is our foundation, which is everything for a good graham cracker crust dessert base. You’ll need about 1 1/2 cups of graham cracker crumbs mixed with 1/2 cup of melted butter. Mix that until it looks like wet sand. Then, you have to press it down, and I mean press it down firmly into that 9×13 pan. If you don’t press hard, it crumbles the second you try to slice it later. You need a sturdy base for all those yummy layers!
Creamy Banana Dessert Filling
This layer is basically what makes the whole thing feel like ice cream! We are using 8 ounces of cream cheese—and it absolutely *must* be softened to room temperature so you don’t end up with lumps, okay? Beat that with 1 cup of powdered sugar and just a teaspoon of vanilla until it’s light; then, gently fold in *half* of your great big tub of thawed whipped topping. You want this texture to be light and fluffy, not beaten down and deflated.
Fruit and Topping Components
Now for the fun stuff that screams “banana split!” You need those 4 ripe bananas, sliced, 1 cup of crushed pineapple (and listen to me: drain that pineapple until you think it’s dry, then drain it once more! Excess liquid is the enemy here for any **banana split cake**), and some halved maraschino cherries. You’ll finish it with chocolate syrup, chopped nuts (pecans or walnuts work great), and the remaining whipped topping. Remember, making this a successful layered dessert depends on making sure that pineapple isn’t soaking wet!
How to Prepare This No Oven Required Treats Banana Split Cake
This is where the magic happens, and it’s so straightforward you’ll wonder why you ever bothered with an oven in July! We’re going layer by layer here to get that perfect structure. Remember what I said earlier about patience? That starts right now with making sure our base is solid so this magnificent **layered banana split dessert** doesn’t turn into a sloppy mess!
Building the Graham Cracker Crust Dessert
First things first, let’s secure that base. Take your buttery graham cracker crumbs and press them firmly into the bottom of your 9×13 pan. Seriously, use the bottom of a measuring cup to compact it tight! After that, pop that into the fridge for 15 minutes. Chilling the crust is super important; it lets the butter firm up so it holds everything beautifully when we start stacking things. Don’t skip this little chill break!
Creating the Creamy Layer for Your Banana Split Cake
While your crust is setting up, get that creamy layer whipped up. Beat your softened cream cheese, powdered sugar, and vanilla until it’s completely smooth—no lumps allowed! Then, in goes half of your thawed whipped topping. Here’s the key: you have to *fold* it in gently, not beat it in. Overbeating will knock all the air out, and we need that volume to keep this rich layer light.
Layering the Classic Banana Split Flavors
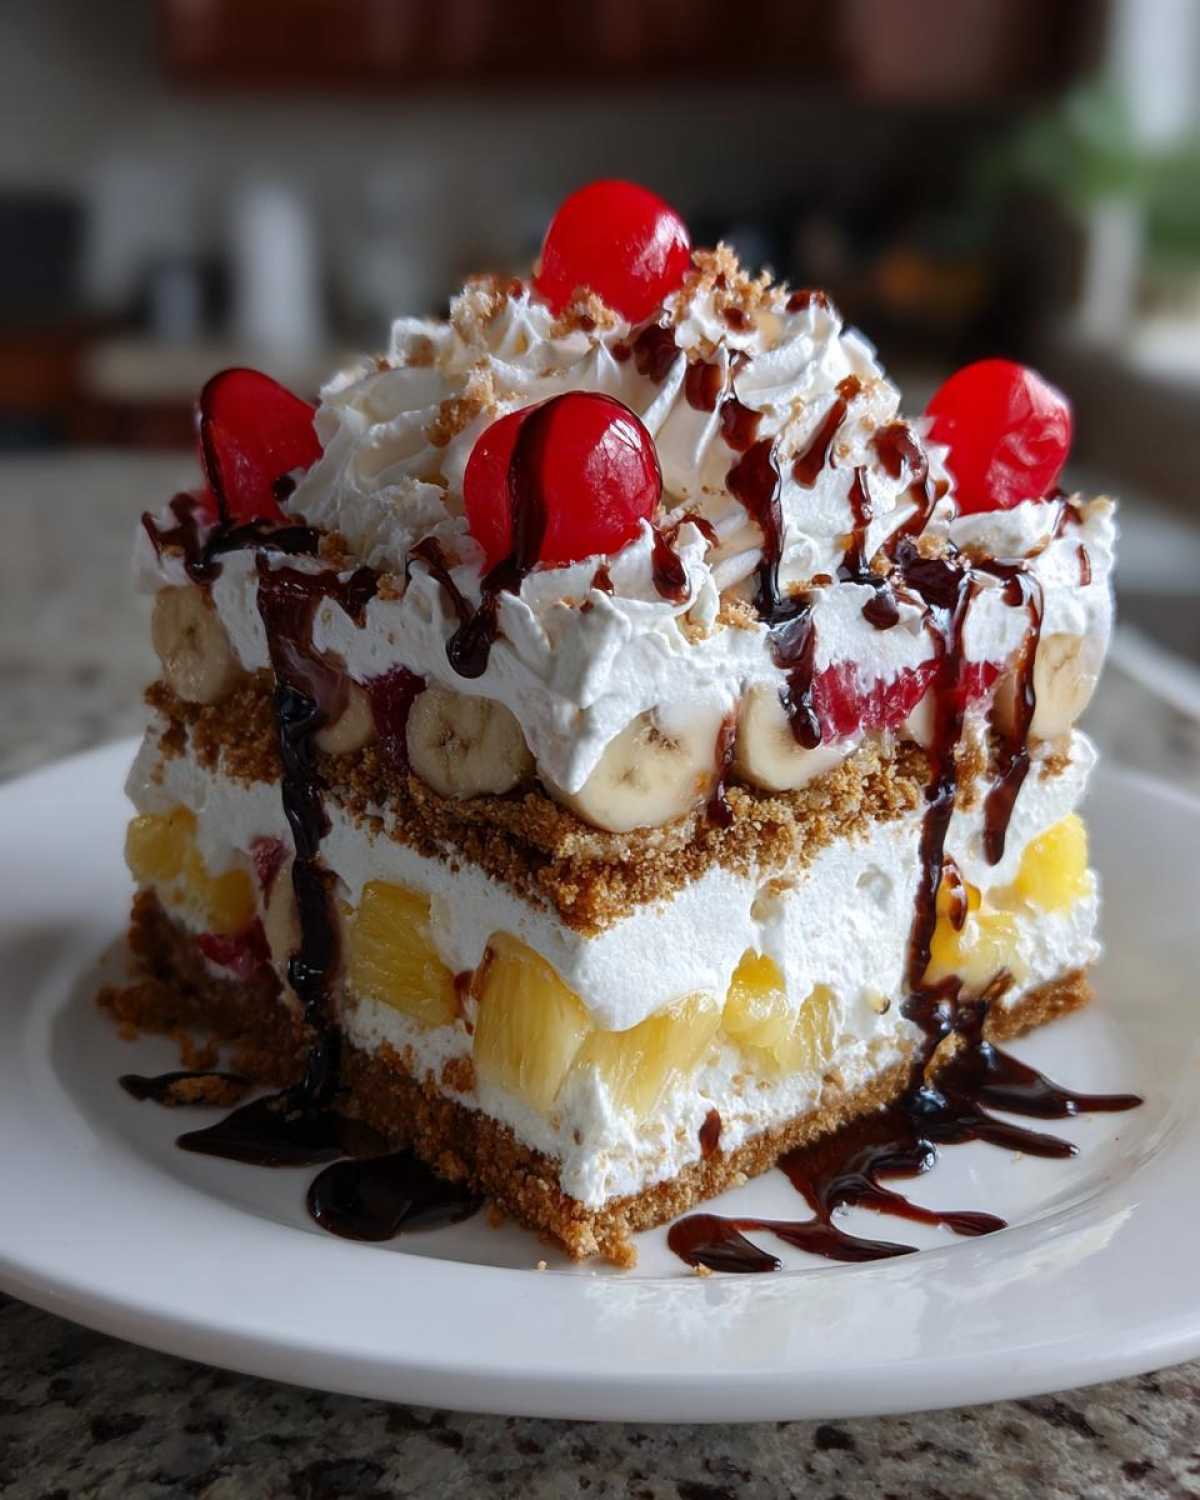
Time to build! Spread that gorgeous cream cheese mixture smoothly over your chilled crust. Now, carefully lay out your sliced bananas in one nice, even layer so every slice of cake gets some banana goodness. Next, take that super-drained crushed pineapple and spread it right over the bananas. Finally, spread the remaining half of your whipped topping right on top of the pineapple. This layer acts as a protective blanket for the bananas!
Final Assembly and Refrigerated Dessert Setting
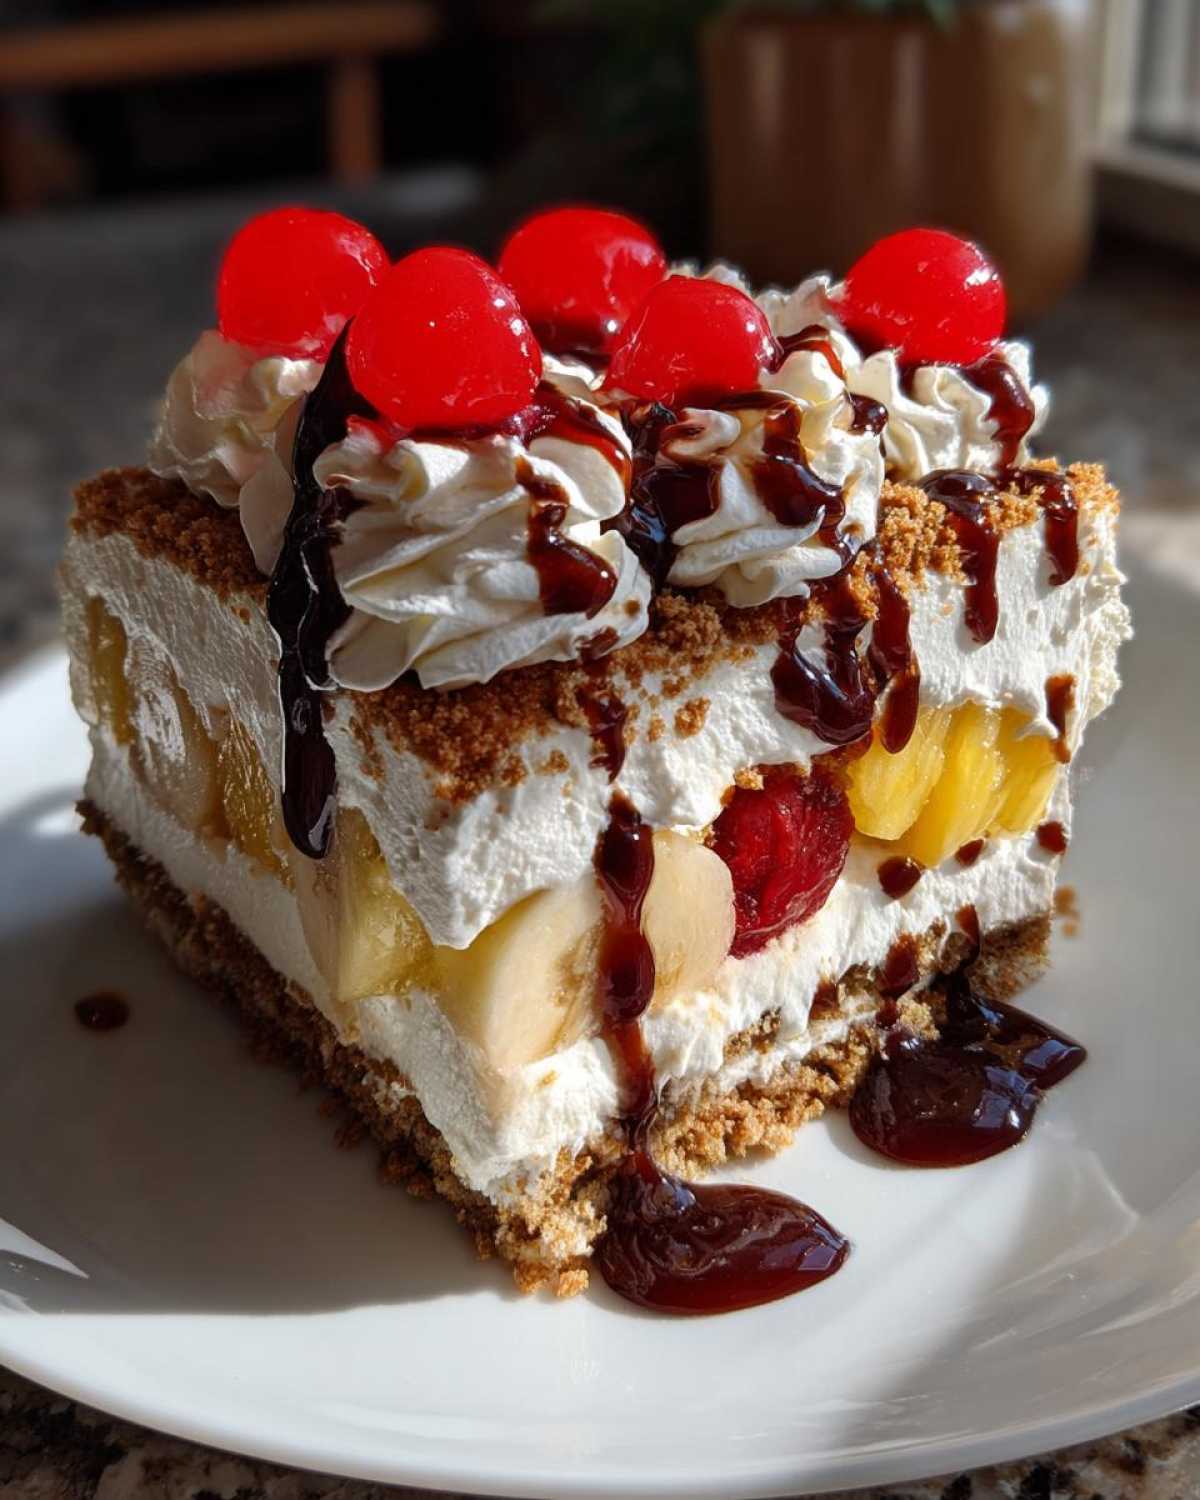
We’re nearly done! Now, make it pretty. Arrange those halved cherries across the top and drizzle generously with chocolate syrup. Don’t forget to sprinkle your chopped nuts over everything. This is the last step before the waiting game. You absolutely *must* cover this loosely and refrigerate it for at least 4 hours; honestly, overnight is even better. This chilling time is crucial to make sure your banana split cake slices cleanly without losing its shape!
Tips for Success with Your Layered Banana Split Dessert
Making this **creamy banana dessert** is easy, but getting those perfect, clean slices at party time? That takes a couple of little tricks I learned the hard way. If you follow these pointers, your beautiful **simple party dessert** will look just as good as it tastes!
First, let’s talk draining again—I can’t stress this enough. If your crushed pineapple isn’t drained until it seems ridiculously dry, that extra liquid finds its way to the bottom, and you end up with a runny mess in the bottom corner of your pan. Also, remember that cream cheese needs to be truly room temperature for that smooth filling. Cold cream cheese gives you those awful little cheese lumps, and nobody wants that in their **banana split cake recipe**!
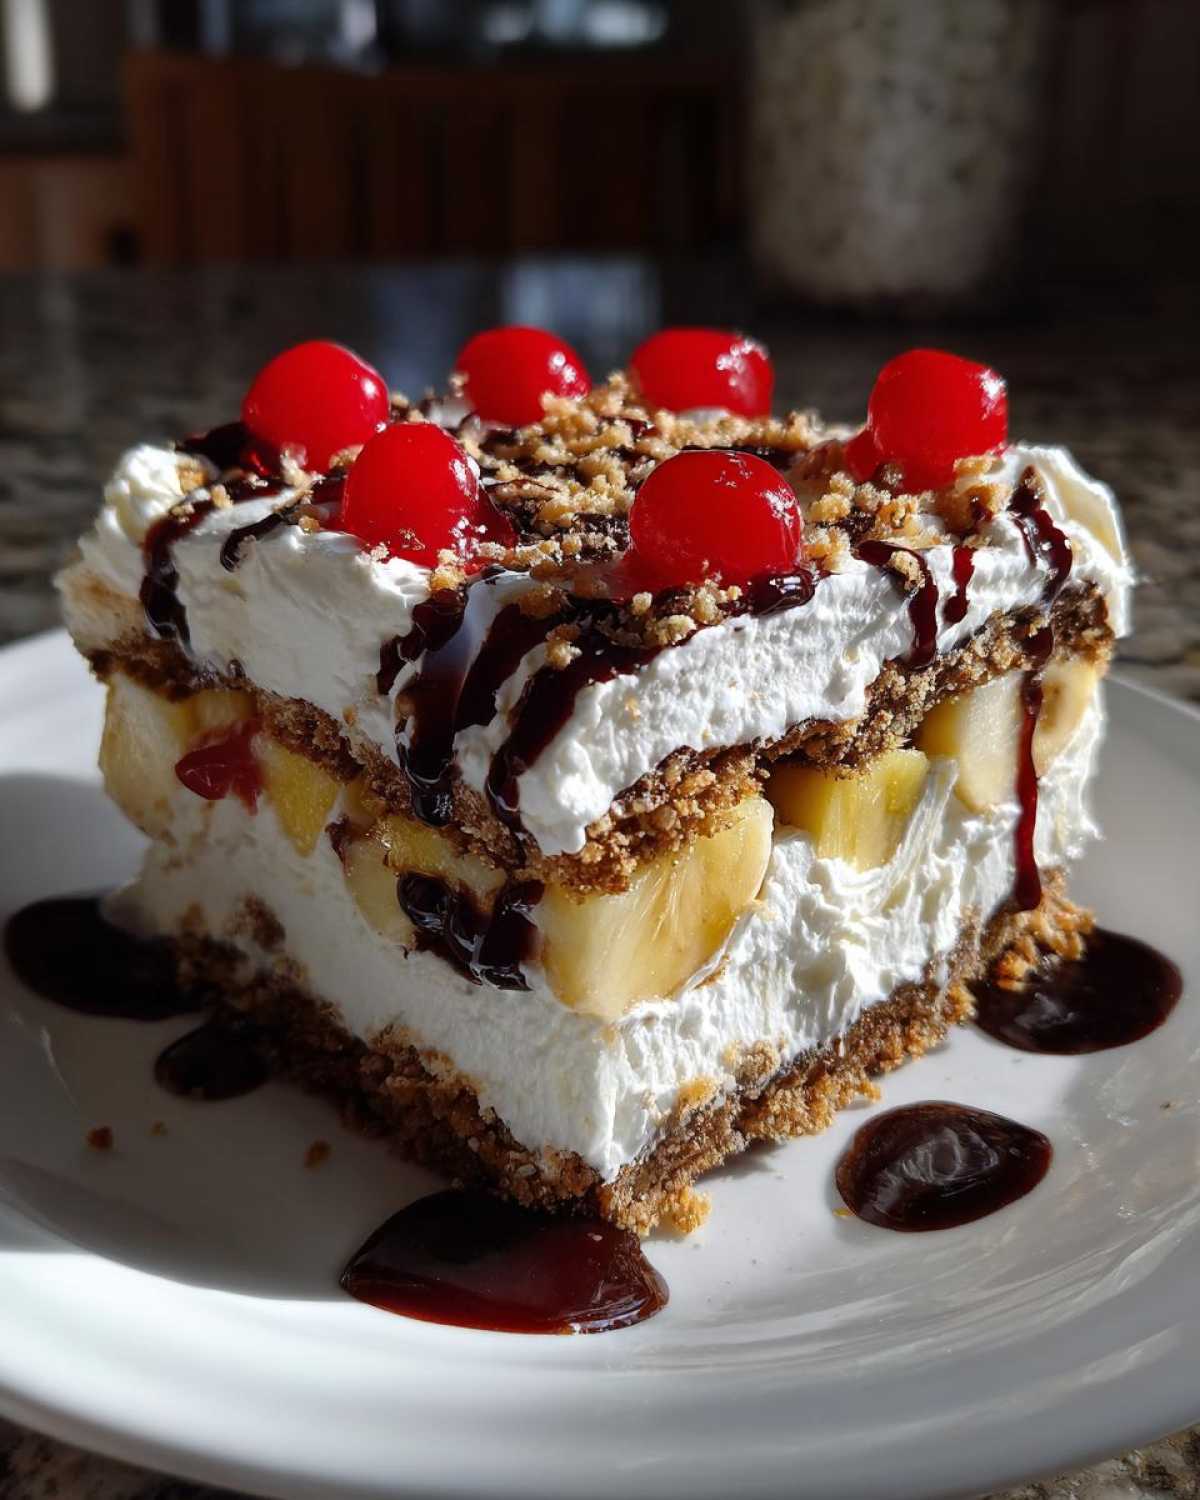
Second, when it’s finally time to serve this beautiful **refrigerated dessert**, here’s my move for perfect squares. Grab your sharpest knife and dip the blade into a tall glass of very hot water. Wipe the knife perfectly dry, and then make your first cut. Dip, wipe, cut again. It melts slightly through the cool layers, leaving you with beautiful, sharp edges every single time. You can check out some great cheesecake slicing tips over here, which use the same principle!
My last big tip for this **no bake layered dessert** is presentation timing. You can assemble the entire thing—crust through whipped topping—the day before, but if you can, wait until about an hour before serving to put on the chocolate syrup and nuts. That way, the nuts stay crunchy, and the syrup doesn’t bleed into the white topping setting up overnight!
Variations: Beyond the Standard Banana Split Cake
Now, I know some of you are looking at this beautiful, layered beauty and thinking, “But what if I want this even FASTER?” Or maybe you saw someone mention a **banana split dump cake**!
I totally get it. While I swear by these distinct layers, playing around is half the fun. If you’re really short on time, try this slight modification: use crushed vanilla wafers instead of graham crackers for the crust—it’s fantastic! For the filling, instead of layering the fresh bananas, pineapple, and cherries separately, you can mix in a small can of well-drained mixed fruit cocktail right into that cream cheese layer before folding in the topping. It’s a slightly different texture, but wow, is it a quick way to get that **fruit topped cake no bake** vibe instantly. You can look at how they handle pie filling in my cherry dump cake post for inspiration on speed!
Storage and Reheating Instructions for This Refrigerated Dessert
This gorgeous **banana split cake** is a superstar make-ahead dessert, which is why it’s my absolute favorite for big parties. The good news is that because it’s a chilled treat, cleanup and storage are super simple. You just need to make sure you’re treating it right in the fridge!
The best way to store this **refrigerated dessert** is right in the 9×13 pan you made it in. Just cover it tightly with plastic wrap or an airtight lid. You want to keep crumbs and fridge smells out, you know? If you’ve made all the layers, including the fruit and syrup, I find it stays absolutely perfect for about three days in the refrigerator. After that, the bananas just start getting a little soft and brown, even if they are hidden under the whipped topping.
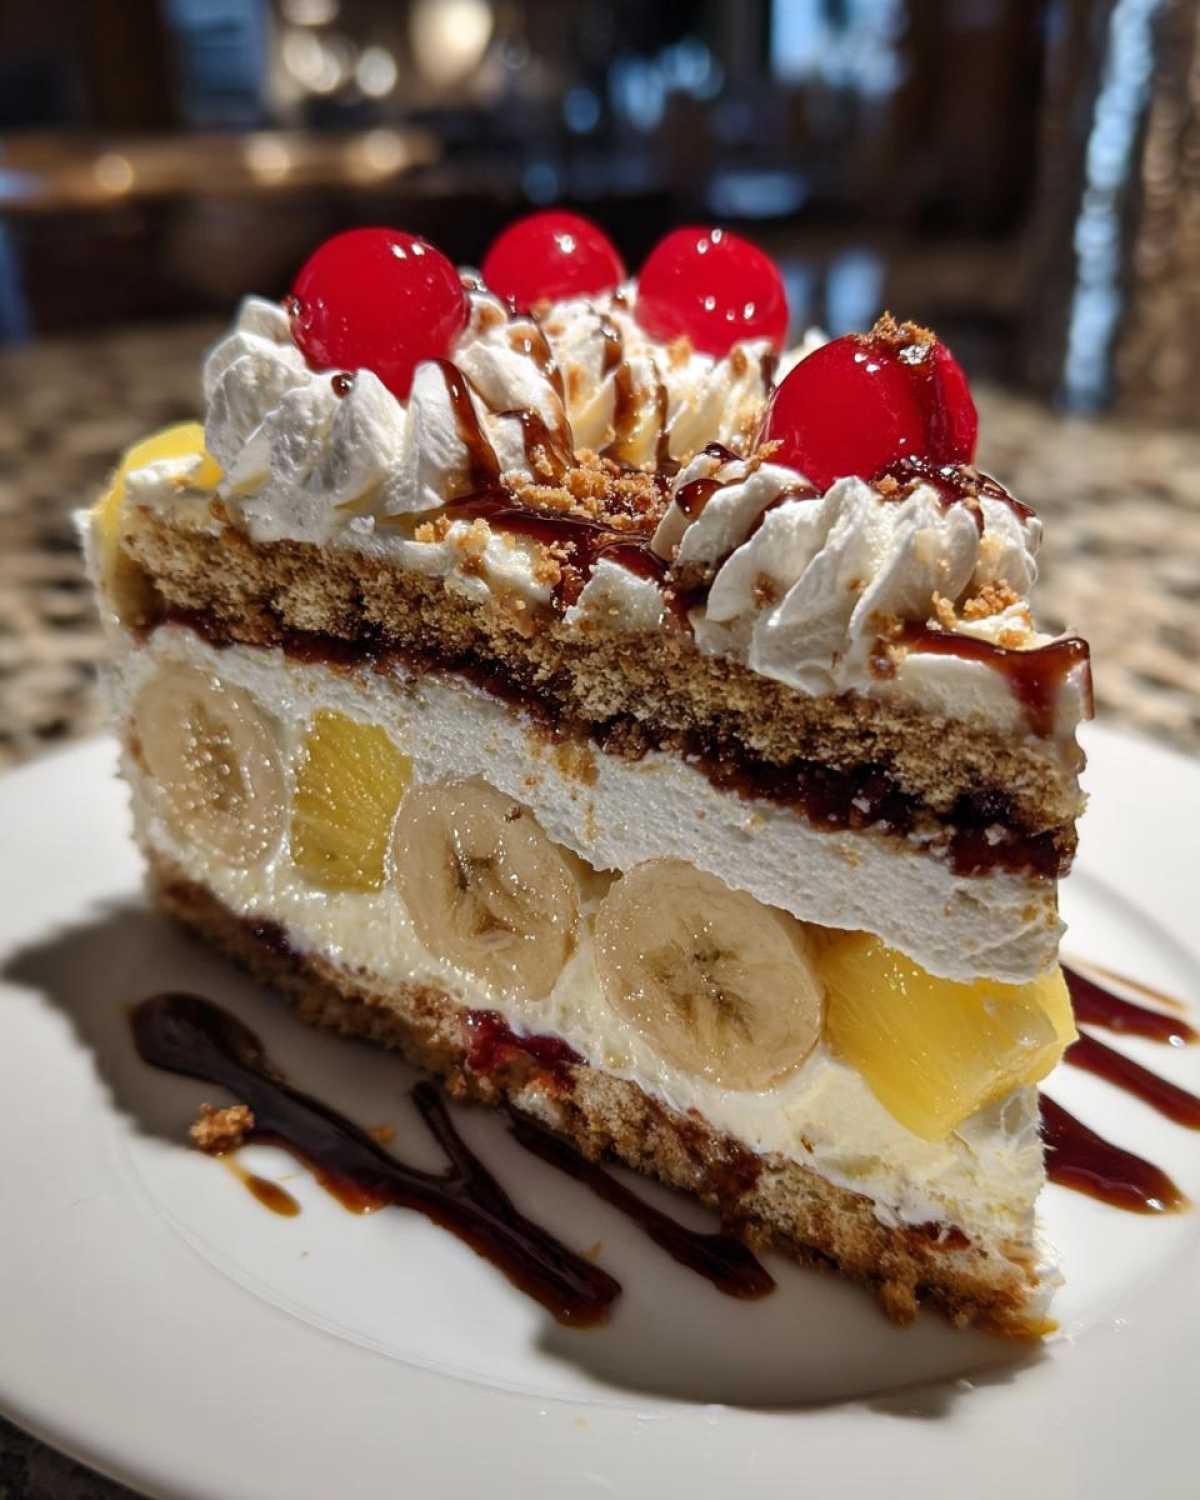
Now, let’s address the elephant in the room: reheating. Since this entire structure relies on cold cream cheese and stabilized whipped topping, you absolutely cannot reheat this dessert. Trying to heat up a **no bake banana split cake** will just turn it into a lukewarm, soupy disaster very quickly! It is meant to be served ice-cold for that wonderful, firm texture we worked so hard to achieve.
Frequently Asked Questions About Banana Split Cake
I keep getting asked the same few things when people make this dessert for the first time, so I figured it’s easier just to put the answers right here! People want to know about making it ahead of time, keeping those bananas looking gorgeous, and what else they can use for the crust. Don’t worry if your first attempt isn’t perfect; we all learn along the way!
Can I make this banana split cake recipe ahead of time?
Oh yes, you absolutely can! This is fantastic for planning ahead. You can assemble the entire thing—crust, filling, fruit, the whole nine yards—up to 24 hours before you plan to serve it. However, if you have the option, I highly recommend waiting until maybe 2 or 3 hours before serving to place the banana slices on. Even with the cream cheese layer protecting them, bananas can start looking a little sad if they sit too long in the fridge. If you must slice them the day before, just make sure they are completely blanketed by the next layer!
What is the best way to prevent the bananas from turning brown in this no bake banana split cake?
That’s the perennial problem with any **no bake banana split cake**! Bananas are tricky, aren’t they? The main defense is making sure they are completely covered and don’t touch any air. So, when you put that cream cheese layer down after the banana layer, spread it right to the edge, making sure there are no gaps showing the fruit underneath. For extra security, especially if you’re a worrier like me, take a little lemon juice—I mean just a tiny splash—and lightly brush it over the banana layer before you put the pineapple or the next topping on. That little bit of acid works wonders!
Can I substitute the graham cracker crust dessert base?
Of course! The graham cracker crust dessert base is my favorite because it has that classic, slightly salty crunch, but feel free to switch it up! If you prefer a slightly sweeter or vanilla-flavored crunch, vanilla wafers work like a charm. Just crush them up the same way you would the graham crackers and mix them with the melted butter. Shortbread cookies are another fantastic option if you have some sitting around; they give the crust a really rich, buttery flavor that complements the creamy filling beautifully. Just make sure whatever cookie you choose, you press it down firmly!
If you want to dive deeper into other tips and tricks, I put a link to my chili recipe guide here, where I talk about seasoning bases, which uses some similar crust-setting logic!
Estimated Nutritional Data for Banana Split Cake
Now, I know you’re usually focused on how delicious this **banana split cake recipe** is, but sometimes people want to know the numbers, right? Here is the estimated nutritional data for one hearty slice of this wonderful **creamy banana dessert**. Please remember, this is just a general guide!
Since we’re not baking anything and we are using canned fruit and whipped toppings, the exact amounts can shift depending on the brands you grab at the store. If you use lower-fat cream cheese or skip the drizzled chocolate syrup, those numbers will change! But for a standard serving of this glorious **simple party dessert** made according to the recipe, here’s what you can generally expect:
- Serving Size: 1 slice
- Calories: 310
- Sugar: 28g (Yes, it’s a treat, but those sugars are worth it for the fruit flavor!)
- Fat: 17g
- Carbohydrates: 37g
- Protein: 4g
I always tell folks not to worry too much about the exact breakdown when you’re making something this fun. The most important thing is that you get to enjoy a perfect slice of summer without ever having to touch your oven. If you want to read up on how other creamy desserts like ricotta pizza stack up nutritionally, check out this post here!
Share Your Simple Party Dessert Experience
Alright, bakers, now it’s your turn! I’ve shared all my secrets for making this **banana split cake recipe** the star of any gathering, and now I really want to know how it turned out for you. Did you use pecans or walnuts on top? Did you chill it overnight like I suggested?
Don’t be shy! Head down to the comments section below and leave a rating—five stars if it kept everyone cool and happy this summer, but I’m happy with whatever rating you think it deserves. Telling me how your **easy banana split dessert** turned out helps other folks feel confident trying it out!
And if you took a gorgeous picture of your finished, perfectly layered masterpiece—maybe you even drizzled some extra chocolate syrup on yours—please share it on social media! Tag me so I can see your incredible work. I love seeing this **simple party dessert** pop up on people’s tables. If you’re curious about who I am and why I love sharing these recipes, you can read all about my kitchen adventures over on the About Us page!
PrintNo-Bake Banana Split Layered Cake
Make this easy, no-bake dessert that captures the flavors of a classic banana split in a layered cake format. It requires refrigeration and is perfect for summer gatherings.
- Prep Time: 25 min
- Cook Time: 0 min
- Total Time: 4 hr 25 min
- Yield: 12 servings
- Category: Dessert
- Method: Refrigerated
- Cuisine: American
- Diet: Vegetarian
Ingredients
- 1 1/2 cups graham cracker crumbs
- 1/2 cup melted butter
- 8 ounces cream cheese, softened
- 1 cup powdered sugar
- 1 teaspoon vanilla extract
- 1 large tub (12 ounces) frozen whipped topping, thawed, divided
- 4 ripe bananas, sliced
- 1 cup crushed pineapple, drained well
- 1/2 cup maraschino cherries, halved and drained
- 1/2 cup chopped pecans or walnuts
- 1/4 cup chocolate syrup
Instructions
- Combine graham cracker crumbs and melted butter. Press the mixture firmly into the bottom of a 9×13 inch pan. Chill the crust for 15 minutes.
- In a medium bowl, beat the softened cream cheese, powdered sugar, and vanilla extract until smooth. Gently fold in half of the thawed whipped topping until just combined.
- Spread the cream cheese mixture evenly over the chilled crust.
- Arrange the sliced bananas in a single layer over the cream cheese layer.
- Spread the drained crushed pineapple over the bananas.
- Top the pineapple layer with the remaining half of the whipped topping.
- Decorate the top by placing the halved cherries evenly across the surface and drizzling with chocolate syrup. Sprinkle with chopped nuts.
- Cover the cake loosely and refrigerate for at least 4 hours, or until firm, before slicing and serving.
Notes
- Drain the crushed pineapple very well; excess liquid will make the dessert watery.
- You can substitute vanilla wafers for graham crackers in the crust if you prefer.
- For a cleaner slice, run your knife under hot water and wipe dry between cuts.
Nutrition
- Serving Size: 1 slice
- Calories: 310
- Sugar: 28g
- Sodium: 180mg
- Fat: 17g
- Saturated Fat: 8g
- Unsaturated Fat: 9g
- Trans Fat: 0g
- Carbohydrates: 37g
- Fiber: 1g
- Protein: 4g
- Cholesterol: 30mg