

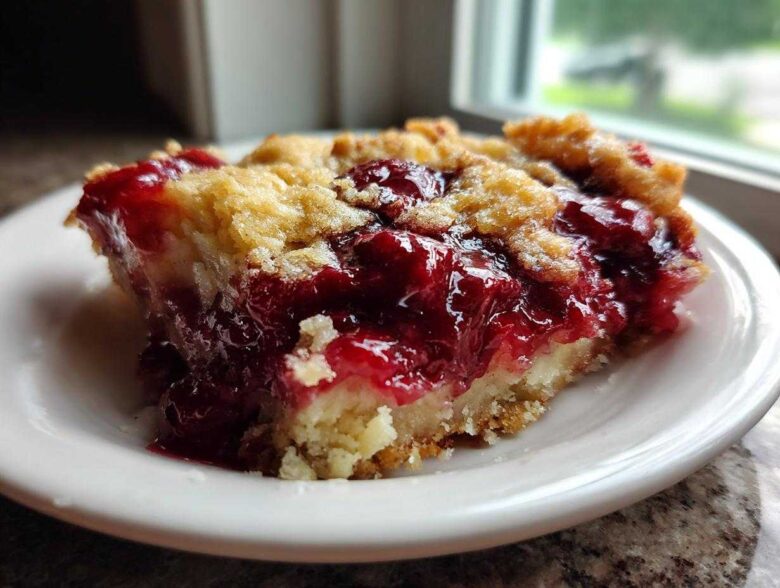
Okay, listen up. When life gets crazy, or when unexpected company shows up on your doorstep five minutes before dinner is done, you need a miracle. For me, that miracle comes in the form of the most shockingly easy dessert known to humankind: the cherry dump cake. Seriously, this isn’t baking; it’s assembly! I remember the first time I brought this to a huge neighborhood potluck—I literally made it while helping my neighbor set up his barbecue grill. It baked up smelling amazing, and by the time I got there, half of it was already gone. It’s truly the definition of Southern Dump Cake simplicity, giving you that gooey baked cherry dessert goodness with zero effort. You won’t even need your trusty stand mixer for this one, promise!
You can check out some of my other quick baking adventures over on the main blog page if you’re looking for more easy ideas!
Why This Easy Cherry Dump Cake is Your New Go-To Recipe
Why bother with complicated recipes when this dessert exists? Honestly, I keep this recipe on standby for emergencies because it delivers maximum flavor with minimum fuss. It’s my go-to for a reason, especially when I need a Quick Baked Fruit Dessert. You should absolutely check out my tips for Sloppy Joe Sliders if you ever need another super fast crowd-pleaser!
- It’s pure No Fuss Baking—no bowls, no whisking, just layering right into the pan.
- It feeds a crowd instantly, making it perfect for those surprise visits or last-minute gatherings.
- The texture shift from that soft fruit to the crunchy top is just heavenly.
The Magic of a Three Ingredient Desserts Cherry Dump Cake
Can you believe it? Just three things stand between you and dessert heaven! We’re talking canned cherry pie filling, dry cake mix, and butter. That’s it! Those simple elements somehow transform into a gooey baked cherry dessert that tastes like you spent hours on it. The melted butter soaks into the dry cake mix to create that amazing, slightly crisp, yet tender buttery topping cake.
Gathering Ingredients for Your Cherry Dump Cake
The beauty of this recipe is how short the grocery trip will be! Seriously, you can probably make this Zucchini Bread Pancakes recipe’s cousin, this cherry dessert, with things you already have in your pantry. You only need three things, but paying attention to the details makes all the difference. Make sure that butter is fully melted before you head to the oven. Also, while I list yellow cake mix, don’t feel locked into it! White cake mix works just as wonderfully if that’s what you’ve got.
Ingredient Notes and Substitution Tips
So, about that cake mix: yellow is classic, but if you want a slightly richer flavor that complements the cherries, go for a white or even a butter-flavored cake mix. It keeps that beautiful textural goal in sight! If you’re out of unsalted butter, salted will work in a pinch—just don’t add any extra salt elsewhere. For those of you dreaming of a truly crisp topping, you can back off the butter just a tiny bit, maybe use three-quarters of a cup instead of the full two sticks. You’ll get a crunchier top, but it won’t be quite as decadent.
Step-by-Step Instructions for the Perfect Cherry Dump Cake
This is where the magic—and the lack of dishes—really happens! Seriously, if you can pour things into a pan, you can nail this dessert. I always sneak a peek at the recipe card for the TikTok Ramen just for fun while the oven heats up. Remember, the key to this whole operation is leaving everything in its own layer. Don’t let your whisk even come near this batter; it’s an assembly job, not a mixing job!
First things first: crank that oven up to 350 degrees Fahrenheit. Grab your 9×13 inch dish and give it a quick smear of butter or some cooking spray. We don’t want any sticking when the goodies come out bubbly!
Assembling the Layers of Your Cherry Dump Cake
Layer one is the fruit base. Open up that can of cherry pie filling and just pour the whole gooey thing right into the prepared dish. Spread it around gently so it covers the bottom. Next comes the dry cake mix. You want to sprinkle that whole box evenly right over the cherries. And this is the crucial bit: DO NOT STIR IT. Honestly, stirring is forbidden here. Once the cake mix is lightly covering the red layer, take your fully melted butter and drizzle it slowly and evenly across the top of the dry mix. Make sure you hit all the spots so every bit of that dry mix gets soaked in that glorious butter.
Baking Times and Checking Doneness for Your Cherry Dump Cake
Pop that layered dish into the preheated oven. You’re looking at about 45 to 55 minutes of bake time. I watch it closely after the 40-minute mark. What you’re hoping to see is a shiny, bubbly filling peeking out around the edges, and the topping should look beautifully golden brown—not burned, just perfectly baked. If you see those bubbles, it’s done! Pull it out carefully, because that filling is volcano hot. Let it sit for a good 15 minutes on the counter before you even think about digging in. That little rest helps it set up just right.
Tips for Mastering the Buttery Topping Cake Texture
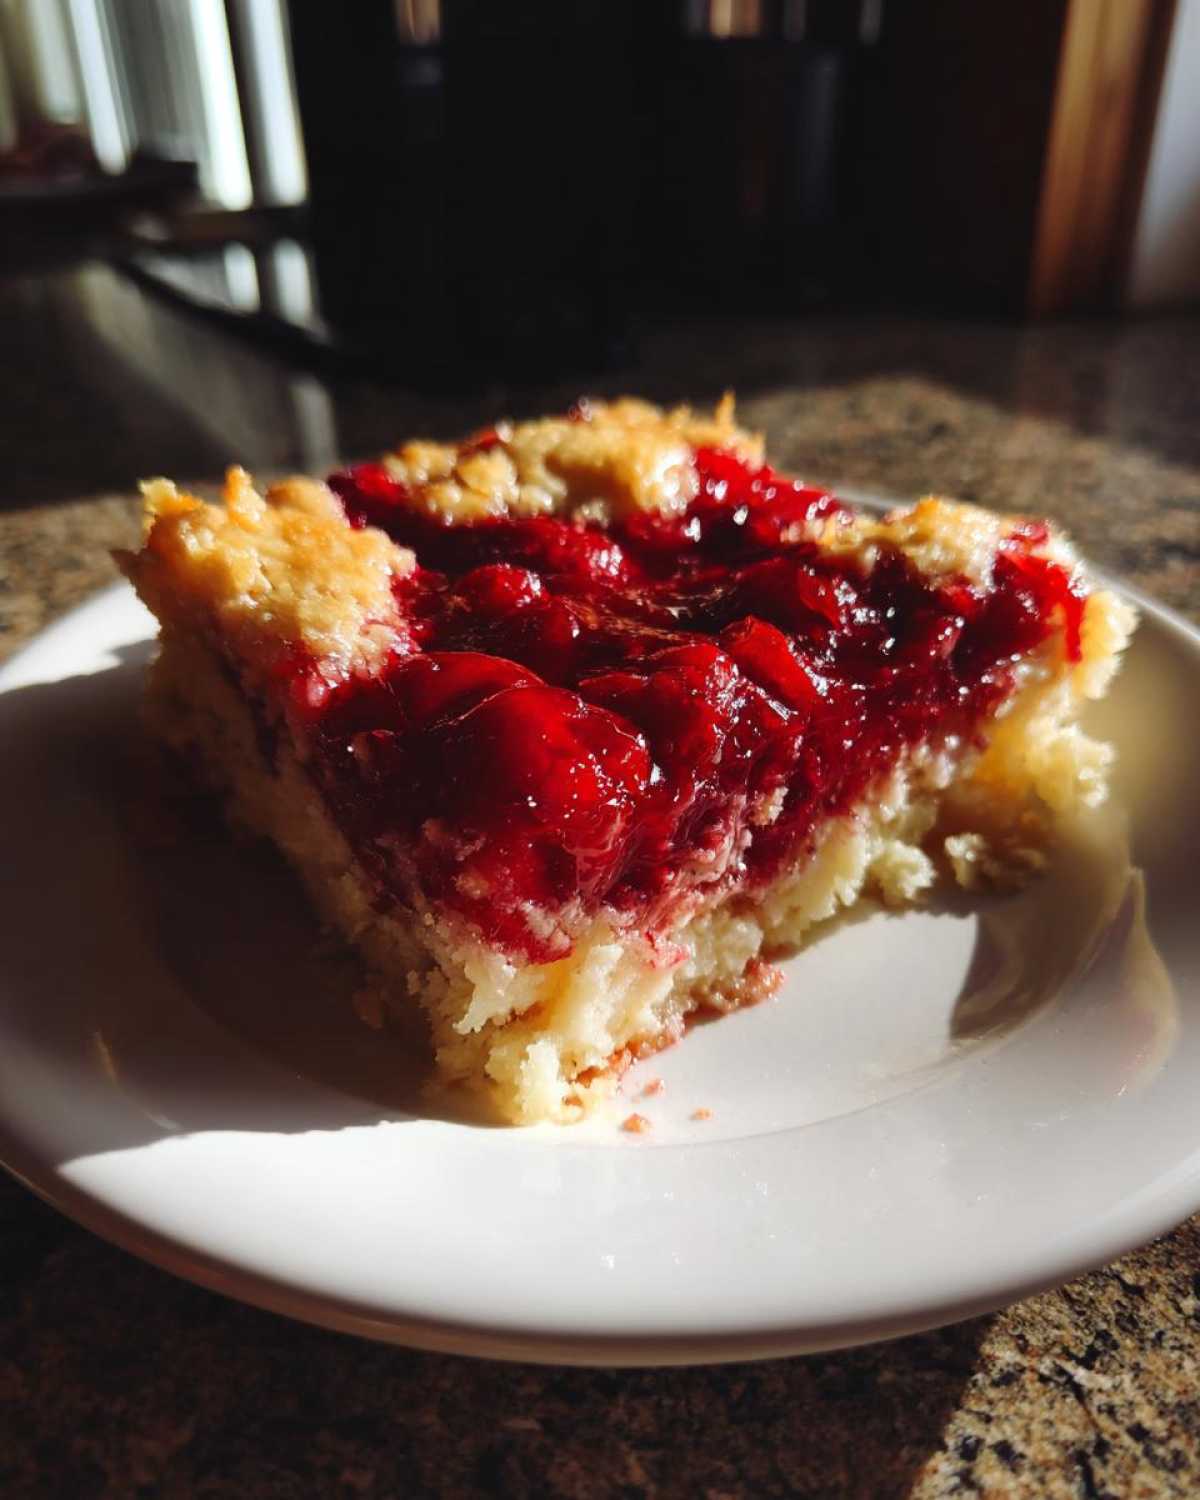
If you want this cherry dump cake to go from ‘good’ to ‘OMG, what is this magic?’ it all comes down to that buttery topping. Since we aren’t mixing anything, the butter has to do a lot of heavy lifting to create that crisp, slightly chewy layer. Trust me, getting that butter distribution right is the silent secret to a top-tier buttery topping cake.
I learned the hard way that if you just dump all the melted butter in the middle, you end up with a soggy middle section and dry edges. Disaster! When you pour that melted butter over the dry cake mix, go slowly and try to trace circular, overlapping paths. Think about painting a very thin, even coat across the entire surface. This ensures that every speck of dry cake mix has enough fat to toast up nicely in the oven.
Also, don’t be tempted to peek too early! As I mentioned earlier, sometimes folks cut back the butter slightly for a crisp texture, but if you’re looking for that classic, slightly gooey crunch, stick to the full two sticks unless your cherries are already really thick. The baking time is crucial here too. If you pull it out too soon because the edges look great, the center of that topping will still be soft and paste-like. You need that bubbling filling to give the topping structure underneath.
For those of you who love a really rustic, crunchy edge—the kind that flakes when you cut it, similar to my apple turnovers—I recommend angling the baking dish a little bit as you pour the butter, just to encourage more butter to pool near the corners. Those corners will crisp up beautifully while the center stays delightfully gooey. It gives you the best of both worlds in one simple pan!
Serving Suggestions for Your Gooey Baked Cherry Dessert
Okay, you’ve pulled that amazing, bubbling, hot dessert out of the oven. Now what, right? While the cherry dump cake is fantastic just by itself—it’s practically a complete meal in sugary form—it really shines when dressed up a little bit. This is the perfect time to bring out the classics, especially if you’re taking this to a party. It’s a guaranteed hit for any Potluck Desserts table!
Of course, you can’t go wrong with a big scoop of vanilla ice cream. The contrast between that hot, rich cherry filling and the cold, creamy ice cream melting all over that crunchy, buttery topping is just heaven. Seriously, don’t skip the ice cream. If you’re looking for something a little lighter but still perfectly sweet, whip up some fresh, real whipped cream. A dollop on top just sets it off perfectly.
If you happen to have some extra time—which, if you’re making a dump cake, I doubt you do, ha!—a drizzle of caramel sauce or even a sprinkle of chopped pecans on top of the whipped cream adds a neat textural contract. I always recommend bringing this warm, even if you have to reheat it slightly at the venue. Nothing beats that smell when it comes out of the oven!
If you need some ideas for savory dishes to go alongside this sweet treat, make sure you check out my recipe for Chicken Caesar Pasta Salad. It’s always the first thing gone at the potluck!
Variations on the Classic Cherry Dump Cake
While the 3-ingredient version is perfect, sometimes you just want to jazz things up a little bit without adding any extra steps, right? That’s why I love experimenting with this base recipe. It’s so simple, it practically begs for a little customization. If you’re looking for more ways to use cherries, I have a fantastic Cinnamon Apple Baked Oatmeal recipe that uses similar fruit prep, but this dump cake base is truly versatile for all kinds of Cherry Dessert Recipes.
You don’t need to overcomplicate things to make an impression. Think of the dry cake mix as your blank canvas for flavor!
Chocolate Cherry Dump Cake Swap
This is probably my favorite quick upgrade in the winter months. Instead of using the yellow cake mix, grab a box of chocolate cake mix! You still use the canned cherry pie filling underneath—don’t change that; the tart cherries and the rich chocolate are just incredible together. The resulting topping is dark, fudgy on the bottom, and slightly crisp on top. It tastes like a gourmet Black Forest-inspired treat, but it took you five minutes to assemble.
Adding Crunch and Texture with Nuts
If you want to elevate this recipe for a holiday gathering, nuts are a super easy way to go. You can sprinkle about a half-cup of chopped pecans or walnuts directly over the dry cake mix *before* you pour on the butter. They toast up beautifully in the oven and give this otherwise soft dessert a lovely, satisfying crunch in every bite. It makes it feel much more intentional, even though you did absolutely nothing extra!
A Brighter Flavor with Fresh Citrus
For a lovely, bright variation, especially in the summertime, try adding a little zip. JustBefore you pour the melted butter, zest one full lemon right over the top of the dry cake mix layer. The lemon zest doesn’t need to be mixed in—it will simply bake into the topping, giving the whole thing a sunny, sharp lift against the sweet cherries. It tastes so fresh, almost like a simple cherry cobbler, honestly!
Storage and Reheating Instructions for Leftover Cherry Dump Cake
If you manage to have any leftovers of this incredible cherry dump cake—which, let’s be honest, is rare—storing it is super easy. Cover the dish tightly with foil or plastic wrap. I usually leave it right on the counter for about a day if it’s cool in the house, since it’s so high in sugar. But if you’re waiting longer, pop it into the fridge. Make sure it’s sealed up well, though, especially if you’ve topped it with ice cream!
When you want to enjoy that gooey filling and that perfect buttery topping cake again, reheating is key. The microwave is your friend when you want it fast—just zap a slice for about 30 seconds until it’s warm through. If you want to save that crispy topping texture, though, a few minutes in a toaster oven or a low oven (around 300 degrees) works best to crisp it back up without turning the bottom into soup. Serve it warm, just like the first time!
Frequently Asked Questions About This Simple Cherry Cobbler Recipe
I know you might have a few questions swirling around, especially if this is your first time making a true dump cake. It’s so different from regular baking, but that’s what makes it one of my favorite Easy Desserts! Here are the things folks ask me most often about this unbelievably simple recipe.
Can I use fresh or frozen cherries instead of pie filling?
That’s a great question about maximizing freshness! While you absolutely *could* use fresh or frozen cherries, it changes the whole dynamic of this cherry dump cake. The canned pie filling is sweetened and thickened already, which is what gives the classic ‘gooey’ texture when it interacts with the dry cake mix. If you use fresh cherries, you would need to toss them with sugar and cornstarch first to create that syrup. For the ultimate Last Minute Dessert Ideas experience, stick to the can!
I only have a square 8×8 inch pan. Can I still make this?
Yes, you totally can adapt it! The recipe calls for a 9×13 inch dish, which is great for big crowds, but the 8×8 square pan is perfect for smaller families. If you use that smaller pan, you might want to cut back the ingredients a bit! For an 8×8, I recommend using just half a can of cherry filling, half a box of cake mix, and about 1 stick (1/2 cup) of melted butter. Keep an eye on the baking time too; it might cook a little faster since the layers are deeper.
What happens if the butter doesn’t cover the cake mix completely?
Oh, don’t panic if that happens! I’ve had days where my butter decided to go Rogue. If you have dry spots, your topping might end up a little dry or crumbly in that area instead of developing that beautiful, moist, buttery crust. If you realize it right away, just melt a tiny bit more butter (maybe two tablespoons) and drizzle it gently over the bare spots. If it’s already in the oven, just try to visually check the dry spots when you check the bubbling—if they look pale, they probably won’t brown up well.
Can I use a different flavor of cake mix?
Absolutely! That’s the fun part about a dump cake with cake mix! I mentioned the chocolate one earlier, which is divine with cherry. White cake mix works beautifully and gives you a slightly lighter topping. Spice cake mix is fantastic for a fall twist! The only one I’d caution against is maybe something heavily flavored like lemon or strawberry, because it can clash with the tartness of the cherry filling. Stick to vanilla, white, or chocolate for the best results every time!
If you’re making this for a lunch crowd and need some lighter fare for the main course, you have to try my Mason Jar Taco Salad recipe!
Estimated Nutritional Data for One Serving of Cherry Dump Cake
I know some of you are keeping track of macros, or maybe you just want to know what you’re getting yourselves into with this sugary goodness! Since this cherry dump cake is a pure indulgence, it definitely clocks in as a treat, but knowing the basics helps, right? Here is the estimated nutritional breakdown based on using the standard 3-ingredient method and cutting it into 10 servings.
Remember, I’m a baker, not a dietitian, so take these numbers as a fun guideline rather than gospel for your daily intake! For all the nitty-gritty legal details about nutritional estimates on my site, you can always check out my official disclaimer page.
- Serving Size: 1 slice
- Calories: About 350 per slice
- Total Fat: Around 19 grams (That’s where that lovely buttery topping comes from!)
- Total Carbohydrates: Roughly 45 grams
- Protein: About 3 grams
You can see there’s a decent amount of sugar and fat here, which is what makes this such a comforting, gooey baked cherry dessert—it’s packed with flavor! These numbers can shift a bit depending on the exact brand of pie filling you choose and whether you swap out that yellow cake mix for a different type. Regardless, keep a good scoop of vanilla ice cream handy!
PrintEasy 3-Ingredient Cherry Dump Cake
Make this simple cherry dump cake with only three ingredients. This no-fuss dessert requires no mixing bowl and bakes into a gooey fruit base with a buttery, crisp topping.
- Prep Time: 5 min
- Cook Time: 50 min
- Total Time: 55 min
- Yield: 10 servings
- Category: Dessert
- Method: Baking
- Cuisine: American
- Diet: Vegetarian
Ingredients
- 1 (21 ounce) can cherry pie filling
- 1 (15.25 ounce) box yellow cake mix
- 1 cup (2 sticks) unsalted butter, melted
Instructions
- Preheat your oven to 350 degrees Fahrenheit. Lightly grease a 9×13 inch baking dish.
- Pour the entire can of cherry pie filling into the prepared baking dish. Spread it evenly across the bottom.
- Sprinkle the dry yellow cake mix evenly over the layer of cherry filling. Do not stir or mix the layers.
- Pour the melted butter slowly and evenly over the dry cake mix layer.
- Bake for 45 to 55 minutes, or until the topping is golden brown and the filling is bubbly around the edges.
- Let the cake cool for at least 15 minutes before serving.
Notes
- For a richer flavor, use a white or butter cake mix instead of yellow.
- Serve warm with a scoop of vanilla ice cream or whipped cream.
- If you prefer a crispier topping, use slightly less butter, about 3/4 cup.
Nutrition
- Serving Size: 1 slice
- Calories: 350
- Sugar: 35
- Sodium: 280
- Fat: 19
- Saturated Fat: 11
- Unsaturated Fat: 8
- Trans Fat: 0.5
- Carbohydrates: 45
- Fiber: 1
- Protein: 3
- Cholesterol: 45