

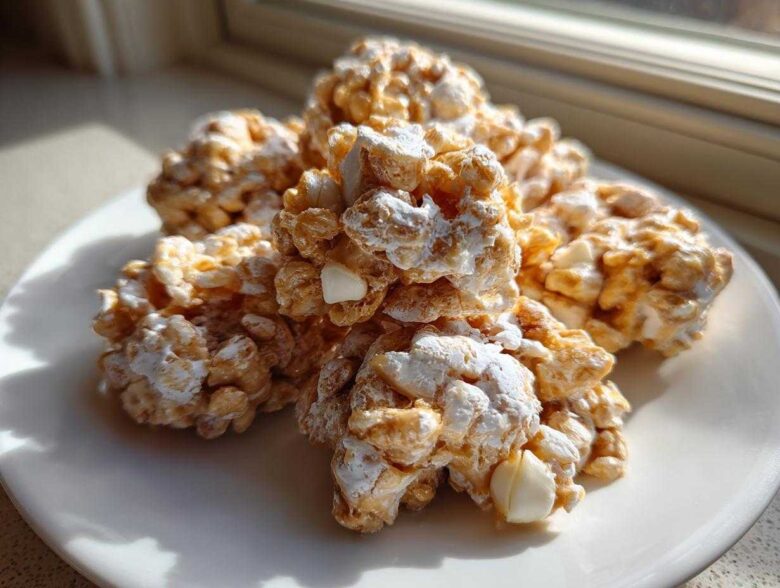
Oh my gosh, if you are staring into your pantry after 5 PM and realizing you promised to bring something to a gathering *tomorrow*, stop stressing! I live for those moments because it means I get to whip up my ultimate secret weapon: **avalanche cookies**. Seriously, these things are magic. They are completely no-bake, which is my favorite category of baking—if an oven isn’t involved, I trust it! I’m talking totally ready in minutes. You just melt, stir, scoop, and chill. I keep the ingredients stocked year-round because when emergency cookie duty calls, usually around Christmas or when neighbors drop by unexpectedly, these crunchy, sweet, peanut-buttery mounds save the day every single time. You’re going to adore how simple this process is, trust me!
They’re the perfect combination of chewy pillows (hello, mini marshmallows!) and satisfying crunch from the crispy cereal, all held together by that dreamy white chocolate and peanut butter coating. They travel beautifully and they look impressive without any actual baking skill required whatsoever. You absolutely need these in your rotation of go-to recipes!
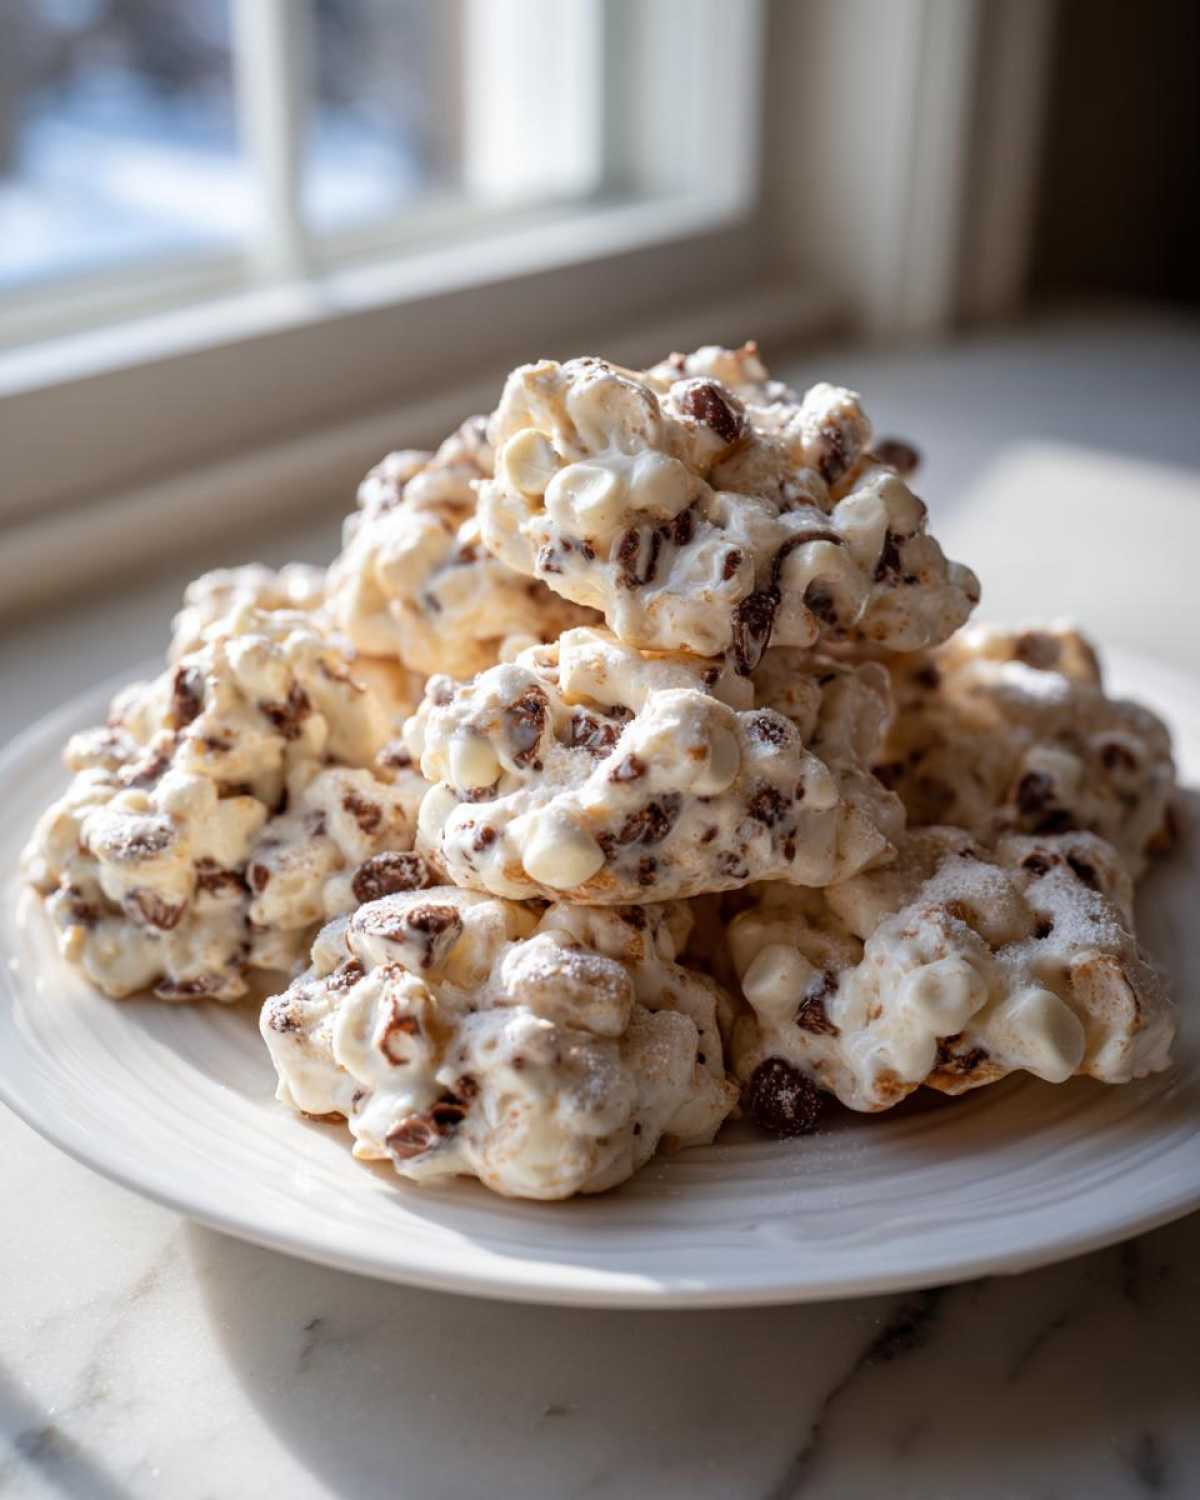
Why These Classic Avalanche Cookies Are Your New Favorite Quick Treats
What’s not to love? These absolutely shine because they hit that trifecta every busy baker needs: speed, simplicity, and incredible texture. I swear, one bite and you get that perfect chewy-crunchy satisfaction. They’re not heavy like fudge, but they’re satisfying like a rich candy. If you’re looking for fantastic easy dessert recipes that take zero fuss, this is it. They’re so quick, you might even make them twice in one week!
Ready in Minutes: The Ultimate No Bake Cookies Experience
Let’s look at the time chart—it’s impressive, right? Active time is truly under 15 minutes total. You’re just waiting for the microwave to do the hard work! You don’t even have to worry about preheating; this is the definition of no oven baking whatsoever. While the total time is slightly longer because they need to set, the hands-on time is unbelievably short, making them perfect for those evenings when you need a sweet snack *right now*.
Perfect for Sharing: Holiday Cookie Recipes and Potluck Desserts
Whenever I have to put together a massive cookie tray for a party or a neighbor gift exchange, these are the first things I make. The avalanche cookies hold their shape so well—no crumbling or melting (unless it’s really hot!). They are staples on my favorite holiday cookie recipes list. Plus, packing these up as potluck desserts is genius; they look homemade and everyone asks for the recipe!
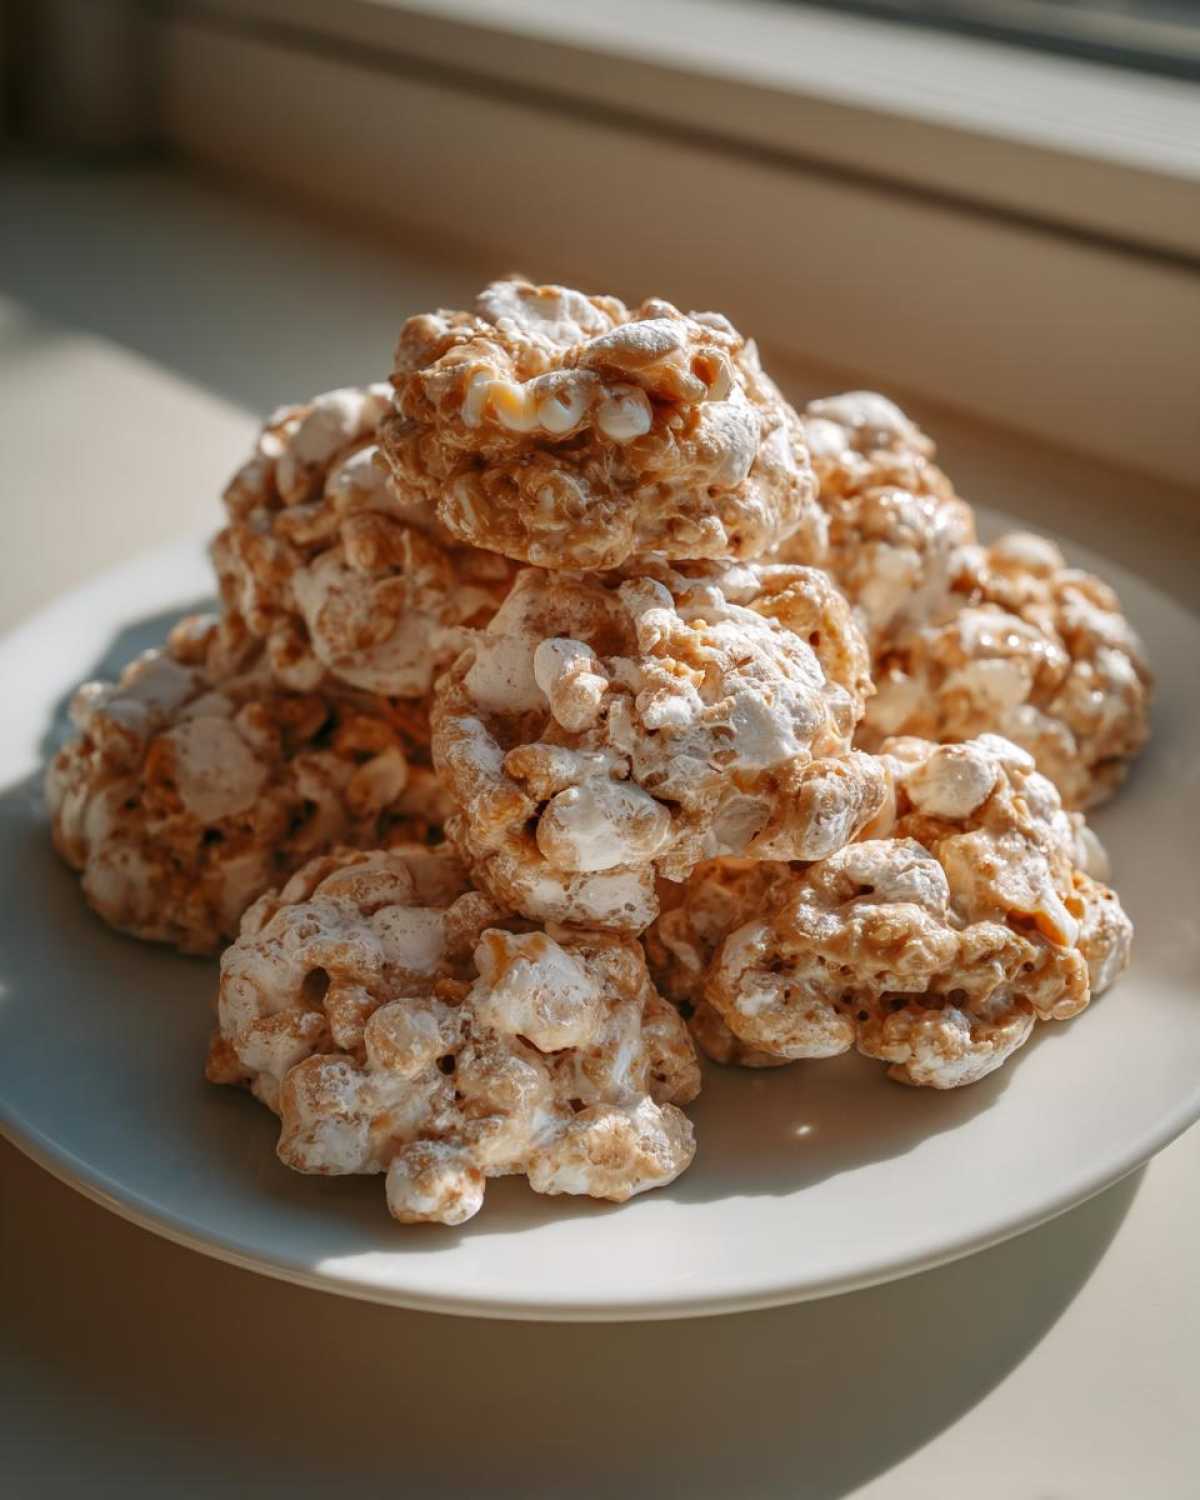
Gathering Ingredients for Perfect Avalanche Cookies
Okay, the ingredient list for these is short and sweet, which is exactly what we need when we’re racing the clock! The success of these no bake cookies really hinges on getting the right texture, and that means being a little fussy about the main players. My absolute rule is that you have to use good quality white chocolate chips. Don’t skimp here! If you use waxy chips, they won’t melt down correctly and you’ll end up fighting your mixture the whole time. I usually buy the big bag because, honestly, these disappear fast.
The rest is pretty straightforward, but make sure you follow my list exactly for the right batch size:
- 12 ounces white chocolate chips
- 1 cup creamy peanut butter
- 6 cups crispy rice cereal
- 2 cups mini marshmallows
- 1 cup powdered sugar (for dusting, optional)
Ingredient Notes and Substitutions for Your Avalanche Cookies
Let’s talk specifics because this is where we separate the good batches from the great ones. You *must* use creamy peanut butter here. Crunchy peanut butter throws off the whole structure because the nuts disrupt the smooth coating we need. We want a dense, easily spreadable base, not a lumpy one!
Also, for the marshmallows, don’t grab the huge ones—they absolutely have to be the mini ones. They mix in so much faster and distribute evenly through the chocolate coating. If you want to try that *other* famous flavor profile, you can easily make a combo version. Just swap out half of your white chocolate chips for semi-sweet chocolate chips. That gives you an amazing chocolate peanut butter no bake flavor that’s a little less sweet and equally addicting. It’s a great way to use up leftover chips, too!
Step-by-Step Guide to Making No Bake Avalanche Cookies
This is the fun part, but listen closely because timing is everything here! Since we aren’t using the oven, the microwave is our best friend, but we have to be careful not to scorch that beautiful white chocolate. Get your baking sheet lined with parchment paper first—seriously, don’t skip this step, or you’ll be scraping these treats off the metal all night long!
Melting the Base: White Chocolate and Peanut Butter
Grab your big microwave-safe bowl. Toss in all the white chocolate chips and the creamy peanut butter. You’re going to zap this in 30-second bursts. Don’t walk away! After each 30 seconds, pull it out and stir it really well, even if it doesn’t look melted yet. The residual heat keeps working! You want it completely, utterly smooth before you even think about adding anything else. This usually takes me about a minute and a half total, but watch it closely so you don’t burn the chocolate.
Mixing and Dropping Your Avalanche Cookies
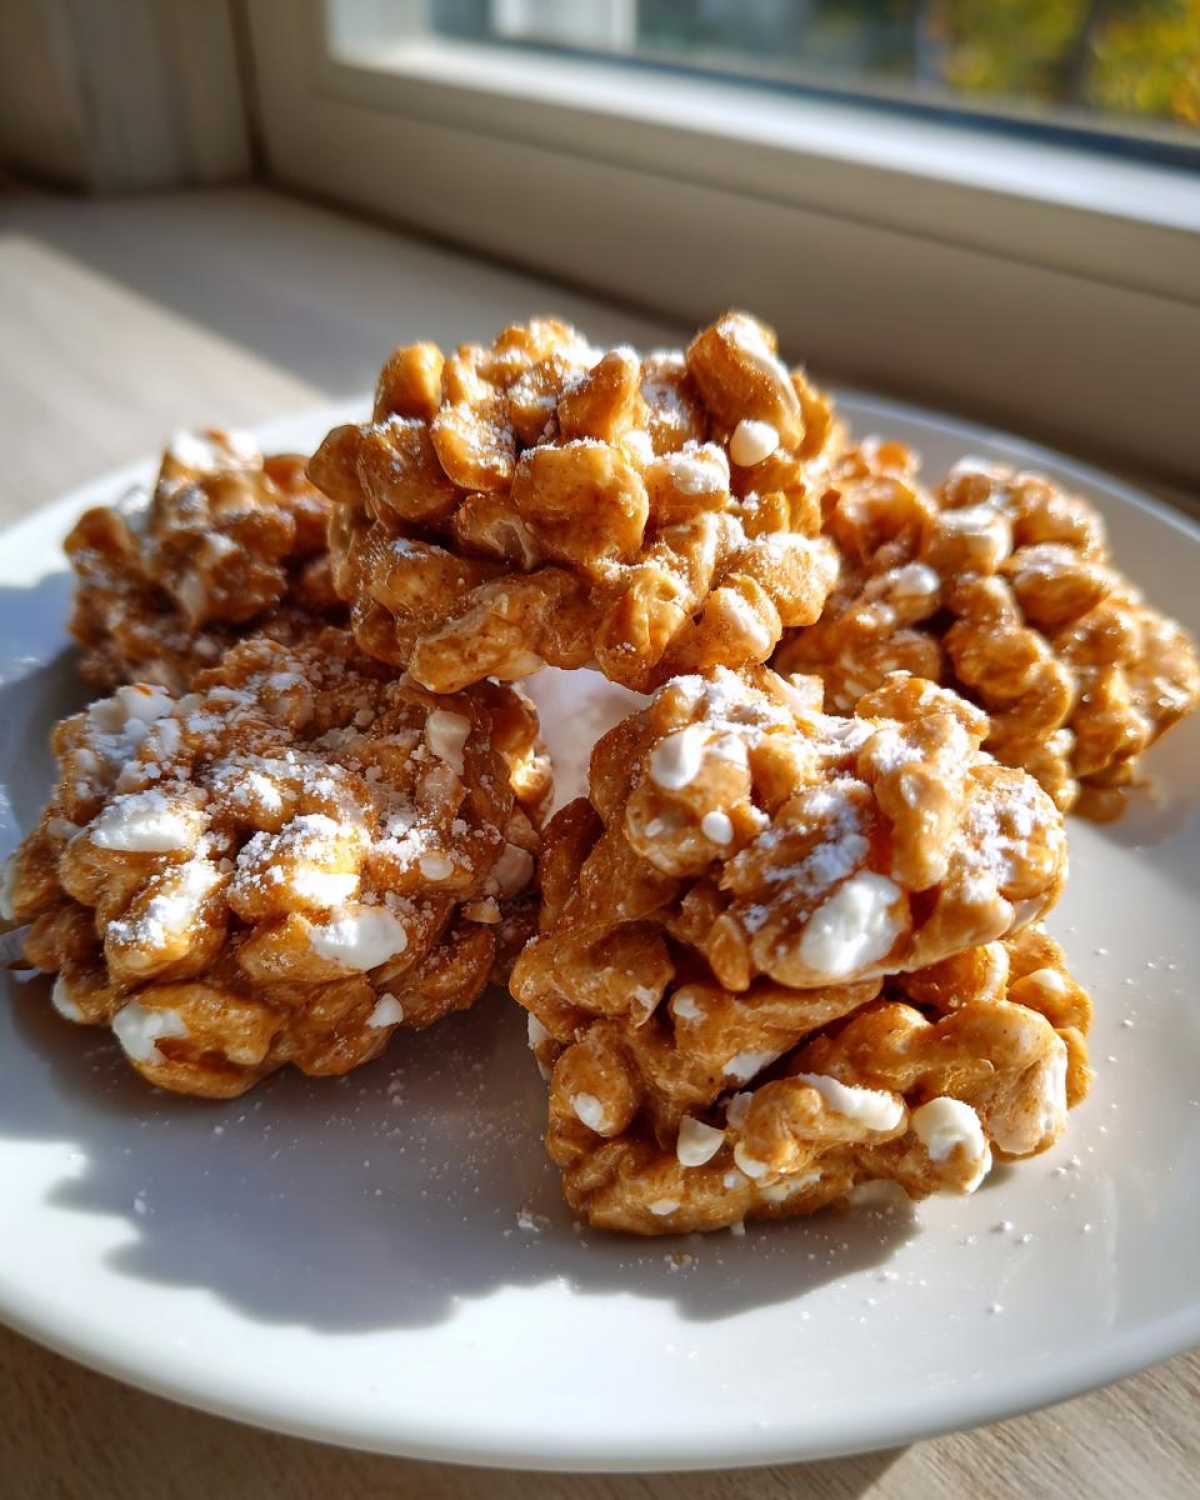
Once that base is glossy smooth, you have to move quick! Dump in the entire six cups of crispy rice cereal and all those mini marshmallows. Use a sturdy spatula and fold everything together *fast*. You need that coating nice and even before the peanut butter mixture starts to firm up on you. Once it’s mixed, scoop tablespoon-sized mounds right onto that waiting parchment paper. If you want that classic snowy look, this is the moment! Dust them right away with powdered sugar before they cool down too much. A quick 15 minutes in the fridge and these easy candy clusters are rock solid and ready to go!
Tips for Perfect Avalanche Cookies Every Time
Even though these are quick treats and no-bake, there are definitely a few things you can do to make sure they turn out perfectly every single time you make them. I learned these the hard way after accidentally making a batch that was too sticky one year!
First, let’s talk about those marshmallows. If you toss them in straight from the bag and they’ve been sitting in a cold spot, they can sometimes be stiff little rocks that just don’t want to mix in. If your marshmallows are feeling hard, just toss them into a small bowl and microwave them for about 10 seconds. They just need to be soft and pliable so they mix easily with the cereal without pulling apart the chocolate coating when you stir.
My biggest panic moment is always when the white chocolate mixture starts to seize up in the bowl before I’ve dumped in the cereal. That means you either microwaved it too long, or you had even one microscopic drop of water in your bowl or on your spoon. Water + melted white chocolate = instant grainy mess! If this happens, don’t panic! You can sometimes save it by adding a tiny splash of neutral oil, like canola or vegetable oil, and stirring like crazy until it loosens up again. It won’t be quite as pretty, but it’ll still taste great.
Also, when you’re dropping them onto the parchment paper, use a cookie scoop if you have one. It keeps your hands cleaner and makes sure every one of these simple sweet snacks is a uniform, friendly size. They are going to look sort of messy right after you scoop them, like little mounds of fluffy snow, but don’t try to smooth them out! That rugged, uneven look is what gives them their wonderful name.
Finally, because we are in a hurry, chilling them works wonders. While room temperature setting is fine, giving them a quick 15 minutes in the fridge guarantees they are firm enough to handle and transport immediately. If you plan on dusting them with powdered sugar, wait until they have set for about five minutes first, otherwise, the sugar sinks right into the wet chocolate instead of sitting nicely on top!
Variations: Beyond the Classic Avalanche Cookies Recipe
While the classic white chocolate and peanut butter flavor is what made me fall in love with these avalanche cookies, they are just begging to be customized! Everyone I know eventually starts playing chemist with this base recipe, and honestly, I encourage it. It’s such a good foundation for tossing in whatever sweet or salty thing you have lying around. Think of it like a reverse Rice Krispies treat—you’re just adding goodies to the melted coating!
My favorite customization, which I mentioned briefly before, is the dual chocolate version. If you find pure white chocolate a little too sweet sometimes, try replacing exactly half of the white chocolate chips with semi-sweet or milk chocolate chips. You get that beautiful marbling effect when you stir everything together, and it balances the sweetness perfectly. It’s honestly my go-to when I’m making a big batch for the office because it seems to appeal to everyone!
Another fun twist relates to that rice krispies treats variation idea. Have you ever tried swapping out some of the crispy rice cereal? I’ve done this successfully! You can replace up to two cups of the cereal with something else crunchy. Chopped pretzels work amazingly if you want a salty kick—just make sure you dice them small so they mix well. You could even use cornflakes for a slightly different crunch profile, though the cereal ratio might need minor tweaking depending on how much you substitute.
And if you like things extra busy, feel free to fold in chopped nuts like peanuts or pecans right at the very end, along with the marshmallows. Just remember, if you add too many chunky things, you might need to work even faster when scooping, because the mixture will cool down quicker as you stir! It’s all about finding the perfect texture for your preferred mix-ins!
Storage and Serving Suggestions for Your Avalanche Treats
Since these **avalanche cookies** don’t have any eggs or actual baking involved, the storage is a breeze, which I absolutely love. You definitely don’t want to keep these in the fridge unless your kitchen is ridiculously hot, because the cold air can make the white chocolate coating go dull and soft.
The best way to keep them pristine is simple: an airtight container at room temperature. That’s it! Because of the high sugar content holding everything together, they stay perfectly fine—even for a whole week! I’ve tested this rigorously, trust me. They’re fantastic straight from the counter a few days later, still retaining that essential chewy-crunchy structure we aimed for. They even pack well, making these the best easy candy clusters for shipping or traveling to faraway relatives.
When it comes to serving them, you have so many options! Honestly, they are amazing all by themselves when you need that quick sugar fix. However, I find they pair up beautifully with a strong cup of coffee or maybe a cold glass of milk. They’re rich enough that one cookie feels like a satisfying treat, so you don’t need much else on the plate.
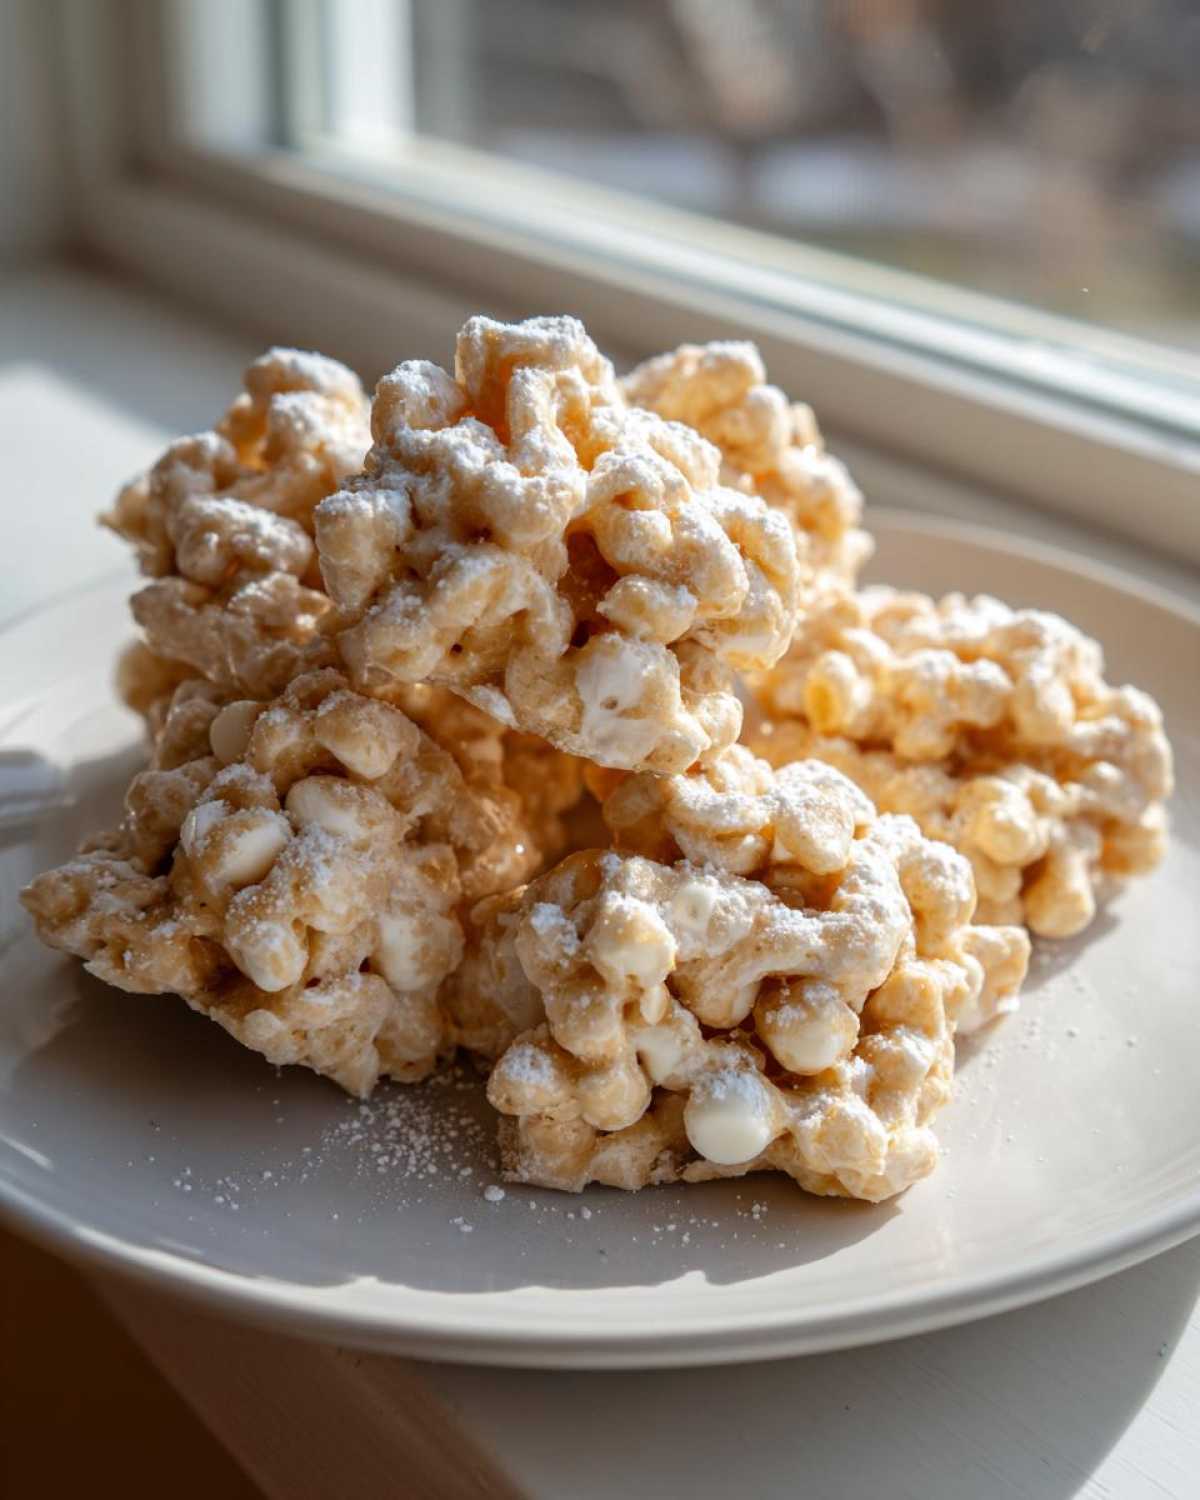
If you’re serving them for a big gathering, try lining them up on a platter next to some dark chocolate brownies or maybe some fruit. The contrast in color and texture really makes the snowy white of the **avalanche treats** pop! Because they are so ridiculously simple, I often serve them as the ‘surprise’ final dessert when people are expecting me to pull out something complicated. They never disappoint!
Frequently Asked Questions About Avalanche Cookies
I always get a ton of questions once people try my recipe—mostly because they can’t believe how easy it is! Here are a few things folks commonly ask me when they’re whipping up their first batch of these sweet little mounds.
Can I make these avalanche cookies using only four ingredients?
Absolutely, you totally can! If you look at my ingredient list, you’ll see that the powdered sugar dusting is listed as optional. If you skip that final snowy dusting, you are left with just the peanut butter, white chocolate, cereal, and marshmallows. That means you’ve got a fantastic four ingredient dessert! It’s still unbelievably delicious, though I truly love that little extra touch of powdered sugar for looks.
How long do these no bake cookies take to set?
This is fantastic news for anyone who needs this recipe *yesterday*. The active cooking time is basically zero! Once you scoop them onto the parchment paper, you just need to let them firm up. If you’re patient and your kitchen isn’t too hot, they’ll be solid enough to handle in about 30 minutes left on the counter at room temperature. But if you’re like me, running late for an event, pop them in the fridge! They’ll be perfectly set and ready to pack in about 15 minutes. It really fits into any schedule, making it one of my favorite no longer than 15 minute recipes for active work!
Another big question I get is about crunchy vs. creamy peanut butter. Stick to creamy! Crunchy nuts stop that lovely white chocolate coating from binding everything together properly. You want a smooth matrix, not a lumpy one for this specific recipe.
And finally, why are my cookies soft? Usually, this happens for two reasons: either you added too many marshmallows (which are soft on their own!) or you didn’t let the white chocolate mixture cool down *slightly* before stirring in the cereal. If the mixture is super hot, everything stays gooey longer. If you want proper peanut butter cookies no bake clusters, don’t rush the chilling process!
Nutritional Estimates for These Simple Sweet Snacks
Alright, let’s talk numbers just so you know what you’re getting into with these incredible **avalanche cookies**. Now, I want to be super clear right up front: since these are held together by chocolate, peanut butter, and marshmallows, these are definitely a fun, sweet treat—not diet food! These estimates are based on making about 24 cookies, assuming standard brand measurements. Treat these figures as close guides rather than exact science, because the exact brand of chocolate or peanut butter you use can change things slightly. For the most accurate count, you’d want to check the labels on your specific products!
I always look at this list while feeling good about the fact that I didn’t even turn on the oven. It’s such a win! We’re looking at good healthy fats from the peanut butter, which helps keep you feeling full longer, and of course, some sugar to make them taste like pure happiness. Because these are rich, one cookie is usually plenty to satisfy that sweet craving.
Here’s a general breakdown per cookie:
- Serving Size: 1 cookie
- Calories: 185
- Sugar: 18g (Yep, that’s where the fun comes from!)
- Fat: 10g
- Saturated Fat: 5g
- Carbohydrates: 23g
- Protein: 4g
It’s always good to keep these estimates in mind, especially when you’re making a huge batch for the holidays or setting them out for a bake sale! You can find more detailed information about our recipe safety and sourcing over on our disclaimer page if you have specific ingredient concerns. Enjoy them responsibly!
Share Your Avalanche Cookies Creations
Now that you’ve tasted the sweet, sweet magic of these ridiculously simple **avalanche cookies**, I absolutely want to hear all about it! Seriously, whipping up a batch of these no-bake wonders is such a satisfying victory, and sharing the results just makes it better.
If you made these for a party, a neighbor gift, or just for yourself (no judgment here!), please do me a huge favor and give the recipe a star rating right down below in the comments section. That honest feedback really helps other folks know that they’re heading toward a guaranteed sweet success when they try this recipe. I love seeing those little stars pile up!
And if you’re feeling social media savvy, snap a picture! I’m always looking for new ways people are serving these up. Tag me when you post pictures of your beautiful clusters on Instagram or Facebook. Are you dusting them heavily with sugar? Did you try the chocolate variation? Did you make them mini-sized for portion control?
I also want to hear your best serving suggestions! Do you love them with a piping hot cup of tea, or are they best eaten straight out of the fridge? Drop all those fun ideas, questions, or success stories in the comments section below. You can reach out to me directly if you have any super specific questions about ratios or substitutions by visiting our contact page. Happy scooping!
PrintThe Best Easy No-Bake Avalanche Cookies (Classic Peanut Butter & White Chocolate)

Make these simple, no-bake avalanche cookies using white chocolate, peanut butter, and crispy cereal. They set fast and are perfect for holiday trays or quick treats.
- Prep Time: 10 min
- Cook Time: 2 min
- Total Time: 12 min
- Yield: About 24 cookies
- Category: Dessert
- Method: No-Bake
- Cuisine: American
- Diet: Vegetarian
Ingredients
- 12 ounces white chocolate chips
- 1 cup creamy peanut butter
- 6 cups crispy rice cereal
- 2 cups mini marshmallows
- 1 cup powdered sugar (for dusting, optional)
Instructions
- Line a baking sheet with parchment paper.
- In a large microwave-safe bowl, combine the white chocolate chips and peanut butter.
- Microwave in 30-second intervals, stirring well after each interval, until the mixture is completely smooth and melted. This usually takes 1 to 2 minutes total.
- Quickly stir in the crispy rice cereal and mini marshmallows until everything is evenly coated with the chocolate mixture. Work fast before the chocolate sets.
- Drop rounded tablespoons of the mixture onto the prepared baking sheet. You can form them into rough mounds or drop them as clusters.
- If using, lightly dust the tops of the cookies with powdered sugar immediately after dropping them.
- Let the cookies set completely at room temperature for about 30 minutes, or chill them in the refrigerator for 15 minutes until firm.
Notes
- For a chocolate version, substitute semi-sweet chocolate chips for half of the white chocolate chips.
- If you prefer a cleaner look, you can skip the powdered sugar dusting.
- Store leftovers in an airtight container at room temperature for up to one week.
Nutrition
- Serving Size: 1 cookie
- Calories: 185
- Sugar: 18
- Sodium: 95
- Fat: 10
- Saturated Fat: 5
- Unsaturated Fat: 5
- Trans Fat: 0
- Carbohydrates: 23
- Fiber: 1
- Protein: 4
- Cholesterol: 5