

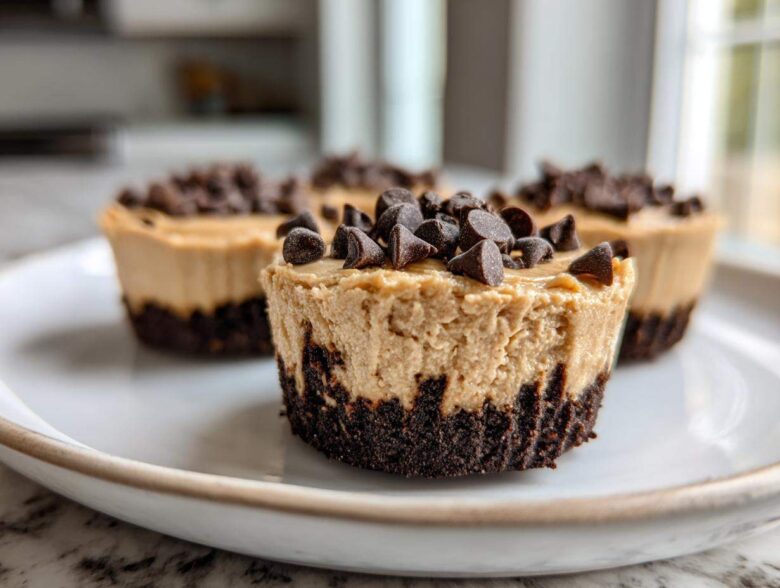
Oh my gosh, are you having one of those days where you absolutely need something sweet, rich, and intensely satisfying, but the thought of turning on the oven makes you sweat? I know I am! That’s when I whip up a batch of these amazing No-Bake Chocolate Peanut Butter Cheesecake Cups. Trust me, these little beauties are my secret weapon for sudden dessert emergencies.
When I first started making these, it was right after hosting a massive backyard BBQ. Everyone was sugared out on pie, but I had this massive craving for PB and chocolate that just wouldn’t quit. I needed something fast, something I could make ahead, and something where I didn’t have to worry about setting a timer and praying the center bakes correctly. These individual cheesecake cups check every single box. They give you that glorious, creamy, decadent cheesecake texture, but they’re perfectly portion-controlled, and the best part? Zero baking time required!
I’ve paired the sharp tang of cheesecake with the deep richness of chocolate cookies and creamy peanut butter. It’s pure magic in a mini liner. If you want the ultimate quick fix that tastes like you labored over it for hours, stick with me. You’ll want to make these simple dessert cups immediately! They are just as amazing as my Easy Mini Cheesecake Bites, but with a chocolate PB punch.
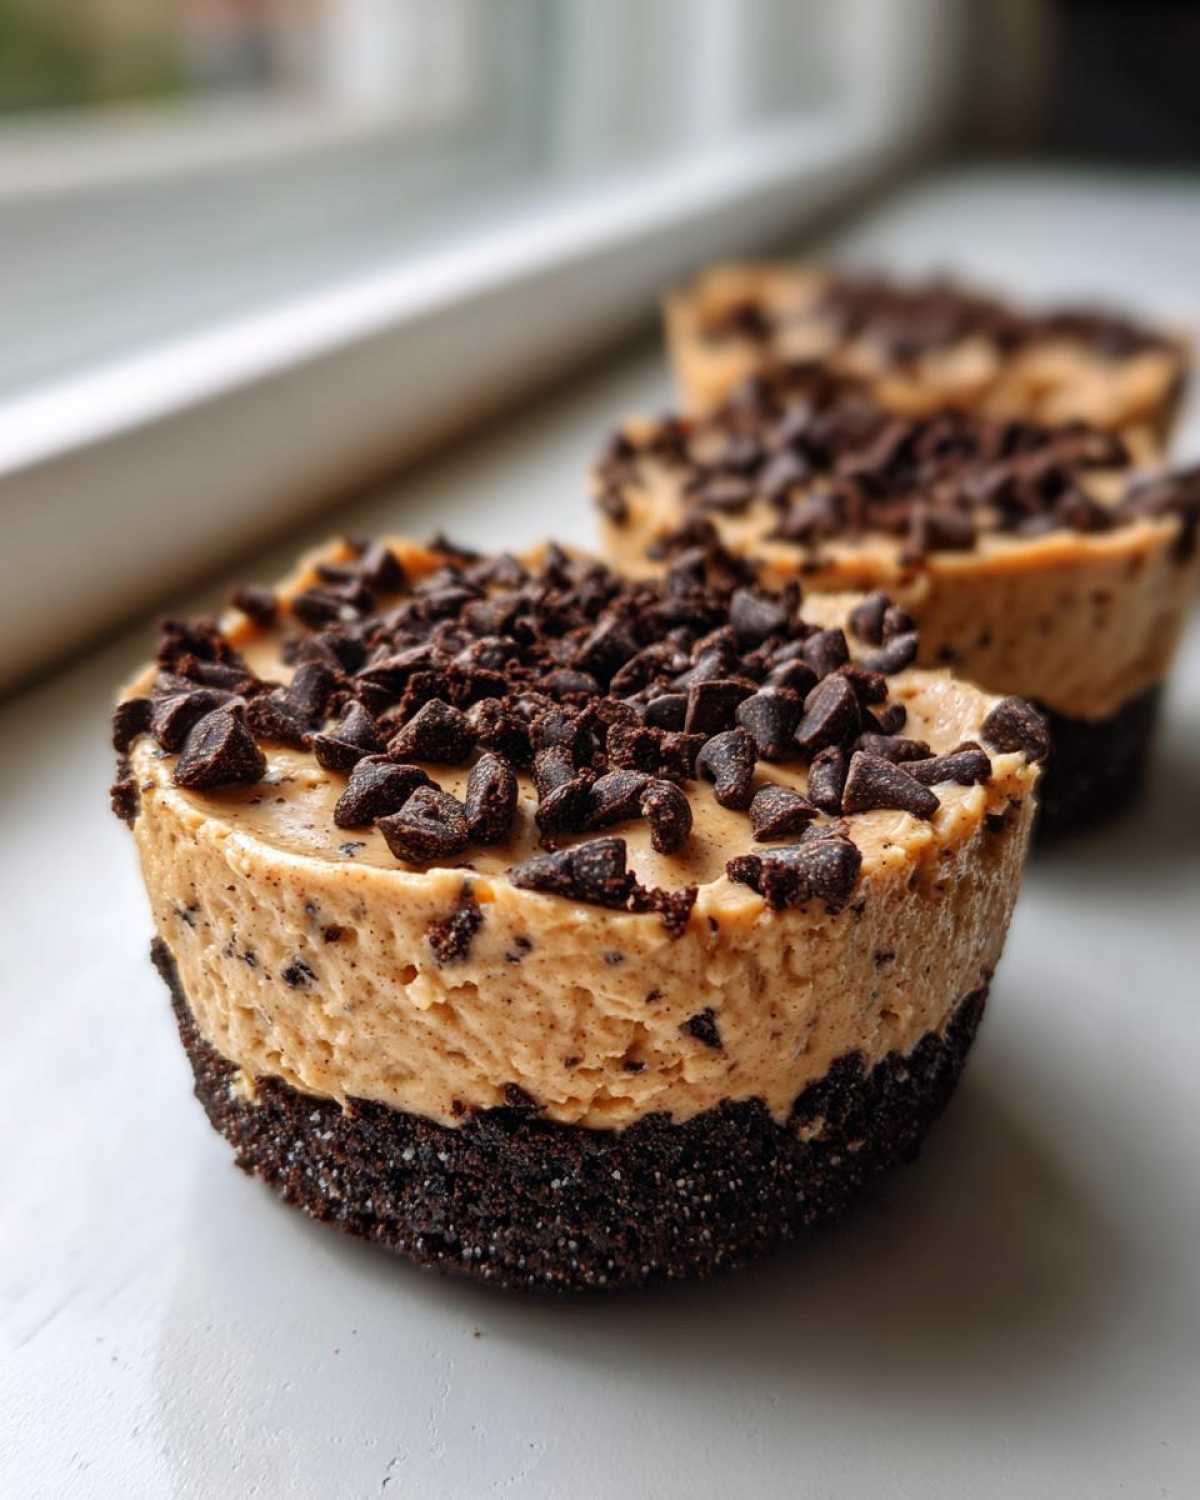
Why You Will Love These No-Bake Chocolate Peanut Butter Cheesecake Cups
I promise these little dessert cups will become your new go-to when a craving hits. They manage to be utterly decadent while still being unbelievably simple to pull together. Seriously, they are my favorite No Bake Dessert Ideas for a reason!
- No oven needed! This is my favorite part—no preheating, no worry about cracks.
- Perfect portion control. Grab one or two; no need to slice up a giant cake!
- They travel beautifully, making them perfect for potlucks or school events.
- The flavor combo of creamy cheesecake, rich chocolate, and salty peanut butter is unbeatable.
If you need something fast, these No-Bake Chocolate Peanut Butter Cheesecake Cups deliver that wow factor instantly.
Gathering Ingredients for Your No-Bake Chocolate Peanut Butter Cheesecake Cups
Okay, get ready for the easiest grocery run you’ll ever make. Since these are no-bake, we don’t need flour, eggs, or any fancy rising agents. We are focusing on rich, creamy texture and that iconic chocolate and peanut butter pairing. Having the cream cheese properly softened is the secret handshake here—don’t skip that step or you’ll end up with lumps, and we definitely don’t want that in our no-bake chocolate cheesecake filling!
For the Crumb Crust
This part is what gives us that wonderful, slightly salty crunch against the smooth filling. I always use Oreos because the chocolate flavor is so perfect.
- 1 1/2 cups chocolate cookie crumbs (Oreo style works best!)
- 1/4 cup unsalted butter, melted
For the Creamy Filling
This is where the magic happens! Everything needs to be the right temperature so it blends into one smooth, glorious mixture. Remember, the cream cheese needs to be soft!
- 8 ounces cream cheese, softened (super important!)
- 1/2 cup creamy peanut butter
- 1/2 cup powdered sugar
- 1 teaspoon vanilla extract
- 1 cup heavy whipping cream
For the Topping
We keep the topping super simple because the filling and crust already pack such a massive flavor punch. A little garnish is all you need!
- 1/4 cup chocolate chips, for topping
Step-by-Step Instructions for No-Bake Chocolate Peanut Butter Cheesecake Cups
Okay, you’ve got your ingredients lined up! Now comes the fun, dirt-free part where we put these wonderful No-Bake Chocolate Peanut Butter Cheesecake Cups together. It’s all about layering textures here, so pay attention to that chilling time; it’s what makes them creamy instead of soupy!
Preparing the Chocolate Crust Base
First up, let’s tackle those delicious chocolate crumbs. You’ll mix your 1 1/2 cups of chocolate cookie crumbs right together with that 1/4 cup of melted butter in a bowl. Mix it until it looks like wet sand—you should be able to squeeze a bit in your hand and have it clump together. Next, tackle your muffin tin setup. Line 8 cups with paper liners; this makes removal so much easier later, I promise! Take about a tablespoon of that buttery crumb mix and firmly press it into the bottom of each liner. Pop that whole tray into the freezer for about 10 minutes while we whip up the filling. If you wanted a twist, remember you could use the graham cracker/cocoa powder combo here too!
Making the Creamy Peanut Butter Filling
Now, grab your stand mixer or a good hand mixer. You want to beat your softened cream cheese, the peanut butter, and the powdered sugar until it’s perfectly smooth—no lumps allowed! Mix in that vanilla extract. This is your creamy base. Next, you need to whip that heavy cream in a separate, clean bowl until you get stiff peaks. This is key! It means your cream is holding air, which keeps our dessert cups light. Now, this next part is crucial for that amazing cheesecake texture: use a spatula and gently fold the whipped cream into the peanut butter mixture. Seriously, no aggressive mixing! We want to keep all that air you just whipped in there.
Assembling and Chilling the No Bake Dessert Cups
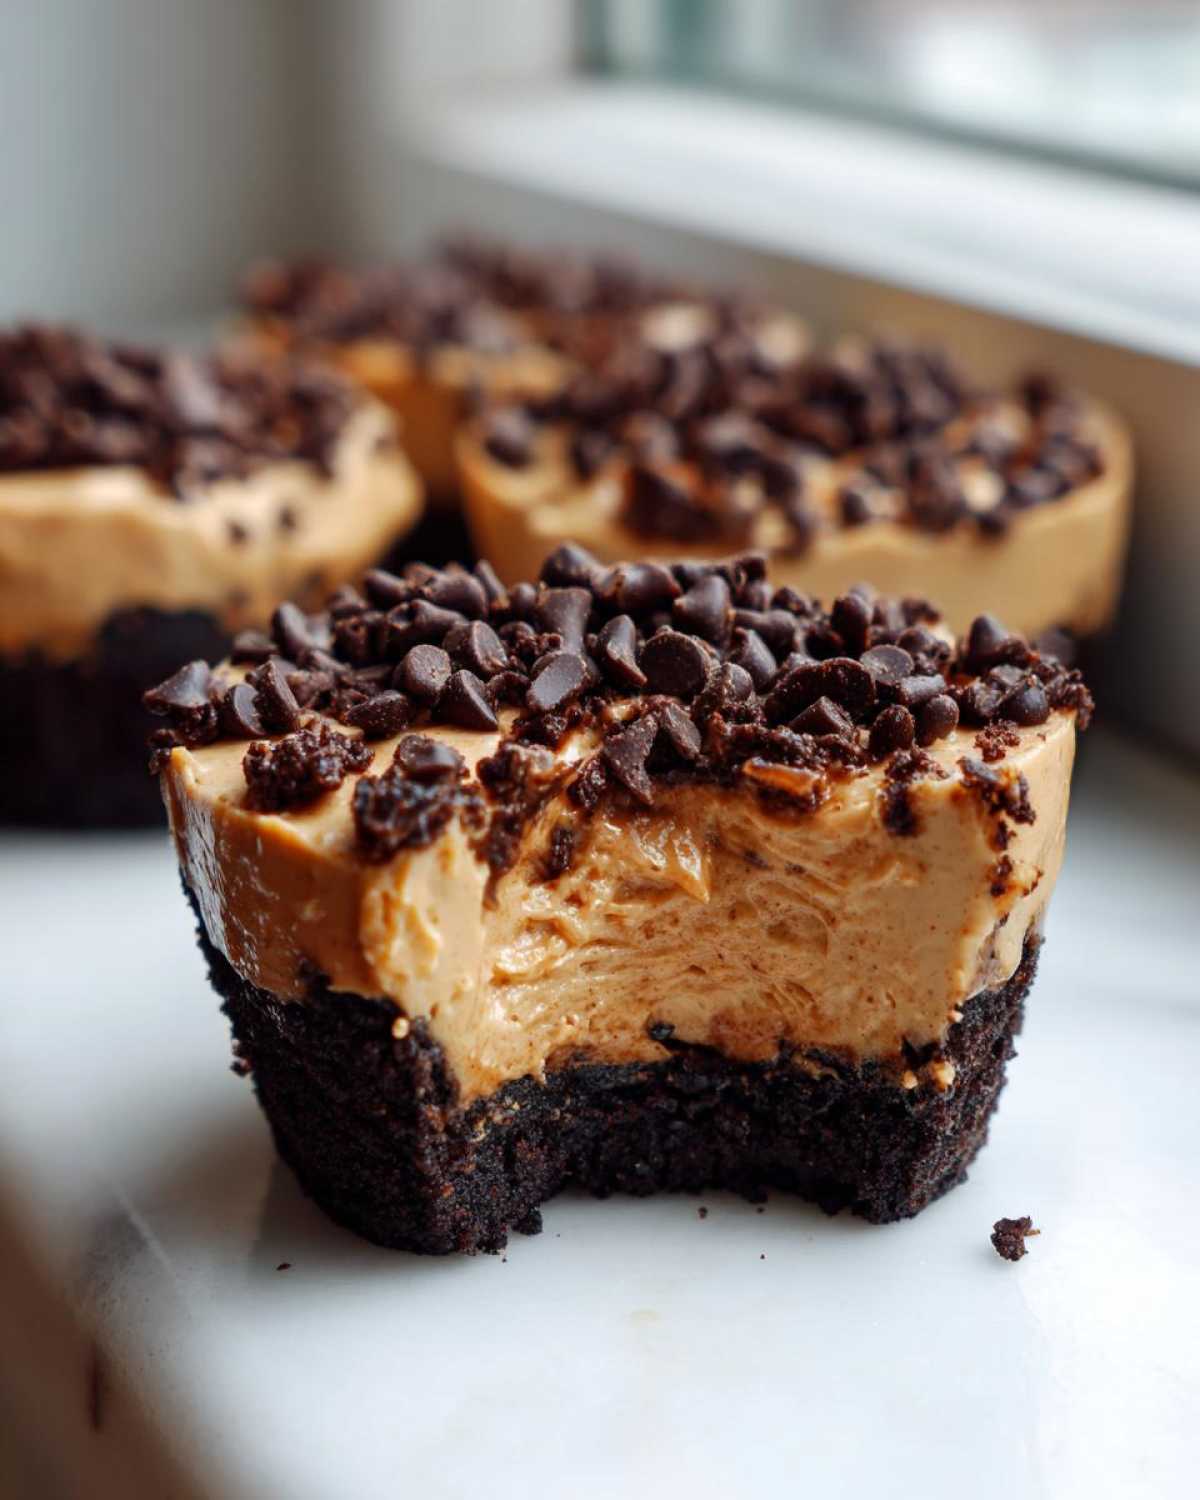
Once your crusts are firm from the freezer, you’ll spoon or pipe that beautiful filling right on top of the crumbs. Divide it evenly so everyone gets an equal share of decadent goodness. Smooth the tops if you like, but honestly, it matters less because we add the topping last. Pop the whole tin gently back into the fridge and let them chill for a minimum of four hours. If you can leave them overnight, even better—they firm up beautifully! Just before you serve them, sprinkle a few chocolate chips on top of each cup. Don’t forget to tell everyone to peel that paper liner off before digging in!
For more fantastic make-ahead ideas, check out my guide on awesome Individual Chocolate Cheesecakes recipes!
Tips for Perfect No-Bake Chocolate Peanut Butter Cheesecake Cups
Look, making these No-Bake Chocolate Peanut Butter Cheesecake Cups is already way easier than baking, but a few little secrets guarantee that professional, creamy texture every single time. I really want yours to be perfect, so listen up!
First things first: the cream cheese. It HAS to be softened completely. You can leave it on the counter for about an hour, but if you’re in a real hurry, I sometimes carefully microwave it on 20% power for 10-second bursts—just until you can press a finger into it easily. If it gets greasy or warm, though, you’ve gone too far, and your filling might get too runny. That’s a texture killer!
When you move onto whipping that heavy cream for the filling, you need a spotless, cold bowl. Seriously, any trace of fat or water will stop your cream from hitting those glorious stiff peaks. When you see the peaks standing straight up off the whisk, stop mixing immediately! Overbeating the cream turns it into grainy butter, and we need that light, airy volume to keep our cheesecake cups fluffy.
And remember that gentle folding technique we talked about? That means using a spatula and cutting down the middle of the whipped cream, scraping along the bottom, and lifting it over the top of the peanut butter base. You do this until you see no more white streaks. The goal is to incorporate the volume without squashing the bubbles out. If you mix too hard, you’ll just get dense, heavy cups, and nobody wants that!
Finally, don’t rush the chilling time. Since we aren’t baking these, time is our structure builder. Give them at least four hours, but overnight is truly the maker of the best results. If you chill them overnight, you can sometimes skip those paper liners entirely if you lightly grease the tin wells first, making for a cleaner presentation. These great individual chocolate cheesecakes just need a little patience!
Ingredient Notes and Substitutions for Your Creamy Peanut Butter Desserts
I always get so many questions once people decide to tackle these Chocolate Peanut Butter Treats. Since this is a no-bake recipe, the quality and type of ingredients really shine through, so let’s talk about how you can customize them without ruining the texture!
The biggest question I hear is about the crust. We used chocolate cookies, right? That gives us that rich, dark base that pairs perfectly with the peanut butter filling. But what if you don’t have Oreos? You can absolutely swap them for Nilla Wafers or classic graham crackers. If you do that, though, you need to boost that chocolate flavor back in! Try mixing 1 1/2 cups of graham cracker crumbs with about 1 tablespoon of unsweetened cocoa powder and a tiny bit more melted butter to get the right clumping consistency. It makes for a slightly less intense, lighter crust—still delicious!
What about the peanut butter? Crunchy versus creamy? Creamy is my absolute preference here because we are aiming for that smooth, ultra-creamy cheesecake texture. If you use crunchy peanut butter, those little nut pieces will interrupt the silkiness, and honestly, that’s not what we want when we’re mimicking cheesecake! So, stick to creamy if you can for the best result in these Decadent Peanut Butter Cups.
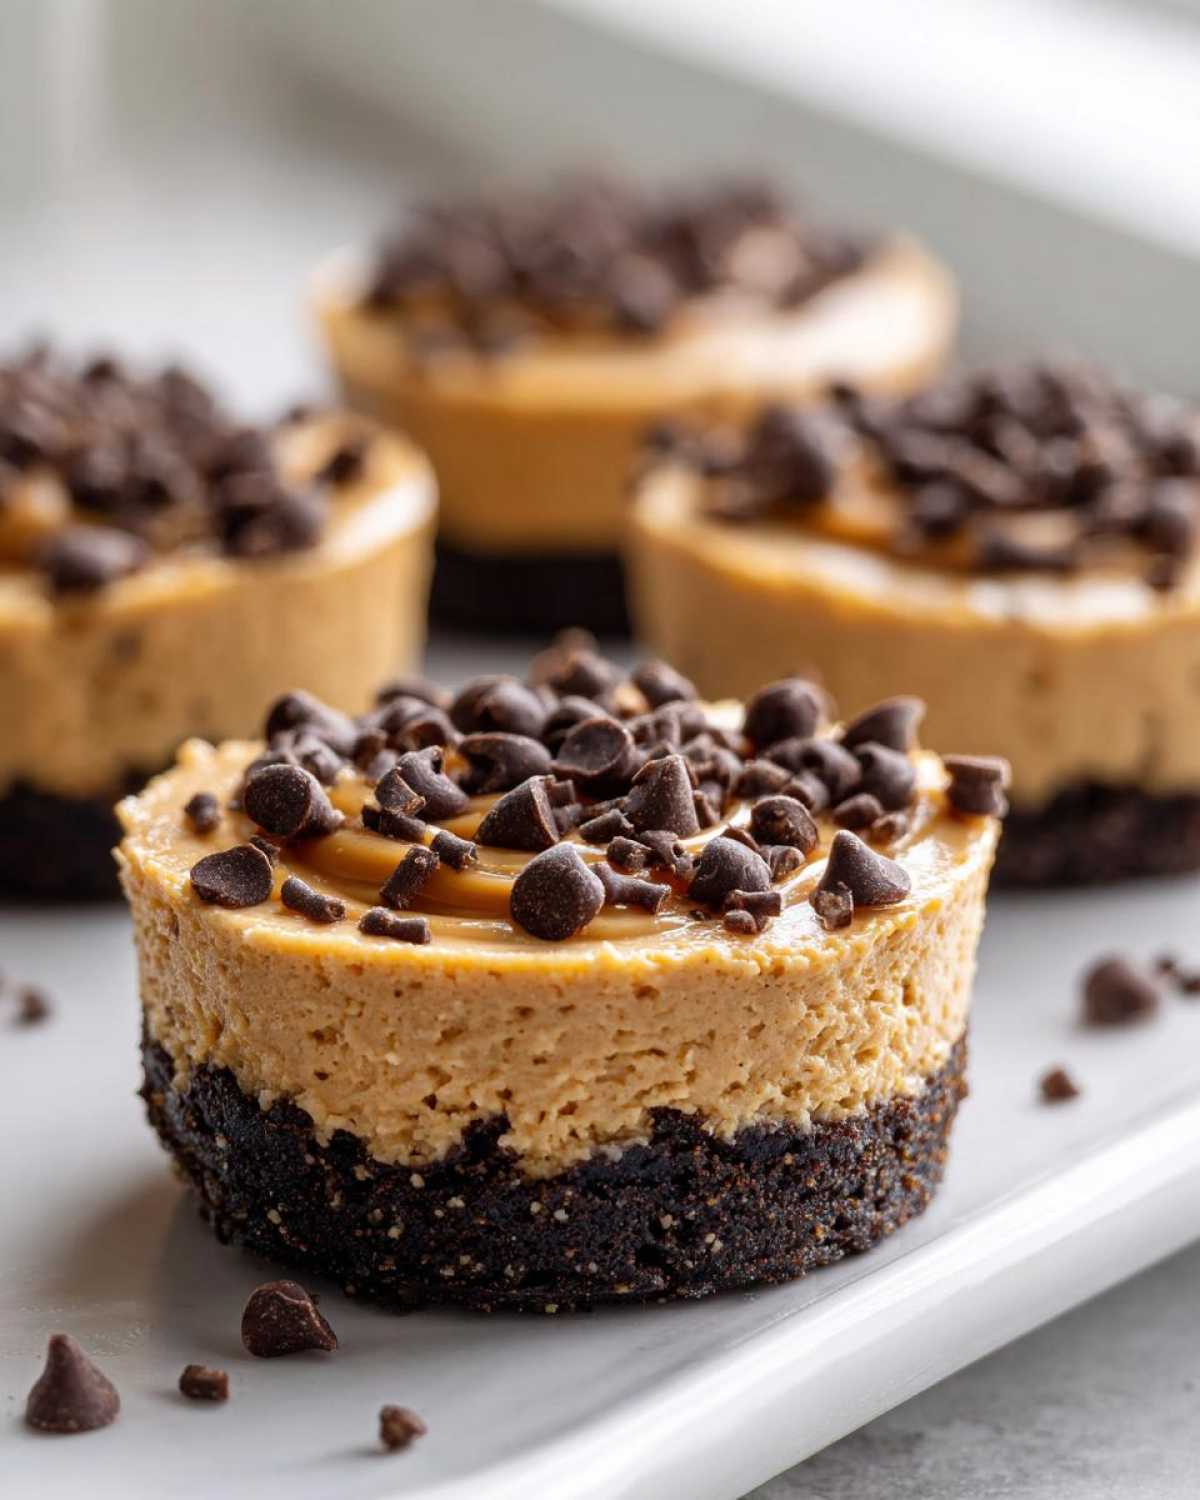
Now, the dairy element—the heavy whipping cream. I use real heavy whipping cream because it whips up to the highest volume and holds its structure the longest. If you’re in a pinch and absolutely cannot find heavy cream, you can sometimes substitute it with a good quality frozen whipped topping, thawed. But here’s a warning: you cannot whip the topping because it’s already whipped! You just gently fold the thawed topping into the cream cheese mixture. It won’t be quite as light as using freshly whipped cream, but it works in a pinch for these Easy Cheesecake Bites.
Lastly, if you are making these for someone who absolutely needs a dairy-free option, you can swap the cream cheese for store-bought dairy-free cream cheese substitutes. The texture might be a bit softer, so you’ll definitely want to plan on chilling these overnight instead of just four hours. It’s all about adjusting the chilling time to compensate!
Storage and Make Ahead Instructions for Individual Chocolate Cheesecakes
One of the things I absolutely adore about these No-Bake Chocolate Peanut Butter Cheesecake Cups is that they are total rock stars when it comes to making them ahead of time! That’s why they are on my list for my favorite Make Ahead Desserts column. Unlike baked goods that can get stale, these actually taste *better* once they’ve had time to chill out and let those peanut butter and cream cheese flavors really mingle.
I always plan to make these at least a day before I need them. If you follow the instructions and chill them for the recommended four hours, they’ll be set, but that final hour is spent firming up the crust to the filling. If you can give them a full night in the fridge—say, 8 to 12 hours—they become incredibly sturdy. This makes removing those paper liners a total breeze, which is fantastic if you’re going to a party!
So, how long do they last in the fridge? Honestly, they stay beautifully creamy and fresh for a good three to four days when stored tightly covered in an airtight container in the refrigerator. I suggest keeping them in the muffin tin they set in, but cover the whole tray securely with plastic wrap or use individual containers for the best results.
Now, can you freeze them? Yes, you absolutely can! If you’re looking to prep for a massive event weeks in advance, these are perfect candidates for the freezer. Just make sure they are fully set (at least 8 hours chilled first). Place the cups (still in their liners!) in a freezer-safe, airtight container. You’ll want an extra layer of protection, so adding a sheet of wax paper between layers of cups can prevent them from sticking together if you stack them. They freeze solid for up to a month.
When you want to enjoy one, just pull a few out and let them thaw in the refrigerator for about an hour or two, depending on how warm your kitchen is. They defrost beautifully and taste almost exactly like they were freshly made. Since they aren’t baked, you don’t have to worry about any weird thawing textures—just pure, creamy goodness!
Serving Suggestions for These Simple Dessert Cups
You’ve made the perfect batch of No-Bake Chocolate Peanut Butter Cheesecake Cups, they’re firm and beautiful—now what? It’s time to dress them up slightly before serving! Since these are already flavor bombs all on their own, you don’t need to do much, but a little extra touch makes them look like they came from a fancy bakery case.
For the ultimate pairing, I almost always serve these alongside a hot beverage, especially if I’m serving them after dinner. A strong cup of black coffee or an espresso shot cuts through the richness of the peanut butter and chocolate perfectly. If you’re looking for other drink ideas, you should check out the amazing coffee smoothie recipes out there if you want something cooler but still adult!
If you want a bit of color contrast, a few fresh berries are gorgeous on top. A single raspberry or two tiny slices of strawberry placed next to the chocolate chips gives a pop of vibrant color against the dark brown and pale yellow filling. That little bit of tart fruit is just heavenly against the peanut butter.
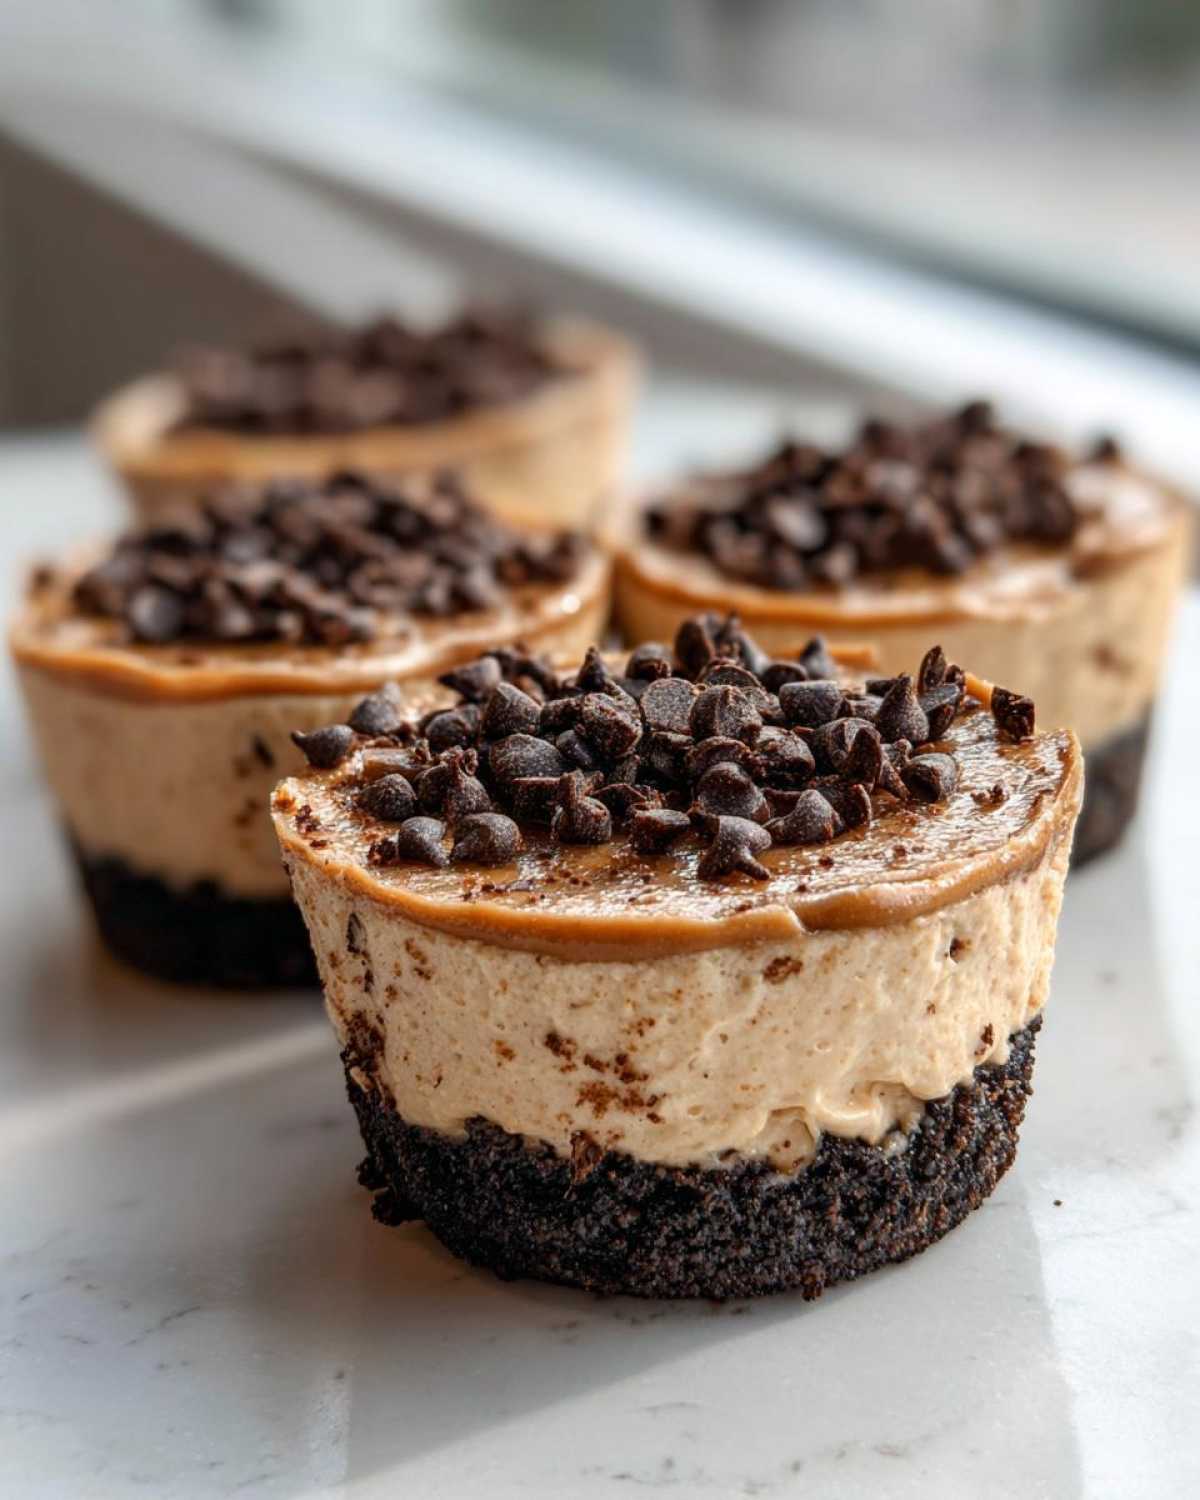
My personal favorite presentation trick, however, requires just one extra ingredient: caramel sauce. A thin, delicate drizzle of salted caramel right over the top of the chocolate chips takes these Simple Dessert Cups straight into decadent territory. You can buy the jarred stuff, heat it slightly so it drizzles nicely, and watch everyone line up for seconds. It’s so easy, but it makes them look absolutely unbeatable!
Frequently Asked Questions About No Bake Dessert Recipes
I always get so many questions after people try these dreamy treats, so I figured I should just nail down the top few things people wonder about when making these No Bake Dessert Cups. Hopefully, this covers everything you need to know! For more great ideas, you can always check out my list of no-bake dessert ideas.
Can I use crunchy peanut butter instead of creamy?
You certainly can, but you need to know what you’re signing up for! I strongly recommend creamy for the best texture in these Creamy Peanut Butter Desserts because we are trying to mimic that smooth, melt-in-your-mouth cheesecake feel. If you use crunchy, you’ll end up with little bits of nuts throughout; while that might be fine for some Chocolate Peanut Butter Treats, it interrupts the perfect silkiness we’re aiming for here.
Do I absolutely have to use the paper liners in the muffin tin?
Oh, I hope you do! For these Individual Chocolate Cheesecakes, the liners are your best friend, especially since we aren’t baking them. They allow you to easily pop the whole cup out after chilling. If you absolutely skip them, you must grease the tin wells extremely well with cooking spray or soft butter, and then chill them overnight. Otherwise, peeling that buttery crust away from the metal is going to be a disaster, trust me on this one!
How long do these No-Bake Chocolate Peanut Butter Cheesecake Cups need to chill?
That chilling time is what turns our soft batter into a firm, sliceable (or scoopable!) dessert. The minimum time is four hours. However, if you want them to be super firm and easy to handle—especially if you plan on freezing them later—I recommend chilling them for at least six hours or, better yet, overnight. That extra time really lets these Portion Controlled Desserts set up perfectly.
What if I don’t have heavy whipping cream? Can I use milk?
Absolutely not! Never substitute regular milk for the heavy whipping cream in a no-bake cheesecake filling. Milk won’t whip up and create the necessary air structure to make the filling light. If you don’t have heavy cream, your next best bet is using a canned whipped topping, like Cool Whip, but you fold it in gently, as detailed in my tips section. Stick to the recipe for the best results with these No Bake Dessert Ideas!
Estimated Nutritional Profile for No-Bake Chocolate Peanut Butter Cheesecake Cups
Okay, here’s the lowdown on what you are digging into with these incredible No-Bake Chocolate Peanut Butter Cheesecake Cups. Since we’re using all those rich, creamy ingredients—peanut butter, cream cheese, and that chocolate cookie crust—they pack a satisfying punch. I always tell people this is a treat, not a lettuce salad, so buckle up!
I want to be super clear: these numbers are just estimates based on standard commercial ingredients. Every brand of peanut butter or cookie crumb is a little different, so the actual count might vary slightly in your kitchen. For the most accurate information, especially if you’re tracking specific needs, you should always refer to the labels on the exact products you use. You can read more about our general approach to nutrition estimates on our disclaimer page!
But just so you know what you’re getting into when you grab one of these Portion Controlled Desserts, here is the breakdown per single cup:
- Serving Size: 1 cup
- Calories: Approx. 380
- Fat: Approx. 28g (with 12g Saturated Fat)
- Carbohydrates: Approx. 30g
- Protein: Approx. 9g
- Sugar: Approx. 25g
- Sodium: Approx. 250mg
See? Totally worth it. You get a great hit of energy from the carbs and a fantastic dose of satisfying fat and protein from that peanut butter and cream cheese. Enjoy these amazing No Bake Dessert Cups responsibly!
PrintNo-Bake Chocolate Peanut Butter Cheesecake Cups
Make simple, rich, no-bake cheesecake cups featuring a chocolate and peanut butter flavor profile with a crumbly crust.
- Prep Time: 20 min
- Cook Time: 0 min
- Total Time: 4 hr 20 min
- Yield: 8 servings
- Category: Dessert
- Method: Chilling
- Cuisine: American
- Diet: Vegetarian
Ingredients
- 1 1/2 cups chocolate cookie crumbs (like Oreos)
- 1/4 cup unsalted butter, melted
- 8 ounces cream cheese, softened
- 1/2 cup creamy peanut butter
- 1/2 cup powdered sugar
- 1 teaspoon vanilla extract
- 1 cup heavy whipping cream
- 1/4 cup chocolate chips, for topping
Instructions
- Combine the chocolate cookie crumbs and melted butter in a bowl. Press about 1 tablespoon of the mixture into the bottom of 8 standard muffin cups lined with paper liners. Place the cups in the freezer while you prepare the filling.
- In a large bowl, beat the softened cream cheese, peanut butter, and powdered sugar until smooth. Mix in the vanilla extract.
- In a separate, clean bowl, whip the heavy whipping cream until stiff peaks form.
- Gently fold the whipped cream into the cream cheese mixture until just combined. Do not overmix.
- Spoon or pipe the filling evenly over the chilled crusts in the muffin cups.
- Refrigerate the cups for at least 4 hours, or until firm.
- Before serving, top each cup with a few chocolate chips. Remove the paper liner before eating.
Notes
- You can use graham cracker crumbs mixed with 1 tablespoon of cocoa powder for a different crust flavor.
- For easier removal, chill the cups overnight.
- If you do not have paper liners, lightly grease the muffin tin cups before pressing in the crust.
Nutrition
- Serving Size: 1 cup
- Calories: 380
- Sugar: 25
- Sodium: 250
- Fat: 28
- Saturated Fat: 12
- Unsaturated Fat: 10
- Trans Fat: 0
- Carbohydrates: 30
- Fiber: 2
- Protein: 9
- Cholesterol: 55