

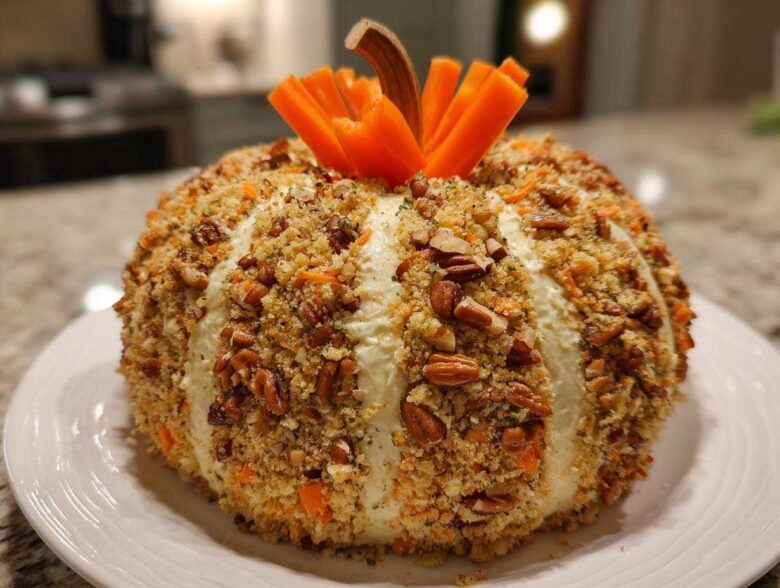
Oh my goodness, you are going to absolutely *love* this! When the air gets crisp and those first pumpkins start showing up on porches, you know fall entertaining is about to hit hard. Forget fiddly desserts; we need show-stopping appetizers, and this pumpkin cheese ball is hands-down my secret weapon every single year. I started making this shaped creation years ago for a Thanksgiving potluck when I ran out of oven space, and people honestly gasped when they saw it! It’s creamy, packed with savory cheddar and spices, requires absolutely zero baking, and the best part? It’s a total make-ahead hero. Seriously, this savory autumn snack saves parties!
Why You Need This Easy Make-Ahead Pumpkin Cheese Ball
Honestly, you need this recipe because it solves three huge party problems at once. It looks totally gourmet, but it’s secretly a cinch to whip up. Trust me, bringing this to your next event instantly makes you the hero!
- It’s the ultimate Fall appetizer idea because it just *looks* like fall on a platter.
- It’s a true crowd pleasing appetizer—who doesn’t love cheese and pecans?
- You mix it the day before! It’s one of the best easy make ahead appetizers that buys you so much time on party day.
Ingredients for the Ultimate Pumpkin Cheese Ball
Okay, so let’s talk about what goes into this glorious, no-bake display piece. The flavor profile here hits all those warm, savory notes you want when the weather turns chilly. This isn’t just any cheese dip; it’s robust, thanks to the sharp cheddar, and has just a tiny hint of complexity from the optional blue cheese. I find that making this for a large Thanksgiving cheese ball gathering means I don’t have to worry about keeping it warm! Remember, the cream cheese absolutely has to be softened completely, or you’ll end up with lumps, and we want smooth sailing here.
You’ll need these star players to build the perfect base:
- 16 ounces cream cheese, softened until it is super mushy
- 8 ounces sharp cheddar cheese, freshly shredded—don’t use the pre-bagged stuff if you can help it!
- 4 ounces crumbled blue cheese (If you’re serving picky eaters, feel free to skip this, but it adds a lovely tang!)
- 1/2 cup finely chopped pecans or walnuts for inside the ball
- 1/4 cup finely chopped fresh chives for a little oniony freshness
- 1 teaspoon Worcestershire sauce (this is the secret savory hit!)
- 1/2 teaspoon garlic powder
- 1/4 teaspoon black pepper
- 1/4 teaspoon salt
- 1 small orange bell pepper, stem removed, for the glorious pumpkin stem
- Kitchen twine or sturdy string—this is what makes the magic happen!
- 1 cup chopped pecans or walnuts for coating the outside
Step-by-Step Instructions: How to Make Pumpkin Cheese Ball
Alright, get ready to see this thing come together! Follow these steps exactly, and you’ll have the most stunning appetizer on your table without breaking a sweat. Since this doesn’t go into the oven, the timing relies heavily on patience during the few chilling breaks. Think of this as building a beautiful edible sculpture! We’re going straight from mixing to presentation, making this one of the best easy make ahead appetizers for any gathering.
Mixing the Creamy Cheese Ball Base
First up, you mix everything important together in a big bowl. Make sure your cream cheese is totally soft—I mean, squishy! Beat it until it’s smooth, then mix in the shredded cheddar, blue cheese (if you’re using it!), those chopped nuts, chives, and all your seasonings. You want one uniform, lovely mixture. This is the heart of your creamy cheese ball.
Shaping and Chilling Your Pumpkin Cheese Ball
Once it’s all combined, dump the whole mixture onto a big sheet of plastic wrap. Now, use your hands to mush and form it into a nice, round ball. It doesn’t have to be perfectly round yet, just generally ball-shaped. Wrap that plastic wrap tight—really tight—to help hold the shape. Pop this in the fridge for at least two hours. If you skip chilling, the next step where we use the twine will just turn into cheese soup, and nobody wants that! It needs that firmness for a perfect Shaped cheese ball recipe.
Creating the Pumpkin Ribs and Coating the Pumpkin Cheese Ball
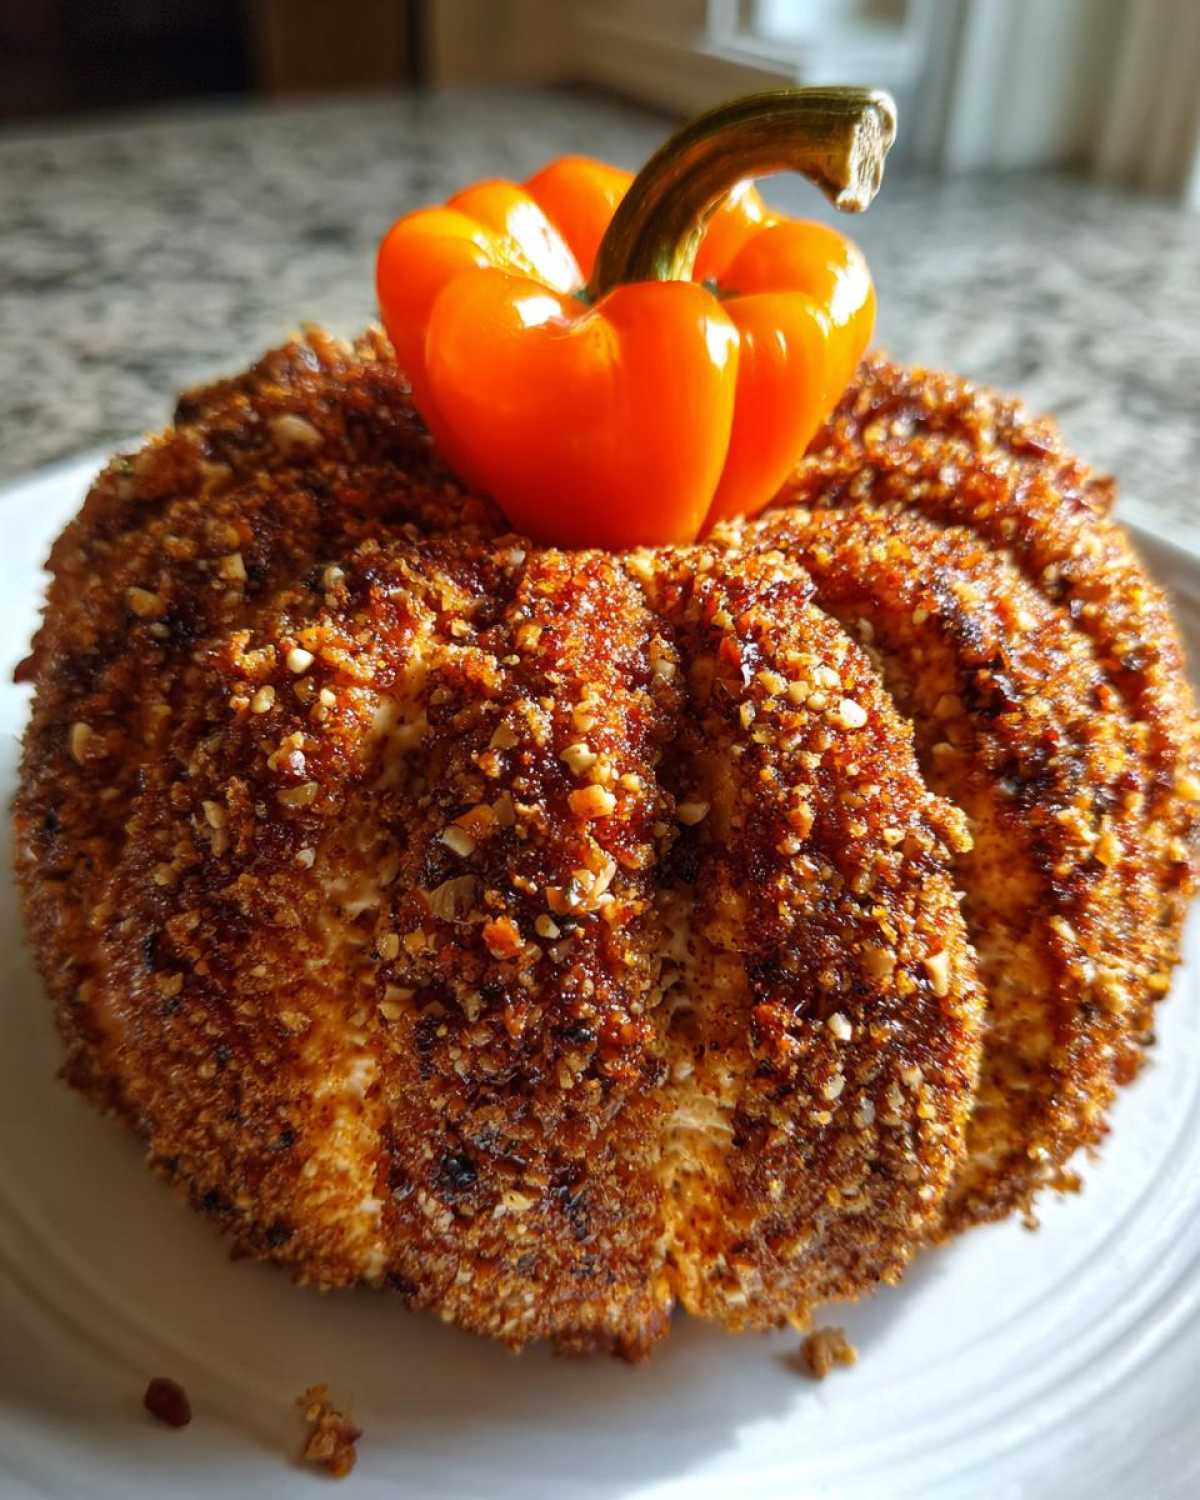
Once it’s firm, unwrap it carefully and grab your twine. Start at the very top center and press the string down firmly toward the bottom, creating one groove. Then wrap it around horizontally, wrapping enough strands so that when you pull, you get those deep, beautiful pumpkin ribs all over the surface. This makes it look so much like a real pumpkin cheese ball!
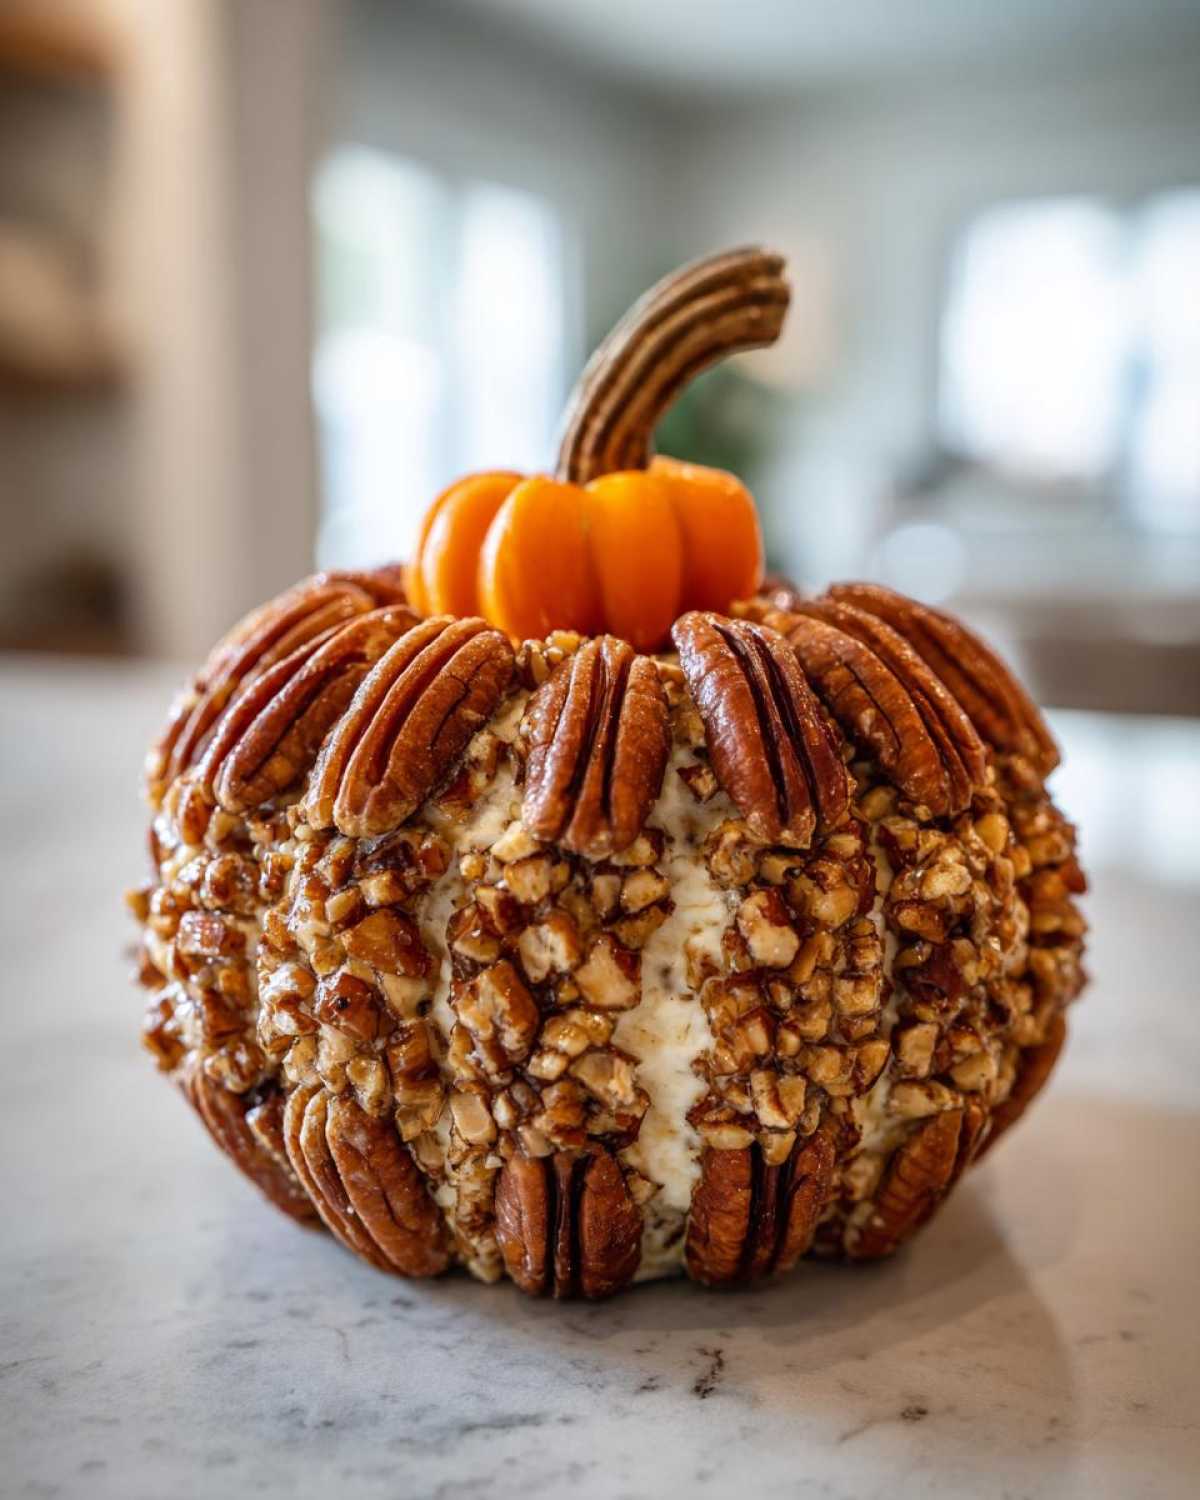
After the grooves are set, gently roll the entire thing in your coating nuts until it’s covered. Don’t push too hard over the twine grooves!
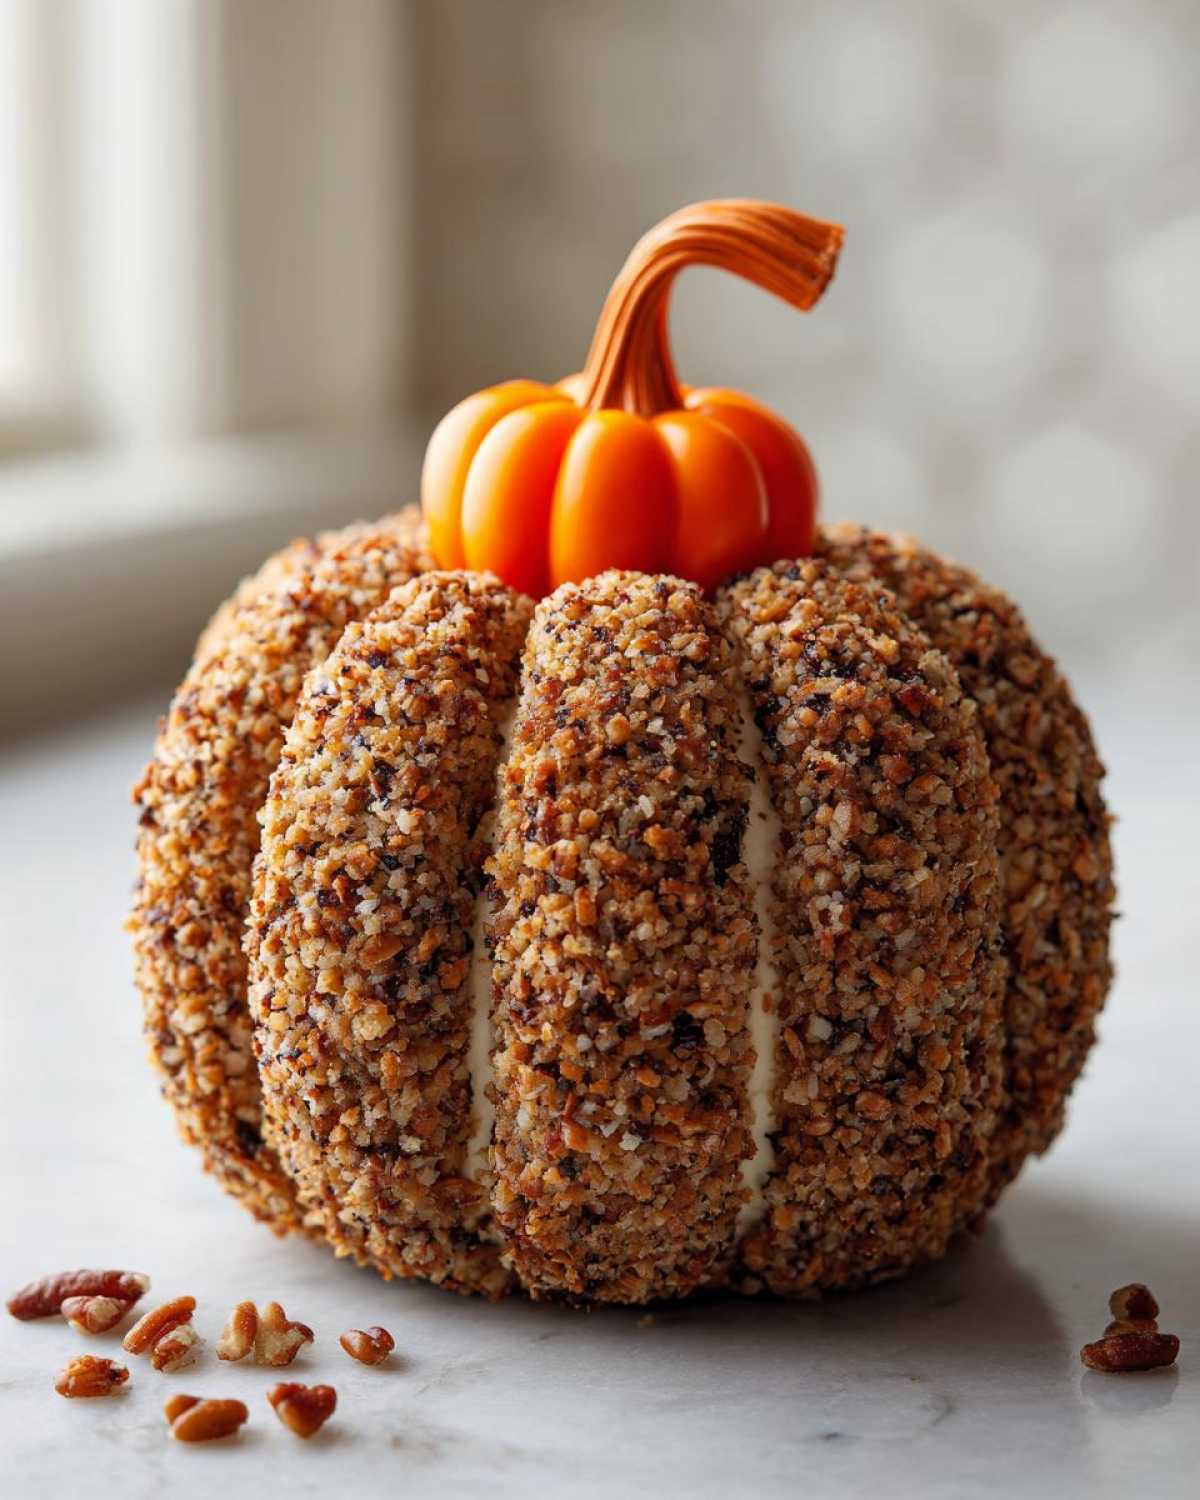
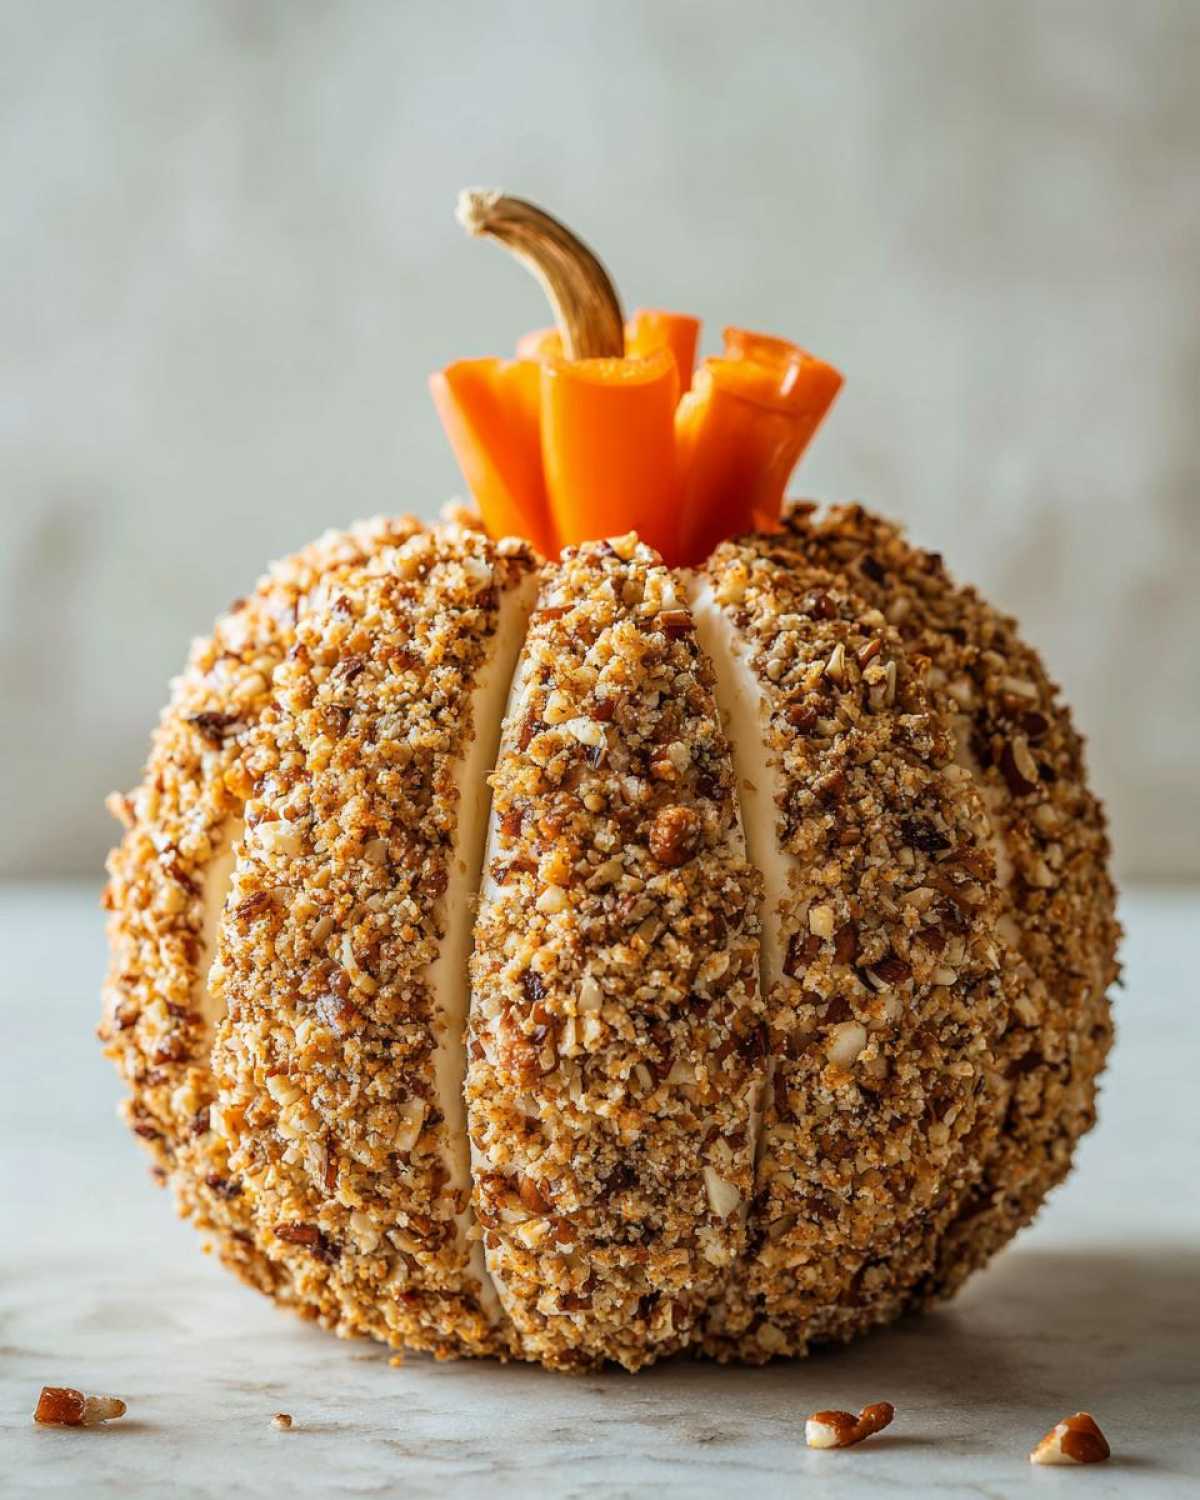
Finally—the crucial part—cut a little flat piece off your orange bell pepper and pop it right into the top center where all the twine strings meet. That’s your stem! Put it back in the fridge until serving time, but remember to pull that twine off right before people dive in! If you need inspiration for what to pair with it, sometimes I look at ideas like pie crust tips for savory pastry ideas.
Tips for the Perfect Shaped Cheese Ball Recipe
Listen, making this **pumpkin cheese ball** look picture-perfect takes just a couple of small tricks I learned the hard way. Tip number one, which I can’t stress enough: your cream cheese has to be perfectly softened. I mean, room temperature mush! If it’s too cold, you’ll get lumps, and you won’t get that smooth canvas needed for the twine ribs to set nicely. That initial mix needs to be utterly seamless for the finished product to look like a **gourmet cheese ball**.
Also, about that blue cheese—if someone in your house turns up their nose at it (I have one of those people!), you can definitely skip it. Just swap in an extra ounce or two of that good sharp cheddar or even some creamy Gruyère if you have some lying around. That keeps the flavor robust for your **savory autumn snack**. And when you’re rolling it in those coating nuts, use the nuts you chopped earlier if they are relatively fine; it gives a much more uniform look than those bigger, jagged pieces. You want that nut coating tight before that final chill!
If you love these kinds of savory bites, you absolutely have to check out my recipe for Cheddar Cheese Straws! They disappear just as fast as the cheese ball!
Make-Ahead and Storage for Your Festive Holiday Dip
One of the best parts about this **pumpkin cheese ball** recipe is that it’s a lifesaver for busy hosting days! You can tackle the first part—mixing up that glorious, creamy base—up to two full days ahead of time. Just mix and wrap it tightly in plastic wrap like a little cheese mummy, and stick it in the fridge. It holds up beautifully.
Now, if you want to shape it ahead of time (which I highly recommend for that ultimate make-ahead appetizer win), go ahead and shape it, apply the twine grooves, and roll it in the nuts. Keep the bell pepper stem off for now, just store it wrapped again in the fridge. It’ll be perfect for taking out an hour before guests arrive. Since this is a **festive holiday dip** that’s no-bake, you don’t worry about reheating at all!
Just uncover it about 30 minutes before serving so the coldness dulls the flavor just a *tiny* bit, insert that cute bell pepper stem, remove the twine right before you put it on the platter, and watch it disappear!
Serving Suggestions for This Party Food Centerpiece
So, you’ve created this stunning display—now what do you serve with it? We want things that can stand up to this rich, savory base! Think sturdy dippers, because this **pumpkin cheese ball** is dense and fabulous. I always make sure to have a few different textures available so everyone finds something they love at their Fall gathering food spread.
My top picks are buttery crackers, thin slices of toasted baguette, or even sturdy celery sticks for crunchy contrast. Pita chips work wonders too! If you need something warm, my spiced sweet potato rounds—they’re crispy on the edges—are surprisingly good alongside the sharp cheddar. Remember, this centerpiece is the star, so keep the dippers simple and plentiful!
Frequently Asked Questions About the Pumpkin Cheese Ball
I totally get it—when you are trying to put together a whole spread, you have little last-minute questions! People always ask me about presentation and last-minute swaps when they are making this beloved recipe for cheese ball. Here are the few things I hear most often when someone is attempting the shaped cheese ball for the first time.
Can I make this a Halloween party food without the orange color?
Oh, absolutely! If Halloween is your goal and you don’t want the pumpkin look, just skip the orange bell pepper stem. Instead of rolling the outside in orange-colored nuts, try using black sesame seeds for a spooky, dark coating, or even go for some crushed black olives if you like a little brine! It still keeps that amazing **pumpkin cheese ball** structure underneath.
What is the best cheese to use for a sharp cheddar appetizer?
When it comes to a truly sharp profile for your **cheddar cheese appetizer**, you want the real deal: block cheddar that you shred yourself! Pre-shredded cheeses have anti-caking agents that stop them from melting perfectly into the cream cheese. Grab a sharp white or yellow block; that’s the key to the best flavor structure.
What if I don’t have kitchen twine? How do I get the ribs?
Don’t panic if you’re out of twine! That was an issue for me once, too. You can carefully use strips of dental floss—just make sure it’s the plain, unwaxed kind, never flavored! Carefully press the floss down in those vertical and horizontal lines to create the shape. Just remember to remove every strand before serving so nobody gets a mouthful of floss!
How long will this festive holiday dip last in the fridge?
As long as it’s wrapped up super tight in plastic wrap, this **festive holiday dip** base will be fantastic for up to five days in the refrigerator. Once you shape it and cover it with nuts, I try to serve it within three days. It stays creamy, but the freshness of the chives is best when it’s made within 48 hours.
Estimated Nutrition for This No Bake Party Food
Now, I’m not a nutritionist, not by a long shot! This is rich, decadent party food, so we have to keep that in mind. These numbers are just my best guess based on the ingredients like cream cheese and cheddar, so treat this like a fun guideline rather than a strict count. But hey, it’s a **no bake party food** masterpiece, and every gathering needs a little bit of indulgence, right?
Here’s the rough breakdown if you divide this giant **pumpkin cheese ball** into 12 servings:
- Serving Size: 1/12 of ball
- Calories: 180
- Total Fat: 16g (with 9g Saturated Fat)
- Cholesterol: 45mg
- Carbohydrates: 3g (with only 1g Sugar!)
- Protein: 8g
Basically, lots of delicious fat to keep you full while you chat with friends! For full transparency on how I calculate these estimates—especially when dealing with things like cheese blends—you can always peek at my general recipe disclaimer page. Enjoy every cheesy bite!
Share Your Experience Making This Pumpkin Cheese Ball
Okay, now it’s your turn! I showed you all my secrets for making the best-looking and tasting **pumpkin cheese ball** appetizer ever. I really hope you give this a try for your next autumn gathering. If you do, please come back and leave me a rating—I want to know what you thought!
I absolutely *ache* to see photos of your creations! Tag me on social media when you serve up your masterpiece, or just drop a comment below telling me if the twine trick worked like magic for you. Happy fall cooking!
If you have any direct questions about technique that weren’t covered, pop over to my contact page and send me a note!
PrintEasy Make-Ahead Pumpkin Shaped Cheese Ball for Fall Parties
Make this creamy, savory pumpkin cheese ball as a festive, no-bake centerpiece for your autumn gatherings. Shape it easily using twine and top it with a bell pepper stem.
- Prep Time: 25 min
- Cook Time: 0 min
- Total Time: 2 hours 25 min
- Yield: 1 large cheese ball (about 12 servings)
- Category: Appetizer
- Method: No Bake
- Cuisine: American
- Diet: Vegetarian
Ingredients
- 16 ounces cream cheese, softened
- 8 ounces sharp cheddar cheese, shredded
- 4 ounces crumbled blue cheese (optional)
- 1/2 cup finely chopped pecans or walnuts
- 1/4 cup finely chopped fresh chives
- 1 teaspoon Worcestershire sauce
- 1/2 teaspoon garlic powder
- 1/4 teaspoon black pepper
- 1/4 teaspoon salt
- 1 small orange bell pepper, stem removed
- Kitchen twine or sturdy string
- 1 cup chopped pecans or walnuts, for coating
Instructions
- In a large bowl, combine the softened cream cheese, shredded cheddar, blue cheese (if using), 1/2 cup chopped nuts, chives, Worcestershire sauce, garlic powder, pepper, and salt. Mix until completely smooth and well combined.
- Place the cheese mixture onto a large piece of plastic wrap. Use your hands to shape the mixture into a round ball, resembling a pumpkin shape.
- Wrap the plastic wrap tightly around the cheese ball, ensuring the shape is maintained. Refrigerate for at least 2 hours, or until firm enough to handle.
- Once firm, remove the plastic wrap. Take several long pieces of kitchen twine. Starting at the top center, press the twine down into the cheese ball, wrapping it around the ball vertically and horizontally to create deep grooves that mimic pumpkin ribs. Tie the twine ends together at the top.
- Pour the remaining 1 cup of chopped nuts onto a shallow plate. Gently roll the cheese ball in the nuts, pressing lightly so the nuts adhere to the surface, covering all exposed cheese areas except where the twine is pressing.
- Cut a small piece from the top of the orange bell pepper to create a small, flat base for the stem. Insert the bell pepper piece into the center top of the cheese ball where the twine gathers, serving as the stem.
- Refrigerate the finished pumpkin cheese ball until ready to serve. Remove the twine just before presenting or serving.
- Serve with crackers, pita chips, or vegetable sticks.
Notes
- You can prepare the cheese mixture up to two days ahead and store it tightly wrapped in the refrigerator before shaping.
- For a smoother coating, pulse the nuts in a food processor until finely chopped, but do not let them turn into butter.
- If you do not have blue cheese, substitute with an equal amount of Gruyère or Monterey Jack cheese.
Nutrition
- Serving Size: 1/12 of ball
- Calories: 180
- Sugar: 1
- Sodium: 250
- Fat: 16
- Saturated Fat: 9
- Unsaturated Fat: 7
- Trans Fat: 0.2
- Carbohydrates: 3
- Fiber: 0.5
- Protein: 8
- Cholesterol: 45