

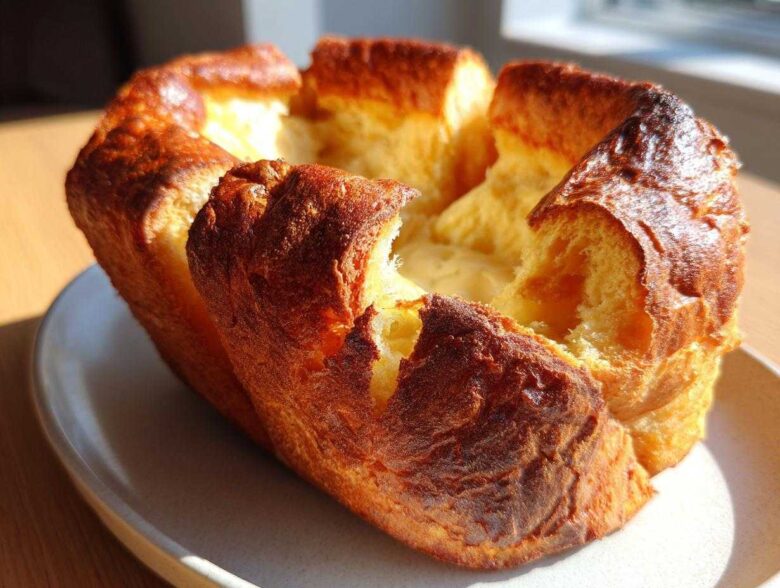
Oh, there is nothing more disheartening than pulling open the oven door, expecting those glorious, towering, golden peaks, only to find a tray of sad, little, flat discs staring back at you. Flat disappointments! After Leo and I retired, we decided we weren’t going to waste our newfound freedom on disappointment, especially not when it came to roast dinner sides. That’s why I spent nearly a year perfecting what I now proudly call the Perfect Foolproof Yorkshire Pudding recipe. Forget fancy chef techniques; this is about nailing the science so you get that unbelievably crispy exterior and an inside so light and airy it practically floats. This is Homemade British Comfort Food mastered, and trust me, once you nail the hot fat trick, you’ll never look back!
Why This yorkshire pudding Recipe Guarantees a Perfect Rise
I used to think that getting a huge puff was just luck—pure kitchen magic that only other people possessed! Leo always looked at my collapsed puddings with a sympathetic but slightly knowing smile. Honestly, it wasn’t magic; it was physics pretending to be tricky. This recipe is engineered specifically to be foolproof Yorkshire puddings because we manage two key temperatures and resting periods that most home cooks skip over or rush. Once you understand that the steam explosion is what does all the heavy lifting, the panic disappears.
Trust me, ignoring these steps is why your puddings sometimes look more like pancakes. We are aiming for dramatic height here, and that requires patience right at the beginning.
The Critical Role of Resting the Easy yorkshire Pudding Batter
Remember how I said the batter needs to chill out? That’s not just an old wives’ tale; it’s essential science! When you mix up the flour and liquid, the gluten strands tighten up like little springs. If you bake it immediately, those springs fight against expansion in the oven. Resting the easy yorkshire pudding batter for at least 30 minutes—though I prefer an hour—gives the flour time to hydrate fully and allows those frustrating gluten strands to properly relax. It makes for a much lighter texture when they finally decide to shoot up!
Achieving Smoking Hot Fat for Crispy yorkshire Puddings
This is the make-or-break moment, the absolute single most important thing for that glorious rise. Even if your batter is perfectly rested, if your fat isn’t hot enough, you’ll get a sad sizzle instead of a volcanic eruption. You need vegetable oil or, better yet, beef dripping—that adds such a rich, traditional flavor—in the tin, and that fat needs to be so hot it’s just starting to smoke before the batter even touches it. That direct, searing heat hitting the cold batter creates instant, explosive steam, giving you those gorgeous, crispy yorkshire puddings we all dream about.
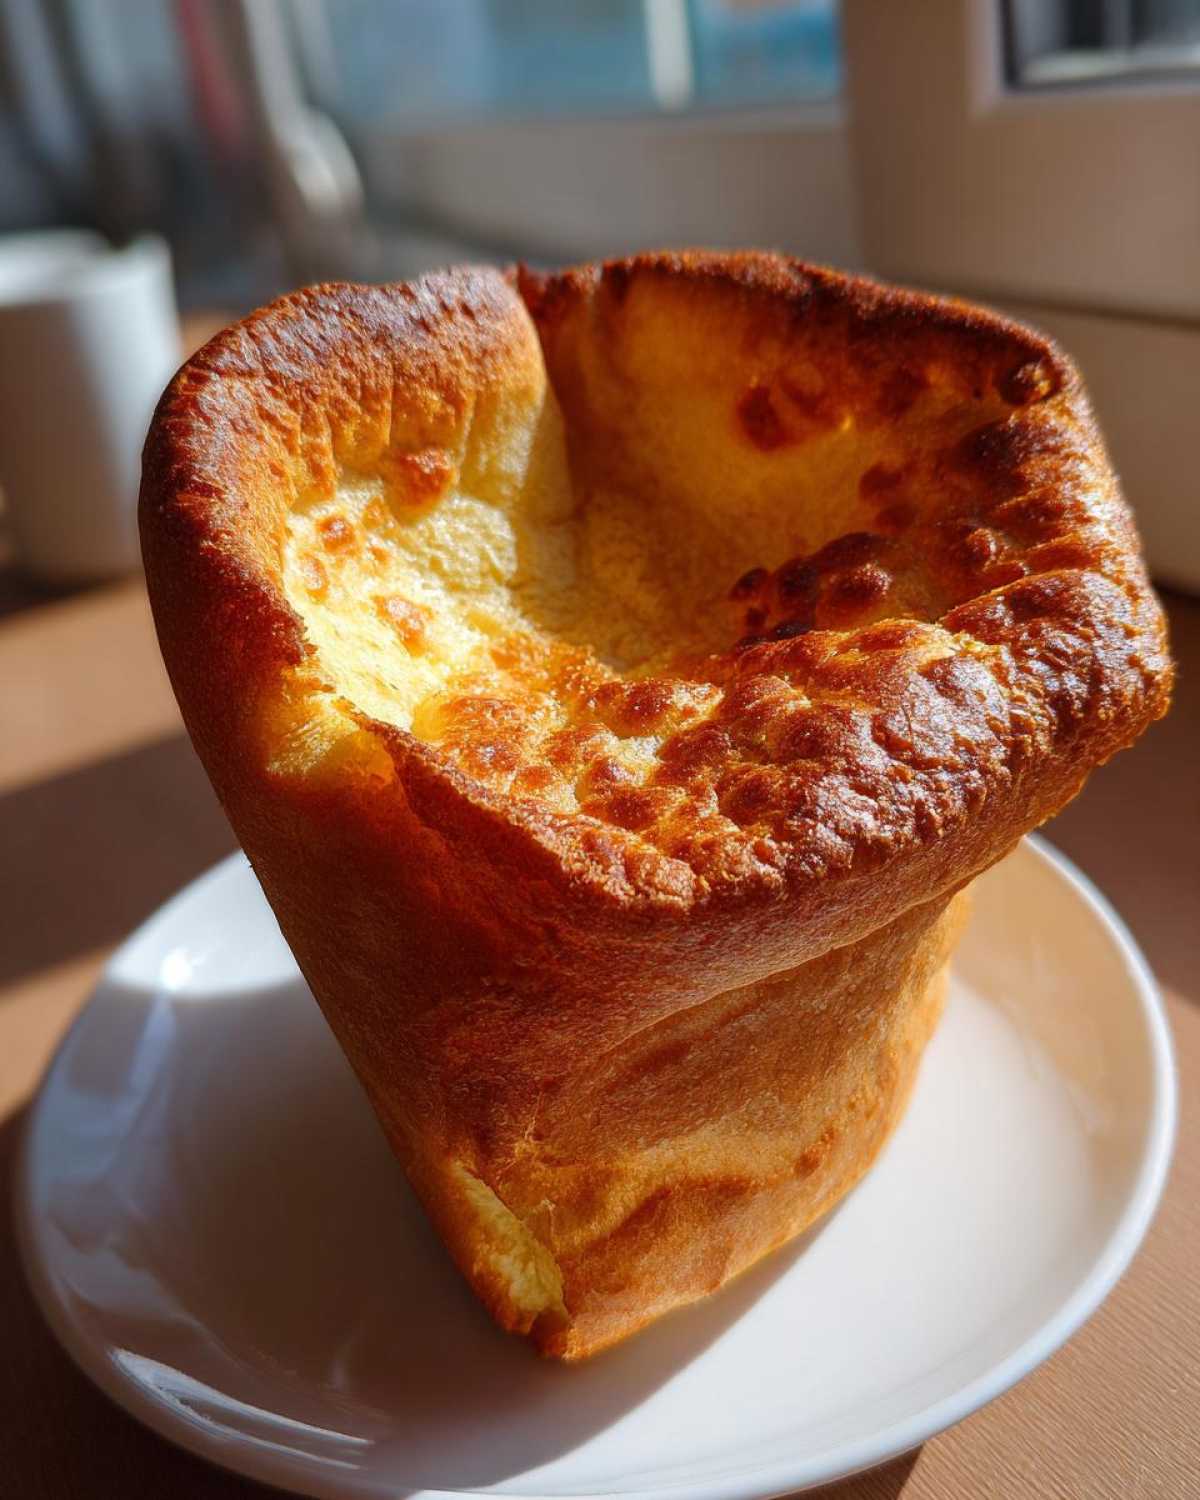
Ingredients for the Best yorkshire Pudding
Now that we’ve sorted out the rules, let’s talk about what goes into the mix! The beauty of a proper Yorkshire pudding is that it uses things you almost always have in the pantry. Honestly, the simplicity is part of why it’s such a winner for a quick weeknight side dish. I always keep these four essentials ready to go, just in case Leo suddenly declares it’s roast beef Sunday!
For 12 individual puddings, which is our usual batch size now, here is exactly what you need. Don’t go substituting the milk for low-fat or skipping the salt; those little things matter more than you think when you’re chasing that perfect lift.
- 4 large eggs – make sure they are room temperature if you have time!
- 1 cup all-purpose flour – sift it if you’re feeling fancy, but just whisking well works too.
- 1 cup whole milk – don’t skimp on the fat content here.
- 1/2 teaspoon salt – this is for seasoning, don’t leave it out.
- For the tin: Enough vegetable oil or, better yet, rich beef dripping to coat the bottom of each cup. Leo insists on dripping for flavor; I just like the smell it leaves behind!
How to Make yorkshire Pudding: Step-by-Step Instructions
Now we get to the performance! When Leo watches me make the batter, he always says I’m like a composer conducting a tiny little orchestra. It’s very dramatic, but he’s right—the order and the speed matter immensely when learning how to make yorkshire puddings this way. We need smooth execution to get our golden results! Once we pull these glorious puddings out, you’ll want to have that rich gravy ready, so don’t forget to check out my recipe for quick homemade chicken gravy!
Mixing the Smooth, Thin yorkshire Pudding Batter
First things first: keep your dry ingredients—that cup of flour and the salt—in a big bowl. Make a little crater right in the middle, like a tiny volcano. Crack your four eggs right in there. Now, start whisking only the eggs within that well, slowly dragging the flour in from the walls. This prevents lumps right from the start. Once it’s kind of thick, start pouring in that whole milk—slowly, slowly! Keep whisking until the batter is totally smooth, thin, and it flows just like heavy cream over the spoon. Don’t worry if you see a tiny bubble or two; we’re not looking for meringue here, just homogeneity.
The Crucial Preheat and Fat Heating for yorkshire Pudding
This is where we turn up the heat, literally. Get your oven screaming hot to 450°F (230°C). While that’s heating up, place your muffin tin—or whatever tin you’re using—inside the oven. We need that metal scorching hot. Then, you carefully take the hot tin out, add about a teaspoon of oil or dripping to each cup—just enough to coat the bottom nicely—and immediately pop it back in. You are waiting until that fat is visibly smoking. If it’s not smoking, it’s not hot enough, and your big puff is ruined before it starts!
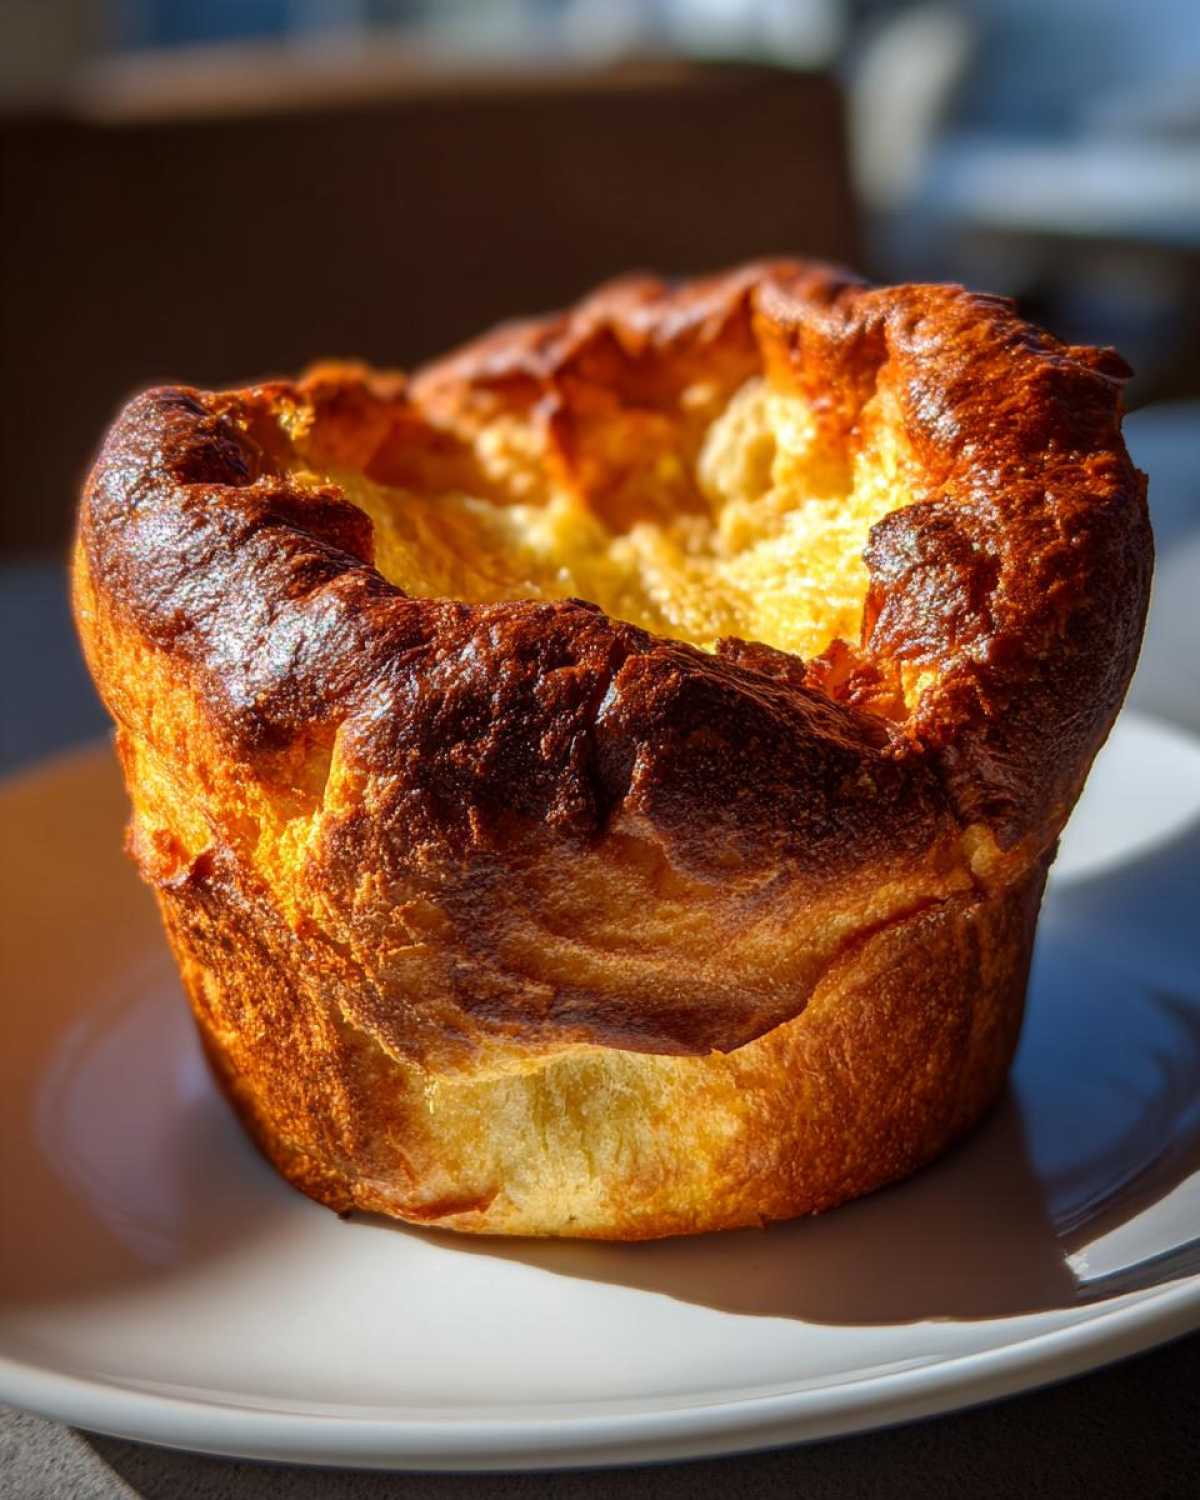
Baking Your Fluffy yorkshire Puddings Without Peeking
Once the fat is smoking, you have to work fast! Pour that rested batter evenly into the incredibly hot cups—fill them about a third full, no more—and slam that oven door shut instantly! And I mean instantly. Your biggest challenge now is patience. Do not, under any circumstances, open that oven door for the first 15 minutes. If you peek, the temperature drops, and that lovely steam collapses everything. Let them bake for 20 to 25 minutes until they are gorgeously puffed, tall, and deeply golden brown. That’s the signal that they are perfectly done!
Tips and Tricks for Truly Puffy yorkshire Puddings
Honestly, after all that science, you might think making Yorkshire pudding tips and tricks are complicated, but they aren’t! They are just non-negotiable rules. If you follow the hot fat and the resting batter, you’re 90% there. But I have a few extra little things Leo caught me doing that I think genuinely help push them over the edge into legendary territory.
First off, about temperature: while the batter needs to rest to relax the gluten, I actually prefer using cold milk to mix into my room-temperature eggs. Leo thinks I’m mad, but that contrast between the cold liquid and the hot fat seems to give an extra little jolt of expansion. Think about it—it’s another sudden temperature shock working in our favor!
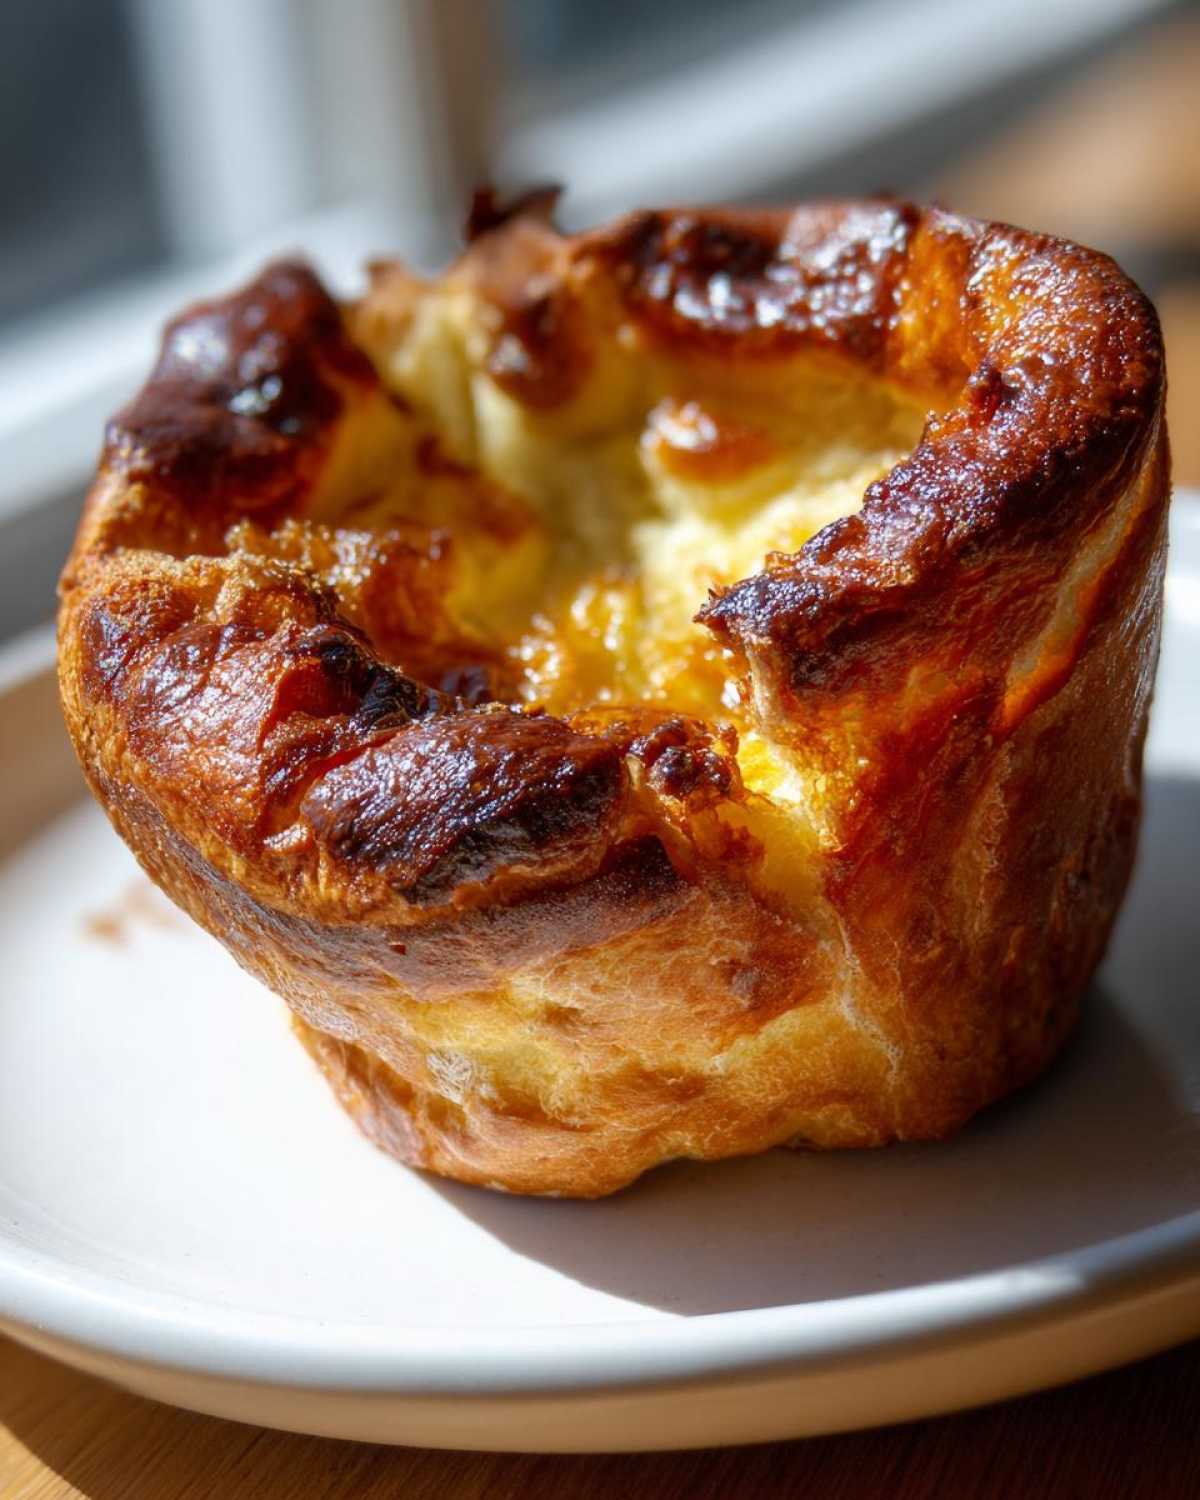
If you want that extra flavor boost without going full-dripping mode, try warming your oil slightly before adding it to the hot tin; just take the edge off the chill. And finally, when you take that tin out for the pour, don’t mess around trying to clean up any overflow drips around the rim—those burnt bits can stop the pudding from climbing up the sides! We have an easy recipe for buttermilk scones if you happen to have extra buttermilk, but for these, stick to the whole milk. For more serious temperature secrets, I found some fascinating science on how they handled their heat.
Variations: Individual yorkshire Puddings and Beyond
So, while Leo and I usually stick to the classic 12-hole muffin tin for our routine Sunday lunches, I know sometimes you need to adjust for the crowd or make something a bit more special. Making individual Yorkshire puddings is fantastic because everyone gets their own perfectly puffed cloud!
If you’re making one giant pudding in a proper roasting tin, just remember that the heat has a much longer journey to the center, so you’ll need to add about 10 extra minutes to the baking time. Don’t panic and open the door early!
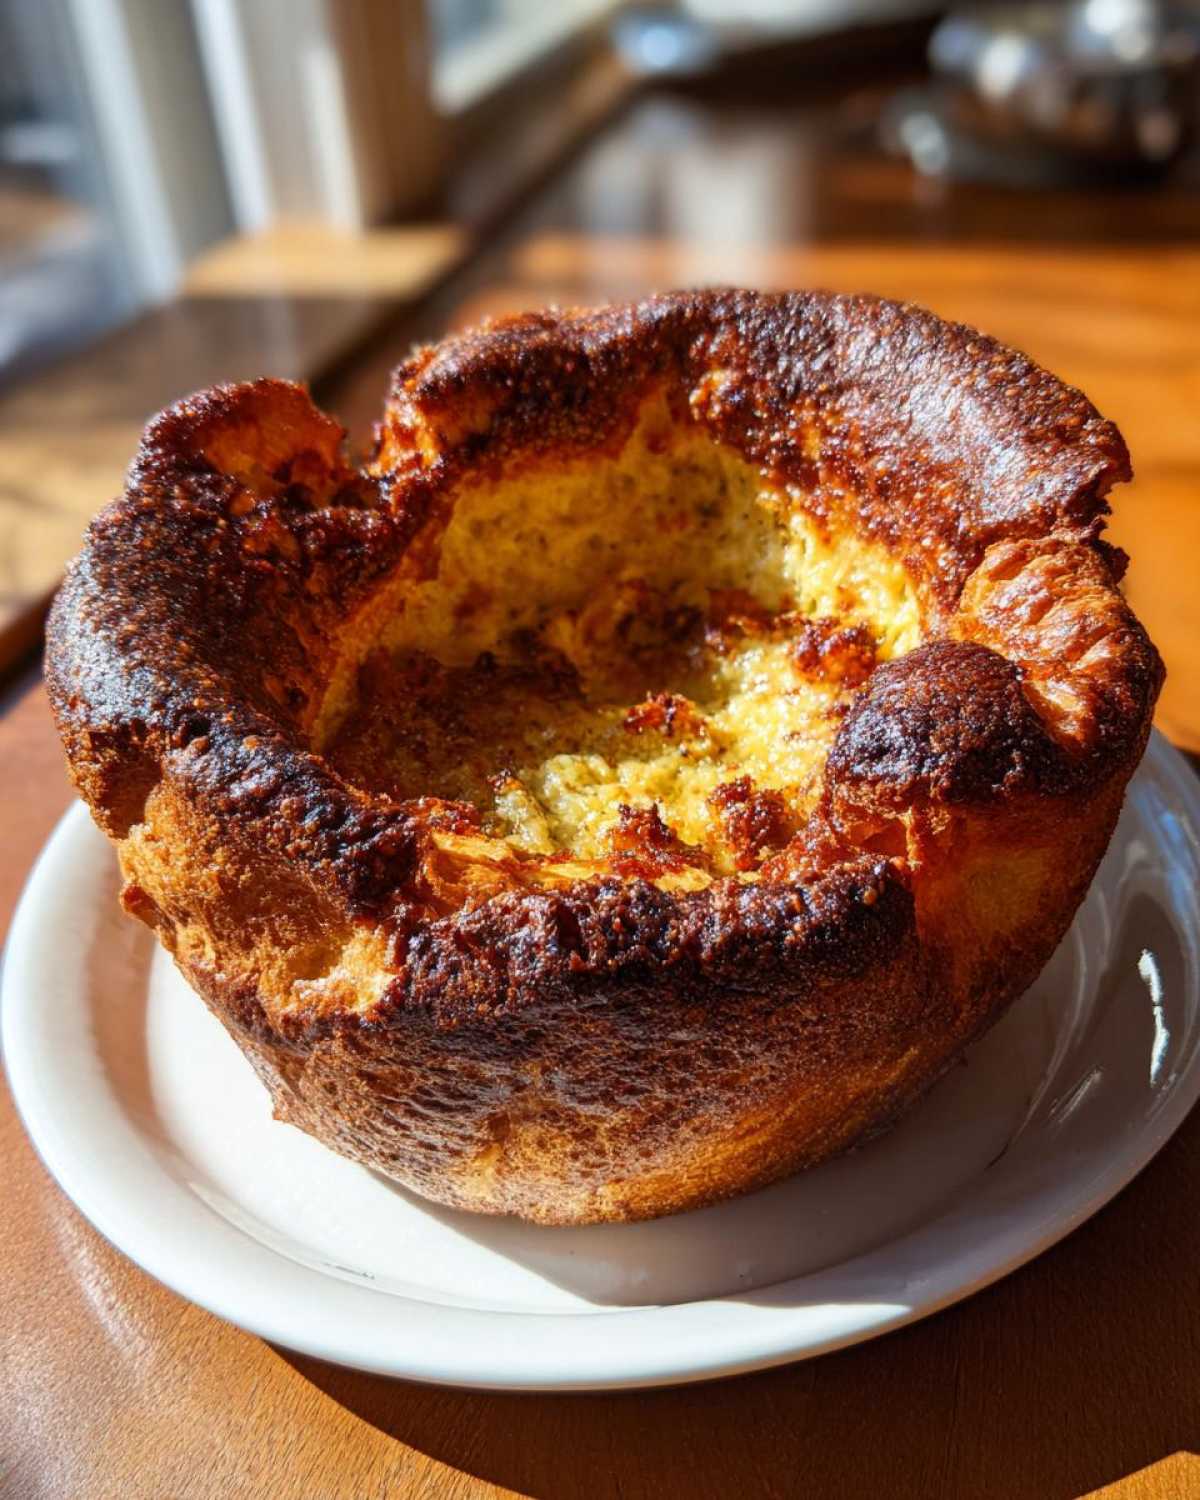
I’ve also had folks ask me about making these dietary-friendly. While this classic recipe uses standard flour, I know some of you are looking for alternatives like a proper Gluten Free yorkshire pudding. The good news is that the incredible rise comes from the eggs and extreme heat, so usually swapping the wheat flour for a good gluten-free blend works remarkably well! If you’re looking for lemon flavor profiles in your baking later, I’ve got a lovely lemon scone recipe that you might enjoy, but for these savory puffs, keep things plain.
Serving Suggestions for your Traditional British Side Dish
Honestly, a Yorkshire pudding is hardly worth making if you don’t have the right supporting cast on the plate! This isn’t just a side dish; it’s the essential vessel for gravy. Leo insists they are mandatory for any Sunday roast, especially with roast beef. My favorite way to serve them is immediately out of the oven—still puffy—with a good ladle of homemade gravy poured right into the hollow center.
If you’re creating a full spread, try them alongside roasted root vegetables and maybe even some buttery mashed potatoes. For a real treat, pair them with my recipe for creamy garlic white pizza as an appetizer earlier in the day—kidding! Stick to the roast, though. These crispy companions really just want to soak up savory juices.
Storage and Reheating Instructions for Leftover yorkshire Pudding
The hardest part about making these amazing puddings is actually having leftovers! They are so good fresh that they usually vanish immediately. But if you do manage to save a few, you have to treat them right, or they go soft fast. Keep any cooked puddings in an airtight container on the counter for only a day max—they aren’t meant for long storage, even though they are made with such simple ingredients.
To bring back that spectacular crispness, forget the microwave; that just makes them chewy! Instead, spread them out on a baking tray and slide them back into a hot oven—around 375°F (190°C)—for about five to seven minutes. They firm right back up and get wonderfully golden again. It’s amazing how quickly you can resurrect a day-old puff!
Frequently Asked Questions About yorkshire Pudding
Why did my yorkshire pudding collapse right after coming out of the oven?
Oh, that’s the most common heartbreak! Nine times out of ten, it’s because you opened the oven door too early, letting that crucial wave of hot steam escape before the structure set. You absolutely cannot peek for the first 15 minutes! The other reason for collapse is using batter that wasn’t rested properly. If the gluten is too tight, it can’t hold the expansion as well. For more detailed structural breakdowns, check out the brilliant tips at this great resource.
Can I use cold batter to make these Fluffy Yorkshire Puddings?
While the batter needs to rest, I actually like to use cold milk when mixing it in, as I mentioned above—it gives a final burst of heat reaction. Leo thinks I’m mad, but that contrast between the cold liquid and the hot fat seems to give an extra little jolt of expansion. Aim for that sweet spot where the structure is relaxed but the potential energy is still high!
What is the absolute best fat to use for the maximum rise?
If you want the most authentic, robust flavor and the best possible height, it has to be beef dripping. Nothing beats it! It has a higher smoke point and adds that deeply savory note that just screams “Sunday Roast.” Vegetable oil is completely fine if you need a vegetarian option, but for that truly classic, best Yorkshire pudding experience, go for the dripping. It’s worth hunting down.
Are these easy Yorkshire Pudding batter ratios the same as for making popovers?
Essentially, yes! A Yorkshire pudding is really just the British take on the American popover, though we generally use a little more fat and rely on dripping for flavor. The core ratio of eggs to flour to milk is very similar. The big difference is how we cook them: we insist on those blazing hot temperatures and usually serve them alongside gravy rather than with butter and jam like some popovers are served. If you’re ever bored waiting for the roast, you might want to try my jalapeño popper dip while you wait for the next batch!
Nutritional Estimates for this yorkshire Pudding Recipe
Now, Leo would tell you that if you’re eating one of these magnificent puffy clouds, you probably aren’t counting calories, but I know better! For those of you who like to keep track, here are the estimates based on using the standard recipe ingredients—that’s Option A in the notes section. Remember, this is just an estimate, because how much one pudding puffs up can change the final count slightly, but this gives you a good ballpark figure for your Sunday dinner side!
- Serving Size: 1 pudding
- Calories: 110
- Fat: 5g
- Carbohydrates: 13g
- Protein: 4g
The Perfect Foolproof Yorkshire Pudding: Crispy Outside, Fluffy Inside

Learn how to make classic British Yorkshire puddings that puff up tall, stay crispy on the outside, and remain light and airy inside. This recipe is simple and reliable for your Sunday roast.
- Prep Time: 10 min
- Cook Time: 25 min
- Total Time: 35 min
- Yield: 12 small puddings
- Category: Side Dish
- Method: Baking
- Cuisine: British
- Diet: Vegetarian
Ingredients
- 4 large eggs
- 1 cup all-purpose flour
- 1 cup whole milk
- 1/2 teaspoon salt
- Vegetable oil or beef dripping for the tin
Instructions
- Combine the flour and salt in a large bowl. Make a well in the center.
- Crack the eggs into the well. Begin whisking the eggs, gradually incorporating the flour from the sides.
- Slowly pour in the milk while continuously whisking until you have a smooth, thin batter, similar to heavy cream. Do not overmix; a few small lumps are acceptable.
- Cover the bowl and let the batter rest in the refrigerator for at least 30 minutes, or up to several hours. Resting the batter helps achieve a better rise.
- Preheat your oven to 450°F (230°C). Place a 12-hole muffin tin (or a roasting tin for larger puddings) into the oven.
- Add about 1 teaspoon of vegetable oil or beef dripping to each cup in the hot tin. Return the tin to the oven for 5 to 10 minutes until the fat is smoking hot. This step is crucial for a good rise.
- Carefully remove the hot tin from the oven. Quickly and evenly pour the batter into the hot fat, filling each cup about one-third full.
- Immediately place the tin back into the hot oven. Do not open the oven door for the first 15 minutes of baking.
- Bake for 20 to 25 minutes, or until the puddings are deeply golden brown, tall, and crisp.
- Serve your fluffy Yorkshire puddings immediately with your roast dinner and gravy.
Notes
- For the best rise, the fat in the tin must be smoking hot before you add the batter.
- Using beef dripping instead of oil adds a more traditional, rich flavor to your Yorkshire pudding.
- If you want individual Yorkshire puddings, ensure the fat is very hot for each one.
- If you are making a large pudding in a roasting tin, the cooking time might be slightly longer, around 30 minutes.
Nutrition
- Serving Size: 1 pudding
- Calories: 110
- Sugar: 1
- Sodium: 120
- Fat: 5
- Saturated Fat: 1.5
- Unsaturated Fat: 3.5
- Trans Fat: 0
- Carbohydrates: 13
- Fiber: 0.5
- Protein: 4
- Cholesterol: 55