

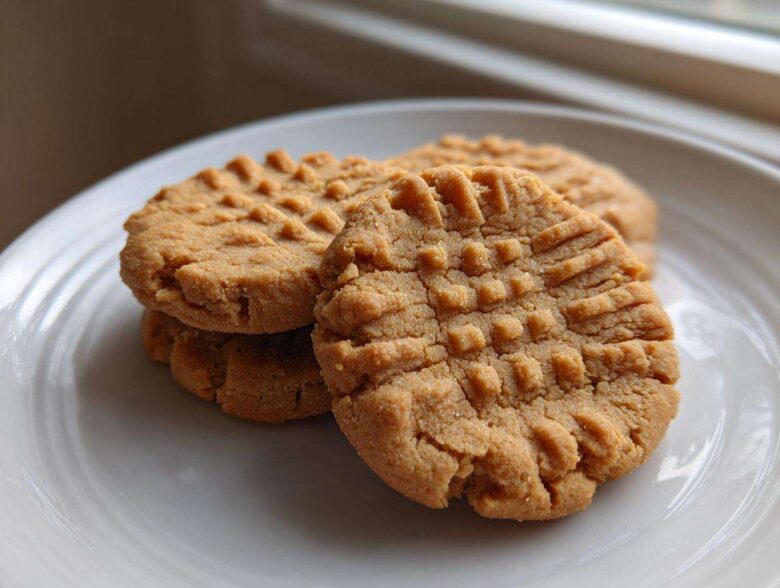
When Leo and I finally retired from our noise—mine the shushing of the library, his the ringing of the music room bell—we had all this quiet space we didn’t know what to do with. Now, that quiet is filled with the rhythmic *thwack* of the mixer and the sweet smell of sugar caramelizing! And nothing brings back that warm, perfect feeling of comfort like pulling a fresh batch of peanut butter cookies from the oven. Forget those dry, crumbly things you had as a kid. We’ve nailed the absolute best combination of ingredients here to give you those highly sought-after crispy edges and a center that just melts away. This is the kind of classic cookie recipe you need saved on your favorites board!
It’s funny how rediscovering simple joys—like the perfect baking project—can become the headline news of your new life. We spent decades curating other people’s stories, but now, we’re finally publishing our own delicious dispatches right here.
Why These are the Best Peanut Butter Cookies You Will Ever Make
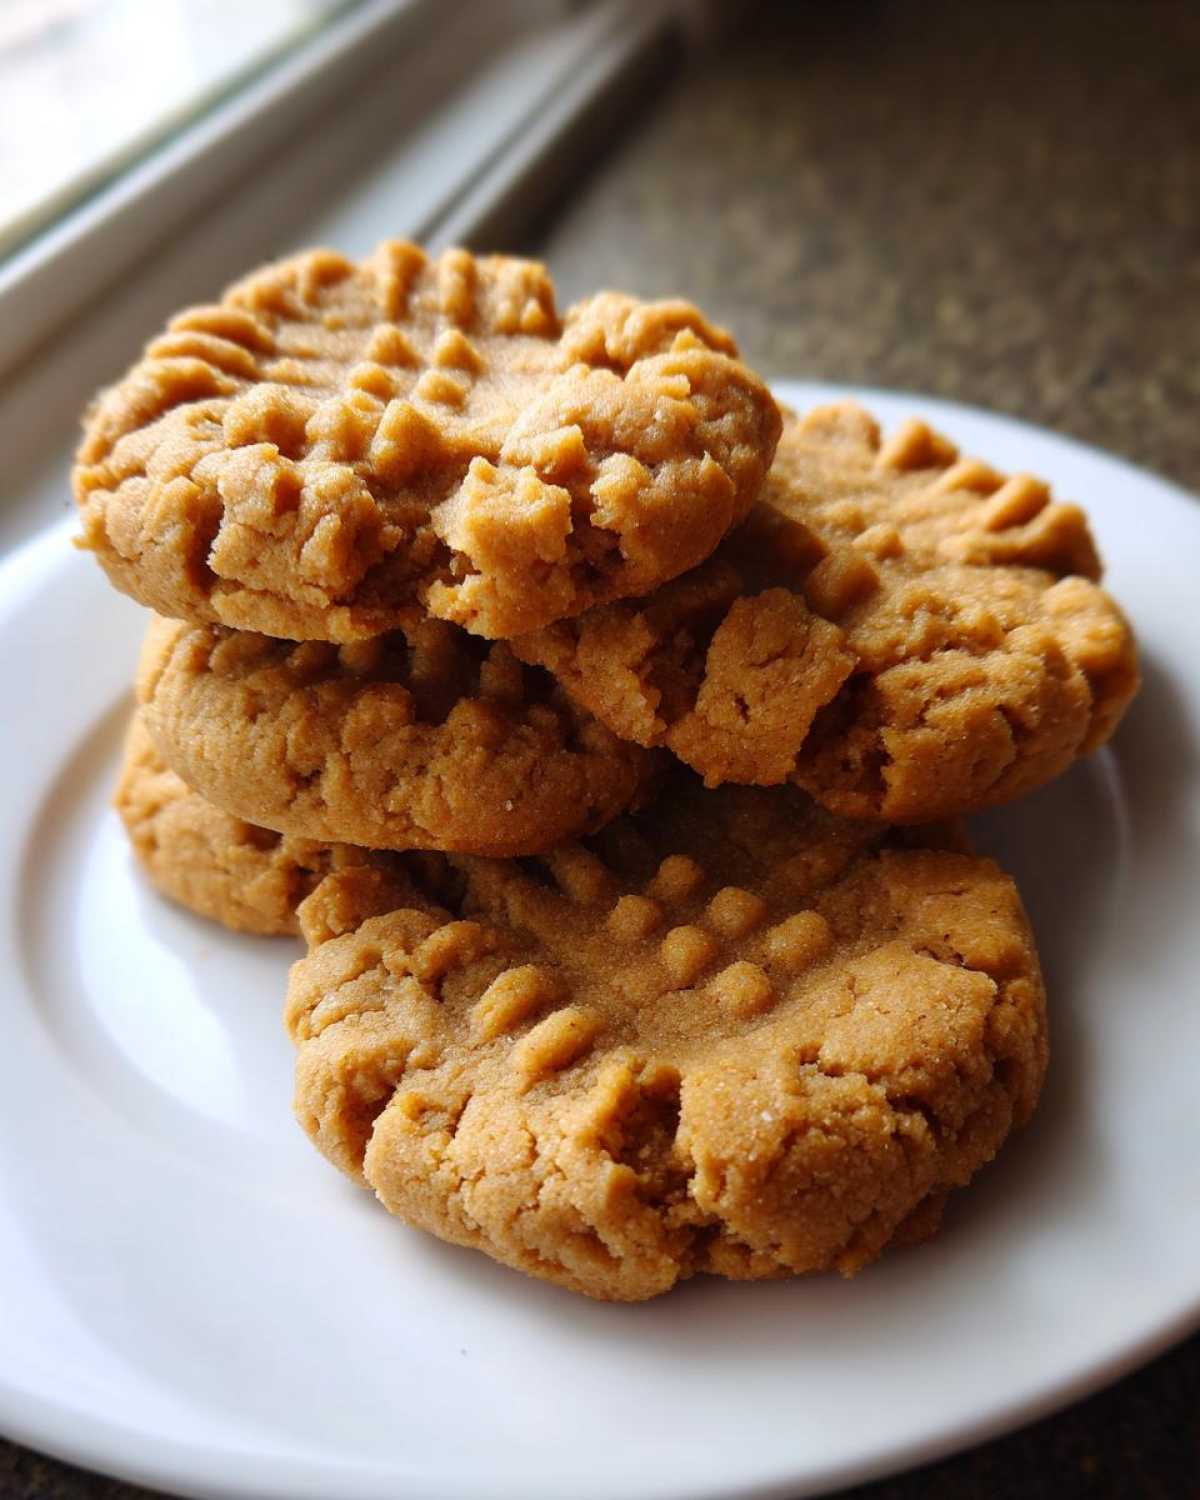
I’m telling you, these aren’t your grandma’s dry, boring peanut butter cookies—unless your grandma was a baking genius! Leo and I spent ages trying to get that perfect textural contrast. We believe these are the best peanut butter cookies because they deliver that satisfying snap on the outside while still being delightfully soft inside. We want you to save this recipe and bake it again and again!
- The quintessential childhood treat, perfected for grown-up taste buds.
- They have the signature, satisfying crosshatch pattern!
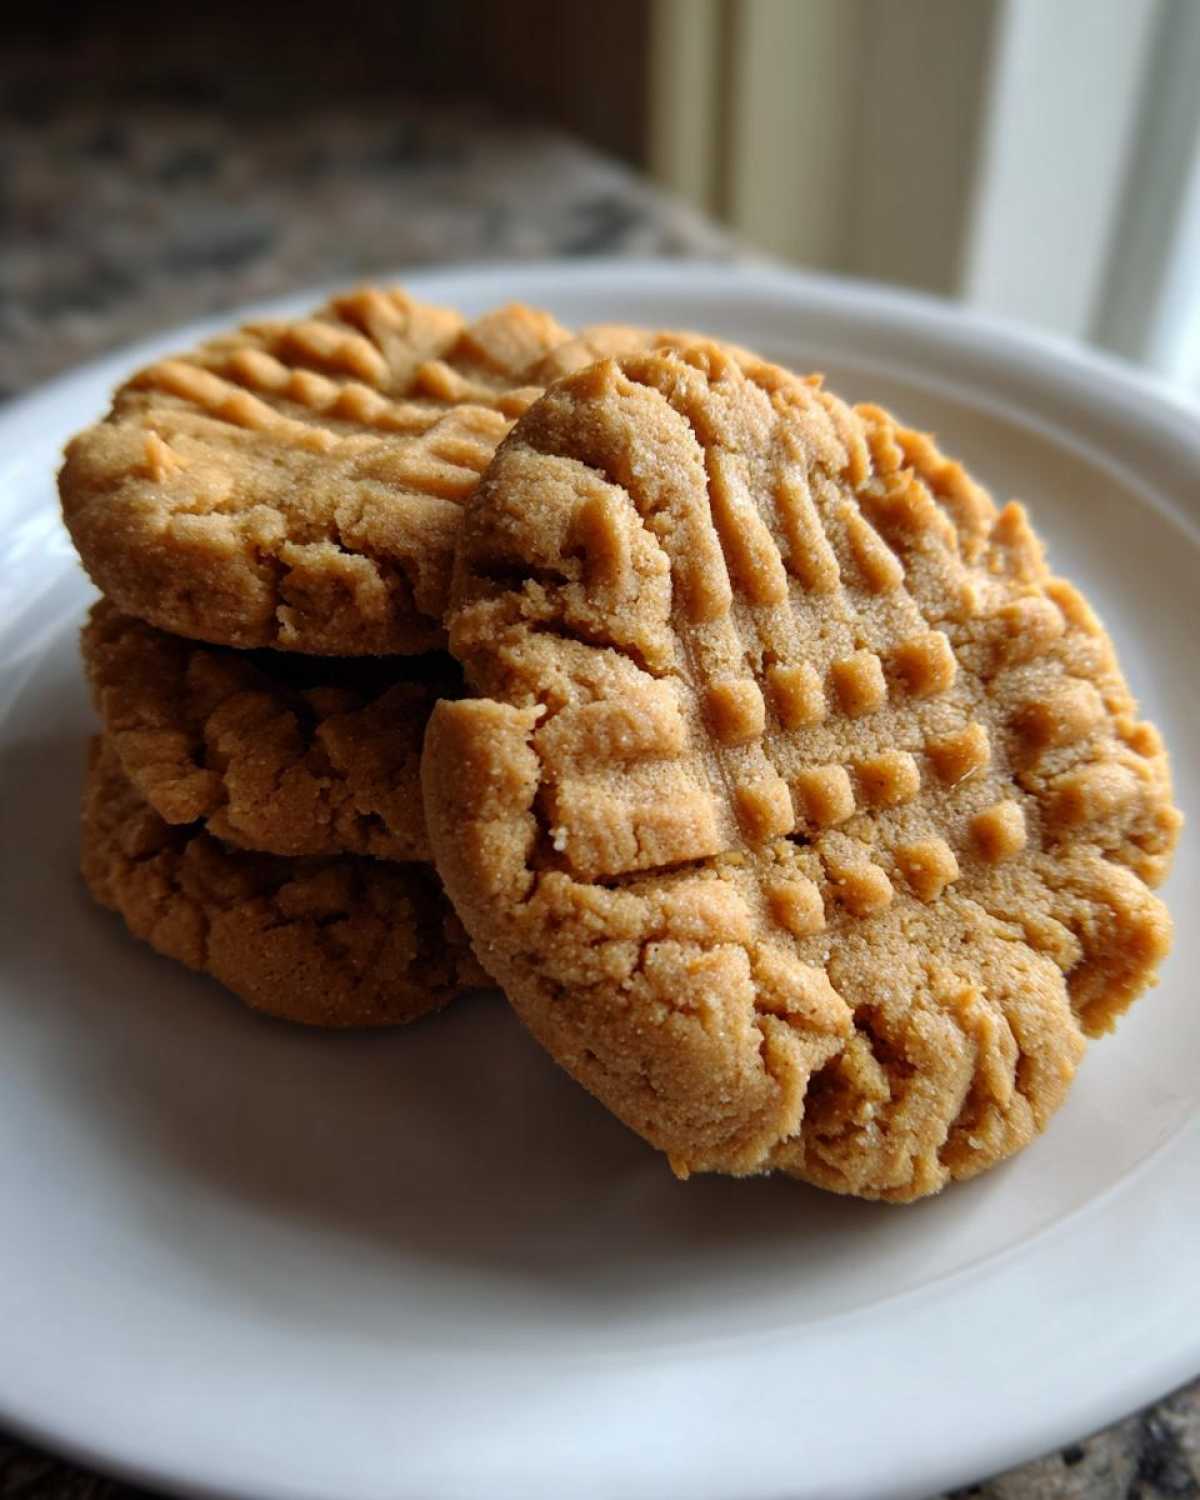
- They hold up perfectly for packing in lunch boxes or gifting.
Plus, if you’re looking for other fantastic classic baked goods, you know where to find us. But first, let’s talk about the magic behind the texture.
Achieving the Perfect Crispy Tender Cookies Texture
It all comes down to two things: the sugar ratio and the timing. We use both granulated and brown sugar—that’s the secret to getting those lovely crispy tender cookies! The brown sugar helps keep the middle soft and chewy. We pull these cookies out before they look fully done. Trust me on this; if they look perfect coming out of the oven, they’ll be too hard when they cool down. A minute too long, and you lose that gooey center!
Essential Ingredients for Classic Peanut Butter Cookies
When you’re making something as foundational as these peanut butter cookies, you simply can’t skimp on quality. Leo gets very particular about this stage, treating the ingredients like the notes in a delicate score he has to perfect. Good butter, good peanut butter—it really makes the difference between a good cookie and one you’ll be famous for!
Ingredient List for Homemade Peanut Butter Cookies
I’ve written down exactly what we use in the recipe card for these homemade peanut butter cookies. You’ll need one full cup of softened, unsalted butter and one cup of creamy peanut butter to start that gorgeous base. Make sure your sugar measurements are precise: one cup of plain white granulated sugar and one cup of light brown sugar that is nicely packed down. We use two large eggs, a teaspoon of vanilla, two and a half cups of all-purpose flour, and then your leaveners and salt: one teaspoon of baking soda, half a teaspoon of baking powder, and half a teaspoon of salt.
Ingredient Notes and Substitutions for Peanut Butter Baking
Now, let’s talk peanut butter. For the absolute best flavor depth in our peanut butter baking endeavors, Leo insists on using a natural, slightly oily peanut butter. You know the kind where the oil separates a little at the top? It brings a richer, nuttier complexity than the heavily stabilized types. Creamy is traditional here because we want that smooth texture in the dough, but if you must use crunchy, go right ahead, just know you’ll get a bit more texture variation!
Remember those two sugars we talked about? The white sugar helps them spread and crisp up nicely on the edges, while that packed light brown sugar is our insurance policy for that wonderfully soft center we are chasing. Don’t try to swap them one-for-one; you’ll change the entire recipe’s structure, I promise!
Step-by-Step Instructions for Classic Peanut Butter Cookies
Alright, here is where the real fun starts, and where Leo always insists I remind you all to breathe! Making these classic peanut butter cookies is truly straightforward, but doing it right means paying attention to the temperature and the mixing. We want that beautiful, thick dough, not soup! First things first: get your oven set—350°F is the magic number—and line those baking sheets with parchment paper. Do not skip the parchment; cleanup is way faster, and we’re trying to maximize cookie-eating time!
If your kitchen is warm, or if you just want the easiest shaping experience, definitely slip the dough into the fridge for about 30 minutes before you roll it. It makes a world of difference in handling!
Mixing the Dough for Perfect Peanut Butter Cookies
Grab your biggest bowl! The first mission is creaming the softened butter with both the white sugar and that lovely brown sugar until it looks light and fluffy—like a cloud of sweet potential! Then, one by one, beat in your two eggs, followed by that shot of vanilla extract. In a separate bowl, whisk your dry things: the flour, baking soda, baking powder, and salt. Now, this part is crucial: add the dry mix to the wet mix slowly, on low speed if you’re using the mixer. As soon as you see the flour streaks disappear, stop! Seriously, stop mixing. Overmixing flour develops gluten, and gluten equals tough cookies, and we are not making tough cookies here.
Forming and Creating the Signature Crosshatch Pattern
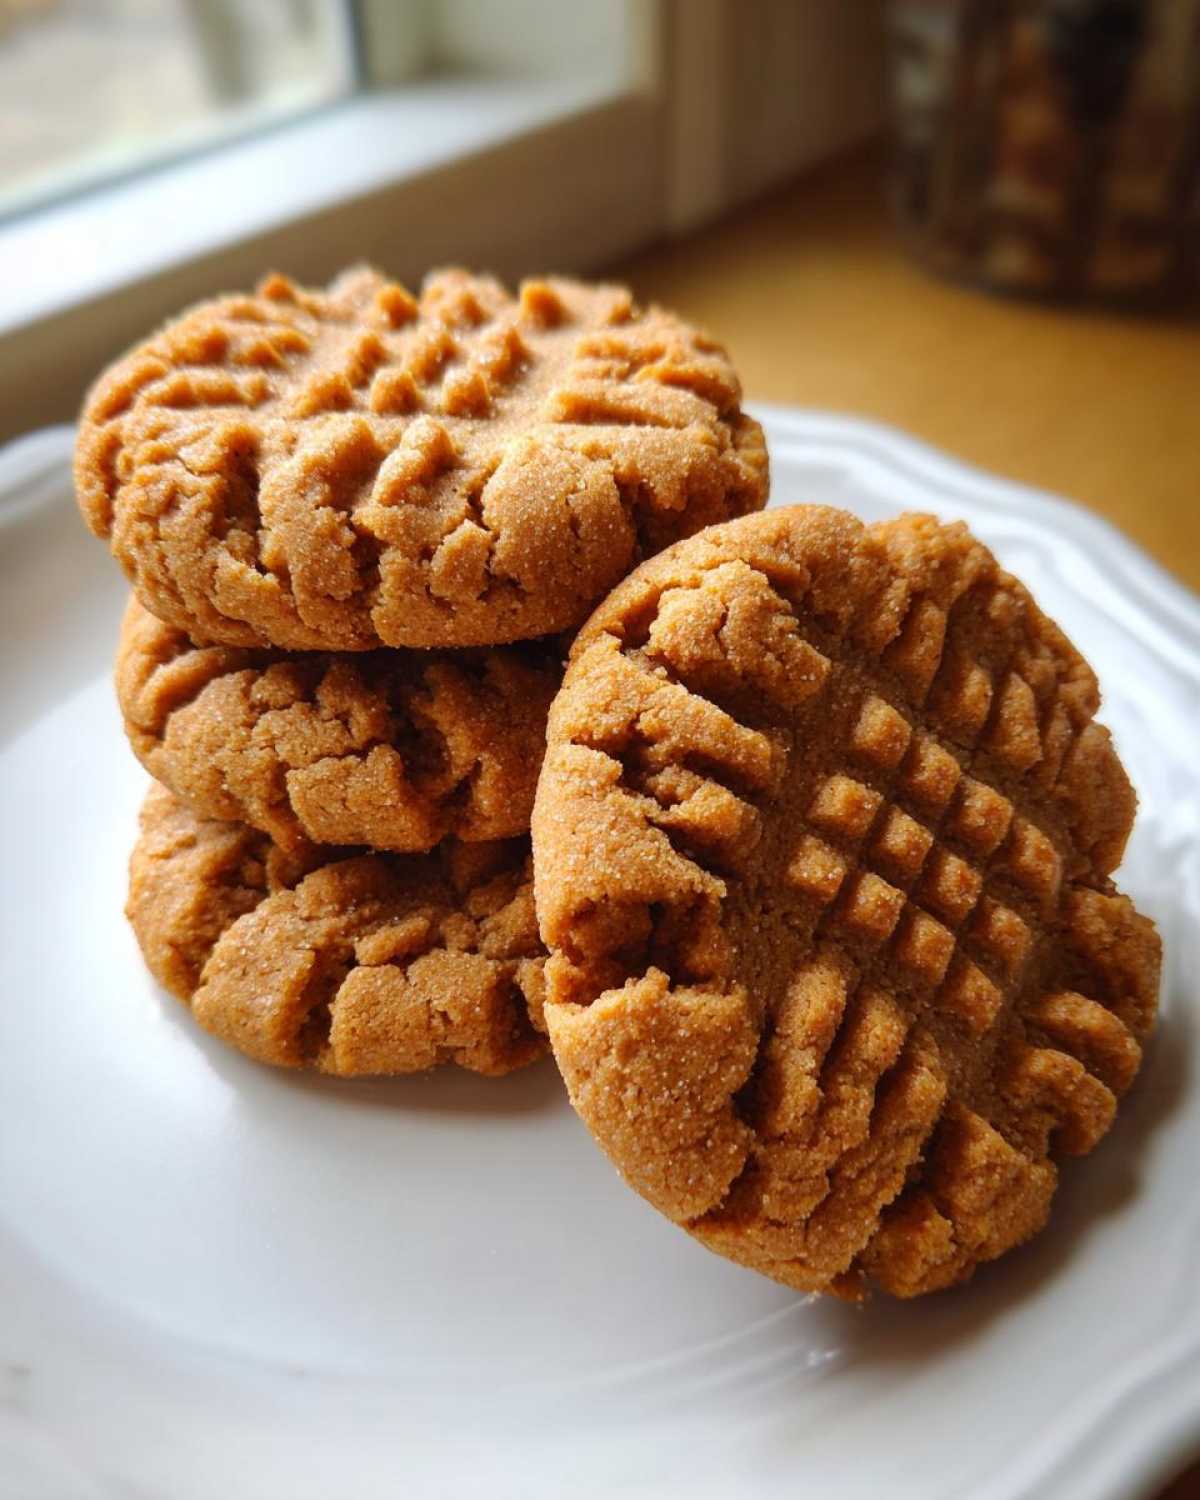
Once the dough is combined, it’s shaping time. Scoop your dough into little balls—we aim for about 1 1/2 tablespoons each. Roll them gently between your palms until they are nice and round. Place them on your prepared sheets, leaving a good two inches of space because these babies are going to spread just a bit. Now for the famous mark! Grab a fork—and this is Leo’s technique he learned from his mom—press down once in one direction until the fork almost touches the sheet. Then, pivot the fork 90 degrees and press again for the crosshatch. Make sure you press firmly but don’t flatten the whole thing out. That patterned top helps them bake evenly for that perfect texture we are after. If you skipped the chill time, you might need to press more gently, or they’ll just flatten right out. If that happens, just pop the sheet in the fridge for 15 minutes and try again!
For more tips on getting those perfect textures, check out our guide to classic chewy cookies!
Baking Tips for Flawless Peanut Butter Cookies
This is the moment of truth, right? So many recipes tell you to bake until golden brown, but with these peanut butter cookies, we need to be a little more attentive to the signals they send us. If you wait until they look perfectly done in the middle, you’ve waited too long! We want those beautiful, just-set edges that give you that necessary crispness, but the center needs to look slightly soft, maybe even a little pale.
Trust me, resisting the urge to pull them out early is the hardest part of this whole process. But that slightly underdone look is exactly what guarantees that tender, melt-in-your-mouth center when they finally cool down.
Knowing When Your Peanut Butter Cookies Are Done
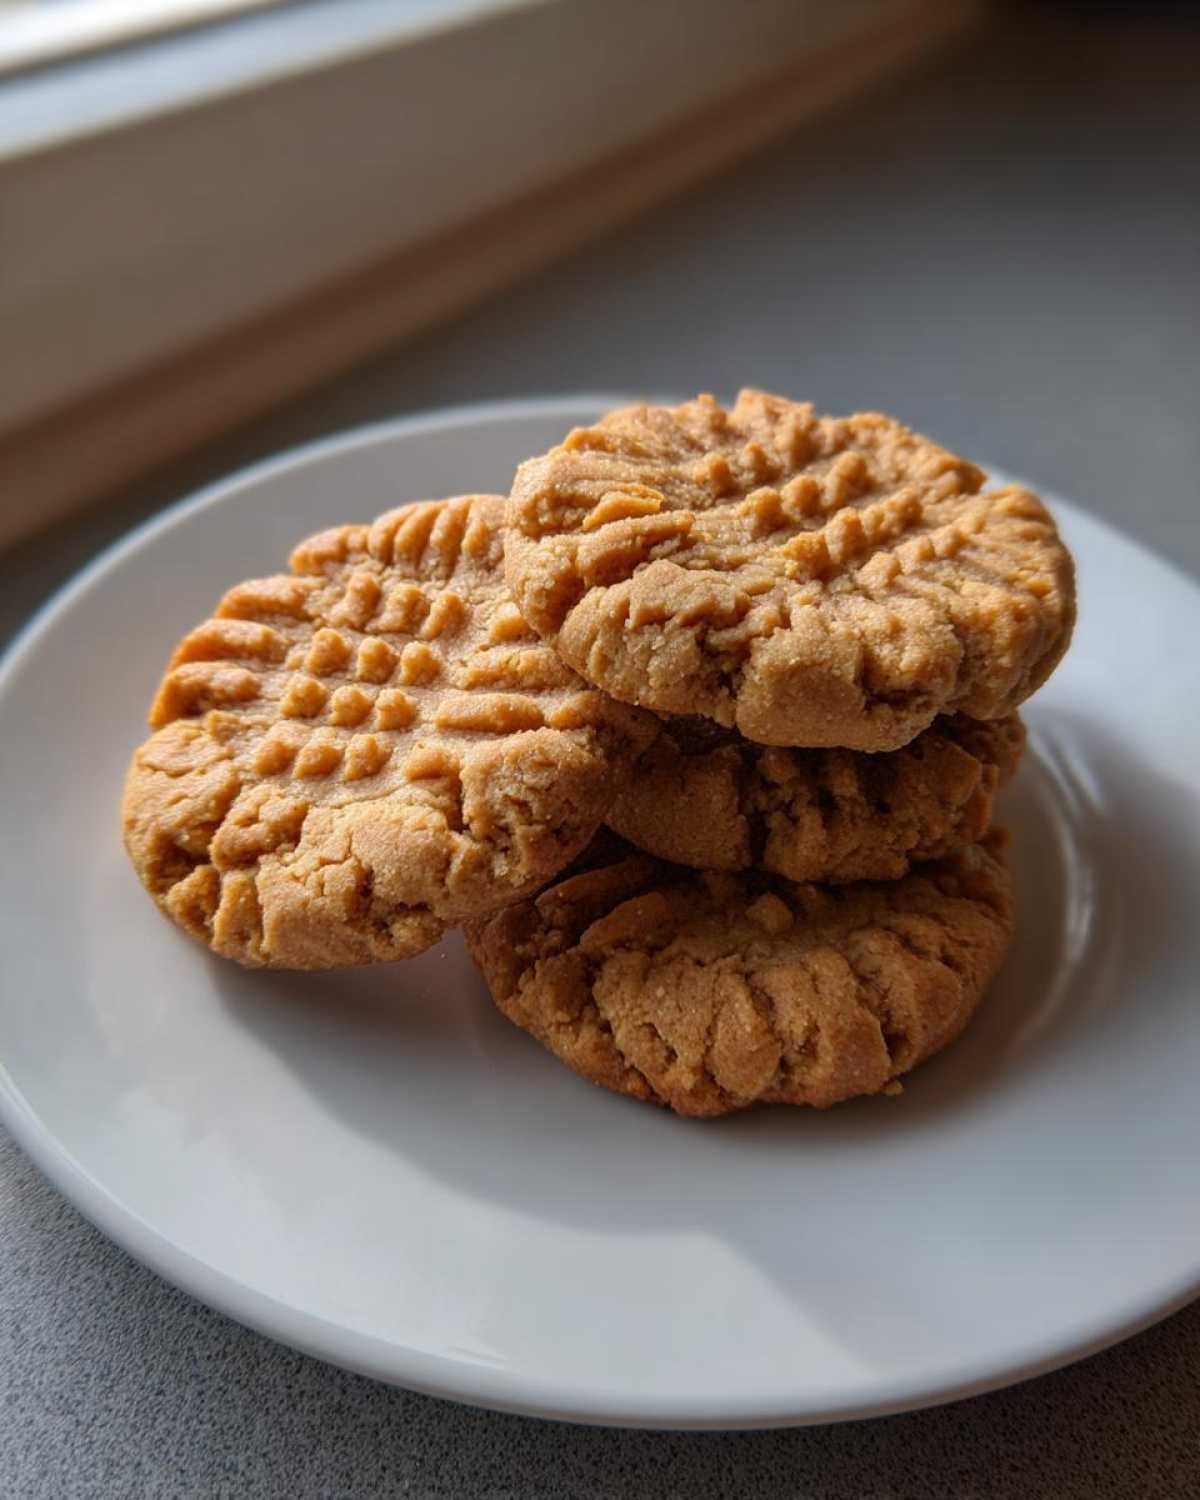
So, you’re watching the clock—10 minutes, maybe 11. Look closely: the edges need to look set and just starting to turn light golden brown around the perimeter. If the whole cookie looks baked through, they are already overdone for our purposes! As soon as you see that sign, slide that pan straight out of the oven. Now, this next part is non-negotiable: leave them right on that hot baking sheet for a solid five minutes. They are still cooking, setting up, and firming up those edges during that resting time. If you try to move them too soon, they might just disintegrate on you. Five minutes of peace, and then you can carefully transfer them to the wire rack!
Storing and Keeping Your Homemade Peanut Butter Cookies Fresh
We all know the heartbreak of a perfectly baked cookie turning stale overnight! Keeping that crisp edge and tender center intact is vital for these classic cookie recipes. The moment they cool completely on the rack, get them into airtight containers. Leo likes to eat them so fast they never last long enough to worry about, but if you must store them, a single layer is best. Seriously, don’t stack them too high, or you risk bruising the tops and making them stick together. If you absolutely have to store them for more than three days, you can try tossing a small piece of bread in the container—it sounds old-fashioned, but it helps keep them soft inside, though the edges might lose a touch of their snap.
For the absolute best experience later, try pairing them with a cold glass of milk or dip them into some of that whipped ricotta if you’re feeling adventurous! These are always better on the day they are baked, in my opinion.
Variations on Traditional Cookies
We love things traditional, but even Leo gets restless if we make the exact same thing every time! Since this recipe is so sturdy, you can play around with it slightly without ruining that beautiful texture. My absolute favorite twist, especially if I’m serving them to the grandkids, is folding in about a cup of mini chocolate chips right at the end. They get perfectly melty pockets in the soft centers of your peanut butter cookies!
Another simple swap is in the flavorings. Instead of just vanilla, try substituting half of it with almond extract—it gives the cookies a wonderful, almost marzipan-like background note. If you are feeling really fancy, you can even use some peanut butter chips instead of chocolate! We’ve tried a few more ambitious flavor experiments, like adding coffee powder, but honestly, the simplicity of these traditional cookies shines the best. If you want to see some wilder ideas, check out my recipe notes on those cheesecake cookies; those are definitely not traditional, but they are fantastic!
Serving Suggestions for These Peanut Butter Cookies
Honestly, Leo thinks these cookies are perfect just standing alone—he eats them straight from the cooling rack! But if you want to elevate the experience, you have to lean into that rich peanut flavor. They are absolutely divine dipped into a tall, cold glass of milk; that’s a non-negotiable classic pairing for me.
If you’re enjoying them in the afternoon, a strong, hot cup of coffee cuts through the richness beautifully. And for the ultimate indulgence? Warm one up slightly and serve it alongside a scoop of vanilla bean ice cream. You end up with these incredible warm, gooey pockets. Next time you’re making something warm, maybe try our hot chocolate alongside them!
Frequently Asked Questions About Classic Peanut Butter Cookies
I know you’re going to have questions once you start baking, because baking always brings questions! That’s why we’re here, to help you troubleshoot before you even run into trouble. We want your adventure into classic cookie recipes to be smooth and delicious. I’ve pulled the three most common questions I get from folks chatting about these traditional cookies.
Can I use crunchy peanut butter in this recipe?
You absolutely can! We call for creamy because it mixes in so smoothly and gives you that uniform texture inside, but crunchy peanut butter just adds more texture variation throughout. If you love finding little peanut chunks—and who doesn’t?—go for it! It mainly impacts the interior chewiness rather than the overall structure, so all the crispy edge magic will still be there.
Why didn’t my peanut butter cookies get the crosshatch marks?
Oh, that happens, and it’s almost always about temperature. If your dough is too warm—maybe you skipped the chill time or your kitchen is just hot—the dough is too soft when you press the fork down. It just squishes out instead of holding a defined mark. Remember what I said: the dough needs to be firm enough to hold its shape when you roll it. Press firmly in perpendicular directions, but don’t hold the pressure down for too long!
How long does it take to make these traditional cookies?
That’s the beauty of this simple, straightforward recipe! If your butter is softened and you get right to work, the hands-on prep time is only about 15 minutes. Baking time is super quick, usually 10 to 12 minutes per batch. Even accounting for cooling time, you can have a fresh batch of these amazing cookies ready to eat in under an hour if you work efficiently. They are perfect for those busy afternoons when you need a treat fast. If you’re looking for heartier meals on a quick schedule, you should check out Leo’s tips on our lentil soup too!
Nutritional Information for Peanut Butter Cookies
Now, I know some of you reading Leo’s glorious creations are like me—we bake for joy, not for spreadsheets! But for those who want the scoop, here is the rundown. Based on a serving size of one cookie, we estimate this recipe yields about 180 calories, 14 grams of sugar, and 4 grams of saturated fat. These estimates are pulled directly from our standard ingredient amounts, but remember, if you use extra-dark peanut butter or a different brand of flour, those numbers might shift a bit. For all the fine print on how we calculate these things, check out our official nutritional disclaimer. Enjoy them guilt-free—they are the best!
PrintLeo’s Best Peanut Butter Cookies: Crispy Edges, Tender Centers
Follow this classic recipe for homemade peanut butter cookies that achieve the perfect texture: delightfully crisp around the edges and wonderfully soft in the middle. This is the best peanut butter cookie recipe you will want to save.
- Prep Time: 15 min
- Cook Time: 12 min
- Total Time: 27 min
- Yield: About 3 dozen cookies
- Category: Dessert
- Method: Baking
- Cuisine: American
- Diet: Vegetarian
Ingredients
- 1 cup (2 sticks) unsalted butter, softened
- 1 cup creamy peanut butter
- 1 cup granulated sugar
- 1 cup packed light brown sugar
- 2 large eggs
- 1 teaspoon vanilla extract
- 2 1/2 cups all-purpose flour
- 1 teaspoon baking soda
- 1/2 teaspoon baking powder
- 1/2 teaspoon salt
Instructions
- Preheat your oven to 350°F. Line baking sheets with parchment paper.
- In a large bowl, cream together the softened butter, peanut butter, granulated sugar, and brown sugar until the mixture is light and fluffy.
- Beat in the eggs one at a time, then mix in the vanilla extract.
- In a separate medium bowl, whisk together the flour, baking soda, baking powder, and salt.
- Gradually add the dry ingredients to the wet ingredients, mixing on low speed until just combined. Do not overmix.
- Scoop the dough into balls, about 1 1/2 tablespoons each. Roll the balls between your palms.
- Place the dough balls onto the prepared baking sheets, leaving about 2 inches between them.
- Use a fork to press down on each ball to create the classic crosshatch pattern, pressing once in one direction, then once perpendicular to the first press.
- Bake for 10 to 12 minutes, or until the edges are set and lightly golden. The centers will look slightly underdone.
- Let the cookies cool on the baking sheet for 5 minutes before transferring them to a wire rack to cool completely.
Notes
- For an extra peanutty flavor, use a natural, slightly oily peanut butter.
- If you prefer a slightly chewier cookie, slightly underbake them by one minute.
- Chill the dough for 30 minutes before rolling for easier handling, especially in a warm kitchen.
Nutrition
- Serving Size: 1 cookie
- Calories: 180
- Sugar: 14g
- Sodium: 110mg
- Fat: 10g
- Saturated Fat: 4g
- Unsaturated Fat: 6g
- Trans Fat: 0g
- Carbohydrates: 21g
- Fiber: 1g
- Protein: 4g
- Cholesterol: 20mg