

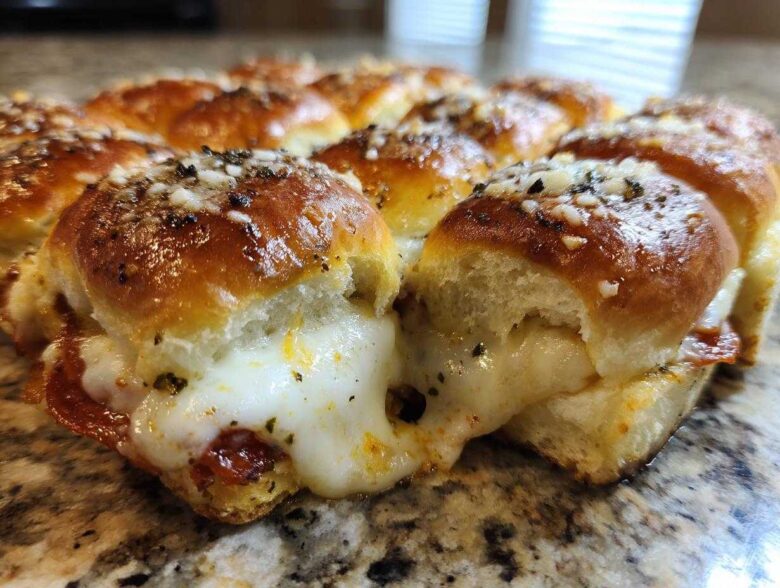
Okay, if you are anything like me, you live for that moment when you bring something out at a party and everyone *immediately* dives in. I’m talking about that perfect, gooey, salty appetizer that requires zero fuss. After years of hosting Game Days and big family potlucks, I’ve landed on the ultimate winner: these unbelievably easy pizza sliders. Seriously, forget making individual roll-ups! We are using sweet Hawaiian rolls, layering them up, dousing them in garlic butter, and baking them until they are pure cheesy magic.
The real magic? These are the fastest, cheesiest pizza sliders you’ll ever make, all thanks to those amazing Hawaiian rolls. I’ve perfected my technique over countless trial runs for appetizers—and trust me, simplicity doesn’t mean sacrificing flavor. If you need a show-stopping, 30-minute fix before the chaos starts, this is your recipe. You can check out my favorite cheesy dips for serving alongside them too here!
Why You Will Make These Pizza Sliders Again and Again
Honestly, I keep these saved on my phone because I forget how fast they come together! I always have the ingredients on hand now, which is a huge win for emergency snack situations. These are the ultimate Crowd Pleaser Appetizer.
- They genuinely take under 10 minutes of prep time. You can’t beat that speed for Quick Party Appetizers!
- The combination of soft Hawaiian rolls and melted cheese is pure comfort. They are just so satisfyingly gooey.
- That garlic butter glaze trick makes them taste like they took hours, not minutes. They disappear instantly at any gathering.
- If you’re looking for solid Game Day Food Ideas that people actually crave, these are it. You can find more of my favorite easy ideas here.
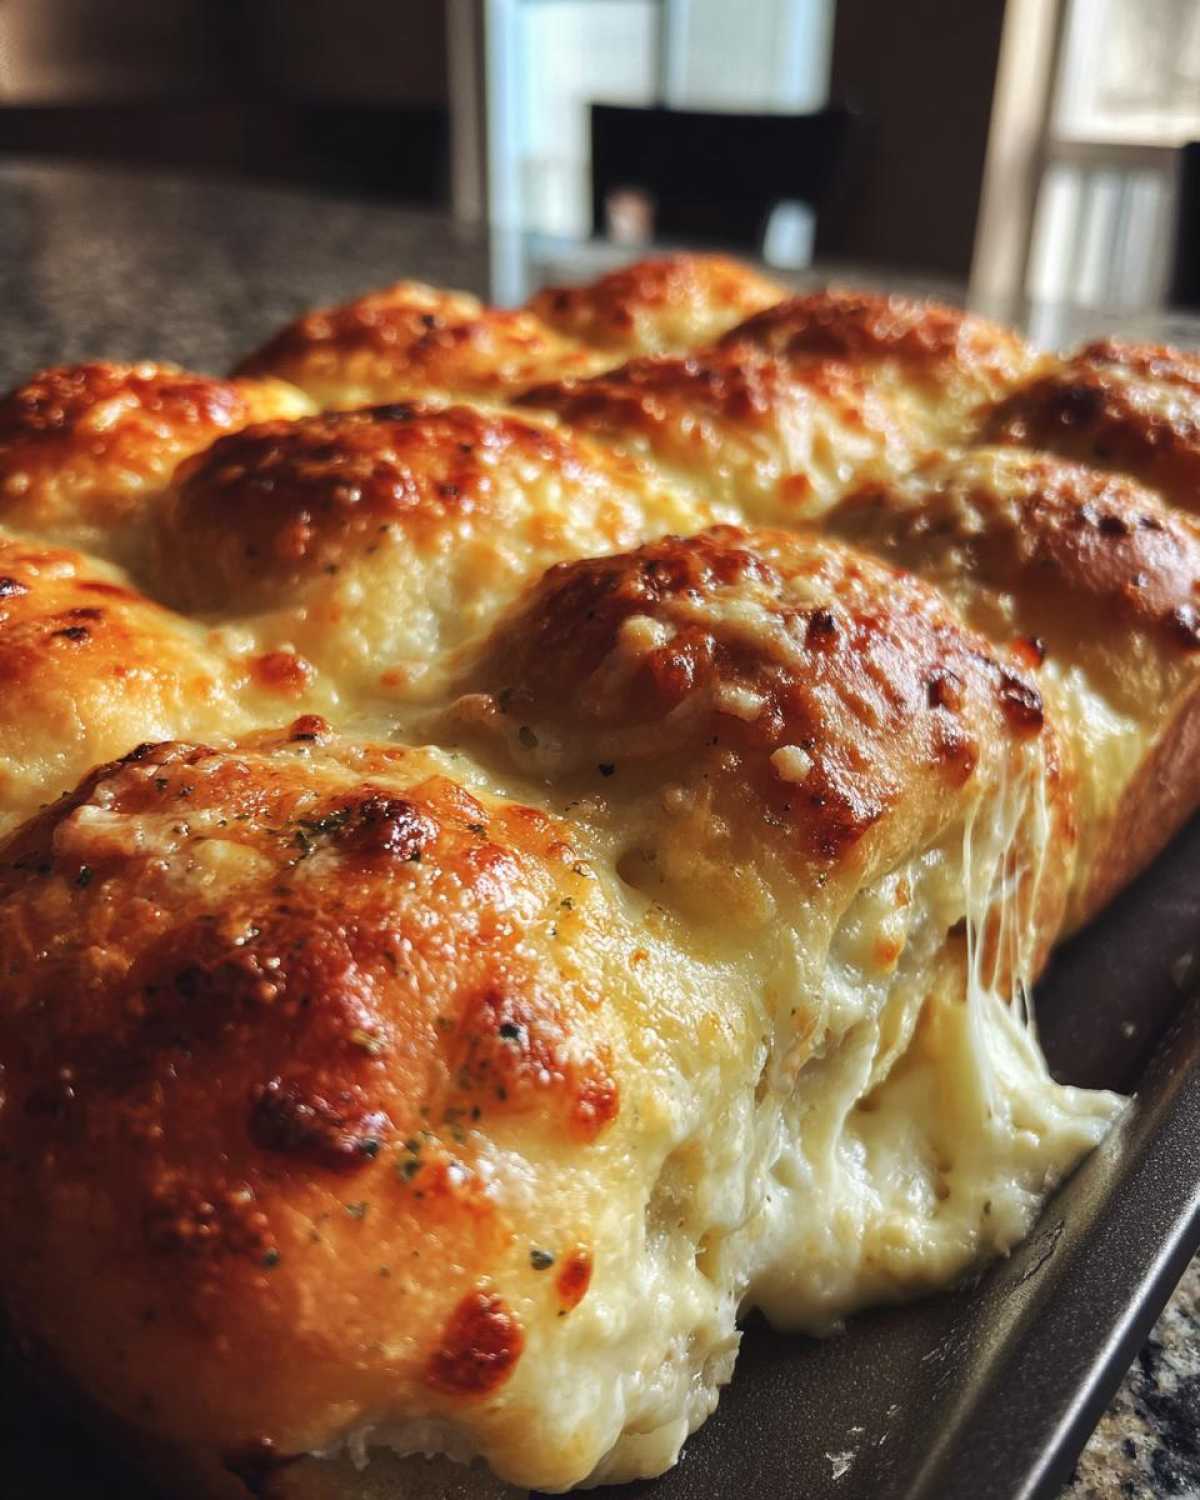
Essential Ingredients for Perfect Pizza Sliders
You’ll need just a few simple things for these, but the quality matters, especially when we get to that glorious glaze. Don’t feel like you have to run out and buy a million spices! Precision here is key to making sure you get that perfect pull-apart texture. I’ve learned over the years that using the right amount of cheese is how you guarantee gooeyness, so measure that mozzarella right. If you want to get really fancy with flavors sometime, you should check out my recipe for creamy garlic white pizza—but for these simple bites, stick to the plan!
The Base: Hawaiian Roll Sliders Components
First up is the backbone of our Hawaiian Roll Sliders! You must grab that 12-count package of sweet Hawaiian rolls—don’t substitute those unless you absolutely have to. Then, you’ll spread about one cup of your favorite pizza sauce right on the bottom layer. Layer on the pepperoni—I use a full pound of sliced pepperoni because I like them hearty—and then pile on two cups of shredded mozzarella cheese. That amount of mozzarella is what gives you that beautiful, stretchy pull.
Flavor Boost: The Garlic Butter Glaze for Your Pizza Sliders
This glaze is non-negotiable, folks! It’s just half a cup of melted, unsalted butter whisked with two cloves of garlic that you’ve minced fresh. Please, please, please use fresh garlic, not the jarred stuff if you can help it; the flavor difference is huge! Mix in one teaspoon of Italian seasoning—that brings the classic pizza spice—and you’re ready to brush this golden mixture over the top of the assembled buns.
Step-by-Step Assembly of Your Pizza Sliders
Alright, now for the fun part! This whole thing comes together so fast, you’ll wonder why you didn’t start making these pizza sliders years ago. First things first: get your oven warming up to 350 degrees Fahrenheit, and grab a 9×13 inch baking dish. Give it a quick spray with cooking spray or rub some butter around to make sure nothing sticks later on—we are aiming for easy cleanup! If you’ve ever struggled with sticky bread when making things like my famous sloppy joe sliders, you know how important this step is!
Getting the structure right for these pull apart pizza snacks is super important. Take your whole package of Hawaiian rolls and slice the entire thing horizontally in one motion. Try to keep the rolls connected like one big cheesy sandwich loaf; it gives us such a better final shape! Put the bottom half of the rolls into your prepared dish. This is where we build the flavor foundation.
Preparing the Rolls and Layering the Filling
Once the bottom buns are sitting snugly in the dish, spread that pizza sauce evenly across every roll. Don’t be shy, but don’t drown them either! Next, lay down your pepperoni. I swear, you need a lot of pepperoni for these to be truly great—it helps keep the structure intact underneath that blanket of cheese. Now, sprinkle all two cups of that shredded mozzarella right on top of the pepperoni. It’s going to look like too much, but trust me, it melts down perfectly.
Creating and Applying the Garlic Butter Topping on Pizza Sliders
While that sauce and cheese are waiting patiently, quickly mix your glaze. Combine that melted butter with your minced fresh garlic and the Italian seasoning. Stir it until it looks like fragrant, golden soup. Take your time brushing that mixture generously all over the top layer of the rolls. Seriously coat them! Then, finish it off by sprinkling that grated Parmesan cheese right over the top layer. This creates the crispiest, most flavorful crust on your cheesy slider recipes.
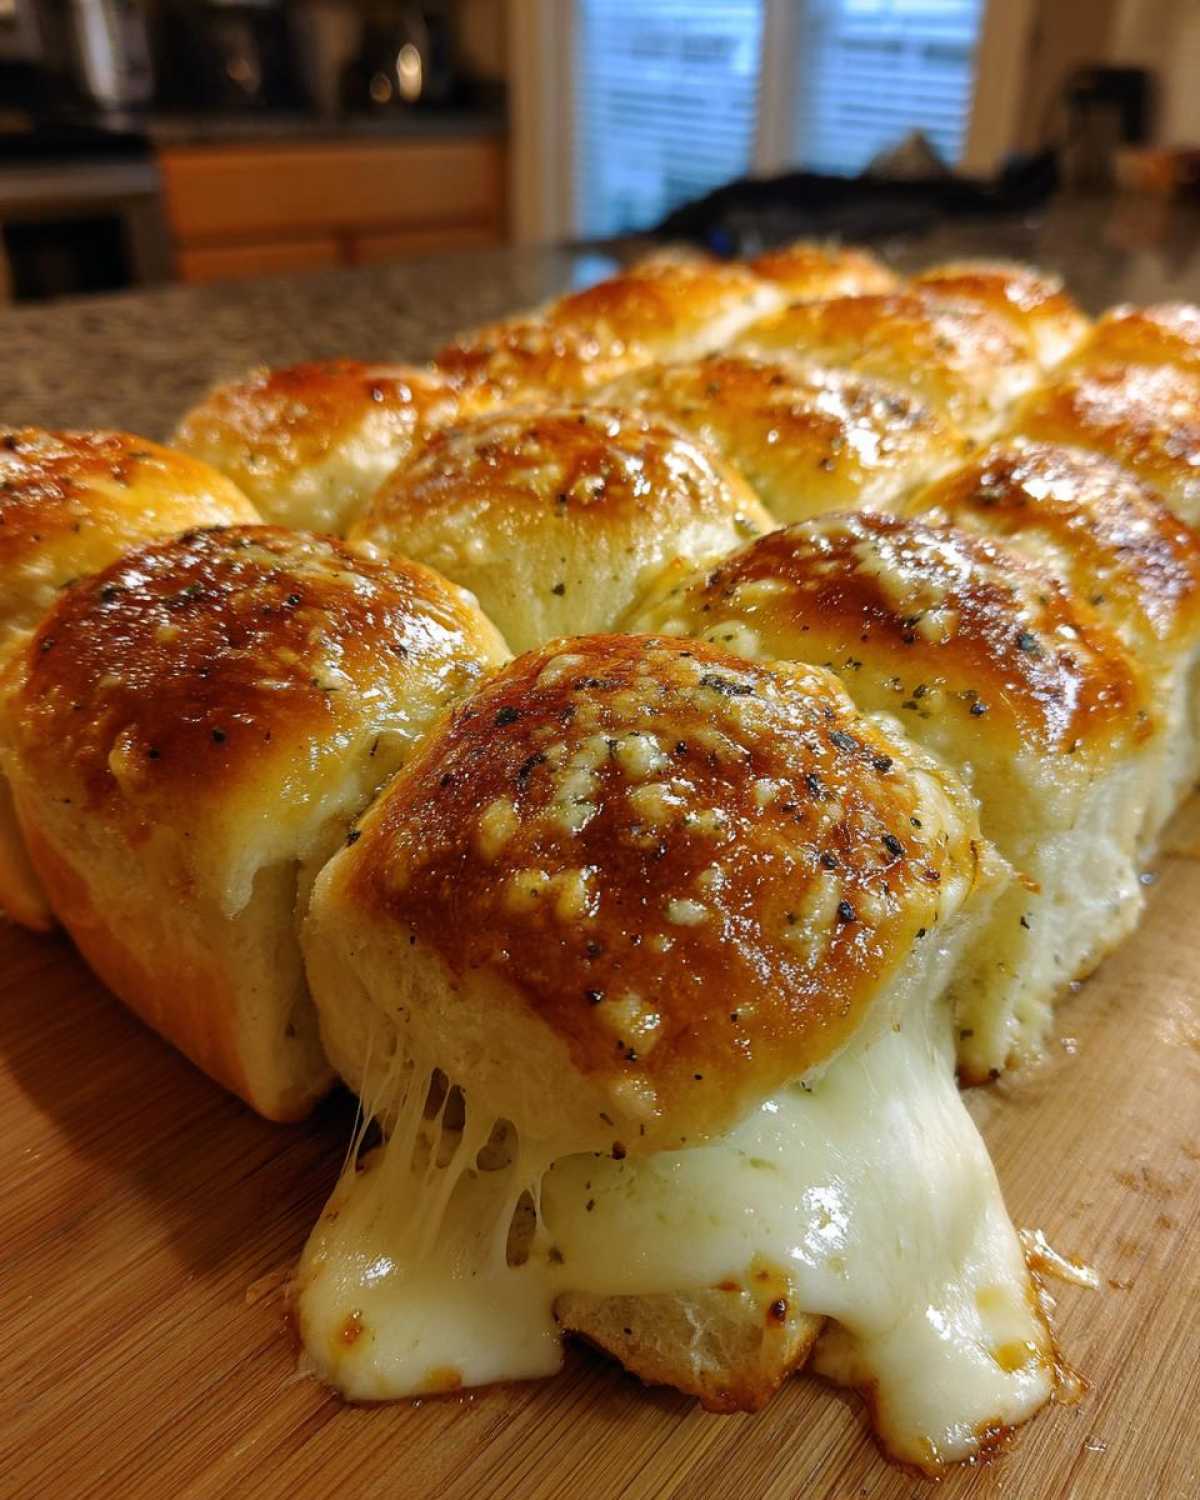
Baking Instructions for Gooey Mozzarella Pizza Sliders
Now that we have layered our beautiful little Mozzarella Pizza Sliders, it’s time for them to meet the heat! This baking process is really the secret to getting them perfectly cooked inside while making that buttery top completely irresistible. We need gentle heat first, trust me on this part, so we don’t dry out those sweet rolls before the cheese even starts to melt.
Get your oven preheated to 350 degrees Fahrenheit and make sure your 9×13 dish is ready. We’re going to bake these in two stages. First, cover the dish loosely with aluminum foil. This traps the steam and heat right around the rolls, encouraging everything to warm up evenly and getting that cheese nice and melty down to the bottom layers. Bake them covered like this for exactly 15 minutes. Don’t peek too soon—patience is key with these Baked Pizza Rolls!
After that first 15 minutes, it’s time to get that glorious golden crust we talked about. Carefully remove the foil. You’ll already smell how amazing your kitchen is, but now we need texture! Bake them uncovered for another 5 to 10 minutes. Keep a close eye on them during this second phase. You’re looking for the cheese to be completely bubbling and oozing, and for that Parmesan and garlic butter topping to start turning a beautiful, light golden brown. If you notice them browning up too fast, just pop that foil back on for a couple of minutes, but generally, 5 to 10 more minutes does the trick for that perfect molten center. You can find more tips on getting the perfect melt in my guide to Cheesy Slider Recipes!
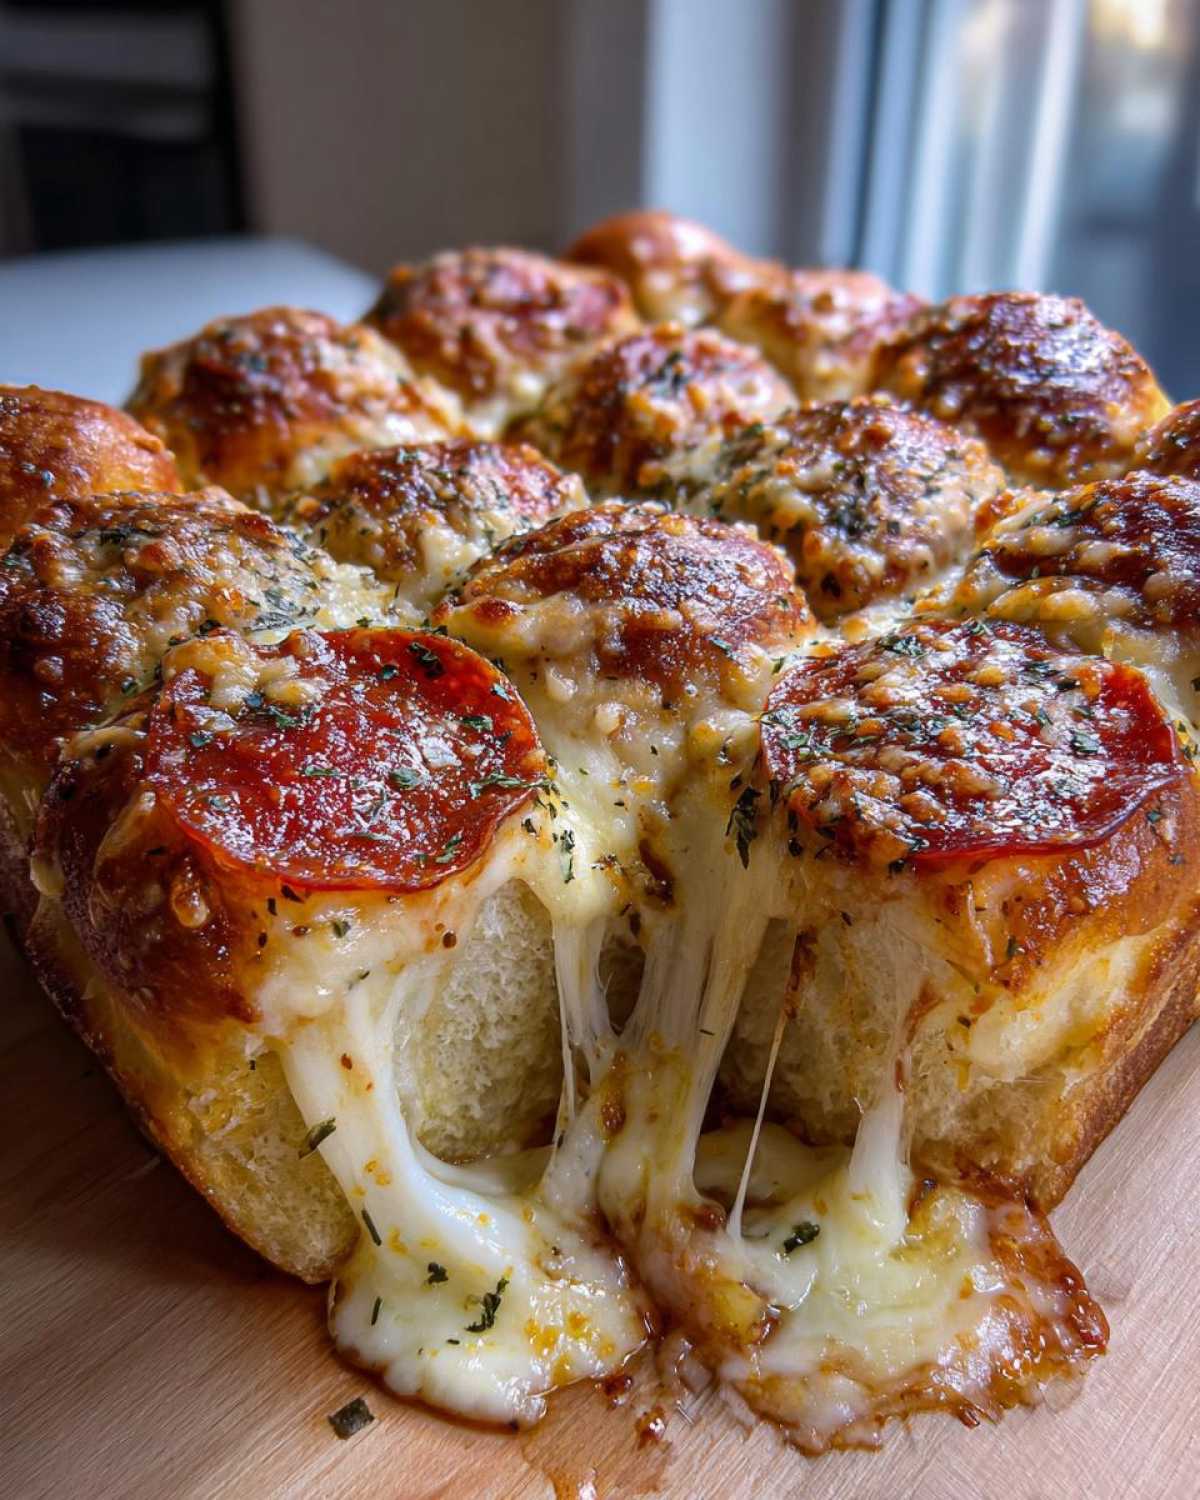
Tips for the Best Pizza Sliders Experience
I’ve made these so many times I feel like I could assemble these pizza sliders blindfolded! But based on reader feedback and my own trial-and-error sessions, there are a few tricks that really elevate them from good to absolutely unforgettable. You want that maximum cheesy satisfaction every single time, right?
First thing first: if you want next-level creaminess—seriously, go against type and try this—spread a very thin layer of softened cream cheese on the bottom half of the rolls before you even get to the pizza sauce. Wow. It melts into the bottom bun and makes these the fanciest-tasting easy snack ever. You can find a link to my general guide on making the Best Slider Recipes overall right here!
Also, if you like a little zing, don’t be afraid to throw a pinch of red pepper flakes right into that glorious garlic butter glaze. It gives you a slight kick without overwhelming the party crowd. My biggest personal tip, though, is letting them rest for five minutes after they come out of the oven. I know it’s hard when they look that good, but letting them settle keeps the cheese from running everywhere when you slice them up!
Serving Suggestions for Your Pizza Sliders
These Pull Apart Pizza Snacks are perfect as they are—rich, savory, and hearty enough to be their own meal, which makes them fantastic for those spontaneous Easy Weeknight Dinner Sliders. But listen, when I’m making a huge spread for a party or Game Day, I always like to balance out all that delicious cheese and pepperoni with something fresh on the side.
Because these pizza sliders are so rich, you don’t want anything heavy competing with them. My absolute favorite counterpoint is something super crisp! Think crunchy celery sticks or some sliced cucumbers dipped in a light ranch dressing. Anything that gives your mouth a satisfying snap after that soft, cheesy bite helps refresh your palate.
If you’re setting up a full appetizer buffet, you can totally lean into the theme! I sometimes whip up a big bowl of crunchy seasoned pretzels or even bake some homemade garlic knots if I have an extra ten minutes. And, of course, if you want another dip to go alongside them, check out my recipe for incredible Jalapeño Popper Dip—it’s spicy, cool, and amazing with the pizza flavor profile. Just remember to keep the sides simple so your amazing Game Day Food Ideas remain the star of the show!
Storage and Reheating for Leftover Pizza Sliders
Okay, the miracle happens: sometimes you actually have leftovers of these pizza sliders! Which, let’s be honest, is a massive win because they are truly fantastic the next day, just a little different texturally. Dealing with leftovers is key to building trust with your snack hoard, and I’ve sorted out the best ways to keep them tasting great.
First, storage: Do not leave them sitting out! Once they’ve cooled down a bit, you need to get them into an airtight container. I usually try to squish them into a zipper-top bag, pressing most of the air out. If you have a big glass container with a tight lid, that works perfectly well too. Store them in the fridge for up to three days max. Honestly, they never last that long in my house because they make for such great, Easy Weeknight Dinner Sliders!
Now, reheating is where you need a little strategy, especially if you want that beautiful crisp top back. The microwave is fast, I won’t lie, but it generally turns the bread a little sad and mushy. If you have the time, the oven or an air fryer is your best friend here. It revives that golden crust brilliantly.
Reheating Method 1: The Oven Revival
If you’re bringing back a whole batch, wrap them loosely in foil—just enough to keep them from drying out too much—and place them in a cold oven. Heat the oven up to 325 degrees Fahrenheit. Give them about 10 to 12 minutes. The foil traps the moisture so the insides get gooey, and then you can pull the foil off for the last two minutes if you need that Parmesan topping to crisp back up a bit. This gives you the closest experience to eating them fresh.
Reheating Method 2: The Quick Microwave Trick
Look, sometimes you just need one or two cheesy slider recipes *right now*. If you are using the microwave, you have to combat sogginess. Place your slider on a paper towel first; that absorbs some of the moisture releasing from the bread. Microwave it for about 20 seconds on 50% power, then maybe 10 more seconds on high if needed. Watch it closely! It’s fast, but it’s not the textural winner.
Dealing with Potential Sogginess
The main culprit for soggy leftovers is usually steam buildup in the container, or just the sauce seeping into the bottom bun overnight. If you notice the bottoms are a little damp after reheating, the best thing you can do is quickly toast that side. If you’re reheating just one or two, pop them bottom-side down directly onto a hot, dry skillet for about 30 seconds before you microwave them. That little bit of direct heat sets the crust beautifully back on track!
Frequently Asked Questions About Easy Pizza Sliders
I talk to so many of you about these pizza sliders, and I always get the same great questions! It’s just so smart to ask before you start baking, especially when you’re trying to fit these into a busy schedule. I want to make sure every batch you pull out of the oven is a massive success, just like mine are. Knowing what swaps work and when to prep ahead can be a game-changer, especially if you’re planning for a big shindig like the Super Bowl!
Can I assemble these Hawaiian Roll Sliders ahead of time?
You totally can, and I often prep part of them ahead of time when I know mornings are going to be hectic! Here’s the deal: you can assemble everything *up to* layering the pepperoni and cheese onto the bottom rolls and placing the top half on. That layer-cake structure holds together really well for several hours. However, do NOT apply that gorgeous garlic butter glaze until you are literally 10 minutes away from putting them in the oven. If you glaze them too early, the sweet rolls start soaking up too much moisture, and the top gets soggy instead of that lovely crisp, garlicky texture we talked about. Wait to glaze until the last minute for the best pull apart pizza snacks!
What cheese works best besides mozzarella in these pizza sliders?
That’s a fun question because while mozzarella is the reigning champion for that epic cheese pull, mixing things up is always welcome! For these cheesy slider recipes, you want a cheese that melts smooth and isn’t too greasy. I highly recommend mixing your mozzarella with about a half cup of provolone shreds. Provolone brings a slightly sharper, saltier flavor that works beautifully with the pepperoni. You could also try a smoked Gouda if you want a deeper flavor profile, but keep the mozzarella ratio higher since it gives you the best stretch. Just remember to stick to shreddable cheeses—pre-shredded is fine here, unlike the carrots in sourdough!
If you’re looking for more information on getting the best textures out of your cheesy dishes, I share loads of tips in my guide on Easy Ground Beef Stovetop Chili, as the cheese melt is crucial there too!
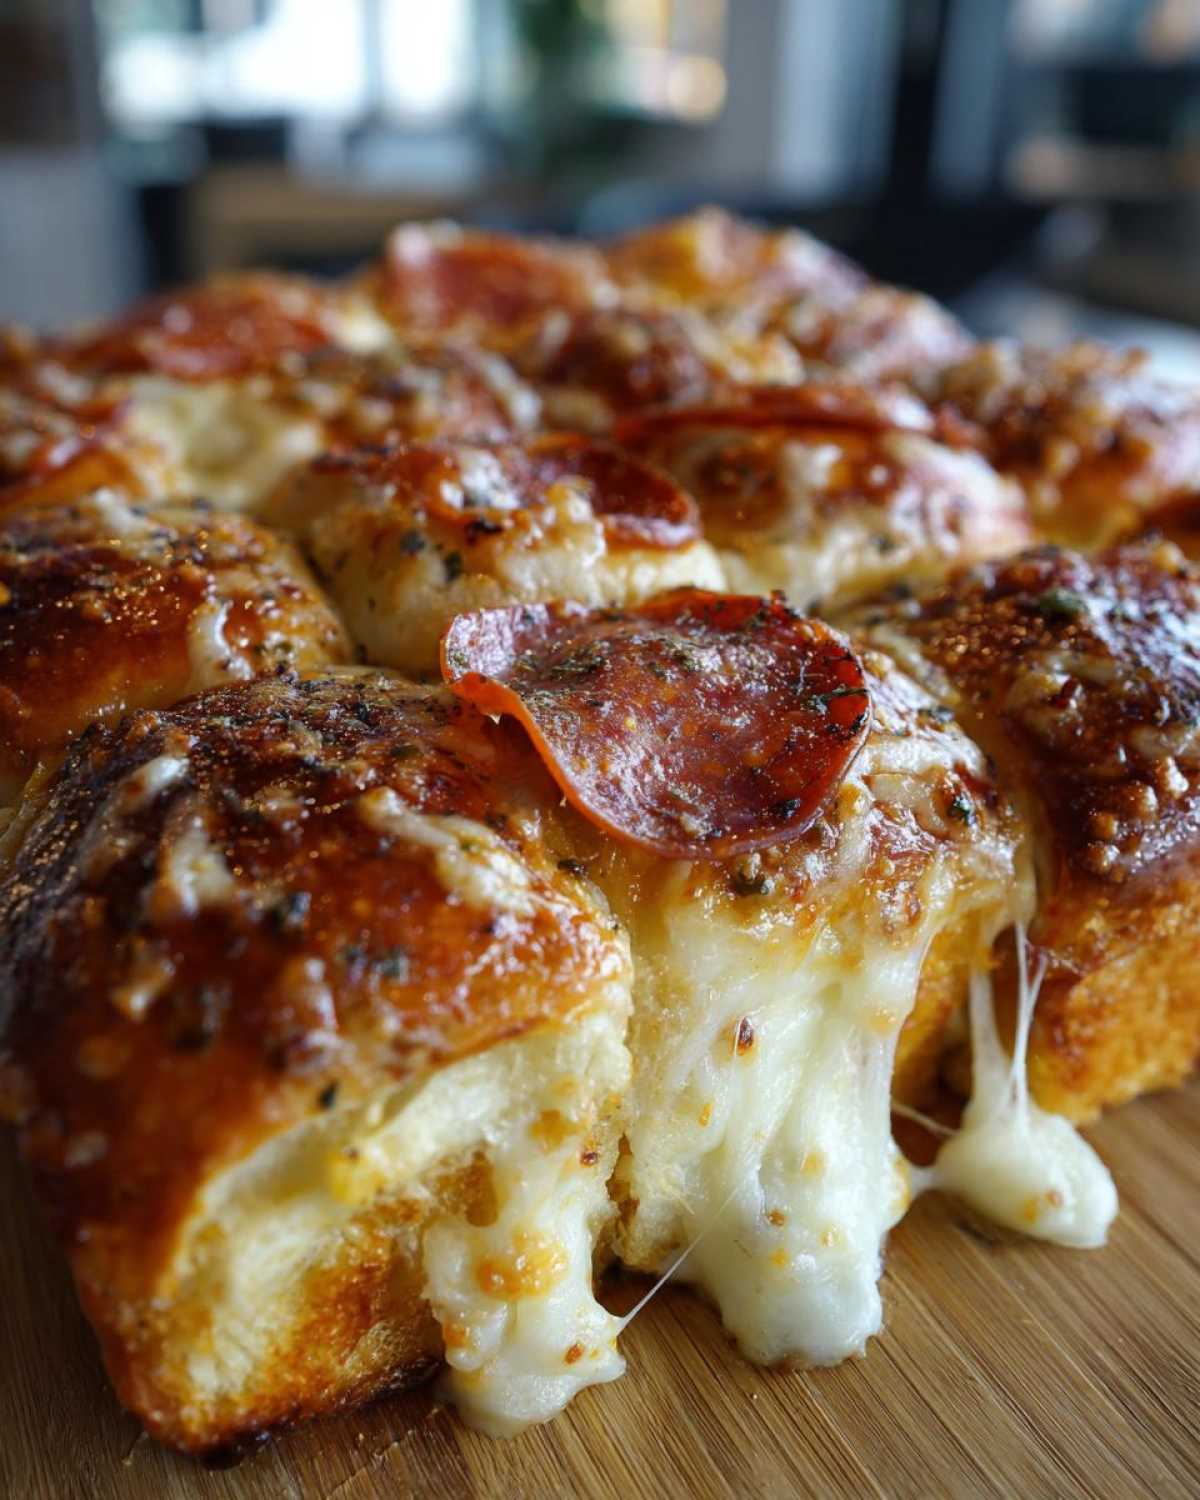
Recipe Snapshot and Next Steps
So there you have it! Forty-five minutes total—or sometimes less if I’m rushing—and you have the best party food distraction ever created. I hope you whip up a pan this weekend because no gathering feels complete without these cheesy buns!
Here’s the quick rundown so you can pin this recipe!
- Yield: This recipe is perfect for 12 generous servings as an appetizer, or probably 24 if you are slicing them smaller for kids.
- Prep Time: Seriously, 10 minutes. Maybe 12 if you have to hunt down the Parmesan cheese!
- Cook Time: About 25 minutes total in the oven. Very speedy Quick Party Appetizers!
- Category: Supreme Comfort Food Sliders.
Now, I need to know what you think! Did you add spicy peppers? Did you try the cream cheese trick? Head over to my main blog page and let me know in the comments how your pizza sliders turned out. Rating the recipe helps other home cooks find the best comfort snacks, so don’t be shy!
PrintQuick Pepperoni Pizza Sliders with Garlic Butter Glaze
Make these easy pepperoni pizza sliders using Hawaiian rolls for a fast, cheesy, and crowd-pleasing appetizer or snack.
- Prep Time: 10 min
- Cook Time: 25 min
- Total Time: 35 min
- Yield: 12 servings
- Category: Appetizer
- Method: Baking
- Cuisine: American
- Diet: Vegetarian
Ingredients
- 1 (12 count) package sweet Hawaiian rolls
- 1 cup pizza sauce
- 1 pound sliced pepperoni
- 2 cups shredded mozzarella cheese
- 1/2 cup (1 stick) unsalted butter, melted
- 2 cloves garlic, minced
- 1 teaspoon Italian seasoning
- 1/4 cup grated Parmesan cheese
Instructions
- Preheat your oven to 350 degrees Fahrenheit. Lightly grease a 9×13 inch baking dish.
- Slice the entire package of rolls in half horizontally, keeping the rolls connected in one piece. Place the bottom half of the rolls in the prepared baking dish.
- Spread the pizza sauce evenly over the bottom layer of rolls.
- Layer the pepperoni slices over the sauce.
- Sprinkle all of the mozzarella cheese over the pepperoni layer.
- Place the top half of the rolls over the cheese layer.
- In a small bowl, mix the melted butter, minced garlic, and Italian seasoning. Brush this mixture evenly over the top of the rolls.
- Sprinkle the grated Parmesan cheese over the buttered tops.
- Cover the dish loosely with aluminum foil. Bake for 15 minutes.
- Remove the foil and bake for another 5 to 10 minutes, or until the cheese is fully melted and the tops are lightly golden brown.
- Let the sliders rest for 5 minutes before slicing between the rolls and serving.
Notes
- You can add a thin layer of cream cheese to the bottom roll half before adding the sauce for extra creaminess.
- For a spicier kick, add a pinch of red pepper flakes to the garlic butter glaze.
- These sliders are excellent served immediately while hot and gooey.
Nutrition
- Serving Size: 1 slider
- Calories: 280
- Sugar: 8
- Sodium: 650
- Fat: 15
- Saturated Fat: 7
- Unsaturated Fat: 8
- Trans Fat: 0.2
- Carbohydrates: 25
- Fiber: 1
- Protein: 14
- Cholesterol: 45