

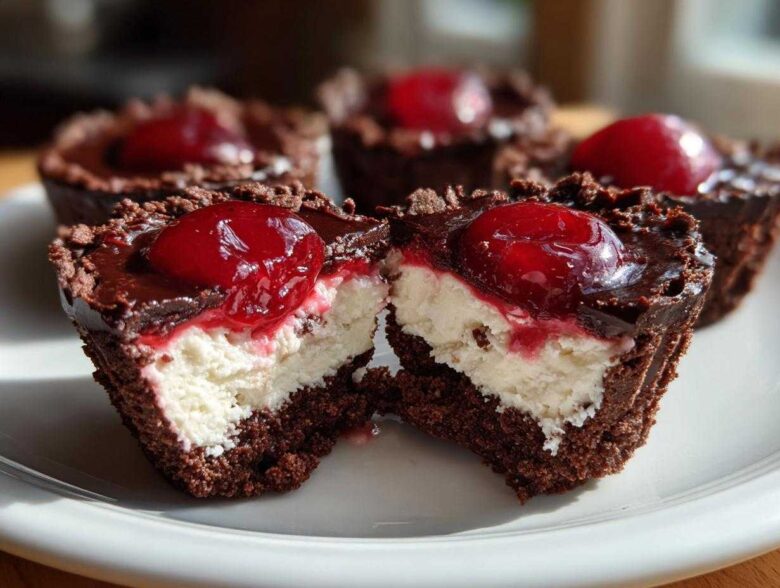
Oh, are you ever in a jam when you suddenly need a show-stopping dessert but the thought of turning on the oven makes you sweat? Trust me, I’ve been there countless times, especially when friends unexpectedly drop by in the middle of summer. That’s why I live and breathe for my **No-Bake Chocolate Cherry Cheesecake Cups** recipe. These little gems are absolute magic! They give you that decadent, rich chocolate swirl you crave, cut perfectly by the sweet-tart punch of the cherries, all sitting on a crisp little crust. And the best part? You don’t even have to preheat anything. We’re just mixing and chilling our way to dessert heaven, which is perfect for my weekend gatherings!
Why You Will Make These No-Bake Chocolate Cherry Cheesecake Cups Often
Honestly, this recipe is going to live permanently in your rotation because it checks every single box. You can whip them up faster than you can decide what streaming movie to watch!
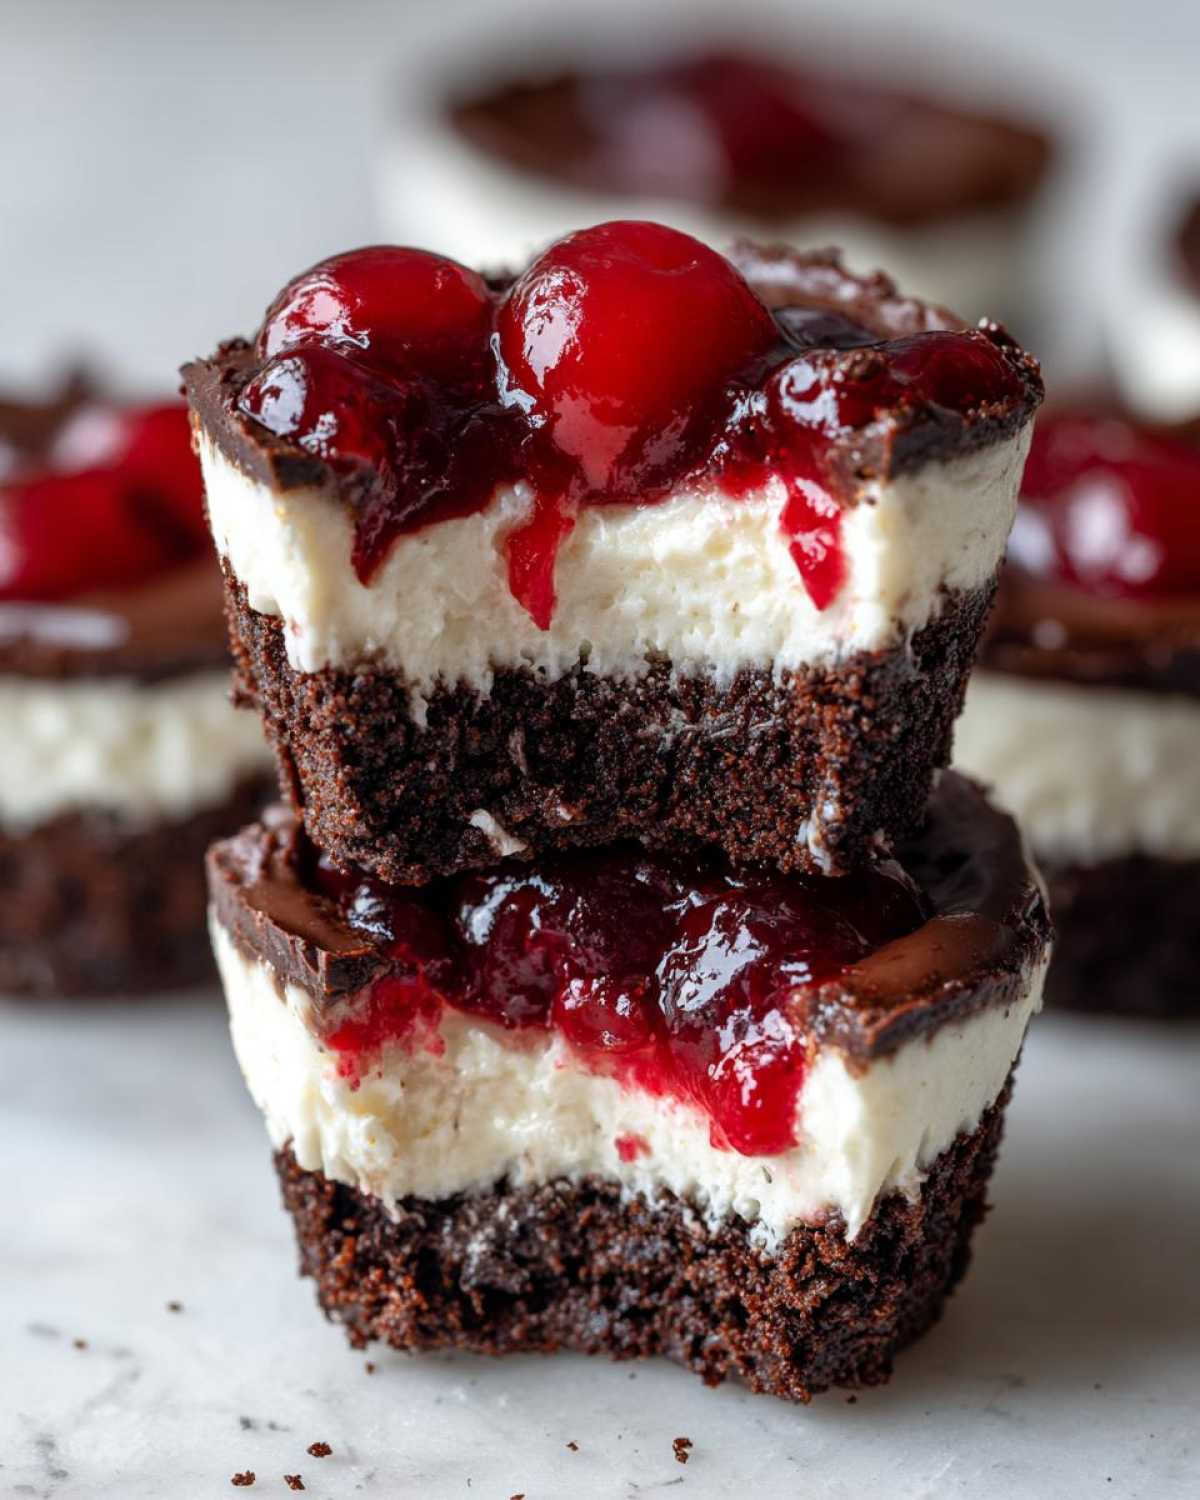
- They are unbelievably quick to assemble—we are talking under 20 active minutes.
- They are perfectly portable, making them the ultimate easy individual desserts for potlucks or parties.
- No oven means zero heat fuss, perfect for those hot summer afternoons.
- The flavor hits just right: that deep chocolate crust, super creamy filling, and bright cherry burst!
Essential Ingredients for No-Bake Chocolate Cherry Cheesecake Cups
Okay, since this is an assembly job and not a baking job, the quality of the very few ingredients we use really shines through. Don’t try to skimp here; these few things are what make these creamy chocolate cherry cups sing! If your cream cheese isn’t soft, you’ll end up with lumps, and trust me, nobody wants a lumpy no-bake chocolate cheesecake filling. I always pull my block out about an hour before I even touch the crust mixture. This part is crucial!
Crust Components
- 1 1/2 cups chocolate wafer cookie crumbs
- 6 tablespoons unsalted butter, melted
Creamy Cheesecake Filling Base
- 8 ounces cream cheese, softened
- 1/2 cup powdered sugar
- 1 teaspoon vanilla extract
- 1 cup heavy whipping cream, cold (this needs to be cold, cold, cold!)
Cherry Topping
- 1/2 cup cherry pie filling or preserves
Step-by-Step Guide to Perfect No-Bake Chocolate Cherry Cheesecake Cups
Since we aren’t wrestling with an oven, our focus shifts entirely to preparation and timing. If you follow these steps exactly, you’ll end up with a perfectly structured, creamy, and delicious treat. Remember, the chilling time is non-negotiable; patience here equals pristine little cups later!
Preparing the Chocolate Crust for Your No-Bake Chocolate Cherry Cheesecake Cups
First things first: get your muffin tin ready. Line 12 cups with paper liners—this makes removal later so much easier! Grab a small bowl and mix your chocolate wafer crumbs with that melted butter until everything is nice and damp. You want it to look like wet sand. Now, scoop about a tablespoon and a half of that crumb mix into the bottom of each liner. Use the back of a small spoon or even your clean fingers to press that crust down really firmly. Pro tip here: press it tight! A loose crust falls apart when you try to eat it. As soon as they are packed, pop that whole tin into the freezer while you move on to the filling.
Creating the Creamy Cheesecake Filling
Time to chase that irresistible creaminess! In a big bowl, beat your softened cream cheese until it’s totally smooth—no lumps allowed, please. Add in the powdered sugar and vanilla and beat again until everything is fully combined and looking lovely. Now, grab a separate, clean bowl. Whip that cold heavy cream until it holds stiff peaks. I watch mine closely; you want it standing up proud! Here’s where the magic happens: gently, I mean gently, fold that whipped cream into the cream cheese base. You’re trying to keep all the air you just whipped in there. Just fold until you don’t see any more white streaks, but don’t stir it like you’re making brownie batter!
Assembling and Chilling the Individual Desserts
Pull that crust tin out of the freezer. It should be nice and hard now. Spoon or pipe that gorgeous cheesecake filling right over the chilled crusts. Try to keep it even across the 12 cups. Once filled, take about a tablespoon of your cherry pie filling—or whatever cherry situation you whipped up—and dollop it right on top of the cheesecake layer. Doesn’t that look beautiful already? Now, cover the whole tray with plastic wrap and move it straight to the refrigerator. You absolutely need a minimum of four hours here. I always aim to make these the day before, as chilling overnight makes them incredibly firm and ready for serving, which is the secret to keeping them neat.
Tips for Success with Your No-Bake Dessert Cups
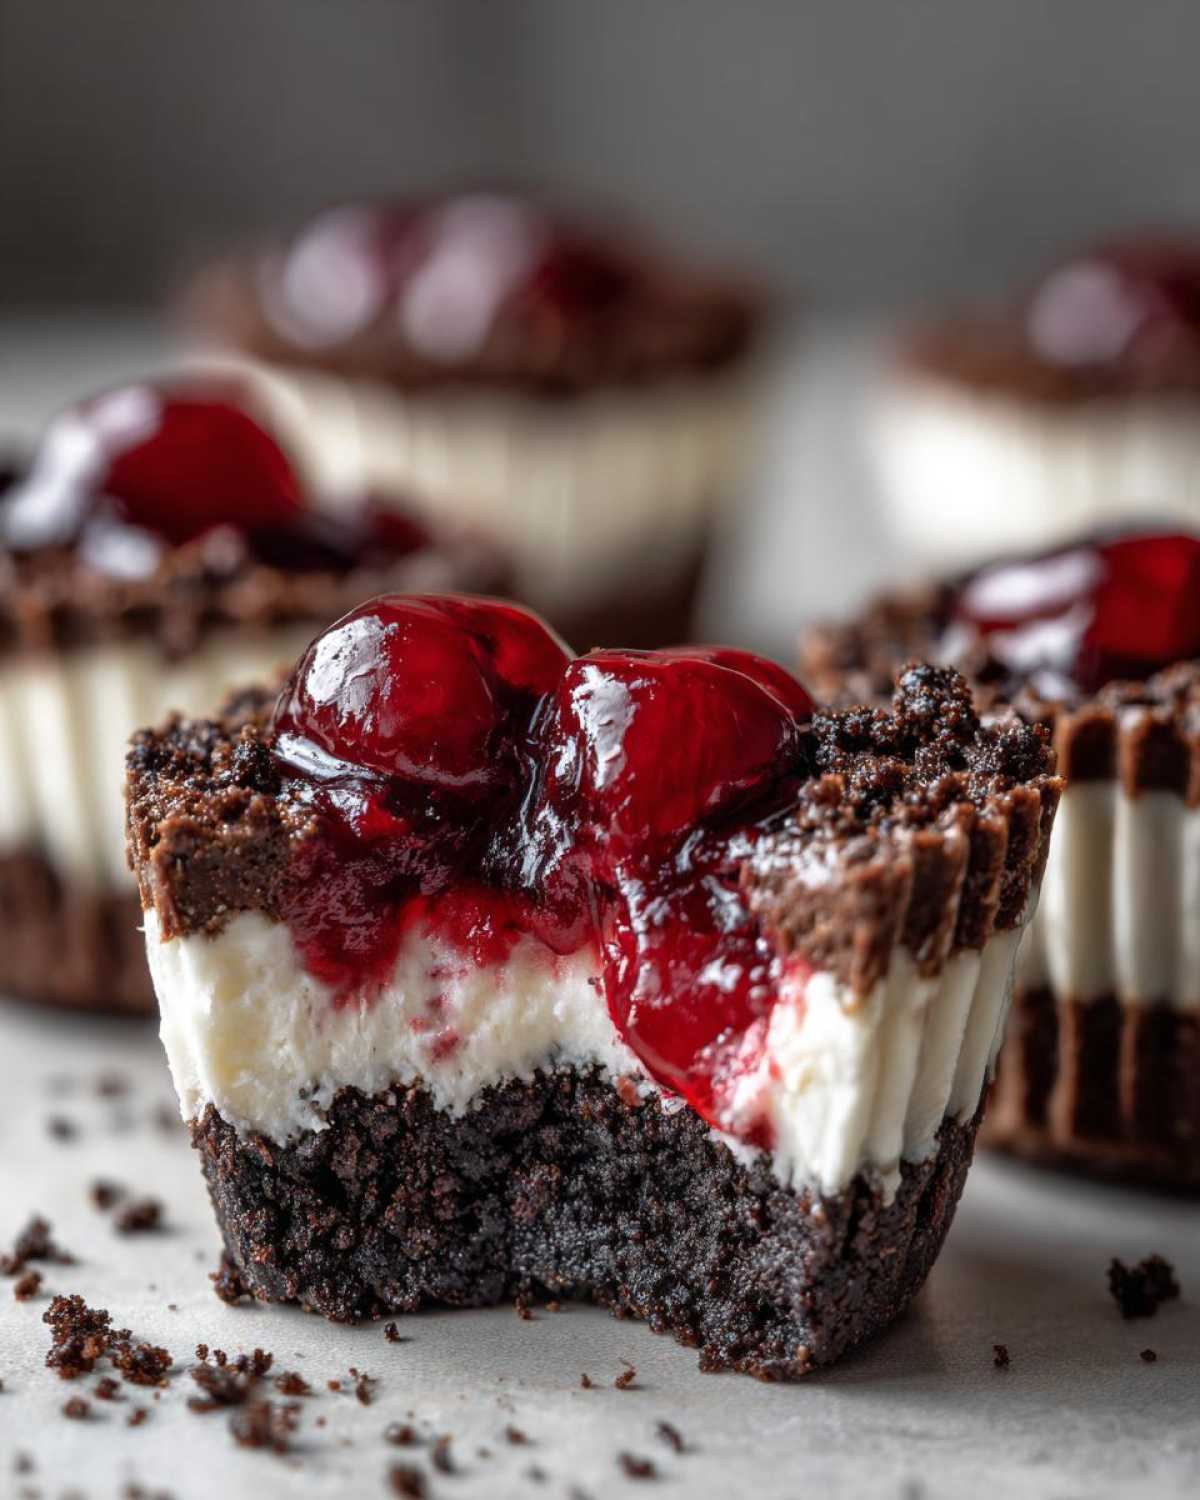
These **No-Bake Chocolate Cherry Cheesecake Cups** are so easy, but a couple of little chef secrets from the notebook can make them next-level amazing. First off, let’s talk about dialing up that chocolate factor! If you’re a true chocoholic like me, you need to try folding in about two extra tablespoons of unsweetened cocoa powder right in with the cream cheese mixture. It gives the filling this deep, luxurious base flavor that pairs beautifully with the sweet cherry on top. It’s an absolute game-changer for anyone who adores a good Chocolate Cherry Dessert.
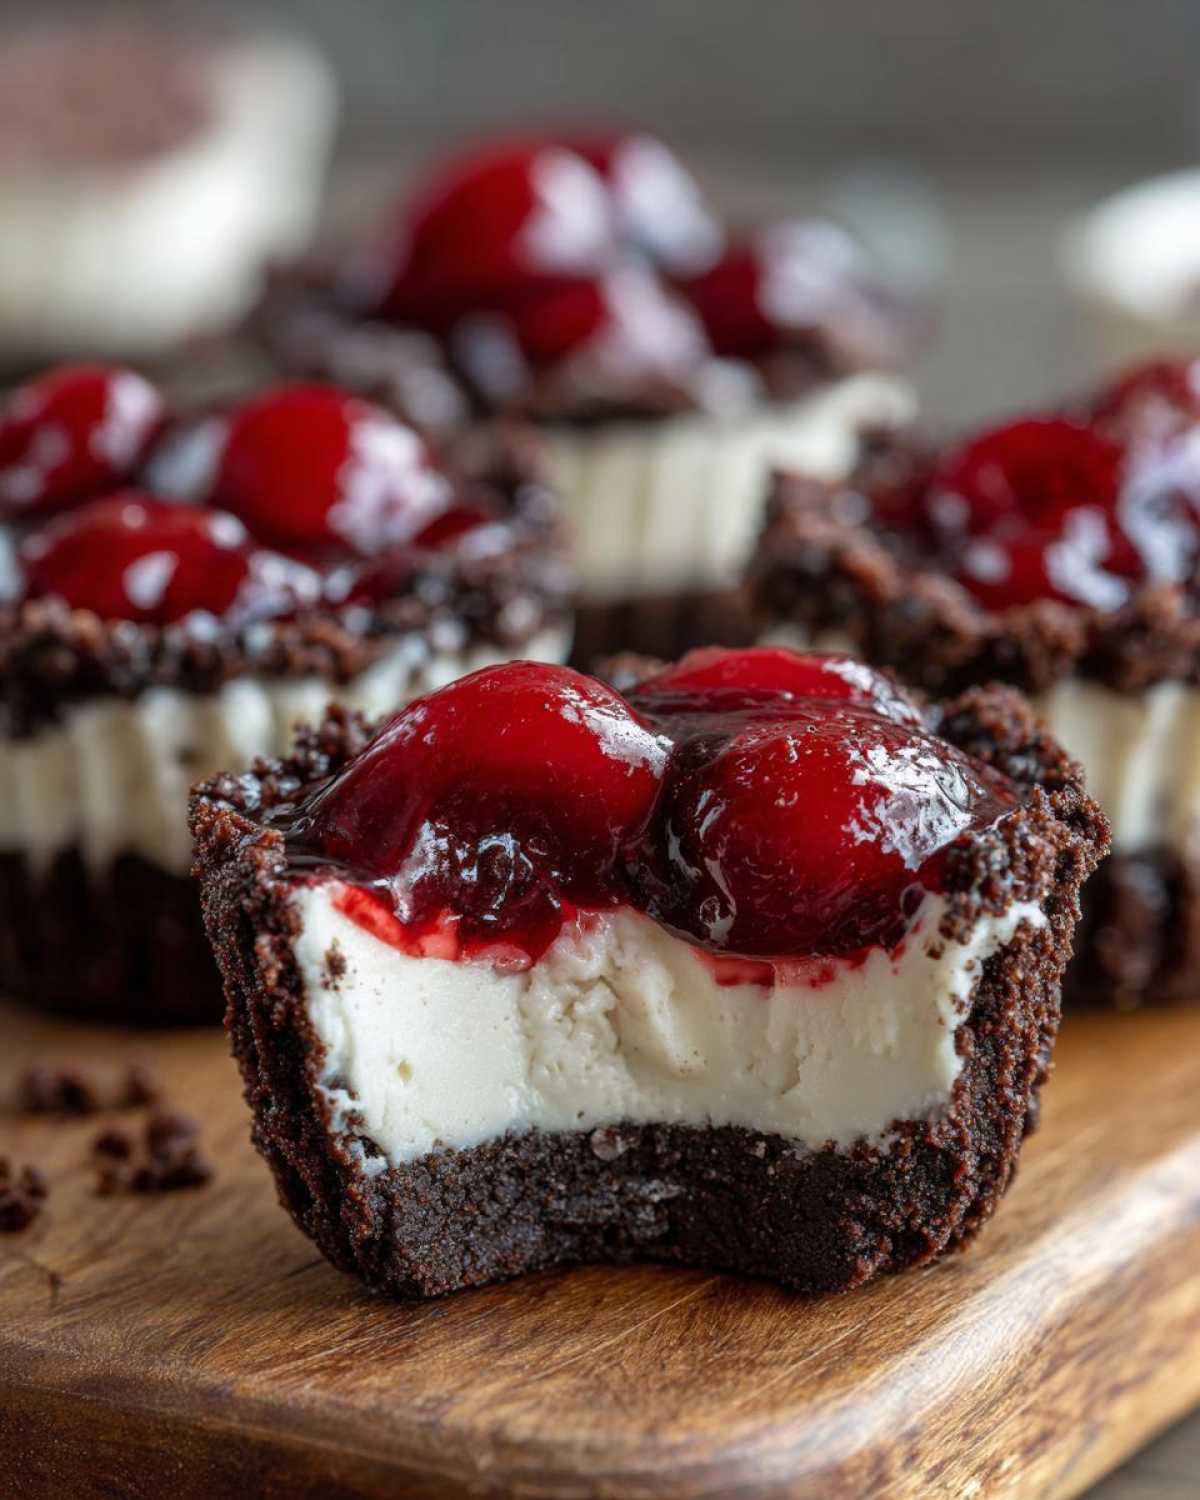
Also, don’t stress about the topping if you run out of pie filling! My go-to backup, especially when I’m aiming for that bright, tart flavor, is to quickly simmer some fresh or frozen cherries with a tiny bit of sugar and maybe a half teaspoon of cornstarch if you have it handy. Simmer it just until it thickens slightly. This creates a fresher sauce that cuts through the richness of the cheesecake perfectly!
Ingredient Notes and Substitutions for No-Bake Chocolate Cherry Cheesecake Cups
Because we’re not baking, the structure of these cups relies entirely on what we mix together, so substitutions are important if you’re missing one thing or another. If you look in your pantry and realize you’re totally out of chocolate wafer cookies, don’t panic! This is where you can really show off your kitchen skills. You can easily swap those out for graham cracker crumbs. Just grab about the same amount of graham crackers and mix in about two tablespoons of unsweetened cocoa powder to bring that dark chocolate flavor back into the base. It mimics the original crust beautifully!
I tested that substitution myself last month when I was making a batch of these **Mini Cheesecake Cups** for my neighbor, and honestly, nobody could tell the difference. Just make sure you crush those graham crackers super fine—a food processor is great for this part so you don’t get huge chunks. We want a uniform, slightly thick texture for that crust. This flexibility means we can keep making these simple dessert cups even if one ingredient is missing!
Storage and Make Ahead Tips for Creamy Chocolate Cherry Cups
This is where these little beauties really shine as the ultimate party food! Because they are completely no-bake, they are fantastic to prepare ahead of time. You can totally knock these out the day before everyone arrives—they actually need that chilling to firm up perfectly anyway.
Just cover the whole muffin tin tightly with plastic wrap after the cherry topping is on. They’ll hang out happily in the fridge for up to three days before taking a dive in quality. I haven’t tried freezing these **Make Ahead Cherry Treats** for long periods, but I bet a quick 30-minute thaw after freezing would make them perfect for a super easy grab-and-go snack! Just make sure the tops aren’t touching the plastic wrap directly. For the best flavor and structure, make sure to check out more great recipes here!
Serving Suggestions for Easy Individual Desserts
Since these **Chocolate Cherry Dessert** cups are so rich and creamy, you don’t need much on the side! Honestly, they stand up totally on their own, but they pair beautifully with something hot and less sweet. I love having a strong, freshly brewed coffee on hand to cut through the richness of the chocolate and cream cheese.
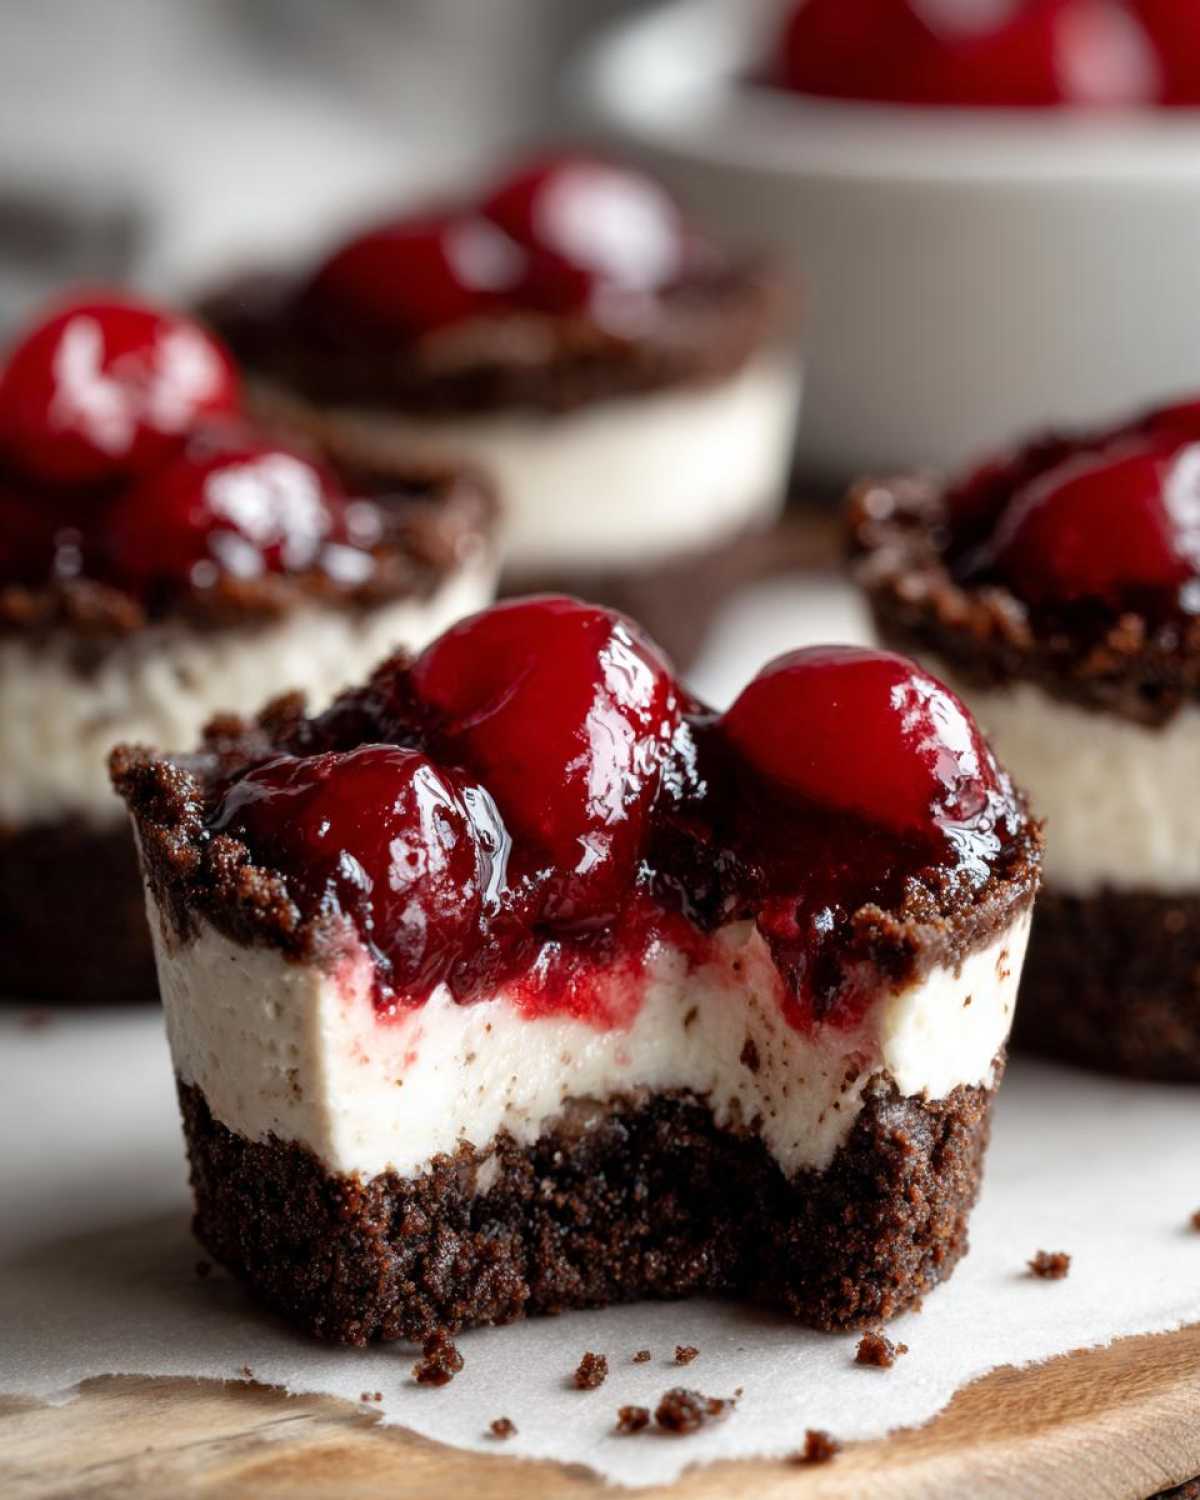
If you’re serving these after a big meal, a simple, cool peppermint tea works wonders for cleansing the palate, too. They look so great lined up on a platter—no extra adornments needed other than maybe a mint leaf if you’re feeling fancy. Everything you need for a perfect pairing is over here at this link!
Frequently Asked Questions About No-Bake Chocolate Cherry Cheesecake Cups
How long do the No Bake Cheesecake Cups need to chill to set properly?
Honestly, you need patience for these! The absolute minimum chilling time for these **No Bake Cheesecake Cups** to firm up is four hours in the fridge. That gets them edible, but if you want that perfectly clean slice or lift off the liner, letting them sit overnight is truly the best way to go. That extra time makes them super sturdy!
Can I use fresh cherries instead of pie filling in this Chocolate Cherry Dessert?
Yes, you totally can! If you use fresh ones, you’ll want to treat them a little bit first so they don’t water down your creamy filling. Just chop them up and simmer them on the stove for just a few minutes with a tiny sprinkle of sugar until they get soft and release some juice. If you can manage to get the mixture to barely thicken, that’s perfect for your **Chocolate Cherry Dessert**!
What is the best way to remove the cups from the liners?
This is a great question because a messy release ruins the visual appeal of these **Individual Portioned Desserts**. After they are fully chilled, don’t pull the liner off immediately, even if they feel firm. Let the whole cup sit out on the counter for maybe five minutes—just until they come up to room temperature slightly. Then, you can gently peel the paper liner away. They should lift off cleanly after that little break! We’ve got more tried-and-true tips right here on our resource page.
Recipe Details and Estimated Nutrition for Your No Bake Recipe
Since these little beauties come together so fast without heat, the details are all about timing and yield. It takes about 20 minutes of active whipping and mixing to get these **No Bake Dessert Bites** ready for their chill time. Remember, the 4 hours of chilling is where the real work happens!
Here’s the quick rundown on what these serve and what you can expect nutritionally. Just remember that these nutrition estimations are based on the primary ingredients and my own tracking, so they are general guidelines and not a strict guarantee—check out how we calculate these things on our disclaimer page.
- Prep Time: 20 min
- Cook Time: 0 min (Hooray!)
- Total Time: 4 hr 20 min (Thanks to chilling!)
- Yield: 12 servings
For nutrition per cup, we’re looking at approximately 280 Calories, 18g of Fat, and 22g of Sugar. It’s a rich treat, but totally worth every single bite!
PrintNo-Bake Chocolate Cherry Cheesecake Cups
Make these simple, individual cheesecake cups featuring a chocolate crust, creamy filling, and a sweet cherry topping. This recipe requires no oven.
- Prep Time: 20 min
- Cook Time: 0 min
- Total Time: 4 hr 20 min
- Yield: 12 servings
- Category: Dessert
- Method: No Bake
- Cuisine: American
- Diet: Vegetarian
Ingredients
- 1 1/2 cups chocolate wafer cookie crumbs
- 6 tablespoons unsalted butter, melted
- 8 ounces cream cheese, softened
- 1/2 cup powdered sugar
- 1 teaspoon vanilla extract
- 1 cup heavy whipping cream, cold
- 1/2 cup cherry pie filling or preserves
Instructions
- Line a standard 12-cup muffin tin with paper liners.
- Combine the chocolate cookie crumbs and melted butter in a small bowl. Mix until the crumbs are evenly moistened.
- Press about 1 1/2 tablespoons of the crumb mixture firmly into the bottom of each lined muffin cup to form the crust. Place the tin in the freezer while you prepare the filling.
- In a large bowl, beat the softened cream cheese, powdered sugar, and vanilla extract until smooth and creamy.
- In a separate bowl, whip the cold heavy whipping cream until stiff peaks form.
- Gently fold the whipped cream into the cream cheese mixture until just combined. Do not overmix.
- Spoon or pipe the cheesecake filling evenly over the chilled crusts in the muffin cups.
- Top each cheesecake cup with about 1 tablespoon of the cherry pie filling or preserves.
- Refrigerate the cheesecake cups for at least 4 hours, or until firm.
- Remove the paper liners before serving.
Notes
- For a richer chocolate flavor, you can add 2 tablespoons of unsweetened cocoa powder to the cream cheese filling.
- If you do not have cherry pie filling, you can use fresh or frozen cherries simmered briefly with a little sugar and cornstarch to create a quick sauce.
- You can use graham cracker crumbs mixed with 2 tablespoons of cocoa powder if you do not have chocolate wafer cookies.
Nutrition
- Serving Size: 1 cup
- Calories: 280
- Sugar: 22
- Sodium: 150
- Fat: 18
- Saturated Fat: 10
- Unsaturated Fat: 8
- Trans Fat: 0
- Carbohydrates: 27
- Fiber: 1
- Protein: 4
- Cholesterol: 55