

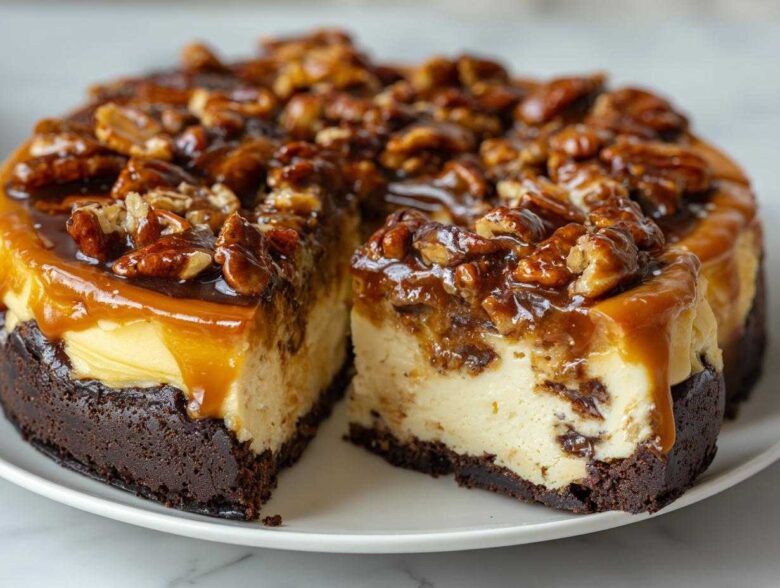
Oh my gosh, are you ready for the most ridiculously rich, decadent dessert you will ever bake? Forget those fussy bakery treats because today we are diving headfirst into what I call the Ultimate Easy Turtle Cheesecake. Seriously, this creation—layered with dark chocolate, gooey caramel, and crunchy toasted pecans—is my go-to showstopper for holidays. I used to fear the baked cheesecake; I really did! I always ended up with a cracked surface, or it would sink in the middle. But the minute I finally committed to using a proper water bath (you know, wrapping that pan up like a mummy and setting it in hot water?), everything changed. Mastering that technique on my first proper New York Cheesecake trial made me brave enough to tackle this Turtle Cheesecake next, and trust me, it’s foolproof!
Why This Easy Turtle Cheesecake Recipe Works (Showstopping Desserts)
Look, I know baking a cheesecake sounds intimidating, but this recipe throws all that worry out the window. It’s built from the ground up to be incredibly reliable, even if you’re usually nervous around the oven. Why spill the secret? Because everyone deserves this kind of decadent indulgence without the stress!
- We guarantee a luxuriously Creamy Cheesecake Filling every single time. No lumps, no grainy texture—just pure smoothness.
- This is the definition of a Simple Cheesecake Tutorial. If you can press crumbs and mix ingredients, you can nail this, I promise!
- It looks like it took days of effort, making it perfect for any holiday table or special gathering where you need Showstopping Desserts.
- Because of the chocolate, caramel, and pecans, this Turtle Cheesecake hits every flavor note you could ever want in one bite.
If you’re looking for other great, easy-to-handle treats, you have to check out my Cheesecake Cookie Bites recipe next week!
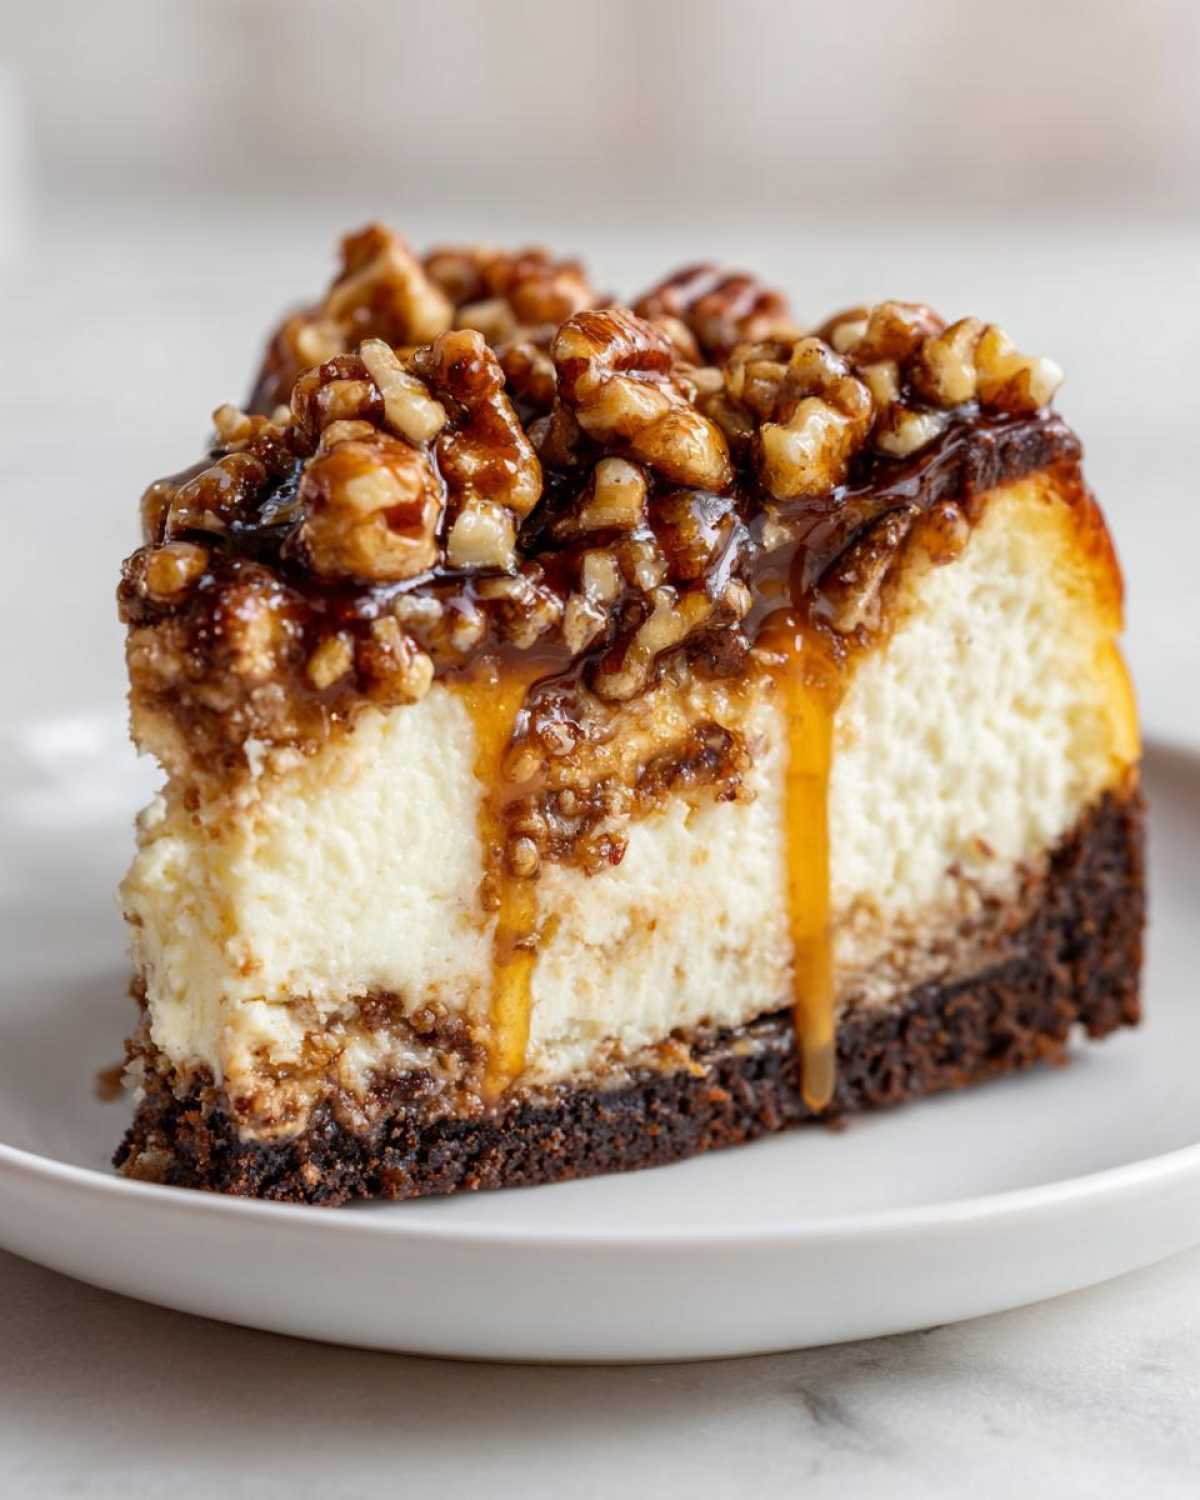
Gathering Ingredients for Your Decadent Cheesecake Dessert
Okay, let’s talk supplies! Getting the ingredients ready beforehand is half the battle won when it comes to baking anything this gorgeous. Don’t try to sneak in cold cream cheese; trust me, it results in lumps, and we are aiming for silky smooth here! I always pull everything out while the oven preheats so the cream cheese and eggs can get cozy on the counter right away. This is essential for that perfect Creamy Cheesecake Filling.
When you’re shopping, grab the good stuff, especially the caramel sauce. If you have a favorite, use it! If you need a recommendation for a simple sauce, check out my thoughts on the best caramel sauce for topping cakes. This recipe truly shines when those components are right.
For the Chocolate Crust
- 1 1/2 cups chocolate wafer crumbs (You can crush up Oreos without the filling if you’re feeling ambitious!)
- 1/4 cup granulated sugar
- 6 tablespoons unsalted butter, melted (Measure this carefully!)
For the Creamy Cheesecake Filling
- 3 (8 ounce) packages cream cheese, softened to room temperature (This is non-negotiable for smoothness!)
- 1 1/2 cups granulated sugar
- 1 teaspoon vanilla extract
- 1/4 cup sour cream (Full fat works best for richness!)
- 3 large eggs (Also brought up to room temperature!)
For the Chocolate Caramel Pecan Dessert Topping
- 1/2 cup caramel sauce, divided (We use half in the center, half outside!)
- 1 cup chopped pecans, toasted (Please toast these! It makes a gigantic flavor difference, aim for 350°F for 5-8 minutes)
- 1/2 cup semi-sweet chocolate chips
- 2 tablespoons heavy cream
If you want to explore dipping your toes into slightly more advanced baking, you absolutely have to see my guide on Peach Cobbler Cheesecake for inspiration!
Step-by-Step Instructions for the Perfect Turtle Cheesecake
Alright, this is showtime! This is where we put all those perfect ingredients to work. The secret weapon, as I mentioned, is creating a gentle baking environment using a water bath—it keeps the moist air around the cheesecake so it bakes evenly and stays crack-free. I know it seems like extra work, especially wrapping that springform pan, but take my word for it, this step is the reason why my Turtle Cheesecake always comes out looking like it belongs in a fancy bakery window. Let’s walk through this together!
Preparing the Crust and Oven Setup
First things first, we need to get the oven ready for some gentle baking. Preheat your oven to 325 degrees Fahrenheit. Now, grab your 9-inch springform pan—this is important! You need to wrap the entire outside of that pan tightly, all the way up the sides, using heavy-duty aluminum foil. I usually use three layers because if even a single drop of water seeps in, we’ve got a soggy crust disaster! Once it’s wrapped tight, mix your chocolate wafer crumbs, the 1/4 cup of sugar, and melted butter until it looks like wet sand.
Press that mixture firmly into the bottom of your prepared pan. Pop it into the preheated oven just for 10 minutes. This gives the crust a little head start so it doesn’t get mushy later. Pull it out, let it cool just a bit while you whip up that fantastic filling.
Mixing the Smooth Creamy Cheesecake Filling
Time for the heart of the dessert! Grab your big mixing bowl. You *must* start by beating that softened cream cheese until it’s absolutely perfect—no lumps allowed! Once it’s looking like smooth, pale velvet, gradually beat in the 1 1/2 cups of sugar. Follow that up with the vanilla and the sour cream, mixing until just combined.
Now, the critical part for maintaining that Creamy Cheesecake Filling texture: the eggs! Drop them in one at a time, mixing on low speed only until you see the yolk disappear into the batter. Seriously, stop mixing immediately after the last egg is incorporated. Overmixing at this stage whips in too much air, and that air is what causes cracks later on. We want dense and smooth, not fluffy and prone to breaking!
Assembling and Baking Your Turtle Cheesecake
Okay, back to the layers! Pour half of your beautiful batter mixture right over that cooled chocolate crust. Take about a quarter cup of your caramel sauce and gently drizzle it over the batter. Take a butter knife and gently swirl it just once or twice—don’t overdo the swirl or you’ll muddy the colors!
Sprinkle half of those toasted pecans over the caramel layer. Then, pour the remaining batter on top gently, smoothing it a little if you need to. Now, place that foil-wrapped springform pan inside a much larger roasting pan. Carefully pour hot water into the roasting pan until it comes about halfway up the sides of the springform pan. This water bath is your crack insurance!
Bake this whole setup for about 60 to 75 minutes. You’re looking for the edges to be set firm, but the very center should still have a slight, gentle jiggle when you nudge the pan. If it looks completely rigid, it’s likely overbaked.
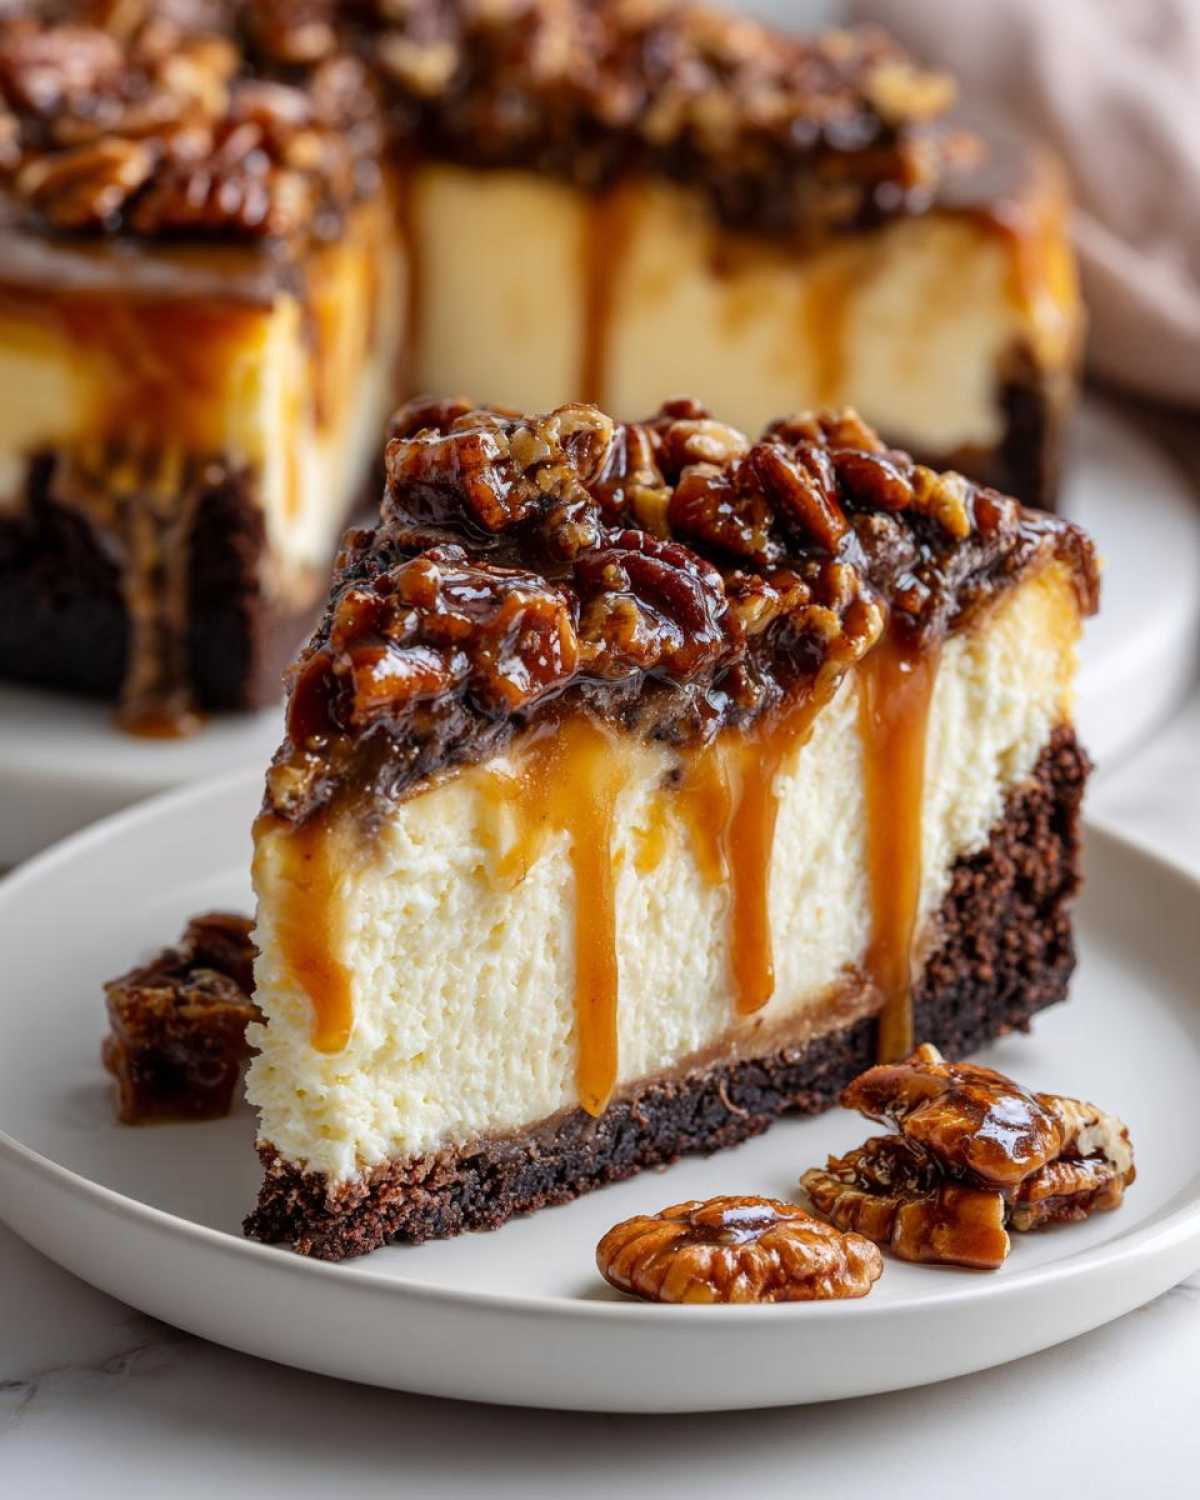
Cooling and Chilling for Texture
This next step is non-negotiable for achieving that professional, crack-free look. Once the baking time is up, turn the oven OFF. Don’t take the cheesecake out yet! Just prop the oven door open a crack—I use a wooden spoon handle to hold it steady—and let the cake cool slowly inside the residual heat for a full hour. This gradual temperature drop is vital.
After that hour, carefully remove the cheesecake from its water bath, peel off the foil, and set it on a wire rack to cool completely on the counter. Once it reaches room temperature, cover it loosely and move it to the fridge. It needs a minimum of 6 hours, but honestly? Make this the day before. Overnight chilling sets that filling up perfectly. You can always check out more tips for achieving that perfect texture in my guide to Chocolate Chip Cheesecake Cookies—the science is similar!
Finishing Touches: The Ultimate Turtle Cheesecake Topping
Once the cake is perfectly chilled, it’s time for the glorious finale! For our chocolate drizzle, combine the chocolate chips and heavy cream in a small microwave-safe bowl. Microwave this in 30-second bursts, stirring well after each burst, until it’s completely smooth and shiny. That’s your quick ganache!
Take the remaining 1/4 cup of caramel sauce and drizzle that evenly over the top surface. If you want to see how I make my very own gourmet caramel sauce, check out this Best Caramel Cheesecake post! After the caramel is set, drizzle on that warm chocolate ganache. Then, sprinkle the rest of your toasted pecans all over. Serve cold and prepare for applause!
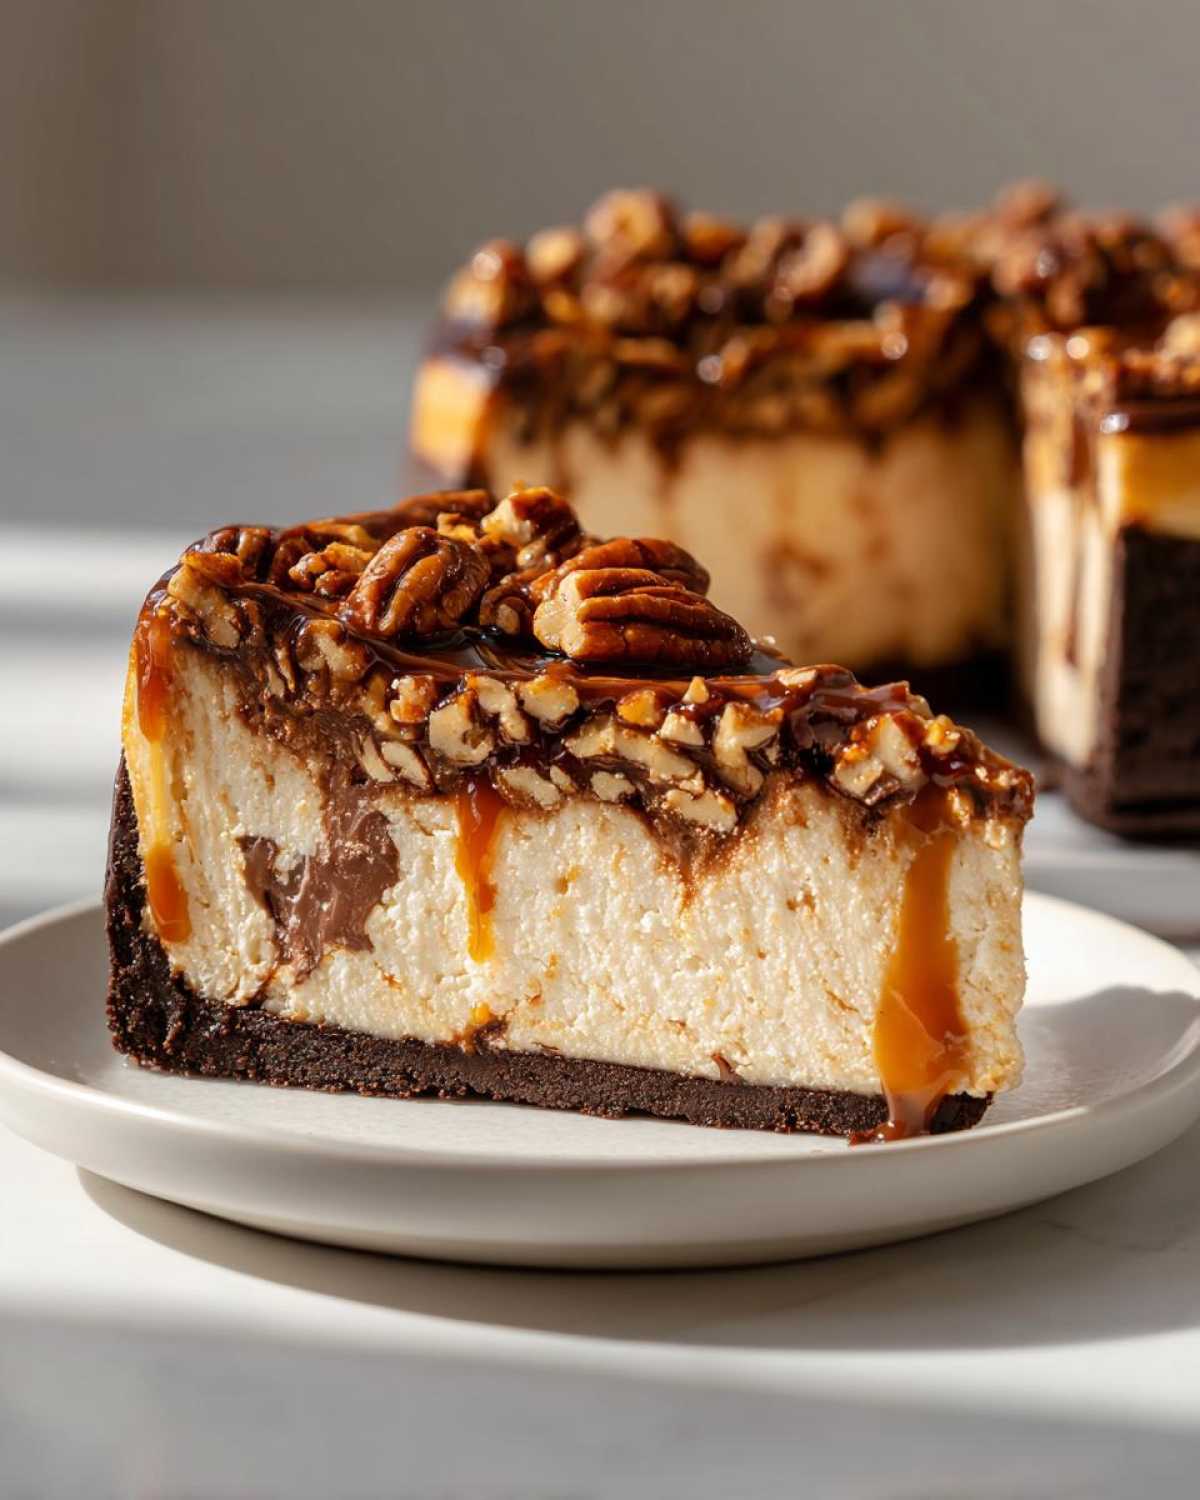
Tips for a Crack-Free Turtle Cheesecake Surface
I know this is everyone’s biggest fear when making a baked cheesecake—the dreaded crack! It ruins the presentation, right? But honestly, after years of trial and error, I figured out the few simple rules that keep my surface perfectly smooth every single time. It all boils down to being nice to your ingredients and relaxing during the cooling phase. This isn’t rocket science, but it does require patience!
When you follow these few tips, you won’t need any silly tricks or fancy coverings. You’ll have that gorgeous, pristine top that makes your Turtle Cheesecake look like it came from a professional kitchen. It’s all about respecting the dairy!
- Temperature Control is Everything: Make sure your cream cheese, eggs, and even the sour cream are truly at room temperature. When cold ingredients meet sugar, you get little lumps which inevitably bake unevenly and stress the cake surface. Cold eggs are the enemy of a smooth bake!
- Do NOT Overmix After Eggs Go In: This is key for authority and trust (E-E-A-T!). Once you add those eggs, slow down! Beat just until they disappear. Overmixing whips tiny air bubbles into the batter. As those bubbles rise and expand during baking, they cause the top to puff up and then collapse and crack when cooling.
- Embrace the Water Bath: I can’t stress this enough—the foil-wrapped pan sitting in hot water in the oven creates a humid environment. This steams the surface gently, cooking it the same way the inside cooks, leading to an incredibly uniform texture and zero drying out.
- The Cool-Down is Non-Negotiable: Do not rush this part! Taking a hot cheesecake straight from 350 degrees to your cool kitchen counter is like having a hot car suddenly hit cold air—it contracts too quickly and snaps! Use the turn-off-the-oven, crack-the-door trick for at least 60 minutes. Slow cooling adapts the texture perfectly.
- Don’t Peek During the Bake: Resist the urge to open the oven door repeatedly during the main baking time. Every time you open it, you drop the oven temperature suddenly. Stick to your 60-75 minute window, and only check for that tiny jiggle at the end.
If you love learning the science behind why these things work, explore some of my advanced techniques for Gourmet Dessert Baking on the blog!
Ingredient Notes and Simple Cheesecake Tutorial Substitutions
Even though this is designed to be an Easy Turtle Cheesecake recipe, sometimes questions pop up about those specific ingredients. That’s perfectly normal! When you’re aiming for a Decadent Cheesecake Dessert, the quality and type of ingredient really matter, so let’s iron out a few common sticking points. Think of this as leveling up your Simple Cheesecake Tutorial knowledge!
First up: the chocolate crust. Do you have to use chocolate wafer crumbs? No, but I highly recommend it! Graham crackers are great, sure, but they bring a honey/cinnamon flavor that fights the deep chocolate flavor we want here. Chocolate wafers integrate perfectly into the base, making it taste like a rich brownie foundation. If graham crackers are all you have, you can use them, but consider adding two tablespoons of unsweetened cocoa powder to your crumbs to deepen that flavor profile. That little tweak keeps it close to the ideal Chocolate Caramel Pecan Dessert experience.
What about the sour cream? That’s in there primarily for that subtle, creamy tang that cuts through the richness of the cream cheese and sugar. If you’re totally out, you can substitute it with an equal amount of plain Greek yogurt. Just make sure the yogurt is full-fat, and try to drain off any excess liquid first so you don’t thin out your batter too much. Remember, we are keeping things thick!
And finally, the caramel sauce! You use half in the middle and half for the top drizzle. I use a good quality, thick caramel sauce—often found near the ice cream toppings—because thin, watery caramel will just soak into the cake instead of sitting beautifully on top. If you are struggling to find one you like, making your own is easier than you think! If you want to learn the ropes on making your own delicious sauces from scratch, check out my general baking tips and recipe building blocks over on the main blog page!
Serving Suggestions for Your Showstopping Desserts
Now that you’ve made the most beautiful, untroubled, perfect Turtle Cheesecake imaginable, we naturally have to talk about how to serve it up! Presentation is everything when you’ve created a true showstopper like this Chocolate Caramel Pecan Delight. You want the first look to be just as incredible as the first bite!
So, should you let it sit out? This is important. Because this cheesecake has a thick layer of luscious caramel and that creamy filling, I find it tastes absolutely phenomenal when it’s slightly chilled—not straight-out-of-the-fridge cold, but taken out about 20 minutes before you plan to slice it. This gives the caramel just enough time to soften up a little so it oozes beautifully when you cut into it.
When slicing, use a long, thin knife dipped in very hot water and wiped clean between every single cut. This ensures you get that clean, gorgeous cross-section showing off the crust, the filling, and the glorious inner swirl. Don’t worry about perfection; a tiny bit of natural ooze just proves how rich and decadent this treat is!
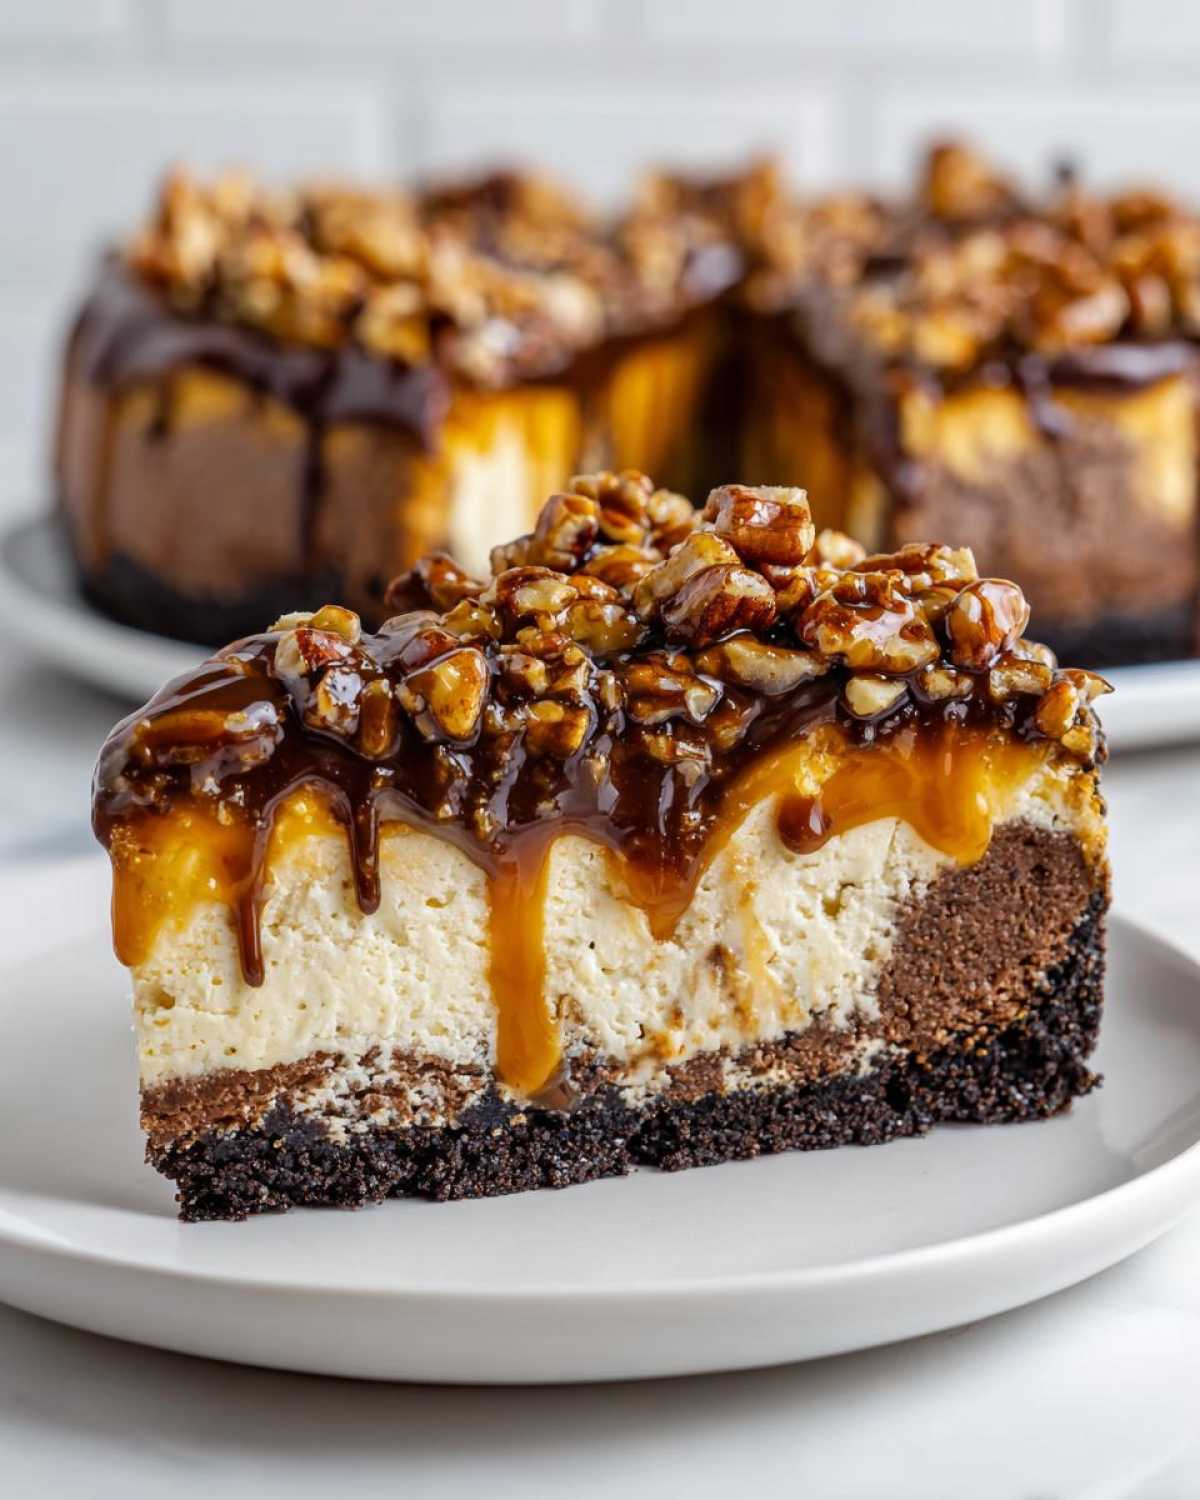
What pairs well with something this rich? Keep the sides simple so the cheesecake is the star. A feather-light dollop of fresh, unsweetened whipped cream is honestly all you need to cut through the richness. Or, if you’re serving this after dinner, pull out your best mugs! A strong cup of coffee or maybe even a rich, velvety hot chocolate—you know, like the kind I make over at my French Hot Chocolate recipe—is the perfect partner to balance this ultra-rich, creamy sweet.
Storage and Make Ahead Desserts Tips for Turtle Cheesecake
One of the absolute joys of making something as indulgent as this Turtle Cheesecake is knowing you can enjoy it later. Honestly, it tastes even better the next day once all those chocolate and caramel flavors have really settled into the creamy body of the cake. This recipe is fantastic for anyone who needs reliable Make Ahead Desserts, especially when you’re planning a big party!
Now, let’s talk about storage. Because we’ve got dairy and sweet layers here, refrigeration is your friend. Once the cheesecake is completely chilled and topped—including the caramel, chocolate, and pecans—you need to cover it up carefully. I usually use a cake carrier if I have one, but if not, gently place plastic wrap over the top, making sure the wrap doesn’t actually stick to the topping. Otherwise, you’ll ruin your beautiful pecan sprinkles when you try to move it!
It keeps wonderfully in the fridge for about four to five days. Seriously, wrap it well, and it’s perfect for slicing off a piece after dinner all week long. I’ve even started making two batches around the holidays; one to eat right away and one to freeze!
Speaking of freezing, this cheesecake freezes like a dream! If you need to store it long-term, do it before you add the final caramel and chocolate toppings. Once the cheesecake is fully set and chilled (without the top layer), wrap the entire thing tightly in plastic wrap, then wrap it again in foil. Freeze it flat for up to a month. When you’re ready to serve, let it thaw slowly in the fridge overnight. Once thawed, you can make a fresh batch of the caramel and chocolate topping, pour it on, and voilà—freshly made dessert!
Reheating? Nope, don’t even try it! Cheesecake is meant to be served chilled or barely above room temperature. Heating it up turns that perfect creamy texture into something sad and sloshy. We want that decadent, firm, sweet bite, so keep it cool!
Frequently Asked Questions About Baked Turtle Cheesecake
I love that you guys are asking all these fantastic questions! It means you’re really thinking about making this happen. Whenever I get questions about my Turtle Cheesecake Recipe, it usually means people are trying to save a step or maybe they are missing one small ingredient. Let’s clear up a few things so you can feel totally confident whipping up this gorgeous dessert!
Can I use a brownie bottom instead of the chocolate crust?
Oh, that’s a wonderful idea if you’re aiming for a truly over-the-top experience! If you prefer a Brownie Bottom Cheesecake variation instead of the chocolate wafer crust, you absolutely can. We actually talk about this briefly in the recipe notes, but here’s the rundown: you’ll want a thin layer of pre-baked brownie batter spread across the bottom of your springform pan. Make sure the brownie layer is fully baked and cooled before you pour your cheesecake batter on top. If you skip baking the brownie first, it will just melt away into the batter during the water bath!
How do I prevent my caramel sauce from sinking into the filling?
This is such a common issue when making layered desserts, and it can ruin that perfect marble effect we’re aiming for! The trick here is twofold, and it’s all about temperature control. First, make sure the cheesecake batter you pour the caramel onto is as close to room temperature as possible without being runny. If the batter is too cold, the caramel will just sink right through to the crust.
Second, when you drizzle that caramel—whether it’s homemade or store-bought—make sure it’s thick! If your caramel sauce feels super runny, you can gently warm it for just 10 seconds in the microwave before drizzling, but don’t let it get too hot. A thicker sauce will sit happily on top of the batter layer. Keep stirring that leftover caramel sauce occasionally while the cake is baking so it stays swirl-able for the final topping!
Can I make this into a No Bake Turtle Cheesecake?
That’s a very popular question! While this baked version is my absolute favorite for that classic, velvety mouthfeel, yes, you can certainly adapt! If you are set on a No Bake Turtle Cheesecake, you’ll need to swap out the eggs and the water bath entirely. Instead of those ingredients, you’ll rely on whipped heavy cream or stabilized whipped topping folded into the cream cheese mixture to set the filling. It won’t have the same dense structure as a baked classic, but it will still be incredibly rich and creamy! If you decide to go that route, you might want to check out my friend’s instructions for a related treat over at No Bake Pumpkin Pie Bites for guidance on thickening a no-bake filling.
What temperature should my eggs be for a perfect bake?
I mentioned this in the ingredient gathering phase, but it bears repeating because it’s so important for that smooth texture! Your eggs, along with the cream cheese and sour cream, should definitely be at room temperature. When cold eggs hit the room-temperature cream cheese mixture, they stop the smooth creaming process and cause the whole batter to seize up slightly. This leads to a lumpy base, which means an uneven bake. If you forget to take them out, put the eggs in a bowl of warm (not hot!) tap water for about 10 minutes—that warms them right up fast enough for this Rich and Creamy Sweet!
Do I have to use pecans, or can I swap them for walnuts?
Pecans are traditional for a Turtle dessert because they have a slightly sweeter, buttery flavor. However, walnuts work wonderfully too! If you are using walnuts, I highly recommend toasting them just as vigorously as the pecans. They can sometimes be slightly more bitter than pecans, so that gentle roasting releases their natural oils and softens that bitterness, making them a great substitute for this Gourmet Dessert Baking project!
Sharing Your Homemade Cheesecake Ideas
Whew! You did it! You’ve successfully navigated the water bath, managed the slow cool-down, and now you have this glorious, ultimate Turtle Cheesecake sitting in your fridge, waiting to blow someone’s mind. I’m genuinely so excited for you to serve this Showstopping Dessert. But the fun doesn’t stop once you cut the first slice!
Seriously, I want to see your creations! Baking is a community effort, and I learn just as much from you all as you learn from me. So please, once you’ve pulled that beauty out and added that final drizzle of caramel and chocolate, take a picture!
Snap a photo and tag us on social media. I absolutely live to see how everyone’s pecan scattering turned out! Did you go heavy on the chocolate fudge topping? Did you serve it warm or perfectly chilled? Tell me everything in the comments below.
And if this recipe finally gave you the confidence to call yourself a true cheesecake baker—which I really hope it did—please consider leaving a rating! A little star rating helps other nervous bakers see that this is truly the Easiest Turtle Cheesecake out there. If you have any lingering questions that weren’t covered in the FAQ, don’t hesitate to drop me a line over on the contact page. Happy baking, everyone!
PrintEasy Baked Turtle Cheesecake with Caramel and Pecans
Make a rich, creamy baked Turtle Cheesecake featuring a chocolate crust, smooth filling, and generous layers of caramel sauce and toasted pecans.
- Prep Time: 25 min
- Cook Time: 75 min
- Total Time: 100 min
- Yield: 12 servings
- Category: Dessert
- Method: Baking
- Cuisine: American
- Diet: Vegetarian
Ingredients
- 1 1/2 cups chocolate wafer crumbs
- 1/4 cup granulated sugar
- 6 tablespoons unsalted butter, melted
- 3 (8 ounce) packages cream cheese, softened
- 1 1/2 cups granulated sugar
- 1 teaspoon vanilla extract
- 1/4 cup sour cream
- 3 large eggs
- 1/2 cup caramel sauce, divided
- 1 cup chopped pecans, toasted
- 1/2 cup semi-sweet chocolate chips
- 2 tablespoons heavy cream
Instructions
- Preheat your oven to 325 degrees Fahrenheit. Wrap the outside of a 9-inch springform pan tightly with heavy-duty aluminum foil.
- Combine chocolate wafer crumbs and 1/4 cup sugar in a bowl. Mix in melted butter until the mixture resembles wet sand. Press firmly into the bottom of the prepared springform pan. Bake for 10 minutes. Let cool slightly.
- In a large bowl, beat the softened cream cheese with an electric mixer until smooth. Gradually beat in 1 1/2 cups sugar until fully combined. Mix in vanilla extract and sour cream.
- Beat in eggs one at a time, mixing just until each egg is incorporated. Do not overmix the batter.
- Pour half of the cheesecake batter over the crust. Drizzle 1/4 cup of caramel sauce over the batter and gently swirl with a knife. Top with half of the toasted pecans. Pour the remaining batter over the top.
- Place the foil-wrapped springform pan into a large roasting pan. Carefully pour hot water into the roasting pan until the water reaches halfway up the sides of the springform pan. This creates a water bath.
- Bake for 60 to 75 minutes, or until the edges are set and the center has a slight jiggle.
- Turn off the oven, crack the door open, and let the cheesecake cool inside the oven for 1 hour. Remove from the water bath and let cool completely on a wire rack.
- Once cool, chill the cheesecake in the refrigerator for at least 6 hours, preferably overnight.
- To make the topping, combine chocolate chips and heavy cream in a small microwave-safe bowl. Microwave in 30-second intervals, stirring until smooth.
- Spread the remaining 1/4 cup caramel sauce over the chilled cheesecake. Drizzle with chocolate ganache and sprinkle with the remaining toasted pecans before serving.
Notes
- To toast pecans, spread them on a baking sheet and bake at 350 degrees Fahrenheit for 5 to 8 minutes, watching closely to prevent burning.
- For a crack-free surface, do not overmix the batter once the eggs are added, and use the water bath method during baking.
- If you prefer a brownie bottom, substitute the chocolate wafer crust with a thin layer of pre-baked brownie batter.
Nutrition
- Serving Size: 1 slice
- Calories: 450
- Sugar: 40g
- Sodium: 250mg
- Fat: 28g
- Saturated Fat: 15g
- Unsaturated Fat: 13g
- Trans Fat: 0.5g
- Carbohydrates: 45g
- Fiber: 2g
- Protein: 7g
- Cholesterol: 80mg