

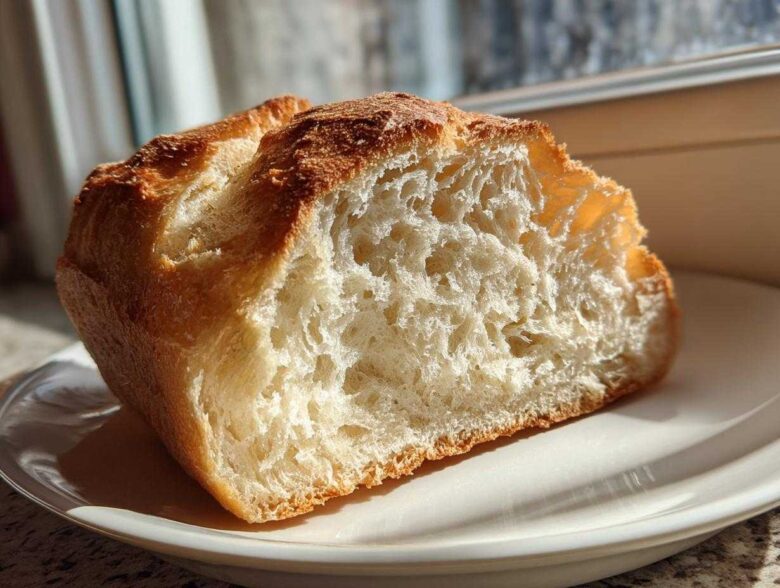
Oh, my dear readers, if there is one aroma that instantly makes our house feel like home, it’s the smell of yeast waking up and flour transforming in the oven! Leo calls it his favorite symphony. When we first retired, the house was just too quiet, but now, filling this space with the scent of truly magnificent, freshly baked French bread? That’s what retirement is all about! Forget those sad, plastic-wrapped loaves you grab on the way home. Today, I’m sharing our secret for the Easy Homemade Soft and Crusty French Bread. We managed to crack the code to get that soft, fluffy interior everyone swoons over while still keeping that lovely, satisfying crunch on the outside. Trust me, you can do this, and soon your kitchen will be the happiest room in the house, too. Welcome to our newsroom! If you want to read more about how we decided to turn baking into our second act, you can visit our About Us page right here.
Why This Homemade French Bread Recipe Is Your New Favorite
Look, I know bread baking can feel intimidating, but this recipe cuts right to the chase. We designed it specifically so you aren’t waiting around all day. It’s everything you want in a perfect loaf, made simple:
- It delivers on the promise: that heavenly crusty exterior bread shatters just right.
- The inside? Pure magic—incredibly soft French bread at home with a light, fluffy crumb.
- It’s truly quick! You’ll be serving this dinner side bread in under two hours total. It’s the best homemade bread without the fuss. If you’re enjoying this, you absolutely MUST check out my recipe for making sturdy bread bowls next!
Gathering Ingredients for Your Easy French Bread
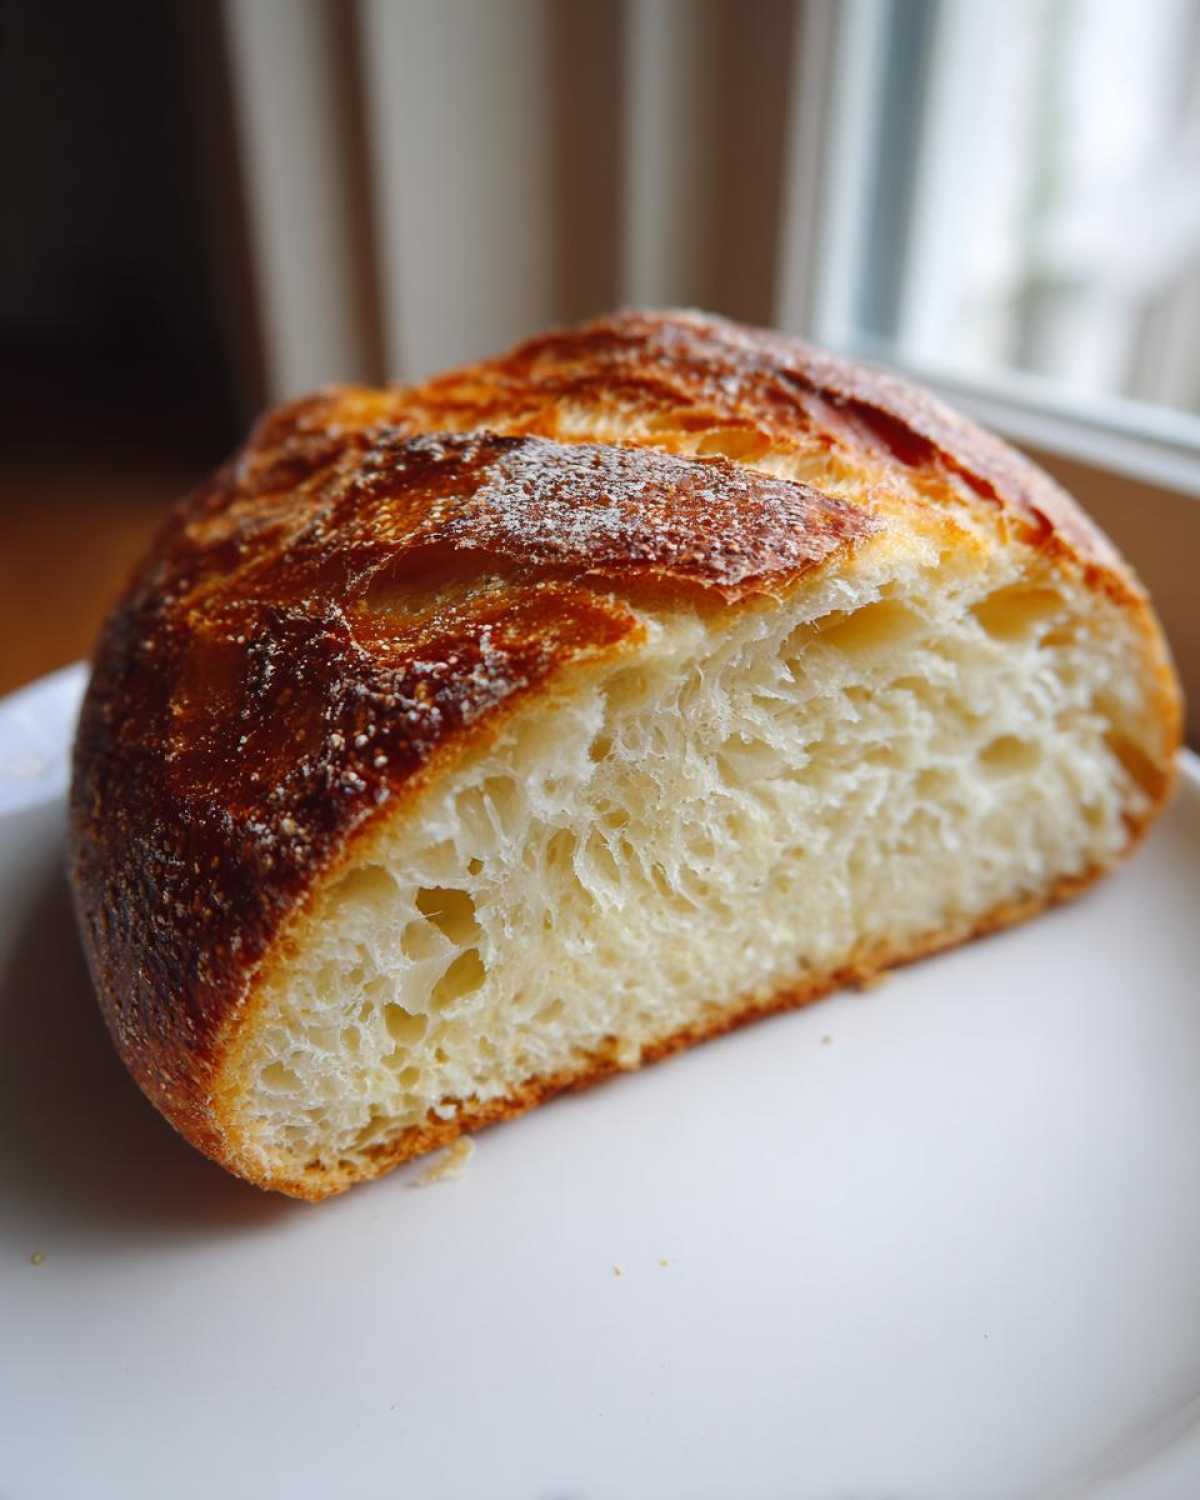
Okay, before Leo starts trying to throw in whatever random herb he found in the garden, let’s be very precise about what goes into this Homemade French Bread Recipe. Precision matters here, especially with the yeast, because we really want that rise! You only need simple pantry staples, which is part of why I love this so much. We’re keeping this recipe focused, so no fancy bread flour needed for this beginner-friendly loaf.
Here’s exactly what you need for one beautiful loaf:
- 3 cups All-Purpose Flour
- 1 teaspoon Salt
- 1 packet (2 1/4 teaspoons) Active Dry Yeast
- 1 1/4 cups Warm Water (and please check that temperature! We need it about 105-115°F—too cold and the yeast sleeps; too hot and it dies!
- 1 tablespoon Olive Oil (just for greasing the bowl, keeps things gentle)
- 1 Egg White (this is our little secret for that golden finish)
Step-by-Step Instructions for Perfect Homemade French Bread
Alright, let’s get our hands dusty! This is where the magic happens, and remember what I said about Leo? He sees this as composing music, but I’m here to give you the exact notes to play. Following these steps closely guarantees you get that tender crumb bread every single time. Don’t rush anything, especially the rising, and you will be rewarded with the best Simple Yeast Bread you’ve ever made. If you want more tips on simple yeast recipes, check out my guide on Simple Yeast Bread!
Mixing and Kneading the French Bread Dough
First things first, whisk your flour and salt together in that big bowl. We need them introduced properly! Next, pour in your foamy, active yeast water and the olive oil. Use a sturdy wooden spoon—I use one of Leo’s retired mixing spoons—stirring until you have what I call a ‘shaggy mess.’ Now, turn that mess onto a lightly floured bench. Knead, knead, knead for about five to seven minutes. Don’t cheat! When you stop, the dough should feel wonderfully smooth and elastic under your palms. That stretchiness is what gives us that gorgeous, light texture later.
The Rises: First Proofing for Soft French Bread at Home
Once the dough is smooth, find a nice, clean, lightly oiled bowl for it to relax in. Cover it up tight—plastic wrap works perfectly, or even just a clean kitchen towel. Now, the waiting game begins, but it’s worth it! You need to let this dough rest in a warm spot for a good 60 to 90 minutes. This first rise is absolutely critical for developing that light, soft French bread at home texture everyone craves. If your kitchen is chilly, pop it in the oven with just the light on!
Shaping and Final Proofing of Your French Bread Loaf
When the dough has doubled—poof!—gently punch the air out. This second time around, we are shaping. Turn it out softly and gently form it into a long, lovely loaf that fits your pan, or maybe two smaller ones if you’re feeling ambitious like a baguette recipe! Place your shaped loaves on parchment paper on a baking sheet. Cover them loosely again and let them chill out for just 30 more minutes. This second nap sets the shape for that professional look.
Baking for a Bakery Style Bread Finish
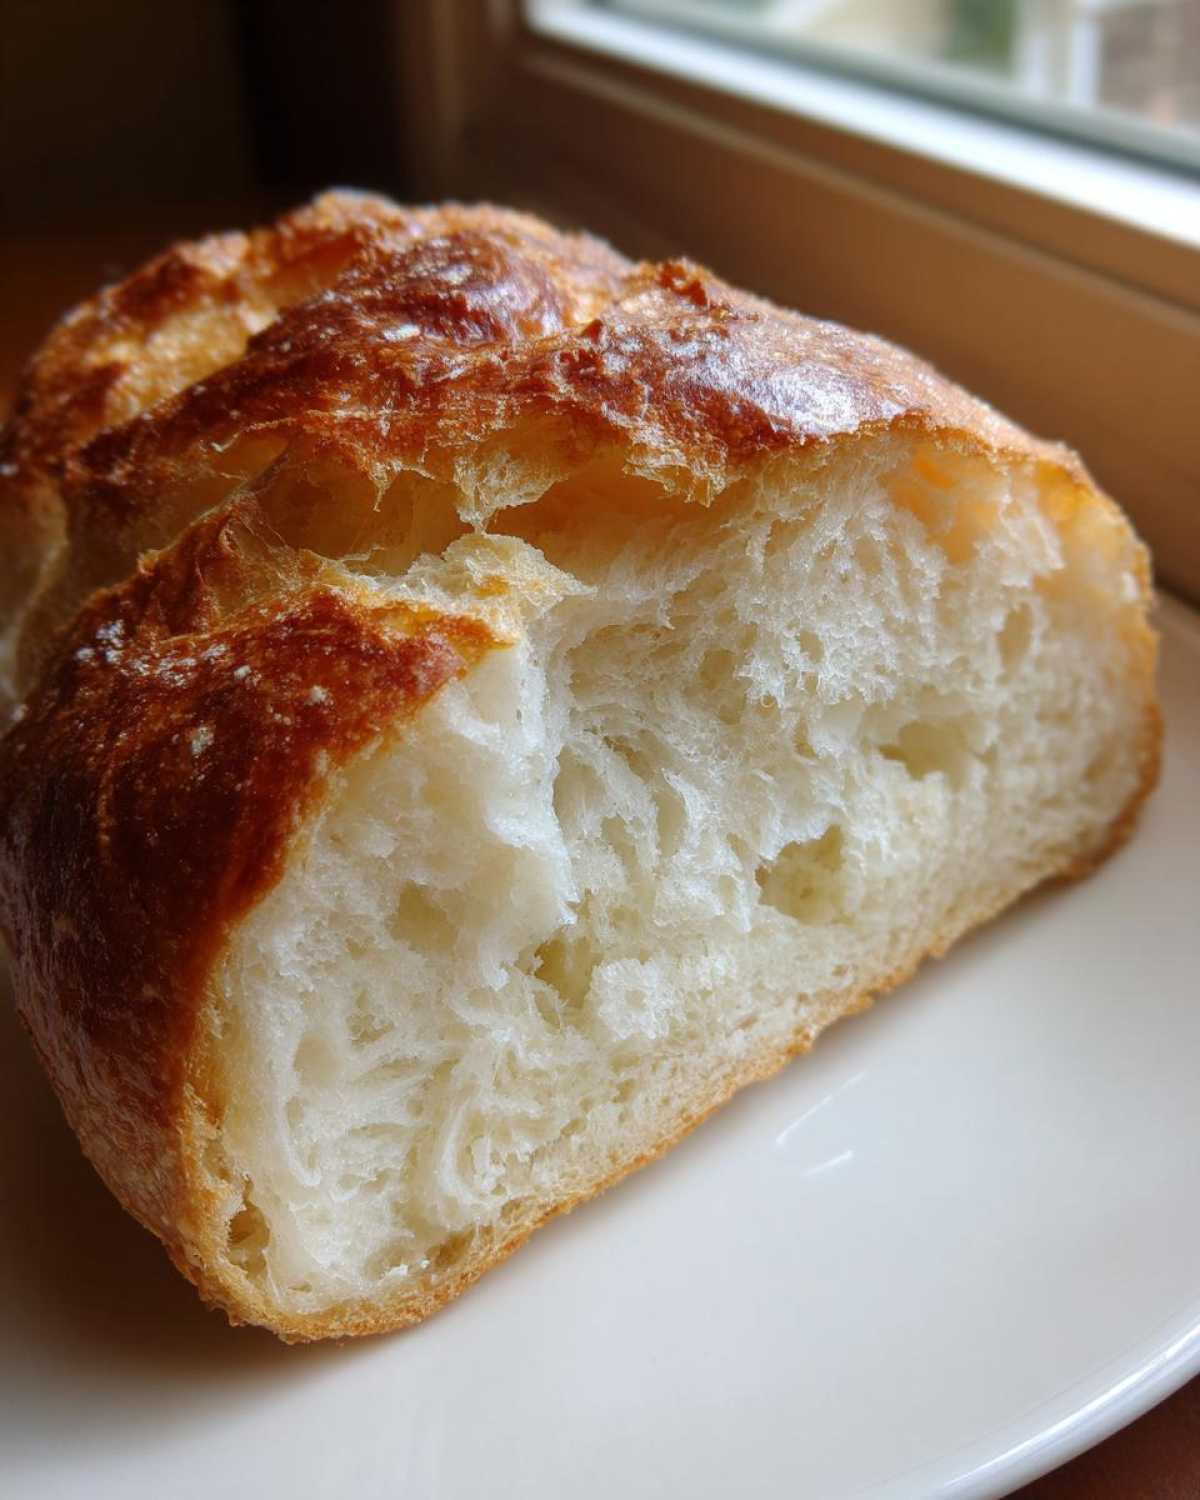
Time to turn the heat up! Get your oven preheated to 400°F. Here is my biggest tip for that amazing bakery style bread crunch: steam! Put a shallow pan on the lowest rack while it heats up. Right after you put the bread in, brush the tops lightly with that beaten egg white—it gives a gorgeous shine. Then, grab a sharp knife and make three or four quick, shallow slices—scoring! Right after you put the bread in, carefully pour about a half-cup of hot water into that bottom pan and shut the door fast. That steam locks in the moisture inside while crisping the outside perfectly. Bake for 25 to 30 minutes until golden brown. Listen for that hollow tap!
Baking Homemade Bread Tips for Success with French Bread
When you’re aiming for that restaurant-quality loaf, a few little secrets make all the difference, especially since you’re aiming for a Crusty Exterior Bread. Let’s talk about the yeast first, because if that fails, the whole masterpiece flops! Make sure your warm water is truly within that 105°F to 115°F window. If it’s cooler, the yeast won’t wake up, and your dough won’t double. That’s why I always keep my meat thermometer handy!
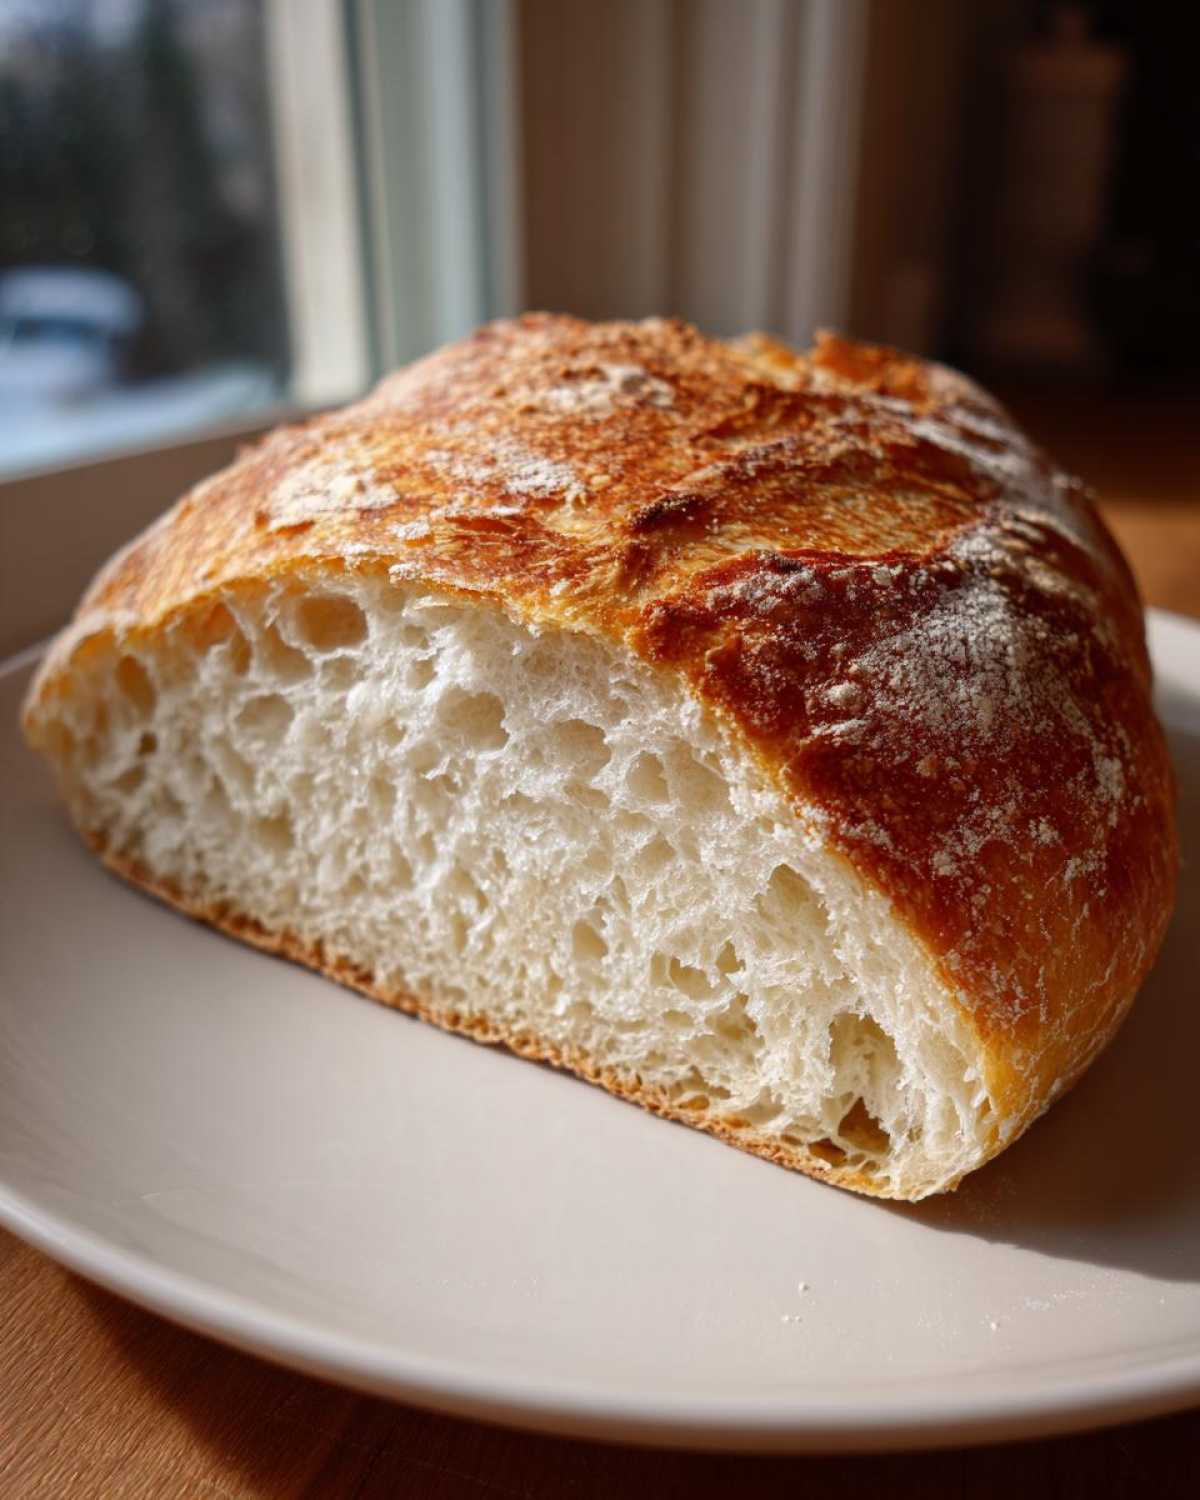
The steam during baking is non-negotiable if you want that crackle. When you pour that hot water in, the oven fills with moisture, which keeps the crust soft long enough for the loaf to expand fully before hardening. Don’t peek for the first 20 minutes! If you have challenges with temperature, read through my general Baking Homemade Bread Tips where I discuss the best spot for proofing in winter.
Ingredient Notes and Substitutions for French Bread
I know some of you busy bees might wonder if you can swap things around when making this French bread, especially if you’re trying to make it a Quick French Bread Recipe. Let’s talk flour first! I stuck with All-Purpose because it gives us that perfect, slightly softer crumb we love. If you use bread flour, your loaf will be chewier, which is nice, but it won’t be quite as fluffy loaf recipe soft.
If you only have instant yeast, don’t panic! You can skip the proofing step in the warm water and just mix it right in with your dry flour and salt. If your water ends up too hot—say, over 125°F—you’ll kill the yeast and your dough just won’t rise at all. Oops! Just dump it, refill, and check the temperature again. A little patience here makes all the difference for a perfect rise.
Serving Suggestions for Your Fresh French Bread
That glorious crusty bread is finally out of the oven! Honestly, the absolute best way to enjoy this first batch of French bread is straight from the cooling rack, sliced thick, and slathered with good quality salted butter while it’s still warm. Don’t even bother with a knife; just tear off a piece!
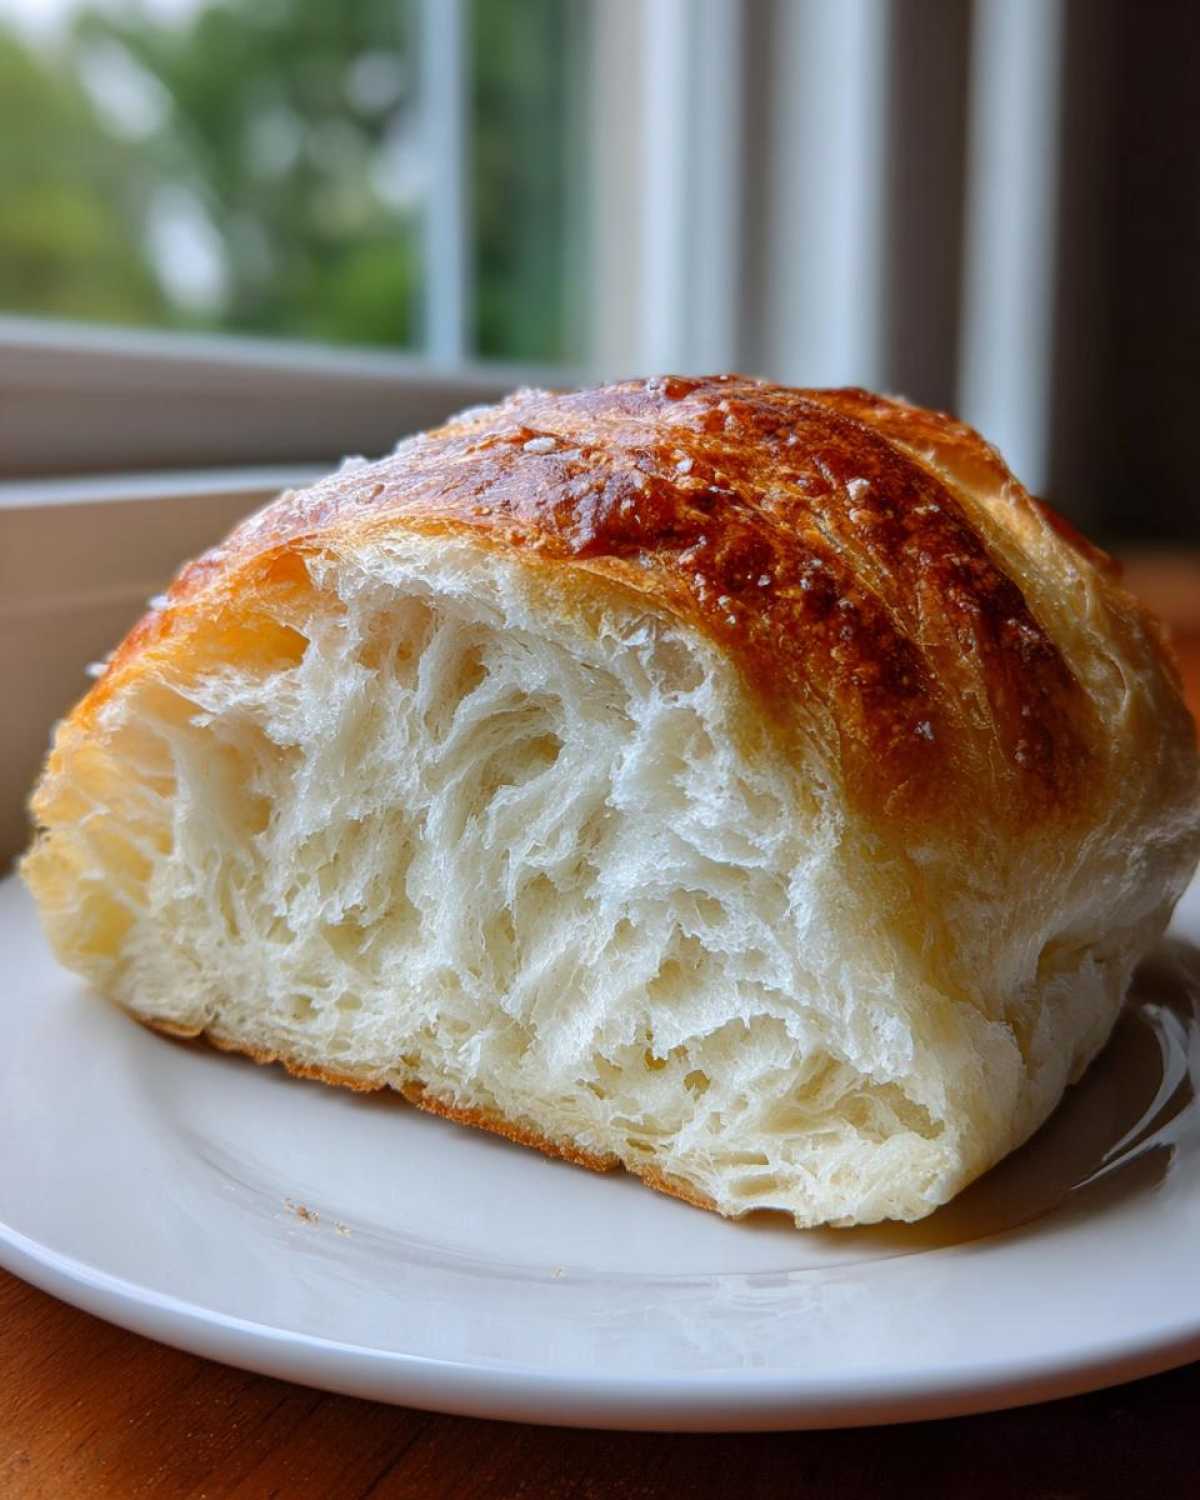
If you’re using it as a dinner side bread, it’s mandatory for soaking up every last drop of sauce. It makes the most incredible base for dipping into Leo’s famous Italian Penicillin Soup—you can find the recipe on our site here! And yes, this structure is perfect for making hearty, pressed sandwiches the next day, too.
Storage and Reheating Instructions for Leftover French Bread
I really hope you don’t have much left over, because homemade French bread is best eaten the day it’s baked! For short-term storage, just keeping it on the counter, cut-side down on a clean board, should work for a day. If you must keep it longer, wrap the whole loaf tightly in plastic wrap before tossing it in the freezer.
To bring back that glorious crunch, wrap the slightly thawed bread in foil and warm it in a 350°F oven for about 10 minutes. This re-steams the loaf just enough to make the inside soft again while crisping the outside—perfection!
Frequently Asked Questions About Making French Bread
I always get so many notes from readers who are trying this for the first time, and that’s wonderful! Baking homemade bread should be fun, not frustrating. Here are a few things I hear most often regarding texture, time, and technique for this Homemade French Bread Recipe.
Can I skip the steam in the oven?
Oh, I highly advise against it if you want that authentic crackle! The steam is what keeps the crust flexible initially so the dough can achieve maximum oven spring, resulting in that beautiful, crusty artisan bread finish. Without it, you might end up with a dense loaf that browns too fast. If you can’t use the hot water pan method, a quick spritz of water in the oven right before closing the door helps!
How can I make this more of a Quick French Bread Recipe?
We love efficiency! While our total time is just under two hours, if you truly need it faster, you can try to get your first rise shorter by finding a significantly warmer spot, but remember that speeding up yeast often leads to a less complex flavor. For recipes claiming one hour, they usually involve higher amounts of yeast, which can make the final loaf a little less tender. For a faster reference, check out my thoughts on a true One Hour Bread Recipe, but for this specific result, give it the full time!
How do I get a chewier loaf instead of this soft French bread?
That’s determined mostly by the flour! If you want more chew, switch out the All-Purpose flour for high-protein Bread Flour. Also, try kneading the dough for a solid 10 minutes instead of just 5 or 7. That develops more gluten structure, leading to a wonderful, slightly chewy texture. Some folks prefer that! If you want to see how others handle speed, this guide on Easy 2 Hour French Bread might give you inspiration.
Is this suitable for making a Baguette Recipe Easy edition?
Absolutely! After the second rise, instead of shaping one large oval loaf, just divide the dough into two equal pieces and gently roll them into thinner, longer logs about 15 inches long. You get that lovely bakery style bread look on a smaller scale!
Estimating Nutrition for Your French Bread Loaf
Now, I’m not a nutritionist—I’m just Clara, the librarian turned baker! But I know many of you like to see the numbers, so here are the estimated values for one slice of this beautiful French bread loaf, based on the ingredients we used.
Please remember these figures are only estimates, but they give you a good starting point:
- Serving Size: 1 slice
- Calories: 150
- Fat: 2g
- Carbohydrates: 30g
- Protein: 5g
- Sugar: 1g
Enjoy it warm with butter, knowing you made this wonderfully soft French bread at home from scratch!
Share Your Tasty Tribune French Bread Story
Well, that’s our news dispatch for today on the French bread! Leo is already sniffing the air, waiting for the next batch. I truly hope this recipe brings a little chaos—the good kind!—into your kitchen. Please come back and leave a rating and tell me about your crust! Did you manage that perfect snap, or did you get that wonderfully soft interior? We love seeing your creations over on our main blog page. Happy baking, everyone!
PrintEasy Homemade French Bread: Soft, Fluffy, and Crusty
You will find this soft fluffy French bread recipe is exactly what you need for dinner tonight. Forget store-bought loaves when you can make amazing, truly soft fluffy French bread yourself with simple ingredients you already have. This recipe makes your kitchen smell incredible.
- Prep Time: 20 min
- Cook Time: 30 min
- Total Time: 1 hour 50 min
- Yield: 1 large loaf
- Category: Dinner Side
- Method: Baking
- Cuisine: French
- Diet: Vegetarian
Ingredients
- 3 cups All-Purpose Flour
- 1 teaspoon Salt
- 1 packet (2 1/4 teaspoons) Active Dry Yeast
- 1 1/4 cups Warm Water (about 105-115°F)
- 1 tablespoon Olive Oil (for the bowl)
- 1 Egg White (for brushing)
Instructions
- In a large bowl, whisk together the flour and salt.
- In a separate small bowl, dissolve the yeast in the warm water. Let it sit for 5 minutes until foamy.
- Pour the yeast mixture and olive oil into the dry ingredients. Mix with a wooden spoon until a shaggy dough forms.
- Turn the dough out onto a lightly floured surface. Knead for 5 to 7 minutes until the dough is smooth and elastic. You are aiming for a soft, tender crumb texture.
- Lightly oil a clean bowl. Place the dough in the bowl, turning to coat. Cover the bowl tightly with plastic wrap or a clean kitchen towel.
- Let the dough rise in a warm place for 60 to 90 minutes, or until it has doubled in size. This is your first rise.
- Gently punch down the risen dough. Turn it out onto a lightly floured surface. Shape the dough into a long, even loaf or two smaller loaves, like a simple baguette recipe.
- Place the shaped loaf(ves) on a baking sheet lined with parchment paper. Cover loosely and let rise for a second time for 30 minutes.
- Preheat your oven to 400°F (200°C). Place a shallow pan on the bottom rack to create steam for a crusty exterior.
- Brush the top of the loaf(ves) lightly with the beaten egg white. Score the top of the bread with a sharp knife 3 to 4 times.
- Carefully pour about 1/2 cup of hot water into the shallow pan on the bottom rack to create steam, then quickly close the oven door.
- Bake for 25 to 30 minutes, or until the crust is golden brown and the bread sounds hollow when tapped.
- Remove the bread from the oven and transfer it to a wire rack to cool completely before slicing. Enjoy this bakery style bread warm with butter.
Notes
- For a truly crusty exterior bread, use a baking stone if you have one, preheated in the oven.
- If your kitchen is cold, place the dough in the oven with just the light on to create a warm spot for rising.
- This recipe is a great beginner bread baking project; do not worry if the first loaf is not perfect.
Nutrition
- Serving Size: 1 slice
- Calories: 150
- Sugar: 1
- Sodium: 250
- Fat: 2
- Saturated Fat: 0.5
- Unsaturated Fat: 1.5
- Trans Fat: 0
- Carbohydrates: 30
- Fiber: 1
- Protein: 5
- Cholesterol: 0