

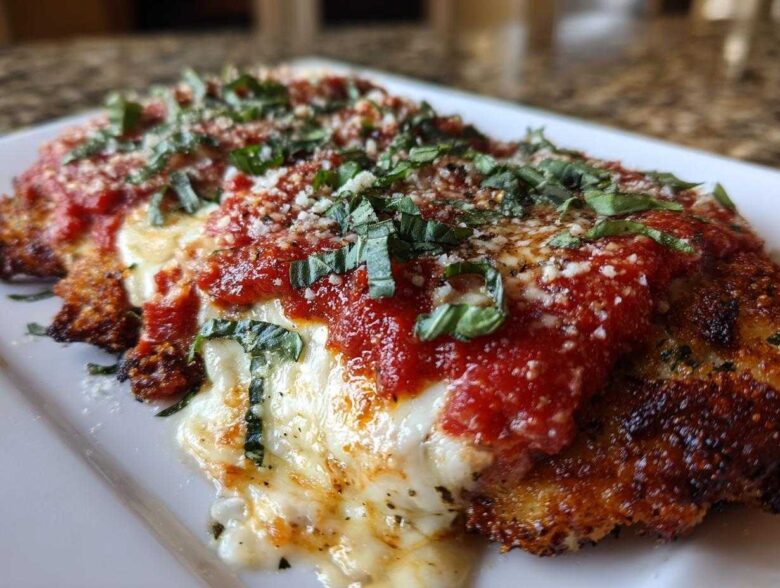
Oh, don’t you just get that craving sometimes? That deep, wonderful ache for rich, cheesy, authentic Italian comfort food, but the clock is screaming at you? Well, Leo and I have cracked the code for those nights. This Easy chicken Parmesan isn’t just a recipe; it’s our little victory over the tyranny of time! When we first retired from the rush of teaching and libraries—you can read more about that little chapter of our lives over at our About Us page—we thought we’d have endless hours, but suddenly we were busy planning trips and volunteering!
We needed restaurant-quality flavor that didn’t require a three-hour commitment. So, we messed around with the traditional breading and frying until we landed on this perfectly simple, baked approach. Trust me, this is the most straightforward Easy chicken Parmesan you will ever put on the table. We perfected the coating and the cheese melt so you get that beautiful, golden crust every single time, without needing a splash guard for frying oil. It’s Italian comfort food at home, done right and done fast.
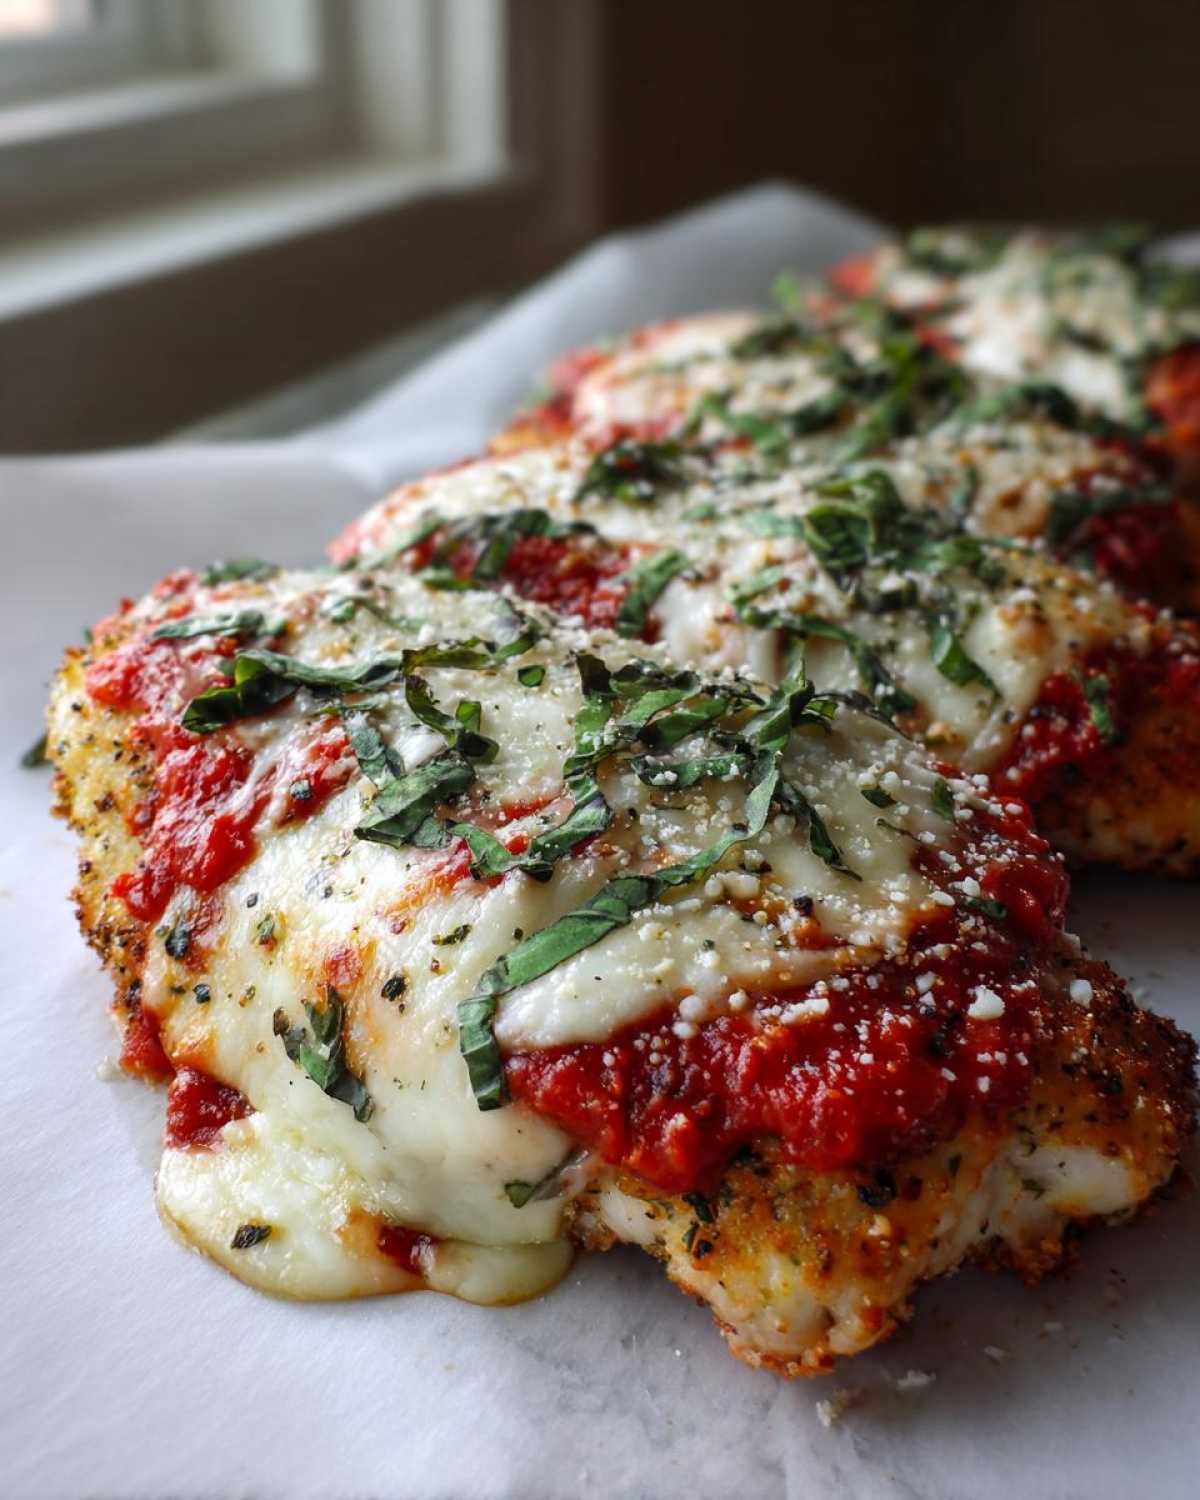
Why This Easy Chicken Parmesan Is Your New Weeknight Staple
I’m telling you, this baked method is what makes this recipe a game-changer for us. No more frantic stovetop monitoring or deep-cleaning grease splatters the next morning! Leo loves the cleanup because there’s hardly anything to scrub. Knowing we can take dinner from fridge to table, completely satisfying that craving for Italian comfort food at home, is such a relief on a busy Tuesday.
- It delivers that signature crunchy-cheesy texture without the fryer.
- Cleanup is a breeze since we are baking everything right on one sheet pan.
- It tastes like you spent hours making it, not just minutes!
Speedy Prep for a Family Friendly Pasta Night
Seriously, folks, look at the clock when you start. Prep time is only about 15 minutes, and the total cook time is under 40 minutes from start to finish. That makes this the perfect quick chicken parmesan when you need an easy chicken dinner idea that still feels special enough for the family to rave about. It’s faster than most takeout, and I guarantee it tastes better!
Gathering Ingredients for Your Easy Chicken Parmesan
Now, let’s talk about what you need to pull this off. The beauty of this recipe is that it uses simple things you likely already have, or can grab in one quick trip. Forget fancy imported items; we’re focusing on accessibility here. Using a high-quality jarred marinara sauce is completely permitted—Leo and I have a wonderful recipe you can check out for an all-purpose marinade if you ever want to get deep into chicken flavor, but for a weeknight win, the jar is your friend!
Here’s what you need for four generous servings. Make sure you grab those boneless, skinless chicken breasts because we are going to pound them down. My biggest tip before we even start the breading station? Pounding the chicken evenly to about a half-inch thickness is non-negotiable. If one side is thick and the other is thin, you end up with dry edges and raw centers. Use plastic wrap and a heavy pan to gently encourage them into an even slab—it cooks so much better that way!
Ingredient Notes and Substitutions for Cheesy Chicken Cutlets
Let’s look closer at that crunchy coating. We use Panko breadcrumbs exclusively, and I hope you will too! Regular dry breadcrumbs work, but Panko—those beautiful, larger, airy Japanese flakes—create the absolute best, crispiest breaded chicken breast when baked. They don’t absorb oil or moisture the way finer crumbs do.
For the cheese, fresh mozzarella is the goal. It melts beautifully and gives you those lovely, gooey pools of white cheese. If you can’t find fresh slices, feel free to use a good block of whole-milk low-moisture mozzarella and shred it yourself—please avoid the pre-shredded bagged stuff if you can, as it sometimes has anti-caking agents that stop it from melting smoothly. Also, don’t skimp on the good Parmesan in the breading mix; it adds incredible salty depth to the entire crust.
Setting Up for Crispy Breaded Chicken Breast Success
Alright, time to get our station ready! Before Leo starts tapping his foot because he’s ready to eat, we always set up our breading line. It’s just like an assembly line of deliciousness, and it’s essential for locking in all that flavor and making sure you get that perfect crispy breaded chicken breast. You need three shallow dishes lined up in order. First in line is the simple flour—just a dusting to dry the surface of the pounded chicken.
Dish number two holds your beaten eggs. Don’t whisk them too vigorously; we just need them combined. Then comes the star: dish three! This is where you mix your Panko breadcrumbs with that grated Parmesan cheese, oregano, and salt and pepper. Mix this up really well so every flake is seasoned.
Now, here’s one of Leo’s little secrets for an unbreakable crust: When you take the chicken from the egg and press it into that final breadcrumb mix, you have to use your hands and press down firmly. Don’t just flop it in there! You need to physically press that coating onto the meat so it adheres properly. This firm pressure is what guarantees your coating stays on during baking!
The Baking Method: Achieving Perfect Baked Chicken Parm Recipe
Because we are skipping the deep-fryer, the baking process needs a little attention, but it’s so simple, which is why this is my favorite baked chicken parm recipe. First things first, make sure your oven is humming along at 400 degrees F. Get that baking sheet ready—I always use parchment paper because peeling off cheesy bits is nobody’s idea of fun!
Once your perfectly breaded cutlets are arranged on the pan, here’s a little trick Leo taught me to help them brown up nicely: lightly drizzle just a tiny bit of olive oil over the tops. It’s not much, just enough to give the Panko some help along! We bake them naked (so to speak!) for the first 15 minutes. This step is crucial because it sets the crust before we introduce moisture from the sauce.
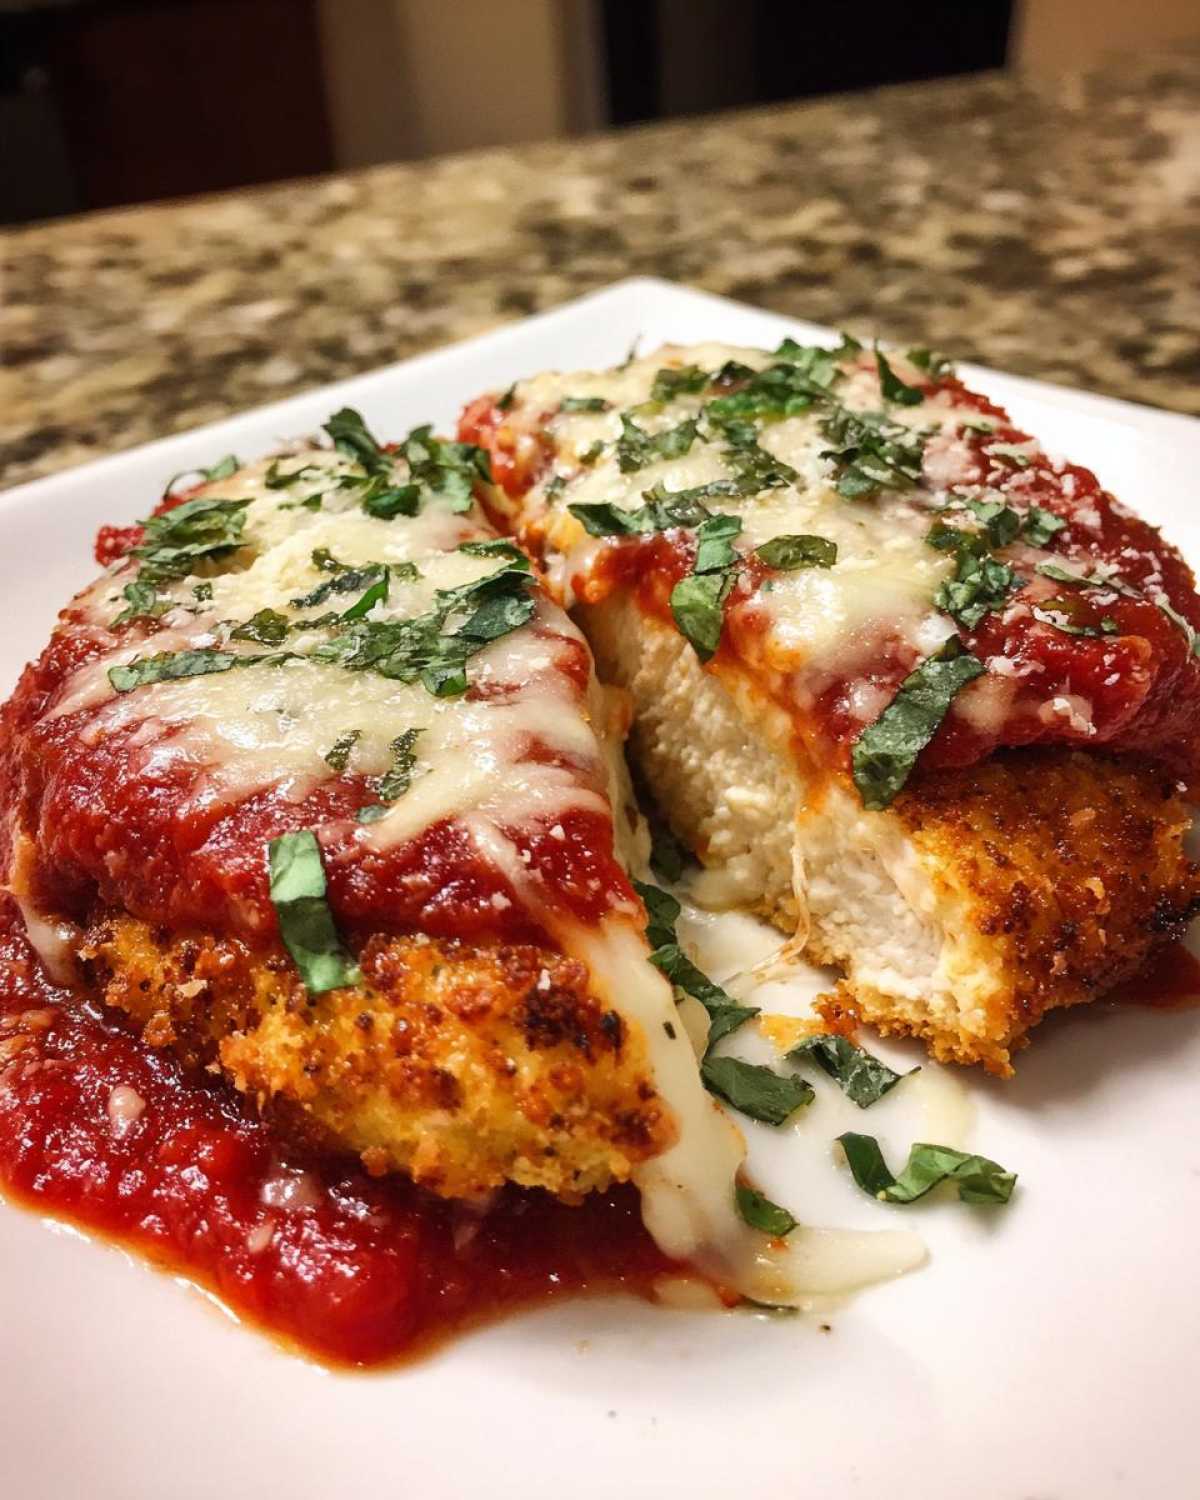
If you want to check out another fantastic way we use Parm in our house, take a peek at our Parmesan-crusted chicken—it’s completely different but just as delicious!
Layering Sauce and Cheese for Ultimate Easy Chicken Parmesan
When that timer dings at 15 minutes, pull the tray out quickly. This is the pivot point! Each cutlet needs about a quarter cup of your favorite marinara sauce spooned right over the top. Don’t drown it, just give it a nice, generous blanket that stops just short of the golden edges we worked so hard to create. Then, layer on the slices of fresh mozzarella. Don’t be shy here; a good blanket of cheese is mandatory for any proper Easy chicken Parmesan.
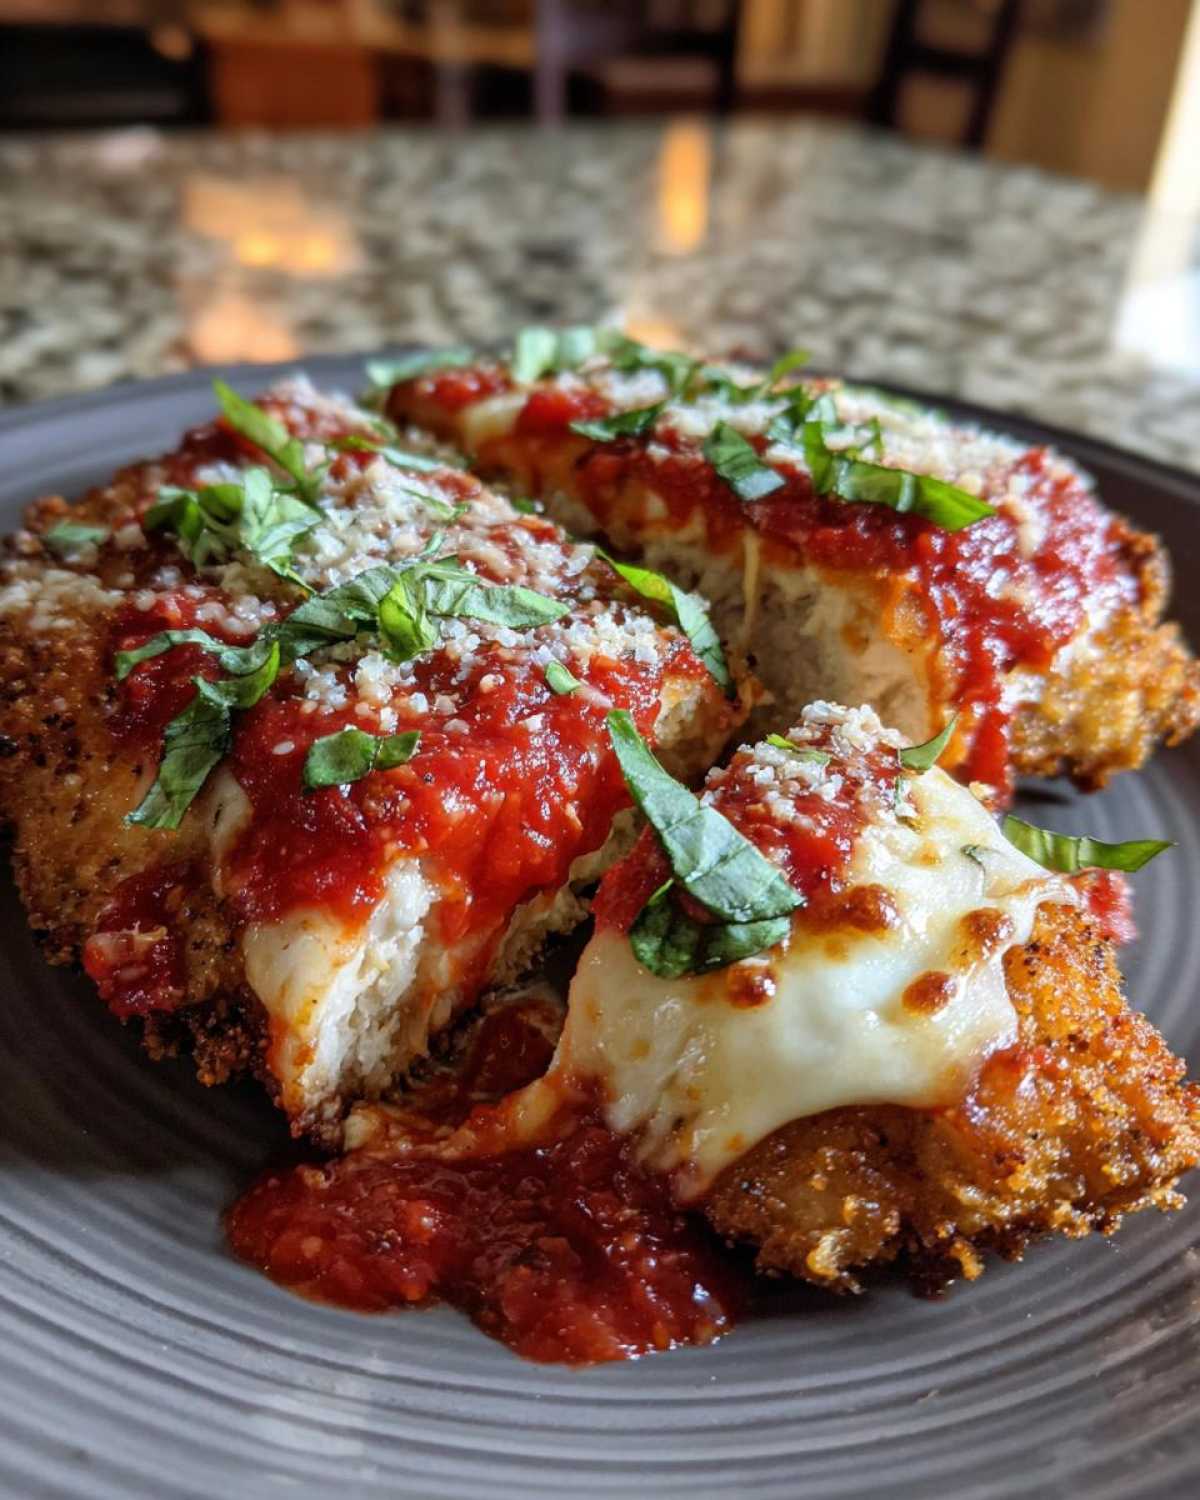
Finally, sprinkle a little extra grated Parmesan right over those mozzarella slices. That second dusting gives you those wonderful little amber bubbles on top! Pop it back into the 400-degree oven for just another 5 to 8 minutes. We are waiting for that glorious moment when the cheese is totally melted, bubbly, and just starting to turn golden brown. Keep an eye on the internal temperature, aim for 165 degrees F inside, and you’ll have the most heavenly, cheesy chicken cutlets!
Expert Tips for Restaurant-Quality Easy Chicken Parmesan
You know, back when I first started thinking about retirement cooking, I was terrified of ruining good chicken breast. I used to bake things until they were hard as hockey pucks because I was so worried about the raw chicken! Leo had to physically come in and say, “Clara, use the thermometer!” Learning that 165 degrees F is our target saved so many dinners. This baked method is fantastic, but if you are truly desperate for that super deep-fried flavor, you can absolutely opt for the skillet finish.
If you want a deeper crust, try browning the breaded cutlets in a thin layer of hot oil on the stovetop first—just for about two minutes per side until golden. Then, you move them right over to the baking sheet, top with sauce and cheese as directed, and finish them in the oven. It’s a little extra effort, but the crust is unbeatable! For those times when you want a completely different spin on Italian flavors, check out Leo’s Chicken Piccata—it’s bright and punchy!
Achieving Golden Brown Cheesy Chicken Cutlets
The visual cues are your best friend here. Don’t rely only on time when that second baking phase starts. You’re looking for the mozzarella to look completely soft and melted, stretching just a bit when you peek under the edge. That dusting of extra Parmesan sprinkled over the top should turn into tiny, amber-colored spots. That’s where the real flavor builds!
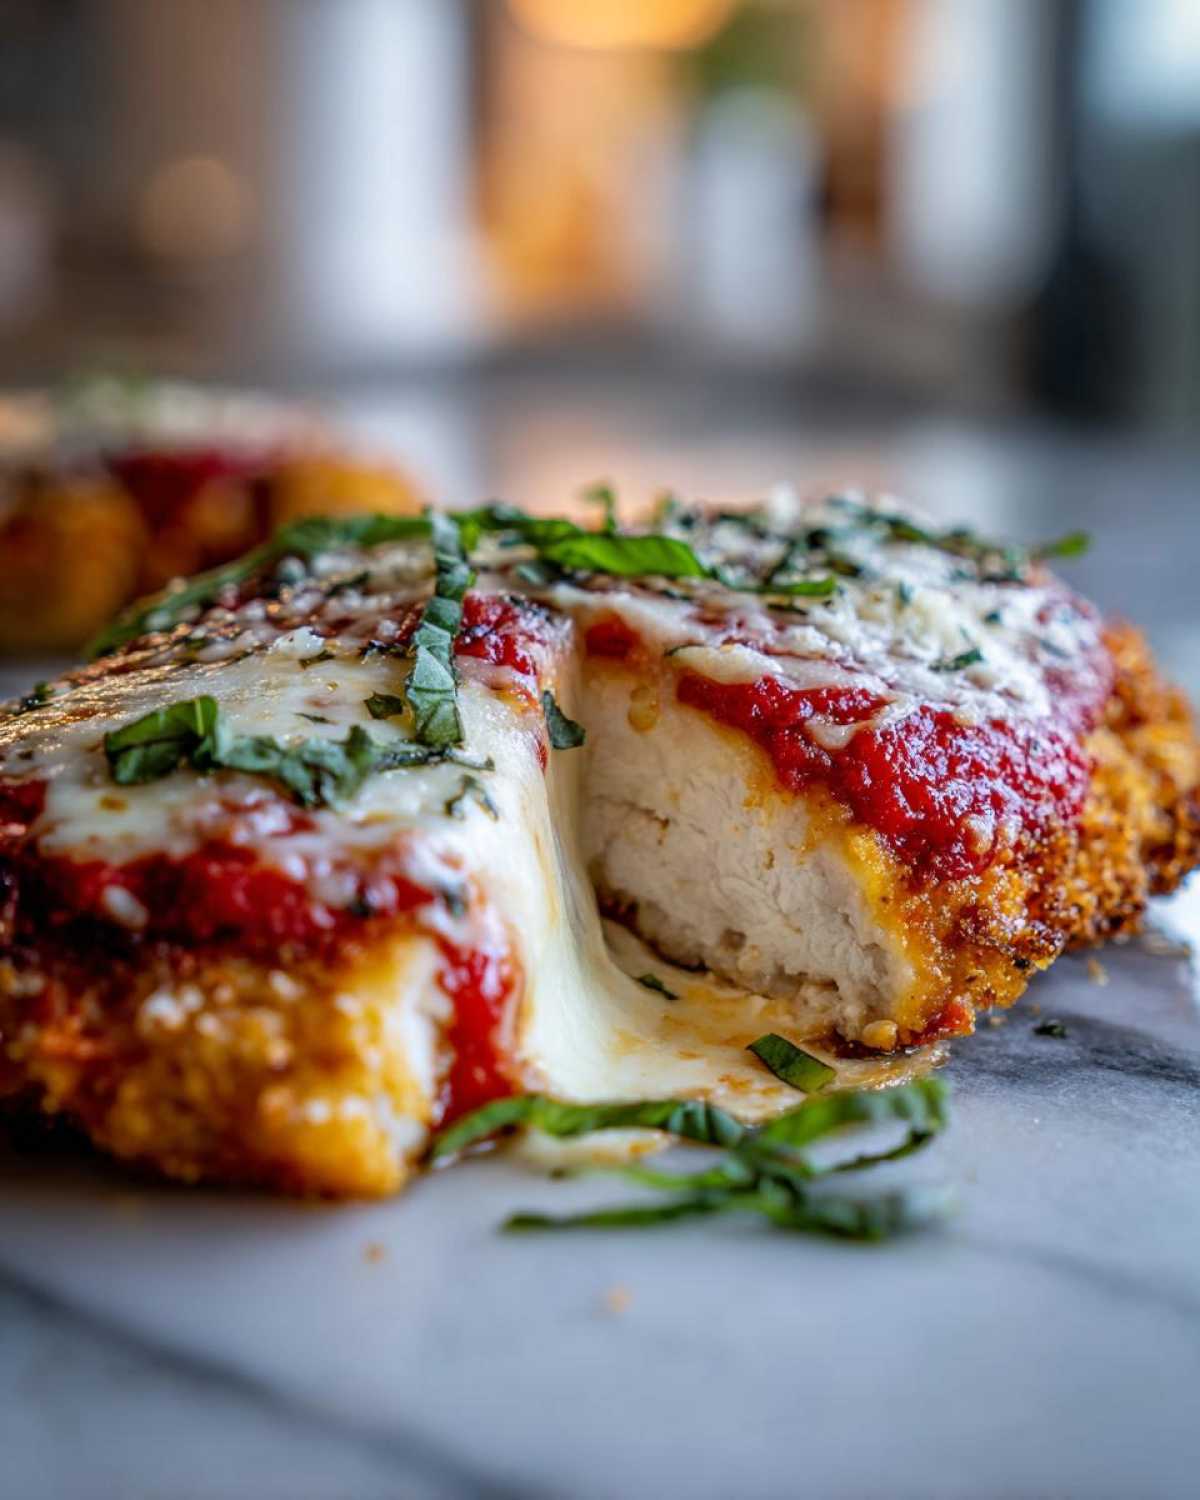
Once it hits that perfect spot—bubbly cheese and 165 degrees F inside—pull it out fast! And please, humor an old librarian: let the finished Easy chicken Parmesan rest on the pan for about five minutes before lifting it onto your plate or pasta. It lets the cheese set up just a touch so it travels nicely from the pan to the plate without sliding right off. It truly makes a difference in presentation!
Serving Suggestions for Your Italian Comfort Food at Home
The big question always arises once that gorgeous, cheesy chicken comes out of the oven: what do we serve it with? Since this is meant to be an easy chicken dinner idea, we aren’t going to spend another hour on complicated sides! The classic partner for this dish, of course, is a pile of spaghetti or linguine tossed simply with a bit more of that marinara sauce. Keep it simple; the chicken is the star of this production.
If you’re looking to balance out the richness of the cheese and the chicken cutlet, a simple green salad is perfect. Toss some bitter mixed greens with a bright, homemade Italian vinaigrette. That little bit of acid cuts right through the fat and makes the whole meal feel balanced. And honestly, what is an Italian comfort food at home night without a side of warm, garlicky bread for dipping?
If pasta isn’t your preferred vessel, you can swap it out for creamy polenta or even something grain-based. We made a fantastic easy fluffy rice pilaf the other day that soaked up the extra sauce beautifully. Just remember, the meal is supposed to be joyful, not stressful, so pick the side that lets you sit down and enjoy that delicious Easy chicken Parmesan!
Storage and Reheating for Leftover Easy Chicken Parmesan
Oh, leftovers! Sometimes the second day is even better, provided you treat them right. If you happen to have any of this glorious cheesy chicken cutlets left over—which is rare in Leo’s book, I must confess—storage is simple but important. Make sure those cutlets have cooled down only slightly, and then get them into an airtight container right away. Don’t leave them sitting on the counter for hours! You want them in the fridge within two hours of making them.
Now, reheating is where most people make a big mistake. If you toss that beautiful Panko crust into the microwave, you’re going to end up with soggy, sad chicken, and we absolutely cannot have that! To bring back that amazing crispness we worked so hard for, you need dry heat.
My go-to method is the oven or, even better, a toaster oven if you’re just reheating one or two pieces. Set your oven to about 350 degrees F. Place the chicken directly onto a wire rack set over a baking sheet—the rack lets the air circulate all around it, which is key to reviving the bottom crust—and let it warm through for about 10 to 12 minutes. You might even want to quickly sprinkle a fresh pinch of Parmesan on top for the last two minutes of reheating to get that lovely browned look back.
When you reheat it this way, the crust tightens up, the cheese gets soft again, and you’ve saved a perfectly good dinner without sacrificing any of the flavor or texture. It really helps maintain the integrity of our baked chicken parm recipe, so please, skip the microwave!
Frequently Asked Questions About This Quick Chicken Parmesan
Can I prepare the breading station ahead of time for this quick chicken parmesan?
That’s a great question for busy folks! You absolutely can set up your flour and egg wash dishes the night before. However, I really encourage you to wait until just before cooking to combine the Panko breadcrumbs with the Parmesan, oregano, and spices. Dry breadcrumbs mixed in liquid seasonings can start to get a little soggy overnight, and we want that beautiful, dry texture for the crispiest coat possible!
I only have chicken thighs; can I use those instead of breasts?
Oh, absolutely! Leo loves dark meat, so we’ve definitely made this adaptation. Chicken thighs are more forgiving and stay incredibly juicy. The catch is thickness. Since thighs are naturally thicker and less uniform than pounded breasts, you’ll need to adjust that initial baking time. Keep the temperature at 400 degrees F, but bump up that first bake to about 18 or 20 minutes before you add the sauce and cheese. They should still hit that safe 165 degrees F internal temperature.
How do I turn this into a spicier Italian comfort food at home?
If you like a little fire, I have two favorite spots to add heat! First, mix about a half teaspoon of red pepper flakes directly into your seasoned Panko mixture. That lets the heat toast delightfully during the first bake. Second, and this is Leo’s suggestion, use a spicy arrabbiata sauce instead of your standard marinara. That instantly kicks up the flavor profile for a lovely, **spicy chicken dinner idea**!
What is the best way to ensure I get crispy breaded chicken breast if I skip the oil drizzle?
If you really want to skip the drizzle of olive oil on top before the first bake, you need to ensure your breading is absolutely pristine. After pressing the Panko onto the cutlets (remember how firmly we said to press?), you can very lightly spritz just the tops with non-stick cooking spray before they go into the 400-degree oven. That tiny bit of oil coating in the Panko helps it crisp up beautifully during that initial dry-heat baking period.
If you want to read more tips and tricks we share from our kitchen newsroom, feel free to check out our latest blog posts!
Publish Your Own Tasty Story: Share Your Easy Chicken Parmesan!
Well, that’s it! We’ve shared our secret to making a fantastic, reliable Easy chicken Parmesan that even a busy former librarian can manage after 5 PM. Now, the story really belongs to you!
Leo and I are so excited for you to try this on your next **family friendly pasta night**. Did it turn out crispy? Did the cheese get perfectly bubbly? Did you manage to get it on the table in under an hour? We absolutely want to hear all about it!
Please, if this recipe made your week feel a little easier, take a moment to leave us a rating below. Five stars means we should run it as the front-page news tomorrow! And if you made any wonderful little improvisations—perhaps you added spinach under the cheese or tried a smoky sauce—please tell us in the comments. Sharing those delicious little bulletins is exactly what Leo and I dreamed of when we started this kitchen newsroom.
We love connecting with all of you! If you ever want to send us a picture of your glorious, cheesy spread or have a question that popped up while slicing the chicken, feel free to send a note through our Contact page. We read every message.
Thank you, from the bottom of our hearts, for letting Clara and Leo into your kitchens. Happy cooking, and we hope to see your success stories soon!
PrintEasy Baked Chicken Parmesan for a Weeknight Win
Make restaurant-quality cheesy chicken cutlets at home with this simple baked chicken Parmesan recipe. It is perfect for a quick Italian comfort food dinner.
- Prep Time: 15 min
- Cook Time: 23 min
- Total Time: 38 min
- Yield: 4 servings
- Category: Dinner
- Method: Baking
- Cuisine: Italian
- Diet: Vegetarian
Ingredients
- 4 boneless, skinless chicken breasts, pounded to 1/2 inch thickness
- 1 cup all-purpose flour
- 2 large eggs, beaten
- 1 1/2 cups panko breadcrumbs
- 1/2 cup grated Parmesan cheese, plus more for topping
- 1 teaspoon dried oregano
- 1/2 teaspoon garlic powder
- Salt and black pepper to taste
- 2 tablespoons olive oil
- 2 cups marinara sauce (your favorite jarred sauce works great)
- 8 ounces fresh mozzarella cheese, sliced
- Fresh basil, for garnish
Instructions
- Preheat your oven to 400 degrees F. Lightly grease a baking sheet or line it with parchment paper.
- Set up a standard breading station with three shallow dishes. Place the flour in the first dish. Whisk the eggs in the second dish. In the third dish, combine the panko breadcrumbs, 1/2 cup Parmesan cheese, oregano, garlic powder, salt, and pepper.
- Take one pounded chicken cutlet and dredge it thoroughly in the flour, shaking off any excess. Dip the floured chicken into the beaten egg, letting the extra drip off. Finally, press the chicken firmly into the breadcrumb mixture to coat both sides well. Repeat with the remaining chicken.
- Place the breaded cutlets on the prepared baking sheet. Drizzle the tops lightly with olive oil.
- Bake for 15 minutes.
- Remove the chicken from the oven. Spoon about 1/4 cup of marinara sauce over the top of each cutlet. Top each with slices of mozzarella cheese and a sprinkle of extra Parmesan cheese.
- Return the chicken to the oven and bake for another 5 to 8 minutes, or until the cheese is melted, bubbly, and lightly golden, and the chicken is cooked through (internal temperature of 165 degrees F).
- Let the cheesy chicken cutlets rest for a few minutes before topping with fresh basil. Serve immediately over your favorite pasta for a family friendly pasta night.
Notes
- For extra crispy breaded chicken breast, you can lightly spray the tops of the breaded cutlets with cooking spray before the first bake.
- If you prefer a skillet preparation, brown the cutlets in oil on the stovetop first, then top with sauce and cheese and finish in the oven.
- Use high-quality marinara sauce; it makes a big difference in this quick chicken parmesan.
Nutrition
- Serving Size: 1 cutlet
- Calories: 480
- Sugar: 8
- Sodium: 650
- Fat: 22
- Saturated Fat: 10
- Unsaturated Fat: 12
- Trans Fat: 0.5
- Carbohydrates: 30
- Fiber: 3
- Protein: 45
- Cholesterol: 140