

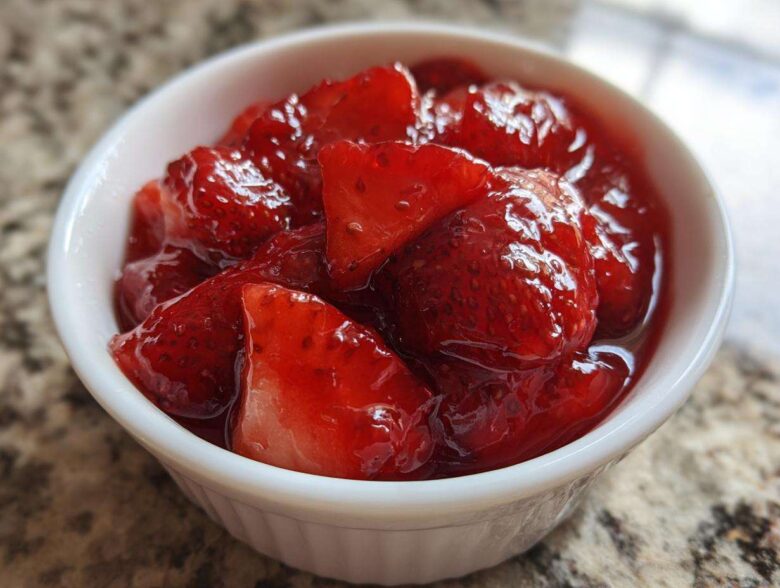
Oh my goodness, are you sick of fruit going bad before you can eat it all? I know I was, until I discovered the absolute miracle of freezer jam! Forget standing over a hot stove boiling fruit for an hour; we’re skipping all that drama. This recipe for Easiest No-Cook Strawberry Freezer Jam is my absolute secret weapon for capturing peak summer flavor. Seriously, it tastes like you just picked the strawberries this morning, even months later! Because we don’t cook it, the berries keep that vibrant, fresh bite that canning just cooks right out of the fruit. Trust me, once you try this quick, no-canning method, you’ll never look back. It’s simple, it’s fast, and it’s the best way to make homemade preserves.
Why This Strawberry Freezer Jam Recipe Works So Well (Beginner-Friendly)
Look, I love an old-fashioned project, but when it comes to saving the best flavors of summer, speed is key. That’s why this easy freezer jam recipe is my go-to! You get all the amazing taste without any of the complicated steps or worrying about water baths. It’s truly the easiest way to preserve that bright berry flavor for toast all year long.
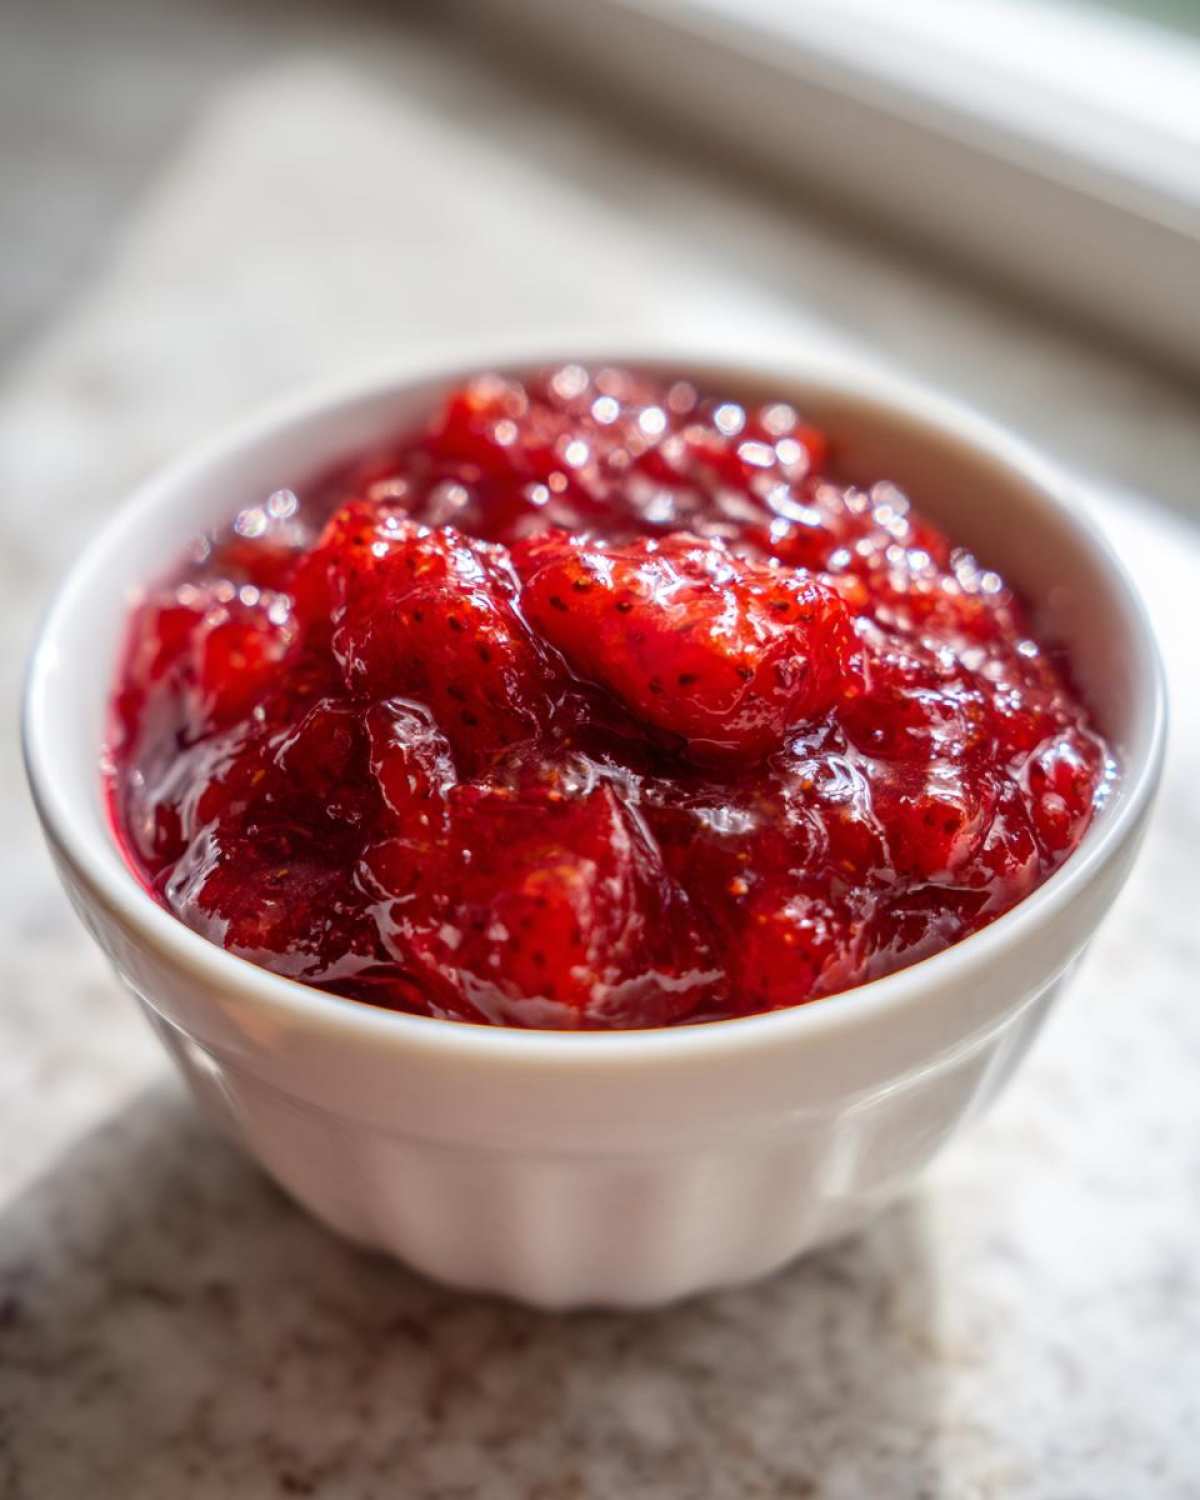
- It requires almost zero active cooking time—just one minute for the pectin!
- You don’t need any special canning equipment, jars, or lids.
- It sets up perfectly firm thanks to the powdered pectin, giving you that satisfying spreadable texture.
The Magic of No Cook Freezer Jam
When you cook fruit down for traditional canning, you are essentially cooking the life right out of those beautiful berries. With this method, we are preserving the raw essence of the strawberry. This is what makes it such a sensational fresh fruit jam no cooking required recipe. It tastes exactly like fresh strawberries, just sweetly concentrated!
Achieving Success with No Can Jam Instructions
I know that “no canning” sounds scary, but honestly, the freezer does all the heavy lifting for us! As long as we follow the pectin ratios exactly—which we do!—the jam sets up beautifully thanks to that quick chemical reaction. You are only looking at about 21 minutes of active time before everything goes into the cold. If you can follow simple mixing instructions, you can master these no can jam instructions.
Gathering Ingredients for Your Best Strawberry Freezer Jam
Okay, now for the fun part—getting everything ready! Since we aren’t boiling this down to make it thick, the quality and type of ingredients you use here really matter. This is where we make sure you get the absolute best strawberry freezer jam possible, and it’s all about precision. Don’t worry, even for a small batch jam recipe like this, the measurements are super important for setting correctly.
Here’s what you need waiting and ready to go before we start mixing. Don’t forget to check out my post on Pumpkin Spice Energy Bites for other quick kitchen wins!
- 4 cups fresh strawberries, hulled and crushed
- 1 package (1.75 oz) powdered fruit pectin (Please, make sure it’s powdered, not the liquid kind!)
- 1/4 cup water
- 7 cups granulated sugar (Yes, it’s a lot, but it’s what helps it set without cooking!)
- 1 tablespoon lemon juice
Ingredient Specifications and Substitutions for Freezer Jam
The most important thing here is that pectin! You absolutely must buy the dry, powdered fruit pectin made specifically for freezer jams. Liquid pectin won’t work with this recipe structure, so double-check that packet before you walk away from the store. Also, use the freshest, ripest strawberries you can find; that sunlight flavor is what we are trying to capture!
If you happen to have a bumper crop and need to use frozen berries, that’s fine! Just make sure you thaw them completely first, and then drain off any liquid that pools in the bottom. That liquid is mostly water and will throw off your set ratio, so toss it out before crushing.
Step-by-Step How to Make Freezer Jam
Are you ready? This is where we actually put together our quick fruit preserves. I promise, learning how to make freezer jam is so easy once you see it laid out. The timing on the pectin is the only thing to watch closely, but it’s only one minute! Remember to have your containers ready beforehand so everything moves quickly once that pectin starts boiling.
For a side read on quick treats, you might want to check out my Maple Glazed Donut Holes!
Preparing the Pectin Base
First things first: grab your clean jars or containers and fill them up, leaving about half an inch of space right at the top. That’s super important so the jam doesn’t push the lid off when it freezes! Now, move to the stove. Mix your powdered pectin and the quarter cup of water together in a small saucepan. Pop that over high heat and stir constantly until it hits a rolling boil. You have to boil it hard for exactly 60 seconds, no more, no less! Pull it right off the heat as soon as that minute is up.
Combining Fruit, Pectin, and Sugar for Quick Fruit Preserves
While the pectin is cooling just a touch, grab your crushed strawberries and that tablespoon of lemon juice. Pour that hot pectin mixture right into the berries and stir like crazy until it’s all blended together. Now, dump in all seven cups of sugar at once! This is the big step. You have to stir vigorously—and I mean *vigorously*—for about three minutes straight. You need every last crystal of that sugar dissolved before you ladle it into your containers. If the sugar isn’t dissolved, the jam won’t set right, so keep folding and stirring until it looks uniform!
Tips for Perfect Freezer Jam Consistency
Okay, listen up, because this is where people sometimes get anxious. You’re dealing with a no boil jam recipe, so the texture isn’t created by evaporation—it’s all chemical magic! If after stirring in the sugar it looks a little thin, DON’T PANIC. Remember that note about letting it sit extra? If you want a ridiculously thick jam that could practically stand up on its own, just let that sugary mixture sit on the counter for about five extra minutes before you funnel it into the jars. That gives the pectin even more time to grab hold before freezing starts the final set.
Also, remember that because this is a small batch jam recipe, things can sometimes feel a bit different than jam made in giant industrial vats. Don’t worry if it’s slightly looser than the jellies you buy at the store; that means the fresh strawberry flavor really won! If you find it’s never quite thick enough for your liking, pulse your strawberries just a *tiny* bit longer in the food processor next time until they are almost paste-like. But honestly, I love it when mine is still a little syrupy because it glazes perfectly over my yogurt. Check out my recipe for Everything Bagel Seasoned Pretzels if you need a salty break after all that sugar!
Storing and Serving Your Homemade Freezer Jam
Phew! We made it! Now for the best part: knowing exactly how long we can guard this jar of sunshine. Since this is a wonderful homemade spread recipe, we want to make sure it stays perfect. This recipe yields about six perfect half-pint jars, which seems like a lot, but trust me, it disappears fast!
If you manage to keep a jar around after you’re done using them all up, know that it will last up to a whole year tucked away safely in the freezer. That’s amazing staying power for fresh flavor! If you thaw a jar out, you’ve got about three weeks to enjoy it while keeping it in the refrigerator—though mine usually lasts about three days, honestly, because it’s so good slathered on my morning toast or mixed right into my Greek yogurt.
Speaking of great pairings, if you need something savory to balance out all this sweetness, you absolutely have to try my recipe for Maple Bacon Cornbread!
Thawing and Using Your Quick Homemade Preserves
So what happens when you decide you need jam right now? The best way to thaw your quick homemade preserves is to simply move a container from the freezer to the fridge. It usually takes about 24 hours, but sometimes longer depending on how big the jar is. Don’t try to rush it on the counter at room temperature for too long, especially once it’s thawed.
The jam might still look a little liquidy right after you take it out of the freezer or shortly after thawing. That’s totally normal! It needs a bit of time at refrigerator temperature—sometimes just an hour or two—to firm up to that perfect, spreadable consistency we love for pancakes and scones. Just give it a stir, let it rest by the fruit bowl, and it will set up beautifully.
Variations for Seasonal Freezer Jam Ideas
Once you nail this basic strawberry technique, suddenly you have the key to preserving everything! This recipe is perfect for creating gorgeous seasonal freezer jam ideas. You don’t have to wait for summer strawberries; you can use plums in the fall or even peaches from the farmer’s market next month. It opens up a whole new world for quick fruit preserves!
If you’re looking for something new after destroying your first batch of strawberry jam, try swapping in darker berries. I recently made a brilliant batch using raspberries—the color was insane! For savory notes, you might enjoy checking out my Spinach Pecan Apple Salad as a fresh side dish idea.
Making Blackberry Freezer Jam Tutorial
If you decide to move on to blackberries or blueberries, the process is almost identical to the strawberry recipe. For a true blackberry freezer jam tutorial success, though, I always recommend adding just an extra half teaspoon of lemon juice. Blackberries are naturally a little more tart than strawberries, and that extra acid really helps balance the sweetness and ensures that pectin grabs hold perfectly every single time!
Frequently Asked Questions About Freezer Jam
I know when you’re trying any new preservation method, you’ve got questions swirling around! That is totally smart. We want to make sure our quick homemade preserves are fantastic and safe. Here are the biggest things folks ask me when they are making their first batch of freezer jam.
If you’re looking for something savory after all this fruit talk, go check out my Creamy Butternut Squash Soup recipe! It’s perfection.
Is this freezer jam recipe safe without canning?
Yes, absolutely! This is one of the biggest wins for this style of jam. When we make a true refrigerator or freezer jam, the preservation is happening because of the intense cold setting in. As long as you use the correct type and amount of pectin, which creates that thick seal that slows down spoiling, and you keep it frozen, it’s perfectly safe! Following the right ratio ensures we are using safe freezer jam methods.
Can I make this recipe without pectin?
You technically *can*, but I really wouldn’t advise it for your first attempt, especially if you are new to this whole thing! That is likely why you’re reading this beginner jam making guide, right? If you skip the pectin, your mixture will just be a sweet, cold strawberry syrup. It won’t set up at all. If you *must* try without it, you’ll need to use significantly more fruit and boil it for a long time to naturally concentrate the pectin in the berries, which defeats the whole purpose of a no-cook recipe!
Nutritional Estimates for Your Freezer Jam
I know we’re making jam for flavor and fun, but sometimes it’s nice to know what’s going into that beautiful jar of amazingness! Here are the estimated values for two tablespoons of this delicious treat. Remember, because you are using your own fresh fruit and sugar, these numbers are just a good general guide—they might scootch up or down depending on the ripeness of your berries!
- Serving Size: 2 tablespoons
- Calories: 55
- Sugar: 14g
- Sodium: 2mg
- Fat: 0g
- Protein: 0g
These estimates are based on the recipe proportions we used. For a little something extra sweet, swing over and check out my recipe for Pumpkin Pie Fudge; it’s the perfect cozy follow-up to all this fresh fruit!
Share Your Homemade Spread Recipe Success
Well, that’s it! You’ve done it! You’ve got jars filled with the freshest, brightest strawberry flavor imaginable, and you didn’t even have to turn on the stove for more than a minute! I am so proud of you for jumping into the world of quick preservation. Now, I really, really want to know how it went!
Please, please, come back here and let me know how your first batch of freezer jam turned out. Did you have any challenges? Did you swirl it into yogurt yet? Did you try it on a toasted English muffin? Drop a comment below, give this recipe some stars so other folks know it’s the real deal, and if you snapped a picture of your beautiful jars, I’d love to see them over on social media!
If you’re already thinking about what to bake next, maybe you need a little sweet something to go with your new jam supply? You should totally try my recipe for Maple Donut Bundt Cake—it’s heavenly!
PrintEasiest No-Cook Strawberry Freezer Jam
Make fresh strawberry jam quickly without cooking or canning. This beginner-friendly recipe preserves the fresh flavor of summer berries.
- Prep Time: 20 min
- Cook Time: 1 min
- Total Time: 21 min
- Yield: About 6 half-pint jars
- Category: Dessert Topping
- Method: No Cook Preservation
- Cuisine: American
- Diet: Vegetarian
Ingredients
- 4 cups fresh strawberries, hulled and crushed
- 1 package (1.75 oz) powdered fruit pectin
- 1/4 cup water
- 7 cups granulated sugar
- 1 tablespoon lemon juice
Instructions
- Prepare your freezer containers by ensuring they are clean and ready. Leave about 1/2 inch of headspace in each container.
- In a small saucepan, combine the pectin and water. Bring the mixture to a rolling boil over high heat, stirring constantly. Boil hard for exactly 1 minute. Remove from heat.
- In a large bowl, combine the crushed strawberries and lemon juice.
- Gradually stir the hot pectin mixture into the strawberries until fully blended.
- Add the sugar all at once to the strawberry mixture. Stir vigorously until the sugar is completely dissolved, about 3 minutes. The mixture will thicken slightly.
- Ladle the jam mixture into your prepared freezer containers.
- Cover the containers tightly and let them stand at room temperature for 30 minutes.
- Place the containers in the freezer. The jam will be ready to eat after about 24 hours in the freezer.
Notes
- This jam lasts up to 3 weeks in the refrigerator once thawed, or up to 1 year in the freezer.
- For a smoother texture, you can pulse the crushed strawberries briefly in a food processor.
- If you prefer a very thick jam, let the mixture sit for 5 minutes after adding the sugar before filling the containers.
Nutrition
- Serving Size: 2 tablespoons
- Calories: 55
- Sugar: 14
- Sodium: 2
- Fat: 0
- Saturated Fat: 0
- Unsaturated Fat: 0
- Trans Fat: 0
- Carbohydrates: 14
- Fiber: 0
- Protein: 0
- Cholesterol: 0