

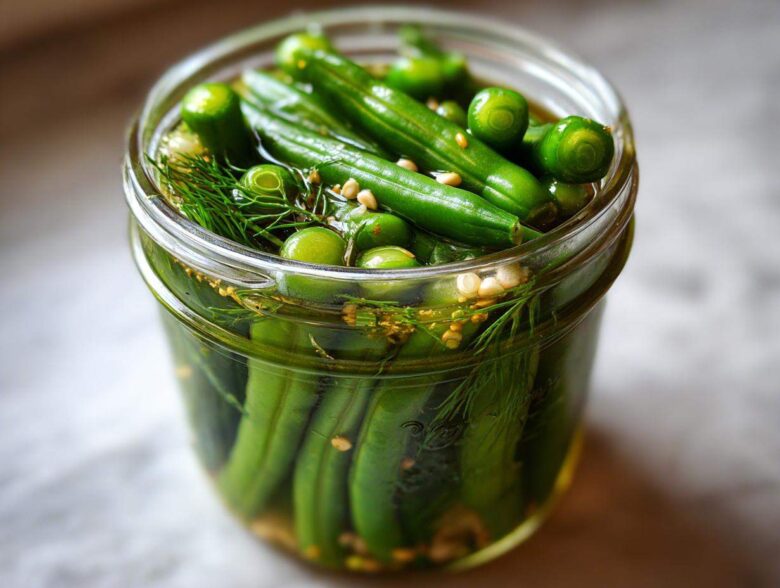
Oh my goodness, have I got a snack obsession for you! Once you try these quick, tangy green beans, you simply won’t be able to stop reaching into the fridge. These Dilly Beans are, hands down, the addicting little snack I bring to every single summer gathering now. Forget the complicated canning setup; we’re using the refrigerator method. That’s the real game-changer because it keeps the green beans snappy and crisp like nothing else. Trust me when I say this Quick & Crunchy Refrigerator Dilly Beans recipe is the best way to get maximum crunch with minimal fuss! I started making these years ago when I couldn’t face my big hot canner in July, and now my family demands them every week. They go perfectly alongside things like those marinated cheese cubes I use for cocktail parties.
Why This Quick & Crunchy Refrigerator Dilly Beans Recipe Works
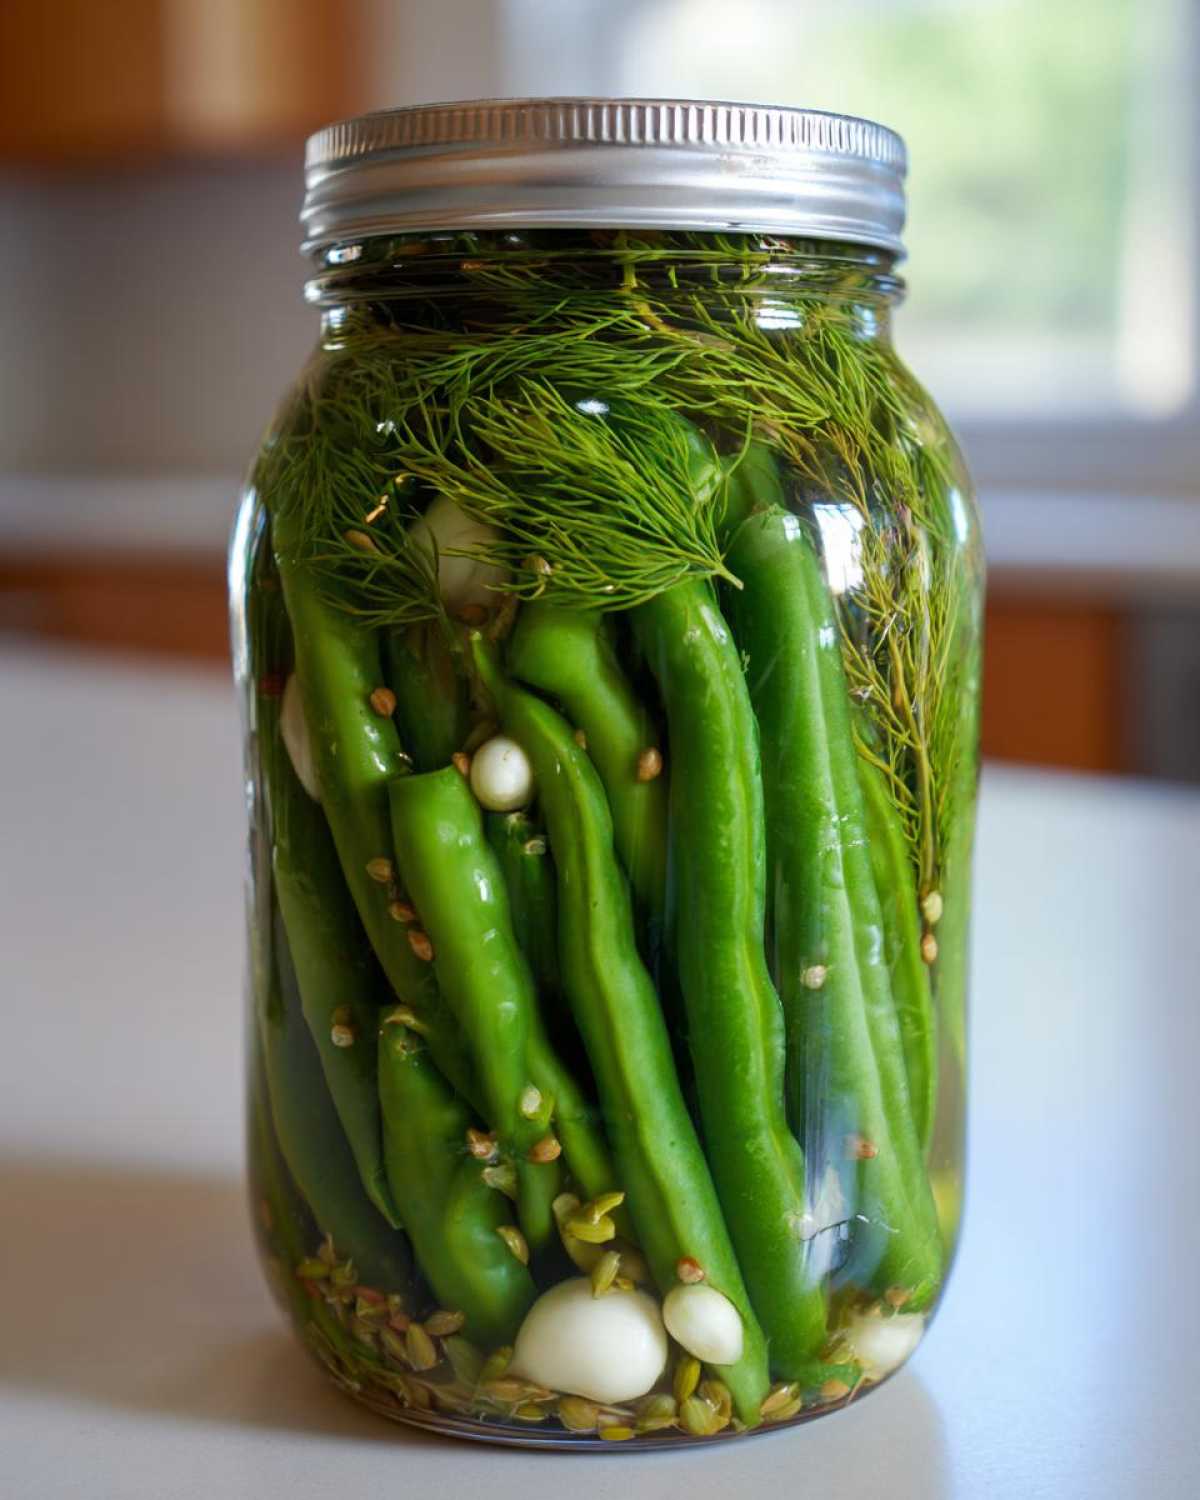
I know what you’re thinking: why bother with quick pickles when you can can them for shelf storage? Honestly, for the absolute best texture, you can’t beat these refrigerator methods. Because we skip the long boiling process, the beans keep their snap beautifully. That’s what makes these Crunchy Pickled Green Beans so addictive! You get that fantastic snap in just a couple of days.
This technique is fast, too. You aren’t waiting hours for water baths; you’re just boiling the brine for five minutes! It’s the perfect entry point if you’ve been nervous about starting No Canning Pickles. Plus, you can customize them so easily.
The Secret to Truly Crunchy Dilly Beans
The magic really is in the lack of canning, believe it or not. Traditional high-heat canning cooks the vegetable fibers quite a bit, which can lead to softer pickles over time. With this refrigerator method, we use a hot brine, which helps the flavors penetrate quickly, but then we plunge them straight into the fridge. That quick temperature shock helps set that desirable crunch. It’s all about locking in that fresh snap!
Flavor Profile: Tangy Dill Pickles
These aren’t those flat flavors you sometimes get from store-bought jars. Because the vinegar and dill haven’t been cooked down for an hour, they maintain their bright, vibrant punch. They are intensely garlicky and tangy—truly the Best Dilly Bean Recipe if you love that fresh, zesty taste. They truly capture the essence of classic dill flavor but in a speedy package.
Gathering Ingredients for Your Dilly Beans Recipe
When we talk about making amazing Dilly Beans, the flavor comes straight from the quality of what you put in! Since these are refrigerator pickles, the freshness really shines through, so don’t skimp on your beans. You want them firm, vibrant green, and ready to absorb all that gorgeous tangy brine. I always use crisp beans; if they look sad or limp in the produce bin, they won’t get that satisfying CRUNCH we’re aiming for. Grab your jars and your spices, because this list is surprisingly short, making it great for those times you see a perfect bunch of green beans at the farmer’s market and need a speedy preservation solution!
Essential Components for Perfect Dilly Beans
Here is the line-up for two pints. You’ll notice how simple this is. We use vinegar, water, and pickling salt to make the brine, and the rest are just for packing the jar with maximum flavor:
- 2 lbs fresh green beans, ends trimmed
- 4 cloves garlic, peeled and smashed
- 1 teaspoon mustard seeds
- 1 teaspoon black peppercorns
- 1/2 teaspoon red pepper flakes (optional, for spicy)
- 4 sprigs fresh dill (or 2 teaspoons dried dill seed)
- 2 cups white vinegar (5% acidity)
- 2 cups water
- 2 tablespoons pickling salt
- 1 tablespoon granulated sugar
See? Nothing complicated! This combination gives you that perfect balance of tangy pickle brine and aromatic dill. If you’re making a big platter with things like marinated cheese cubes, these Homemade Pickles provide the perfect salty, acidic counterpoint.
How to Prepare Dilly Beans: Step-by-Step Instructions
Now that we have all our amazing ingredients ready, let’s get down to the fun part—putting this all together! Learning How to Make Dilly Beans this way is shockingly fast; in less than 30 minutes of active time, you’ve got pickles going into the fridge. We need to focus on layering everything just right so those Vinegar Brine Pickles draw all the flavor out of the spices and into the beans. Keep your cutting board clear, and let’s get started!
Preparing the Green Beans and Jars
Start by giving those green beans a serious wash. You want them pristine! Trim off those tough stem ends—nobody wants a woody bite in their snack. If your beans look long, I usually chop mine into about three-inch pieces so they fit snugly upright in the pint jars. This packing method is key for maximum density.
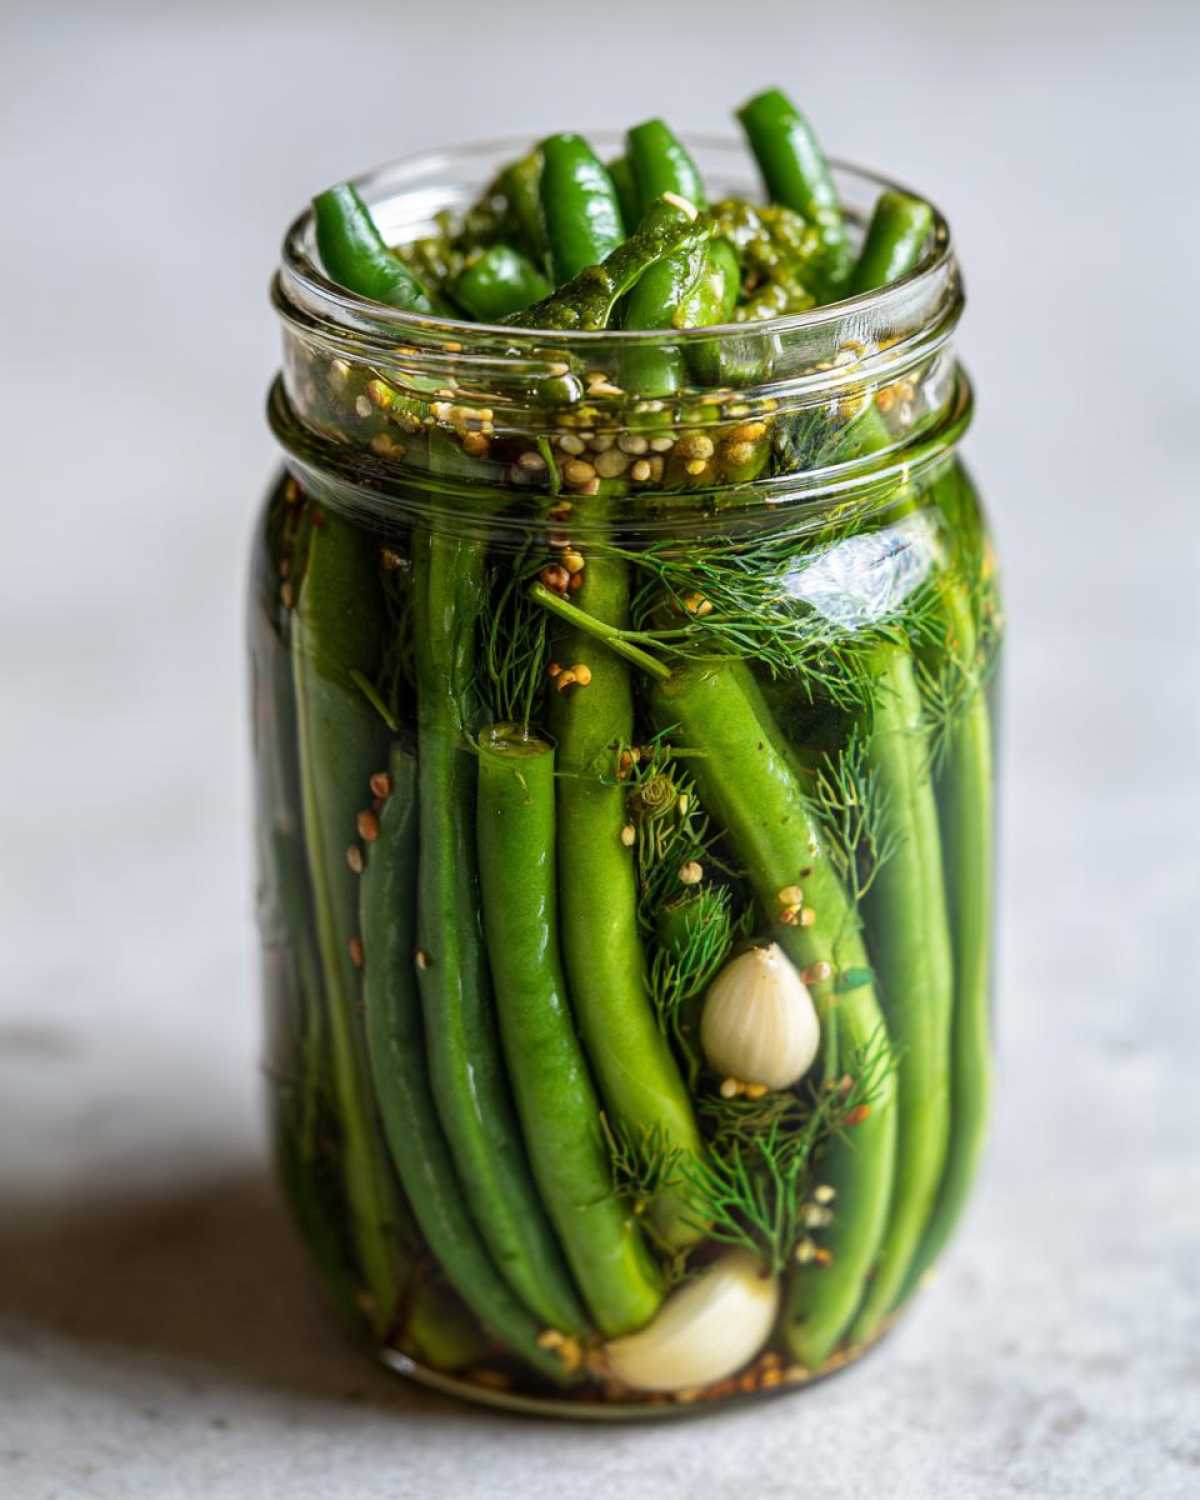
Next, it’s time to dress up those jars. Take one of your clean pint jars and build the flavor base right on the bottom. Into the bottom of each jar goes one smashed garlic clove, a tiny scattering of mustard seeds and peppercorns, and that optional pinch of red pepper flake if you want some heat. Finally, tuck one beautiful sprig of fresh dill right alongside the spices. Don’t skip the dill; that’s where the name comes from!
Making the Hot Vinegar Brine Pickles Solution
This is where the actual pickling liquor comes together. Grab a small saucepan—nothing fancy needed here. Toss in your white vinegar, water, pickling salt, and sugar. Get this over medium-high heat and bring it to a full, rolling boil. You need to stir it constantly until you are absolutely certain every speck of salt and sugar is dissolved. If you skip this step, you risk gritty bottoms or an imbalanced pickle. Dissolving them completely ensures you get that perfect, sharp tang required for great Pickled Green Beans.
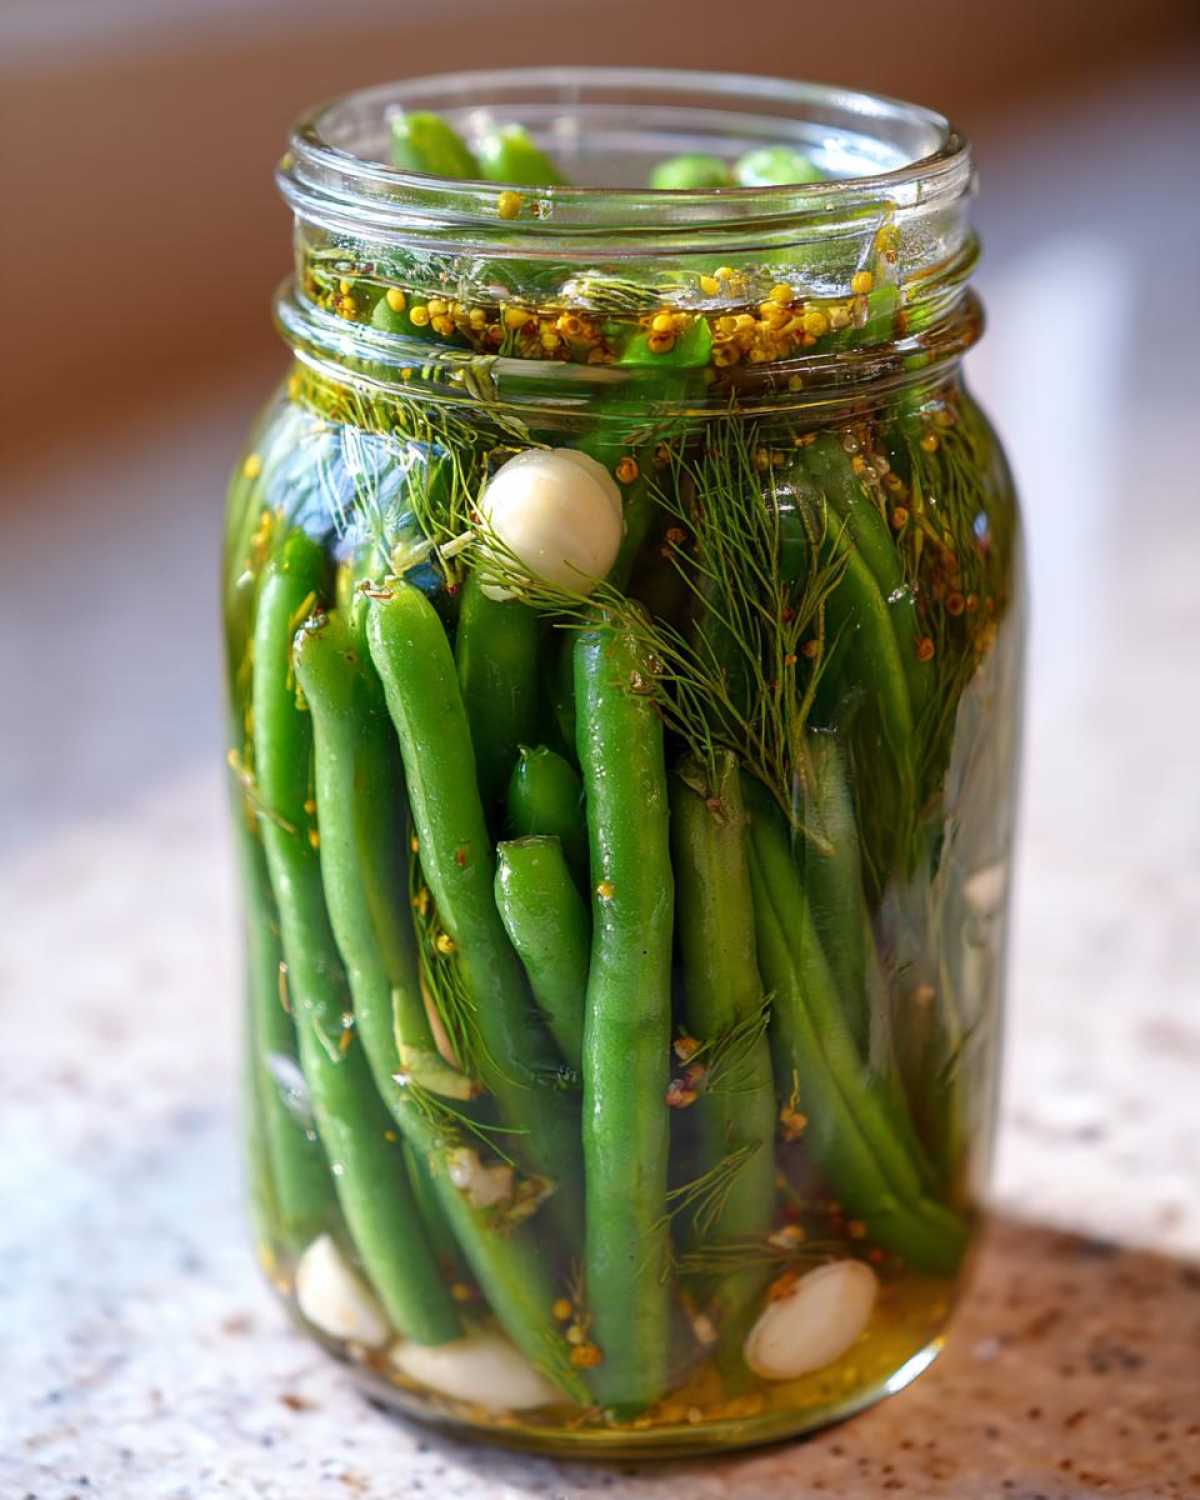
Once boiling, carefully ladle that hot brine over the beans packed in your jars. Make sure everything is submerged and leave just about a half-inch of space empty at the very top—that’s the headspace. Now for my little tip: Give the jars a gentle tap against the counter a couple of times. This lets any stubborn air bubbles escape so you don’t end up with one bean floating awkwardly at the top!
Cooling and Storing Your Refrigerator Dilly Beans
We are almost done! Put your lids on snugly, but don’t tighten them down for canning—just seal them for handling. Let those jars sit right on your counter, completely untouched, for about an hour. This lets the initial heat transfer evenly without shocking the beans too much. After that hour, transfer everything straight into the cold sanctity of your refrigerator.
Now comes the hard part: waiting! You can technically sneak one after 24 hours, but honestly? These Refrigerator Pickles really hit their stride after 3 full days. The full flavor complexity develops over that time. Remember, because we skipped the official canning process like traditional farmhouse pickling, these must stay chilled and should be eaten within about four weeks. You can’t leave them on the pantry shelf!
Ingredient Notes and Substitutions for Dilly Beans
The recipe is simple, but I always get questions about ingredient swaps, especially when people are nervous about making their own Homemade Veggie Snacks. My notes in the original recipe card are super strict about using fresh green beans, and honestly, that’s the most important thing to remember if you want truly good Dilly Beans. They’re the star shining through that tang!
I also wanted to make sure everyone knows you don’t *have* to stick to the refrigerator method if you are stocking up a large pantry, even though I prefer the crunch it gives these Tangy Dill Pickles.
Achieving the Best Crunch in Homemade Pickles
If your beans are looking floppy at the store, pass them up! That limpness won’t come back once they’re pickled, even with the hot brine bath. You need beans that are firm and hearty—they are what give you those satisfying Crunchy Pickled Green Beans. Also, if you want to ramp up that garlic punch—and let’s be real, who doesn’t?—you can totally skip smashing the cloves and just slice them thin instead. They release way more flavor that way, just like in my notes!
Variations: Spicy Dilly Beans and Garlic Dill Pickles
Okay, so maybe you love that bright dill flavor, but you also want a little fire in your snack life! That’s what’s so wonderful about making your own Spicy Dilly Beans—you control the heat level completely. If you remember from the ingredient list, we included red pepper flakes as optional, but here is where you really lean into that spice. Don’t be shy!
If you’re looking for a solid kick, don’t just rely on the half teaspoon listed for a pint jar. When you pack those jars, feel free to double that measurement, or better yet, toss in a few thin slices from a fresh jalapeño along with your beans. It looks so pretty, too, all those green peppers swimming together!
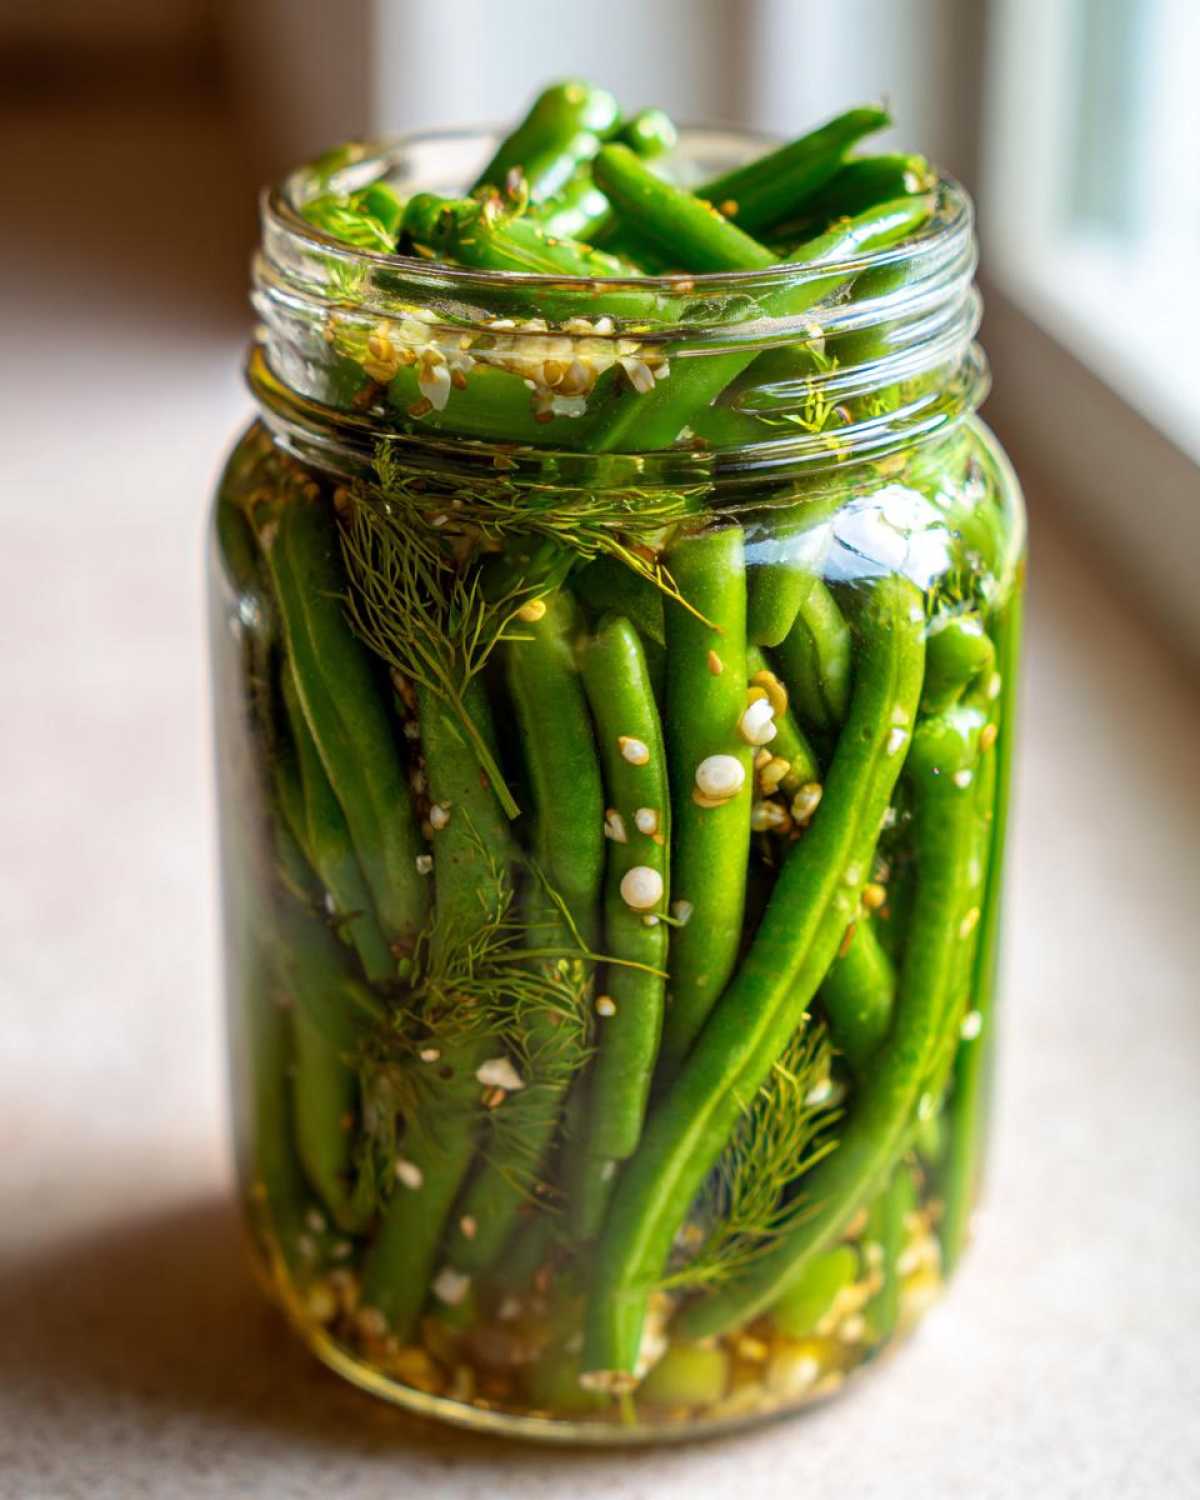
For those who obsess over flavor, like I do when making things like my favorite jalapeño popper dip, you’ll want to make them extra garlicky. Like I mentioned earlier, instead of just smashing the garlic cloves for a mild flavor, you can slice them thinly. When you smash them, the flavor is robust; when you slice them, it infuses the brine more aggressively, deepening that savory note in your Garlic Dill Pickles. Play around with these little additions; they make your homemade pickles uniquely yours!
Serving Suggestions for Tangy Dill Pickles
Once your amazing Dilly Beans are perfectly pickled, the hardest part is deciding how to eat them all! I find myself eating them straight out of the jar as my go-to Snacking Pickles while I’m trying to decide what to make for dinner. They are fantastic on their own, truly, but they truly shine when you use them to balance out richer foods.
They are non-negotiable on any cheese board. I scatter a few over my platter next to those marinated cheese cubes because that sharp acidity cuts right through the fat. Also, toss a few into your turkey or roast beef sandwiches for incredible texture. And if you’re feeling fancy, you absolutely have to use them as a garnish in a Bloody Mary instead of just celery. It adds that essential herbaceous, tangy note!
Storage and Reheating Instructions for Preserving Green Beans
Okay, this part is super important for safety and flavor, so listen up! Since these are my favorite Refrigerator Pickles, they are not shelf-stable, which means no popping them on the pantry shelf to save space. They absolutely must stay chilling in the fridge the entire time they’re waiting to be eaten. That cold temperature is what keeps them crunchy and slows down any spoiling.
You want to plan on eating up all your lovely Preserving Green Beans within about four weeks of making them. If you find yourself debating whether they are still good past that mark, just toss them—better safe than sorry, right?
And honestly, you won’t have leftovers anyway because these Dilly Beans disappear so fast! There’s no reheating required, either. They are meant to be eaten cold, straight out of the fridge, for that ultimate snap!
Frequently Asked Questions About Dilly Beans
I know you have questions! Anytime you start preserving vegetables at home, you get a little nervous about the science behind it, especially the crunch factor. I’ve tried to answer everything I usually get asked when I bring these jars of amazing Dilly Beans over to my neighbor’s house. Don’t worry; they are simple, but it’s good to know the science!
These are such easy additions to your kitchen arsenal, especially if you are looking for more easy canning recipes—even though these rely only on the fridge!
Can I use fresh dill instead of dried?
Oh, absolutely! If you look back at the ingredient list, I listed fresh dill sprigs as the main way to go. Fresh dill is absolutely superior here, giving you that bright, almost floral aroma that makes these the best Dilly Beans. If you only have dried dill seed, you can certainly use it, but I recommend using only about half the amount suggested for fresh dill, as dried herbs are much more concentrated. Fresh is always my first choice for these!
How long do these Refrigerator Pickles actually last?
Since we aren’t sealing these jars via a hot water bath for long-term storage—remember, these are Refrigerator Pickles for immediate satisfaction—they don’t last forever on the shelf. You should plan to eat your batch within four weeks. After that, the texture starts to soften, and the brine just isn’t as brightly flavored. But honestly, if you make a batch of these Homemade Pickles, I guarantee they won’t last four days!
Can I use a different vinegar besides white vinegar?
You certainly can adjust the vinegar, but you have to be careful with the acidity level! The recipe calls for 5% acidity white vinegar because it’s reliable and neutral. If you want a slightly deeper flavor, you can substitute half of the white vinegar with apple cider vinegar. Just make sure whatever you use is at least 5% acidity. You need that guaranteed acid level to safely pickle your vegetables!
What’s the secret to keeping the Dilly Beans so crunchy?
I love this question because retaining the crunch is the entire goal of this quick recipe! The key here is twofold: First, make sure you trim the tough ends off the beans—that tough part never softens up! Second, as we discussed, the refrigerator method itself is crucial. We aren’t submerging them in boiling water for long periods, which cooks the bean fibers soft. A quick hot brine followed immediately by chilling locks in that amazing texture, giving you truly Crunchy Pickled Green Beans.
Can I use these Dilly Beans for traditional canning?
Yes, you absolutely can! While this recipe is designed as a speedy refrigerator method, you can certainly process these if you want them shelf-stable so you can stock up your pantry with these fantastic Preserving Green Beans. If you choose to go that route, once you’ve poured the hot brine, you need to seal the jars tightly and process them immediately in a boiling water bath canner for exactly 10 minutes. Make sure to adjust your time if you live at a very high altitude!
Nutritional Snapshot for Quick Pickled Vegetables
I always get curious about the macros when I’m snacking on these constantly! Since these Quick Pickled Vegetables are mostly just beans, vinegar, and spices, they are wonderfully light. You don’t need to worry much about fat or cholesterol here, which is great news for a purely vegetable-based treat!
Remember, because we are using salt for preservation, the sodium content is naturally a bit higher, but overall, these are a zesty, low-calorie side dish. These estimates are based on a standard serving size, but your final results might vary slightly based on the exact brands of salt and vinegar you grab.
- Serving Size: 1/2 cup
- Calories: 25
- Sugar: 3g
- Sodium: 350mg
- Fat: 0g
- Saturated Fat: 0g
- Unsaturated Fat: 0g
- Trans Fat: 0g
- Carbohydrates: 6g
- Fiber: 2g
- Protein: 1g
- Cholesterol: 0mg
Nutritional Snapshot for Quick Pickled Vegetables
I always get curious about the macros when I’m snacking on these constantly! Since these Dilly Beans are mostly just beans, vinegar, and spices, they are wonderfully light. You don’t need to worry much about fat or cholesterol here, which is great news for a purely vegetable-based treat!
Remember, because we are using salt for preservation, the sodium content is naturally a bit higher, but overall, these are a zesty, low-calorie side dish. These estimates are based on a standard serving size, but your final results might vary slightly based on the exact brands of salt and vinegar you grab. I always check out the general advice on disclaimers just to keep things honest!
- Serving Size: 1/2 cup
- Calories: 25
- Sugar: 3g
- Sodium: 350mg
- Fat: 0g
- Saturated Fat: 0g
- Unsaturated Fat: 0g
- Trans Fat: 0g
- Carbohydrates: 6g
- Fiber: 2g
- Protein: 1g
- Cholesterol: 0mg
Quick & Crunchy Refrigerator Dilly Beans
Make tangy, crunchy dill pickles using fresh green beans with this simple refrigerator method. No canning is required for these easy snacks.
- Prep Time: 20 min
- Cook Time: 5 min
- Total Time: 25 min
- Yield: 2 pints
- Category: Side Dish
- Method: Refrigerator Pickling
- Cuisine: American
- Diet: Vegetarian
Ingredients
- 2 lbs fresh green beans, ends trimmed
- 4 cloves garlic, peeled and smashed
- 1 teaspoon mustard seeds
- 1 teaspoon black peppercorns
- 1/2 teaspoon red pepper flakes (optional, for spicy)
- 4 sprigs fresh dill (or 2 teaspoons dried dill seed)
- 2 cups white vinegar (5% acidity)
- 2 cups water
- 2 tablespoons pickling salt
- 1 tablespoon granulated sugar
Instructions
- Wash the green beans thoroughly and trim the stem ends. If the beans are very long, cut them into 3-inch pieces.
- Prepare your jars: Place 1 smashed garlic clove, 1/4 teaspoon mustard seeds, 1/4 teaspoon peppercorns, and a pinch of red pepper flakes (if using) into the bottom of two clean pint jars. Add one dill sprig to each jar.
- Pack the green beans tightly into the prepared jars, standing them upright if possible.
- In a saucepan, combine the vinegar, water, pickling salt, and sugar. Bring the mixture to a rolling boil over medium-high heat, stirring until the salt and sugar dissolve completely. This is your brine.
- Carefully pour the hot brine over the beans in the jars, ensuring the beans are completely submerged. Leave about 1/2 inch of headspace at the top of the jar.
- Tap the jars gently to release any trapped air bubbles. Seal the jars with lids.
- Allow the jars to cool on the counter for about one hour. Then, transfer the jars to the refrigerator.
- Wait at least 24 hours before eating. The beans will be ready to eat after 3 days for maximum flavor absorption. Store in the refrigerator and consume within 4 weeks.
Notes
- For a traditional canning method, process sealed jars in a boiling water bath for 10 minutes after sealing.
- If you prefer a stronger garlic flavor, slice the garlic cloves instead of smashing them.
- Use fresh, firm green beans for the best crunch. Avoid beans that are limp or have blemishes.
Nutrition
- Serving Size: 1/2 cup
- Calories: 25
- Sugar: 3
- Sodium: 350
- Fat: 0
- Saturated Fat: 0
- Unsaturated Fat: 0
- Trans Fat: 0
- Carbohydrates: 6
- Fiber: 2
- Protein: 1
- Cholesterol: 0