

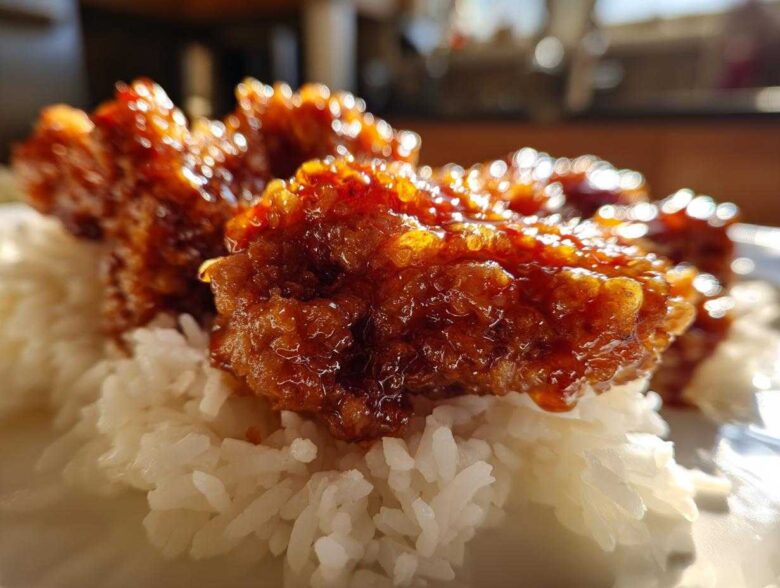
If you are anything like me, finding that perfect weeknight dinner that tastes like you spent hours on it but really only took 45 minutes is the holy grail! That’s exactly what we’ve cracked here with Sticky Sweet Chili Chicken Thighs with Rice. Seriously, these chicken thighs are ridiculously tender—no dry bits allowed—and they wear the most incredible, thick, sweet chili glaze you’ve ever had.
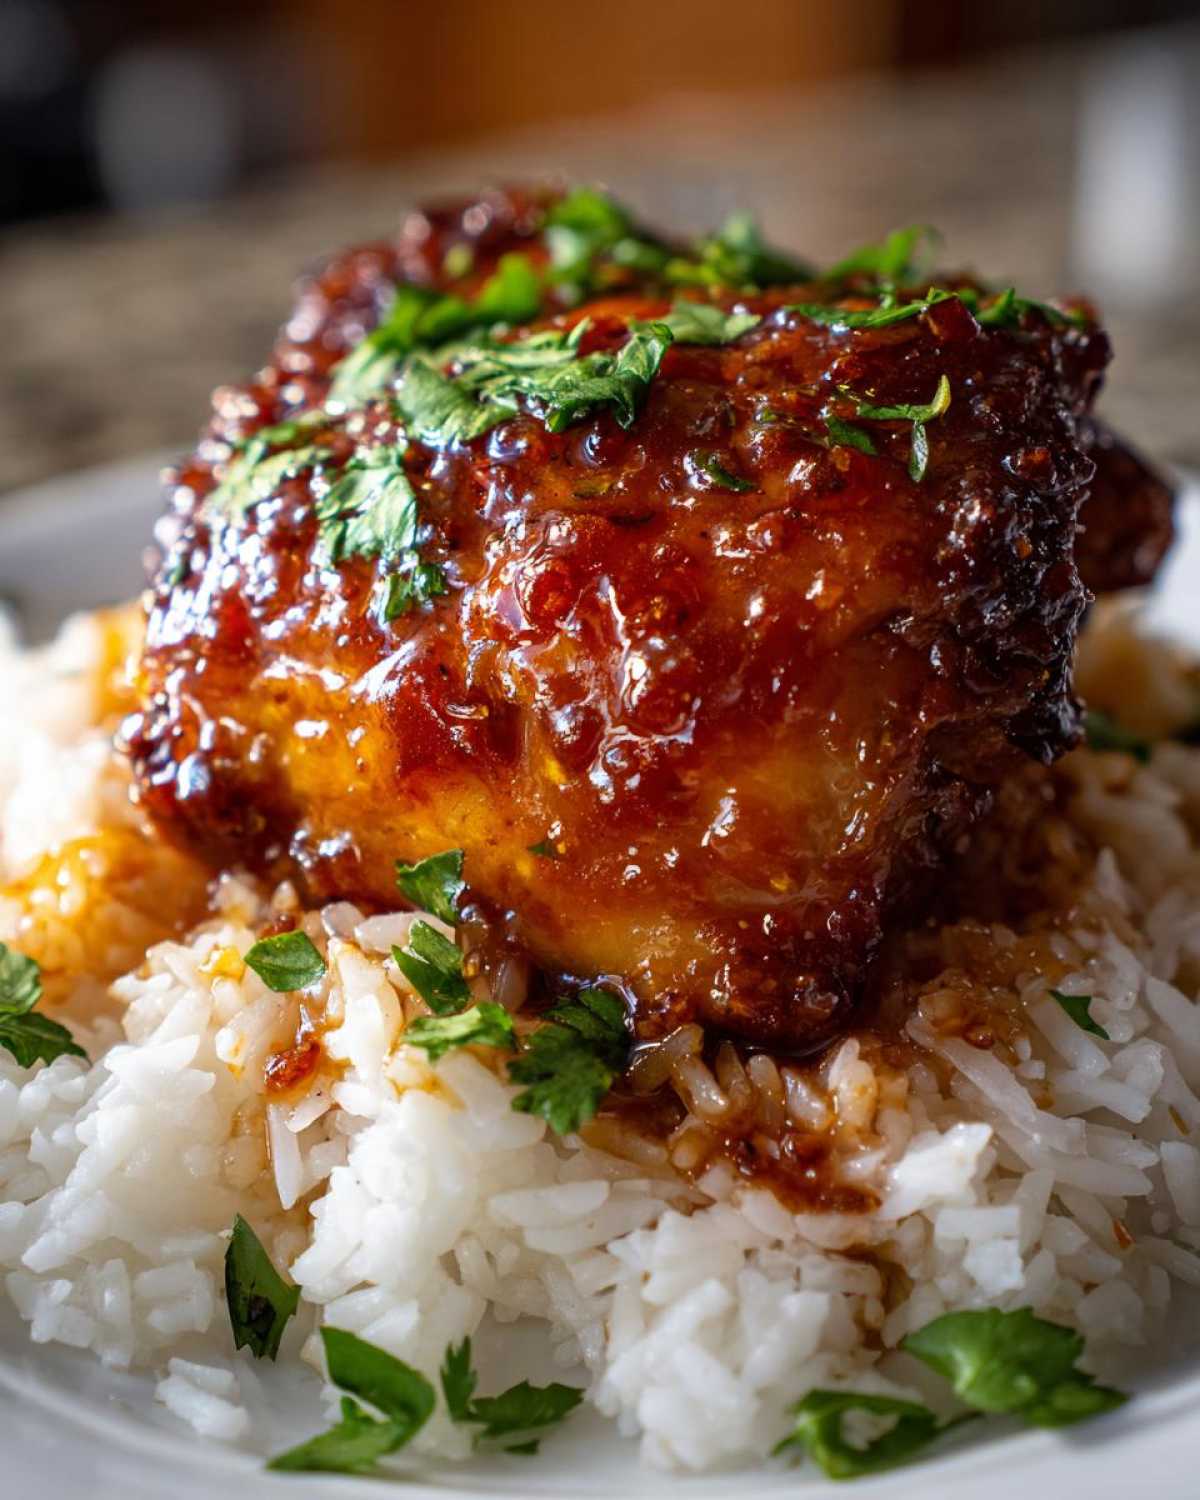
I spent way too many evenings fighting with runny sauces that just slid right off the chicken skin. Ugh! But I found the secret to making that glaze cling and caramelize perfectly, giving you that satisfying sticky pull with every bite. Trust me, the balance of sweet honey and spicy chili sauce is just divine against simple white rice.
This recipe is your new go-to for a flavorful dinner that looks super fancy but is secretly super easy. You can find my favorite tips for making sure that sauce stays put, or check out another incredible flavor base using my ultimate all-purpose chicken marinade if you want to switch things up next time!
Why You Will Love This Sticky Sweet Chili Chicken Thighs with Rice Recipe
You need this recipe in your busy life, I’m telling you! It hits all the right notes without making you feel chained to the stove.
- Total Weeknight Winner: Prep is less than 15 minutes, and the oven does all the hard work while you sit down.
- That Perfect Glaze: We nail the balance between sweet honey and spicy chili sauce so it actually sticks to the chicken—no more thin, watery coatings!
- Juicy, Flavor-Packed Thighs: We use skin-on, bone-in thighs because that’s where the flavor lives. They stay incredibly moist, even under that sugary topping.
- Simple Companion: Serving it over fluffy white rice means you get a perfect, satisfying meal that soaks up all those extra drips of sauce.
Ingredients for the Perfect Sticky Sweet Chili Chicken Thighs with Rice
Okay, let’s talk about what makes this dish sing! It’s all about using ingredients that pack a punch and setting them up correctly before they even hit the oven. I’ve broken it down for you so you don’t miss a single thing. These specific measurements are what got me that perfect sticky texture, so try not to eyeball the glaze components!
For the Sticky Sweet Chili Chicken Thighs
This list covers everything you need for seasoning the chicken and creating that signature glaze that clings beautifully.
- Six beautiful bone-in, skin-on chicken thighs. Seriously, don’t skip the skin! That’s how we get the crispy base before the glaze goes on.
- One tablespoon of good olive oil—just enough to help the seasoning stick.
- Salt and pepper, seasoned generously on both sides. Taste is key here!
- A half cup of sweet chili sauce. This is the foundation of our flavor, so grab your favorite bottle.
- One quarter cup of honey. This is crucial for the stickiness and the balancing sweetness. Maple syrup can work in a pinch, but honey wins!
- Two tablespoons of soy sauce for that savory depth.
- One tablespoon of rice vinegar—it cuts through the sweetness perfectly.
- One teaspoon of fresh ginger, grated right off the root. You can really taste the difference between fresh and dried here.
- Two cloves of garlic, minced super fine.
- The magic thickener: One teaspoon of cornstarch mixed with two teaspoons of cold water. This makes our slurry, which turns that sauce into a clinging glaze.
For the Fluffy White Rice
We keep the rice simple so it can act as the perfect fluffy bed for that saucy chicken. If you want something fancier, I talk about other grains later on!
- Two cups of good uncooked white rice.
- Four cups of water, or whatever your package calls for, for cooking it up right.
How to Cook Sticky Sweet Chili Chicken Thighs with Rice
This is where the magic happens! I like to think of this process in four easy stages. We start by getting the chicken perfectly prepped because dry skin is non-negotiable for that crisp finish, even under sauce. Don’t worry, everything moves pretty smoothly once you get set up.
Preparing the Chicken and Oven Setup
First thing’s first: get that oven cranked up to 400°F (200°C). Line a baking sheet with foil—trust me, cleanup is a dream afterwards! Now, take your thighs and pat them down until they feel totally dry with paper towels. This is step number one for crispy skin! Season both sides really well with salt and pepper, then lay them skin-side up on your lined pan.
Making the Sticky Chicken Sauce
While the chicken gets its first blast, we make the glaze. In a small saucepan, whisk together your sweet chili sauce, honey, soy sauce, rice vinegar, ginger, and garlic. Get this over medium heat until it just starts to bubble—a gentle simmer is all you need. Now, slowly whisk in your cornstarch slurry (that cornstarch and water mix). Keep stirring until the sauce gets thick enough to coat the back of a spoon. It should look glossy, not watery! Pull it off the heat once it’s thick.
Baking and Glazing the Sticky Sweet Chili Chicken Thighs
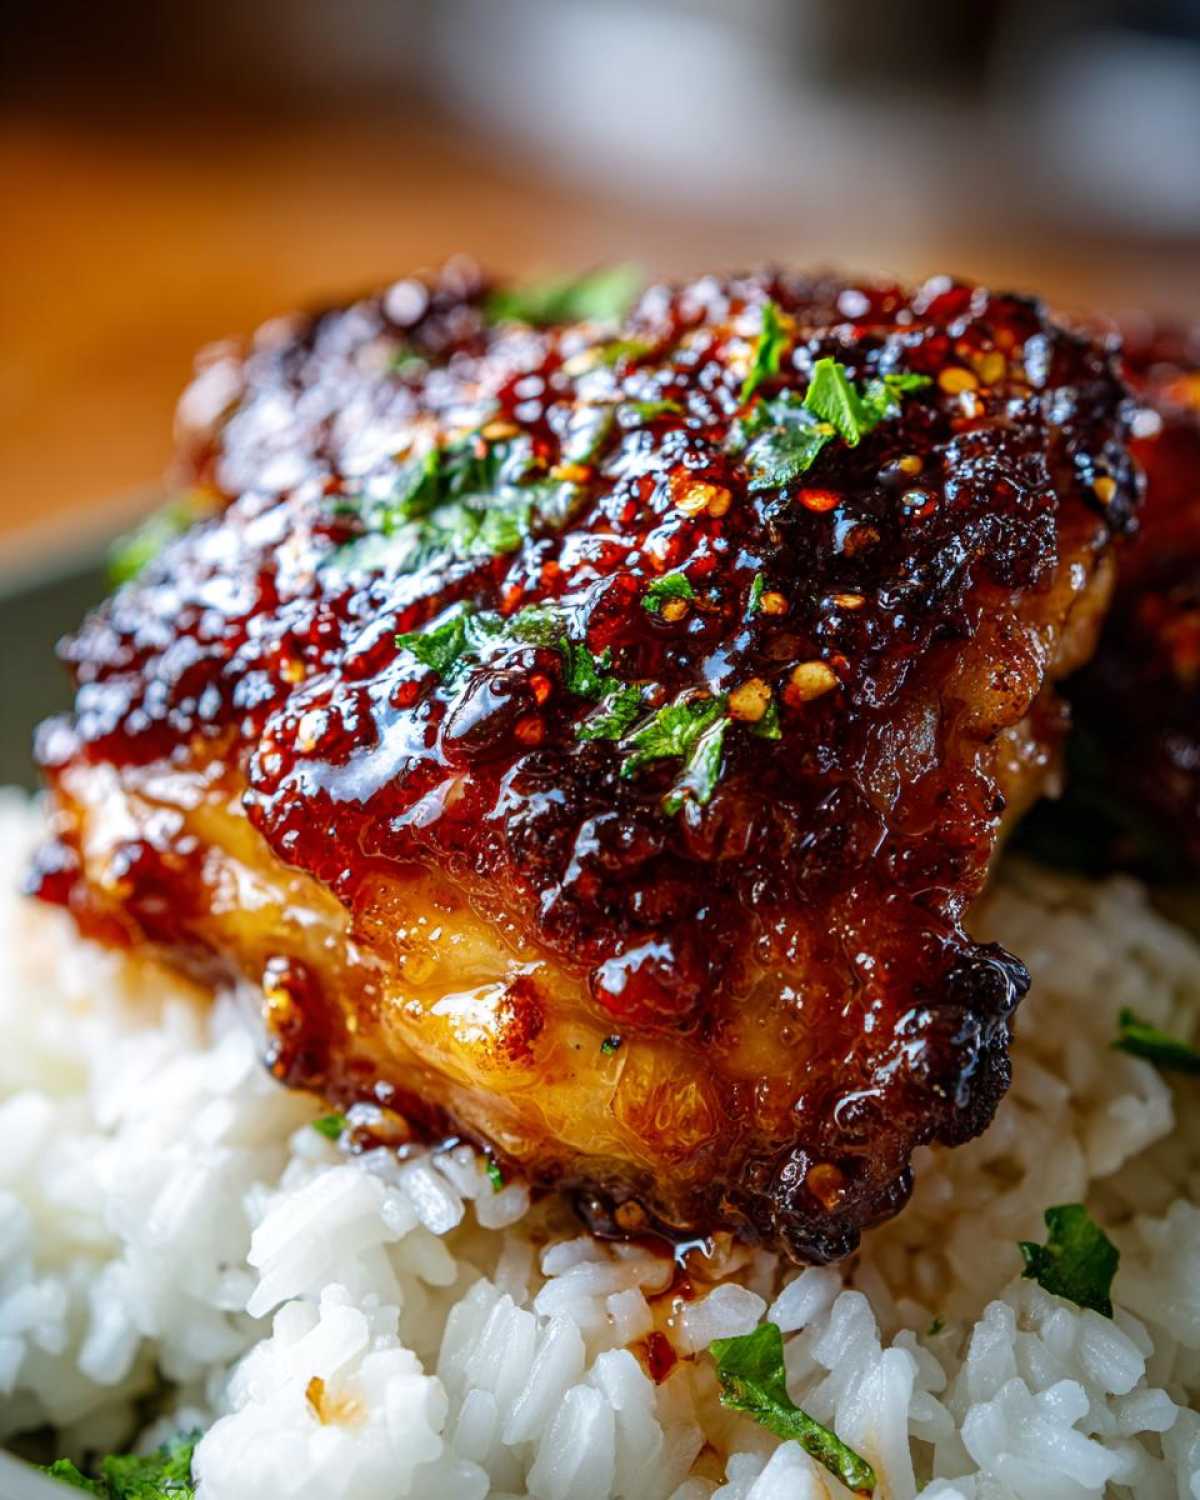
Pop those seasoned thighs into the hot oven for 25 minutes initially. When they come out, brush half of your beautiful, sticky sauce all over them. Back into the oven they go for another 10 minutes. Then, pull them out one last time, brush on that remaining sauce, and bake for five more minutes. You are looking for that internal temperature to hit 165°F (74°C) and for the glaze to look super dark and sticky!
Cooking the Rice Base
While your chicken finishes up its final bake, get the rice going on the stovetop. Just boil your two cups of rice with four cups of water until the water’s gone—that usually takes about 15 to 18 minutes covered on low. The most important bit? Let it stand, covered, off the heat for five full minutes *after* it finishes cooking. Fluff it up gently right before you serve those amazing chicken thighs on top!
Tips for Achieving the Best Sticky Sweet Chili Chicken Thighs Glaze
Listen, the glaze is the star here, right? It’s what separates a decent chicken thigh from the amazing Sticky Sweet Chili Chicken Dinner you’re making. The biggest trick, which I learned the hard way, is that you have to apply the sauce in layers, not all at once. You can’t just slather it on at the beginning because all that sugar burns before the chicken is even cooked through!
We bake them bare for a good 25 minutes first. This dries out the skin just enough so those layers of glaze have something to grab onto. Then, the final touch? If you want true, restaurant-level stickiness and a little char, use your broiler for the last minute or two. I watch it like a hawk—seriously, don’t walk away! You just want the glaze to bubble up and look deeply caramelized.

For more amazing techniques focusing on sticky coatings, you should check out my recipe for garlic butter chicken bites; the sauce method is slightly different but yields similar clingy results on small pieces!
Ingredient Notes and Substitutions for Your Sticky Sweet Chili Chicken Dinner
I often get questions after people try this recipe about swapping out things because they don’t have one ingredient or they want to make it differently next time. The beauty of a good Sweet and Spicy Chicken Recipe like this is that it’s quite forgiving, but you do need to respect the structure of the glaze!
If you are out of honey, don’t panic! You can absolutely use brown sugar or even maple syrup instead to keep that sweetness factor high. Just remember that honey is slightly thicker, so if you use maple syrup, you might need an extra tiny pinch of cornstarch when you thicken the sauce later on. A touch more soy sauce can balance that out if you do that.
Now, let’s talk spice. The sweet chili sauce already brings a nice kick, but if you like things hotter—and I mean *hotter*—go ahead and add half a teaspoon of red pepper flakes right into the sauce pot with the ginger and garlic. Even better? A dash of Sriracha stirred in at the very end gives it a nice, bright heat.
The rice component is flexible too. While I designed this for a straightforward, easy dinner base, you can totally swap out white rice for brown rice. Just note that brown rice takes longer to cook, so you’ll need to get that going first before you even start preheating the oven, or it won’t be ready when the chicken is!
Serving Suggestions for Your Flavorful Chicken and Grains Meal
You’ve made this amazing sticky chicken—now what are we serving it with? While plain white rice is perfect for soaking up every last bit of that glaze (and you can check out my secrets for making super fluffy rice pilaf if you want a slight upgrade), don’t stop there!
If you want to jazz up the grains just a bit, try stirring in some chopped fresh cilantro and a squeeze of lime juice into your cooked white rice. It adds a wonderful freshness that cuts right through the sweetness of the glaze. For folks looking for a non-rice option, try serving this Asian Inspired Chicken Thighs recipe alongside some quick sautéed garlic green beans or lightly steamed broccoli florets. They offer a satisfying crunch and soak up the extra sauce just as nicely as rice does. Keep the sides simple; the chicken is the star of the show!
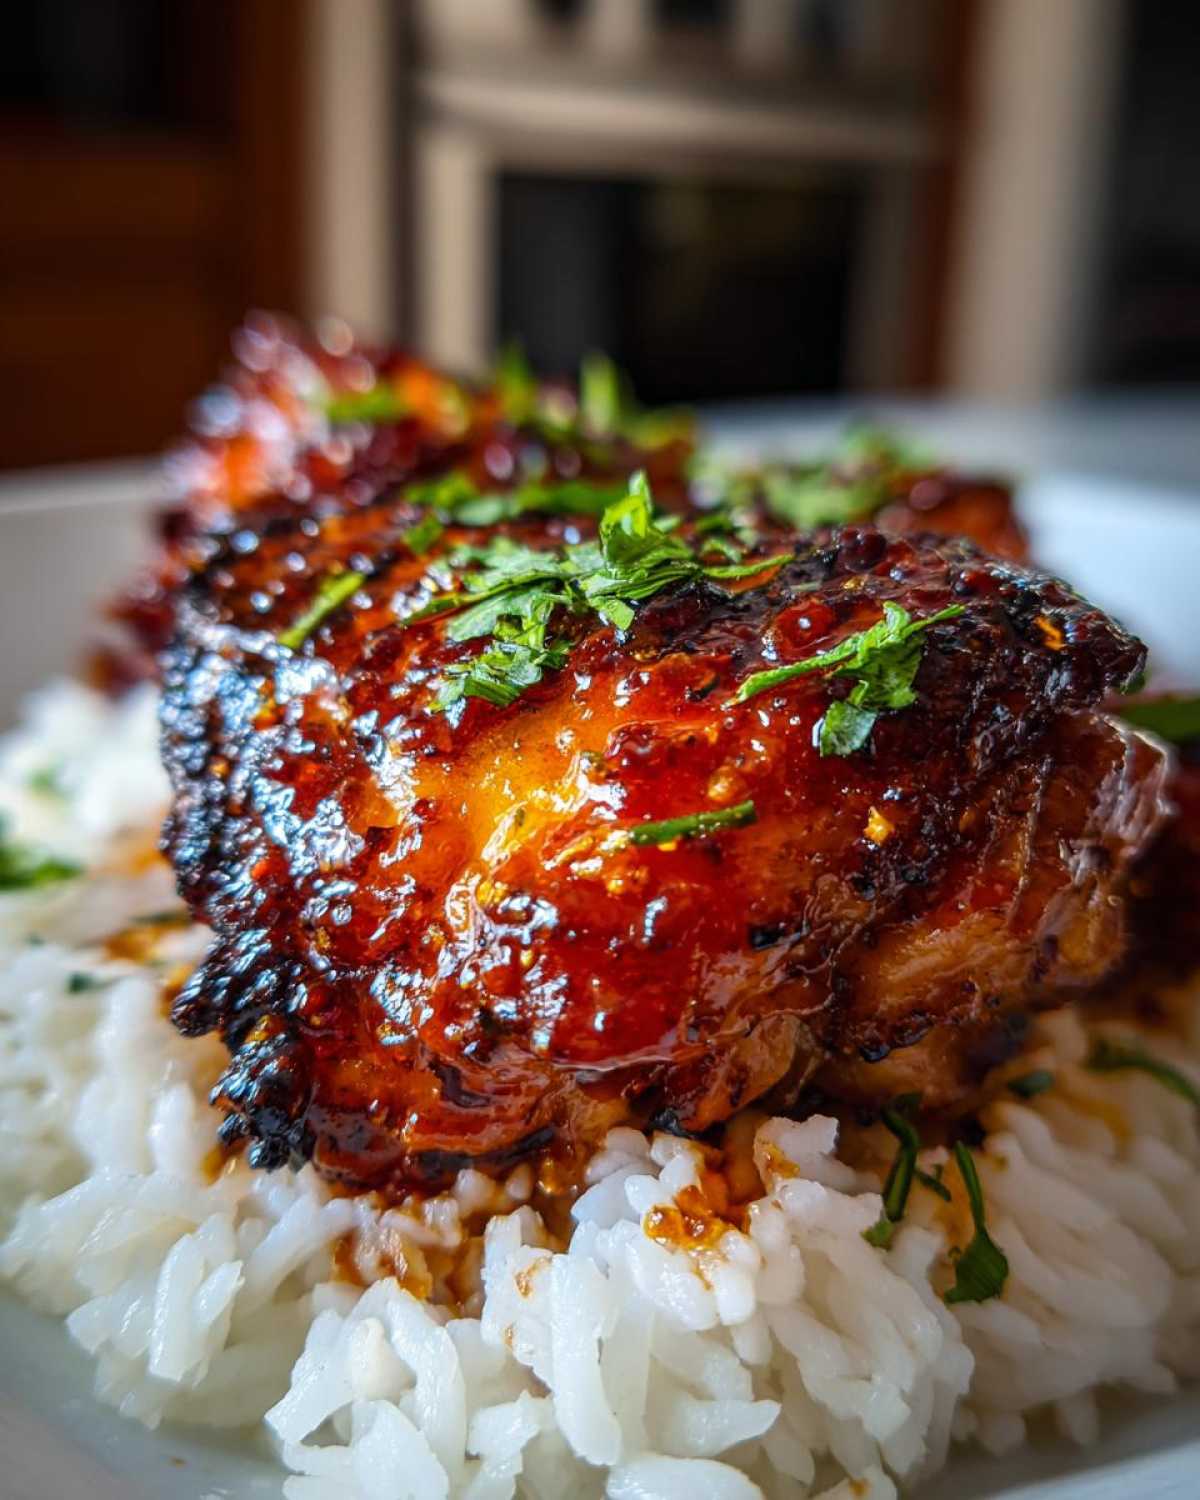
Storage and Reheating Instructions for Leftover Sticky Sweet Chili Chicken Thighs
Oh, the glorious leftovers! If you didn’t manage to devour every single piece of this Sticky Glazed Chicken Dinner, you are in luck because it’s great the next day. However, when it comes to leftovers, texture is everything, and that glorious sticky skin can get a little chewy if you store it wrong.
My number one rule for saving this meal is separation! Never store the chicken and the rice together in the same container. The moisture from the rice will totally sabotage any crispness you managed to achieve on the skin. Keep the leftover rice in one tightly sealed container and the chicken thighs in another. Also, try to keep any extra glaze you might have separately if you didn’t use it all up—it keeps better loose than caked onto cold meat.
The Best Way to Reheat Your Sticky Chicken Thighs
Forget the microwave if you actually want that tasty skin back! While the microwave is fast, it basically steams the skin and turns that sticky glaze into a mushy mess. I know nobody wants that.
Instead, grab your oven or toaster oven! Preheat it to about 350°F (175°C). Place the chicken thighs on a small baking sheet—maybe line it with foil again if you’re lazy like me! Bake them for about 8 to 10 minutes. This gentle heat works to warm the meat through without instantly burning the sugar in the glaze.
If you really miss that caramelized look, you can put them under the broiler for just one single minute at the very end. Seriously, *one minute*. That high heat will re-activate that stickiness, but if you leave it one second too long, it will turn bitter fast. This method almost brings back that wonderful crunch!
Reheating the Rice Base
The rice is much easier. If you have a small amount, just toss it in a microwave-safe bowl with a tiny splash—maybe a teaspoon—of water. Cover it with a damp paper towel before zapping it for 30 to 60 seconds. That little bit of added steam makes the rice fluffy again instead of hard and dry. Warm rice is the perfect pairing for your reheated, sticky-glazed chicken!
Frequently Asked Questions About This Easy Weeknight Chicken and Rice
I get asked so many great questions whenever people try this Easy Weeknight Chicken and Rice! It’s natural when you’re trying to get a recipe just perfect, especially when dealing with sticky sauces. Here are a few things I hear most often about making the best Honey Chili Chicken Thighs.
Can I use chicken breasts instead of thighs in this Sticky Sweet Chili Chicken Recipe?
You certainly can swap! Chicken breasts are much leaner, so they cook faster and, unfortunately, dry out faster too, especially under a sugary glaze. If you use breasts, you’ll need to drastically reduce the time, or you risk having tough meat. I suggest baking them for only 15 minutes initially, then glazing and baking for maybe 5 to 7 minutes max until they hit that 165°F (74°C) mark. They won’t be quite as juicy as the thighs, but they’ll still be tasty!
What is the best way to get crispy skin on these Baked Sticky Sweet Chili Chicken Thighs?
Crispy skin is entirely about dryness and heat management! Remember those two things we talked about? Always, always, always pat the skin completely dry before seasoning it. If the skin is damp, the moisture will steam instead of crisping up while it bakes. Once you’ve followed the baking instructions, that final minute or two under the broiler is your secret weapon for achieving that final, beautiful char and crispiness on your Crispy Skin Chicken Thighs Glazed. Just don’t forget to watch it like a hawk!
If you are looking for more one-pot comfort food ideas that are just as comforting as this meal, check out my recipe for easy creamy chicken tortilla soup—it’s another weeknight lifesaver!
Share Your Experience Making This Sticky Glazed Chicken Dinner
Wow, we made it! You are now officially ready to tackle the best Sticky Glazed Chicken Dinner you’ve ever had. I am so excited for you to try this! Honestly, when I see photos of you guys with perfectly glazed thighs sitting on fluffy rice, my day is made.
So, now it’s your turn! Once you’ve made this Sticky Sweet Chili Chicken Recipe, please hop down to the comments below and let me know how it went for you. Did your glaze get super sticky? Did you try broiling the last minute? I want to hear all the details!
If you loved this family favorite, I always appreciate a quick rating right here on the page—it really helps other home cooks find the best recipes when they’re looking for an Asian Inspired Chicken Thighs dinner idea.
And please, if you share a picture of your gorgeous meal on social media, tag me! I love seeing my recipes come to life in your kitchens. Happy cooking, everyone, and I can’t wait to read your feedback!
PrintSticky Sweet Chili Chicken Thighs with Rice

A recipe for tender chicken thighs coated in a thick, sweet, and spicy chili glaze, served with plain white rice.
- Prep Time: 10 min
- Cook Time: 45 min
- Total Time: 55 min
- Yield: 6 servings
- Category: Dinner
- Method: Baking
- Cuisine: Asian Inspired
- Diet: Low Fat
Ingredients
- 6 bone-in, skin-on chicken thighs
- 1 tablespoon olive oil
- Salt and black pepper to taste
- 1/2 cup sweet chili sauce
- 1/4 cup honey
- 2 tablespoons soy sauce
- 1 tablespoon rice vinegar
- 1 teaspoon grated fresh ginger
- 2 cloves garlic, minced
- 1 teaspoon cornstarch mixed with 2 teaspoons cold water (slurry)
- 2 cups uncooked white rice
- 4 cups water (for rice)
Instructions
- Preheat your oven to 400°F (200°C). Line a baking sheet with foil for easier cleanup.
- Pat the chicken thighs very dry with paper towels. Season both sides generously with salt and pepper.
- Place the chicken thighs skin-side up on the prepared baking sheet.
- Bake the chicken for 25 minutes.
- While the chicken bakes, prepare the glaze: In a small saucepan, combine the sweet chili sauce, honey, soy sauce, rice vinegar, ginger, and garlic. Bring the mixture to a simmer over medium heat.
- Whisk in the cornstarch slurry. Continue to simmer, stirring constantly, until the sauce thickens enough to coat the back of a spoon, about 1-2 minutes. Remove from heat.
- After the initial 25 minutes of baking, brush half of the glaze evenly over the chicken thighs.
- Return the chicken to the oven and bake for another 10 minutes.
- Remove the chicken, brush with the remaining glaze, and bake for a final 5 minutes until the glaze is very sticky and the internal temperature reaches 165°F (74°C).
- While the chicken finishes, cook the rice: Combine the rice and water in a saucepan. Bring to a boil, then reduce heat to low, cover, and simmer for 15-18 minutes until all water is absorbed. Let stand, covered, for 5 minutes before fluffing.
- Serve the sticky chicken thighs immediately over the cooked rice.
Notes
- For crispier skin, broil the chicken for the last 1-2 minutes of cooking, watching carefully to prevent burning the glaze.
- If you prefer pan-searing, cook the thighs skin-side down in an oven-safe skillet for 8 minutes, flip, then brush with glaze and transfer the skillet to the oven to finish cooking.
- Use jasmine rice instead of white rice for a more fragrant base.
Nutrition
- Serving Size: 1 thigh with 1/3 cup rice
- Calories: 450
- Sugar: 22
- Sodium: 550
- Fat: 18
- Saturated Fat: 5
- Unsaturated Fat: 13
- Trans Fat: 0
- Carbohydrates: 35
- Fiber: 1
- Protein: 38
- Cholesterol: 130