

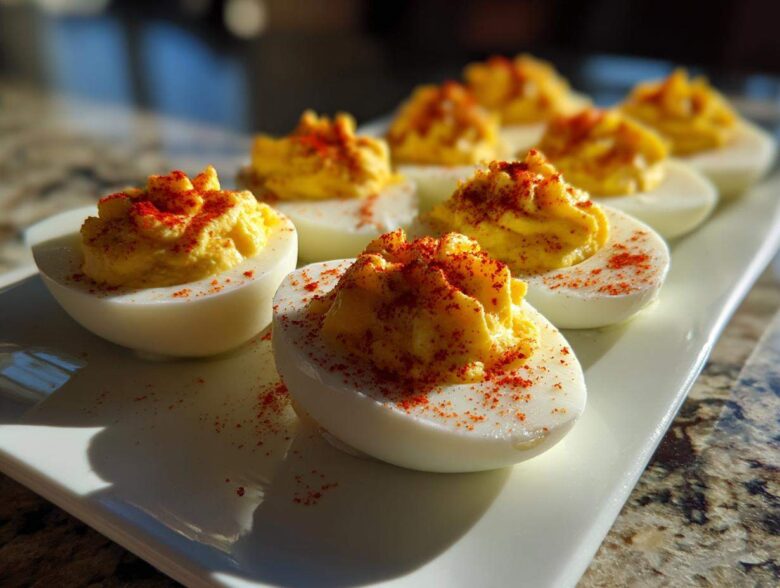
Listen, if you’re hosting any kind of gathering—and I mean *any* gathering, from a Tuesday night football game to Christmas dinner—you need reliable appetizers. And nothing, absolutely nothing, beats a vintage classic. When people see those perfectly halved eggs lined up on a platter, they know they’re in for a treat. I’m not messing around with fancy bacon or truffle oil here; I’m giving you my tried-and-true, completely foolproof recipe for the classic deviled eggs that everyone asks me for. They are creamy, they are tangy, and they disappear faster than you can say ‘potluck!’ Trust me, once you nail this simple balance, you’ll never go back to those dull, lumpy versions again. It’s worth learning how to make them right the first time! If you want to know a little more about where I get my inspiration in the kitchen, you can always check out my story here.
Why This is the Best Classic Deviled Eggs Recipe (Crowd Pleasing Appetizers)
Honestly, there are a million ways to dress up an egg, but when you need something that travels well, sets up perfectly, and pleases absolutely everyone, you stick to the classics. This recipe isn’t just good; it’s guaranteed to disappear first at any party. I won’t waste your time with fussy additions when the simple version is this perfect. We aren’t here for gimmicks; we are here for pure, delicious **crowd pleasing appetizers**.
It’s the combination of perfect texture and foolproof assembly that makes this recipe earn its keep on my holiday table every year:
- The filling is unbelievably creamy—no more grainy yolks, I promise.
- We keep the ingredients simple, focusing on that signature tangy flavor.
- I give you the absolute best hard-boiling trick so you never fight those stubborn shells again.
- It scales up beautifully, making it ideal for huge batches for any potluck ideas!
If you’re looking for other guaranteed hits for your next big bake, you absolutely have to check out my recipe for sugar cookies that hold their shape—they’re another failsafe!
Quick Facts for Your Classic Deviled Eggs
Here are the numbers so you can plan your cooking schedule:
- Prep Time: 20 min
- Cook Time: 12 min
- Total Time: 32 min
- Yield: 24 halves
Essential Ingredients for Classic Deviled Eggs
When it comes to my favorite **Classic Deviled Eggs Recipe**, I keep things super traditional. Honestly, the magic isn’t in adding thirty different spices; it’s in using quality staples and getting the ratios just right. If you have these ingredients on hand, you can whip up an amazing batch of **traditional appetizers** anytime.
Here’s what you’re going to need for about two dozen halves—don’t swap out the mustard, seriously!
You need 12 large eggs, ready for boiling. For the filling base, grab 1/2 cup of your favorite mayonnaise—and yes, I mean real mayo, not that watery stuff! We’re using 2 tablespoons of classic American yellow mustard, 1 teaspoon of white vinegar for that necessary punch, 1/4 teaspoon of salt, and just a tiny pinch, 1/8 teaspoon, of black pepper. Finally, make sure you have some paprika ready for that beautiful dusting on top.
If you want to see how I nail other Southern classics, you should absolutely take a look at my recipe for cheddar cheese straws that disappear just as fast!
Ingredient Notes and Substitutions for Creamy Deviled Eggs Filling
Let’s talk mustard. I always use that bright yellow standard stuff—it’s what gives you that specific, slightly sweet, and tangy flavor people expect from these **simple egg appetizers**. Dijon is too harsh for this classic batch, although you certainly could try adding just a dab for a twist!
The vinegar is non-negotiable for me. It cuts through the richness of the mayo and yolks. White vinegar is the traditional choice because it’s clean, but apple cider vinegar gives you a slightly fruitier tang if you’re feeling adventurous. And please, for the love of great Easter spreads, use full-fat mayonnaise. Anything less just won’t give you that rich, thick, **creamy deviled eggs filling** texture we are aiming for.
How to Make Perfect Hard Boiled Eggs for Deviled Eggs
I swear, the number one reason people give up on making **Classic Deviled Eggs** is because they have a nightmare peeling session or they end up with those sad, greenish-gray rings around the yolk. Yuck! That green ring means you cooked the egg too long, letting the sulfur react with the iron.
But don’t worry! I’ve got the absolute foolproof method for achieving **Perfect Hard Boiled Eggs for Deviled Eggs** every single time. It’s all about temperature shock, not constant cooking. This might sound fussy, but trust me, it’s quicker than trying to chisel the shell off an overcooked egg!
You want to start by placing your 12 eggs into a big saucepan. Cover them up with cold water, making sure the water level sits about an inch above the eggs. Then, crank that heat up to high until the water hits a rolling, vigorous boil. Don’t just let it simmer; we need that high heat shock!
The minute it hits a rolling boil—and I mean *right* when it starts bubbling hard—you immediately pull the pan off the stove. Seriously, turn the burner off completely. Cover that pot tightly with its lid and just let those eggs sit there undisturbed for exactly 12 minutes. That’s the magic stand time!
What happens next is crucial for peeling AND color. After those 12 minutes are up, you need to shock those eggs into submission! Drain that hot water immediately and plunge the eggs straight into a big bowl full of ice water. Make sure you use lots of ice! Let them sit there and chill completely—about 15 minutes is what I do. This rapid cooling stops the cooking process (bye-bye, green rings!) and helps the egg contract just enough to separate beautifully from the membrane.
Once they’re totally cold, you’ll find that peeling is a breeze! If you want the ultimate guide to getting those shells off without losing half the white, check out my tips over on my avocado egg salad post—the peeling technique is the same and it works wonders!
Step-by-Step Instructions for Classic Deviled Eggs
Okay, our eggs are boiled, chilled, and peeled—now for the fun part! Get your best mashing fork ready. Take those golden yolks and drop them right into a medium bowl. You think you can just stir them? Nope! You need to mash them until they look like fine, pale yellow sand. Don’t leave any lumps behind; we’re building that **Creamy Deviled Eggs Filling** here, people!
Once you’ve got that smooth base, cut your egg whites in half lengthwise. Gently scoop out all those yolks and set the clean white halves aside on your serving platter. Don’t worry if you are using your fingers; we’ll fill them up nicely afterward.
Next, add all your wet flavor agents—the mayo, the mustard, the vinegar, the salt, and the pepper—right into that bowl of smooth yolks. Mix everything together patiently. You want it totally combined, shiny, and perfectly homogenous. If you are looking for some other easy recipe staples, check out my guide for fluffy rice pilaf!
Achieving the Smoothest Creamy Deviled Eggs Filling
This is my biggest tip for making your **Classic Deviled Eggs** look store-bought good: mix longer than you think you should! If you stop stirring when you see most of the mayo is incorporated, you’ll end up with little pockets of dry yolk. Keep going until the mixture looks glossy, uniform, and totally lump-free.
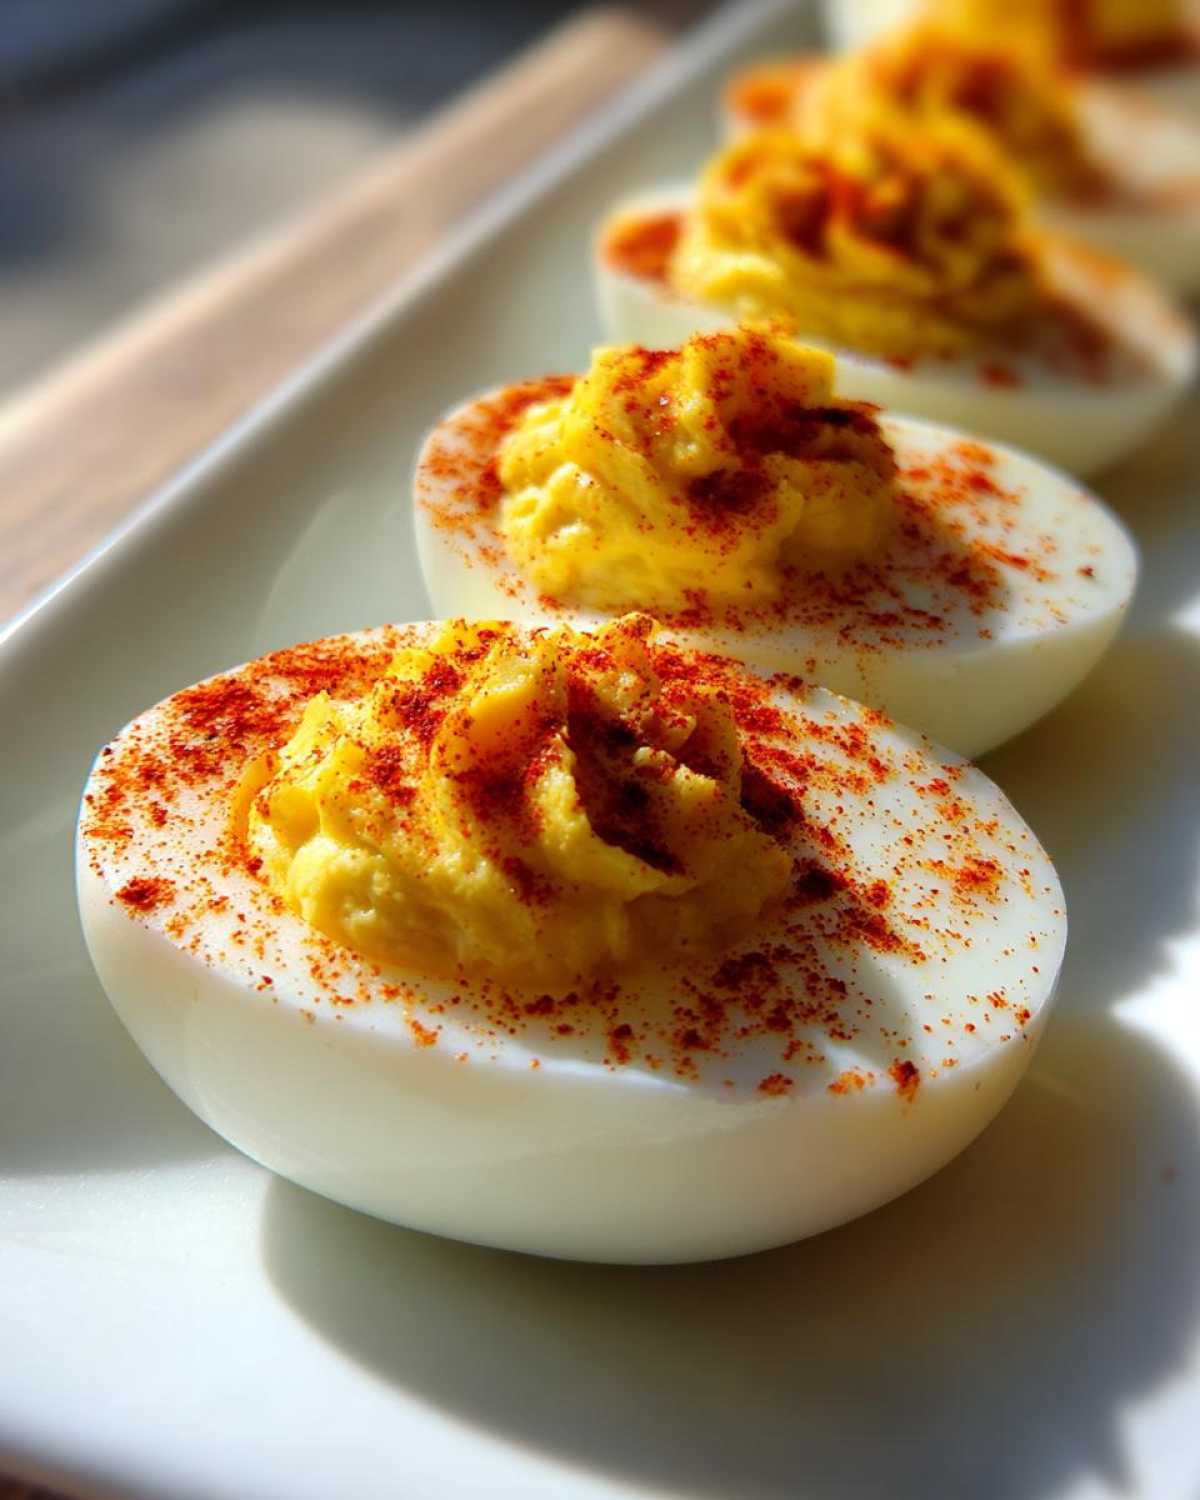
Once it’s smooth as silk, you have two choices for filling. You can use a small spoon and carefully mound the mixture back into the egg white halves, or, if you want that swirly, pretty presentation, use a piping bag fitted with a star tip. Either way, fill those whites generously! Don’t be shy—they taste better when they are full!
Tips for Success When Making Classic Deviled Eggs
Making these **Traditional Appetizers** is honestly pretty straightforward, but a few tiny tricks elevate them from ‘good enough’ to ‘wait, can I have the recipe?’ I’ve learned over the years that it all comes down to management—managing the shell, managing the cooking time, and managing the filling.
We already talked about the ice bath preventing those awful green rings, but let’s revisit easy peeling, because nobody wants to spend half their afternoon wrestling with eggshells! Right after they’ve chilled in the ice bath, crack the shells all over—think tiny tap marks everywhere—and then peel them under cool running water. The water helps slip right between the membrane and the egg white. It works like a charm about 90% of the time!
And remember that little note about the filling? You can absolutely make the **creamy deviled eggs filling** mixture ahead of time. Store it covered overnight in the fridge. But please, please, please, do not fill the egg whites until you are ready to serve them, or they can start to weep a little.
Here’s my favorite secret for making your **Best Deviled Egg Recipe** look amazing for your next spread of **Party Snacks**:
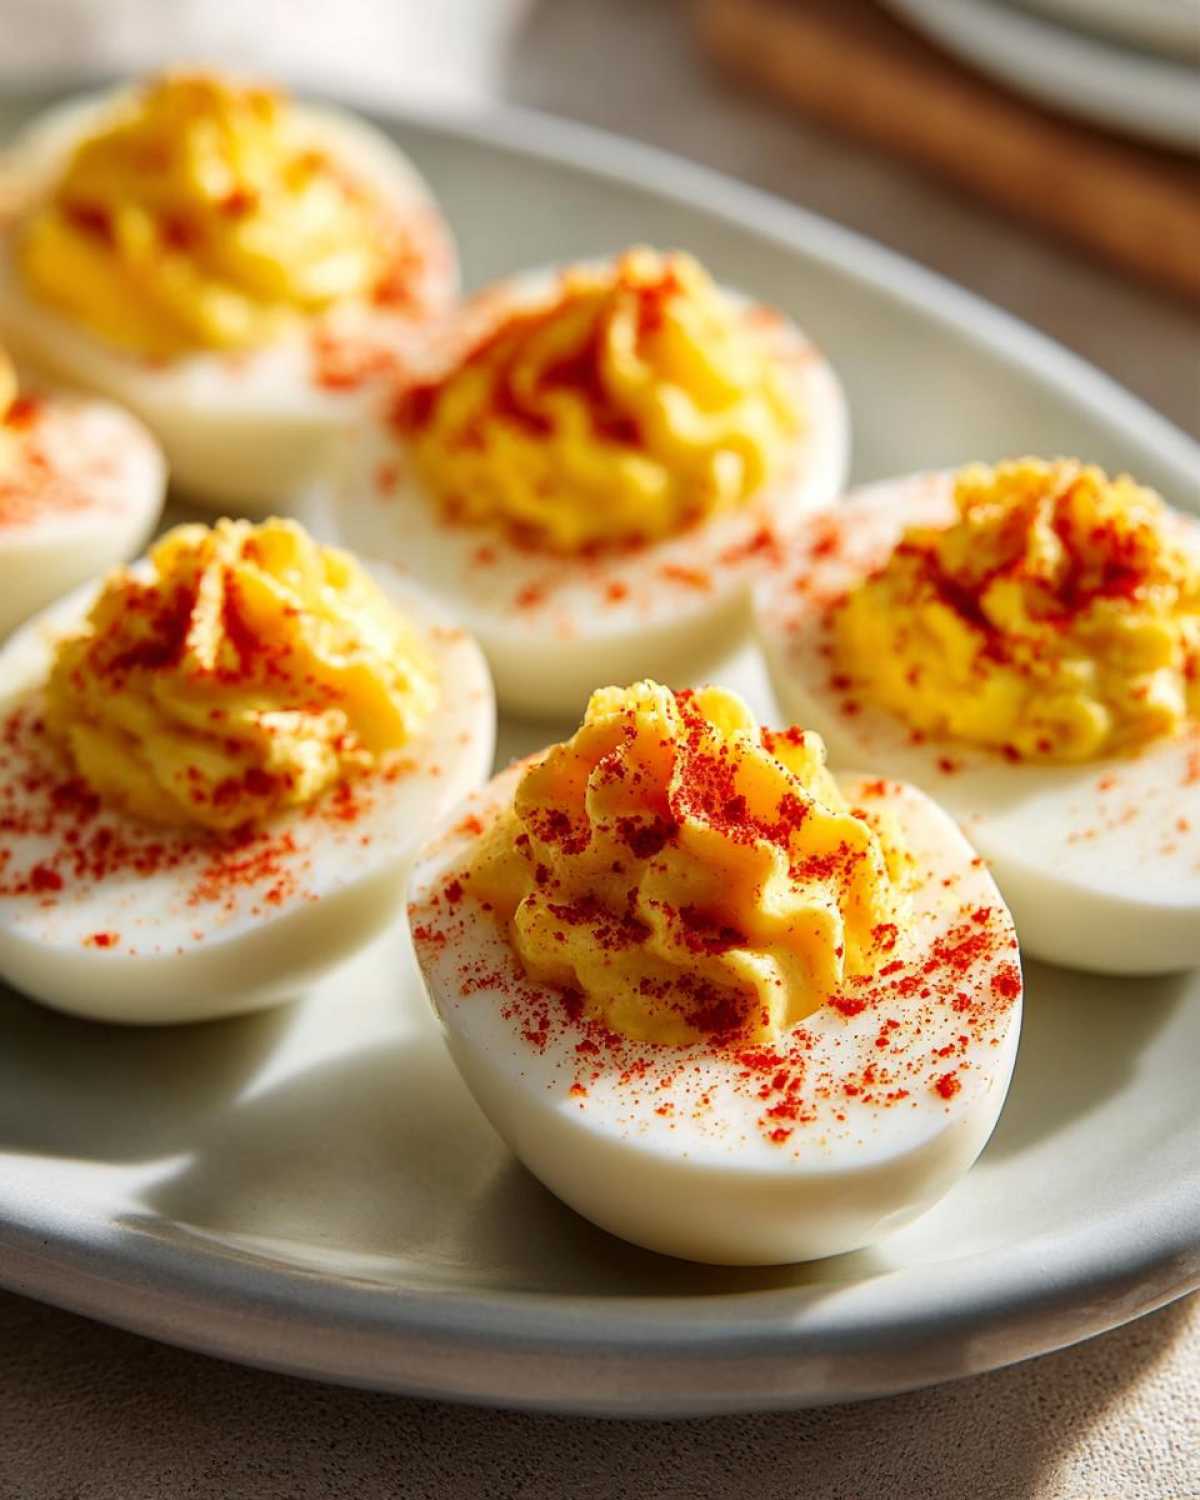
- Ditch the spoon for the final filling step! I always use a piping bag fitted with a large star tip. It takes literally thirty extra seconds, but the beautiful, ruffled topping makes these **party snacks** look like they came from a fancy caterer.
- If you’re worried about making them ahead, pipe the filling the morning of, cover the whole platter loosely with plastic wrap, and just keep them chilled until about 30 minutes before guests arrive.
I share even more fun tricks like this over on my dedicated post about deviled egg secrets that every home cook should know!
Make Ahead Appetizers: Storing Your Classic Deviled Eggs
One of the best things about having a stellar recipe for **Classic Deviled Eggs** is that they are fantastic **make ahead appetizers**! When you’re tackling huge holiday meals or planning out a big **picnic finger food** spread, anything that saves you time on the actual day is a huge win, right?
The good news is the yolk filling is incredibly sturdy. You can absolutely mix up that beautiful, creamy deviled eggs filling the day before you plan to serve them. I usually make the filling the night before, cover that bowl tightly with plastic wrap, and stick it in the back of the fridge. It keeps perfectly for a full 24 hours without losing any of its tang or texture.
Now, here’s the crucial step, which is where most people mess up when they try to prep these **party snacks** too early: Do NOT fill the egg whites until you are ready to serve. If you fill them too early, especially if they’ve been sitting in the fridge uncovered or even lightly covered, the mayo base starts to react with the air and moisture, and you’ll get pooling or weeping in the egg white cup.
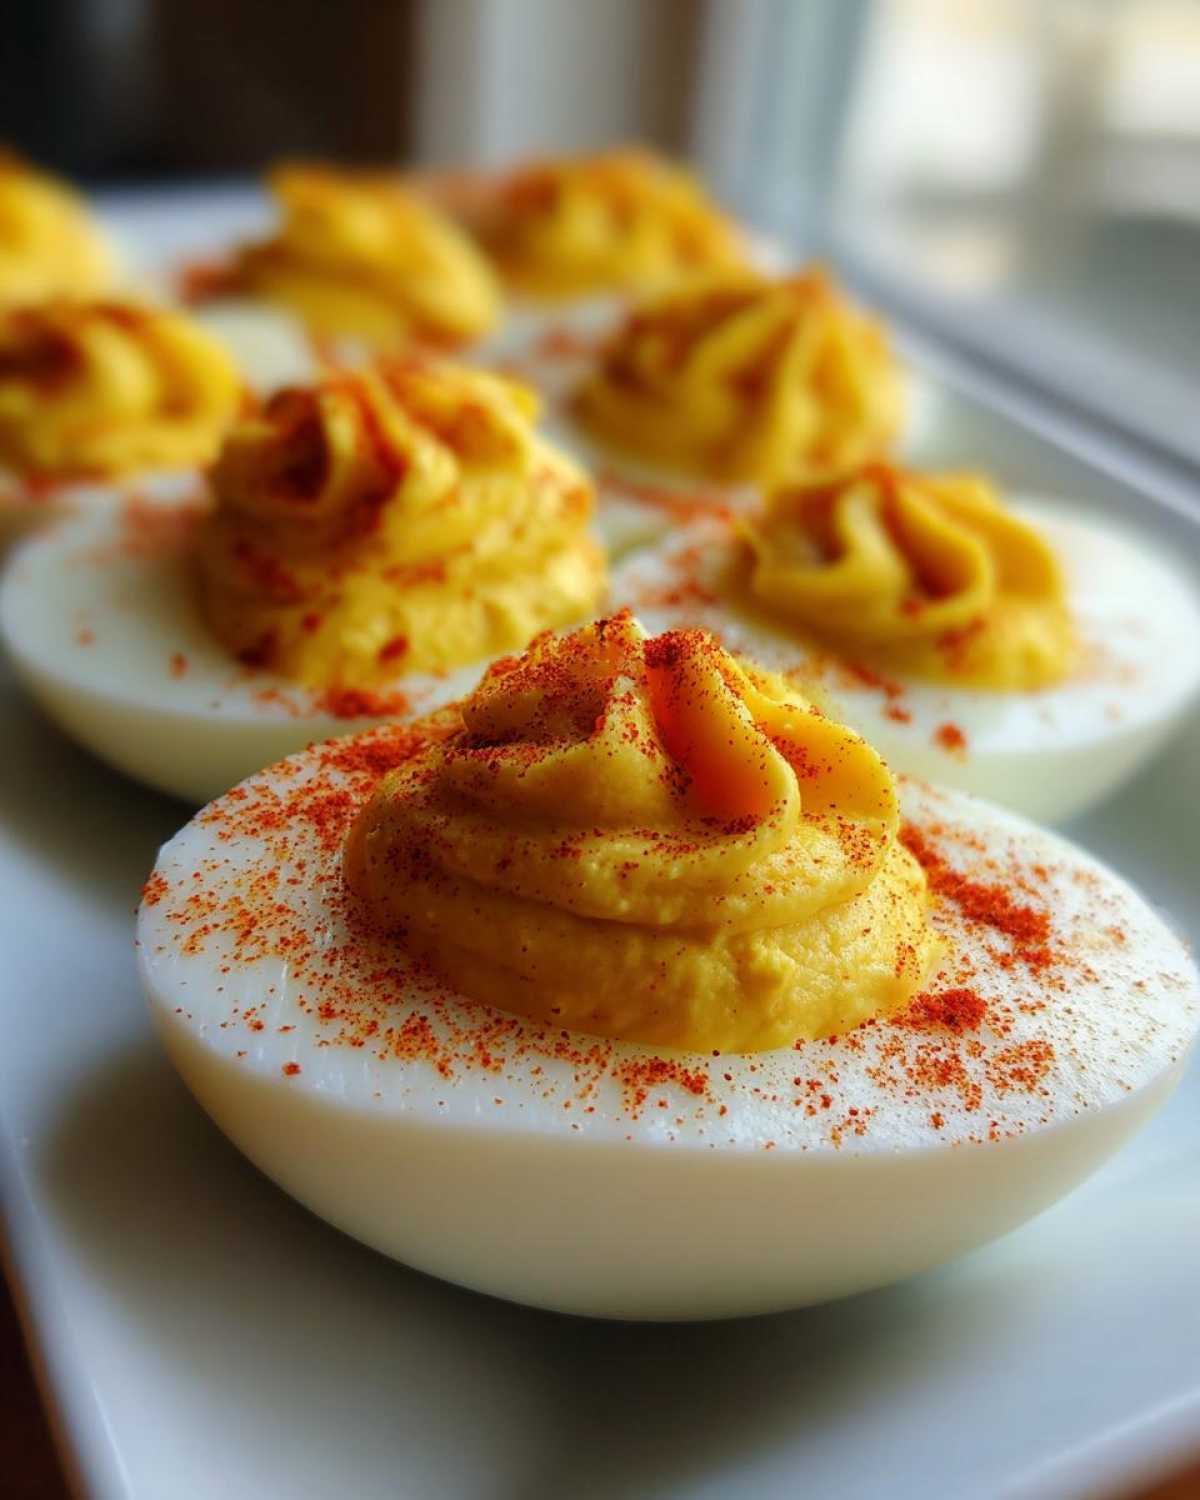
My rule of thumb is this: Hard-boil, peel, and chill the whites the night before. Make the filling the night before. Then, about an hour before you need to set out your spread of **traditional appetizers**, take everything out. Fill those whites, give them that final sprinkle of paprika, and pop them on the platter. This ensures they look fresh, taste their sharpest, and don’t get soggy for your guests.
For more great tips on reducing stress when entertaining, you should definitely read through my general guide to make ahead appetizers—it really helps calm the chaos!
Serving Suggestions for These Traditional Appetizers
Okay, you’ve made the most perfect, **creamy deviled eggs filling** the world has ever seen, and now you need to set the scene! These **traditional appetizers** aren’t just good on their own; they shine when paired with the right company on the table. They are the ultimate bridge between rich, heavy main courses and light, fresh sides.
Think about your next big picnic or barbecue. These travel so well thanks to only using traditional ingredients! They sit nicely right next to sharp cheddar cheese cubes or perhaps some crunchy summer crudités. They are practically begging for a salty companion, so I often serve them alongside homemade Ritz crackers or maybe some thick-cut glazed ham if it’s a holiday spread.
When I’m planning my table for Easter or Thanksgiving, I always make sure my **classic deviled eggs** are placed strategically. I avoid piling them right next to anything super acidic like a bright vinaigrette salad, because that can mess with the texture over a long sitting time. Instead, I set them near something savory and slightly salty.
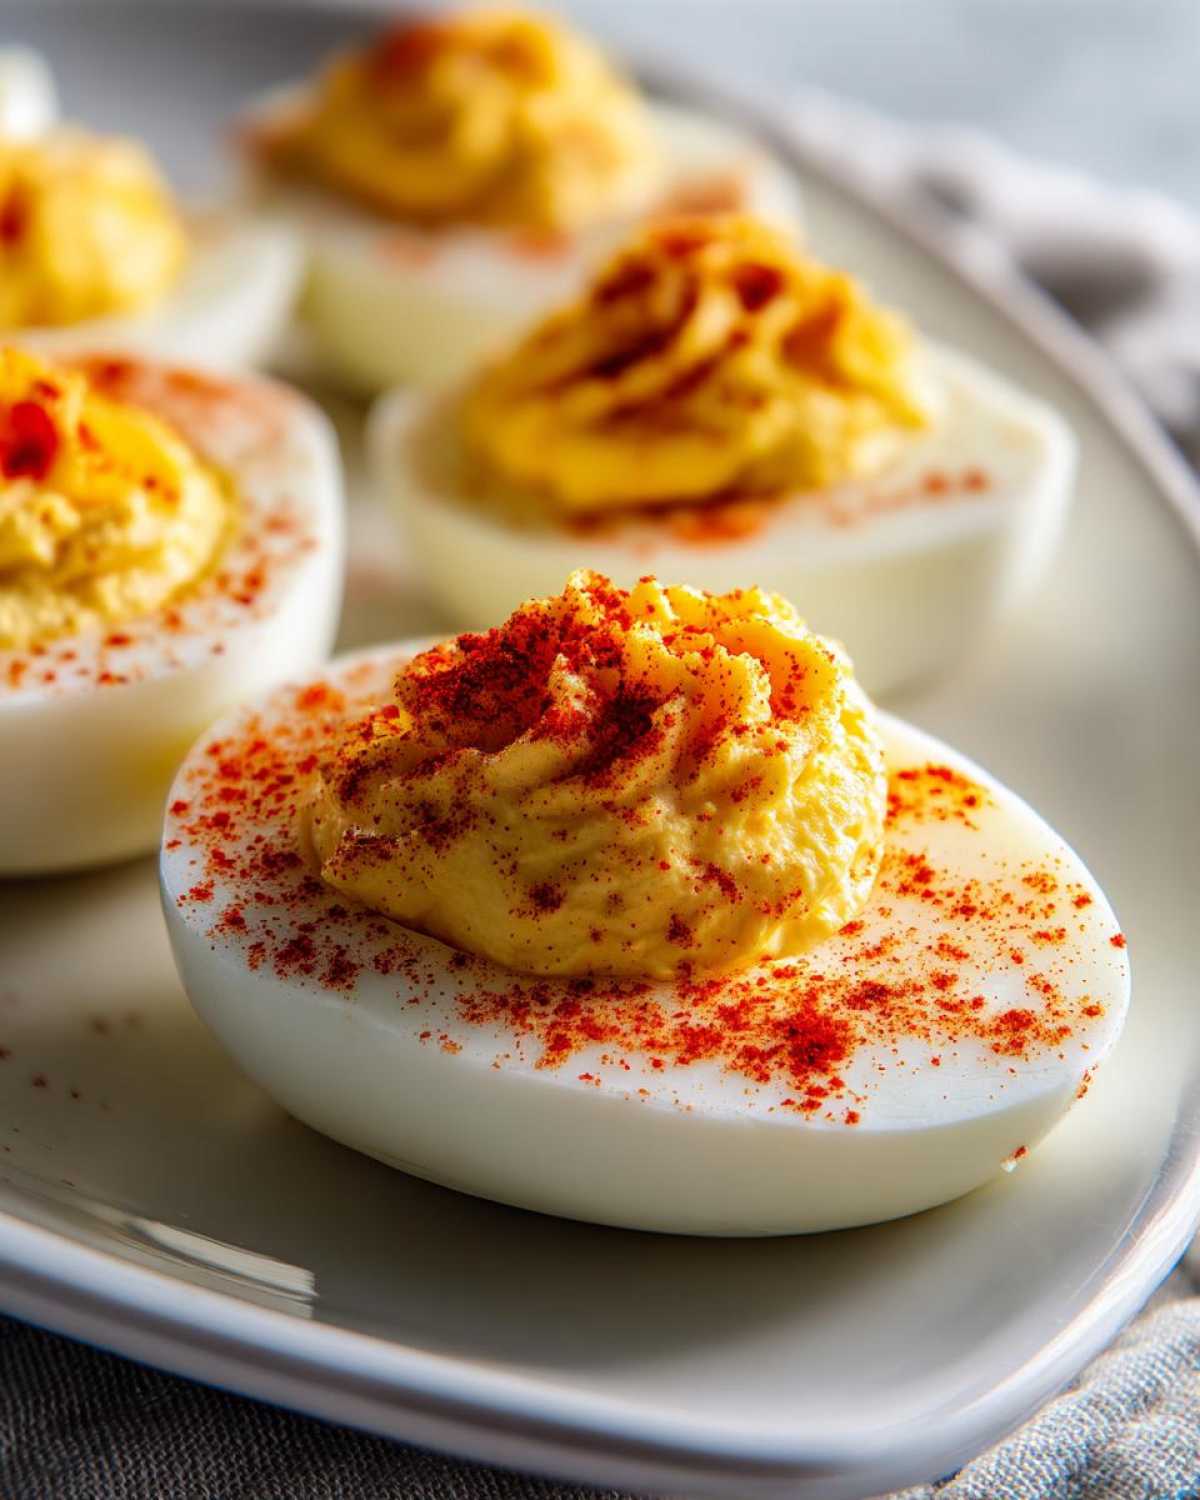
If you’re struggling with what else to bring to that overflowing holiday buffet, you absolutely have to check out my collection of potluck ideas! But seriously, these eggs are the easiest item to transport and present beautifully for any event.
For presentation, if you made them in a decorative tray, line the spaces with ruffled green lettuce leaves—that vintage look really works! If you’re taking them to a summer event or **picnic finger foods** setup, keep them on ice until the very last minute so that gorgeous filling stays firm and cool!
Frequently Asked Questions About Classic Deviled Eggs Recipe
I know that even with the clearest instructions, sometimes questions pop up when you’re standing in the kitchen with a bowl of yolks staring back at you! It’s totally normal! Getting these **Classic Deviled Eggs Recipe** details just right is what separates the okay appetizers from the legendary ones. I gathered the questions I get asked the most often when people try out my **simple egg appetizer** method for the first time.
If you want to skip the guessing game and learn every little trick I use, I actually break down the entire technique in depth over on my guide about how to make deviled eggs perfectly. But here are my quick answers for now:
Can I make these Southern Style Deviled Eggs without vinegar?
You *can*, but I really wouldn’t suggest it if you want that authentic little kick! Vinegar provides the crucial acid that cuts through the richness of the mayo and the yolk—it’s what makes your finished egg pop with that delicious, **tangy deviled eggs** flavor we talked about. If you absolutely must omit it? Try boosting your mustard slightly, or swap in a teaspoon of fresh lemon juice instead. That acidity is key to balancing the flavor profile!
What is the secret to the Best Deviled Egg Recipe texture?
If you want that unbelievably smooth, cloud-like **creamy deviled eggs filling**, the secret is all in the prep for the yolk! Before you add *any* liquid—no mayo, no mustard, seriously—you must mash the cooked yolks until they are super fine. I mean, fork-mash them until they are powder, with absolutely no lumps remaining. Think of it like sifting, but with a fork! Once you have that powder texture, adding the wet ingredients won’t cause lumps to form, guaranteeing you the absolute best texture every time.
Are these considered good Make Ahead Appetizers?
They are incredible **make ahead appetizers**, but only if you follow my two-part rule! Make the filling entirely beforehand and keep it chilled. But do NOT pipe the filling into the egg white halves until about an hour before you plan to serve them. Filling them too early risks the mixture getting a little watery sitting in the fridge. Assembling them last minute keeps them looking gorgeous and tasting fresh!
Why do my deviled eggs taste bland sometimes?
Bland usually means you skimped on seasoning or rushed the chilling/mixing process. Salt is essential here—it builds the flavor structure! Make sure you are adding the salt directly to the yolk mixture (not just guessing when you seasoned the overall water). Also, a fresh dash of black pepper right before you garnish really wakes up the flavor of the yolk. Never skip the pepper!
Estimated Nutritional Data for Classic Deviled Eggs
You know I always believe in making food that tastes amazing, but sometimes people ask about the nutrition, especially if you’re making a big batch for a party and want to plan around it. Since these are such **classic deviled eggs**, we are keeping the ingredients really straightforward, which keeps the nutrition pretty simple too!
I want to be crystal clear, though: this information is just an estimate. It’s based on using standard, large eggs and the exact amount of mayonnaise and mustard listed in the recipe. If you use light mayo or skip the full serving of mustard, your numbers will shift! For the official disclaimer on all my recipe estimations, you can peek over at my nutrition info page.
Here’s the breakdown for a standard serving size of two halves:
- Serving Size: 2 halves
- Calories: 90
- Fat: 8g (with 2g saturated fat)
- Protein: 3g
- Carbohydrates: 0.5g
- Sugar: 0.5g
- Sodium: 110mg
- Cholesterol: 85mg
See? Pretty simple stuff! This makes them a delightfully filling, low-carb addition to any spread of **traditional appetizers** without weighing everyone down.
PrintClassic Creamy Deviled Eggs
Follow these steps for a simple, traditional recipe for creamy deviled eggs, perfect for any gathering.
- Prep Time: 20 min
- Cook Time: 12 min
- Total Time: 32 min
- Yield: 24 halves
- Category: Appetizer
- Method: Boiling and Mixing
- Cuisine: American
- Diet: Vegetarian
Ingredients
- 12 large eggs
- 1/2 cup mayonnaise
- 2 tablespoons yellow mustard
- 1 teaspoon white vinegar
- 1/4 teaspoon salt
- 1/8 teaspoon black pepper
- Paprika, for garnish
Instructions
- Place eggs in a large saucepan and cover with cold water by one inch. Bring water to a rolling boil over high heat.
- Once boiling, immediately remove the pan from the heat, cover it, and let the eggs stand for 12 minutes.
- Transfer the eggs to an ice bath (a bowl of ice water) and let them cool completely, about 15 minutes.
- Peel the cooled eggs. Slice each egg in half lengthwise. Gently scoop the yolks into a medium bowl. Place the whites on a serving platter.
- Mash the yolks with a fork until completely smooth.
- Add the mayonnaise, mustard, vinegar, salt, and pepper to the mashed yolks. Mix until the filling is creamy and well combined.
- Spoon or pipe the yolk mixture back into the hollows of the egg white halves.
- Sprinkle paprika lightly over the top of each filled egg half before serving.
Notes
- For easy peeling, crack the cooled eggs gently all over and peel them under running cold water.
- To prevent green rings, do not overcook the eggs and cool them quickly in an ice bath.
- You can make the filling up to one day ahead and store it covered in the refrigerator. Fill the egg whites just before serving.
Nutrition
- Serving Size: 2 halves
- Calories: 90
- Sugar: 0.5
- Sodium: 110
- Fat: 8
- Saturated Fat: 2
- Unsaturated Fat: 6
- Trans Fat: 0
- Carbohydrates: 0.5
- Fiber: 0
- Protein: 3
- Cholesterol: 85