

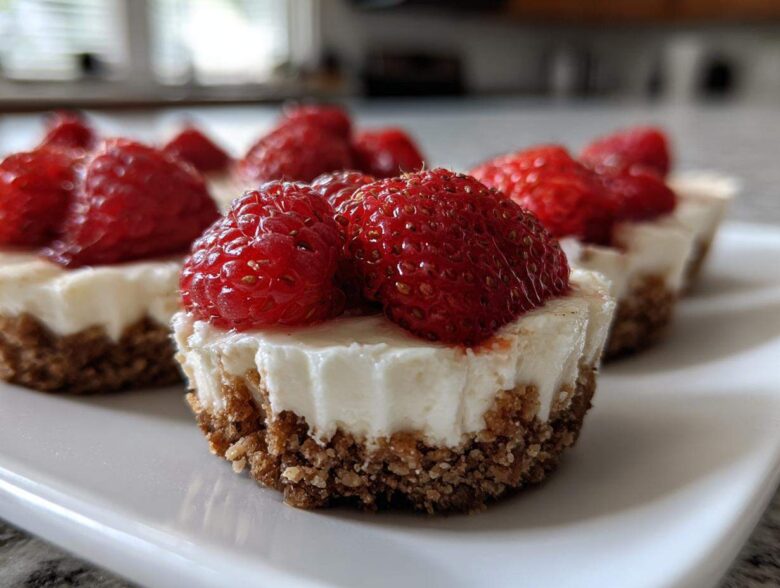
Honestly, sometimes I just need dessert, but I don’t want a whole heavy cake staring me down from the fridge for a week, right? That’s why I am obsessed with making my super simple, no-bake cheesecake bites. They are the ultimate crowd-pleaser because they’re perfectly portioned, and you don’t even have to turn on the oven!
These mini cheesecake bites are my go-to when unexpected company drops by, or when I need something to bring to a potluck that won’t stress me out. They look way fancier than they actually are, trust me. We’re talking a buttery graham cracker base, a filling so unbelievably creamy it melts on your tongue, and just a little topping to make it pop. If you’re looking for quick dessert ideas that deliver huge flavor payoff, stick with me because I’m showing you exactly how I whip these up!
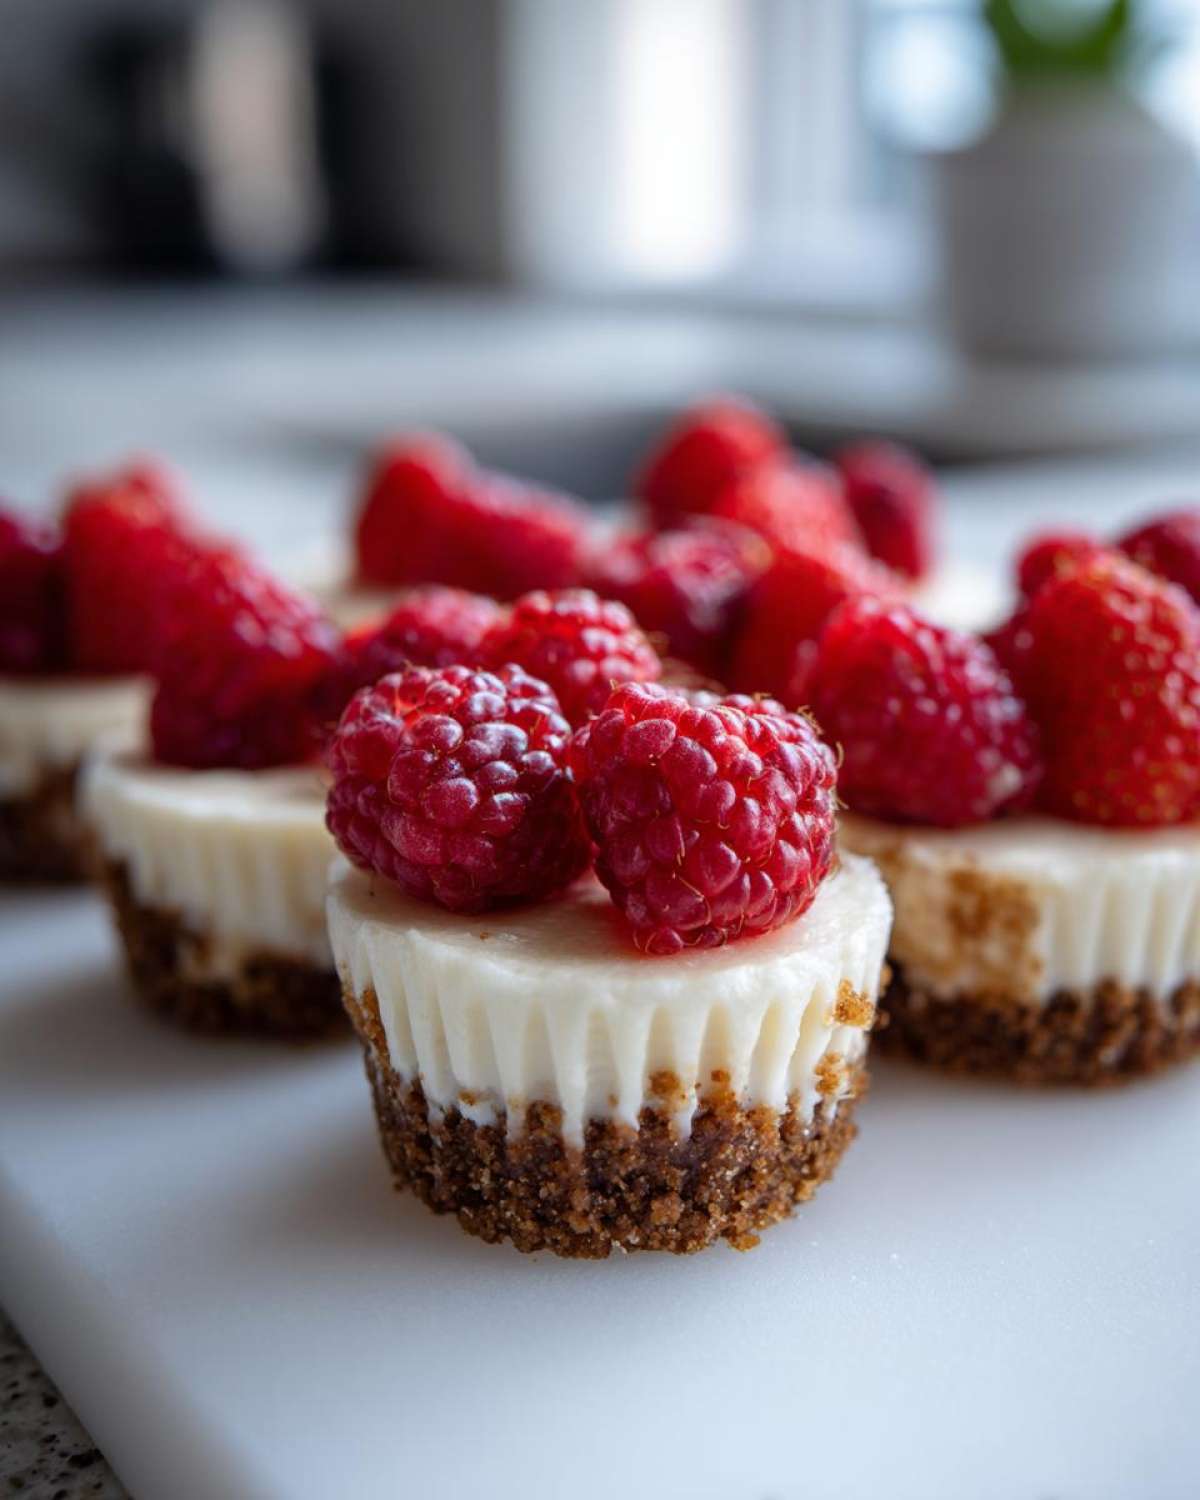
I’m linking the recipe card here if you want to glance ahead, but the real secrets are in the technique, which we’ll cover next. It’s so easy you’ll barely believe it’s a full cheesecake experience in one tiny bite! Check out the full ingredient list here.
Why You Will Love These Easy Cheesecake Bites
Honestly, these easy cheesecake bites are the definition of low-effort, high-reward baking—or, well, *no-baking*!
- They are completely no-bake, meaning zero preheating fuss!
- The individual serving size makes them perfect for portion control (or not, let’s be real).
- They are fast to assemble, making them ideal for last-minute party desserts.
- That smooth, rich flavor hits every time, making them a guaranteed hit.
Gathering Ingredients for Your No-Bake Cheesecake Bites
Alright, let’s get organized! Since these are no bake desserts, we skip the long ingredient list you usually see with baked goods. But the quality here really sings, especially with the cream cheese—that’s the heart of our creamy cheesecake treats.
You need to make sure your cream cheese is completely softened; I mean truly room temperature, or you’ll end up with little lumps, and nobody wants a bumpy bite! For the absolute best texture that sings, I always try to use full-fat blocks, not the whipped tubs, if I can help it. It makes all the difference when you’re whipping up these mini cheesecake bites!
Here’s what you need to pull out:
- Graham cracker crumbs (about 1 1/2 cups should do it)
- A little bit of granulated sugar for the crust
- Melted unsalted butter to hold that crust together
- 16 ounces of cream cheese—softened, remember?
- Powdered sugar and a dash of good vanilla extract
- Heavy cream for that airy lift
- And don’t forget your toppings! Berries or a drizzle of chocolate totally elevates these individual cheesecake desserts. You can see my favorite creamy cheesecake source right here: my favorite recipe for decadent creamy cheesecake.
Step-by-Step Instructions for Perfect Cheesecake Bites
Okay, here is where the magic happens! Turning simple ingredients into incredible bite size cheesecake recipe goodness is shockingly fast. We have three main phases: crust, filling, and chill time. Remember, because these are no bake desserts, we are relying on the cold to set everything beautifully!
Preparing the Crust for Your Bite Size Cheesecake Recipe
First up, the base! In a bowl, just mix your graham cracker crumbs, that little bit of granulated sugar, and the melted butter. Stir until everything looks like wet sand. Then, grab your mini muffin tin—make sure you’ve got those paper liners installed! Press about a tablespoon of that crumb mixture firmly into the bottom of each liner. That’s it for the base! Now, here’s my expert tip: if you want a super sturdy crust, pop that tray into a 350°F oven for exactly five minutes, then let it cool completely before moving on. It gives the crust a little extra backbone!
Creating the Creamy Filling for the Cheesecake Bites
Next, tackle the filling! Get that softened cream cheese beating until it’s totally smooth—no lumps allowed! Slowly beat in your powdered sugar and that vanilla extract until it’s nicely combined. Now, this is important for those creamy cheesecake treats: gently mix in the heavy cream. Once that cream is incorporated, STOP mixing! Overmixing adds too much air, and we want these rich and dense, not fluffy like whipped cream. Just stir until it looks uniform and luscious.
Chilling and Finishing Your Individual Cheesecake Desserts
Spoon or pipe that beautiful filling right over your cooled crusts until they’re filled nicely. Now, the hardest part: waiting! These no bake cheesecake cups absolutely need a good, long chill session. Seriously, pop them in the fridge for a minimum of four hours. Four hours is the standard, but if you can leave them overnight, even better because they set up rock solid. Once they are firm to the touch, that’s when you add your toppings. Success with these individual cheesecake desserts hinges on that chill time!
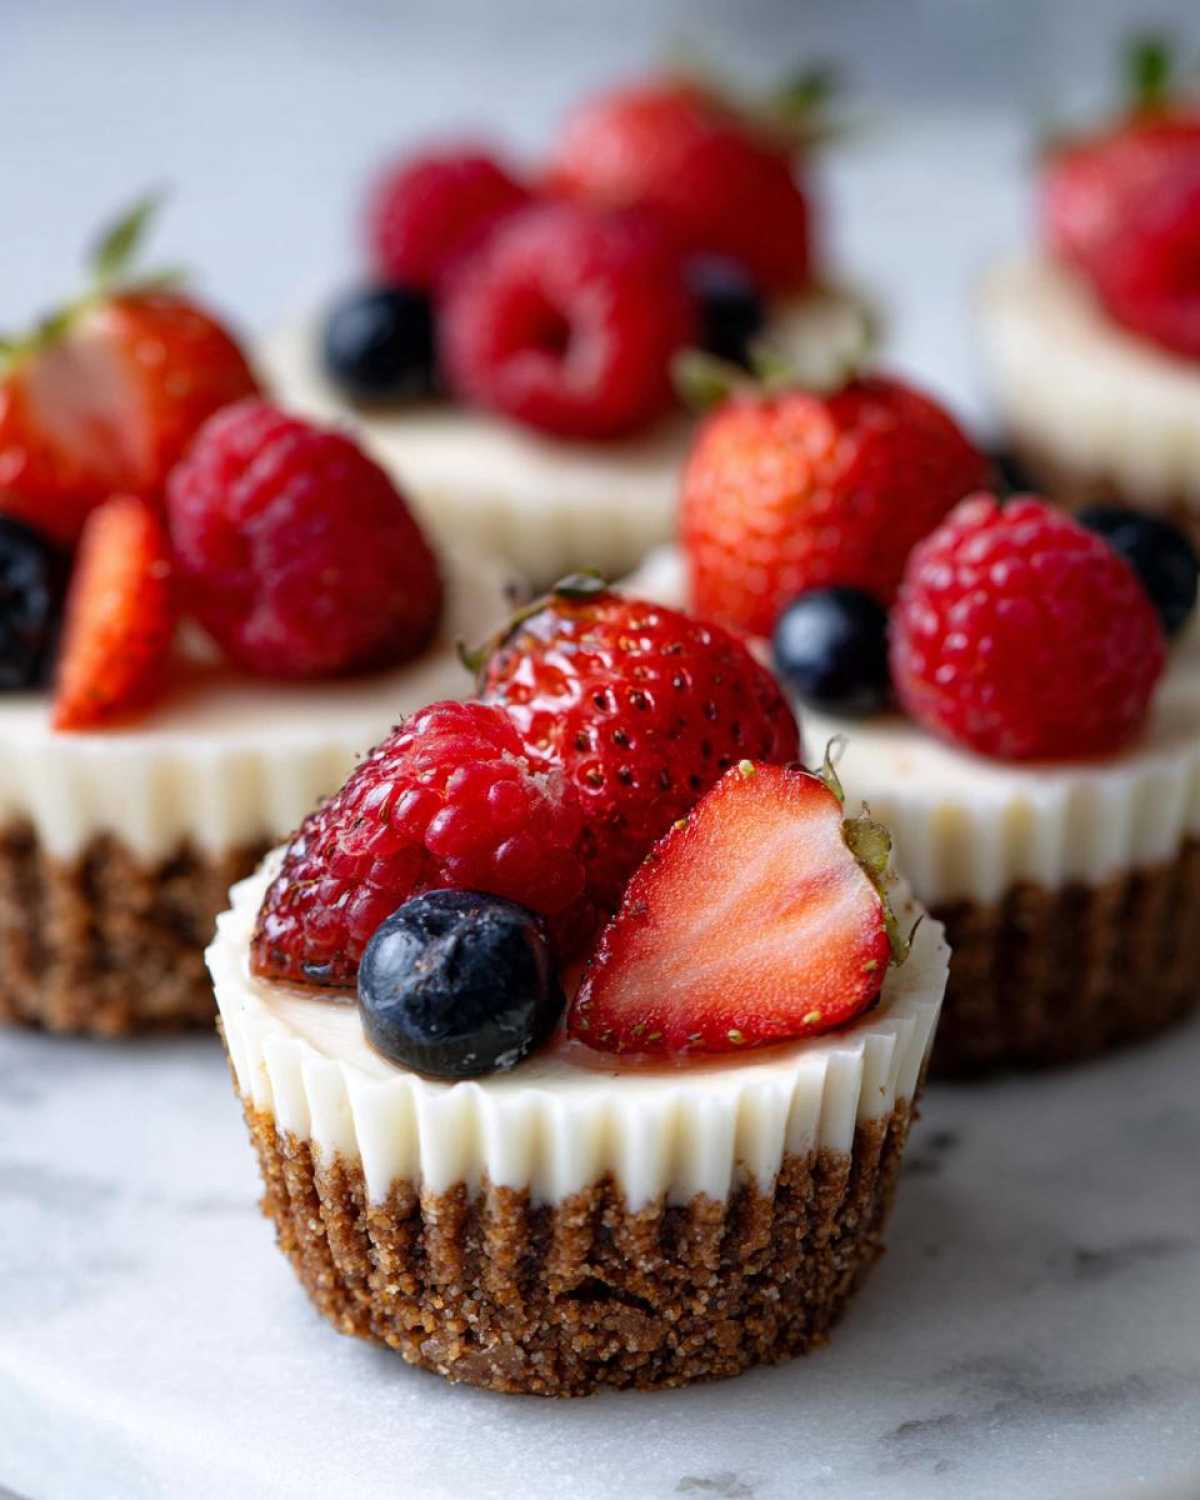
Tips for Success When Making Cheesecake Bites
I’ve rushed this recipe before, thinking I could get away with slightly cool cream cheese straight from the fridge, and wow, what a mistake! My cheesecake bites looked more like lumpy puddles than perfect little towers. That’s when I learned you absolutely must let the cream cheese come to room temperature. It’s the golden rule for getting those creamy cheesecake treats!
Here are a few other non-negotiable pointers I’ve collected for flawless results every time you make these small portion desserts:
- Room Temperature Is Key: Seriously, give your cream cheese at least an hour on the counter. If it’s cold, it won’t combine smoothly with the sugar, and you’ll spend ages trying to beat out those frustrating little lumps.
- Paper Liners Are Your Best Friend: When you line your mini muffin tin, use two paper liners per cup, overlapping them slightly. This protects the delicate sides and makes peeling them off for serving so much easier. No broken edges on these babies!
- Chill, Chill, Chill: Because these are no bake desserts, patience wins the race. If you try pulling them out after just two hours, they’ll deflate or smear when you try to top them. Stick to the four-hour minimum; they only get better the longer they sit in the cold.
I used to think I could sneak an extra one or two out before the 4-hour mark when making these for parties. Big mistake! The filling was too soft, and when I tried to press berries on top, the filling squished out the sides. It still tasted amazing, of course, but they looked sloppy. Now, I put them away and use that time to clean up the kitchen! You can find some other great general baking advice over on my baking blog while you wait for your treats to set!
Flavor Variations for Your Easy Cheesecake Bites
The beauty of these cheesecake bites is that they are like a blank canvas for your favorite sweets! While the original vanilla is truly divine, we can easily jazz these up for any gathering. If you’re planning a summer party, you absolutely need to try making the strawberry crunch cheesecake bites. That bright, textural topping is incredible against the creamy filling. To do that, you usually crush up shortbread or vanilla wafers along with freeze-dried strawberries and a little bit of melted butter to create that signature crunch!
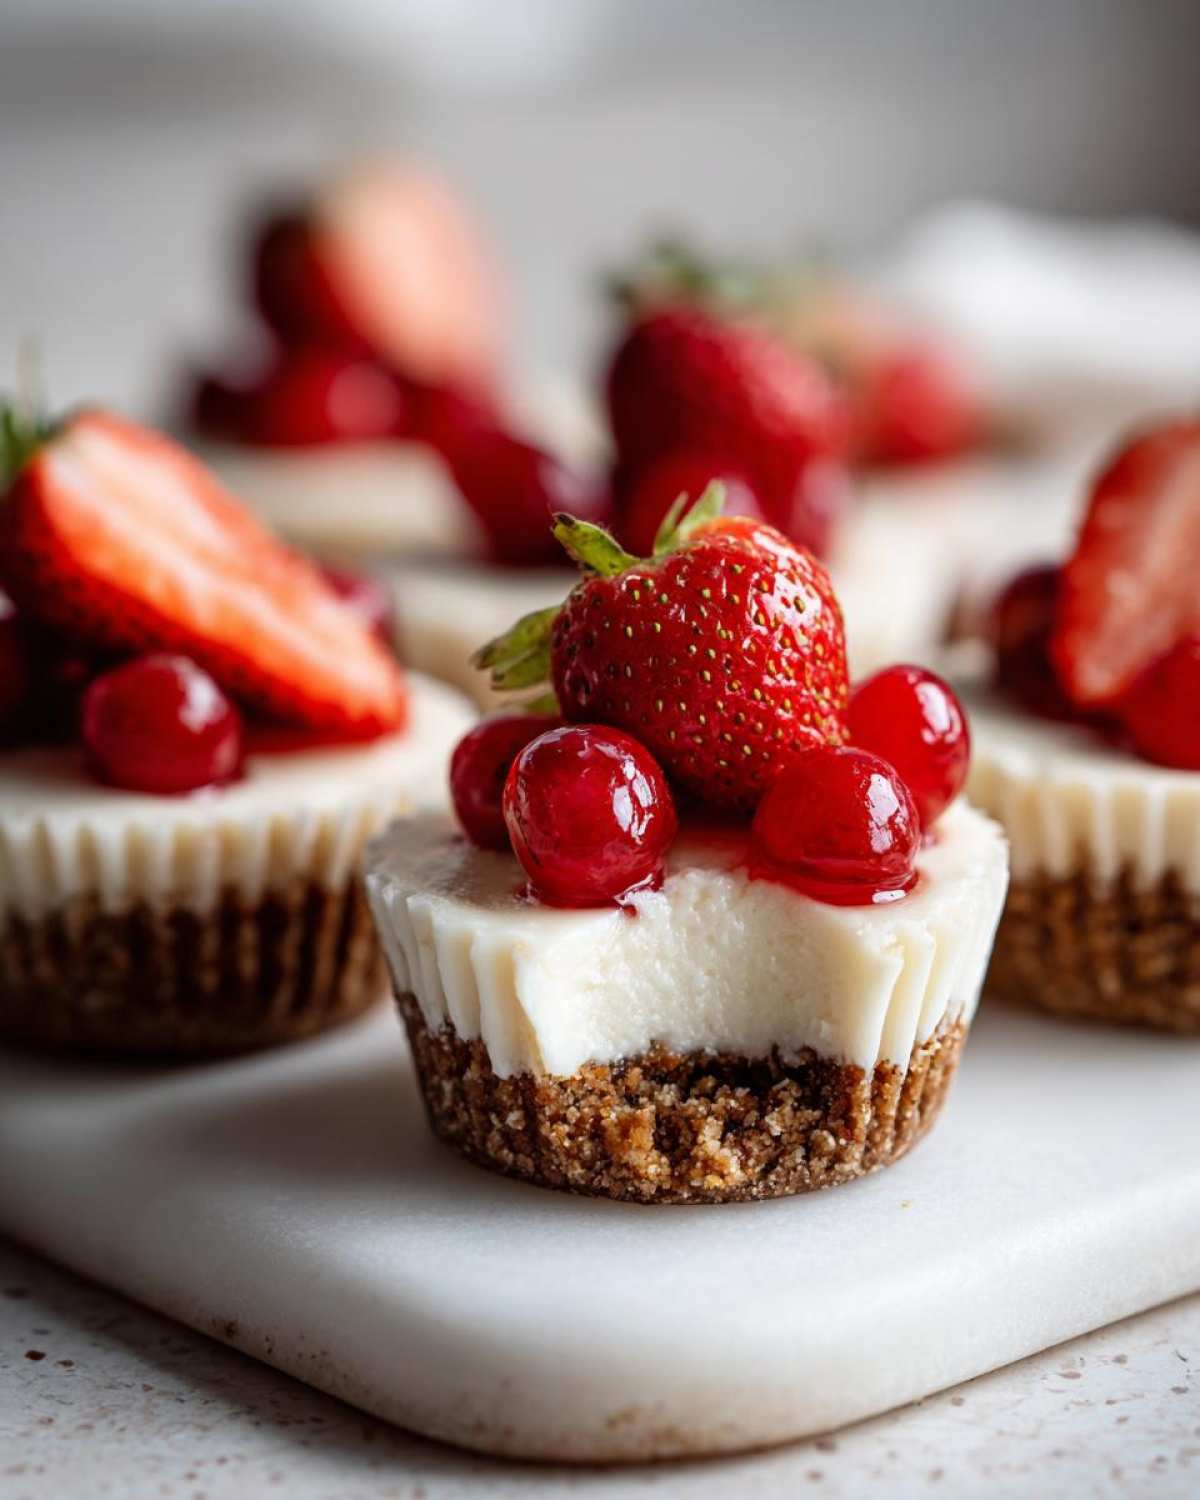
And if you’re feeling fancy and want something rich for a holiday event? Try the pink velvet twist! It’s so simple. Just take about one teaspoon of red food coloring—maybe a little pink for a gentler look—and swirl it into your filling right before you spoon it into the crusts. It gives you that slight color difference without altering the amazing texture of these miniature desserts.
Don’t forget about chocolate drizzle! Seriously, a simple melted dark chocolate zig-zag and you’ve transformed this into something truly decadent. You can find another great cookie version I love right here if you want more ideas: my favorite strawberry cheesecake cookies!
Storing and Serving Your Cheesecake Bites for Parties
You did the hard work, you perfected the chill time, and now you have these gorgeous, tempting little cheesecake bites! If you have leftovers—which, let’s be honest, might happen if you’re not serving them to dedicated dessert lovers—storage is super simple. I always keep mine in an airtight container in the fridge. They hold up really well! You can easily get four good days out of them, maybe even five, keeping them perfectly firm and fresh. That’s one of the perks of making no bake desserts, they have a nice little shelf life!
When you’re planning for a party, remember these are the perfect small portion desserts because people can grab one or two without feeling like they committed to half a slice of pie. I find that they pair brilliantly with just a hot cup of coffee after dinner. If you are mixing them onto a larger platter, keep them slightly chilled until just before serving. It keeps that gorgeous filling firm.
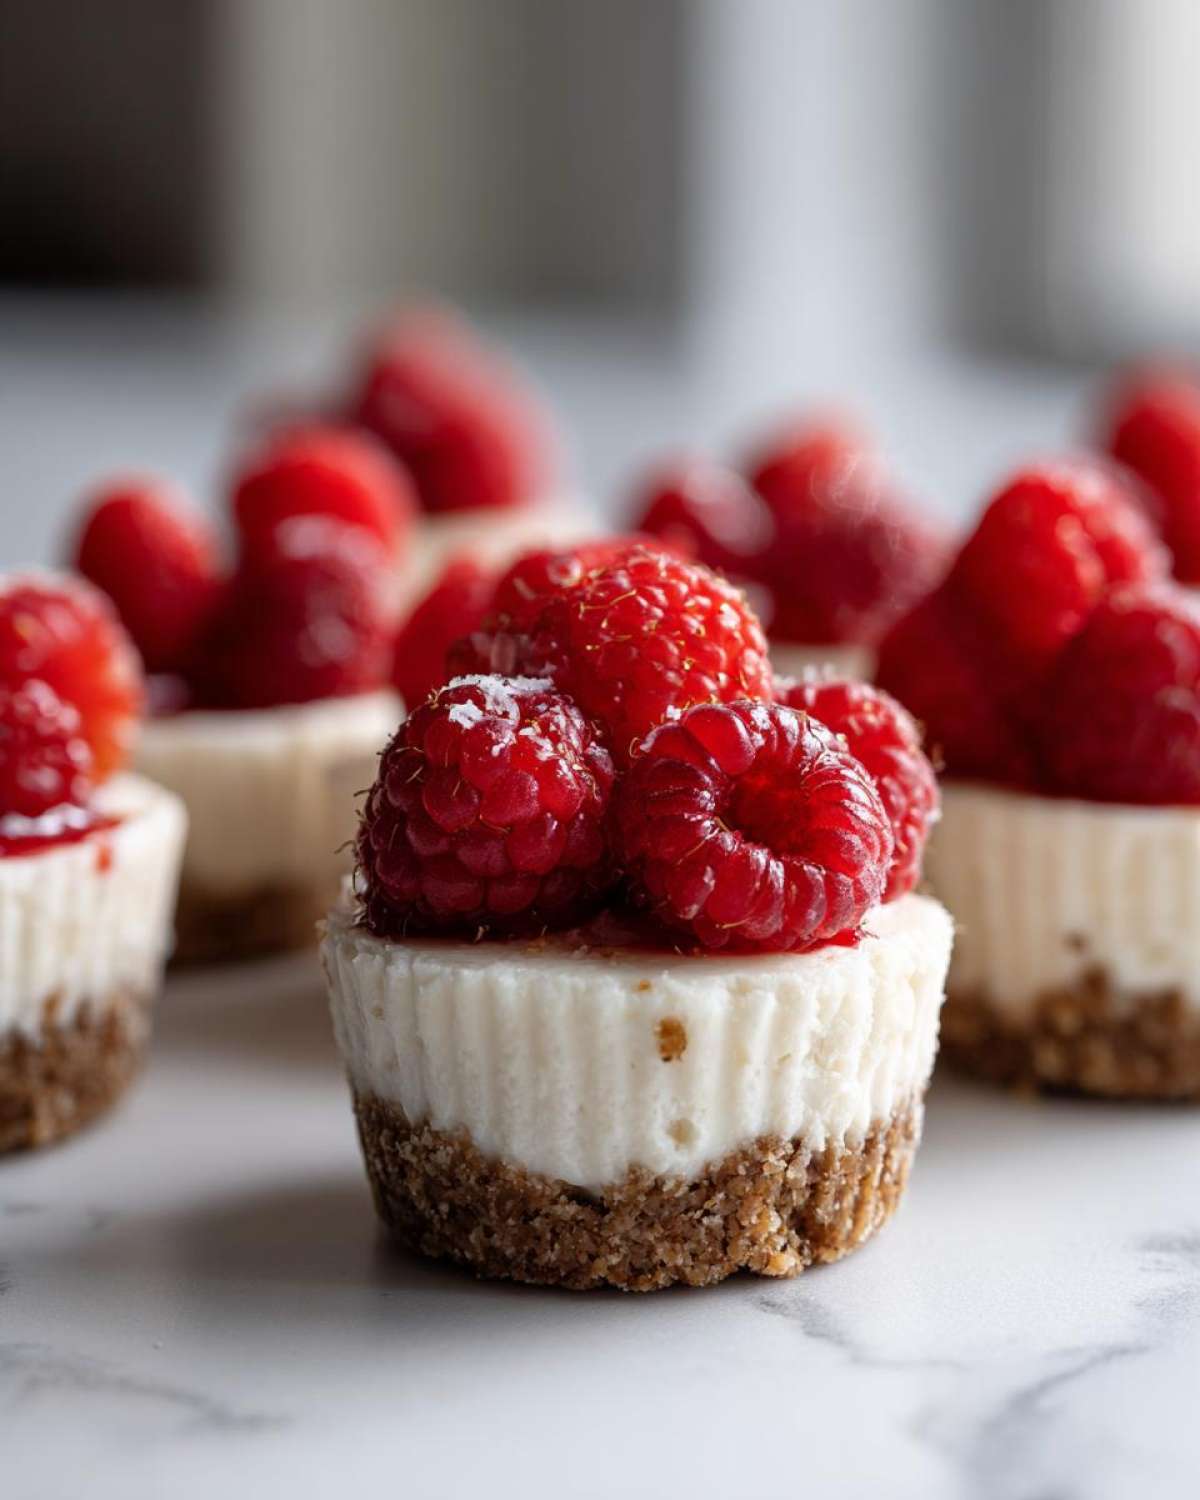
For presentation, I use little silver cupcake liners if I want them to look extra fancy for guests. Another serving trick I love is setting them next to something savory, like some of my marinated cheese cubes. The contrast between the salty cheese plate and the sweet, tart cheesecake bites is just divine! They’re honestly ready to go straight from the fridge to the party table!
Equipment Needed for Miniature Desserts
Okay, let’s talk gear! Since we’re aiming for these adorable mini cheesecake bites, having the right tools makes the whole process smooth as silk. This isn’t a recipe where you need a stand mixer for two hours, thankfully. It’s honestly pretty minimalist, which is why I love them so much for quick baking projects!
The most crucial item you absolutely must have on hand is the vessel for setting these delicious treats. You need a standard mini muffin tin. If your tin has 12 cups, you might need two, but the 24-cup ones are perfect because they match the yield exactly!
Here is my short list of essentials for these individual cheesecake desserts:
- Mini Muffin Tin: Preferably a 24-cup one—it’s just the perfect size for these small portion desserts.
- Paper Liners: I cannot stress this enough! Use the little decorative ones if you have them. They keep the sides clean and make presentation a breeze. Remember my tip about using two liners per cup? It prevents tearing when you pull the paper away later.
- Electric Mixer (Handheld or Stand): You need something to get that cream cheese perfectly smooth and incorporate that heavy cream without lumps. Doing this by hand is a serious arm workout, and the texture just won’t be as reliable for the best creamy cheesecake treats.
- Mixing Bowls: One medium bowl for the crust and one large bowl for the filling.
- Measuring Cups and Spoons: Precision matters, even in quick recipes!
That’s pretty much it! No springform pans, no water baths, just straightforward tools for making the best batch of cheesecake bites you’ve ever had. It’s proof that you don’t need a complicated setup to create genuinely impressive party desserts!
Frequently Asked Questions About Cheesecake Bites
It’s funny how even with the easiest recipes, people always have a few burning questions! I almost always get asked about making these ahead of time or fixing little texture issues. Since these cheesecake bites are so perfect for entertaining, I totally get why everyone wants to nail the prep!
Here are the things I hear most often when people ask about recreating these easy individual desserts.
Can I freeze these no bake cheesecake cups?
Yes, you absolutely can freeze these! That’s one of the huge perks of making no bake desserts; they freeze like a dream. I usually pop mine in the freezer plain—without any fresh berry toppings, which can get mushy. Just line them up on a baking sheet until they are totally frozen solid, then transfer them into an airtight freezer bag or container. They last beautifully for about a month!
When you’re ready to eat them, just pull out as many as you need and let them thaw in the fridge for about 3 to 4 hours until they are nicely chilled but soft enough to enjoy. If you try to thaw them on the counter, the crust can sometimes get a little soggy, so the fridge is your best bet for these mini cheesecake bites.
What is the best way to get clean edges on my cheesecake bites?
This is all about the temperature and the tools! If you struggle with your filling sticking to the paper liner or the sides coming out messy, it almost always means they weren’t chilled long enough. See my instruction about letting them sit for at least four hours? Don’t cheat that time!
My secret weapon for getting that impossibly smooth, professional look on top? An offset spatula! You don’t need a huge one; a small metal spatula works perfectly. Once they are thoroughly chilled, run the tip of a thin knife around the edge of the liner if you are nervous, and then use the spatula to gently lift the paper base up and away from the tin. If the surface isn’t perfectly flat after chilling, gently smooth the top of the filling with the side of that small spatula right before you add your drizzle or sprinkles. It cleans up any little imperfections wonderfully!
If you are looking for more general policy information on my site, I keep my privacy policy updated right here!
Estimated Nutritional Data for These Quick Dessert Ideas
I always try to be as upfront as possible about what goes into my recipes! You want to know what you’re feeding your family or what you are indulging in, and that’s totally fair. So, here is the nutritional breakdown for these little quick dessert ideas.
Please remember this is just an estimate because, you know, how much butter *I* use versus how much *you* use when drizzling chocolate can change things a tiny bit! This data is based on one standard serving of these delicious cheesecake bites using the core ingredients listed in the recipe.
This looks pretty reasonable for a rich dessert, especially since they are small portion desserts! You’re getting a solid dose of fat and sugar, as expected from cheesecake, but it’s all contained in that perfect little package.
- Serving Size: 1 bite
- Calories: 150
- Fat: 10g
- Saturated Fat: 6g
- Carbohydrates: 14g
- Sugar: 12g
- Protein: 3g
- Sodium: 110mg
I always focus on making sure the texture is spot-on for these no bake cheesecake cups, but keeping the ingredient list clean helps me keep this estimate pretty accurate for you all!
PrintEasy No-Bake Mini Cheesecake Bites

Simple recipe for small, individual cheesecake portions with a graham cracker crust, perfect for parties or quick desserts.
- Prep Time: 20 min
- Cook Time: 0 min
- Total Time: 4 hr 20 min
- Yield: 24 bites
- Category: Dessert
- Method: No-Bake
- Cuisine: American
- Diet: Vegetarian
Ingredients
- 1 1/2 cups graham cracker crumbs
- 1/4 cup granulated sugar
- 6 tablespoons unsalted butter, melted
- 16 ounces cream cheese, softened
- 1/2 cup powdered sugar
- 1 teaspoon vanilla extract
- 1/4 cup heavy cream
- Optional Toppings: Fresh berries, chocolate drizzle, or strawberry crunch topping
Instructions
- Combine graham cracker crumbs, 1/4 cup granulated sugar, and melted butter in a bowl. Mix until the crumbs are evenly moistened.
- Press about 1 tablespoon of the crumb mixture firmly into the bottom of each cavity in a standard 24-cup mini muffin tin lined with paper liners.
- In a separate large bowl, beat the softened cream cheese until smooth.
- Gradually beat in the powdered sugar and vanilla extract until fully combined.
- Slowly mix in the heavy cream until the mixture is light and creamy. Do not overmix.
- Spoon or pipe the cheesecake filling evenly over the crusts in the muffin tin.
- Chill the cheesecake bites in the refrigerator for at least 4 hours, or until firm.
- Before serving, top each bite with your choice of fresh berries or chocolate drizzle.
Notes
- For a firmer crust, bake the crusts for 5 minutes at 350°F before cooling and adding the filling.
- If you want a pink velvet variation, add 1 teaspoon of red food coloring to the filling mixture.
- These bites store well in an airtight container in the refrigerator for up to 4 days.
Nutrition
- Serving Size: 1 bite
- Calories: 150
- Sugar: 12
- Sodium: 110
- Fat: 10
- Saturated Fat: 6
- Unsaturated Fat: 4
- Trans Fat: 0
- Carbohydrates: 14
- Fiber: 0
- Protein: 3
- Cholesterol: 30