

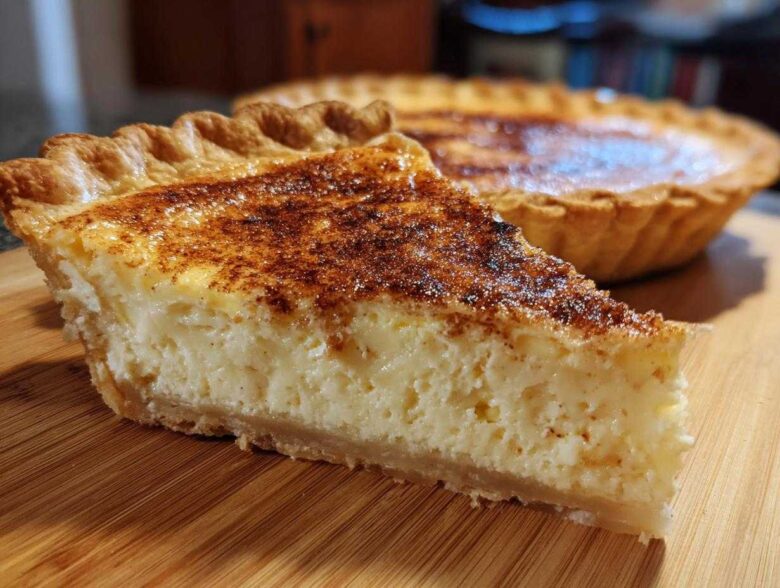
Oh, the sheer joy of a dessert that tastes exactly like coming home! Retirement gave Leo and me something we didn’t realize we were missing: time to slow down and actually *savor* the classics. We spent so long curating other people’s work, but now we’re rediscovering this wonderful, simple American comfort food. If you’ve ever been terrified of baking anything involving eggs—and trust me, I’ve seen Leo’s face when a cake sinks—you need this recipe tucked away. We cracked the code to the silkiest, dreamiest Old Fashioned, Fail-Proof Baked Egg Custard Pie. This isn’t just any dessert; it’s a warm hug from the past, ready in under an hour. You’re going to love how easy this homemade egg custard is to perfect.
Why This Old Fashioned Egg Custard Pie is Your New Go-To Recipe
Let’s be honest, the word “custard” can strike fear into the heart of even seasoned bakers. We’ve all seen those sad pies with weeping liquid or that rubbery, cracked top that looks like the surface of the moon. Not here! This is our easy egg custard recipe because we’ve engineered it to be truly forgiving. It’s the ultimate comfort food desserts, taking you right back to grandma’s kitchen without any of the drama. If you want to master this tradition, check out our general guide on fail proof baking tips!
Achieving a Smooth Custard Technique Every Time
The secret to that velvety finish is keeping things calm. We avoid high heat and we don’t beat those eggs into submission! Leo always reminds me that the goal is gentle incorporation, not aeration. When you follow our simple steps, you get a simple custard recipe that sets beautifully. It really is the key to that perfect creamy egg custard filling.
The Charm of a Classic Baked Custard
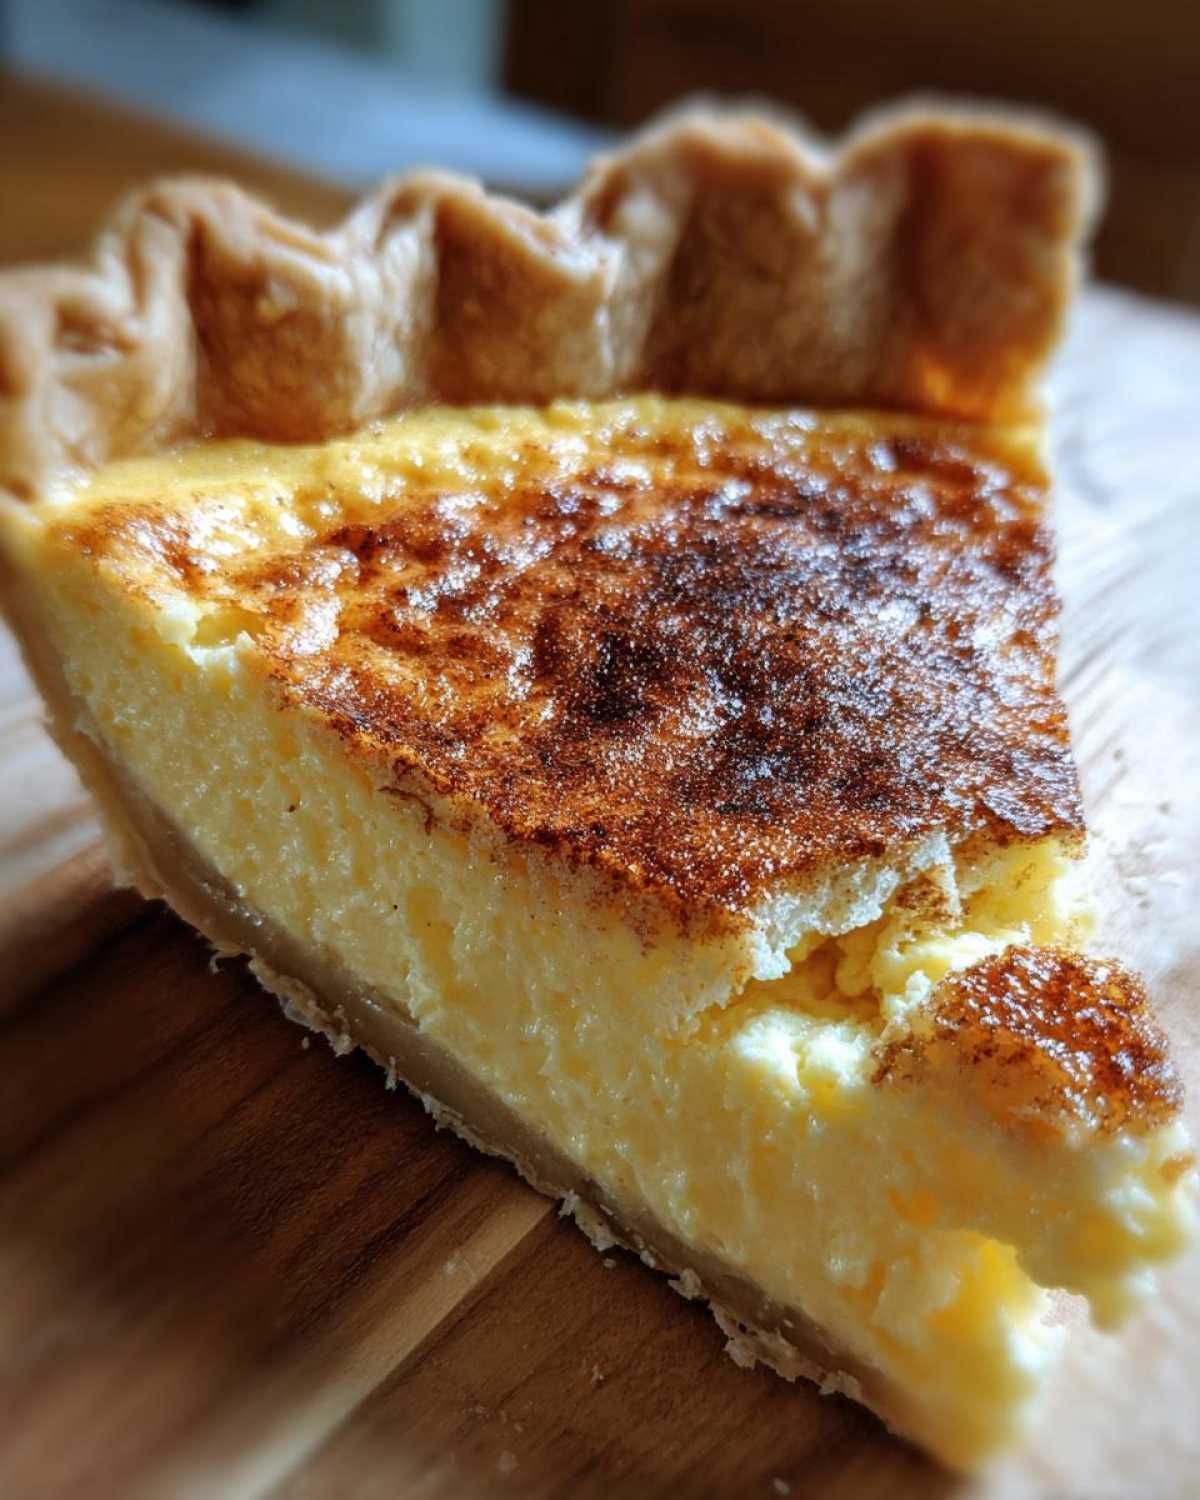
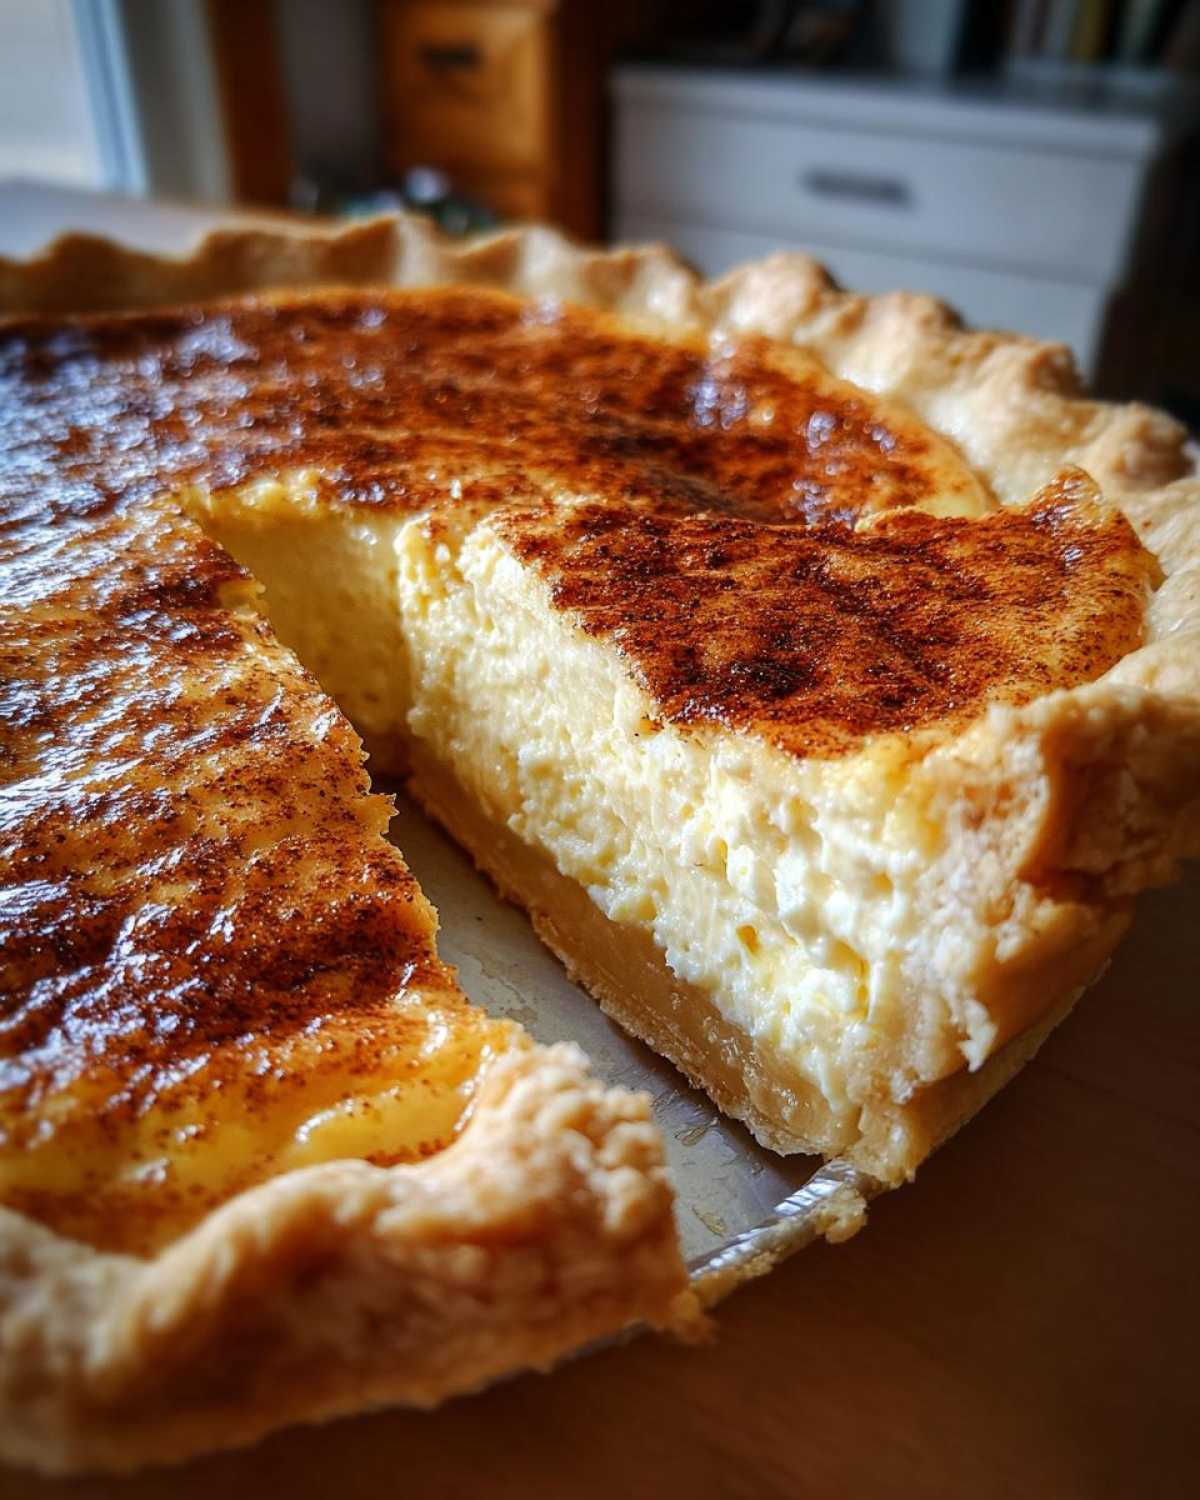
There’s nothing quite like the simple beauty of this dessert. It reminds me of the precious vintage dessert recipes we found tucked away in old community cookbooks. The best part? That unmistakable dusting of spice on top. That light sprinkle of nutmeg as the final touch turns this humble pie into something truly special—our favorite nutmeg sprinkled dessert!
Gathering Ingredients for Your Homemade Egg Custard
This is where we keep things wonderfully simple, friends. You don’t need fancy stabilizers or weird extracts to get a gorgeous result here. These ingredients are the foundation of tradition! I’m listing exactly what we use for our 9-inch pie, but if you hop over and check out my favorite buttermilk scones recipe, you’ll see I believe in accessible baking.
Make sure you have everything measured and ready before you start mixing. Since this process moves pretty quickly once the milk is warmed, you don’t want to be rummaging for the salt!
- 1 unbaked 9-inch pie crust (Seriously, use your favorite store-bought one if you’re in a hurry—I won’t tell!)
- 3 large eggs (Room temperature is slightly better, but don’t stress if they aren’t perfect!)
- 1/2 cup granulated sugar
- 2 2/3 cups whole milk (Leo uses half-and-half sometimes for an extra luxurious treat, but whole milk works perfectly for the classic texture.)
- 1 teaspoon pure vanilla extract
- 1/4 teaspoon salt
- 1/4 teaspoon ground nutmeg (This is strictly for sprinkling on top before baking.)
Step-by-Step: Making the Creamy Egg Custard Filling
This is where the magic happens, and I promise, there’s nothing scary about it! Once you get the rhythm down, making a beautiful egg custard is quicker than making spaghetti sauce. Remember what I said earlier about keeping things gentle? That principle applies right here. We are making a dessert, not mixing concrete!
Preparing the Base for a Perfect Egg Custard Pie
First things first: get that oven humming at 350 degrees F. While it warms up, take your unbaked pie crust and ease it into your 9-inch pie plate. No pre-baking needed for this one; we’re doing a full bake. Now for the mixing bowl. Grab those three large eggs. Leo always stands over me here because he insists I only whisk them lightly until the yolks and whites just meet. If you whip them vigorously like you’re making meringue, you introduce too much air, and guess what happens? Cracks! We need something silky.
The Water Bath Secret for Fail Proof Egg Custard
Okay, listen up, because this is the game-changer. If you want that utterly blissful, creamy egg custard filling that looks perfect even after cooling, you must use a water bath, or what the fancy folks call a *bain-marie*. Place your pie plate inside a larger roasting pan. Once the pie is filled and sitting in that big pan, carefully pour hot water into the roasting pan until it’s about halfway up the sides of your pie plate. This gentle, moist heat cooks the custard evenly and slowly—that’s how we guarantee a smooth result every single time. It’s the ultimate trick from our collection of easy recipes!
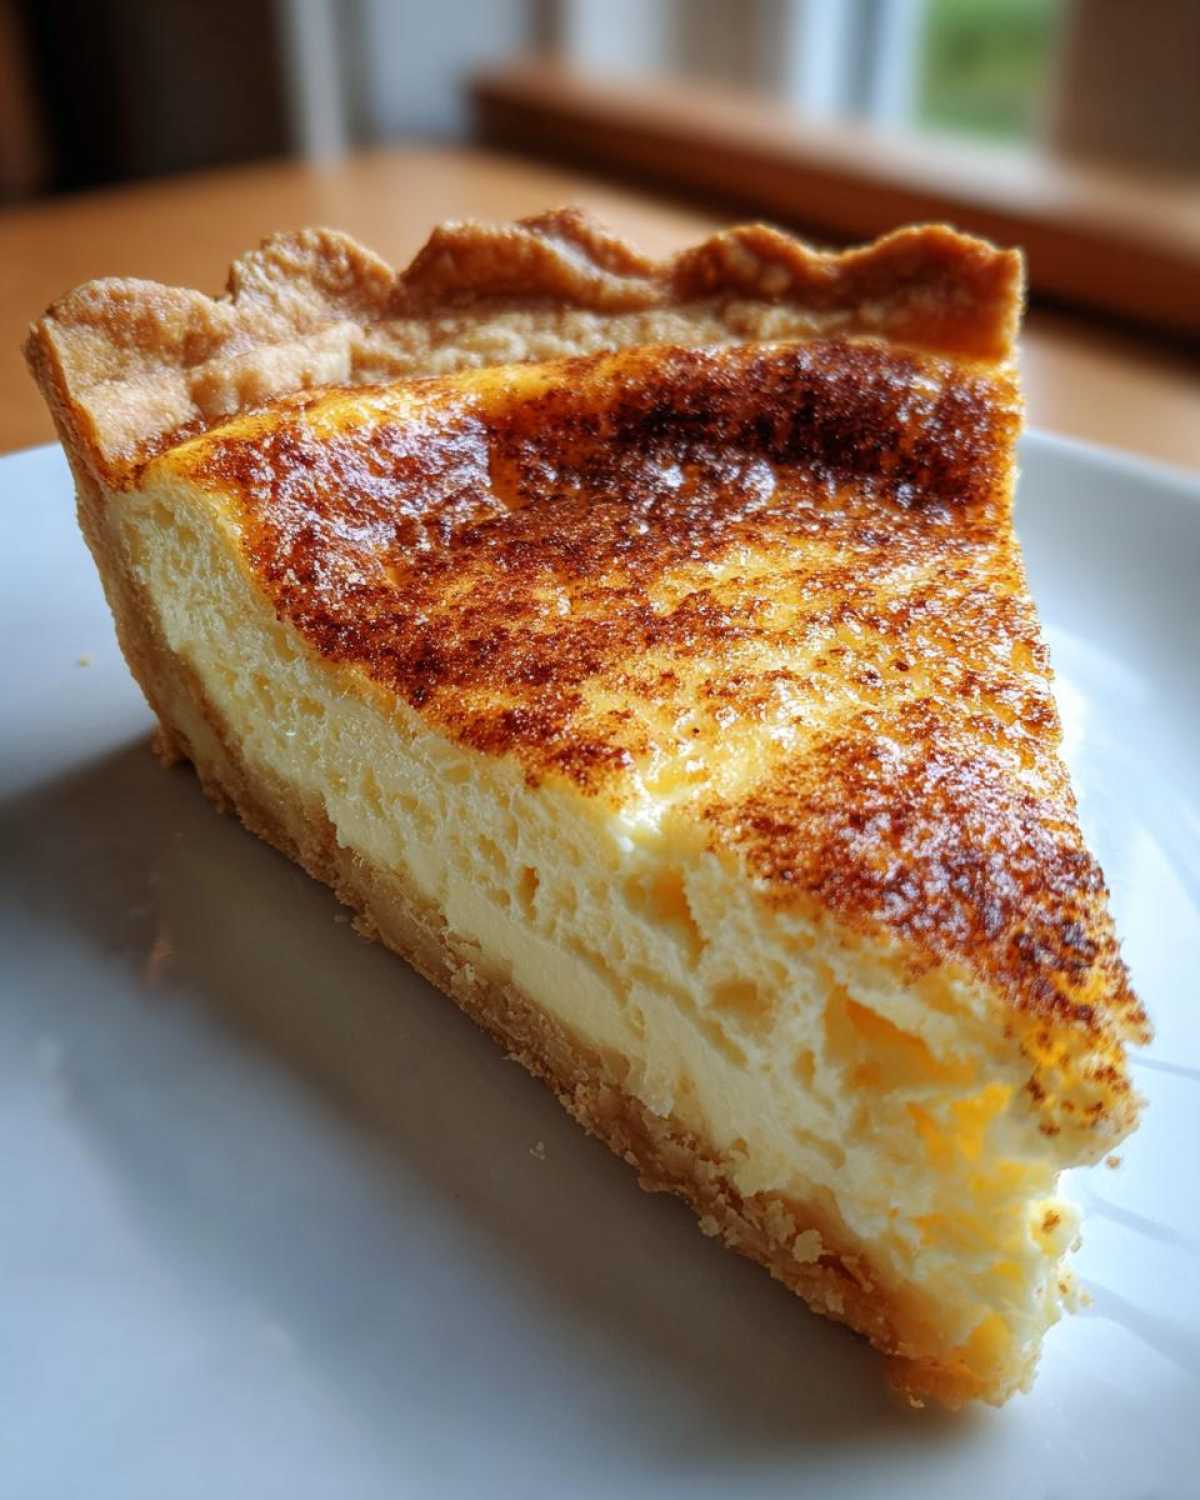
After gently whisking in the sugar, salt, and vanilla, slowly pour in your milk while you keep up that gentle whisking. Pour that beautiful mixture into your prepared shell and give the top a light dusting of nutmeg. It’s ready for the oven!
Baking and Setting Your Traditional Custard Dessert
Now comes the waiting part, and honestly, that’s the hardest bit when something smells this good! We slide that roasting pan—pie safe inside—onto the center rack. We let this traditional custard dessert bake for about 45 to 55 minutes. You can’t rely on the clock alone here; you have to watch it! The edges should look nice and firm, but when you gently nudge the side of the roasting pan, the very center should still have a little shimmy to it. Think of firm gelatin, not watery soup.
If you’re using a knife and checking near the center, it should come out mostly clean. If it comes out completely dry, you’ve baked it a minute too long, but don’t panic! It will still be delicious! As soon as you see that gentle jiggle, you need to carefully lift the pie plate out of that hot water bath. Seriously, be careful; that water is scorching hot!
Place the pie on a wire rack to cool completely. This is non-negotiable, especially with a dessert recipes with eggs like this one. It needs at least two full hours to set up properly. If you slice it too soon—and oh, I know you’ll want to!—the beautiful creamy structure will collapse into a puddle. Patience, my friends! This beautiful old-fashioned dessert is worth the wait. We talk all about planning dessert schedules for busy times in our post about easy holiday pies.
Expert Tips for the Best Homemade Egg Custard
Now that you know the steps, I want to share a few things Leo and I learned over the years. We’ve truly perfected this! If you’re aiming for the absolute top tier of this homemade egg custard—the kind that gets rave reviews at every potluck—these little nuances make all the difference. We consider these our insider secrets for foolproof baking!
If you’re loving the creamy texture so far, you’ll appreciate the care we take with the eggs. It’s all about nailing that smooth custard technique. You can read more about getting creamy texture right here in our guide to the best creamy recipes!
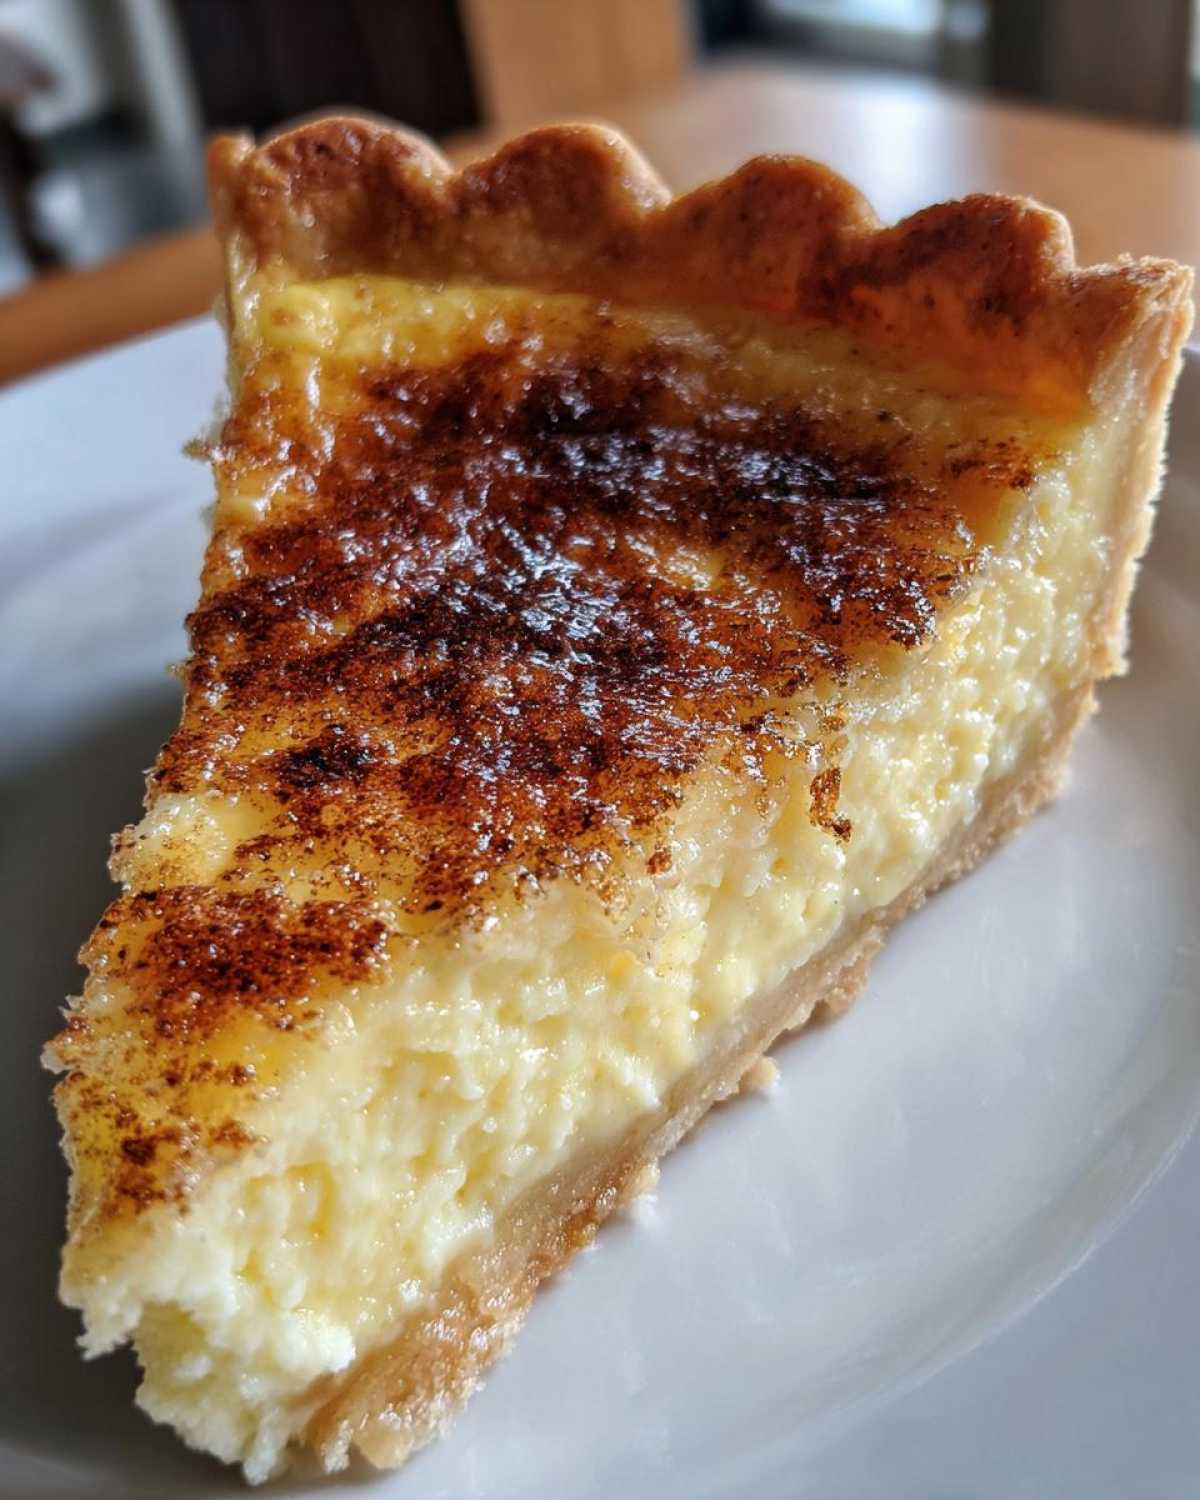
Here are the tried-and-true additions that elevate this from good to spectacular:
- Milk Swap for Richness: While whole milk is perfect, if you really want to spoil yourself (and your guests!), reduce the whole milk by half and substitute it with heavy cream. That extra fat content really deepens the flavor profile of this classic baked custard. It makes the custard feel substantial without being heavy.
- The Ramekin Shortcut: Don’t feel tied to a pie crust! If you are trying to cut down on crust prep or want individual servings, this recipe works beautifully for single-serving desserts. Just pour the mixture into 6 individual ramekins. Remember to place those ramekins inside the larger roasting pan for the water bath, and you’ll likely shave about 10 minutes off the baking time. This is such an easy egg custard recipe when you go this route.
- Preventing Cracks with Slow Cooling: We talked about the water bath preventing cracks during baking, but the cooling process is just as important for fail proof baking tips. Never put a hot custard directly into a cold fridge! The rapid temperature change can cause shrinkage and cracks. Let the pie cool on the counter for a good two hours first. For an original take, you can check out the method used in this lovely Old Fashioned Egg Custard Pie recipe.
Following these specific notes ensures you get that gorgeous, uniform texture the first time you try it. It’s these small details that turn a standard dessert into a cherished standard!
Variations on the Classic Egg Custard
While I absolutely adore this pie exactly as Leo writes it—classic, simple, and pure—sometimes you need to shake things up a bit, right? Retirement has taught me that routine is comforting, but a little spontaneous creativity keeps the energy flowing! You can easily riff on this base egg custard recipe without losing that essential creamy texture we worked so hard for. Nobody wants to mess up a perfect smooth custard technique.
We always keep the egg-to-milk ratio the same because that’s the non-negotiable part of this easy egg custard recipe. But flavorings? Go wild! If you’re looking for a bright burst of sunshine, try adding the zest of one lemon right into your milk mixture when you’re warming it through. It gives a wonderful lift to the richness of the dairy.
Another fun trick is boosting the spices. If you’re not a fan of just nutmeg on top, try mixing a tiny pinch of cardamom and cinnamon—about 1/8 teaspoon total—into your sugar before you add the milk. It pairs beautifully with vanilla. I made a version like that recently when I was testing out some ideas for my famous lemon scones; the warmth played so nicely with the citrus notes!
Now, I know we’ve had people ask about different dietary approaches too. If you’re exploring low-carb options, you’re in luck! It’s shocking how well this simple filling translates to keto baking, provided you swap out the sugar for your preferred sweetener. You can find a great example of how to make a Keto Egg Custard that works perfectly in the oven right over here: keto-friendly baked custard. They do a fantastic job of keeping that silky smooth result even with the sweetener substitutions. It proves that our classic baked custard structure is robust enough for almost anything!
Serving Suggestions for Your Egg Custard Pie
Once that beautiful pie has set up completely—which means it’s been thoroughly chilled, I know, I know, it’s torture—it’s time to think about what to serve alongside it! This creamy egg custard filling, being so wonderfully simple and delicate in flavor, pairs with almost anything. It’s the perfect base for showcasing fresh, seasonal flavors.
Leo’s preference, always leaning towards the traditional, is just a whisper of fresh cinnamon or nutmeg sprinkled on top right before serving, sometimes even a light dusting of powdered sugar if he’s feeling adventurous. But if you want to dress it up for a company dinner, I have some ideas that really make this a showstopper.
For a vibrant contrast to the rich, smooth dessert, you absolutely must lean into fresh fruit. Since we are already deep into spring flavors, I highly recommend making a quick bowl of macerated strawberries. Just slice fresh strawberries, toss them with a tiny bit of sugar, and let them sit for 20 minutes until they release their juice. Those bright, slightly tart juices cut through the richness of the custard perfectly. It’s a fantastic pairing, and you can find my go-to method for perfect berries in my strawberry shortcake recipe post.
Another incredibly easy companion is just a simple dollop of freshly whipped cream. You don’t even need to sweeten it much! The slight bitterness of unsweetened cream against the sweet vanilla custard? Perfection. If you prefer something bottled, a good quality vanilla bean ice cream melts slowly and creates its own lovely little sauce around the slice.
Honestly, this is such a versatile dessert recipes with eggs that you really can’t go wrong. The key is keeping the accompaniment lighter than the pie itself so the subtle, perfect texture of the homemade egg custard remains the star of the show!
Storing and Reheating Leftover Egg Custard
I know, I know, this homemade egg custard is so good you might think you won’t have any leftovers! But if, by some miracle, you do, storage is super easy. Because this is one of those wonderful dessert recipes with eggs, freshness matters most. Simply cover that pie tightly—plastic wrap directly on the surface works well to prevent condensation—and pop it into the refrigerator. It keeps beautifully for about three or four days, still holding onto that creamy texture.
You don’t really need to reheat it; we always eat it chilled or at room temperature, which is how that custard sets up the best! If you happen to have some individual ramekins leftover, pop those in too. If you’re looking for other tasty make-ahead desserts, you have to try my recipe for easy apple crumble; that stores like a dream, too!
Frequently Asked Questions About Egg Custard
Why did my homemade egg custard crack on top?
Oh, this is the question I get asked the most! Cracking almost always comes down to temperature shock or stirring too aggressively. When you whisk your eggs too much, you incorporate air bubbles that expand rapidly in the oven, leading to that sad, ruptured surface. The other big culprit is baking without the gentle heat of a water bath, or worse, pulling it out of the oven too fast. If you follow our instructions to use the bain-marie, you’re making this an easy egg custard recipe that avoids cracks entirely!
What is the secret to a truly creamy egg custard filling?
Smoothness comes from patience in two key areas: mixing and cooling. As I mentioned, don’t over-whisk the eggs—just enough to combine. Then, once it’s baked, you must let it cool slowly on the counter before chilling. That slow transition allows the proteins in the eggs to set up evenly around the milk and sugar. This slow set is what gives you that beautiful, velvety texture in this classic baked custard. For more general kitchen wisdom, check out my tips in the post about our cozy lentil soup!
Can I use this easy egg custard recipe without a pie crust?
Absolutely! If you want the simplest version of this dessert, often called baked custard cups, just leave the crust out. We make this variation often when we want something quick, especially if we are short on time just before a big holiday meal. Pour your mixture into buttered ramekins, use the water bath as directed, and reduce the baking time slightly. It’s just as delicious and even easier to serve!
Is there any difference between an ‘Old Fashioned’ and a modern custard pie?
Usually, the difference is density and flavoring. Modern recipes sometimes call for cornstarch or flour to stabilize the mixture, or they use lower-fat milk, leading to something more like a quiche filling consistency. Our old fashioned egg custard relies purely on the eggs and the right proportion of whole milk for structure. We skip the stabilizers, which means you taste the pure vanilla and nutmeg in every bite. For another authentic take on this pie, you might enjoy the approach found in this classic egg custard pie recipe.
Share Your Tasty Tribune Egg Custard Creations
Now that you’ve experienced the magic of smooth, creamy, classic baking, I really, truly want to hear about it! Leo is already buzzing, hoping someone will post a photo of their perfectly nutmeg-sprinkled top. We live for those reader updates. Honestly, seeing your perfectly set, crack-free custard pies is better than finding a first edition book!
Did you use the water bath? Did it actually turn out to be the fail proof baking tips strategy we promised? Don’t keep that success a secret! Head down to the comments section and tell us everything. Let the next person who is nervous about making an easy egg custard recipe know that you crushed it.
We love seeing your unique takes, too. If you added a little extra vanilla, or tried serving it with a homemade raspberry sauce, snap a picture and tag us on social media—we promise to share! If you ever have a question or just want to send us a note about how much you enjoyed one of our recipes, you can always reach out to us via our contact page. Happy baking, my friends. We can’t wait to read your reviews!
PrintGrandma’s Fail-Proof Old Fashioned Egg Custard Pie

You deserve a perfectly smooth, creamy egg custard every time. This classic baked custard pie uses simple ingredients and a reliable technique to give you that nostalgic, comforting dessert without any cracking or weeping. It is an easy holiday pie that tastes like tradition.
- Prep Time: 15 min
- Cook Time: 50 min
- Total Time: 65 min
- Yield: 8 servings
- Category: Dessert
- Method: Baking
- Cuisine: American
- Diet: Vegetarian
Ingredients
- 1 unbaked 9-inch pie crust (use your favorite homemade or store-bought crust)
- 3 large eggs
- 1/2 cup granulated sugar
- 2 2/3 cups whole milk (or half-and-half for extra richness)
- 1 teaspoon pure vanilla extract
- 1/4 teaspoon salt
- 1/4 teaspoon ground nutmeg (for topping)
Instructions
- Preheat your oven to 350 degrees F. Place your unbaked pie crust into a 9-inch pie plate.
- In a medium bowl, lightly whisk the 3 large eggs just until the yolks and whites combine. Do not over-beat the eggs; you want to avoid incorporating too much air for a smooth custard.
- Whisk in the sugar, salt, and vanilla extract until the sugar begins to dissolve.
- Slowly pour in the milk while continuing to whisk gently. Mix until everything is just combined.
- Pour the custard mixture into the unbaked pie shell.
- Sprinkle the top evenly with the ground nutmeg. This is Leo’s favorite part for that classic flavor.
- Bake the pie on the center rack for 45 to 55 minutes. For a fail-proof result, use a water bath (bain-marie): place the pie plate inside a larger roasting pan and carefully pour hot water into the roasting pan until it reaches halfway up the sides of the pie plate.
- The custard is done when the edges are set, and the center jiggles slightly like firm gelatin when you gently nudge the pan. A knife inserted near the center should come out mostly clean.
- Carefully remove the pie from the water bath (if using) and let it cool completely on a wire rack for at least 2 hours before slicing. The custard will continue to set as it cools.
- Serve chilled or at room temperature. This creamy egg custard filling is best enjoyed the day it is made.
Notes
- To prevent a cracked top, bake the custard slowly using a water bath. This gentle, moist heat cooks the eggs evenly.
- For a richer, more traditional flavor, substitute the whole milk with 1 1/3 cups whole milk and 1 1/3 cups heavy cream.
- If you are skipping the pie crust for a simple baked dessert, pour the mixture into 6 individual ramekins and bake them in the water bath for 35-40 minutes.
Nutrition
- Serving Size: 1 slice
- Calories: 280
- Sugar: 22
- Sodium: 180
- Fat: 13
- Saturated Fat: 6
- Unsaturated Fat: 7
- Trans Fat: 0.2
- Carbohydrates: 30
- Fiber: 1
- Protein: 10
- Cholesterol: 110