

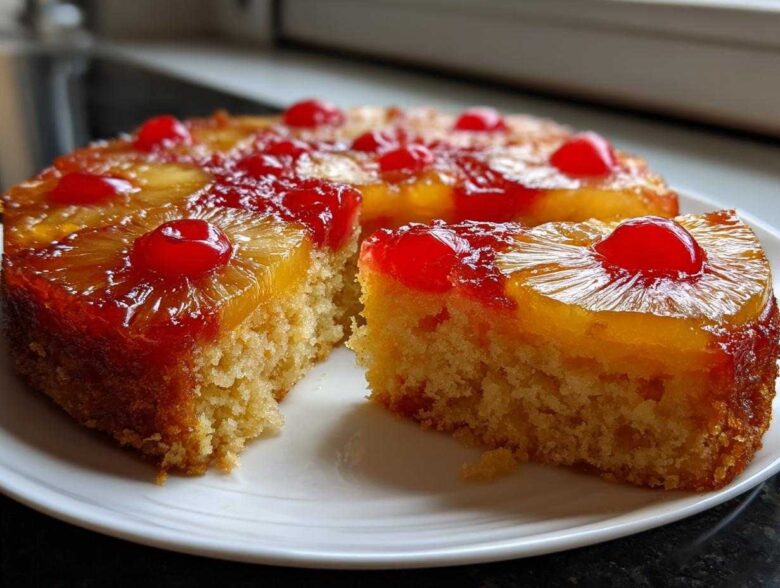
If there’s one dessert that instantly transports me back to school potlucks and glamorous mid-century dining rooms, it has to be the classics! We’re talking about the kind of recipe that never goes out of style, the one everyone requests when you bring it to a party. For us here at the Tribune, that means we are diving headfirst into the pineapple upside down cake. Oh, Leo absolutely lives for making this. I swear, the minute he spots a gorgeous can of pineapple rings, he starts humming some old tune and pulls down his favorite cast iron skillet. It’s rich, it’s tropical, and honestly, it’s deceptively simple to make a really show-stopping version. Forget those dry imitations; we’re making the real deal today—you can check out some of our other favorite recipes over on the main blog while you wait! You’re going to see why this beautiful, fruity creation is still king after all these years!
Why This is the Best Pineapple Upside Down Cake Recipe
We’ve tried a million ways to make this classic shine, and I promise you, this version hits all the right notes. When Leo steps up to create his Caramelized Pineapple Cake, he focuses on two non-negotiables: that gorgeous, thick, sticky topping and a cake crumb that stays wonderfully tender. It’s what separates the okay versions from the ones people talk about for months. Leo insists that the magic is in respecting the base layers. He says, “It’s simple cooking elevated by technique!” That’s what makes ours the Moist Pineapple Upside Down Cake people always ask for.
Achieving Perfect Caramelization Every Time
Don’t skimp on the topping preparation; this is where all the flavor pools up! We use good quality unsalted butter and pack the brown sugar down firmly over it before the fruit goes on. When that melts in the oven, it mixes with the fruit juices to create that signature thick, dark amber caramel. It’s warm, buttery, and just sticky enough to make flipping the cake an event!
Tips for a Truly Moist Pineapple Upside Down Cake
Moisture is absolutely key here, right? After arranging the rings, we don’t just toss the pineapple juice; we save it! Whispering that reserved juice into the milk before adding it to the batter brings an extra burst of tropical flavor deep inside the cake. Beyond that, remember my number one rule: mix the batter just until the fat and flour stop fighting! Overmixing is the quickest way to ruin a beautiful pineapple upside down cake.
Gathering Ingredients for Your Classic Pineapple Upside Down Cake
Okay, now we get serious! Baking is like following a good set of directions, and we need everything measured out perfectly before we start layering. You know how Leo is; he likes everything exactly where it should be before he starts composing his batter. Having everything ready—what bakers call “mise en place”—keeps the mixing calm and prevents any last-minute scrambling. This recipe uses standard pantry staples, but the quality of your pineapple really makes a difference!
Topping Ingredients for the Buttery Pineapple Cake
This simple mixture forms that famous gooey blanket when you flip the cake. Remember, preparation here means no sadness later when your fruit sticks! Make sure you drain those pineapple slices well, but save that lovely juice for the cake batter—that’s our little secret weapon for moisture.
- 1/2 cup unsalted butter, melted
- 3/4 cup packed light brown sugar
- 1 (20 ounce) can pineapple slices in juice, drained (reserve juice)
- 10 maraschino cherries, drained
Cake Batter Ingredients for the Homemade Pineapple Cake
This is the heart of the cake! The right balance of dry and wet keeps that crumb soft and tender. I always make sure my butter is softened, not just slightly melty, for the creaming step later on. It’s this attention to detail that ensures you end up with an exceptional Homemade Pineapple Cake that tastes like it came straight from a 1950s cookbook.
- 1 1/2 cups all-purpose flour
- 1 1/2 teaspoons baking powder
- 1/2 teaspoon salt
- 1/2 cup (1 stick) unsalted butter, softened
- 3/4 cup granulated sugar
- 2 large eggs
- 1 teaspoon vanilla extract
- 1/2 cup milk
- 1/4 cup reserved pineapple juice
Step-by-Step Instructions for Baking Your Pineapple Upside Down Cake
Now for the fun part! This is where Leo takes the lead because assembling the layers requires a specific rhythm, kind of like reading sheet music before you play it loud. Preparing this cake isn’t hard by any means, but timing is everything if you want that fruit topping to look perfect. We need that butter melted just right and the batter mixed quickly but gently. Think about pouring this gorgeous batter right over those shiny pineapple rings—it’s such a satisfying moment! We’re aiming for the best result, so trust my directions here, especially when it comes to the cooling time. This is how we guarantee you get the most beautiful, classic pineapple upside down cake.
Preparing the Caramelized Topping Layer
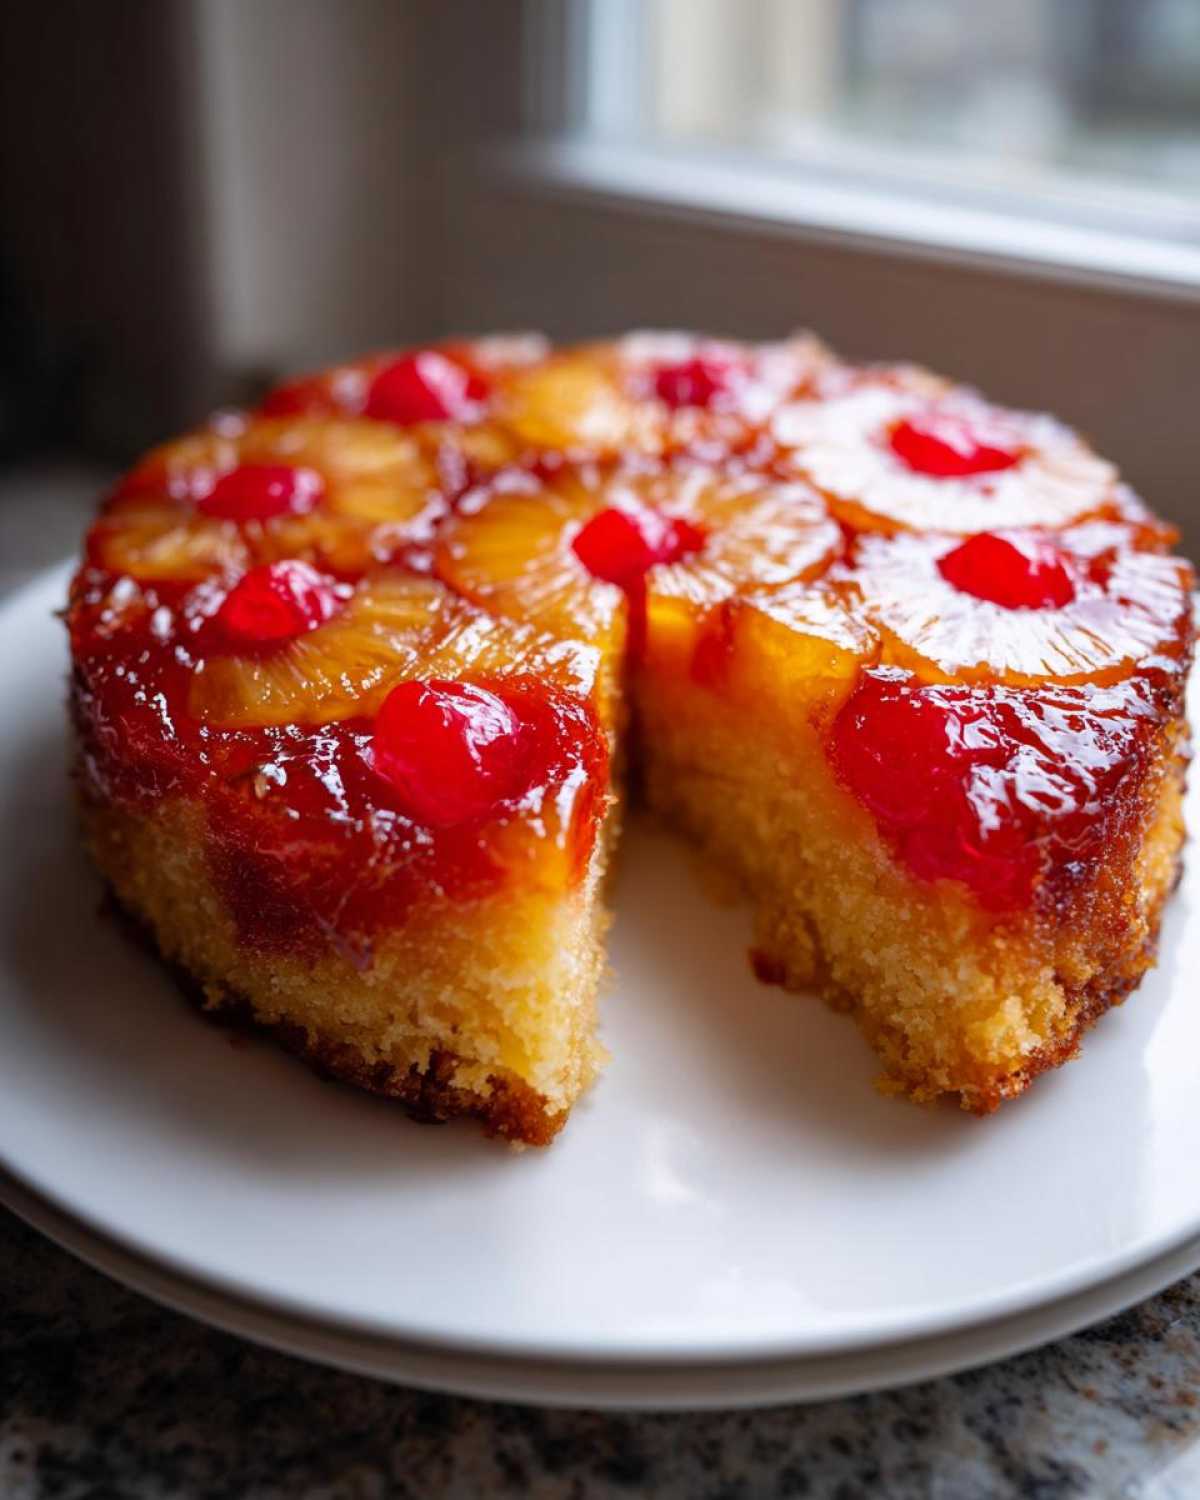
First things first: get your oven preheated to 350°F (175°C). Grab that 9-inch round cake pan—it’s the perfect size! We start by pouring in that 1/2 cup of melted butter right into the bottom. Next, sprinkle that rich brown sugar evenly over the butter. Don’t be shy! Then, artfully arrange your drained pineapple slices over the sugar mixture. Once the rings are placed, pop one of those bright red maraschino cherries right into the middle of each ring. Isn’t that visual just divine?
Mixing the Batter for the Best Pineapple Upside Down Cake
While the topping sits pretty, whisk your flour, baking powder, and salt together in a separate bowl. Set that dry mix aside. Now, in your large bowl, cream that softened butter and the granulated sugar until it gets light and fluffy—this creates those lovely little air pockets. Beat in your eggs one at a time, making sure to mix well after each addition, followed by the vanilla. Next, we add the milk and the reserved pineapple juice together, and now you alternate! Add a third of the dry stuff, mix gently, then half the juice mixture, mix gently, and repeat. Always start and end with the dry ingredients. Promise me you won’t overmix this; we want a soft cake, not a tough one, for this incredible pineapple upside down cake.
Baking and Inverting the Pineapple Upside Down Cake
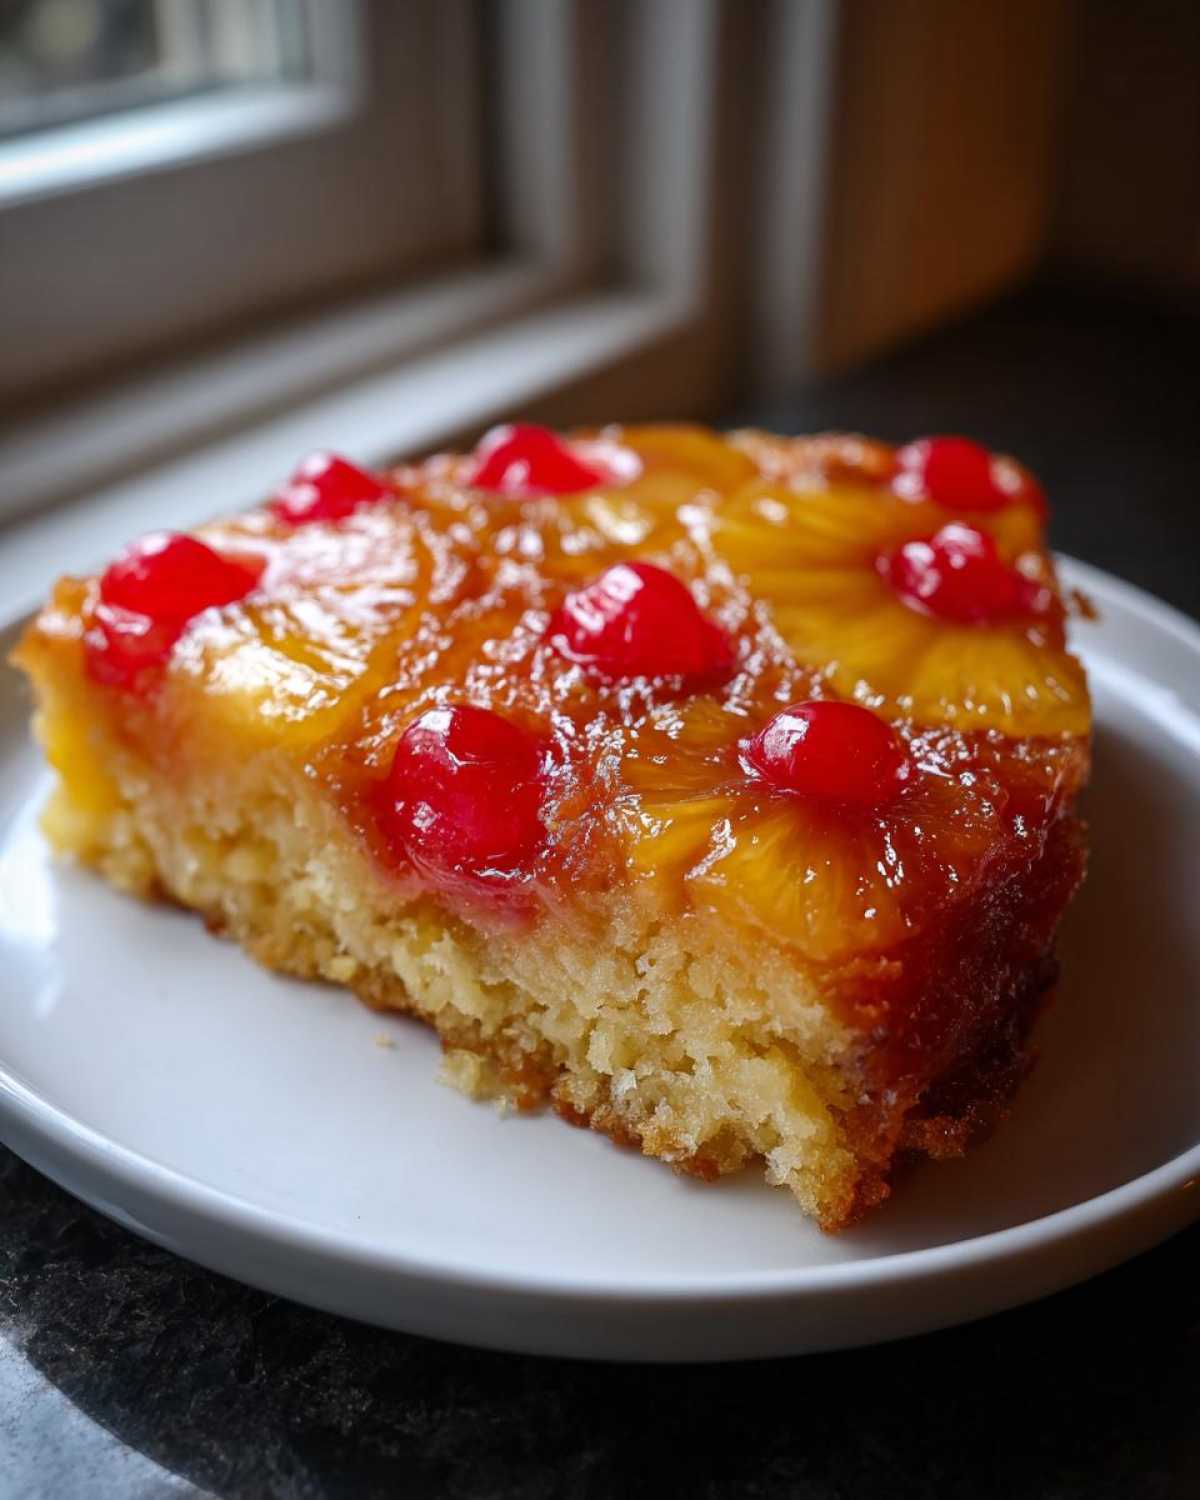
Pour that mixed batter right over your prepared fruit layer and spread it smooth. Pop it in the oven for about 35 to 40 minutes. Use the toothpick test—it must come out clean! This is critical. Now, here’s Leo’s golden rule which I enforce: let the cake cool *only* for five minutes in the pan on a wire rack. No more, no less! After those five minutes, put your serving plate upside down over the pan, grip both tightly, and flip it! Quick, confident movement is best, sweet baker. If a cherry or a piece of pineapple decides to stick behind, don’t panic! Just pick it up and place it back where it belongs on your stunning pineapple upside down cake. It happens to the best of us!
If you’re looking for another easy, cozy bake, you can check out how we make our Easy Apple Crumble Recipe next!
Variations on the Classic Pineapple Cake
Now, I know Leo loves that classic 9-inch flip, but thinking outside the pan is where baking gets really fun! If you plan on making this for a big crowd or if you just don’t want the anxiety of that big flip, we have some wonderful adaptations. We’ve used this exact buttery cake recipe to create a gorgeous Pineapple Upside Down Bundt Cake and even individual treats. We even talked about making cheesecake versions over here when we did NY Style Cheesecake!
It’s so easy to transition the recipe; you just need to rethink the surface area. Whether you opt for a towering Bundt or cute little single servings, the core flavors of the pineapple upside down cake remain unbeatable for a tropical treat.
Making a Pineapple Upside Down Bundt Cake
If you’re using a standard Bundt pan, you absolutely must take extra care greasing it. Use that cake goop we talked about, or really rub down every nook and cranny with softened butter and a dusting of flour or sugar. Because the batter sits deeper in a Bundt, you’ll likely need to add about 10 to 15 minutes to the baking time. Keep checking that center until your toothpick emerges clean, just like with the round pan!
Creating Mini Pineapple Upside Down Cakes
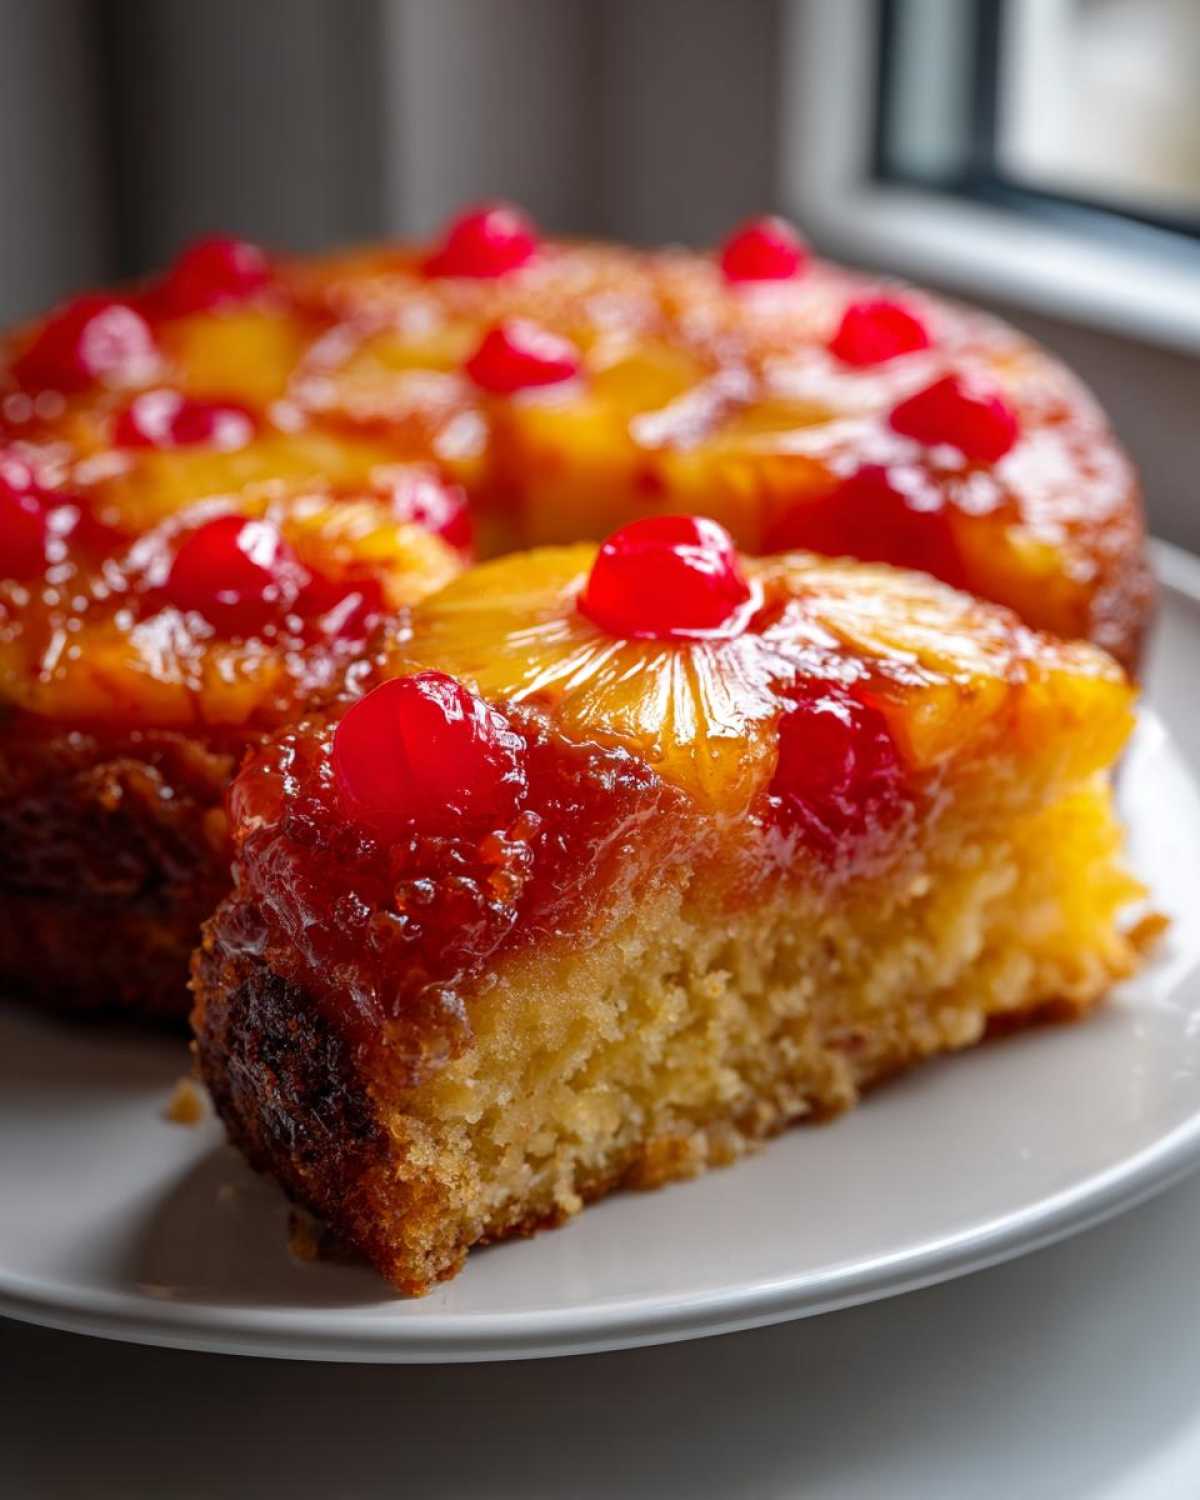
This is my favorite for ease! If you use standard muffin tins, you still prepare the topping layer right in the bottom of each cup—melted butter, brown sugar, slice, cherry. Then fill each cup about two-thirds full with batter. Because these are so small, they bake lightning-fast! I usually start checking them around 18 minutes. They make such a stunning presentation and are the perfect Fruity Dessert for Parties. You get all the gooey glory of the pineapple upside down cake without needing a knife!
If you want to see how others format their mini cakes, check out this great tutorial on mini versions!
Tips for Success with Your Pineapple Upside Down Cake
Dealing with cakes, especially upside-down ones, can sometimes feel dramatic, right? But don’t worry, Leo’s seen it all in the kitchen—the batter splits, the topping resists the flip, the works! That’s why we want to make sure you have all the tried-and-true librarian secrets to make this baking adventure smooth. Following these small pointers will elevate this simple dessert into something truly memorable. These are the little things that Clara catches me doing that make all the difference in the texture!
Ingredient Temperature Matters for a Fluffy Cake
This might sound fussy, but trust me: if your eggs and milk are cold, your batter will look curdled right when you mix them in. Cold ingredients shock that beautifully creamed butter and sugar, causing the whole structure to stiffen up instantly. For smooth mixing and the best emulsion, which creates that fluffy foundation, take your eggs and your milk (and extra juice mixture) out about 30 minutes before you start. It makes the batter so much more cooperative!
Troubleshooting Sticky Toppings on Your Pineapple Upside Down Cake
Okay, horror moment: you flip the cake, and half the caramel layer stays stuck in the pan! Don’t freak out! Leo taught me this trick immediately: if the fruit is sticking, simply set the inverted pan back on the warm stove element for maybe 30 seconds—just enough to gently re-warm the stuck caramel. Slide a thin offset spatula under the sticky bits, and they usually lift right off so you can tuck them back onto your beautiful pineapple upside down cake. It works like a charm every single time!
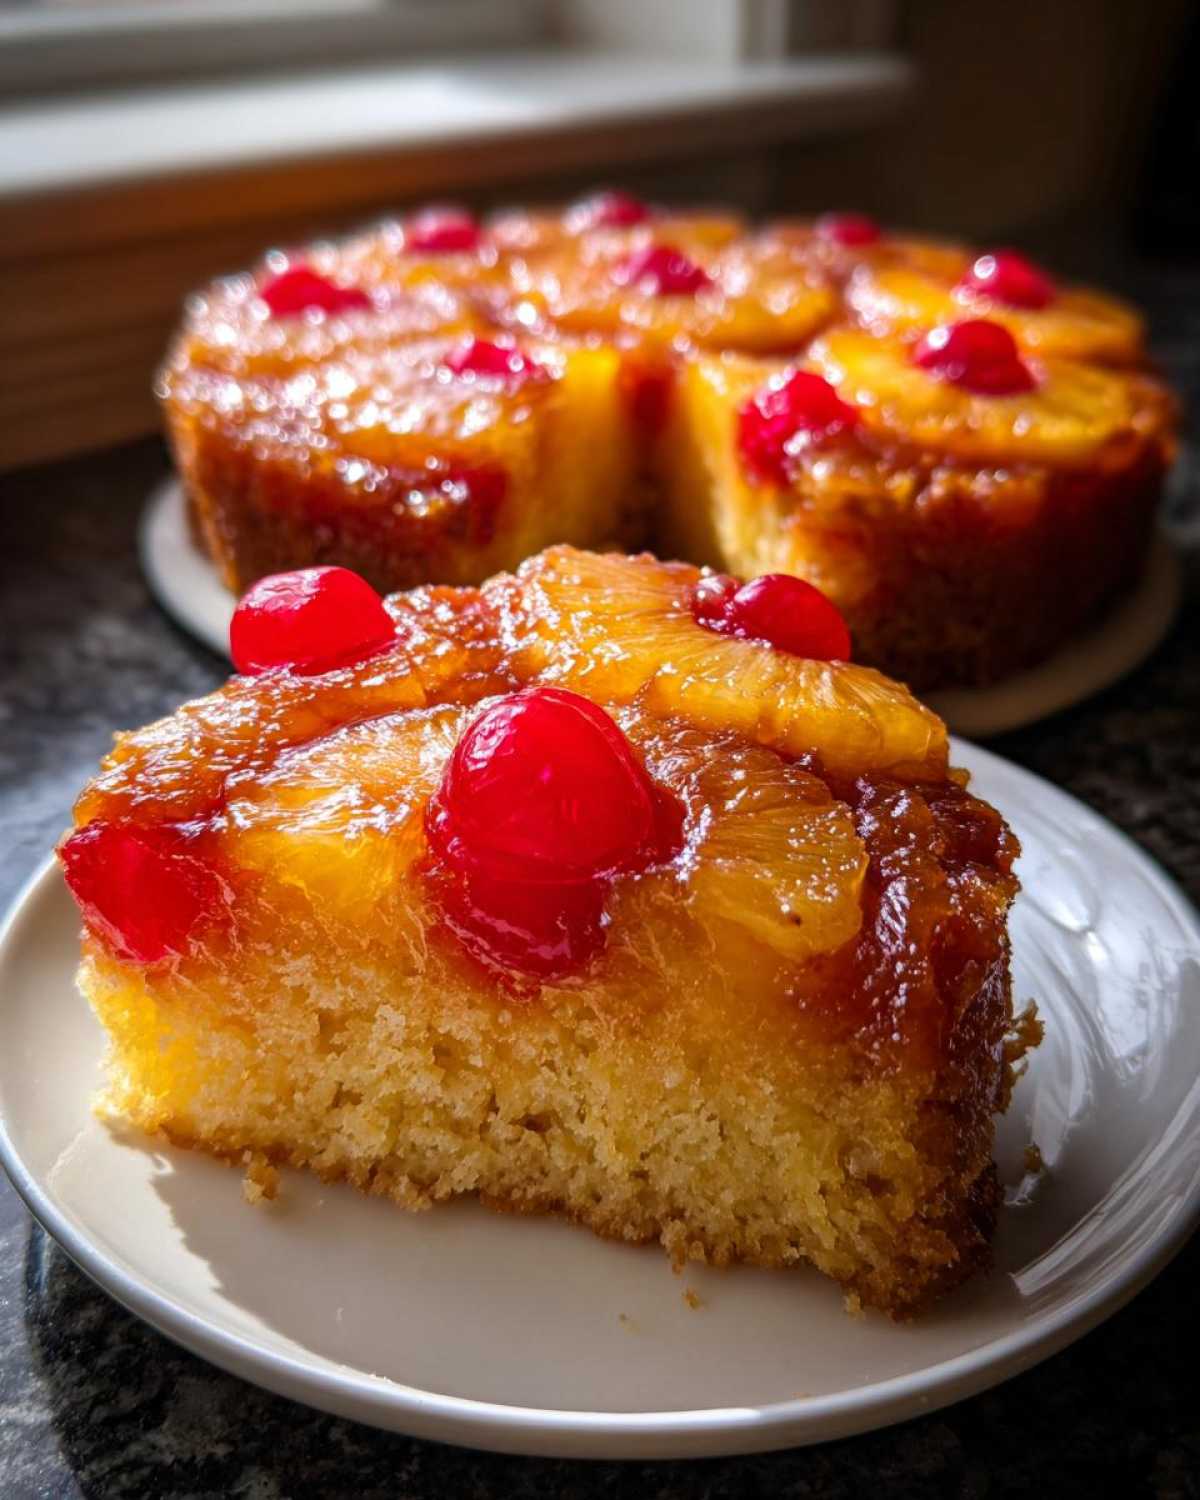
Storage and Serving Suggestions for this Retro Dessert
Part of what makes this a fantastic Retro Dessert Idea is that it tastes just as good (maybe even better!) the next day. If you have leftovers—and frankly, I hope you do—skip the fridge if you can. Storing it tightly covered at room temperature for up to two days keeps that topping delightfully gooey. Cold air tends to harden the brown sugar caramel a bit too much.
When you want to serve it, just give it a quick 10-second blast in the microwave—enough to warm the caramel back up so it’s soft and drippy again. Leo loves pairing a slice of this buttery cake with a dollop of whipped cream or, for a real treat, a small scoop of vanilla bean ice cream. Honestly, though, this fruity cake is perfect just on its own with a cup of coffee, like we enjoy after our morning planning sessions. For a different but equally comforting baked good, you might want to check out my recipe for Classic Buttermilk Scones!
Frequently Asked Questions About the Pineapple Upside Down Cake Recipe
Whenever Leo and I publish a recipe that people love as much as this one, the questions start pouring into the newsroom! It’s wonderful because it means people are actually going to bake it—that’s the victory lap for us. We get questions about everything from ingredient swaps to how long it keeps. Here are the most common ones we hear about making the perfect pineapple upside down cake.
Can I use fresh pineapple instead of canned for my pineapple upside down cake?
Oh, yes, you absolutely can! Fresh is probably even better for flavor, but you have to treat it differently than those lovely, pre-soaked canned slices. Fresh pineapple has more water, and if you just plop it in, you risk washing away your beautiful brown sugar base. You need to cut your fresh rings and give them a little sauté in a saucepan with a tablespoon of butter and a tablespoon of brown sugar before you layer them in the pan. Just cook them until the liquid sizzles down and starts to look syrupy. Otherwise, enjoy that fresh flavor contrast!
What is the secret to a truly ‘buttery pineapple cake’?
That buttery flavor comes mainly from using good quality unsalted butter in both places—the topping *and* the batter. So many recipes try to cut corners, but here we lean into the richness. Make sure you are using softened butter (not melted!) for the actual cake batter, and cream it really well with your granulated sugar until it’s dreamy and light. That creaming step traps air, which gives you that amazing texture you want in a buttery pineapple cake.
Is this considered a Southern Style Pineapple Cake?
That’s a great question! While it certainly shares that love of lush butter and sweetness common in Southern baking, this standard flip cake is generally recognized as the classic American version that gained popularity in the 1920s. However, if you are looking for recipes sometimes labeled as a Southern Style Pineapple Cake, they often feature elements like pecans or a richer, often poured-over, frosting—though ours is fantastic with just the fruit top! If you’re looking for another easy comfort dish, you can check out my directions for Easy Ground Beef Stovetop Chili.
And for anyone who wants to look at a popular alternative, you can see some great tips for the Bundt version over on Delish right here!
Nutritional Estimates for This Tropical Cake Recipe
Now, I know some of you wonderful bakers like to keep track of these things, so here are the general estimates for a single serving of Leo’s famous dessert. Remember, this is just a ballpark figure! Since Leo often improvises with extra butter (bless his heart!), the final results can definitely vary. These numbers are based on careful measurement, so use them as a guide, not gospel!
- Serving Size: 1 slice
- Calories: 350
- Fat: 17g
- Carbohydrates: 48g
- Sugar: 35g
- Protein: 4g
Share Your Homemade Pineapple Cake Creations
We absolutely cannot wait to see your beautiful, sticky creations! When you make this Classic Pineapple Cake, please take a picture and tag us! Drop a rating with five stars if it made your kitchen smell like a tropical vacation. We love hearing your stories in the comments—telling us how the flip went is our favorite part of the day here in the newsroom.
Don’t forget, if you have any questions or just want to send us a note about your success, you can always reach us directly through our contact page. Happy baking, and we’ll see you soon for the next dispatch from Clara and Leo!
PrintClassic Pineapple Upside Down Cake: Leo’s Moist, Caramelized Recipe

You will make a moist, buttery classic pineapple upside down cake with perfectly caramelized fruit topping. This retro dessert is simple to bake and always impresses at any gathering.
- Prep Time: 15 min
- Cook Time: 40 min
- Total Time: 55 min
- Yield: 8 servings
- Category: Dessert
- Method: Baking
- Cuisine: American
- Diet: Vegetarian
Ingredients
- 1/2 cup unsalted butter, melted
- 3/4 cup packed light brown sugar
- 1 (20 ounce) can pineapple slices in juice, drained (reserve juice)
- 10 maraschino cherries, drained
- 1 1/2 cups all-purpose flour
- 1 1/2 teaspoons baking powder
- 1/2 teaspoon salt
- 1/2 cup (1 stick) unsalted butter, softened
- 3/4 cup granulated sugar
- 2 large eggs
- 1 teaspoon vanilla extract
- 1/2 cup milk
- 1/4 cup reserved pineapple juice
Instructions
- Preheat your oven to 350°F (175°C). You will need a 9-inch round cake pan.
- Pour the melted butter into the bottom of the cake pan. Sprinkle the brown sugar evenly over the butter.
- Arrange the pineapple slices over the sugar mixture in a decorative pattern. Place one maraschino cherry in the center of each pineapple ring.
- In a medium bowl, whisk together the flour, baking powder, and salt. Set this dry mixture aside.
- In a large bowl, cream together the softened butter and granulated sugar until the mixture is light and fluffy. This step helps create a moist cake.
- Beat in the eggs one at a time, mixing well after each addition. Stir in the vanilla extract.
- In a small bowl, whisk together the milk and the reserved pineapple juice.
- Gradually add the dry ingredients to the wet ingredients, alternating with the milk/juice mixture. Begin and end with the dry ingredients, mixing only until just combined. Do not overmix.
- Carefully pour the cake batter over the pineapple and cherry layer in the pan. Spread the batter evenly.
- Bake for 35 to 40 minutes, or until a toothpick inserted into the center comes out clean.
- Let the cake cool in the pan on a wire rack for 5 minutes.
- Place a serving plate upside down over the cake pan. Holding both firmly together, quickly invert the cake onto the plate. Lift the pan off carefully. If any topping sticks, gently place the fruit back onto the cake.
- Serve warm or at room temperature.
Notes
- For a richer caramel flavor, you can use dark brown sugar for the topping.
- If you want an extra moist cake, ensure your milk and eggs are at room temperature before mixing.
- This cake is a wonderful retro dessert idea for any party.
Nutrition
- Serving Size: 1 slice
- Calories: 350
- Sugar: 35g
- Sodium: 250mg
- Fat: 17g
- Saturated Fat: 10g
- Unsaturated Fat: 7g
- Trans Fat: 0g
- Carbohydrates: 48g
- Fiber: 1g
- Protein: 4g
- Cholesterol: 75mg