

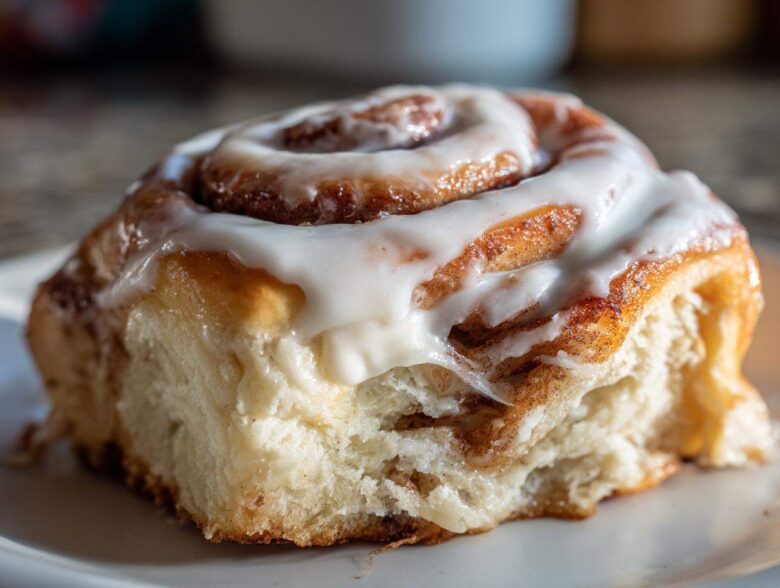
Oh, when the aroma of baking cinnamon hits the air, I think something just shifts inside the house, doesn’t it? It’s the smell of pure, unadulterated joy! Before retirement, Leo and I were quiet creatures—me among the books, him timing symphonies. Now? Our kitchen is the loudest place on the block, especially when Leo is working on one of his signature creations. This recipe for his absolute **homemade cinnamon rolls** is legendary here; they truly redefine what a sweet breakfast recipe should be. We spent months tweaking this **yeast roll recipe** until every bite was perfectly soft and fluffy. Our goal is simple: bring that bakery-quality decadence right to your morning table. You absolutely have to try these; they’re the soundtrack to our second act!
Why This is the Best Cinnamon Roll Recipe You Will Ever Make
Look, I’ve tried dozens of yeast roll recipes over the years, but Leo’s version? It’s the one. It gives you that incredible, pull-apart, gooey center that makes you close your eyes when you take the first bite. This isn’t just any sweet breakfast recipe; this is the best cinnamon roll in our neighborhood, hands down. Leo was obsessed with the second rise, making batch after batch until the dough puffed up just right—not too fast, not too slow. He says yeast is mood-dependent, but trust me, following these steps locks in that perfect, pillowy texture.
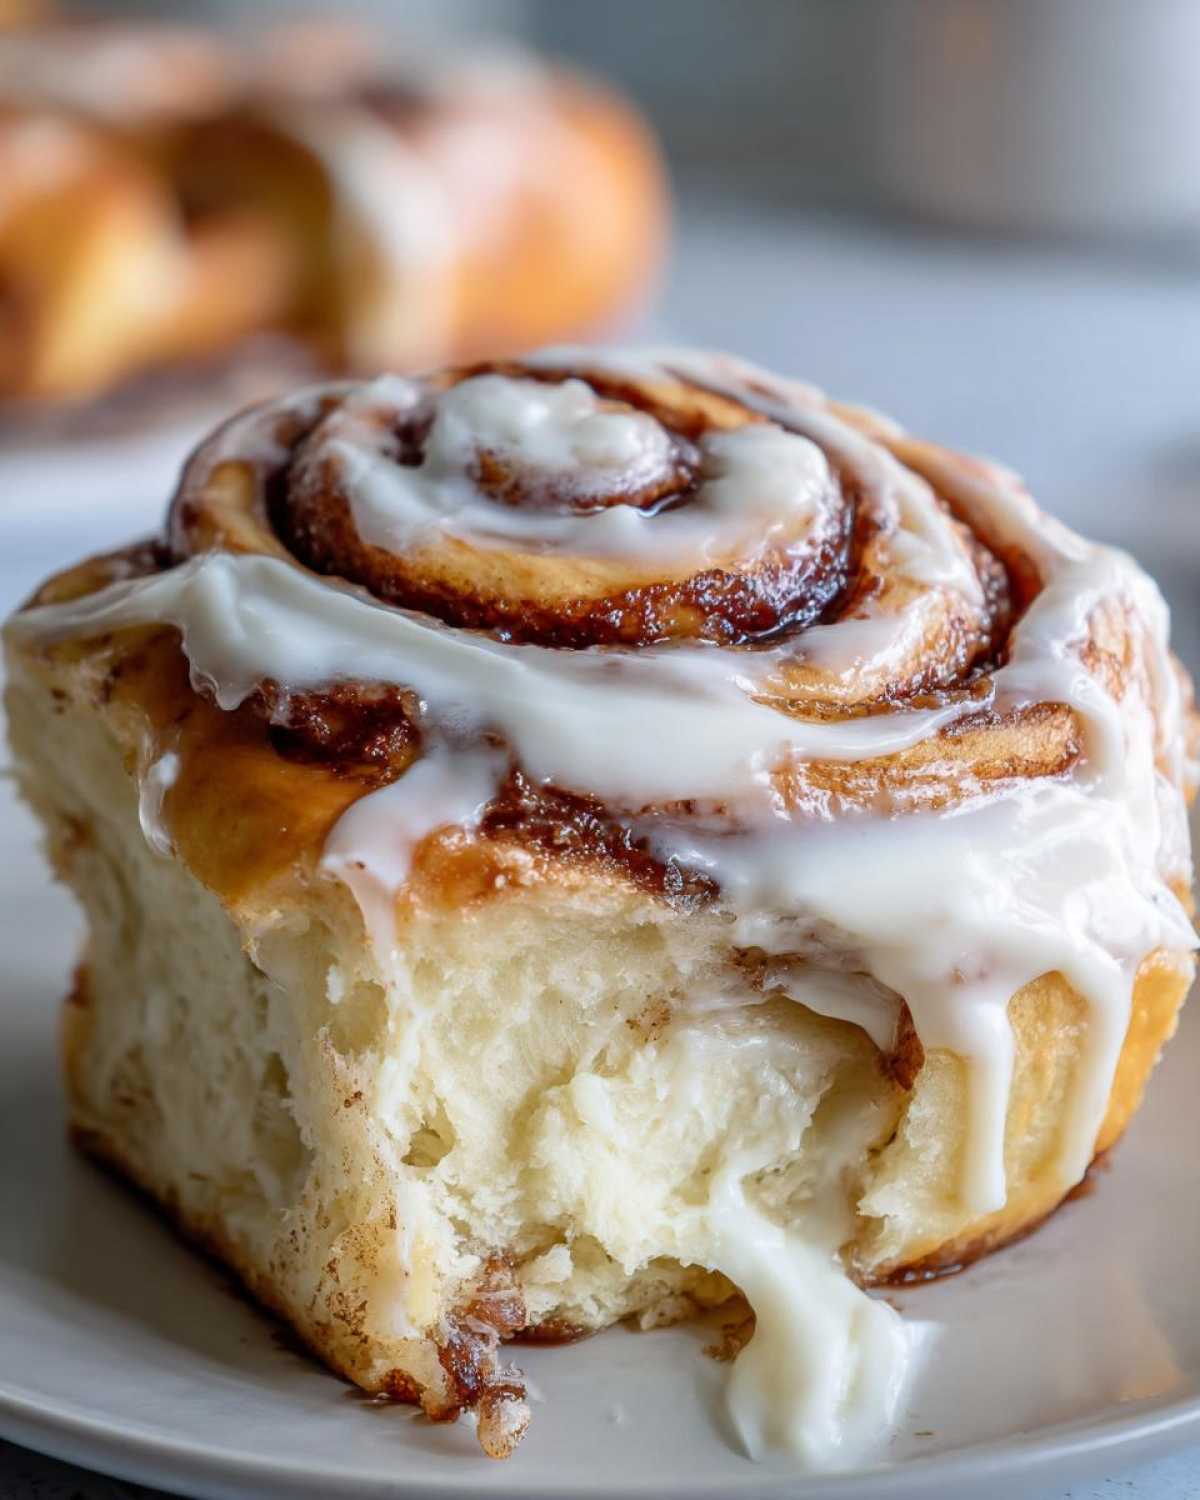
Achieving Bakery-Quality Soft Rolls Every Time
The secret isn’t fancy flour; it’s temperature control. First, that milk for the yeast? It has to be warm enough to wake up the yeast but not so hot it puts it to sleep forever. Leo insists on checking it with an old candy thermometer we keep in the drawer! Secondly, kneading is non-negotiable. We knead that dough, usually for a full eight minutes with the mixer, until it really feels like soft velvet. That develops the gluten structure that traps all the moisture inside during baking. That’s how we guarantee those high-end, super soft rolls every single time you try this.
Gathering Ingredients for Your Homemade Cinnamon Rolls
Now that you’re excited about making these incredible rolls, let’s get organized. Leo always says that a chaotic ingredient list leads to a chaotic bake, and we certainly don’t want any stray bits of butter ending up on the floor! Having everything set aside before you start mixing is half the battle won. We’ve broken down the list into three parts: the dough, the filling, and that gorgeous glaze you’re dreaming about. Check your pantry, grab your measuring cups, and click over to this other sweet recipe if you need more inspiration while you shop!
Ingredients for the Rich Yeast Roll Recipe Dough
This is the foundation of our soft rolls, so don’t cheat on the quality here! Remember, the milk needs to be just warm enough—think bathwater temperature, not scorching hot—for a happy yeast party.
- 1 cup whole milk, warm
- 2 and 1/4 teaspoons active dry yeast
- 1/2 cup unsalted butter, softened, plus more for greasing
- 1/2 cup granulated sugar, plus 1/4 cup for filling
- 2 large eggs, room temperature
- 4 cups all-purpose flour, plus more for dusting
- 1 teaspoon salt
This yeast roll recipe is very forgiving once you get the activation right!
Ingredients for the Gooey Cinnamon Filling
This is where the magic happens! The blend of cinnamon and both sugars creates that perfect sticky, dark ribbon throughout the roll.
- 1/2 cup unsalted butter, melted, for filling
- 1/4 cup packed light brown sugar, for filling
- 2 tablespoons ground cinnamon
Ingredients for the Cream Cheese Glaze
The final touch! Make sure both the cream cheese and the butter for the glaze have been sitting out long enough to be truly soft. No lumps allowed!
- 8 ounces cream cheese, softened
- 1/2 cup unsalted butter, softened
- 3 cups powdered sugar
- 1 teaspoon vanilla extract
- 1 tablespoon milk or heavy cream
Step-by-Step Instructions for Perfect Cinnamon Rolls
Okay, deep breath! We’re moving from the pantry to the counter. I know yeast can scare people off, but that’s the heart of any good yeast roll recipe, and Leo promises it’s easy once you get the rhythm down. We need to move quickly here as the dough rests, so read these steps all the way through before you even touch the flour. This method creates the finest easy cinnamon rolls you’ve ever made, I swear.
Mixing and First Rise of the Cinnamon Roll Dough
First things first: wake up that yeast! Mix it right into the warm milk and just watch it. Clara’s tip here is critical: If you don’t see foam after about ten minutes, your milk was too hot and killed the yeast. Start over! Once it’s frothy, mix the wet ingredients with the softened butter, sugar, and eggs. Then, add the flour gradually until you have a soft dough. You’ll need to knead this for a good eight minutes until it’s smooth as silk. Place it in a buttered bowl, cover it, and let it hang out for 1 to 1.5 hours until it’s doubled in size. Patience is key for that fluffy texture!
Preparing the Filling and Rolling the Dough
While that dough is busy getting happy, whisk together your cinnamon, brown sugar, and white sugar for the filling. Once the dough is puffed up, gently punch the air out—don’t be shy, but don’t beat it to death! Turn it out and roll it into a big 12 by 18-inch rectangle. Make sure you brush every single corner with that melted butter; dry spots mean non-sticky spots later. Sprinkle on that sweet cinnamon mixture evenly across the whole thing. Then, starting from a long side, roll it up super tight into a log. Leo insists on using unflavored dental floss to cut the log into 12 even pieces—it keeps the swirl neat without squishing the dough.
Second Rise and Baking the Best Cinnamon Rolls
Lay those beautiful rolls into your greased 9×13 inch pan, leaving just a touch of space between them because they’re going to get cozy again! Cover them loosely and let them rest for another 30 to 45 minutes until they look puffy. They puff up beautifully! Preheat your oven to 375 degrees Fahrenheit while they take their final nap. Bake them for 20 to 25 minutes. You’re looking for a deep, gorgeous golden brown top. That golden color means they are cooked through but still soft inside. Don’t pull them out too early!
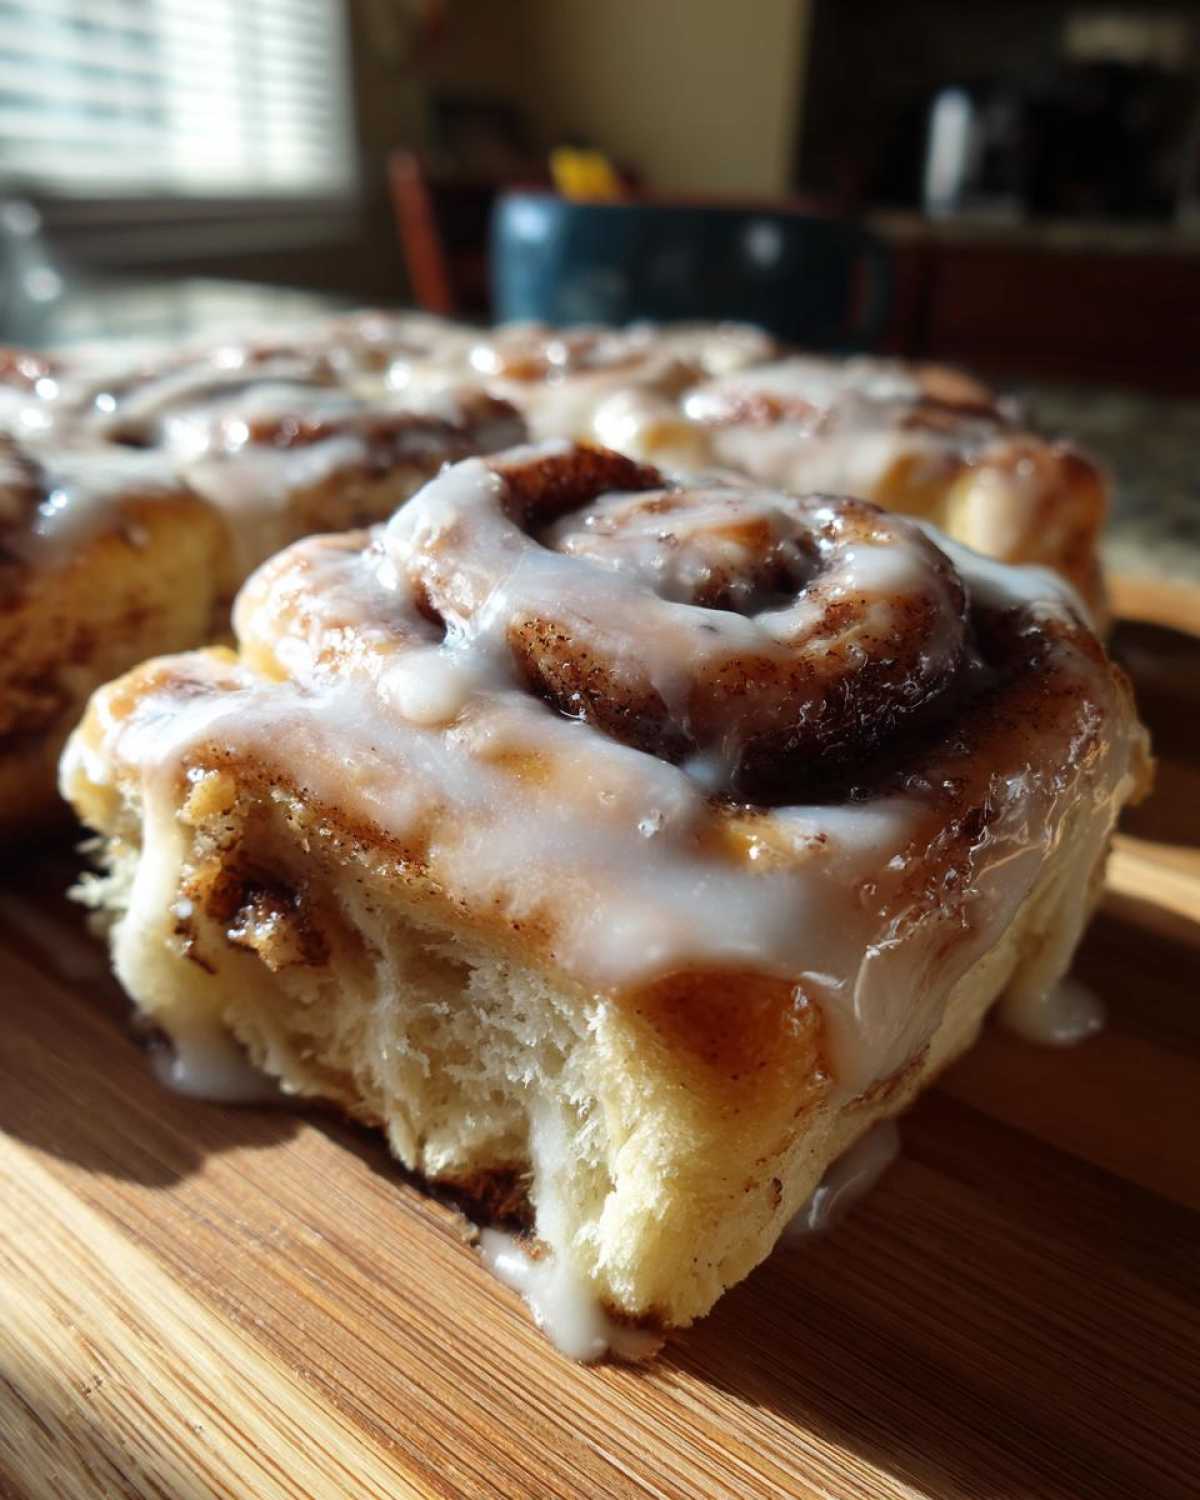
Tips for Making Easy Cinnamon Rolls
Once you’ve mastered the rise, making truly easy cinnamon rolls comes down to knowing how to handle the dough when things get a little sticky. Don’t panic if the melted butter tries to run away from the cinnamon sugar while you’re rolling! That’s just flavor trying to escape early. If you find your dough is resisting rolling out to that full 18 inches, cover it with a clean towel and let it relax for ten minutes. Resting dough is always happier than forced dough, I always say. This recipe is built on the foundation of our homemade pastry techniques, so treat it kindly!
Ingredient Notes and Substitutions for Your Homemade Pastry
People always ask me about substitutions for this wonderful homemade pastry, especially for the yeast. Stick to active dry yeast if you can; instant yeast is just too unpredictable for this classic yeast roll recipe. If you MUST substitute the whole milk, use 2% or even buttermilk, but definitely add an extra tablespoon of melted butter to the dough mix to compensate for the fat loss. And please, use light brown sugar in the filling—dark brown is too heavy and might make the filling leak out too aggressively while baking. Keep these simple adjustments in mind, and you’ll have a fantastic outcome!
Making the Cream Cheese Glaze for Your Cinnamon Roll
Alright, we’ve baked the perfect rolls—golden, warm, and fragrant—but we aren’t done! This cream cheese glaze is what elevates these from ‘really good homemade rolls’ to ‘I need to tell everyone about these.’ If you want that picture-perfect, slightly tangy, thick-but-gooey topping, the order of operations matters big time. Leo hates runny icing; he says it just drips off the sides like a sad mistake instead of hugging the **cinnamon roll**.
The real trick here is patience with the softening process. Forget putting cream cheese or butter in the microwave for 10 seconds; that just creates warm spots and cold lumps. You need butter and cream cheese that are uniformly room temperature soft. Once they are ready, start mixing them together first until they are perfectly homogenous. It should look like smooth, pale yellow frosting base before you even add sugar.
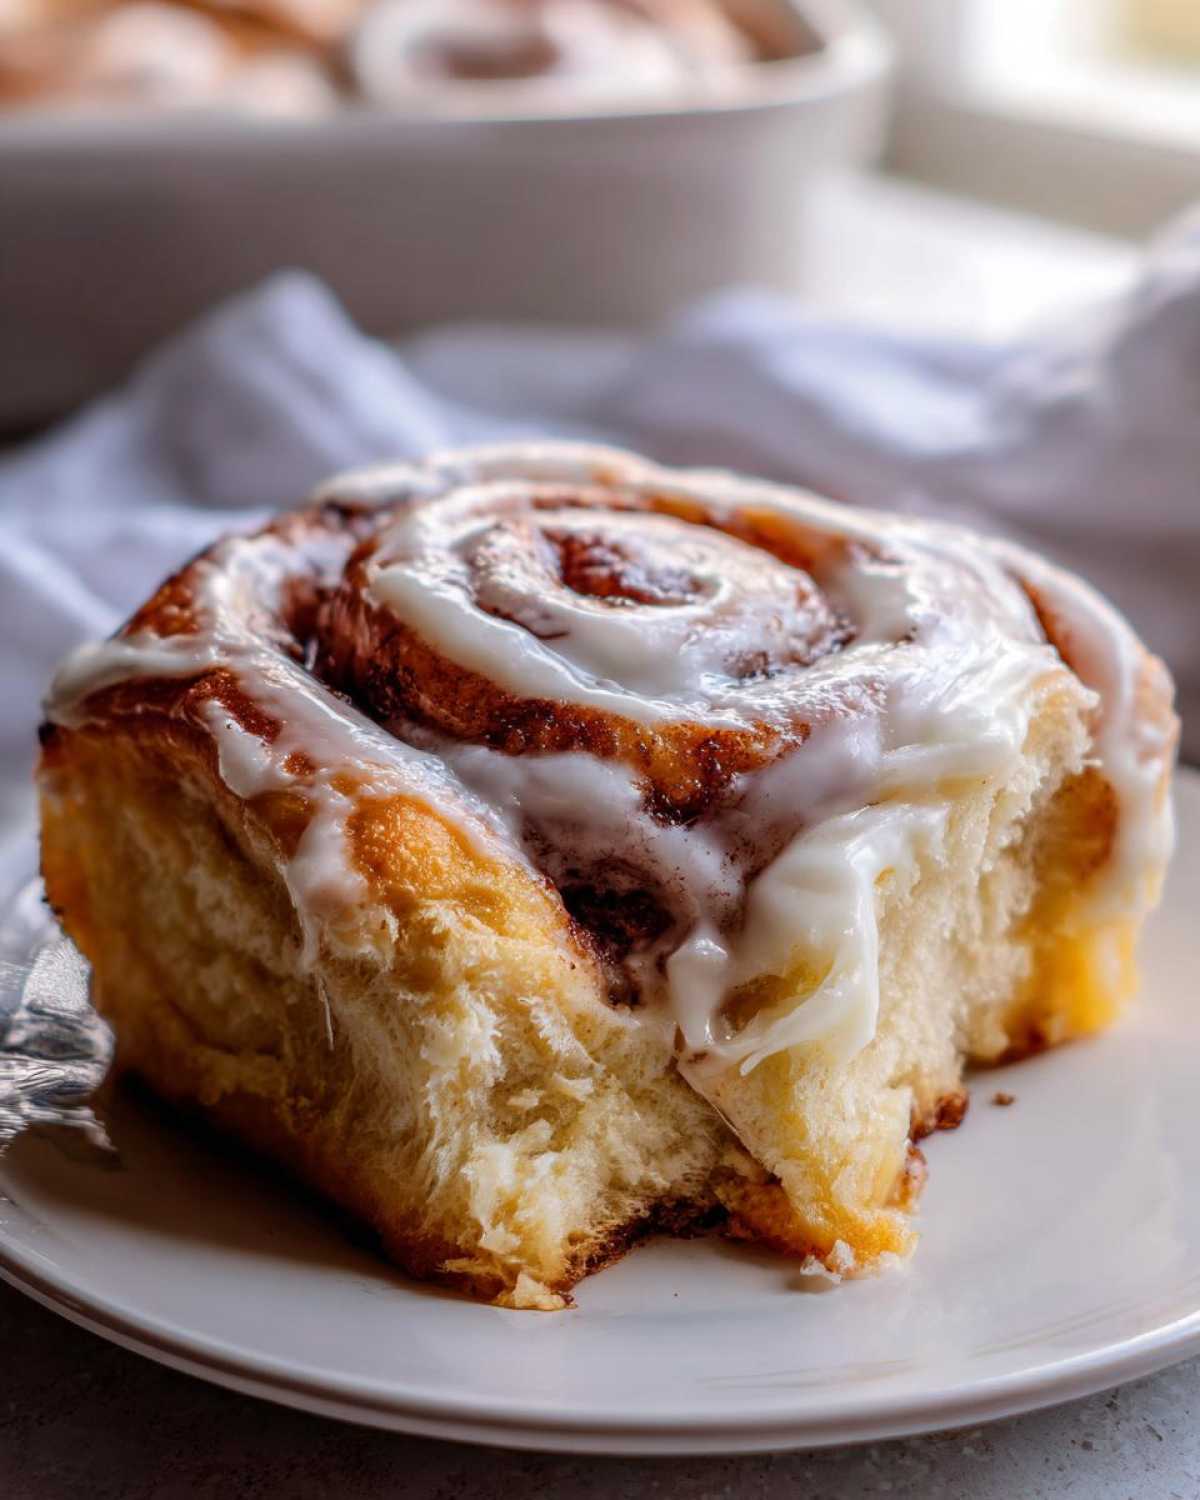
After that, drizzle in your powdered sugar slowly, cup by cup. If you dump it all in at once, you risk creating a sugar cloud that coats the entire kitchen—and trust me, I speak from experience! Once the sugar is mostly incorporated, add the vanilla extract. Finally, add that tablespoon of milk or cream slowly, just until it reaches that perfect spreadable consistency. We want it thick enough to droop down the sides beautifully, not run off onto the plate like soup. If you need to thin it just slightly, you can sneak in a drop or two more, but be very careful! You can check out how we get super smooth dairy layers in our cheesecake recipe if you want more tips on softening ingredients properly!
Storage and Reheating Instructions for Leftover Cinnamon Rolls
Now, I know what you’re thinking: Will there be leftovers? If you manage to save any of these incredible rolls, you need to treat them right. They are best enjoyed the day they are baked, obviously, but we want them to still taste amazing on day two!
For short-term storage, the absolute best thing you can do is keep them right in that same 9×13 baking dish. Just cover the entire pan tightly with plastic wrap. Make sure that plastic is pressed down slightly onto the rolls if they still have glaze on them—this traps the moisture right where we want it. They’ll stay beautifully soft at room temperature for about two days. If your kitchen is super hot, pop them in the fridge, but remember, cold bread tends to firm up, so the reheating step becomes crucial.
Restoring Fluffiness: How to Reheat Them
If you need to revive a day-old roll, forget the microwave if you can! The microwave makes them tough fast. Leo insists on using a low oven to bring them back to that fresh-baked glory. Wrap an individual roll (or a couple together) tightly in aluminum foil. Pop that foil packet into a 325-degree oven for about 10 to 12 minutes. The foil steams them slightly, turning that dough soft again. If you do use the microwave—okay, sometimes we’re in a hurry!—just take a paper towel, dampen it slightly, and wrap the roll before microwaving it for just 15 to 20 seconds. It softens them up fast, but eat it immediately!
Long-Term Freezing Advice
If you made an extra batch and want to keep them for a special brunch next month, you should freeze them before glazing. Once the rolls are completely baked and cooled, place them in a freezer-safe, airtight container or heavy-duty zip-top bag. They freeze beautifully for up to three months. When you are ready to eat them, just pull them out the night before and let them thaw on the counter. Then, follow that foil-wrapped reheating trick, and they seriously taste like they just came out of the oven. Don’t forget to make a fresh batch of that cream cheese icing when you reheat them for the best results!
Variations on the Classic Cinnamon Roll
Once you’ve mastered Leo’s foundational recipe, you realize it’s practically a blank canvas begging for some flair! We love sticking to the original, but having these substitutions ready means you can switch things up for holidays or when you just get a wild idea. Why make the same thing twice when you can have chocolate one day and pecan rolls the next? These twists keep our kitchen exciting and the neighbors knocking on the door, wondering what fresh batch of **cinnamon rolls** we’ve got going.
The easiest place to start experimenting is right inside that gooey cinnamon-sugar filling. Don’t feel like you have to stick just to the butter, cinnamon, and sugar we used earlier. Leo is always sneaking things in there—it’s his little compositional choice!
Stir-Ins for the Filling
For a real textural change, try adding half a cup of finely chopped pecans or walnuts to your cinnamon mixture right before you spread it on the dough. Make sure they are toasted beforehand, though; that makes all the difference in the flavor! If you have kids (or if you’re like me and refuse to grow up), toss in about half a cup of mini chocolate chips. They melt right into the brown sugar, creating little pockets of pure chocolate heaven. For a richer, almost caramel flavor, swap out half of your white sugar for maple sugar if you can find it. It adds such a deep, complex sweetness!
Changing Up the Glaze Flavor Profile
While the classic cream cheese glaze is unbeatable, if you’re feeling fancy, you can easily pivot the flavor profile there too. If you’re making chocolate **cinnamon rolls**, try skipping the cream cheese altogether and making a simple dark chocolate ganache to drizzle over the top. It’s decadent, I won’t lie!
But keeping the cream cheese base? That’s so easy. Add a teaspoon of orange zest to the glaze mix right along with the vanilla. That citrus brightens up the whole pastry beautifully, especially if you used pecans in the filling. Speaking of chocolate, if you want a really intense treat, check out this recipe for our dedicated chocolate swirl rolls—they skip the cream cheese entirely for a powerful cocoa glaze.
Make Ahead Tips for Weekend Baking
I know we talked about refrigerating the dough, but you can also prep these completely ready to bake ahead of time. After you slice the rolls and place them in the pan, cover them tightly with plastic wrap and pop the entire pan into the fridge overnight. This slows down that second rise. In the morning, take them out, let them sit on the counter for an hour to warm up just slightly, and then bake them as directed. This way, you walk into the kitchen, pop them in the oven, and an hour later, you’re serving up warm, fresh **homemade cinnamon rolls** without having to be up at 5 AM mixing dough. That is my favorite kind of morning shortcut!
Frequently Asked Questions About Making Cinnamon Rolls
Oh, the questions! I knew you’d have some, because Leo’s recipes always make people think about the little details. That’s great! It means you care about getting that perfect, pillowy result. We get asked the same few things all the time, especially about timing and flour choices for this yeast roll recipe. Don’t worry if your first try seems slightly off; baking is all about learning the feel of the dough. If you need to review our basic tips for other baked goods, I’ve put together some thoughts on scones too, but let’s tackle these specific **easy cinnamon rolls** concerns first.
Why won’t my dough rise properly?
Nine times out of ten, the dough won’t rise if the milk was too hot when you added the yeast—it cooks the yeast, and then it just sits there, sad and inactive. Less common, but it happens, is that your yeast was old. If you used lukewarm milk and waited ten minutes and saw zero bubbles, the yeast is the problem, not your rolling technique. Be sure to use fresh yeast next time!
Can I substitute all-purpose flour for bread flour?
Yes, absolutely! We use all-purpose flour because it makes for a softer final product—exactly what we want in a sweet breakfast recipe treat. Bread flour has higher protein, which makes for a chewier texture, kind of like a pizza crust. If you use bread flour, your rolls will be chewier, which some folks love, but they won’t have that ultra-fluffy melt-in-your-mouth quality we designed this for.
Can I make the dough completely ahead of time?
Yes! This is one of the best tricks for an easy cinnamon roll morning. After you knead the dough and it doubles the first time, punch it down, brush it with a little oil, wrap it very tightly in plastic wrap, and pop it in the fridge for up to 24 hours. When you take it out the next morning, let it sit on the counter for about an hour to warm up a bit before you roll it out for the second rise. It saves so much time!
Nutritional Snapshot of These Sweet Breakfast Recipe Rolls
Clara here, sneaking in the details for those of you who like to track what you’re eating, even when it involves massive amounts of butter and sugar! Leo just rolls his eyes when I bring up calorie counts—he says if something tastes that good, you don’t ask questions. But I’m the editor-in-chief, so I have to log the data!
Please remember, these figures are totally estimated based on the ingredients list we use, like standard butter amounts and the exact amount of powdered sugar in that glorious glaze. If you use extra butter or double the filling, well, let’s just say these numbers are going to climb!
- Serving Size: 1 roll
- Calories: 550
- Fat: 30g (18g Saturated)
- Carbohydrates: 68g
- Sugar: 55g
- Protein: 8g
- Sodium: 350mg
We are definitely leaning into the indulgent side of this sweet breakfast recipe category, that’s for sure! But hey, everything in moderation, right? Enjoying a few of these rolls fresh out of the oven with coffee is worth every crumb, in my opinion.

Leo’s Best Homemade Cinnamon Rolls with Cream Cheese Glaze

Follow this foolproof recipe for soft, fluffy homemade cinnamon rolls swirled with cinnamon-sugar and topped with a rich cream cheese icing. Get bakery-quality results right in your kitchen.
- Prep Time: 45 min
- Cook Time: 25 min
- Total Time: 145 min
- Yield: 12 servings
- Category: Breakfast
- Method: Baking
- Cuisine: American
- Diet: Vegetarian
Ingredients
- 1 cup whole milk, warm
- 2 and 1/4 teaspoons active dry yeast
- 1/2 cup unsalted butter, softened, plus more for greasing
- 1/2 cup granulated sugar, plus 1/4 cup for filling
- 2 large eggs, room temperature
- 4 cups all-purpose flour, plus more for dusting
- 1 teaspoon salt
- 1/2 cup unsalted butter, melted, for filling
- 1/4 cup packed light brown sugar, for filling
- 2 tablespoons ground cinnamon
- 8 ounces cream cheese, softened
- 1/2 cup unsalted butter, softened
- 3 cups powdered sugar
- 1 teaspoon vanilla extract
- 1 tablespoon milk or heavy cream
Instructions
- Activate the yeast: In a small bowl, combine the warm milk and yeast. Let it sit for 5 to 10 minutes until foamy.
- Prepare the dough: In a large bowl or stand mixer, combine the softened butter, 1/2 cup granulated sugar, eggs, and salt. Mix until just combined. Add the yeast mixture and half of the flour. Mix on low speed until combined. Gradually add the remaining flour until a soft dough forms.
- Knead the dough: Knead the dough on a lightly floured surface for about 8 minutes until it is smooth and elastic. Place the dough in a lightly buttered bowl, turning to coat. Cover the bowl with plastic wrap and let it rise in a warm place for 1 to 1.5 hours, or until doubled in size.
- Make the filling: While the dough rises, prepare the cinnamon filling. In a small bowl, mix the 1/4 cup granulated sugar, brown sugar, and ground cinnamon. Set aside.
- Roll the dough: Punch down the risen dough gently. Turn it out onto a lightly floured surface. Roll the dough into a large rectangle, about 12 by 18 inches.
- Spread and roll: Brush the melted butter evenly over the entire surface of the dough. Sprinkle the cinnamon-sugar mixture over the butter. Starting from the long edge, tightly roll the dough into a log.
- Slice the rolls: Use unflavored dental floss or a sharp knife to cut the log into 12 equal pieces, about 1.5 inches thick.
- Second rise: Arrange the rolls, cut side up, in a greased 9×13 inch baking pan. Cover the pan loosely with plastic wrap or a clean kitchen towel. Let the rolls rise again in a warm spot for 30 to 45 minutes, or until puffy.
- Bake the rolls: Preheat your oven to 375 degrees Fahrenheit. Bake the rolls for 20 to 25 minutes, or until they are golden brown.
- Make the glaze: While the rolls bake, beat the softened cream cheese and 1/2 cup softened butter together until smooth. Gradually beat in the powdered sugar until combined. Mix in the vanilla extract and milk until the glaze is smooth and spreadable.
- Glaze and serve: Remove the rolls from the oven. Immediately spread the cream cheese glaze generously over the hot rolls. Let them cool slightly before serving your homemade pastry.
Notes
- For the softest rolls, make sure your milk is warm, not hot, to avoid killing the yeast.
- If you want extra gooey rolls, use slightly more melted butter on the dough before sprinkling the cinnamon mixture.
- You can prepare the dough the night before, let it rise once, punch it down, wrap it tightly, and refrigerate. Bring it to room temperature for the second rise before baking.
Nutrition
- Serving Size: 1 roll
- Calories: 550
- Sugar: 55g
- Sodium: 350mg
- Fat: 30g
- Saturated Fat: 18g
- Unsaturated Fat: 12g
- Trans Fat: 0.5g
- Carbohydrates: 68g
- Fiber: 2g
- Protein: 8g
- Cholesterol: 85mg