

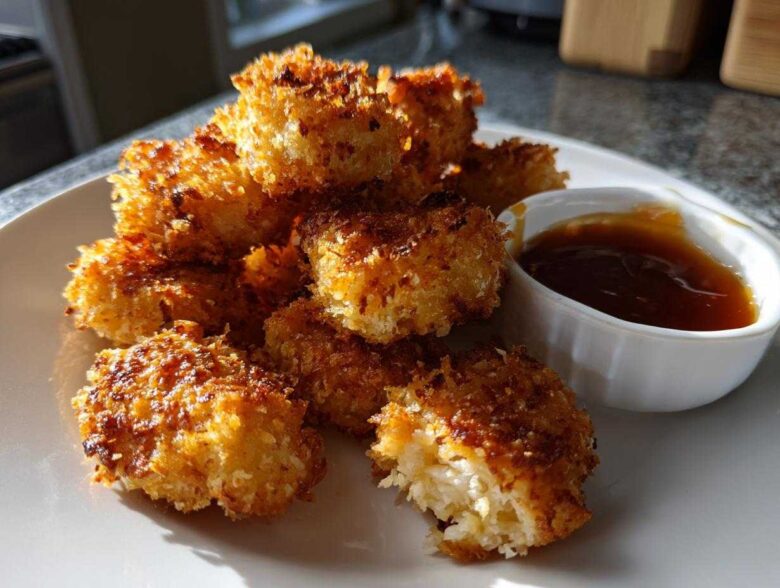
Look, I get it. Freezing night is a lifesaver when you’re staring down a hungry crowd, but honestly, store-bought frozen nuggets are just sad cardboard disguised as chicken, right? We deserve better! I spent way too much time testing coatings, and I finally nailed the secret to getting those restaurant-level, shatteringly crisp chicken nuggets right here in my own kitchen. Trust me, these Crispy Chicken Nuggets with Honey Garlic Dip are a total game-changer. After years of testing, I perfected the double-dip method for ultimate crunch. You’re going to be amazed how easy it is to skip the takeout menu!
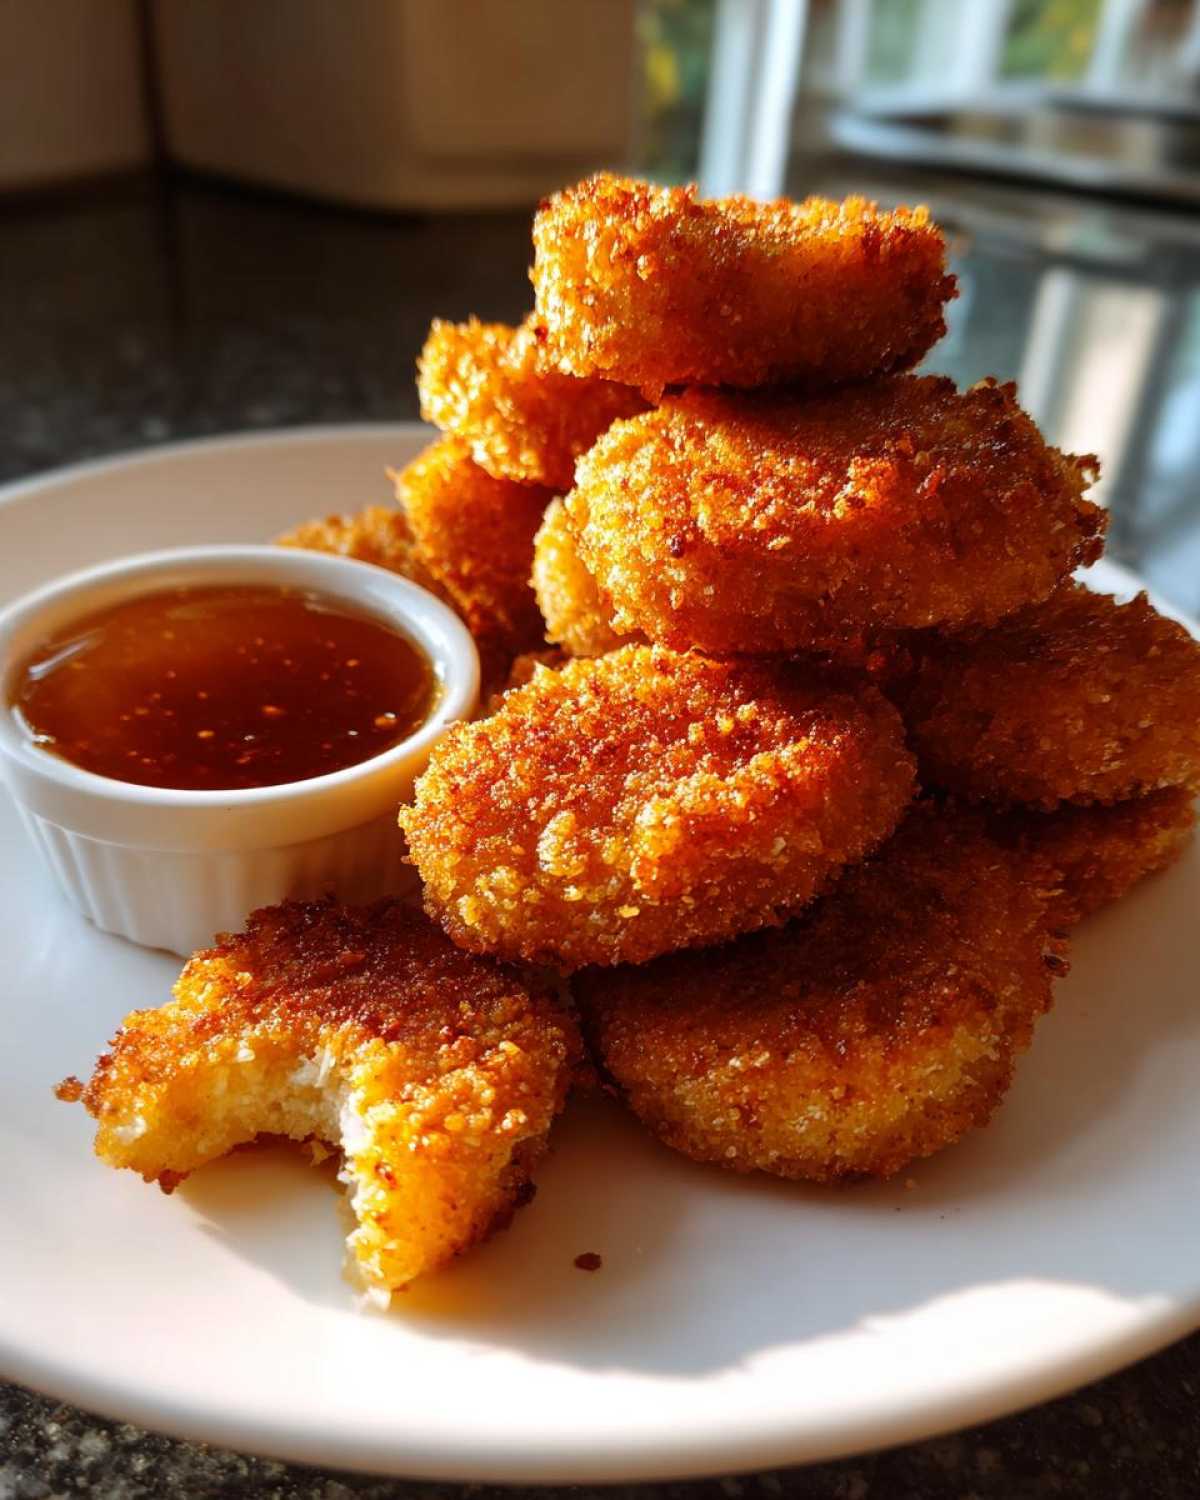
Why You Will Love These Crispy Chicken Nuggets with Honey Garlic Dip
Honestly, why would you ever reach for that freezer bag again? These nuggets are everything frozen ones aren’t. They’re light, bursting with flavor, and absolutely shatteringly crispy. I never make them any other way now!
- The Crunch Factor is Unreal: Seriously, we’re talking about a double-dipped coating that holds up, even when dipped! No soggy middles here, ever.
- Flavor That Pops: The nuggets themselves are perfectly seasoned with garlic powder and salt, but that homemade honey garlic dip—sweet, tangy, and super savory—really takes them over the top.
- Making It From Scratch Feels Amazing: You control every single ingredient, so you know exactly what your family is eating, which is a huge win over anything frozen. These make the best kid-friendly chicken dinners around!
- Faster Than You Think: Even with the double breading, these come together quicker than the time it takes for my kids to finish their homework. They hit your table in about 35 minutes total.
- Perfect for Dipping: The chicken bites are the ideal size—small enough for little hands, but large enough to grab a serious scoop of that glorious sauce.
- Versatile Cooking: Whether you’re deep frying for that true diner style or using the air fryer, the method I show you below guarantees a fantastic texture every single time.
Essential Ingredients for Crispy Chicken Nuggets with Honey Garlic Dip
Okay, listen up! These ingredients look simple, but the ratio here is what transforms plain chicken into the best homemade chicken nuggets you’ve ever tasted. Paying attention to the *type* of breading ingredient—especially the panko—is key for that amazing crunch. You’ll want to have everything prepped and ready to go before you even think about cutting the chicken!
I love that this recipe relies on pantry staples; we aren’t hunting down anything esoteric for these nuggets, although I do swear by a good quality panko breadcrumb upgrade when I can find it. Having your three breading stations ready makes the actual dipping process fly by!
For the Homemade Crispy Chicken Nuggets
These are the core components for getting that diner style chicken nugget flavor right from scratch. Everything needs to be measured out precisely, especially the stuff for the crunch layer!
- 1.5 lbs boneless, skinless chicken breasts, cut into uniform 1-inch pieces (make sure they are all roughly the same size so they cook evenly!).
- 1 cup all-purpose flour (this is the first coat, remember).
- 2 large eggs, lightly beaten—just enough to coat the chicken smoothly.
- 1.5 cups panko breadcrumbs—this is the secret weapon! Panko is flakier than regular breadcrumbs, which means more crunch.
- 0.5 cup all-purpose flour (reserved for the final breading mix).
- 1 teaspoon salt
- 0.5 teaspoon black pepper
- 0.5 teaspoon garlic powder
- Vegetable oil, for frying (if you’re going traditional diner style—otherwise, just have your cooking spray ready for the air fryer!).
For the Easy Honey Garlic Dip Recipe
This sauce is so good you’ll want to make an extra batch just for dipping vegetables later. It’s that perfect blend of sweet and savory we all crave.
- 0.5 cup honey (Use real honey here; don’t try to substitute the flavor!)
- 0.25 cup soy sauce
- 2 tablespoons apple cider vinegar (The acidity brightens everything up!)
- 4 cloves garlic, finely minced (Don’t skimp! This is where the *garlic* part of the name comes from!)
- 1 teaspoon grated fresh ginger (Warming and complex, trust me on the fresh ginger over dried here.)
- 1 teaspoon cornstarch mixed with 1 tablespoon cold water (This is your slurry—it needs to be perfectly mixed so there are no clumps before you use it to thicken the whole sauce.)
Mastering Crispy Coating Techniques for Your Chicken Nuggets
I’m not kidding around when I say that preparation is everything here. Before we even get to the breading station, you need to grab a stack of paper towels and just pat every single one of those 1-inch chicken pieces until they feel bone dry. Moisture is the enemy of crunch, and if the chicken is even a little damp, your coating is going to slide right off during cooking. Don’t skip this step!
Once they’re dry, we hit the standard three-step dredging: first, a light coat of plain flour, shaking off the excess. Then, straight into the egg wash. This is where most people stop, but for these Crispy Chicken Nuggets with Honey Garlic Dip to be worthy of the name, we press on! After the egg, you press each piece firmly into that buttery panko mix.
Here’s the real game-changer—the double-dip. You take that already-coated nugget, dip it *back* into the egg, and then press it *again* into the panko mixture. This process creates those beautiful, craggy peaks and valleys in the breading that fry up into the most incredible, long-lasting crunch. Check out my tips on different crispy coating techniques for more ways to maximize texture!
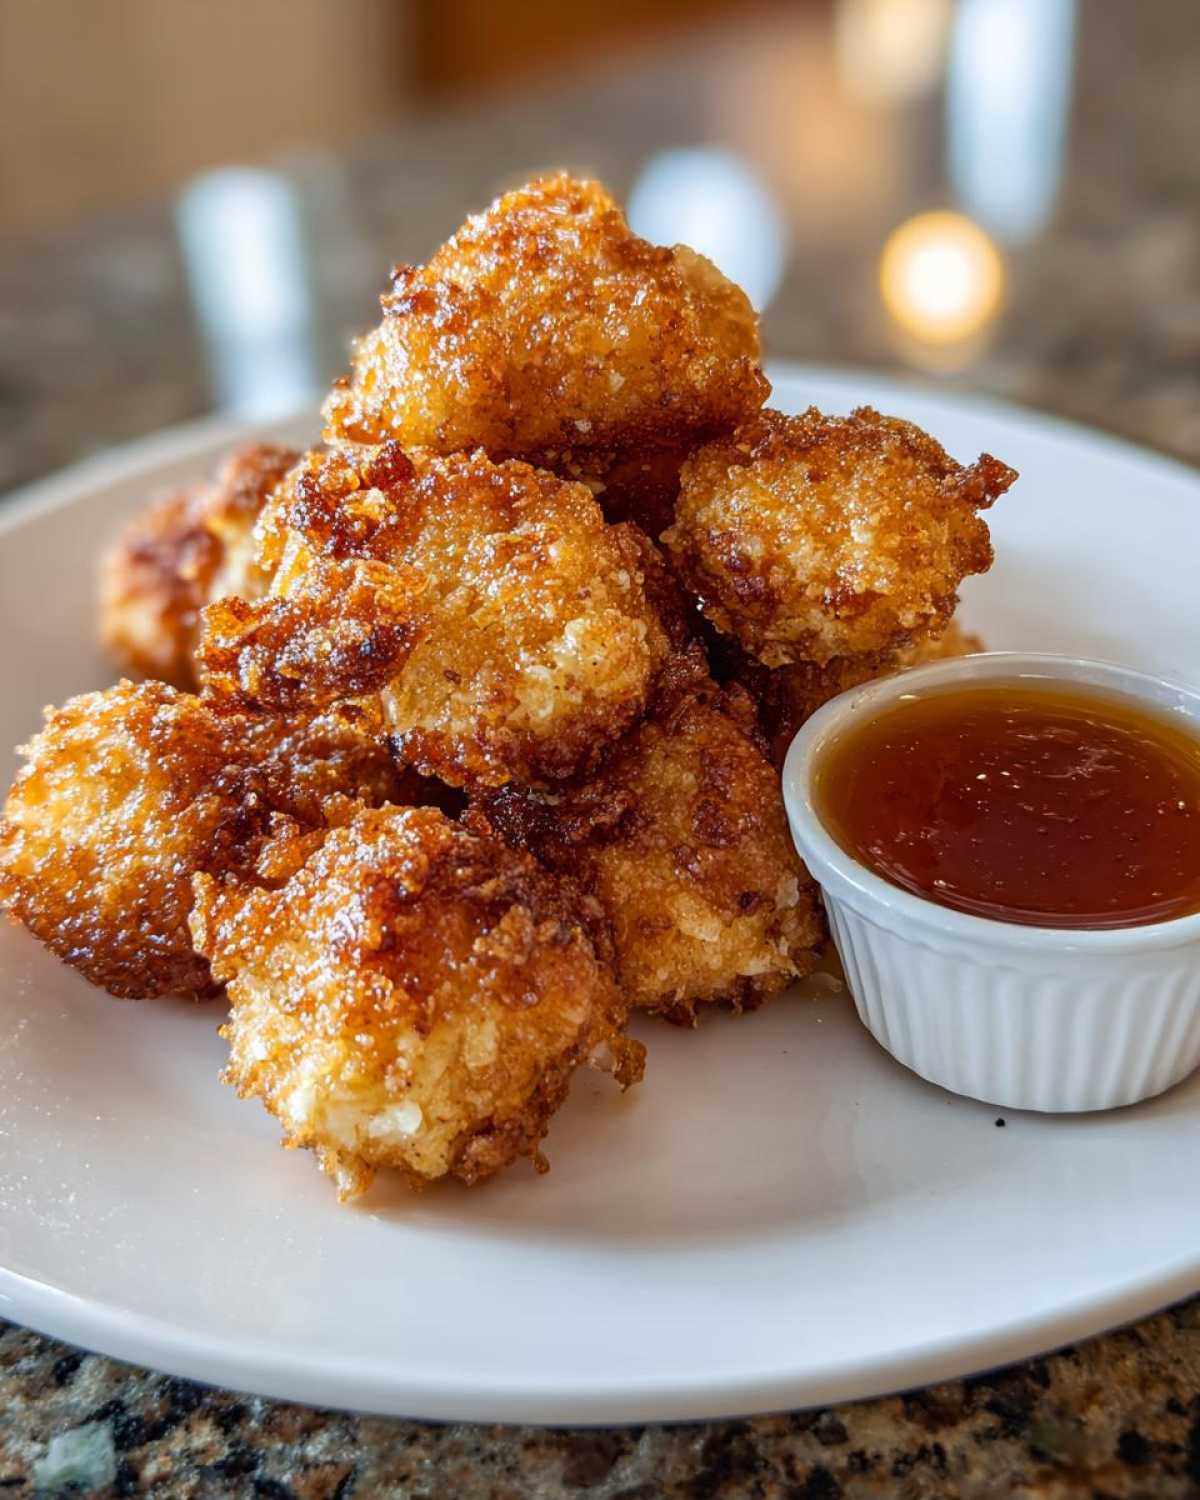
Step-by-Step Instructions for Crispy Chicken Nuggets with Honey Garlic Dip
Alright, we’ve got our ingredients lined up and our breading station is looking professional. Now it’s time for the magic to happen so we can get to eating these amazing from scratch chicken nuggets!
Preparing and Breading the Chicken
First things first—remember how I stressed drying the chicken? That’s essential! Once they are completely patted down, lightly season those pieces with a pinch of salt and pepper. Now, move through your station: in the first dish of flour, dredge the chicken piece well, then shake off every bit of excess. Next, dip it into the egg, letting the extra drip away. Finally, this is crucial, press that piece firmly into the panko mixture so you get a super tight coat. For that ultimate crunch, dip it back into the egg and coat it in the panko *one more time*! Lay those beauties onto a wire rack to rest while you whip up the dip.
Making the Quick Dipping Sauce Recipes
While the nuggets are resting, let’s make the dip. Toss the honey, soy sauce, apple cider vinegar, minced garlic, and fresh ginger into a small saucepan. Get this mixture simmering nicely over medium heat. When it starts bubbling gently, whisk in your cornstarch slurry—that little bit of cornstarch and cold water you mixed up earlier. Keep whisking constantly! You only need about a minute until the sauce thickens up enough that it coats the back of a spoon. Pull it right off the heat then; we want it warm, not totally gluey.
Cooking Your Crispy Chicken Nuggets with Honey Garlic Dip
If you’re frying, heat your oil up to 350°F (175°C). Drop the nuggets in batches and cook for just 3 to 4 minutes until they turn that perfect golden color—you’re looking for an internal temperature of 165°F. When they come out, put them immediately on paper towels to drain off that excess oil; this keeps them from getting soggy later! If you opted for the air fryer, set it to 400°F (200°C) and cook for 10 to 12 minutes, flipping them halfway through until they look perfectly golden and crisp. Serve them piping hot alongside that amazing dip!
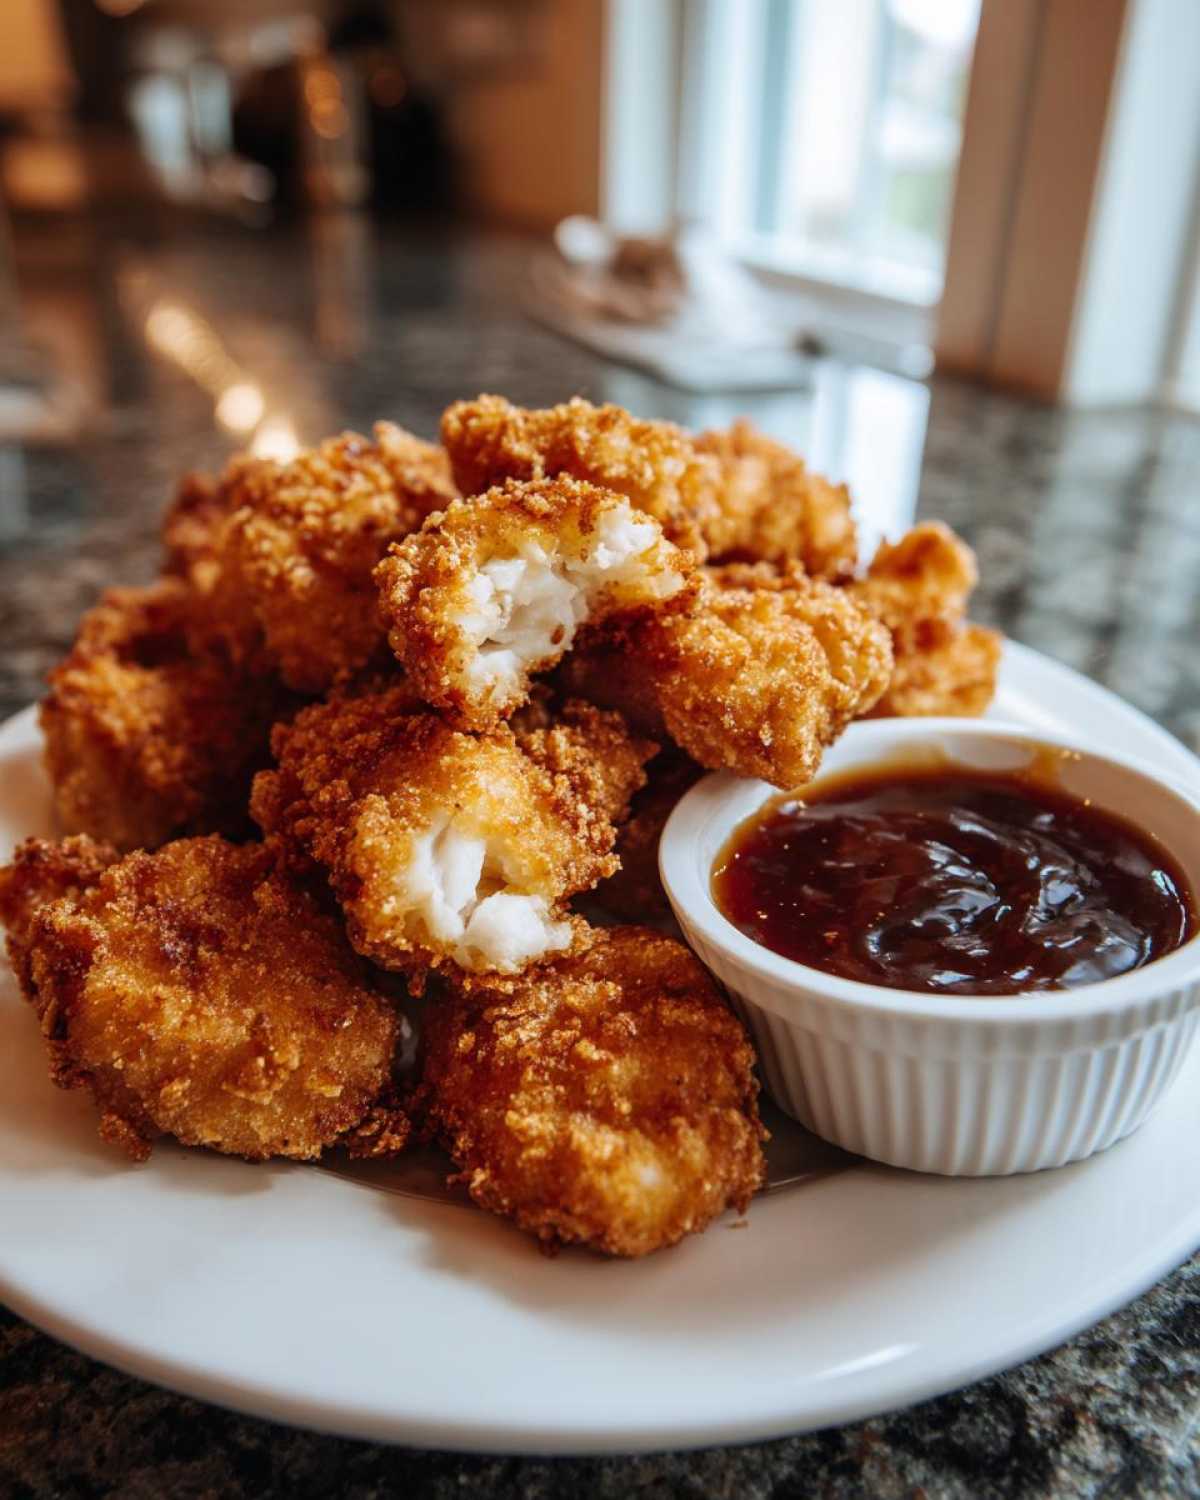
Tips for Air Fryer Crispy Nuggets Success
I know not everyone wants to deal with deep-frying oil, and honestly, the air fryer is fantastic for these if you treat it right. You absolutely need to preheat that basket first! If you drop those breaded beauties into a cold basket, they tend to stick, and the bottom gets soggy before the top even warms up. Always preheat to 400°F (200°C).
Next up is oil. You can’t skip the oil completely, even though we’re pretending it’s healthier chicken! You need a light coating. I use my spray bottle filled with avocado oil and give every single side a quick mist before they go in. This helps those panko flakes turn beautifully golden brown. Most importantly, don’t crowd the basket!
If you stack them, they steam instead of crisping. Work in small batches, ensuring there’s a little air gap around every single nugget. This allows the hot air to whip around them and create that genuinely crispy skin we’re after. If you follow that advice, you’ll have the best air fryer crispy nuggets!
Ingredient Notes and Substitutions for Your Recipe
Okay, now that you’ve seen the recipe, let’s talk about tweaks! Even though I developed this recipe with precision because I wanted the best homemade chicken nuggets, I know kitchens are versatile. You might be out of apple cider vinegar or maybe wonder if you *have* to use panko. Generally, the answer is ‘yes’ for crispiness, but we can work around a few things. My biggest personal tip, beyond the double-dip, is to only buy Panko if you can. It shreds differently; regular breadcrumbs flatten out too much, and we lose that lovely jagged surface for crunch!
For the dip, we have a little wiggle room. If you’re out of apple cider vinegar, I’ve had decent luck using white wine vinegar in a pinch. It’s a bit less sweet and a bit sharper, so I usually bump the honey up by about a teaspoon to balance it out. But please, try to use fresh ginger! Dried ginger just can’t replace that bright, warm zing we need against the soy sauce.
The really important note here is about longevity. You can absolutely make the quick dipping sauce recipes way ahead of time. I usually whip up a double batch on Sunday. Just store it in an airtight container in the fridge—it holds up beautifully for about three days. When you want to serve it, gently reheat it on the stove; don’t microwave it, or it gets weirdly thick right away. If you’re looking for something else savory, maybe try my Garlic Butter Chicken Dip next time, but for these nuggets, this honey garlic is the champion!
Serving Suggestions for Sweet and Savory Chicken
I think sometimes we forget that chicken nuggets—even these glorious, homemade crispy ones—are just one part of dinner! They are so versatile, which is why I love serving them. They are sweet and savory, so you want to pair them with something that either cuts the richness or plays along nicely with that honey garlic sauce.
For the ultimate weeknight win, you need something fast. Nobody wants to spend an hour making sides when the dipping sauce is calling their name! My go-to has always been something crisp and cool. A super simple coleslaw, maybe with a bright, vinegary dressing instead of a creamy one, just slices right through the richness of the fried coating. Plus, the crunch contrast is just brilliant!
If your crew is feeling carb-heavy, you can never go wrong with seasoned fries. I toss my frozen fries with a little smoky paprika and a dash of onion powder before baking them alongside the air-fried nuggets. If you’re looking for something a little healthier, steamed broccoli tossed with a tiny bit of sesame oil works wonders, or even some quick roasted green beans. They make a great, light support cast for these stars of the plate!
Storage and Reheating Instructions for Leftover Bites
Now, I hope you have an incredibly hungry crew because these nuggets are so good, there are hardly ever leftovers! But just in case you do manage to save a few of those make ahead chicken bites, you need to treat them right so they don’t turn into sad, floppy disappointments later. The key here is separation and heat control.
First, the dip—that honey garlic sauce needs to be stored totally separately from the nuggets. Keep the sauce in a small, sealed container in the fridge. Like I mentioned before, it holds up great for a few days, so you can definitely make that dip ahead of time! If it gets really thick when cold, just warm it gently on the stove, stirring in half a teaspoon of water till it loosens back up to that perfect pourable consistency.
For the cooked nuggets, forget the microwave entirely. I mean it! Microwaving is the fastest way to turn crispy coating into chewy glue. You want to bring back that beautiful crunch we worked so hard for! If you saved them from the fryer, the best way is on a baking sheet in the oven preheated to about 375°F (190°C) for about 5 to 8 minutes. If you happen to have an air fryer, that’s even better—a quick blast at 380°F (195°C) for 4 minutes brings them back to life perfectly. Just one quick note: Make sure the nuggets are completely cool before you store them in an airtight container; putting warm food in a sealed container creates steam, and steam means sogginess!
Frequently Asked Questions About Crispy Chicken Nuggets with Honey Garlic Dip
It’s completely normal to have questions when you’re trying a new method, especially when you’re chasing that elusive perfect crunch! Here are a few more things people often ask me about making these Homemade Crispy Chicken Nuggets.
Can I bake these without them getting soggy?
Yes, you absolutely can! If you want a healthier alternative to frying, baking works, but you have to fight the sogginess with a few tricks. First, use that spray oil I talked about on the coated nuggets—don’t skip it! Second, use a wire rack set inside your baking sheet. This lifts the nuggets off the hot metal, allowing air to circulate underneath so the bottom doesn’t steam. Bake them at 400°F (200°C) until they are golden, and be sure to flip them halfway through. You won’t get the deep-fried texture, but you’ll still get great oven baked chicken nuggets crispy results!
What oil is best for frying if I want that diner style texture?
For deep frying, you want an oil with a high smoke point so it doesn’t break down or burn at the 350°F (175°C) required to cook the chicken perfectly. My favorites are peanut oil or vegetable oil. Canola oil works really well too! If you want to get super technical about oil temperatures, check out this great guide on oil temperature guide. Getting the temperature right is crucial for crispy results!
Can I use chicken tenders or thighs instead of chicken breast pieces?
You totally can use chicken tenders, but I highly recommend cutting them into uniform 1-inch cubes like the recipe says. Tenders have a natural tapered shape, and if you leave them whole, the thin ends will cook and dry out long before the thick ends reach the safe internal temperature. For thighs, you’ll probably need to cook them a minute or two longer, as dark meat tends to hold onto more moisture.
How long does the easy honey garlic dip last in the fridge?
The dip is actually my favorite make-ahead component! Because it’s high in honey and vinegar, it lasts quite well. You can keep the dip stored tightly sealed in the refrigerator for up to five days. I usually make a double batch so I always have some on hand for last-minute snacks!
Crispy Chicken Nuggets with Honey Garlic Dip
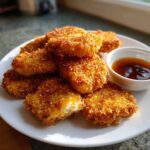
Follow this recipe to make genuinely crispy homemade chicken nuggets using a double-breading technique, served with a simple, flavorful honey garlic dipping sauce.
- Prep Time: 20 min
- Cook Time: 15 min
- Total Time: 35 min
- Yield: 4 servings
- Category: Dinner
- Method: Frying or Air Frying
- Cuisine: American
- Diet: Low Fat
Ingredients
- 1.5 lbs boneless, skinless chicken breasts, cut into 1-inch pieces
- 1 cup all-purpose flour
- 2 large eggs, lightly beaten
- 1.5 cups panko breadcrumbs
- 0.5 cup all-purpose flour (for dredging)
- 1 teaspoon salt
- 0.5 teaspoon black pepper
- 0.5 teaspoon garlic powder
- Vegetable oil, for frying (or cooking spray for baking/air frying)
- For the Dip:
- 0.5 cup honey
- 0.25 cup soy sauce
- 2 tablespoons apple cider vinegar
- 4 cloves garlic, minced
- 1 teaspoon grated fresh ginger
- 1 teaspoon cornstarch mixed with 1 tablespoon cold water (slurry)
Instructions
- Prepare the chicken: Pat the chicken pieces completely dry with paper towels. Season lightly with salt and pepper.
- Set up the breading station: Place the 1 cup flour in the first shallow dish. Whisk the eggs in the second dish. Mix the panko breadcrumbs, remaining 0.5 cup flour, salt, pepper, and garlic powder in the third dish.
- Bread the chicken: Dredge each chicken piece first in the plain flour, shaking off excess. Dip into the egg mixture, letting excess drip off. Finally, press firmly into the panko mixture to coat completely. Repeat the egg dip and panko coating for a double layer of crispiness. Place coated nuggets on a wire rack.
- Make the honey garlic dip: Combine honey, soy sauce, apple cider vinegar, minced garlic, and ginger in a small saucepan. Bring to a simmer over medium heat.
- Thicken the dip: Whisk in the cornstarch slurry. Cook, stirring constantly, until the sauce thickens enough to coat the back of a spoon, about 1 minute. Remove from heat and set aside.
- Cook the nuggets (Frying Method): Heat 2 inches of oil in a deep skillet to 350°F (175°C). Fry the nuggets in batches for 3-4 minutes, turning occasionally, until golden brown and cooked through (internal temperature 165°F or 74°C). Drain on a paper towel-lined plate.
- Cook the nuggets (Air Fryer Method): Preheat air fryer to 400°F (200°C). Lightly spray the nuggets with cooking spray. Cook for 10-12 minutes, flipping halfway, until golden and crisp.
- Serve immediately with the warm honey garlic dip.
Notes
- For the crispiest result when baking or air frying, lightly spray the coated nuggets with cooking oil before cooking.
- If you prefer a thinner dip, reduce the cornstarch slightly or add a teaspoon of water after cooking.
- You can make the dipping sauce up to three days ahead and store it in the refrigerator. Reheat gently before serving.
Nutrition
- Serving Size: 5 nuggets plus 2 tbsp dip
- Calories: 380
- Sugar: 25
- Sodium: 550
- Fat: 15
- Saturated Fat: 3
- Unsaturated Fat: 12
- Trans Fat: 0
- Carbohydrates: 35
- Fiber: 1
- Protein: 28
- Cholesterol: 95