

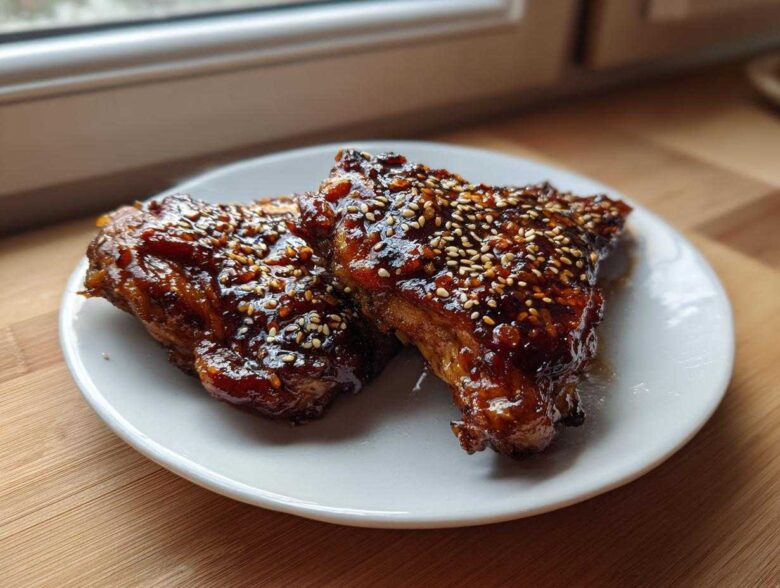
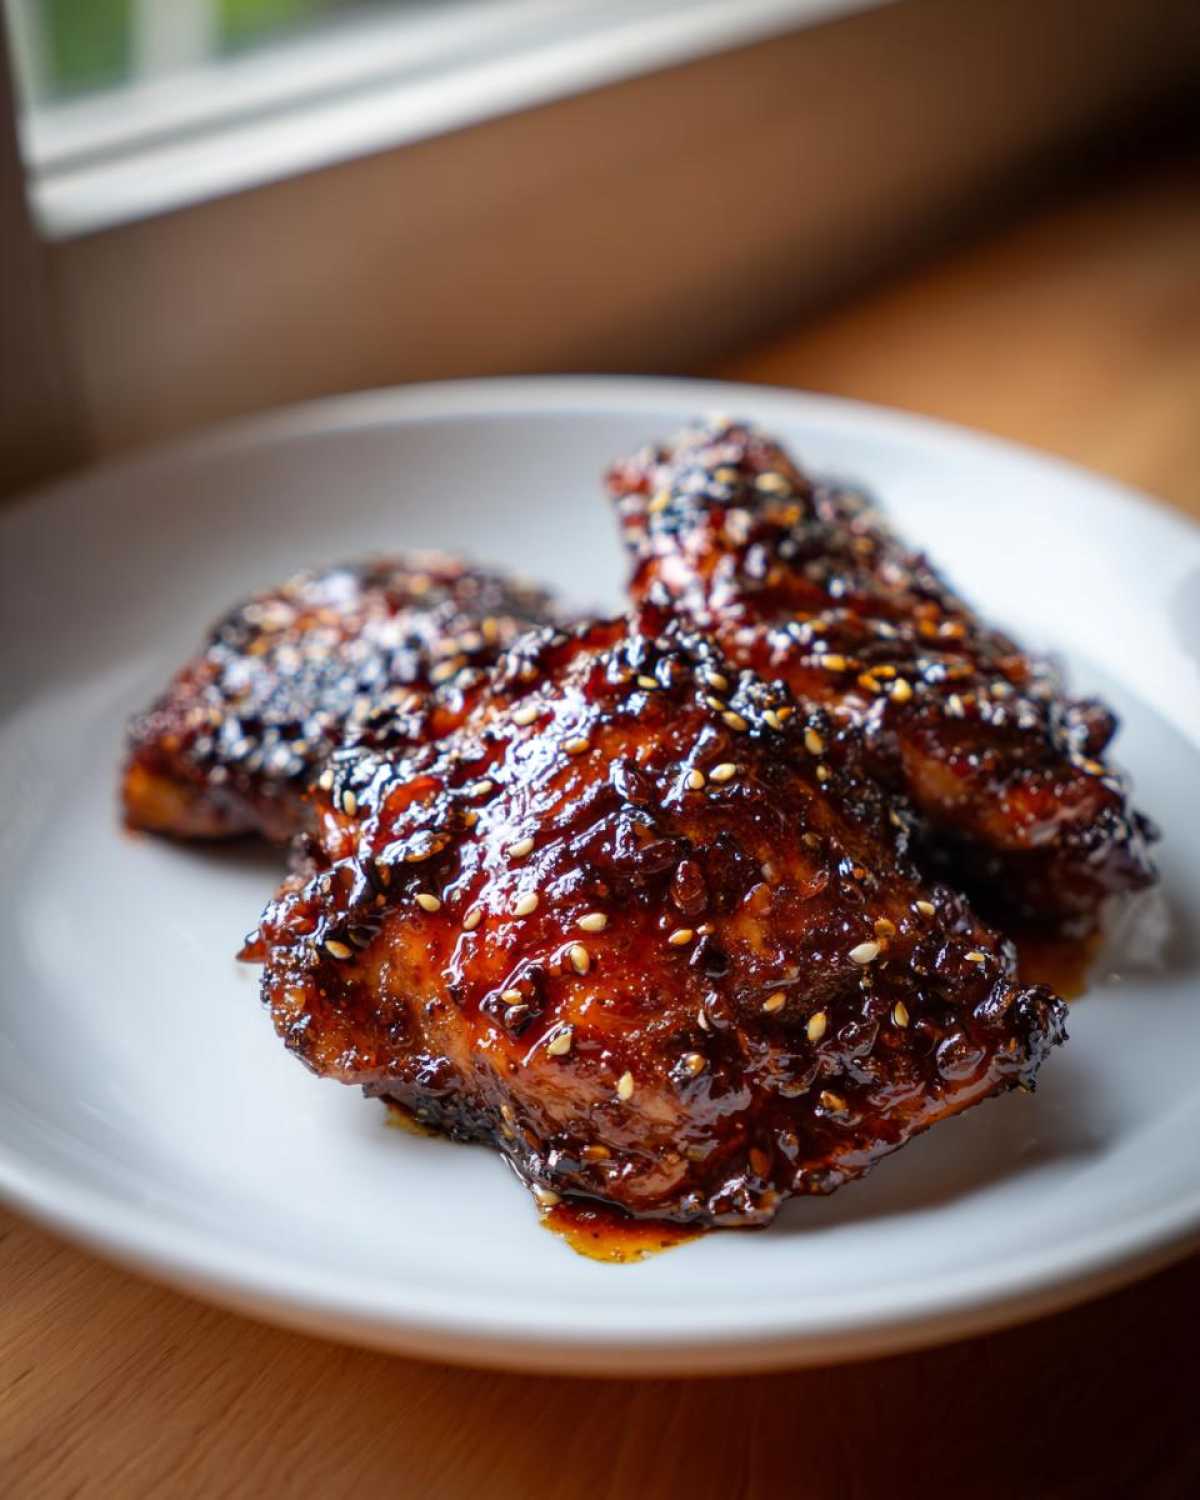
If you’ve ever thrown perfect chicken thighs away because they ended up dry or swimming in a watery, thin sauce, stop right now! I’ve cracked the code for you. Chicken thighs are the unsung heroes of the weeknight dinner world—they stay juicy no matter what you do to them. But the real star of this show is that glaze, friends. We aren’t messing around with thin, runny stuff here; we are making Sticky Teriyaki Chicken Thighs with Garlic that clings to every curve.
I spent weeks getting this recipe just right for those crazy weeknights when I needed dinner on the table fast but didn’t want takeout. The amount of actual garlic in this is *generous*, trust me. Once you see this beautiful, thick coating come together, you’ll wonder why you ever bothered with a store-bought jar. It’s sweet, savory, intensely garlicky, and honestly, addictive!
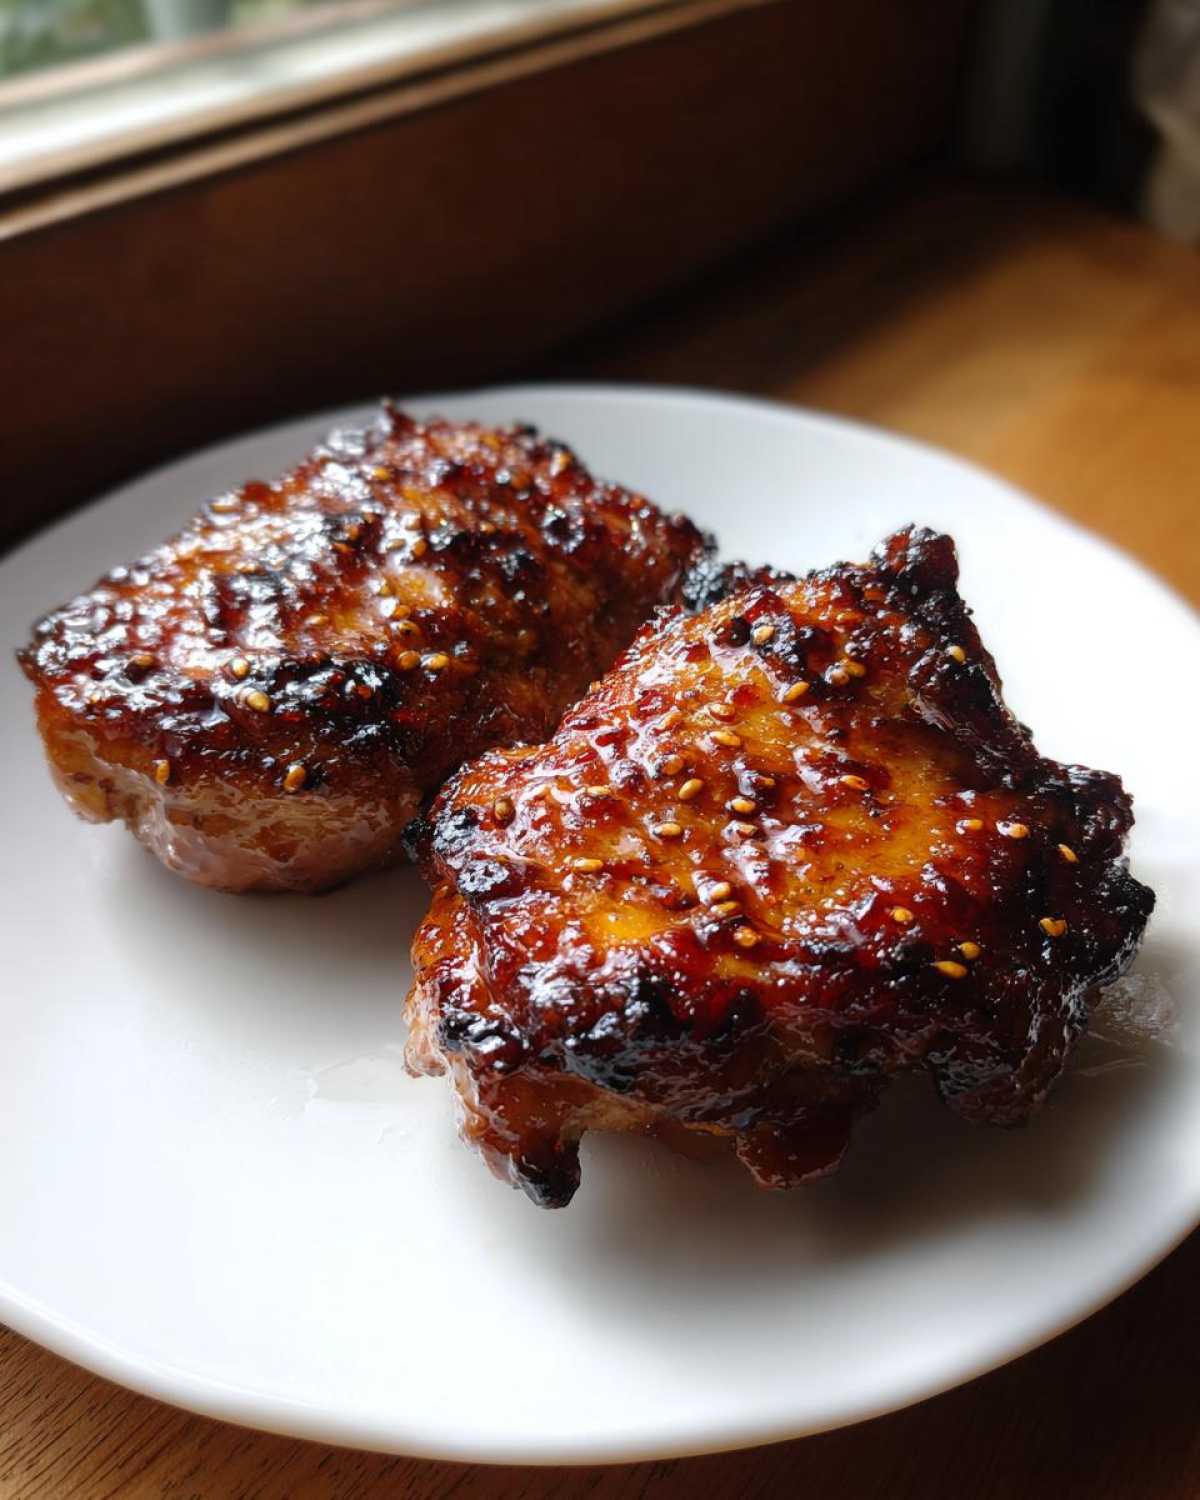
Why You Will Love These Sticky Teriyaki Chicken Thighs with Garlic
Seriously, this recipe nails it every single time. I promise you’ll be making this on repeat once you try it. And look, chicken thighs are naturally so much juicier than breasts! Here’s why this recipe is about to become your new favorite:
- Ultimate Juiciness: We’re using thighs, so you get that guaranteed tender, moist bite every time. Check out my tips for keeping chicken thigh moisture locked in!
- That Sticky Perfection: The final step with the slurry creates a thick glaze that actually *sticks* instead of running onto the plate. No more sad, soupy chicken!
- Garlic Punch: We don’t shy away from flavor here; this sauce is intensely savory, sweet, and perfectly garlicky.
- Super Quick Dinner: Total time is under 40 minutes, making it fantastic for a busy weeknight.
Gathering Ingredients for Sticky Teriyaki Chicken Thighs with Garlic
Okay, don’t panic when you see the ingredient list. It looks like a lot of things, but most of it is just stuff you whisk right into the sauce! I always keep these things stocked because they are the building blocks for tons of Asian-inspired dinners. You probably have most of this already!
For the Chicken and Searing:
- Eight boneless, skinless chicken thighs (Don’t even think about using breasts, okay? Thighs are superior here!)
- One tablespoon vegetable oil
For the Sticky Garlicky Teriyaki Glaze:
- One-half cup soy sauce (I highly recommend going low sodium, or your glaze might taste a little too salty at the end.)
- One-quarter cup mirin (That sweet rice wine is non-negotiable for authentic flavor!)
- One-quarter cup packed brown sugar
- Two tablespoons honey
- Four cloves garlic, minced (Yes, *four*. Don’t skimp!)
- One tablespoon fresh ginger, grated (Fresh is so much better than the jarred stuff, trust me on this one.)
- One teaspoon sesame oil
For Achieving the Stickiness (The Magic):
- One teaspoon cornstarch mixed with two teaspoons cold water (This is our secret weapon slurry!)
- One teaspoon sesame seeds, for garnish
- Two green onions, sliced, for garnish
That’s it! Mix up the sauce ingredients (everything except the slurry, seeds, and green onions) while the chicken rests after searing, and we’re practically done!
Essential Equipment for Perfect Sticky Glazed Chicken Thighs
You don’t need a fancy setup for this recipe, which is great news for your Tuesday night cooking schedule! A few trusty tools will get you there. When you’re aiming for that perfect sear and that clingy final glaze, the right equipment really helps.
Here are the absolute must-haves for success:
- A large, heavy-bottomed skillet—I prefer cast iron here because it holds heat so well for that beautiful chicken sear.
- Tongs for flipping the chicken thighs evenly!
- A small bowl and whisk for mixing up that crucial cornstarch slurry.
- A meat thermometer. Honestly, if you want perfectly juicy dark meat every time, you need to check the temp! We are looking for 165°F inside the thickest part.
- A silicone spatula or spoon for stirring the sauce while it reduces, making sure nothing burns on the bottom of the pan.
Having these things ready means you can move straight from searing the chicken to building that amazing sweet and savory sauce without scrambling around the kitchen!
Step-by-Step Instructions for Sticky Teriyaki Chicken Thighs with Garlic
This is where the magic happens! The whole process moves incredibly fast once you start cooking, so have all your ingredients measured and ready to go—mise en place is your best friend here. We need high heat for searing, then a quick simmer to build that depth of flavor before we lock in that sticky goodness.
Preparing and Searing the Chicken Thighs
First things first: grab some paper towels and pat those chicken thighs bone dry! I mean bone dry. Any moisture sitting on the surface will steam the meat instead of searing it, and we need that fantastic, deep brown crust for flavor. Season them lightly with salt and pepper, but remember the soy sauce is salty, so don’t overdo it!
Heat your oil in the skillet over medium-high heat until it shimmers. Add the chicken thighs and leave them alone! Let them sit there and sizzle for a solid 4 to 5 minutes per side. You want that rich mahogany color. Once they look gorgeous and browned, pull them out and set them on a clean plate.
Building the Garlicky Teriyaki Sauce Base
Now, turn that heat down to medium. See those brown bits stuck to the bottom of the pan? That’s flavor gold! Toss in your minced garlic and grated ginger—be careful, those aromatics burn fast! Stir them around for just about 60 seconds until you can really smell that bright, intense garlic fragrance filling your kitchen. This part really drives home that garlicky teriyaki punch we are looking for.
Next, pour in the soy sauce, mirin, brown sugar, honey, and sesame oil. Keep stirring until that sugar fully dissolves. Give it a minute to heat through—you should see it bubbling gently.
Simmering and Thickening for Sticky Teriyaki Chicken Thighs with Garlic
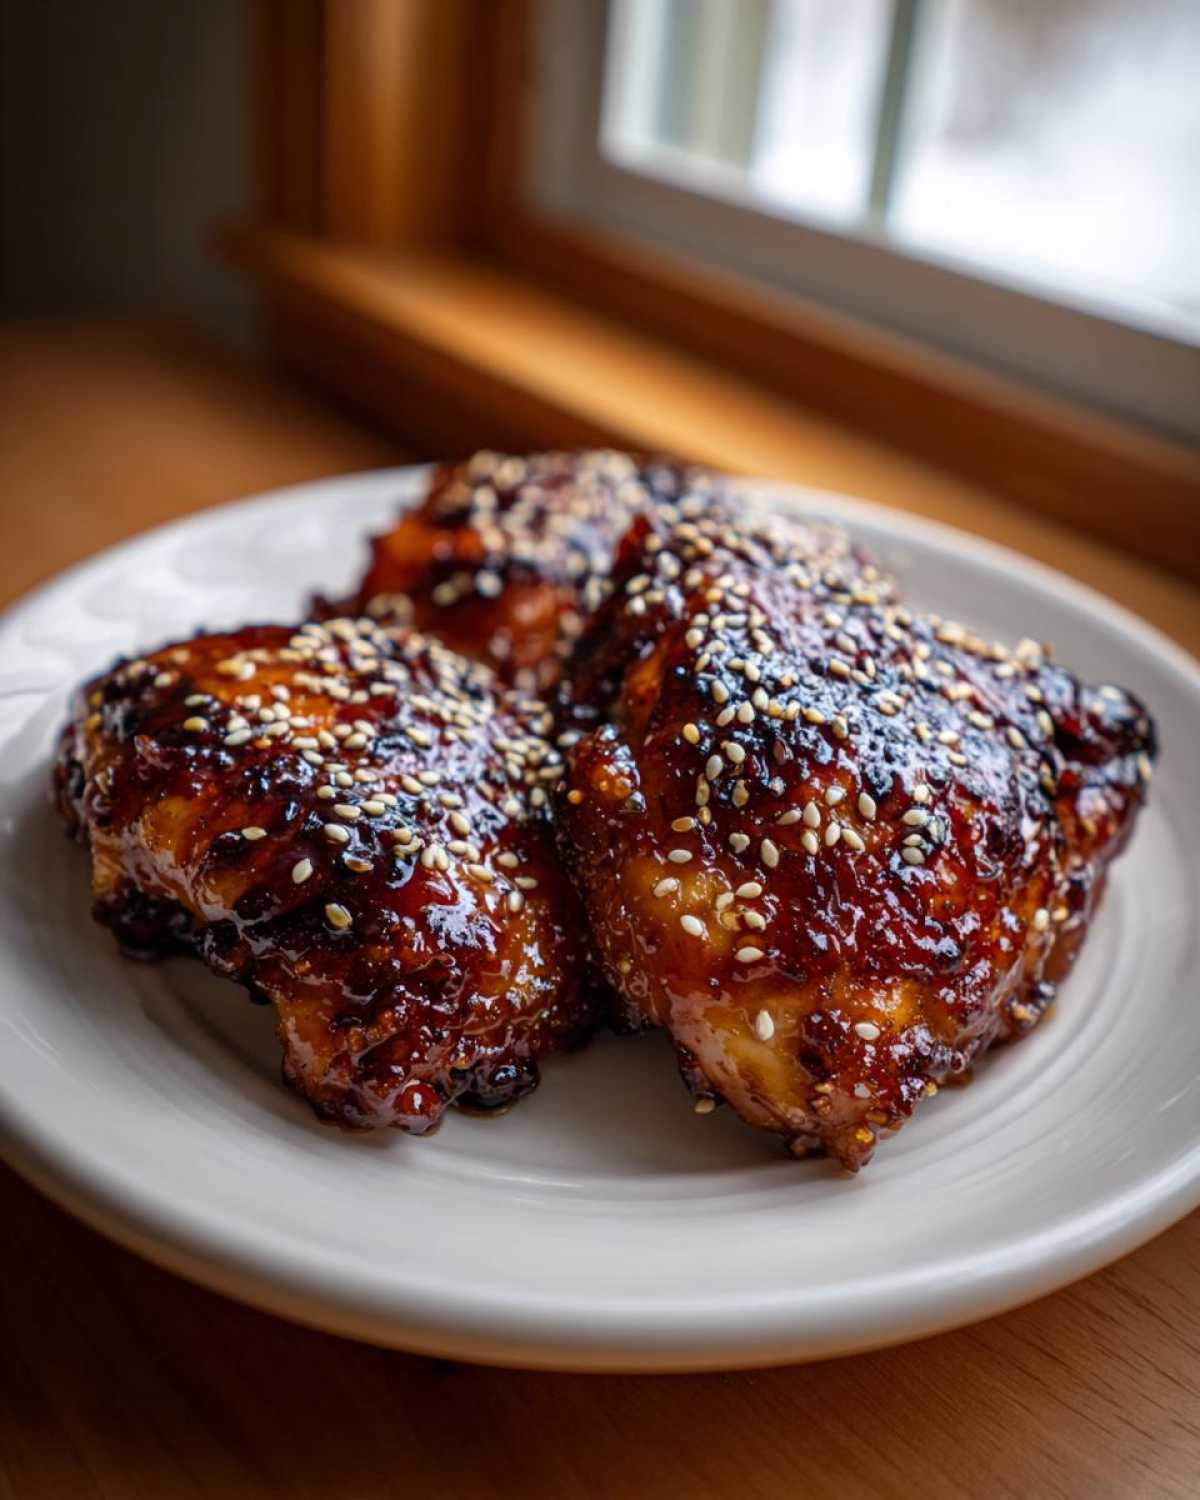
Time to return those beautiful, seared chicken thighs to the skillet. Let them simmer right there in the bath for about 5 minutes, turning them halfway through so both sides soak up the flavor. This is great cooking, but we need that *stickiness*!
Take your cornstarch slurry (that little mix of cornstarch and cold water), give it one last good stir because it settles fast, and drizzle it slowly into the simmering sauce while you stir constantly. Watch the magic happen! The sauce will thicken up almost immediately. If you need help understanding exactly *why* this slurry works so well, I talk all about how to make sticky sauce in another post! Keep stirring and spooning that thick, beautiful sauce over the chicken thighs for 2 or 3 more minutes until they hit an internal temperature of 165°F. Everything should be perfectly coated. Garnish, serve immediately, and try not to double dip!
Tips for the Best Sticky Teriyaki Chicken Thighs with Garlic
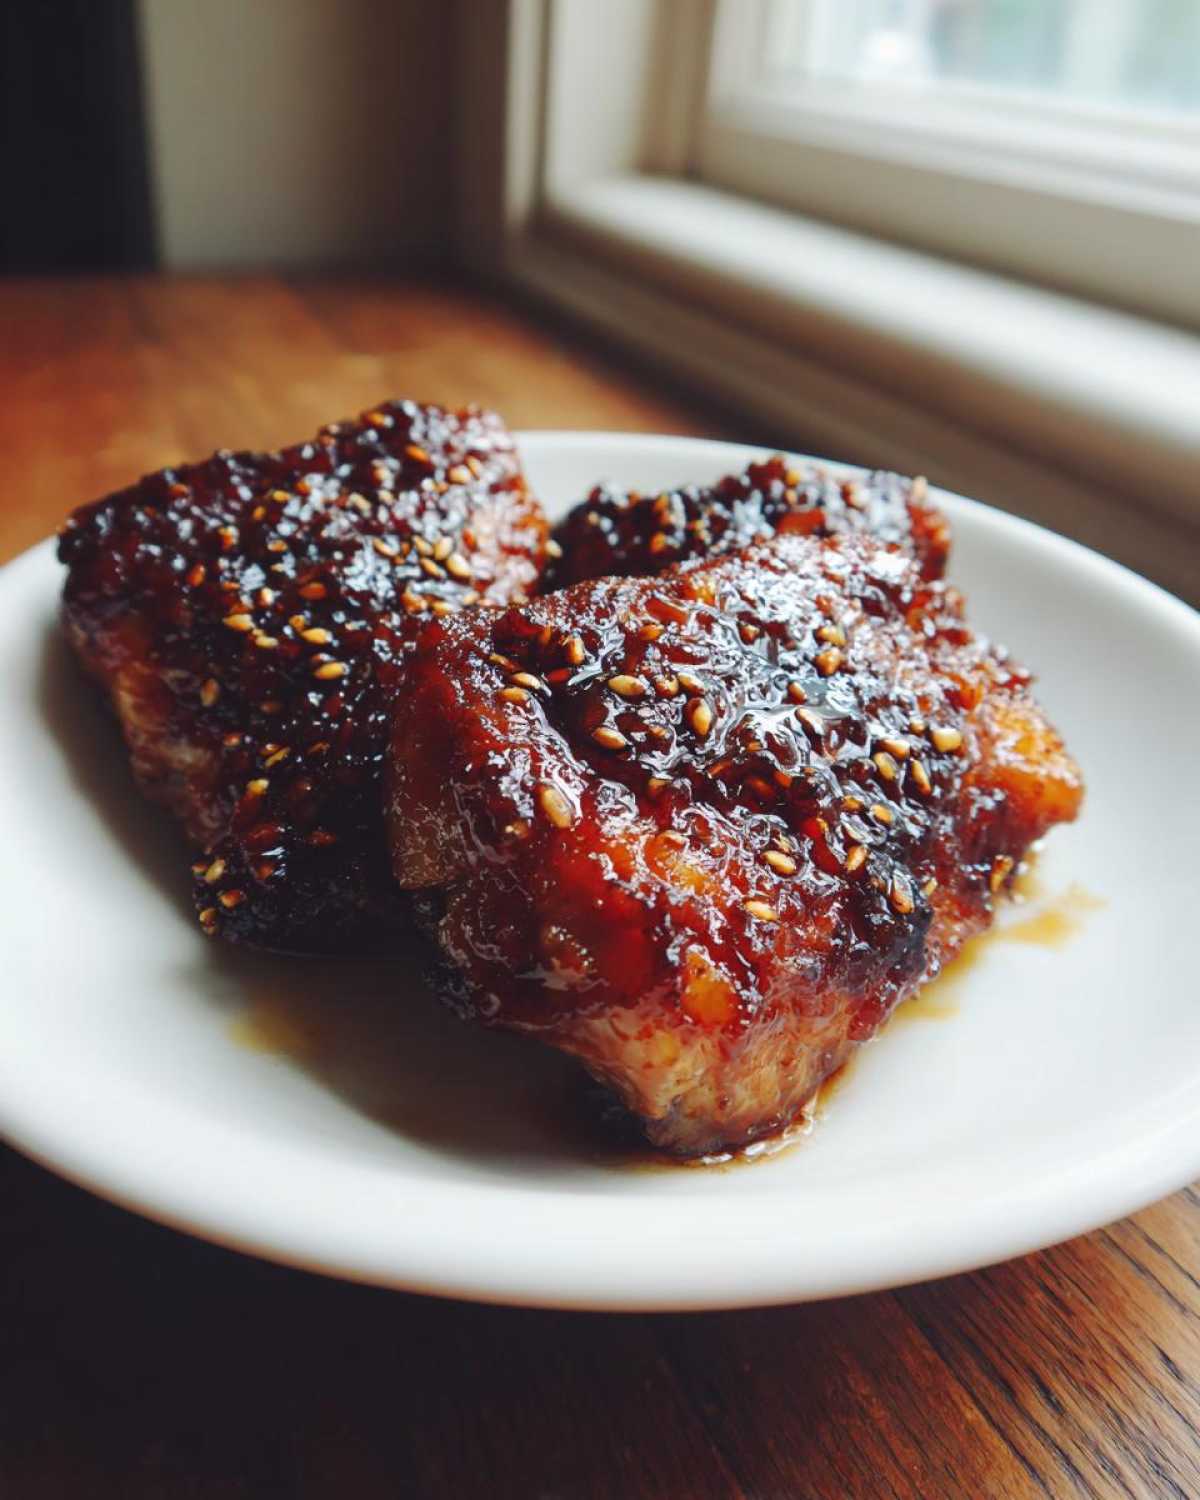
I’ve made this a million times—sometimes rushed, sometimes slow—and I picked up a few tricks along the way. The key here is managing that sauce thickness. If you added the slurry and it got too thick, way too fast (it happens!), just grab a tablespoon of warm water and stir it in until it loosens up beautifully. Don’t add too much, or you’ll be back to square one!
Now, if you don’t want to stand over the stove frying, I have a great alternative! You can totally bake these. After searing the chicken, just put them in an oven-safe dish, pour the sauce over them (without the slurry!), and bake at 400°F (200°C) for about fifteen minutes. Then, take the pan out, thicken your leftover sauce separately on the stovetop using that slurry, pour it back over the chicken, and bake for five final minutes. It’s a lifesaver! For more details on making this oven-friendly, check out my notes on Oven Baked Sticky Chicken.
Also, if you’re serving this immediately, let the chicken rest in the hot sauce for just a minute before plating. It helps the glaze set up nicely when it cools ever so slightly!
Serving Suggestions for Your Sticky Glazed Chicken Thighs
Okay, you’ve nailed the chicken and you have this gorgeous, thick glaze dripping off the sides. Now what? You can’t just eat the chicken straight from the skillet—well, you *could*, but let’s make this a complete meal!
The absolute number one thing you need is a base for that sauce to pool into. My family always goes for freshly made steamed white rice. My kids swear the best part of the entire meal is spooning that sweet, salty, garlicky teriyaki sauce over the rice until it’s completely saturated. If you haven’t tried making rice at home, check out some simple pointers in my guide on Weeknight Chicken Dinner Ideas!
If rice isn’t your thing, slippery egg noodles or even some simple ramen noodles work great because they hold onto that glaze so well. Keep the vegetables simple, too! This dish doesn’t need fussy sides.
Here are my favorite easy additions to round out the plate:
- Steamed or Blanched Broccoli: Toss the florets with just a tiny squeeze of sesame oil and a pinch of salt after steaming. The green color looks so nice next to the dark chicken.
- Sautéed Green Beans: Quick fry them in a separate pan until they are slightly tender-crisp.
- Shredded Cabbage Slaw: A rough slaw made with just cabbage and a splash of rice vinegar on the side offers a nice, bright crunch that cuts through the richness of the glaze.
It’s such a satisfying, complete plate of food in under an hour. Honestly, it tastes like something you’d wait in line for at your favorite take-out spot!
Storage and Reheating Sticky Teriyaki Chicken Thighs with Garlic
Good news: this sticky chicken reheats amazingly well! Since chicken thighs stay moist naturally, they handle leftovers better than chicken breasts do. I always make a little extra just to have for lunch the next day.
You can keep leftovers stored in an airtight container in the fridge for about three to four days. Don’t worry if the sauce looks a little thicker once it cools down—that’s just the magic of that cornstarch working overtime!
To reheat, skip the microwave if you can! I highly recommend throwing the chicken and any extra sauce into a small skillet over medium heat. Add just one tiny splash of water or even a teaspoon of low-sodium soy sauce. Stir gently as it heats up until the glaze loosens and coats the chicken again. It only takes about 5 minutes, and you get that perfect grabby, sticky texture back without drying it out!
Frequently Asked Questions About This Garlic Chicken Recipe
I get so many messages about this recipe—it seems like everyone struggles with making that sauce thick enough! Here are the top questions I always see popping up about this easy teriyaki chicken thighs recipe.
Can I use chicken breasts instead of thighs in this recipe?
You absolutely *can*, but you need to be much more careful with your timing! Chicken breasts are leaner and dry out fast, especially when you’re simmering them in sauce. If you use breasts, cut them into 1-inch strips before searing. Sear them for only 2-3 minutes on each side until lightly golden, then remove them immediately. Reintroduce them only when you add the cornstarch slurry, and cook just until they reach 165°F inside. They won’t be as juicy as the thighs, but they’ll still be delicious if you monitor that temperature closely!
I need this to be gluten-free—how do I adapt it?
That’s easy to fix! The only real gluten culprit we have here is the soy sauce. Swap out your regular soy sauce for tamari or a certified gluten-free soy sauce. Tamari often has a slightly richer, less salty flavor, which works beautifully with the honey and brown sugar. All the other ingredients—mirin, honey, cornstarch, garlic—are naturally gluten-free, so just make that one substitution and you’re good to go! This keeps the sticky glazed chicken thighs flavor profile exactly the same.
My sauce didn’t get sticky! How do I fix thin sauce?
Oh, that’s the most frustrating part! If you didn’t get that satisfying, clinging glaze, it usually means one of two things: either you didn’t let the sauce simmer long enough before adding the slurry, or you didn’t whisk the slurry enough before adding it. If it’s already too thin after adding the cornstarch mixture, no worries! Whisk up another tiny slurry (half a teaspoon of cornstarch with one teaspoon of cold water) and drizzle *half* of that in while stirring constantly over medium heat. Let it bubble for 30 seconds. It should thicken right up. It’s all about patience with that final thickening step!
How much garlic do I really need for the best flavor?
Look, if you’re asking this, you probably need more! We call this best garlic chicken thighs for a reason. I use four full cloves, and for serious garlic lovers, I sometimes push it to six! The key is to let the minced garlic sauté gently for that full minute *before* you add any liquid. This lightly toasts the garlic and releases its aromatic oils without actually burning it. A raw, sharp garlic flavor is not what we want; we want that deep, slightly sweet, cooked-down garlic infusion in the teriyaki base.
Can I prepare the sauce ahead of time?
Yes, you absolutely can! Making a batch of the teriyaki sauce base (everything except the cornstarch slurry) stores great and saves time. You can mix the soy sauce, mirin, sugars, ginger, and sesame oil together and keep it in a sealed jar in the fridge for up to a week. When you’re ready to cook, just pour the pre-made sauce into your hot pan, bring it to a simmer, and add your freshly thickened cornstarch slurry as usual. This really helps pull together a fast easy teriyaki chicken thighs recipe!
Estimated Nutritional Profile for Sticky Teriyaki Chicken Thighs with Garlic
I always tell people that while this dish is absolutely fantastic for flavor and speed, it can be a little high on the sugar and sodium side because of that thick, wonderful glaze we create! These numbers are just an estimate, so please remember they will change slightly based on what brand of soy sauce you grab or how much honey you sneak into the pot!
Here is what you can generally expect per serving size (which is two thighs):
- Calories: About 450
- Protein: A whopping 38 grams!
- Fat: Roughly 20 grams
- Carbohydrates: Around 28 grams
- Sugar: Approximately 22 grams (That’s the glaze doing its job!)
- Sodium: 850mg (This is why I push the low-sodium soy sauce!)
It’s a balanced meal when served with some plain rice and a pile of steamed veggies to help mellow out the richness. Enjoy responsibly!
PrintSticky Teriyaki Chicken Thighs with Garlic
Make juicy chicken thighs coated in a thick, sweet, and savory garlic teriyaki glaze. This recipe works well pan-seared or baked.
- Prep Time: 10 min
- Cook Time: 25 min
- Total Time: 35 min
- Yield: 4 servings
- Category: Dinner
- Method: Pan Frying
- Cuisine: Asian
- Diet: Low Lactose
Ingredients
- 8 boneless, skinless chicken thighs
- 1 tablespoon vegetable oil
- 1/2 cup soy sauce (low sodium preferred)
- 1/4 cup mirin (sweet rice wine)
- 1/4 cup packed brown sugar
- 2 tablespoons honey
- 4 cloves garlic, minced
- 1 tablespoon fresh ginger, grated
- 1 teaspoon sesame oil
- 1 teaspoon cornstarch mixed with 2 teaspoons cold water (slurry)
- 1 teaspoon sesame seeds, for garnish
- 2 green onions, sliced, for garnish
Instructions
- Pat the chicken thighs dry with paper towels. Season lightly with salt and pepper.
- Heat the vegetable oil in a large skillet over medium-high heat. Add the chicken thighs and sear for 4 to 5 minutes per side until browned. Remove the chicken from the skillet and set aside.
- In the same skillet, reduce the heat to medium. Add the minced garlic and grated ginger. Cook for 1 minute until fragrant.
- Pour in the soy sauce, mirin, brown sugar, honey, and sesame oil. Bring the mixture to a simmer, stirring until the sugar dissolves.
- Return the chicken thighs to the skillet. Let them simmer in the sauce for 5 minutes, turning once.
- Stir the cornstarch slurry again and pour it slowly into the simmering sauce while stirring constantly. The sauce will thicken quickly.
- Continue to cook for 2 to 3 minutes, spooning the thick, sticky sauce over the chicken thighs until they are fully coated and cooked through (internal temperature of 165°F or 74°C).
- Remove the chicken from the heat. Garnish with sesame seeds and sliced green onions before serving.
Notes
- For an oven-baked method, sear the chicken as directed in step 2. Whisk the sauce ingredients (excluding the slurry) and pour over the chicken in an oven-safe dish. Bake at 400°F (200°C) for 15 minutes. Remove, add the thickened sauce (made separately on the stovetop), and bake for 5 more minutes until sticky.
- Serve this chicken over steamed white rice to soak up the extra glaze.
Nutrition
- Serving Size: 2 thighs
- Calories: 450
- Sugar: 22
- Sodium: 850
- Fat: 20
- Saturated Fat: 5
- Unsaturated Fat: 15
- Trans Fat: 0
- Carbohydrates: 28
- Fiber: 1
- Protein: 38
- Cholesterol: 140