

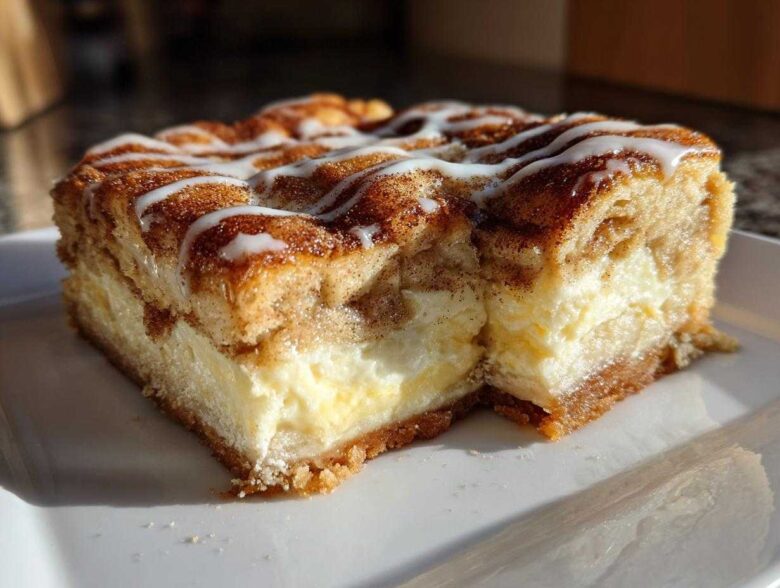
I absolutely live for those dessert mash-ups that sound a little wild but turn out completely incredible, you know? Like taking two amazing things and smashing them together! That’s exactly what happened when I first developed my take on the sopapilla cheesecake. Think about it: the light, flaky texture of a good sopapilla soaked in honey, meeting the cool, tangy creaminess of a classic baked cheesecake. It’s pure Tex-Mex inspired magic! And honestly, the best part? This isn’t some finicky, all-day baking project. I’ve used my experience layering these types of pastries to make this sopapilla cheesecake recipe incredibly easy. Trust me, you can whip this up faster than you think, and it tastes like you spent all day fussing over it. For more awesome baking insights, you should check out my general latest baking adventures here on the blog!
Why This Easy Sopapilla Cheesecake Recipe Works (Best Sopapilla Cheesecake Bars)
I’ve made enough layered desserts to know what shortcuts are worth taking, and for this sopapilla cheesecake, convenience is king. That’s why we lean on refrigerated dough – it keeps the prep time down so you can enjoy this quickly!
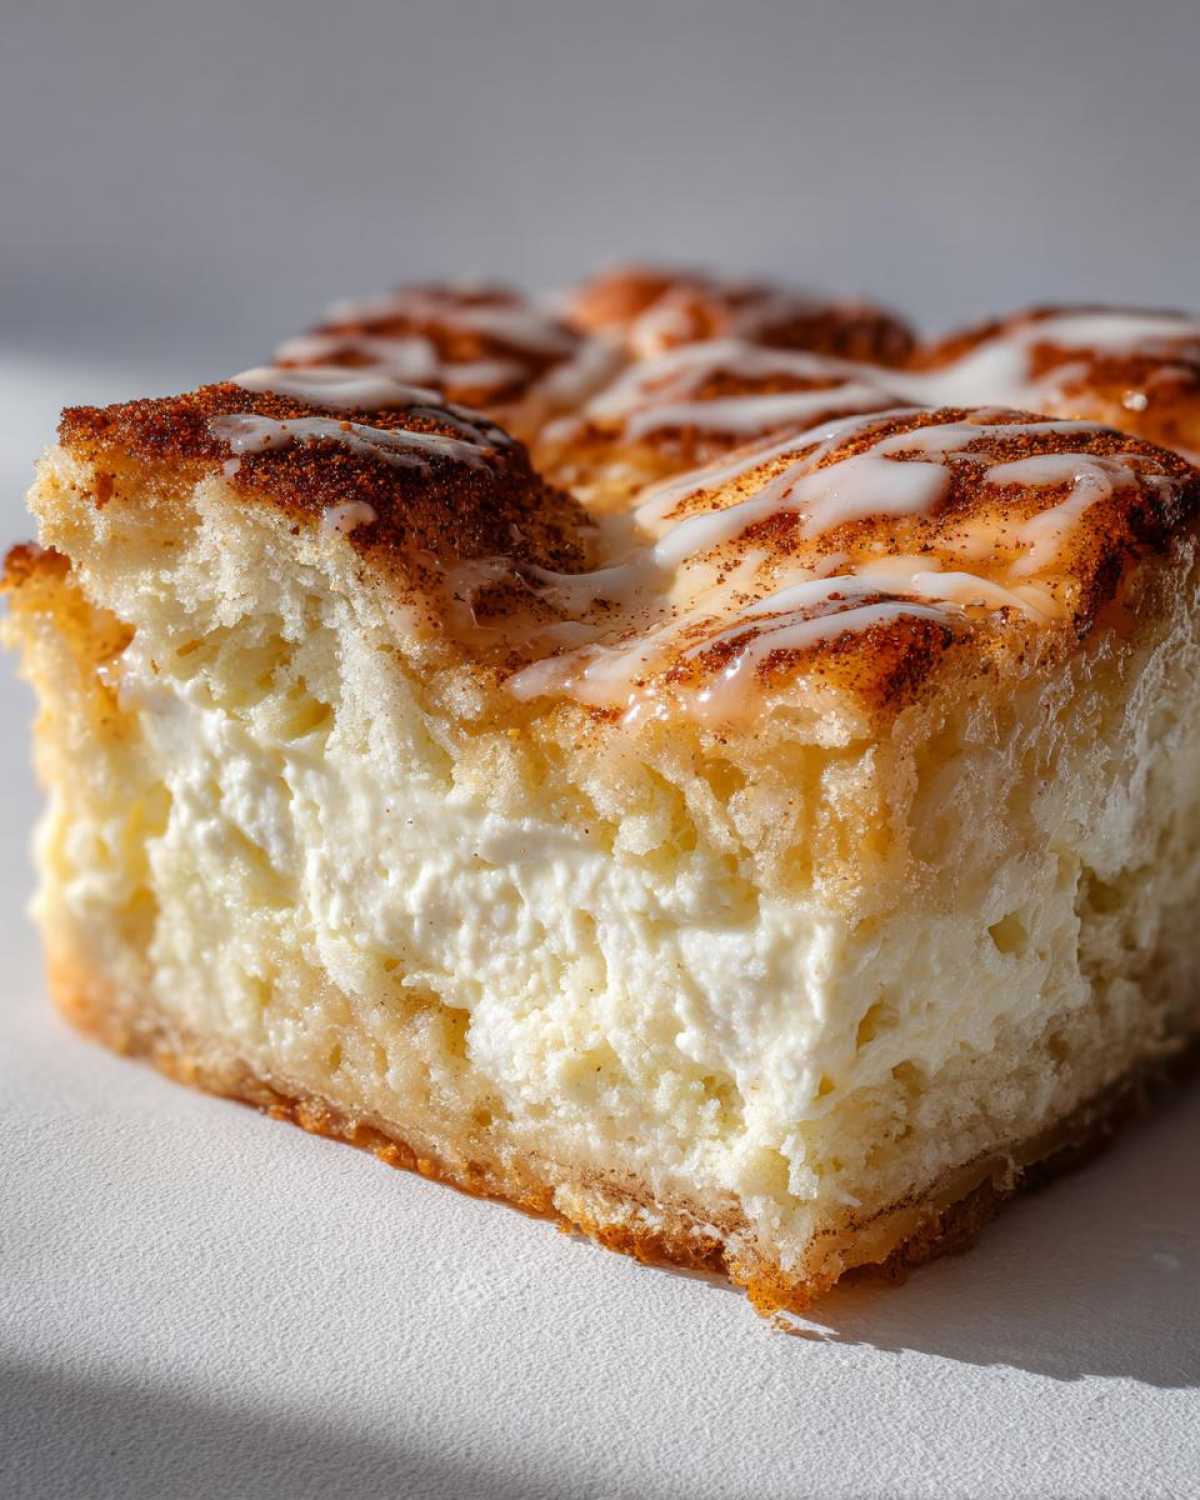
- It delivers that amazing churro cheesecake fusion flavor immediately.
- The texture contrast is perfect: flaky on the outside, super creamy inside.
- It’s genuinely an easy sopapilla cheesecake recipe that impresses every single time.
If you love quick yet stunning desserts, check out my tips for strawberry cheesecake cookies or see how I get that crunchy perfection on my buttery apple cobbler topping!
Essential Ingredients for Your Sopapilla Cheesecake
Okay, we’re getting down to business! For the best sopapilla cheesecake bars, you need to assemble your ingredients properly. I always lay everything out first—it keeps me from forgetting that vital splash of vanilla. Since we are aiming for that incredible creamy cheesecake dessert filling, I absolutely insist you use full-fat cream cheese. Don’t try to sneak in a light or whipped version; it just won’t set right, and honestly, you lose that rich texture we’re going for!
Here is what you need:
The Crust and Pastry Layers
- Two (8 ounce) tubes refrigerated crescent roll dough (This is the secret to easy layering!)
- 1/2 cup (1 stick) unsalted butter, fully melted
The Sweet Cream Cheese Pastry Filling
- 1 (8 ounce) package cream cheese, it MUST be softened completely
- 1/2 cup granulated sugar
- 1 large egg yolk (just the yolk!)
- 1 teaspoon vanilla extract
The Buttery Cinnamon Topping Recipe
- 3/4 cup granulated sugar
- 2 tablespoons ground cinnamon
Optional Drizzle (But Highly Recommended!)
- 1/2 cup powdered sugar
- 2 tablespoons milk
- 1 teaspoon vanilla extract
If you want to explore more cheesy, flaky recipes, you should take a look at my Cheddar Cheese Straws—it proves that savory pastries can be just as addictive!
How to Make Sopapilla Cheesecake Step-by-Step
Alright, let’s get baking! The beauty of these sopapilla cheesecake bars is that it’s totally straightforward, even though the result looks fancy. First thing’s first: get that oven heating up to 350 degrees F and grease that 9×13 pan. You want to be ready to go as soon as that filling is mixed!
If you’ve ever struggled with a lumpy cheesecake before, you’ll want to check out my tips for getting a super silky filling over on my New York Cheesecake post, but honestly, this version is much more forgiving!
Preparing the Cream Cheese Filling
You have to make sure that cream cheese is room temperature, or you’ll be fighting lumps the whole time. Just beat the softened cream cheese with the half-cup of sugar, the single egg yolk (don’t add the white, trust me!), and the vanilla until it’s totally smooth. We want that flawless base for our next layer!
Layering the Crescent Roll Cheesecake Bars
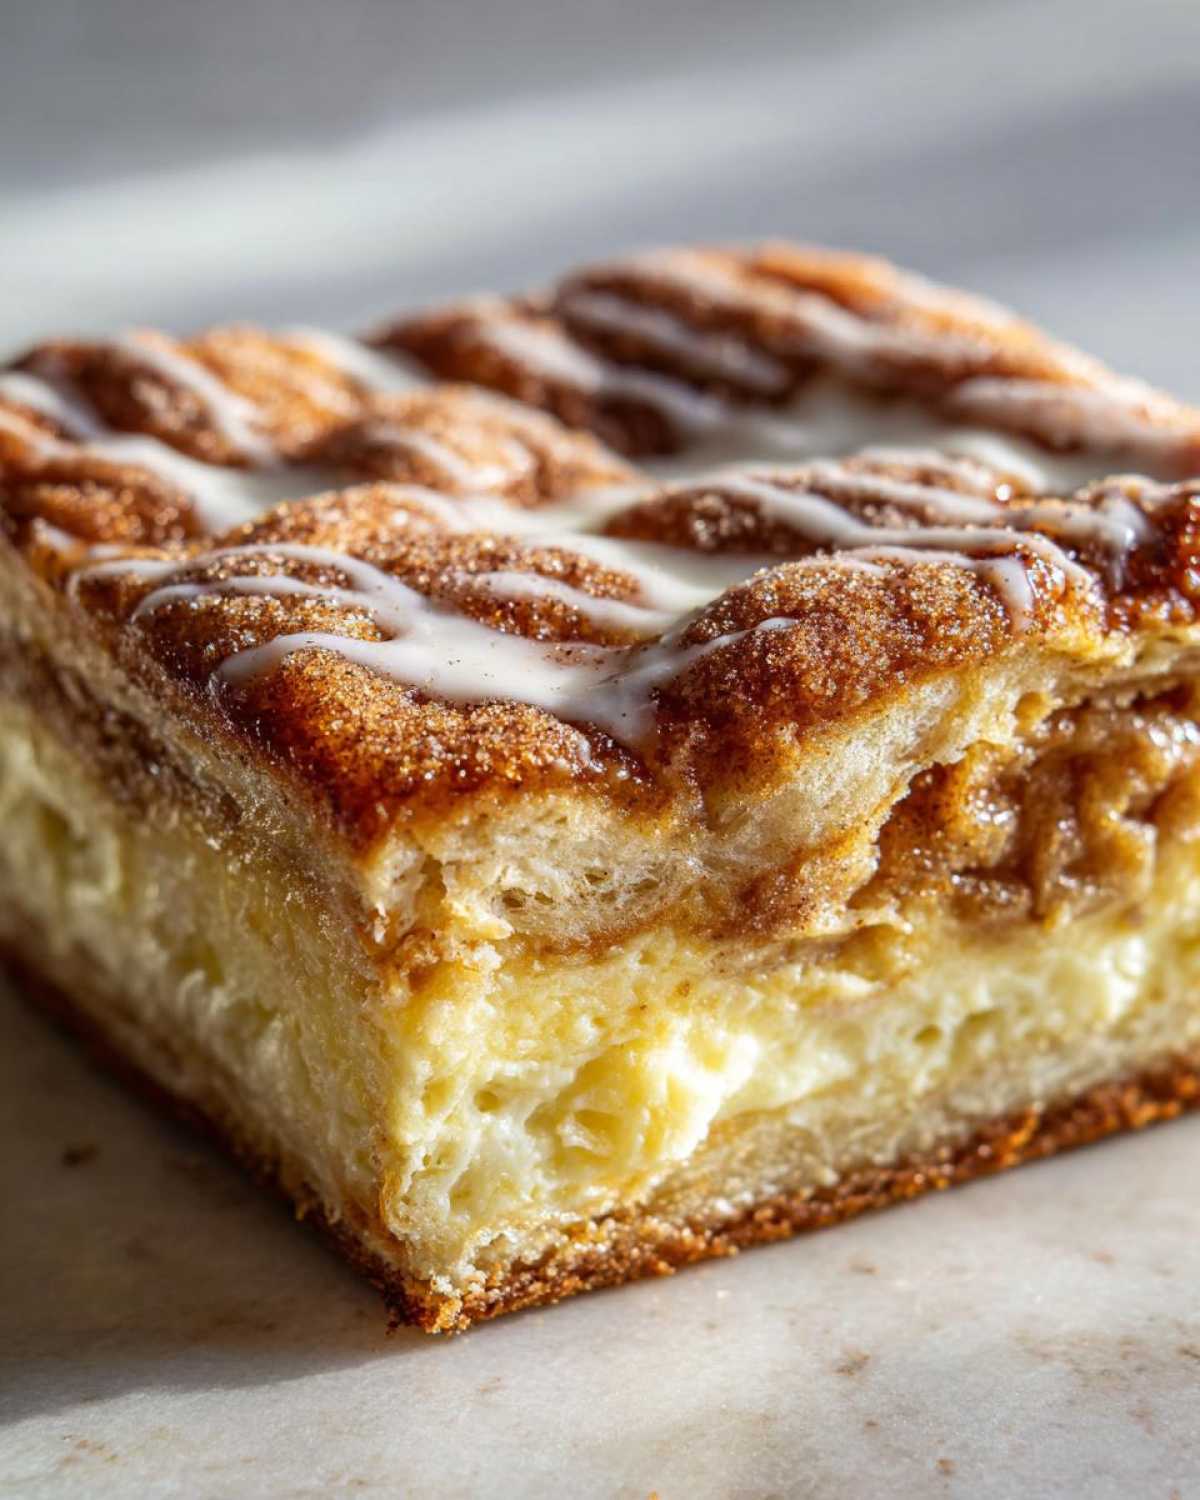
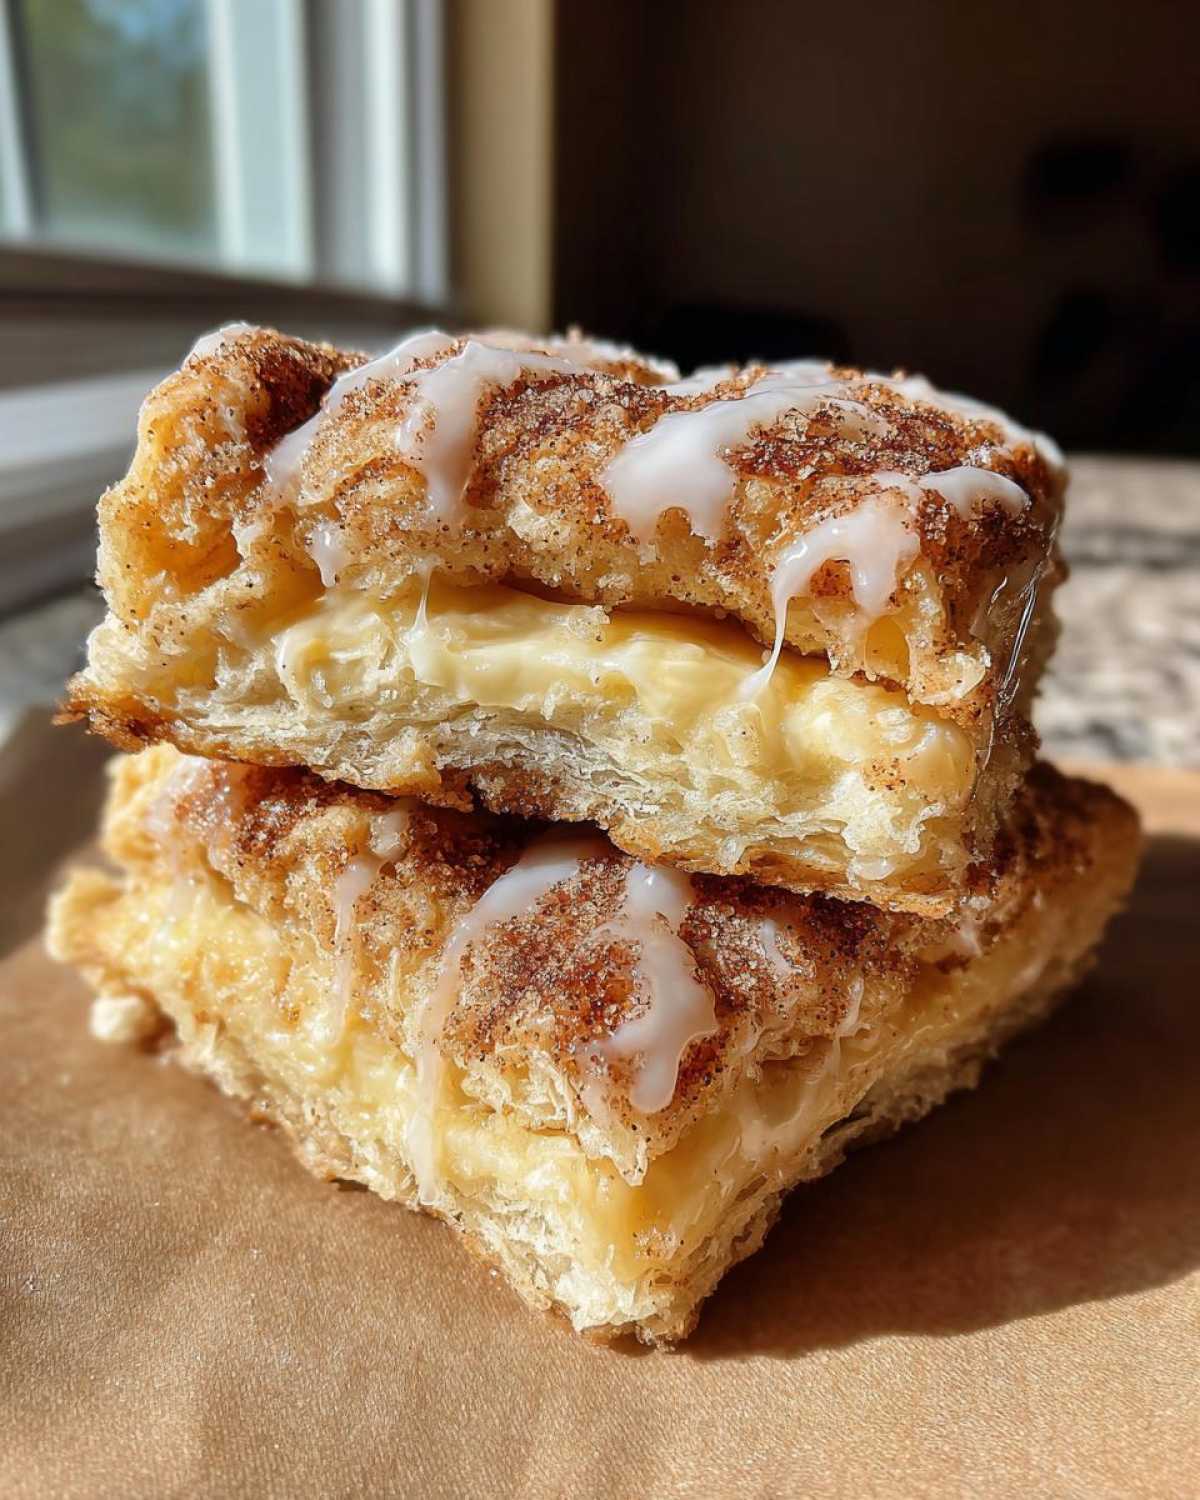
This is where the magic of the quick assembly happens. Unroll one can of dough and carefully press those triangles into the bottom of your pan, squishing those seams together so they seal up tight. Then, spread that lovely filling evenly over the base. Now, take the second can of dough and lay those triangles right on top, overlapping them and sealing those edges again. Sealing matters! It keeps that wonderful filling locked inside our crescent roll cheesecake bars while they bake.
Applying the Buttery Cinnamon Topping Recipe
Once you have your beautiful layered sandwich, grab that melted butter and brush it across the top dough layer—make sure it’s coated completely! Then, mix up your 3/4 cup sugar and cinnamon. Sprinkle that mixture heavily over the buttered top. That blend hitting the heat is what gives us that irresistible churro cheesecake fusion flavor we all adore!
Bake this dream revelation for about 25 to 30 minutes. Let it cool down for at least 30 minutes before you even think about cutting it, or you’ll end up with a gooey mess instead of neat squares!
Tips for Success with Your Sopapilla Cheesecake Bake
Listen, baking is fun, but nobody likes surprises when they cut into a dessert they worked on! My biggest tip for getting that picture-perfect, golden-brown top on your sopapilla cheesecake? Make sure you use soft, melted butter on top, but don’t drown the edges of the dough.
I’ve noticed that if the butter soaks right into the seam where the top and bottom crescent dough meet, it can puff up unevenly or even leak a little filling. Brush it gently, focusing on the middle where the big cinnamon sugar sprinkle is going. If you really want that authentic taste, skip the powdered sugar glaze entirely and drizzle warm honey (just 1/4 cup, warmed slightly in the microwave) right after it comes out of the oven. It’s sticky, but oh my goodness, it tastes exactly like real sopapillas! For more baking wisdom on keeping things neat, check out how I keep my sugar cookies from spreading—the same logic applies to gentle handling.
Storage and Reheating Instructions for Sopapilla Cheesecake
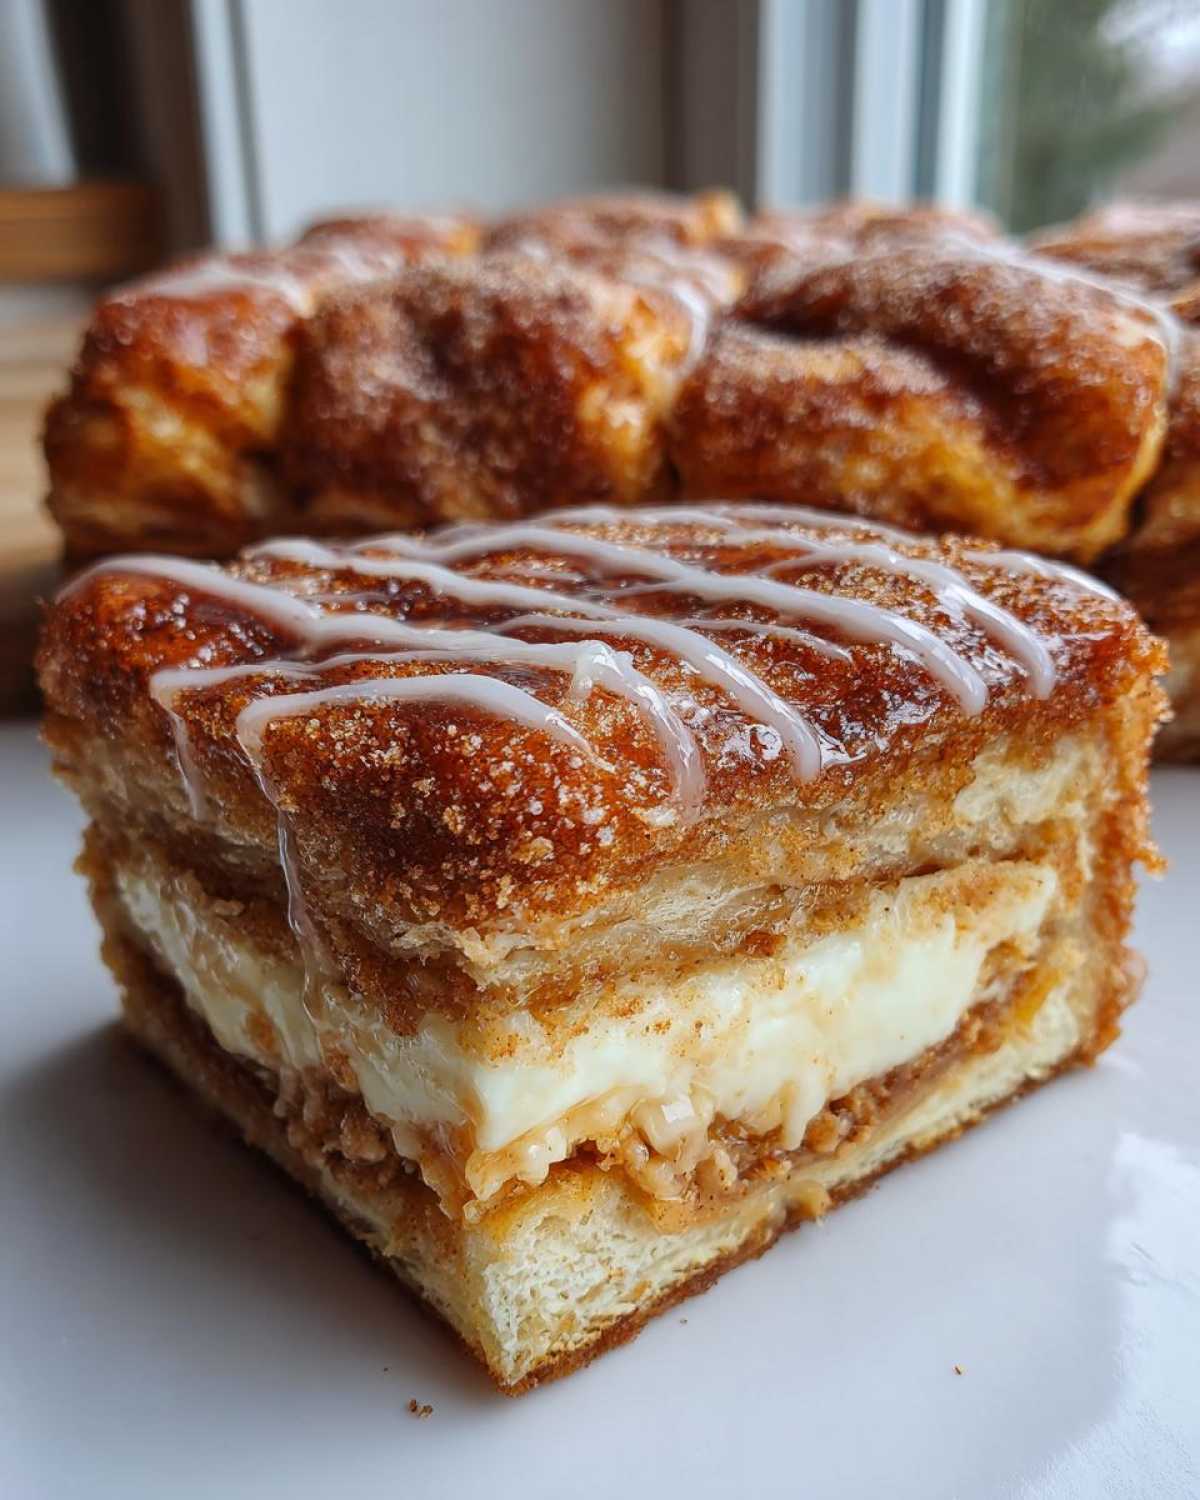
Since this sopapilla cheesecake relies on that glorious cream cheese filling, you absolutely must refrigerate any leftovers. Don’t leave them sitting out too long; food safety first, even when dessert is involved! Store the entire pan, covered tightly with plastic wrap or foil, in the fridge for up to four days. They hold up really well, which is why they’re amazing for potlucks!
When you want to revive that magic flavor, you can’t just microwave the whole thing, or you’ll get a soggy bottom. Take out a single bar and warm it gently in the microwave for about 15 to 20 seconds. That just warms the cream cheese center without turning the bottom crust mushy. If you let it sit on the counter for 10 minutes first, the texture of the cinnamon sugar dessert bake topping is even better!
If you are prepping these ahead of time for a gathering, I highly recommend checking out my tips for making other layered sweets, like my chili recipe—wait, what? No, scrap that, I mean my other flavor-packed make-ahead recipes! Storing cheesecake bars is easy, but flavor storage is key!
Variations on the Classic Sopapilla Cheesecake
While this recipe is near-perfect as is, I always love tinkering. That’s the fun of these Tex-Mex inspired sweets, right? They are so easy to tweak! If you want to deepen that warm spice profile, try adding just a whisper of nutmeg or a tiny pinch of cardamom to your cinnamon-sugar topping mixture. It adds such an unexpected layer of flavor that makes people stop and ask what your secret ingredient is.
For an extra fruity punch alongside that creamy filling, you can gently fold in about 1/4 cup of finely diced, sweetened dried cherries or even dried cranberries into the cream cheese mix before spreading. It adds beautiful color and a fantastic little surprise chewiness. If you enjoy these kinds of creative, sweet baked goods, you absolutely have to check out my recipe for amazing pumpkin bars!
Frequently Asked Questions About Sopapilla Cheesecake
Can I use puff pastry instead of crescent rolls for this sopapilla cheesecake?
Oh, that’s a common question! While puff pastry sounds fancy, I wouldn’t recommend swapping it out for the crescent rolls here. Crescent roll dough creates those specific pillowy layers that absorb the butter and cinnamon sugar just right. Puff pastry tends to be much lighter and flakier, and it doesn’t have the same buttery structure to hold up against the heavy, wet cheesecake filling. You’d get a lovely pastry, but it wouldn’t be the true texture of our flaky pastry dessert style sopapilla cheesecake.
Is this considered a potluck friendly dessert?
Absolutely, 100%! This is my go-to dessert if I need to bring something that travels well and feeds a crowd! Since these are bars, they serve up cleanly—no wobbling slices or messy plates. They travel well when covered tightly in the baking pan, and serving is as simple as grabbing a square. People always ask for the recipe because they look so impressive, but nobody needs to know how little work we put in!
Here’s another quick query I get all the time:
What is the best way to cut these bars so they don’t get messy?
This is crucial for presentation! If you try to slice these while they are still warm, the filling will just ooze out everywhere, and you’ll have a mushy mess. You must let them cool down almost completely, ideally for at least an hour on the counter followed by 30 minutes in the fridge. Once they are chilled, get a long, sharp knife and wipe the blade clean with a damp paper towel between every single cut. That keeps you from dragging the filling into the next square. If you haven’t tried it yet, you should look at how I get my apple crumble topping perfectly crisp, because clean cuts always help!
Can I make the filling ahead of time?
You can totally do that, which is great for busy days! You can mix up the cream cheese filling mixture—just the cream cheese, sugar, yolk, and vanilla—and keep it covered tightly in the fridge for up to two days. Just make sure it sits out on the counter for about 30 minutes before you layer it. You need it to be soft enough to spread easily over that bottom crust while you assemble your sopapilla cheesecake!
Estimated Nutritional Data for Sopapilla Cheesecake Bars
Now, let’s talk about the numbers. I always bake with the mindset that this is a special treat, not an everyday staple! The ingredients list is straightforward—cream cheese, sugar, butter—so the calories definitely add up, but wow, is it worth it for this creamy cheesecake dessert!
Here are the estimated nutritional stats per serving (assuming you slice into 16 bars):
- Calories: 280
- Sugar: 25g
- Fat: 16g
- Carbohydrates: 31g
- Protein: 4g
Just remember, these numbers are always just estimates, sweetie! They are calculated based on standard store-bought ingredients—different brands of crescent rolls or sugar can shift things slightly. If you’re keeping track, you can always check out my detailed privacy policy for disclaimers on how I compile this information!
Share Your Experience Making This Sopapilla Cheesecake
I poured my heart into making this sopapilla cheesecake recipe as reliable and delicious as possible for you, and now I want to hear all about it! Did you try the honey drizzle instead of the powdered sugar glaze? Maybe you added that little pinch of nutmeg I mentioned? Seriously curious—tell me everything!
Head down to the comments below and leave a rating for these crescent roll cheesecake bars. Knowing how they turned out for you means the world to me. When you make these amazing Tex-Mex inspired sweets, snap a picture! I adore seeing them all golden brown and topped with that sugary crunch.
You can always reach out directly if you have a quick question or just want to brag about your perfect bake; just use my contact page. Happy baking, my friends!
PrintEasy Sopapilla Cheesecake Bars

Make simple, layered dessert bars featuring a creamy cheesecake filling between flaky pastry, topped with cinnamon sugar.
- Prep Time: 15 min
- Cook Time: 30 min
- Total Time: 45 min
- Yield: 16 servings
- Category: Dessert
- Method: Baking
- Cuisine: Tex-Mex Inspired
- Diet: Vegetarian
Ingredients
- 1 (8 ounce) package cream cheese, softened
- 1/2 cup granulated sugar
- 1 large egg yolk
- 1 teaspoon vanilla extract
- 2 (8 ounce) tubes refrigerated crescent roll dough
- 1/2 cup (1 stick) unsalted butter, melted
- 3/4 cup granulated sugar
- 2 tablespoons ground cinnamon
- 1/2 cup powdered sugar (for glaze)
- 2 tablespoons milk (for glaze)
- 1 teaspoon vanilla extract (for glaze)
Instructions
- Preheat your oven to 350 degrees F. Lightly grease a 9×13 inch baking pan.
- In a medium bowl, beat the softened cream cheese, 1/2 cup granulated sugar, egg yolk, and 1 teaspoon vanilla extract until the mixture is smooth. Set aside.
- Unroll one tube of crescent roll dough and press the triangles into the bottom of the prepared baking pan, sealing the seams to form a crust layer.
- Spread the cream cheese mixture evenly over the bottom crust layer.
- Unroll the second tube of crescent roll dough. Place the triangles over the cream cheese layer, overlapping slightly and sealing the seams to cover the filling completely.
- In a small bowl, mix the remaining 3/4 cup granulated sugar and 2 tablespoons cinnamon.
- Brush the melted butter evenly over the top layer of dough. Sprinkle the cinnamon-sugar mixture over the buttered top.
- Bake for 25 to 30 minutes, or until the top is golden brown and the filling is set.
- While the bars cool slightly, whisk together the powdered sugar, 2 tablespoons milk, and 1 teaspoon vanilla extract to create a thin glaze.
- Drizzle the glaze over the warm bars before cutting into squares.
Notes
- For a traditional sopapilla flavor, you can substitute the glaze with warm honey drizzled over the bars immediately after baking.
- If you prefer a slightly thicker crust, let the bottom layer of dough rest for 5 minutes before spreading the filling.
- Cut the bars only after they have cooled for at least 30 minutes for cleaner slices.
Nutrition
- Serving Size: 1 bar
- Calories: 280
- Sugar: 25
- Sodium: 210
- Fat: 16
- Saturated Fat: 8
- Unsaturated Fat: 8
- Trans Fat: 0
- Carbohydrates: 31
- Fiber: 1
- Protein: 4
- Cholesterol: 45