

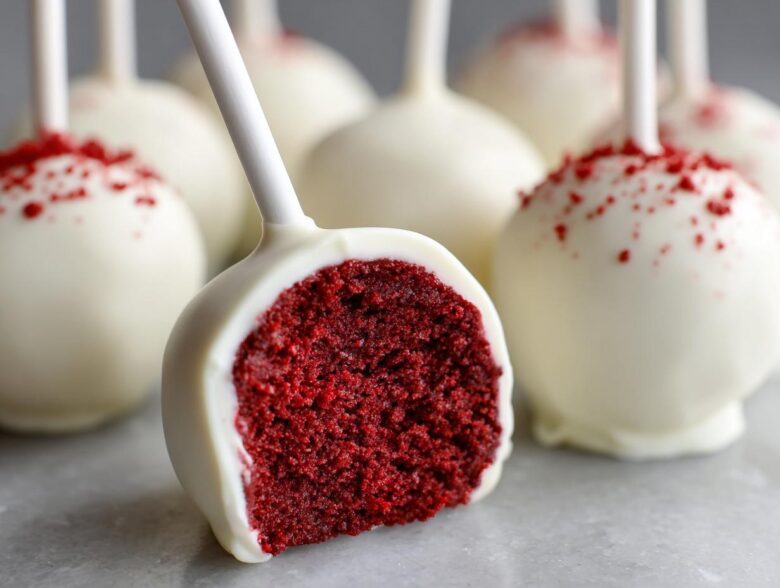
Oh my goodness, have you ever looked at a huge slice of red velvet cake and thought, “I wish this was small enough to eat in one glorious, traffic-stoppingly delicious bite?” I know I have! That’s why I’m obsessed with these **red velvet cake pops**. Forget complicated baking—this is truly my ultimate easy recipe, perfect for pairing with other amazing ideas over at the Tastytribune blog. We take a simple boxed mix and creamy frosting and turn it into perfect little spheres of joy for parties or gifts. Seriously, these are my secret weapon. The trick to keeping them moist, even after this no-bake mixing process, comes down to using the right ratio of frosting. Trust me, when you master that dough, you’ve mastered the world of homemade cake balls. You absolutely need to try this!
Why You Will Love This Easy Red Velvet Cake Pops Recipe
Honestly, why wouldn’t you love these? They take all the best parts of red velvet and make them portable, which is basically the best invention ever. You get that vibrant color and tang without turning on your oven more than once.
- Moist texture guaranteed, thanks to the perfect frosting binder.
- Simple no-bake assembly right after the cake cools down.
- They look absolutely stunning, making them perfect for Valentine Day Cake Pop Ideas or any celebration!
- They freeze beautifully, so you can make a huge batch ahead of time.
Essential Ingredients for Perfect Red Velvet Cake Pops
Okay, let’s talk about what you need to assemble these gorgeous little treats. You don’t need a massive shopping list, which is the beauty of this! We are keeping things streamlined here for maximum impact. You’ll need that red velvet mix, of course, along with the standard additions like water, oil, and eggs to bake it. But the real stars are the frosting and the chocolate coating. I always opt for high-quality white chocolate melting wafers for dipping. If you use standard chips, they often seize up or make the coating dull. Trust me on this; the wafers glide on so smoothly, which is key for that flawless finish we’re after!
Ingredient Notes and Substitutions for Your Red Velvet Cake Pops
The moisture power comes from that cream cheese frosting; it’s not just for flavor here—it’s the necessary glue that turns crumbles into dough! If you’re in a pinch and want true No Bake Red Velvet Bites, you can crush an entire box of red velvet sandwich cookies (checking the label to make sure they’re plain vanilla filling inside) instead of baking the whole box, and just mix that straight with the frosting. But honestly, baking the cake first gives you that superior, tender texture.
Step-by-Step Tutorial for Homemade Cake Balls
Alright, let’s get our hands dirty where the real magic happens! We need that perfect base, so first things first: bake that red velvet cake according to the box directions, but please, use a 9×13 inch pan. It gives you the best surface area for cooling and crumbling. Once it’s totally cool—I mean completely, or your frosting will instantly melt—it’s time to grab a bowl and just start tearing it apart. You want fine crumbs! No massive chunks allowed if we want those smooth Homemade Cake Balls. This is where you start to see the vibrant red color come through. It’s so satisfying!
Mixing the Dough for Moist Red Velvet Treats
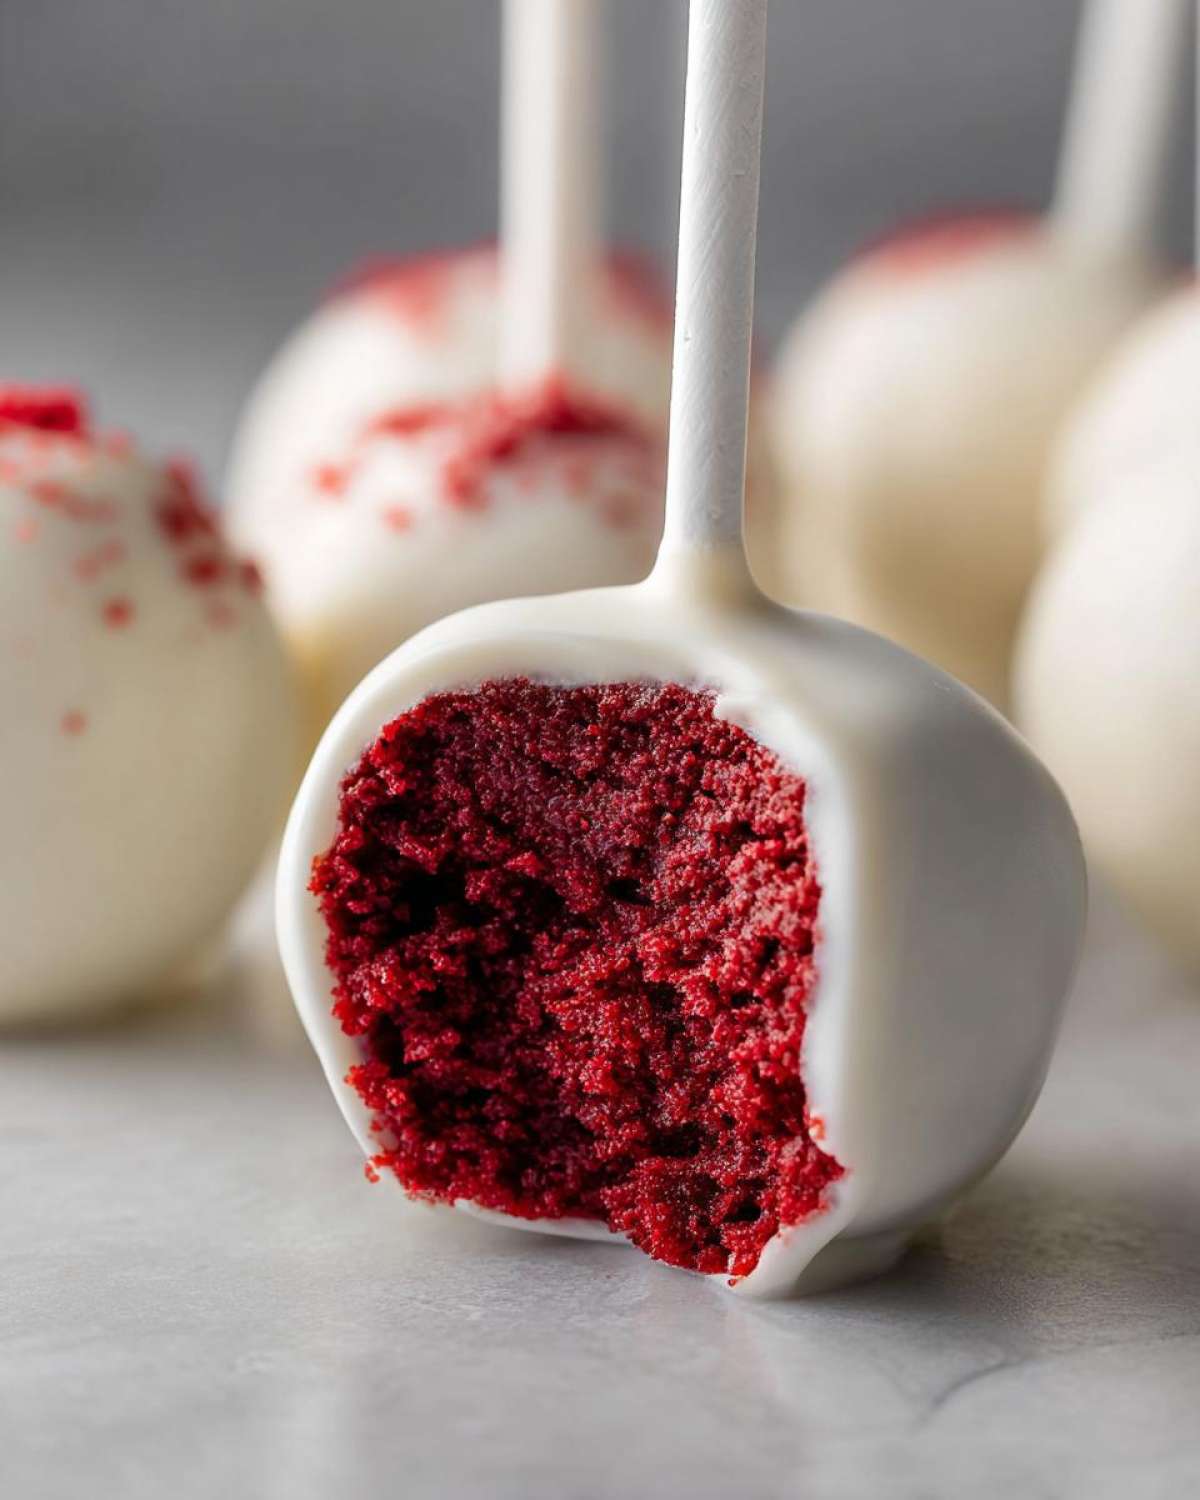
Once crumbled, dump that entire container of cream cheese frosting right on top. Now, you mix! I usually start with a spatula but quickly move to my hands because you really need to feel it. You’re mixing until it feels like thick, pliable cookie dough. Here’s my big secret, and this is important for moisture: only use enough frosting to bind it! If it feels sticky and gooey, you have too much frosting, and your cake pops will slide right off the sticks later. You want it firm enough that when you pinch a piece, it holds its shape perfectly without leaving a greasy residue on your fingers.
Chilling and Shaping Your Red Velvet Cake Pops
Next up, you roll! Try to keep them consistently sized, aiming for that 1 to 1.5-inch sweet spot. Uniform size means they all look professional when dipped. Once you have your gorgeous batch lined up on parchment paper, DO NOT skip this next step. They need a solid 30 minutes minimum in the fridge. Chilling firms up that frosting binder so much. When they are cold, they won’t crumble or stick to your sticks when you try to dip them. Seriously, cold cake balls equal happy cake pops!
The Cake Pop Dipping Technique for White Chocolate Dipped Cake Pops
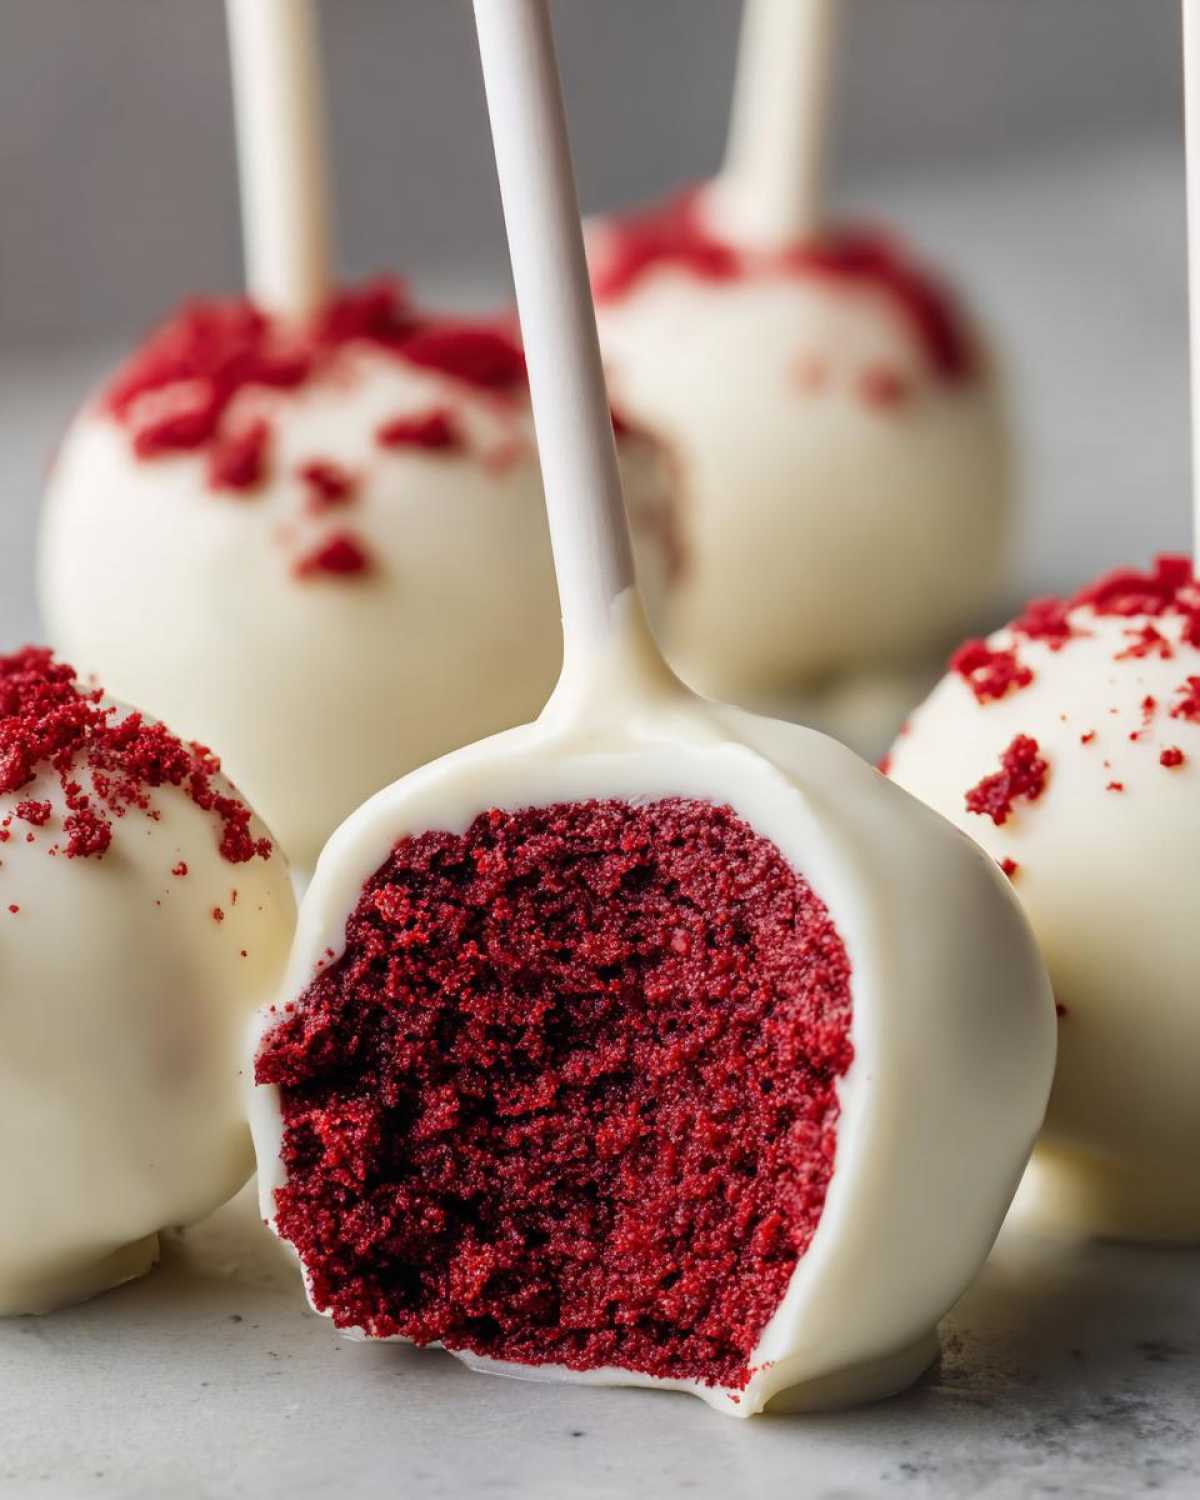
This is the make-or-break moment, isn’t it? Getting that coating smooth and shiny on your White Chocolate Dipped Cake Pops can feel scary, but I promise it’s easy if you follow my tried-and-true method. First, melting the wafers. You must use a microwave-safe bowl and melt in very short bursts—like 30 seconds at a time, stirring vigorously after every single one. If you just walk away for two minutes, you’ll get seized, unusable chocolate sludge. I always add about two tablespoons of vegetable shortening or coconut oil; this thins out the chocolate just enough so it coats beautifully without getting too thick around the ball.
Now for the secret to keeping them on the stick: the anchor dip! Take one of your chilled cake balls, dip the very tip of the stick about halfway into the melted chocolate, and then insert that chocolate-tipped stick into the cake ball. Hold it steady for a sec, then pop the whole tray back into the freezer for maybe five minutes. That little chocolate base acts like cement! Once that’s set, you can do the full dip without worrying that the pop will slide off when you pull it out of the chocolate pool. Dip the whole thing, swirl it gently, lift it up, and tap the stick lightly against the side of the bowl to let the excess drip. Perfection!
Tips for Success with Red Velvet Cake Pops
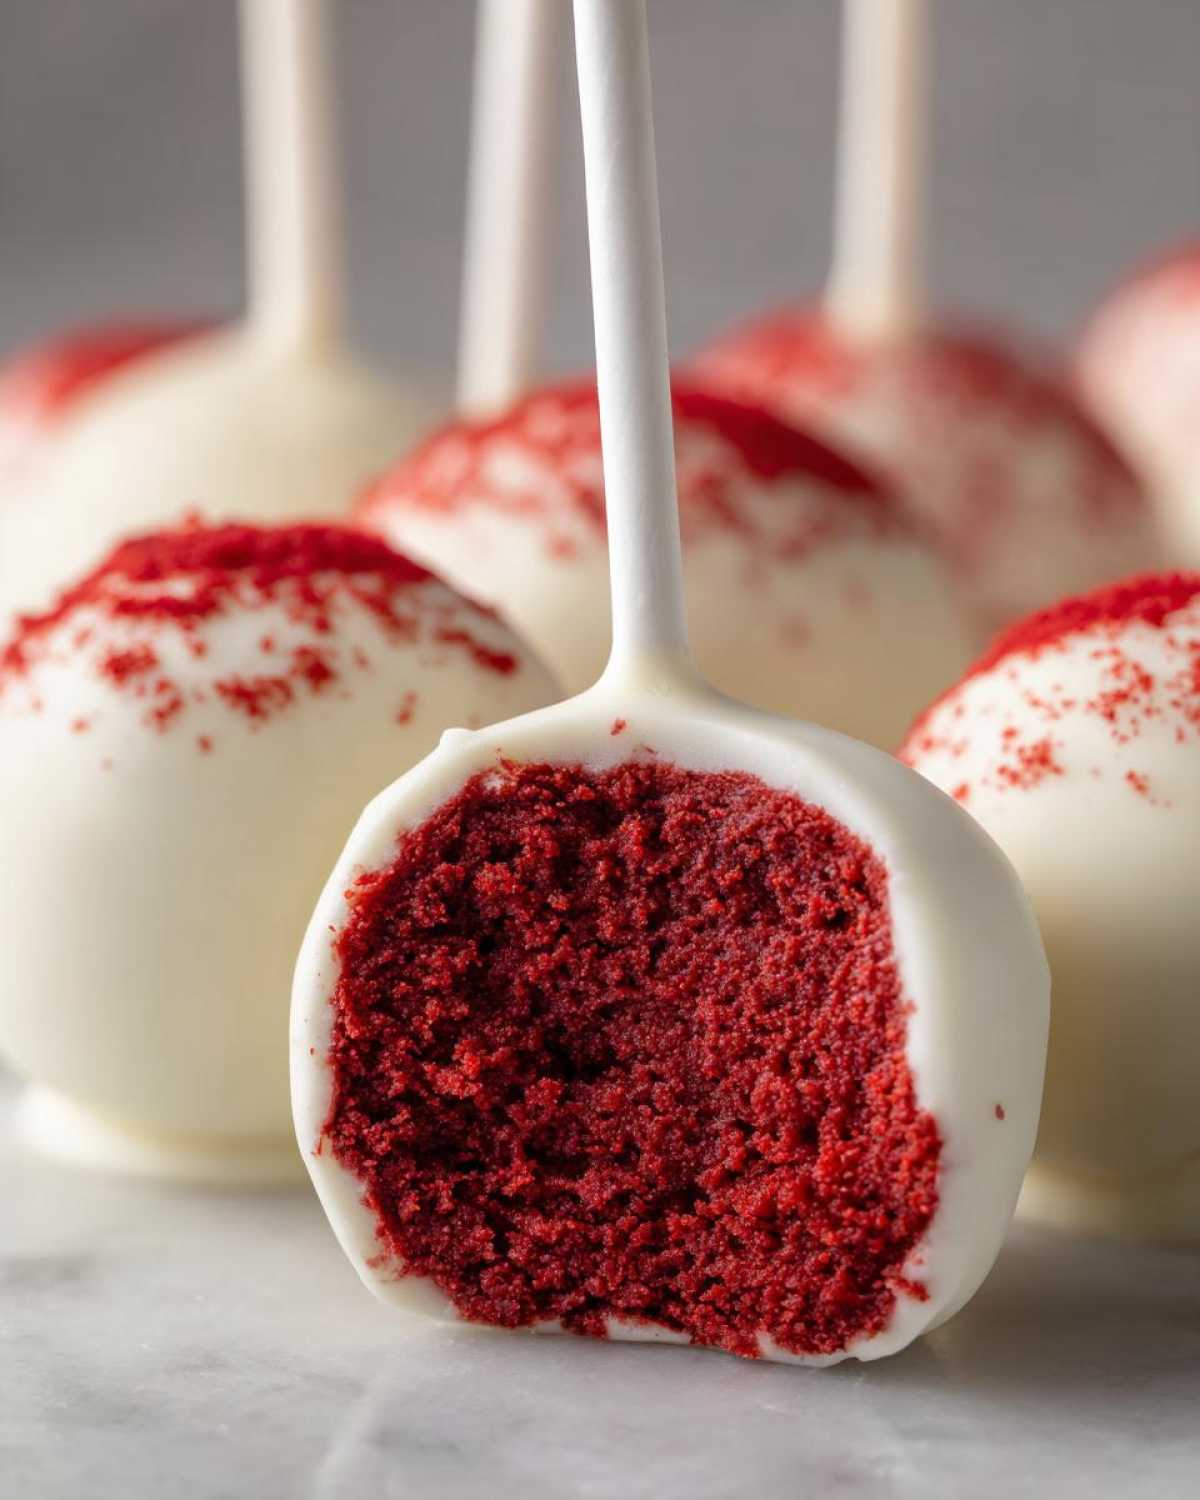
Even with the best directions, sometimes things go a little sideways, right? The number one panic moment is usually cracking after dipping. That happens when the cake ball is too warm or the chocolate is way too hot. Make sure those cake balls are properly chilled, and if your chocolate seems ridiculously thick—almost like peanut butter—add that little bit of shortening, just like we talked about. I learned the hard way testing out chocolate-peppermint-cookies-recipe that consistency is everything! A smooth, thin chocolate melt keeps your **red velvet cake pops** looking pristine and prevents those messy cracks.
Presentation Ideas for Festive Cake Pop Recipes
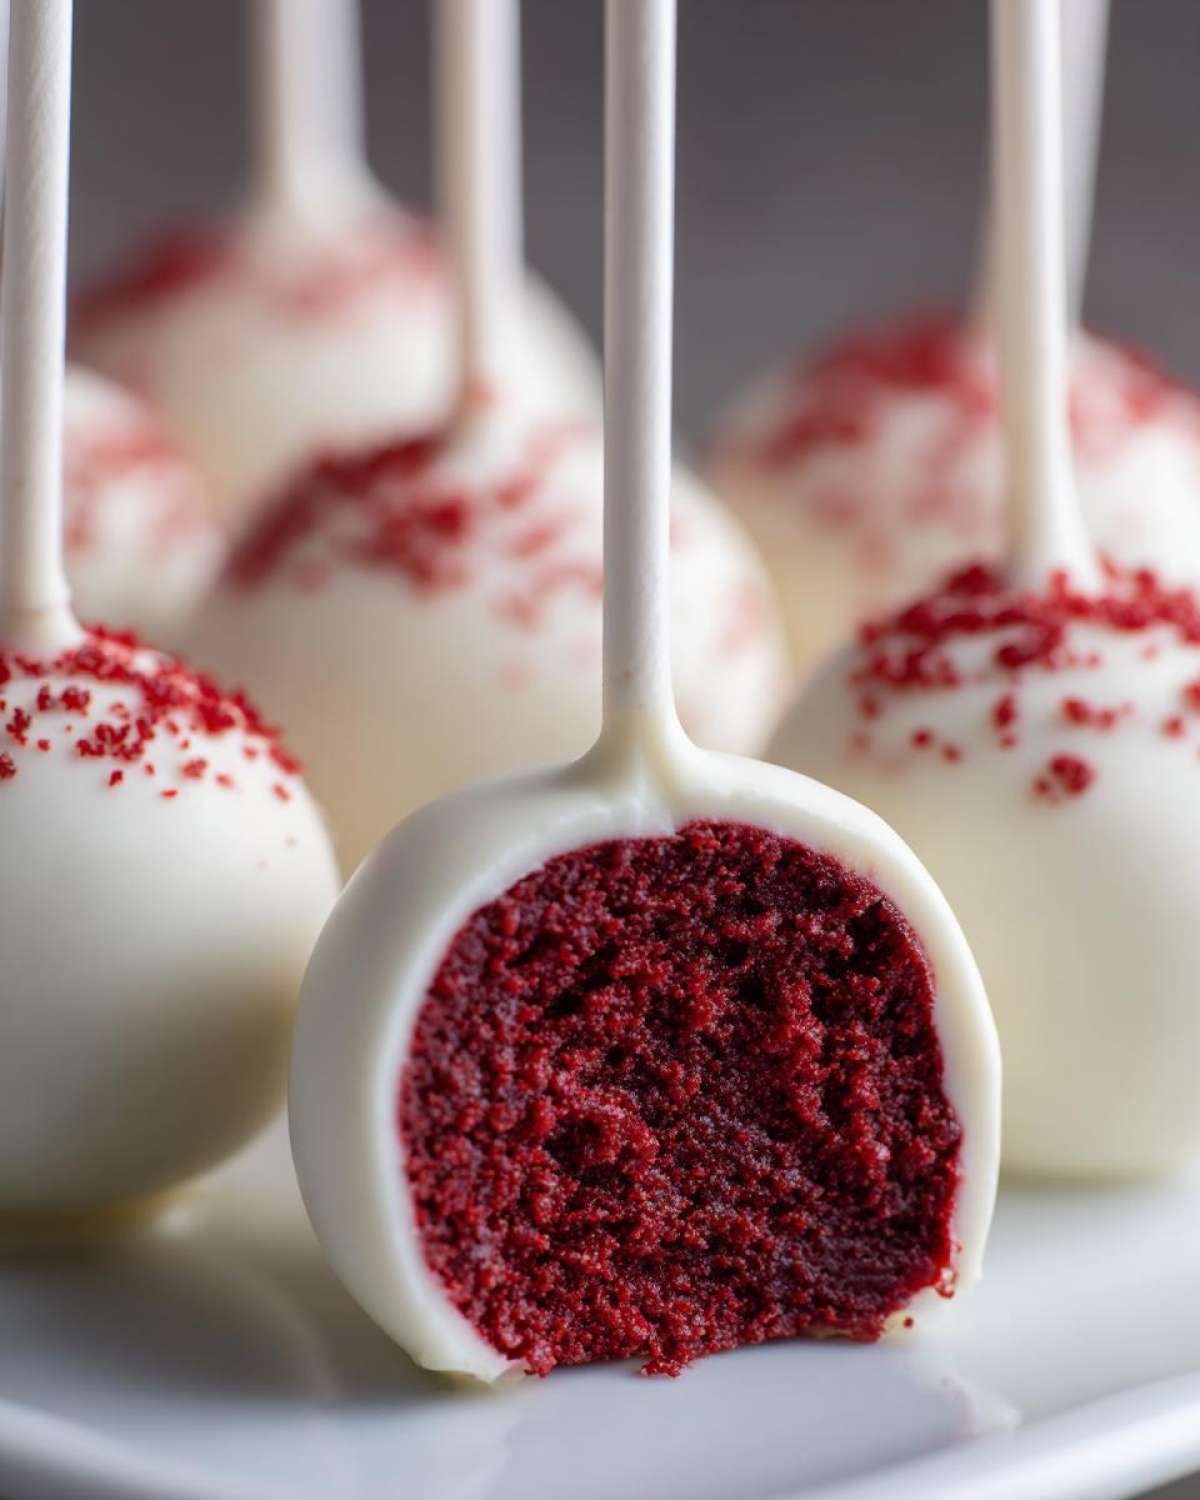
Once that glistening white chocolate coating has set, it’s time for the really fun part—making them look like they belong on a magazine cover! Since these are such amazing Party Dessert Ideas Mini, don’t be shy with the sparkle. If you’re making these for Valentine’s Day, grab some tiny red heart sprinkles while the chocolate is still wet. For birthday parties, thin drizzle lines of melted dark chocolate over the white surface look super professional. If you’re using a silicone mold instead of a stick, this is when you can gently shape them into little hearts!
Storage and Reheating Instructions for Red Velvet Cake Pops
Now that you have these perfect little gems, keeping them tasting fresh is important! Since we used frosting as our binder, they do best when kept cool. Store your finished **red velvet cake pops** in an airtight container. Pop them in the fridge if you won’t eat them within two days, but let them sit on the counter for about 20 minutes before serving so the chocolate shell softens slightly. They stay delicious for about a week this way!
Frequently Asked Questions About Red Velvet Cake Pops
I know you probably have questions swirling around, especially if this is your first time tackling these beautiful Holiday Cake Pop Classics! People ask me all the time about skipping the initial baking step. Yes, you absolutely can make these No Bake Red Velvet Bites by crushing Oreos or similar sandwich cookies and mixing them with the cream cheese frosting instead of using baked cake. It saves time, but you do lose a touch of that authentic cake moisture!
How do I stop my cake pops from falling off the sticks?
Oh, that’s the worst! This happens when the cake ball is too soft or the chocolate anchor isn’t set properly. The trick is making sure your cake balls are deeply chilled—like rock hard! Then, you must use that first dip of chocolate on the stick tip to cement it into the ball before you dip the whole thing. That little bit of chocolate acts like superglue holding your Bite Sized Red Velvet Desserts in place.
Can I use candy melts instead of white chocolate wafers?
Absolutely, you can use candy melts! They are often easier to work with than pure chocolate because they contain stabilizers, meaning they usually don’t need adding any shortening to thin them out. Just watch them melt slowly. Candy melts are fantastic for bright colors if you wanted to make a fun Vibrant Red Dessert design!
My frosting is too thick; should I add milk to loosen it?
Please don’t add milk to the cake/frosting mix! If your cream cheese frosting seems super stiff, just try beating it alone for a minute or two before adding it to the crumbs. Adding liquid messes up the binding ratio that keeps these **red velvet cake pops** moist and scoopable. If it’s still too stiff, add just a tiny bit more frosting, not milk!
Sharing Your Bite Sized Red Velvet Desserts
I really hope you enjoyed making these **red velvet cake pops**! I’d love to hear how yours turned out. Head over to the contact page whichever way you prefer, let me know if you tried any crazy sprinkles, and please rate the recipe below so others know what a treat they’re missing!
PrintUltimate Easy Red Velvet Cake Pops Recipe

Make moist, bite-sized red velvet cake pops using a simple no-bake method with cream cheese frosting and a smooth white chocolate coating.
- Prep Time: 30 min
- Cook Time: 30 min
- Total Time: 90 min
- Yield: 20 cake pops
- Category: Dessert
- Method: No Bake Assembly
- Cuisine: American
- Diet: Vegetarian
Ingredients
- 1 box (15.25 oz) red velvet cake mix
- 1 cup water (as per cake mix instructions)
- 2 large eggs (as per cake mix instructions)
- 1/3 cup vegetable oil (as per cake mix instructions)
- 1 container (8 oz) cream cheese frosting (store-bought or homemade)
- 1 bag (12 oz) white chocolate melting wafers or candy coating
- 2 tablespoons vegetable shortening or coconut oil (optional, for thinning chocolate)
- 10-12 cake pop sticks
Instructions
- Prepare the cake according to the package directions using the specified water, eggs, and oil. Bake in a 9×13 inch pan for best results.
- Let the cake cool completely, about 1 hour.
- Crumble the cooled cake into a large bowl until no large pieces remain.
- Add the entire container of cream cheese frosting to the cake crumbs. Mix thoroughly with your hands or a sturdy spoon until a uniform, dough-like consistency forms.
- Roll the mixture into small balls, about 1 to 1.5 inches in diameter. You should get about 20-24 balls. Place them on a parchment-lined baking sheet.
- Chill the cake balls in the refrigerator for at least 30 minutes to firm them up. This step prevents cracking during dipping.
- Melt the white chocolate wafers according to package directions, usually in a microwave-safe bowl in 30-second intervals, stirring well between each interval. Stir in the shortening or coconut oil if the chocolate is too thick.
- Dip the tip of a cake pop stick about halfway into the melted chocolate, then insert the stick about halfway into a chilled cake ball.
- Return the coated sticks and cake balls to the freezer for 5 minutes to set the chocolate base.
- Hold the stick and dip the entire cake ball into the melted white chocolate, rotating to coat completely. Gently tap the stick against the side of the bowl to remove excess chocolate.
- Place the dipped cake pop upright into a styrofoam block or cake pop stand to dry completely.
- Serve or store in an airtight container.
Notes
- For a smoother dip, use high-quality melting wafers instead of standard white chocolate chips.
- If you prefer a no-bake option, substitute the baked cake with 1 box of crushed red velvet sandwich cookies mixed with the frosting.
- To achieve a perfect red color, use a high-quality red velvet cake mix or add 1-2 teaspoons of concentrated red gel food coloring to a vanilla cake mix before baking.
Nutrition
- Serving Size: 1 cake pop
- Calories: 220
- Sugar: 25
- Sodium: 150
- Fat: 12
- Saturated Fat: 6
- Unsaturated Fat: 6
- Trans Fat: 0.1
- Carbohydrates: 28
- Fiber: 0.5
- Protein: 3
- Cholesterol: 25